
Sascha Feider

Forum Replies Created
-
AuthorPosts
-
Hm, sorry. The curious case of headband circle-button. Good thing you got that incremental.
Still would love to know what it was :/We’ll have to throw you in the punitentiary for a while. 😀

Looks like there is an object parented to the headband (red). Check the dropdown (green) for that, might be the circle. Maybe it’s hidden in edit mode. When you find it you’ll net Alt+P to clear the parent since it’s an object, not a curve.
I’m more interested in who you are trying to keep out the door? 😀
Nice block-out so far. Love the fact that you include switches and outlets. They get forgotten so often.
You can click on this icon above the text area to add images.

After you click it a side window will open where you can drop your image to upload and then select to attach to your question.
What are your settings on the bevel modifier? It could be that you’re just around the angle where it kicks in and I’ve had that give me issues in a situation like this. If you don’t find double vertices or interior stuff I’d go through the modifiers one by one and toggle things on an off to see if one or another has something to do with it.
Thanks guys, that helps a lot. With a bit of fine tuning I can make that work. I don’t mind destructive bevels. Most times they get a precise value and then they’re set anyway, so that’s alright.
You can adjust the units under the scene properties and switch from metric to imperial there. You can also type in fractions, but they will be converted to decimal. For example you can enter 3/4in and after you hit enter Blender will show it a 0.75″.
Edge length is just one of the many tools for precision modeling. Most of the standard tools can be used with very high precision for all things like Arch-viz, furniture and complex cabinetry. There are a few videos on those topics on my YT, that should give you a good start.
For a clean view you can additionally turn off the overlays.Forget the wood, that was just an example. The end-grain problem is a different story, which is what Martin was referring to. I was interested in the transition in general.
@Dostovel How do you mean cover them? Do you have an example? I was trying to get a better transition because I want the edge to be visible. I can do it with vertex paint on a destructive bevel where a purple line represents the smooth transition between the red and blue, basically blurring or mixing them, but I seem to have a power outage when it comes to applying that to two different textures on one model. Might have to take a nap on this.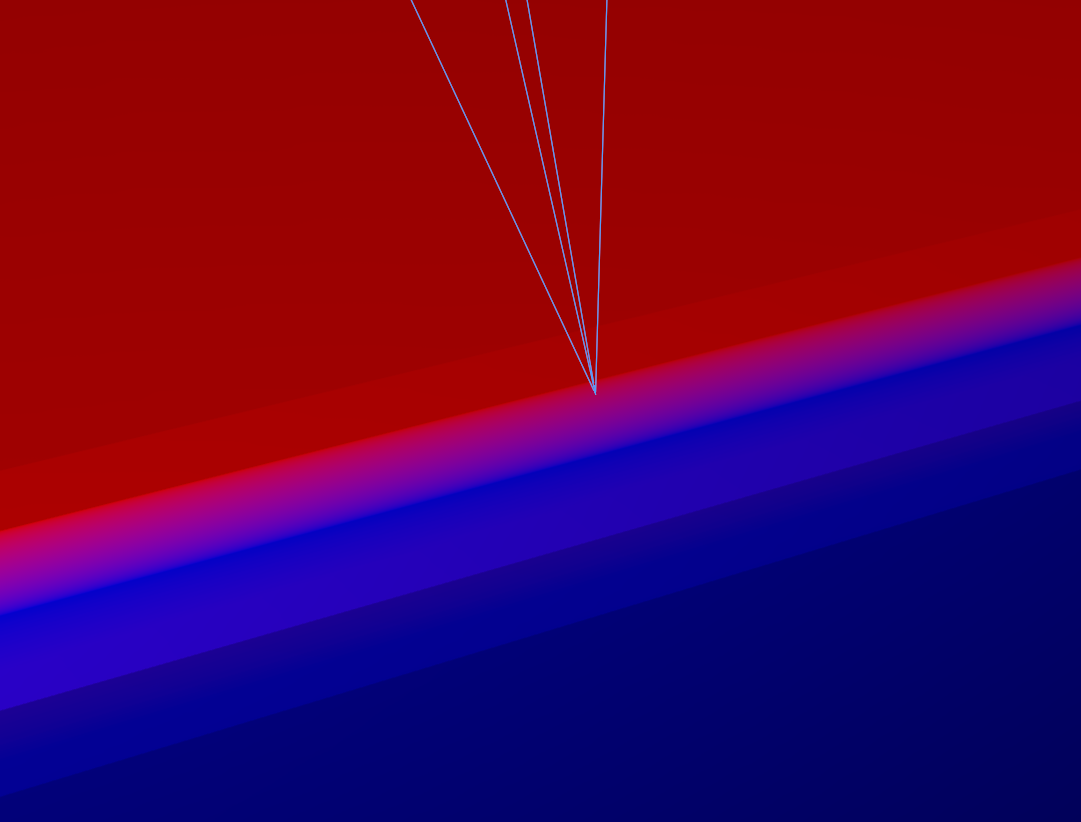
Thanks, Martin. I’ll keep playing around with it.
It was actually more a general question, the wood was just an example because of good contrast.
In regards to edge rail: That option is only really useful, when insetting an uneven surface. Without it you would push the faces out a bit, blender trying to average out things. Enabling edge rail in that case would keep faces flat.
As Martin said that should not have anything to do with your issue here.Looks like he had a long and crazy night out. 😀 Nicely done.
Yeah, not just concept arts. Even CAD drawings for buildings with different elevations never line up 100% due to scaling issues in the print, file or whatever. It’s something you get used to over time and learn to adapt as you progress in your journey. Eventually you’ll know how to pick one perfect match, even just part of a drawing, in this case say the screen, and then adjust the rest to that without losing proportions. As you say – practice practice practice. Rinse and repeat.
Base on the title of your question I’m guessing you’re talking about an area light in front of a window which gets then marked as a portal?
In that case the area light doesn’t actually emit any light anymore. It works as a guide line so to speak to guide the light from the hdri through the window. It basically provides the render engine with a path to steer the light into the room more efficiently. You can reduce noise in interiors this way. Without the HDRI it would remain dark though.
I think of it this like saying: Here Cycles, I’ve got this portal for you, this is where I want you to throw more light through. I hope that makes sense. 🙂I’d definitely be interested in a course/workshop like that.
Agree with Omar. When it comes to the modelling course the biggest difference will probably be the shade smooth function. In older versions you’ll have to shade smooth, then go to the data properties under normals and make sure auto smooth is enabled.
Other than that I can’t think of much difference in terms of modelling. The tools used in the course are still the same, maybe a slight name change in the menus here and there. Lighting and materials will have more differences. For that you can always go back to the older courses too. -
AuthorPosts
