
Sascha Feider

Forum Replies Created
-
AuthorPosts
-
You can see it in wire frame mode or make it visible if you turn on “on cage”, the currently greyed out button next to the three blue ones in the modifier.
Plus you’ll need to turn off “optimal display”.My guess would be it was the clamp overlap on the bevel modifier. It’s been doing weird stuff like that in the latest versions, sometimes for no obvious reasons. And since you have it deactivated in edit mode, but active in object mode, you’d only see it in object mode.
You’ll need to uncheck “Boundary” in the menu on the bottom left (or press B after I to inset).
You’re using a mirror modifier, which means half of the model is just a mirror image and not real. Because of that you have an open face in the middle, meaning a face with an edge that is not connected to anything on one side. The boundary setting of the inset tool lets you decide whether to inset from that open side or not.Way to go! Really nice work. Proof that practice and sticking with it pays off. Keep it up and you’ll go places. 🙂
Yup, there is.
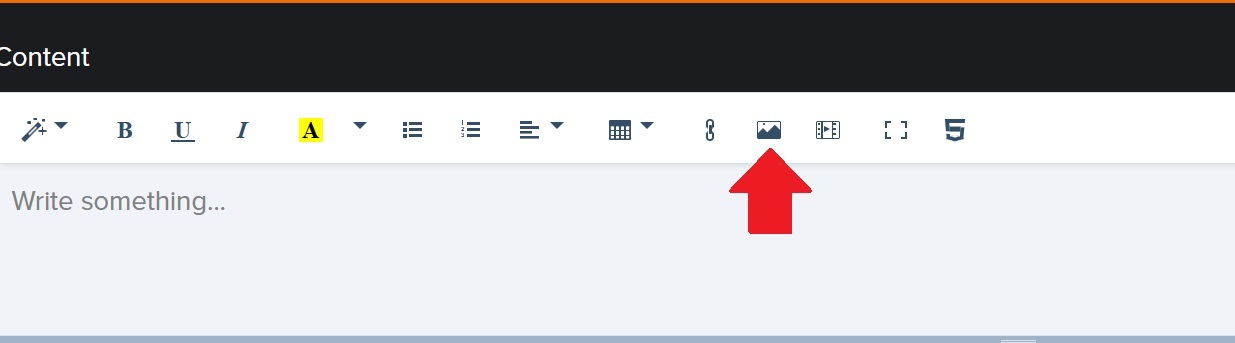
That opens up a side window where you can upload your image and then append it in the message from there.
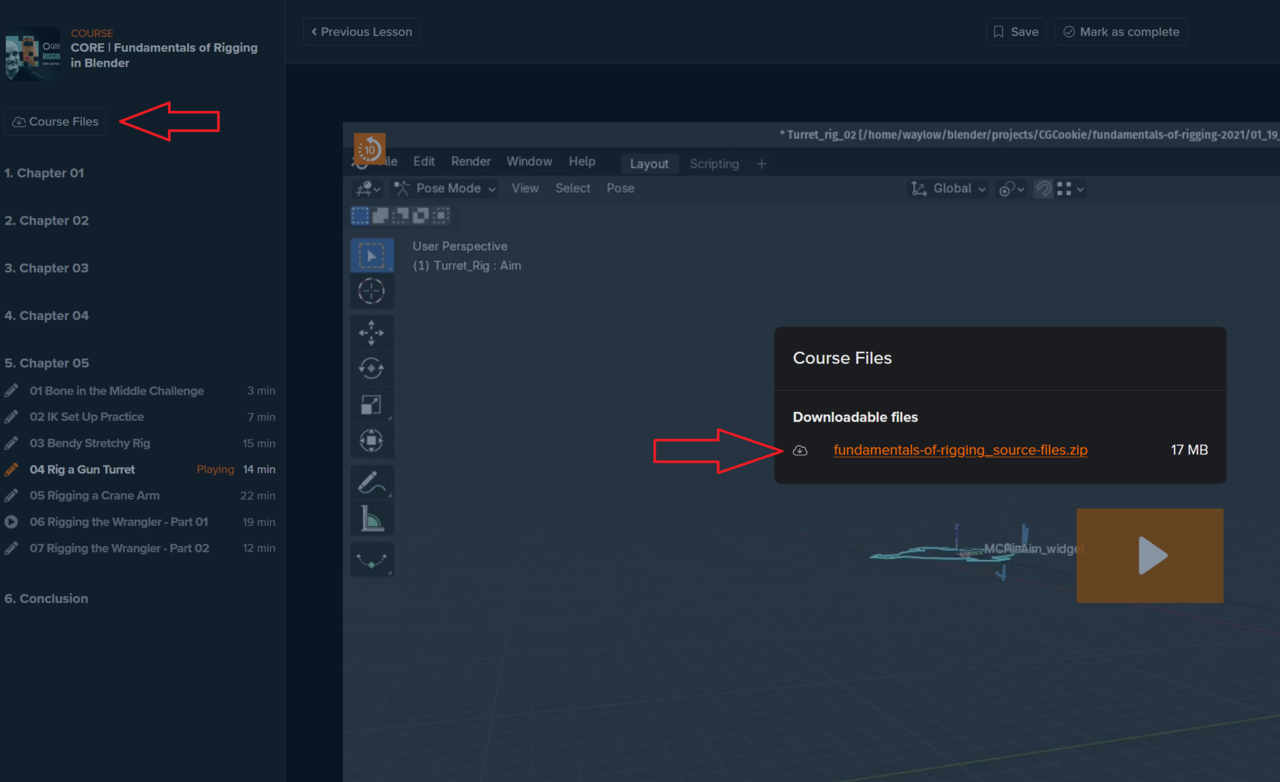
Sometimes it can be a bit buggy and not work when creating a new topic. In that case create the topic with the question and then create an answer with the image. 🙂Click on course files above the chapters and download the zip. There’s all you’ll need to follow along. 🙂
 March 8, 2025 at 1:46 am in reply to: Weird vertex connections when pulling down the cartridge slot #93664
It looks like you moved the selected face down with “g”. In that case surrounding geomety stays connected and will get angled like in your screenshot.
Instead of moving you need to press “E” to extrude the face downwards. That creates new geometry and you will get the rectangular shape.
On a standard sun light you can play around with the angle in the light settings, that’ll soften it up.
Very true!
I like to think of it this way to remember:
Merge by distance is the “Turn it off and back on again” of Blender.
Something doesn’t look right? Try that first. 🙂You can also access all the lessons individually via the links from your progress tab in the dashboard.

I agree with Omar. This guy looks just incredible. I still get Stephen King vibes from him.
i also agree with the lighting. It’s hard to impossible to make out any contours and details in the shoulder and ear area for example. Maybe a neutral coloured HDRI with a very low strength could give just a little more context. Then make it invisible to the camera with a lightpath node and have something like Omar suggested with the gradient in the background.February 24, 2025 at 9:49 pm in reply to: Workflow for creating hatch and screw holes in a curved surface. #93489You could try a boolean modifier with a cylinder as the cutter object. They can behave a bit funky and you’ll have to do some clean up afterwards (if you apply it).
If you go that route try to give the cutter cylinders an amount of vertices that closely matches the mesh they’re supposed to cut. That often helps with cleaning up.
The hard drive tutorial in the CORE Fundamentals of mesh modeling is a good one to watch for that, even with the flat surface.
Because of the curved surface you could also make a backup of the remote before doing the boolean from which you can then transfer the normal data onto the cut mesh to get rid of the pinching. This requires using some vertex groups. Can’t think of a specific Cookie course right now where that is shown…Looking cool. Could be the crate that all the colourful bubble gum balls get delivered in. 😀
It looks like there is something weird going on in that grey top corner there, like an extra edge or internal face or something else. Might be worth investigating.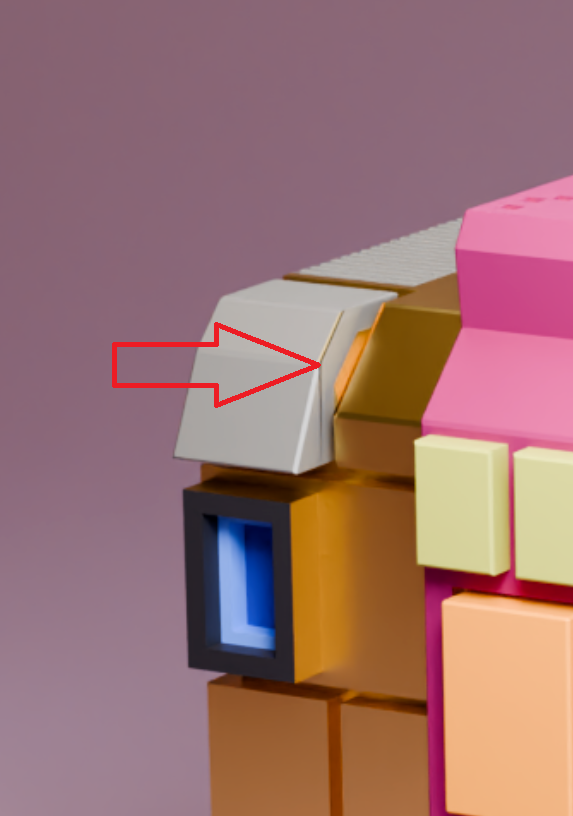 February 23, 2025 at 6:32 pm in reply to: How to make inset factor mirror modifier into consideration #93464
If I understand you correctly, then after I for inset hit B for boundary. That tells Blender whether to consider the open edge when insetting or not.
-
AuthorPosts
