
n647

Forum Replies Created
-
AuthorPosts
-
another option is to check sketchfab for downloadable models from photogrammetry , who then you can use to create heighmaps or normal maps from, just check the CC license
https://sketchfab.com/search?features=downloadable&q=roman&sort_by=-pertinence&type=modelsyou can also search other places, museums and the like are using photogrametry quite a bit
@theluthier Thanks, I felt it was missing some detail there so worked the decal based on victorian logos to go with the fleur de liz and the topic.
The turnaround was mostly a way to learn how to use the camera better and show the hinges too, see how the light played with the materials was a nice bonusAs for the wood, I may have gone a bit too subtle, thanks for the input.
@ahmedc really nice, love how you added the emmisive material there, seems to have a gradient along the sword or is just me?
@ciku-karugi happy I was able to help
@ciku-karugi sadly not sure how to fix it, but just make sure to manually set the proper camera on the local camera on the right panel, and check on scene that the camera is the proper one and not a random object.
Not sure why this happens hopefully someone can clear that up.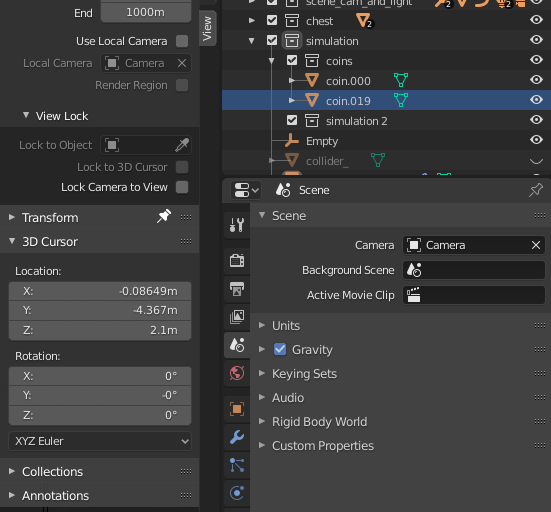
@fide that looks great with the shaders and the floor planks now, the rim light also give it a nice accent, great work
@ciku-karugi had a similar problem on another file, not sure if its the same thing but check the panel on the right you open with N > view and see if its set to local camera, for some reason mine keep changing to another object
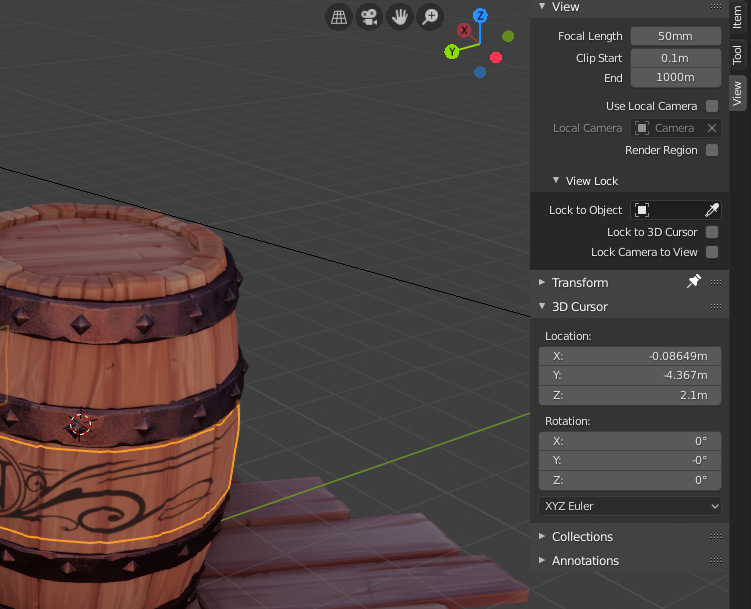
maybe is another thing but may be worth checking
@annarudzka looking very nice, personally I also like the second one a bit better, but both are quite nice
Ok so I decided to go a bit further with the homework.
Decal
I added a decal logo to the barrel, for this I draw the logo with a alpha and used add image as a planethen subdivided by hand a bit to get even squares and more geometry and used the following set up for the decal.
the simple deform was important to get it to the right shape before the shrink wrap
Note for the transparent shader to work I had to go to material settings blend mode and change it to alpha hashed, or Alpha Blend

Logo used for the decal
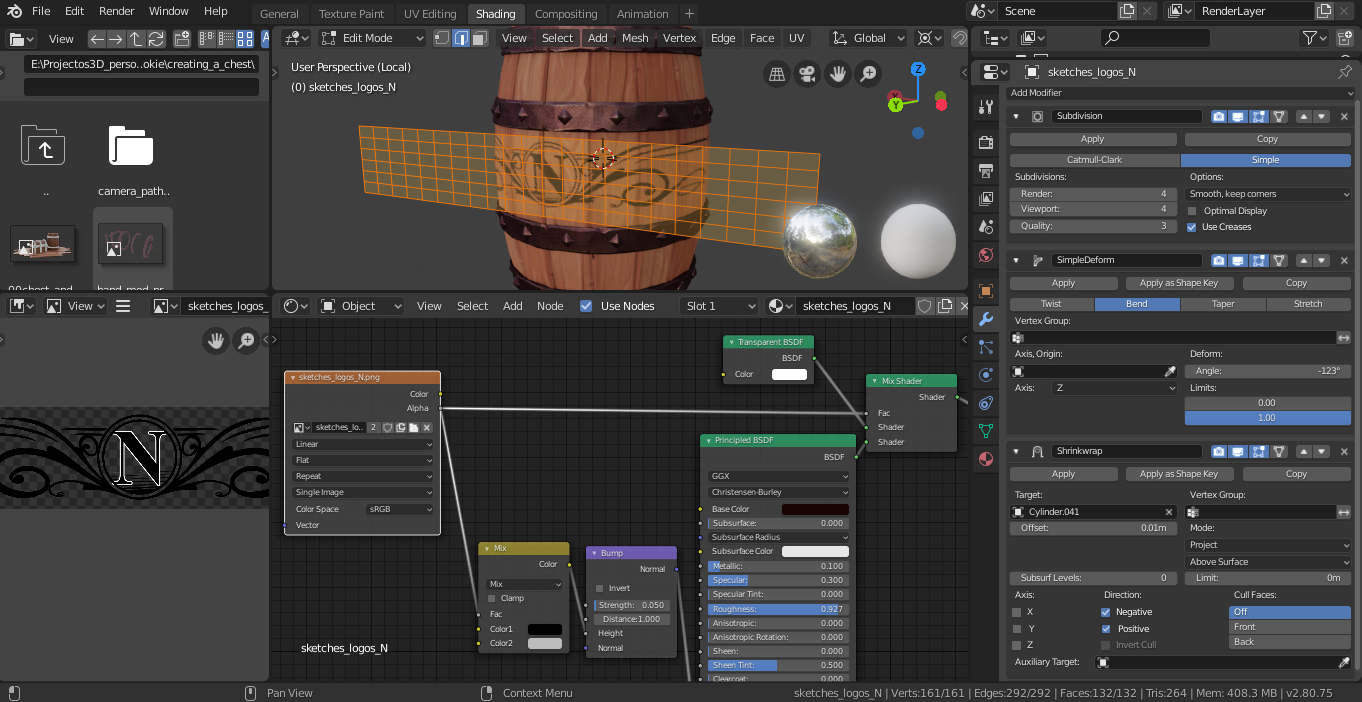
Decal set up
Camera animation
After that I went to do a simple animation, mostly to better present the work, for this I had to check how to have the camera follow a path, and the chest lid to open
I created a path with a curve between the initial and final position I wanted the camera then adjusted the path
found this tutorial for how to animate along a curve to control the camera speed: https://www.youtube.com/watch?v=HsOSDYTsG7oand added a constraint to the camera so would maintain its focus on a empty I had positioned in the front of the chest, the same I used for the depth of field, is important I had to set the camera focus constrain AFTER the follow path for it to work
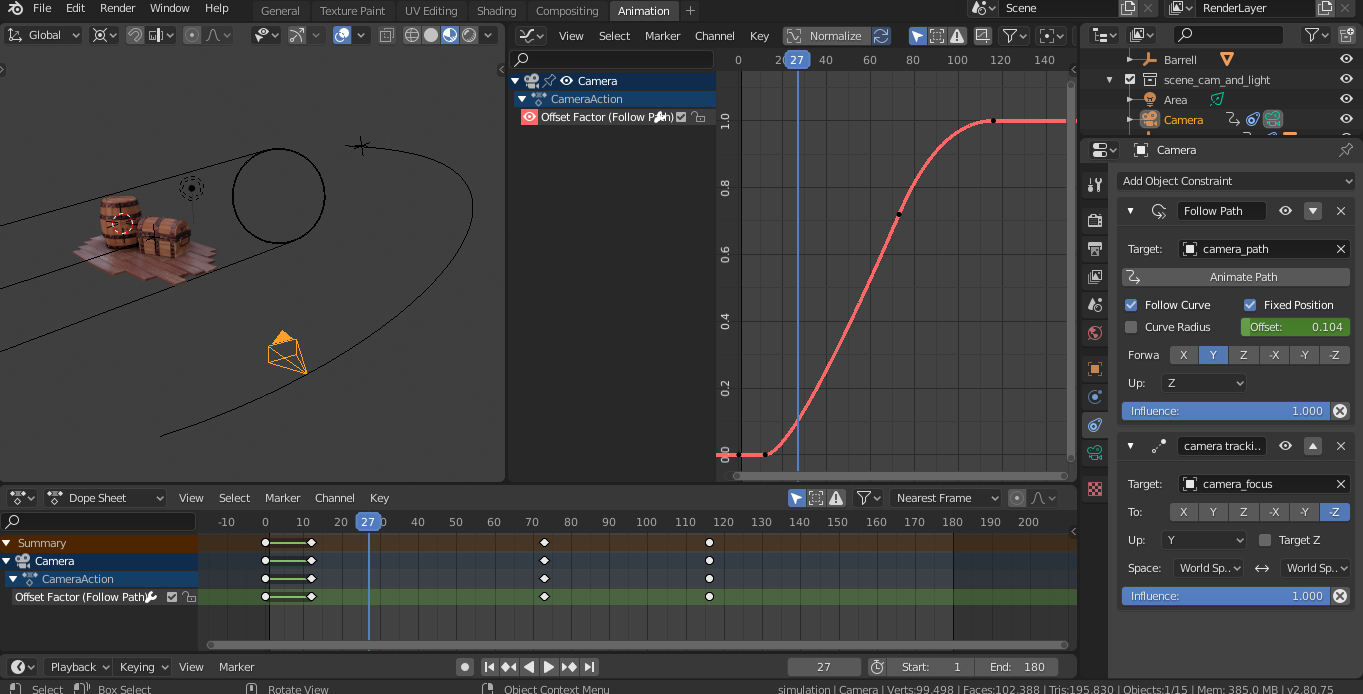
camera constrains set up, you animate the position with the offset, and use curves in the graph editor to control the speed of the movement, also set the interpolation to bezier to have a moth transition of the camera from still to moving to still
Chest animation
Finally added a small transformation to the lid using a empty, with rotation in the Y axis, and used the graph editor to make it open from smooth to a sharp stop
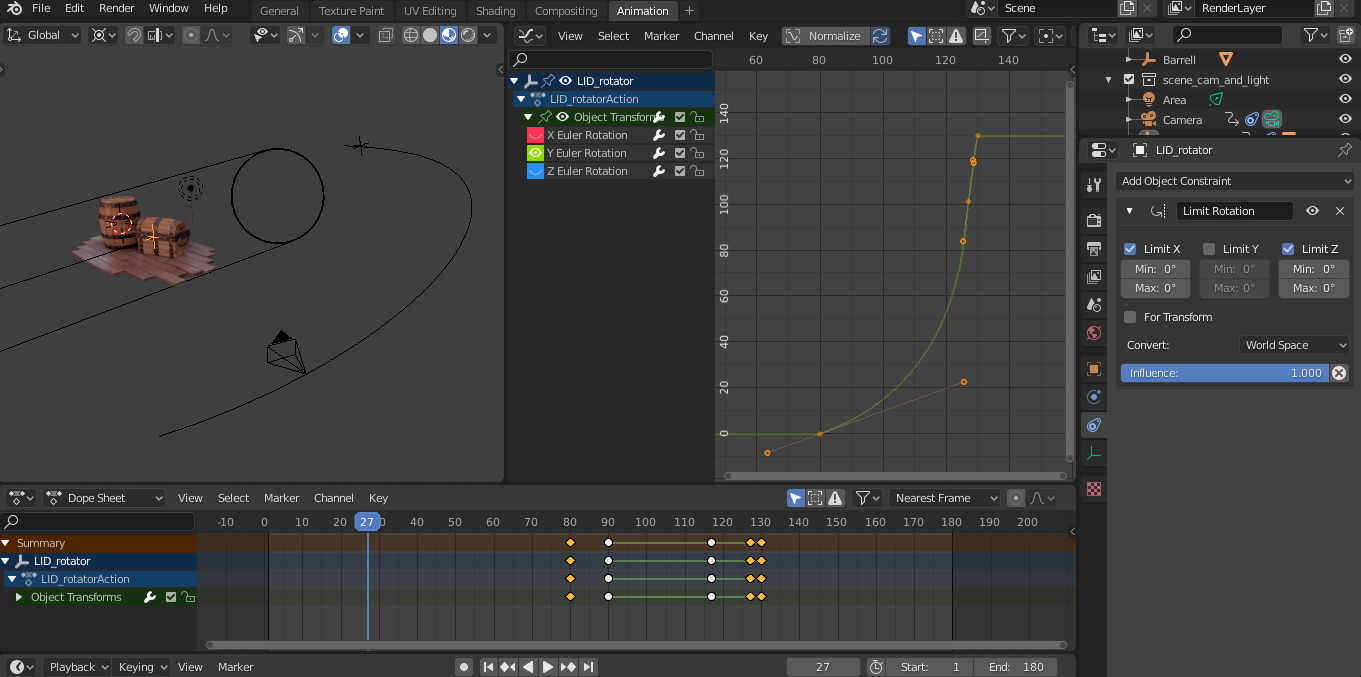
Chest lid graph and set up
And finally this was the result,rendered on EEVEE
@brzostek this look good, the shading will really add to it I think, you added some very nice gradients on the different parts
this isl rooking great, love the teeth and the tongue, the texture paint inside the chest really help to sell it, I think with some good lighting would look very nice
on the fleshy material make it with a lot of specular with a noise or voronoid to give it like speckles where light reflect and maybe play with the clearcoat on the principle shasder too
Homework Submission Week 3
Ok I decided to go with the second HDRI and add a point light on front for the warm light
Also added a lattice to the chest to give it a few curves, but apply as a shape key, so I could dial the deformation later, or could be used for a animation, also made most coins silver with a few gold ones
Lastly I added the coins inside with a simulation, made the coins a static object for this you have to apply visual transformation, also coins falling trough, I solve that by increasing the physics steps where collisions are calculated, this is on scene > Rigid body world, and then increase the step per seconds and solver iterations.
with that think I will call it done here
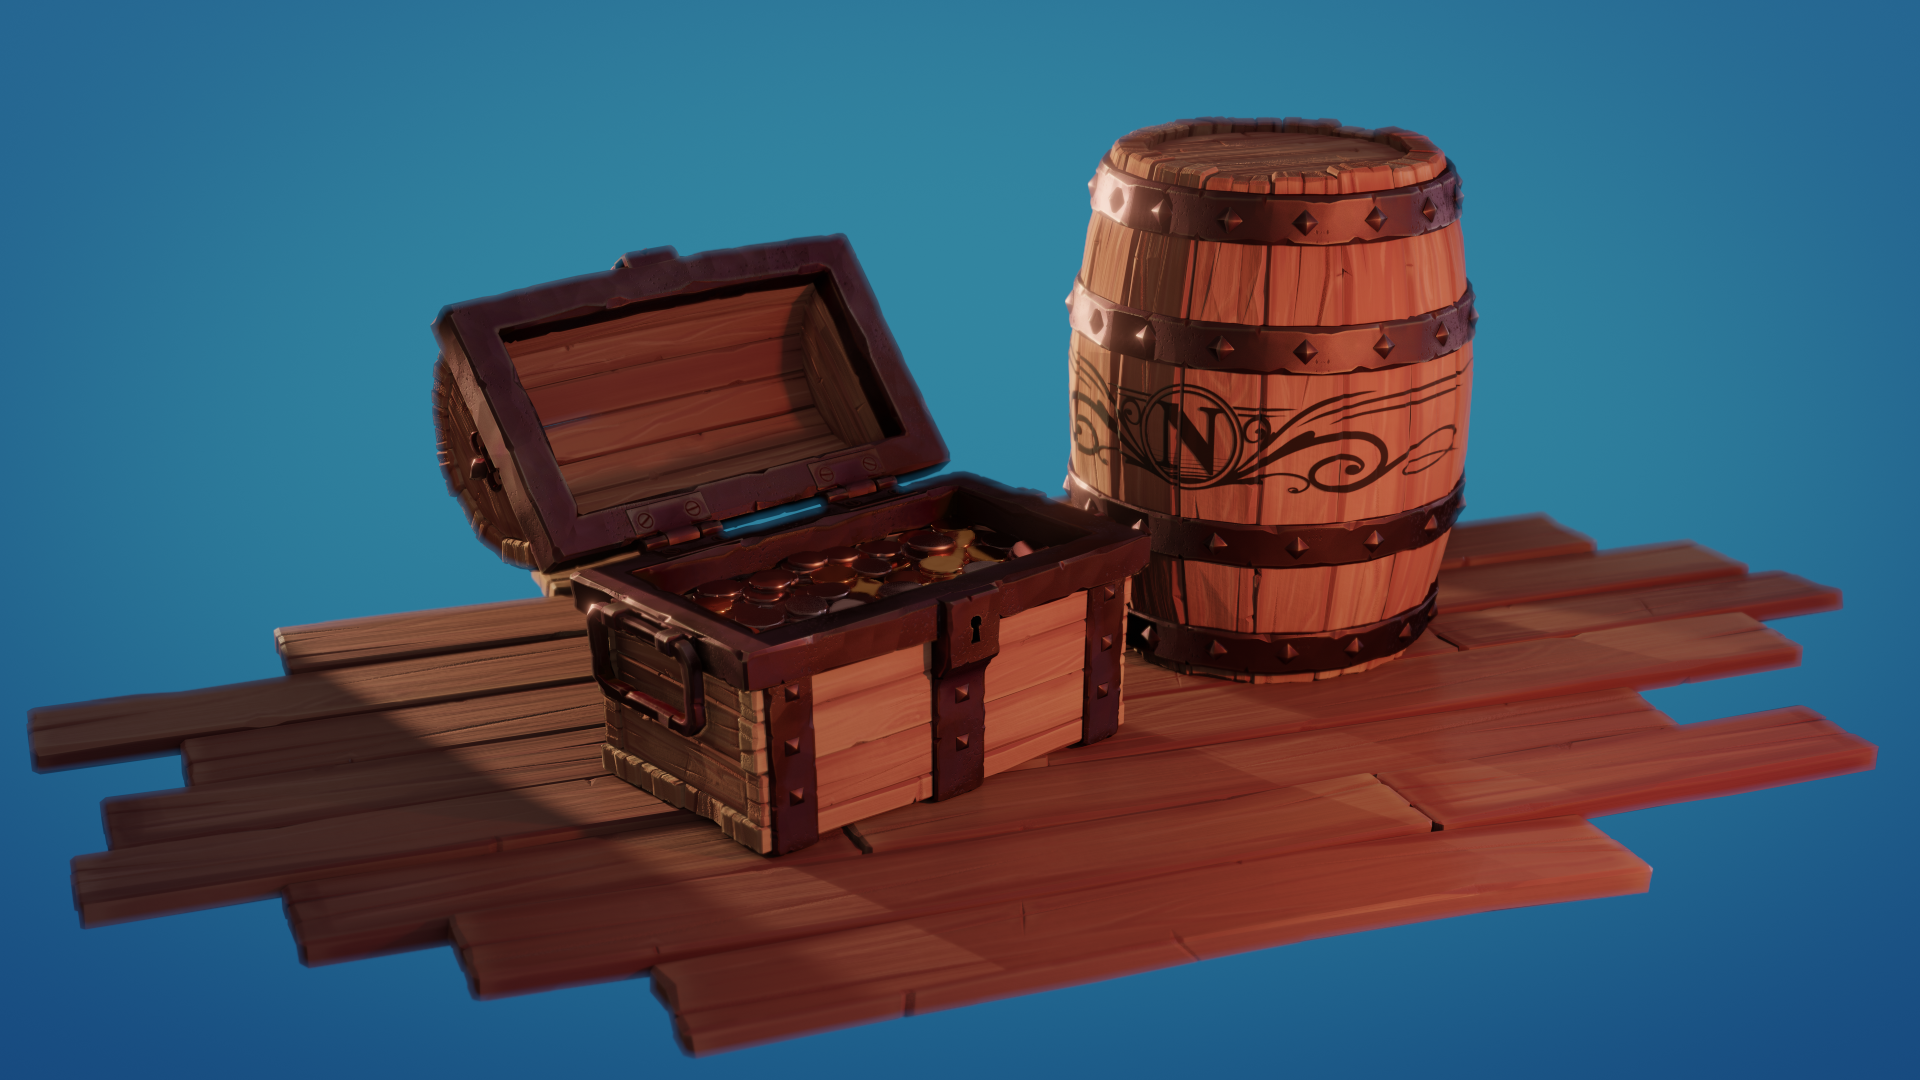
*edit: added the logo decal on the barrel
Well here we go, changed the floor material and put the right HDRI and the spotlight for the rimlight
also added some bloom and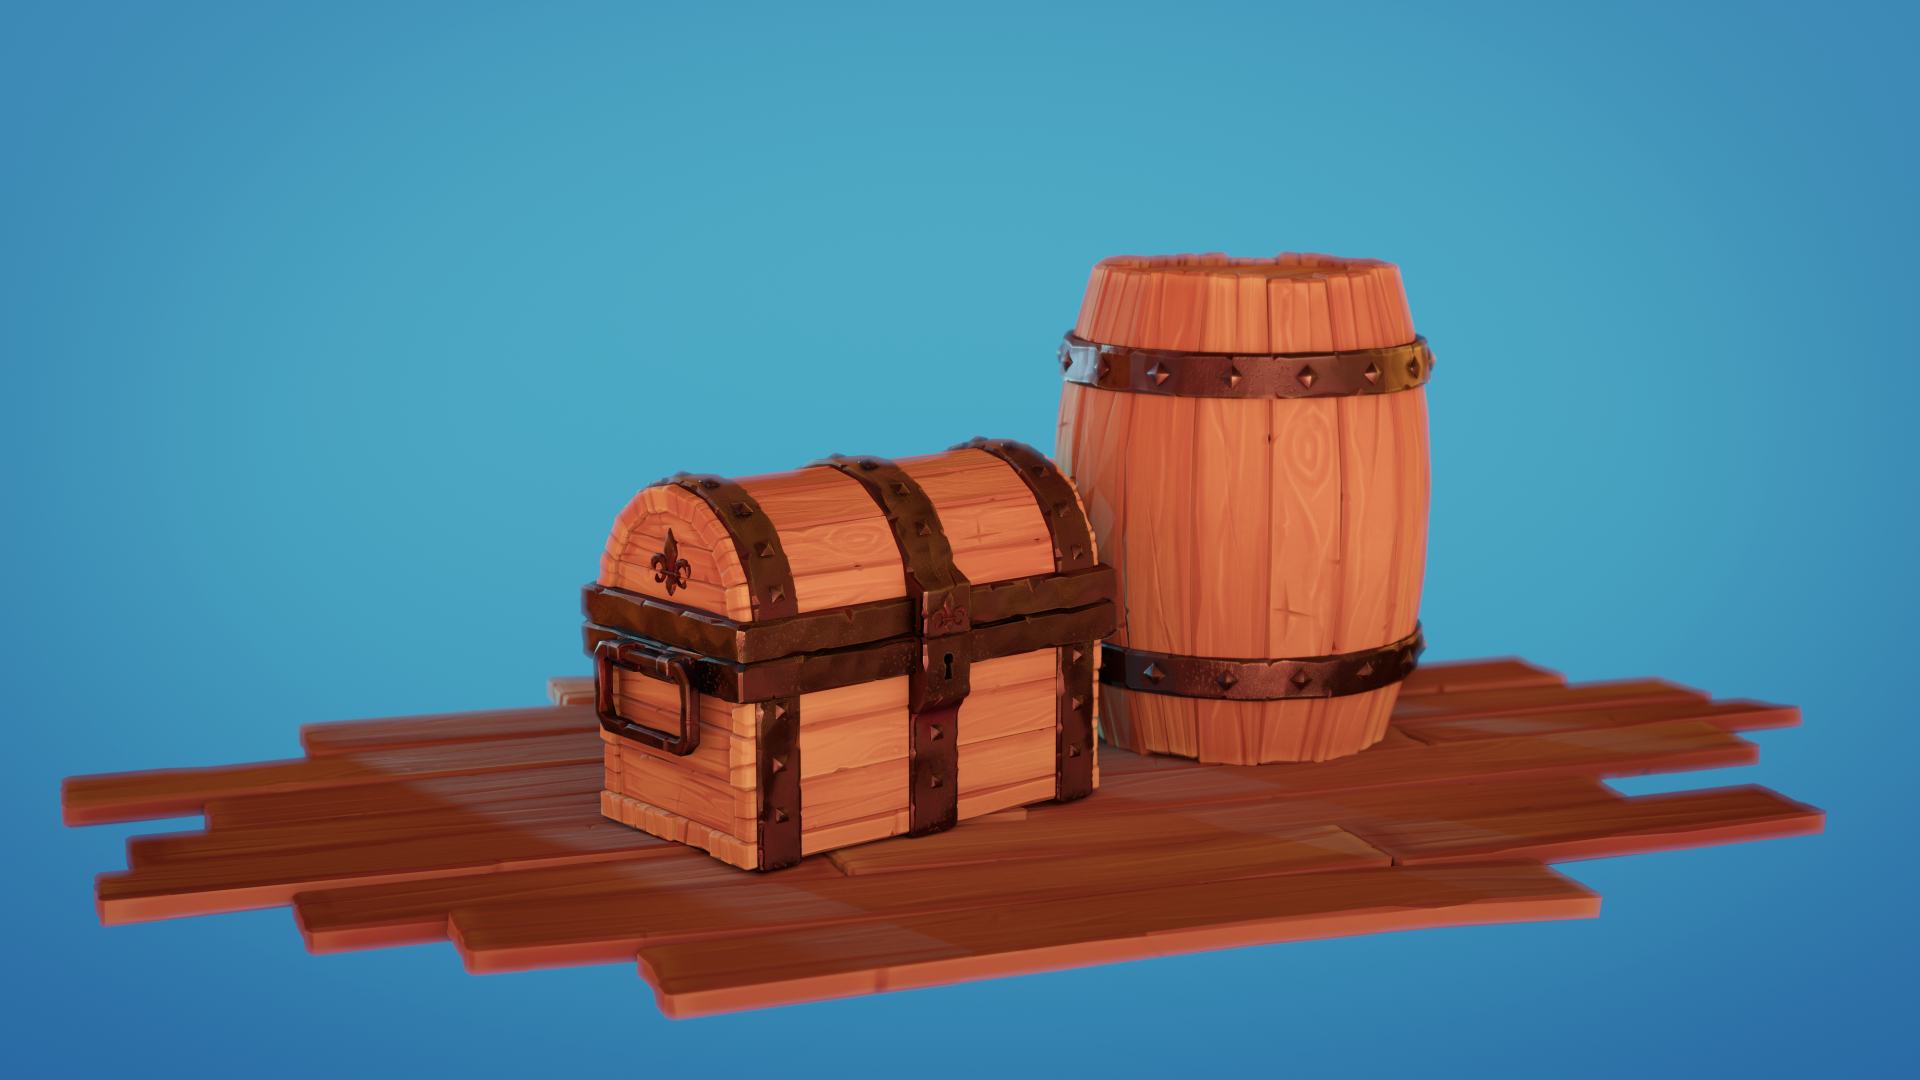
Also made a second render with a more dark and less saturated HDRI
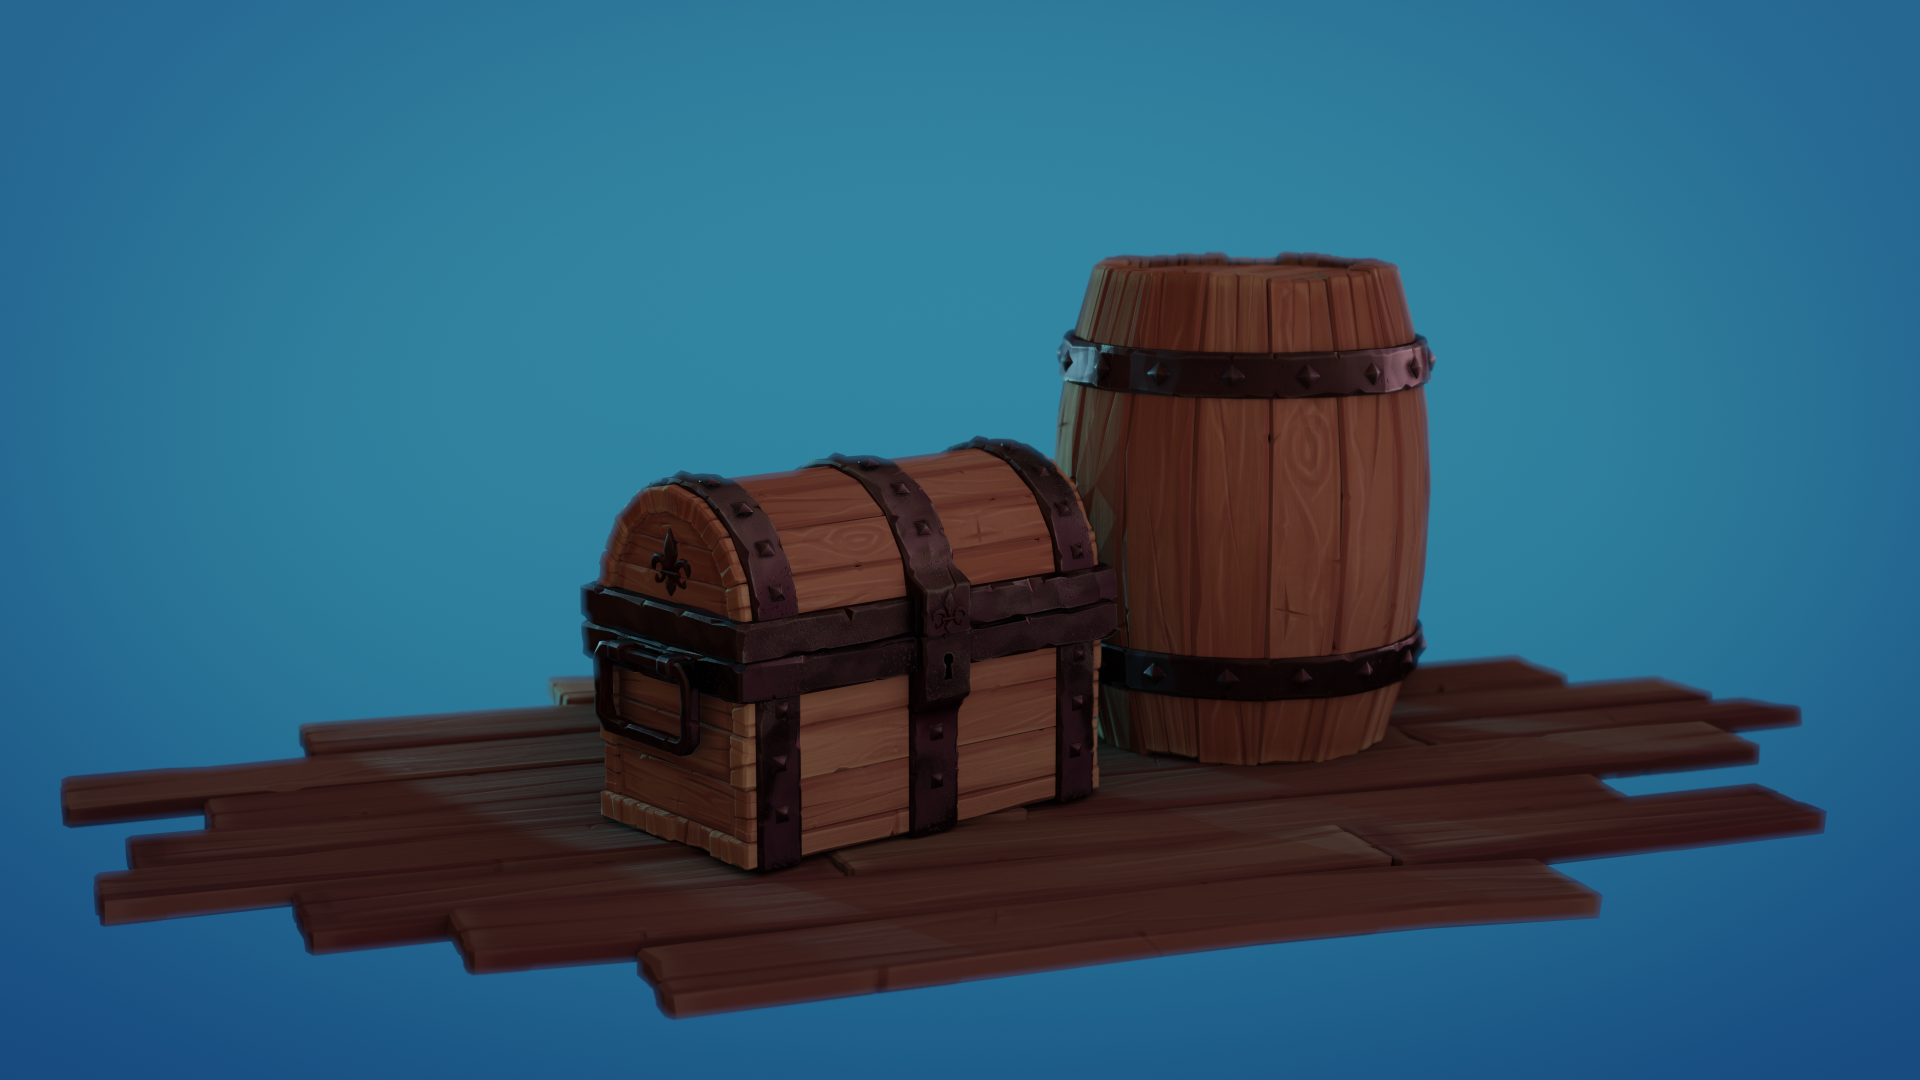
Maybe should up the saturation a bit on the second one
@louhikarme Thanks, yea I just finished watching, and did some adjustments, also was rendering with the wrong HDRMI
-
AuthorPosts
