
[ENDED] BC2-1803 – March 2018 Class Homepage – Creating Stylized Characters with Blender
Forum Archive › [ENDED] BC2-1803 – March 2018 Class Homepage – Creating Stylized Characters with Blender
- This topic has 672 replies, 60 voices, and was last updated 6 years, 9 months ago by
Jon Wickerd.
-
AuthorPosts
-
March 20, 2018 at 10:44 am #33704
nice progress , the pose is cool , and the sculpture feels very good !
March 20, 2018 at 10:54 am #33705Lol, I was kinda lazy and laid back abit this week, I thought this character was simple but it turns out not to be so. Your sculpted character is incredible and you did all that by using a mouse?
March 20, 2018 at 12:41 pm #33706Homework Submission – Week 2
Late! Due to previously mentioned hard drive failure. But, done.

Reference for….reference:
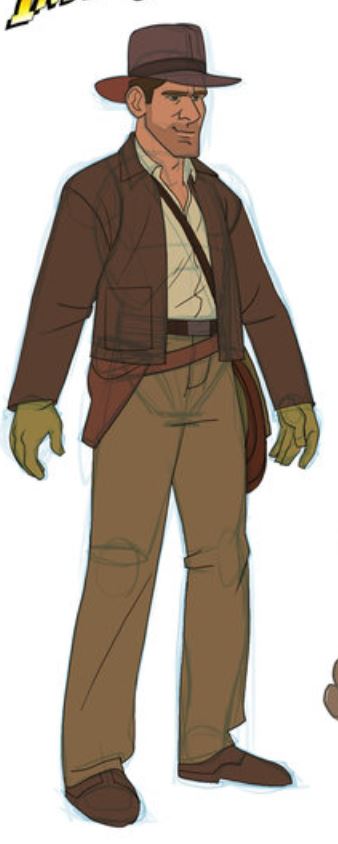
This was really challenging to sculpt. I kept seeming to want to naturally add more realism to the sculpture; but the concept art is cel-shaded cartoon style, which is very simple, and it forced me to keep having to go back and simplify the sculpting to maintain the style. I’m not 100% satisfied with the face likeness, but I’m going on the notion right now that the likeness will come closer during the texturing phase.
I’ve left Indy’s gun and whip/bag out for now, I’ll add it after the character retopology is done.
Backstory – well, it’s Indiana Jones! Doctor Henry Jones, Jr. formally, he’s a professor of anthropology who teaches archaeology classes at Marshall College in Connecticut. But when he’s not teaching, he often goes on expeditions for the university to find or retrieve historical artifacts. These expeditions take him all over the world and occasionally into conflict with rival archaeologists, and representatives of foreign governments and militaries who are drawn to the mythical powers some artifacts are alleged to have.
March 20, 2018 at 1:13 pm #33707Homework submission wk 2 (work in progress) –

I started with this as a skinned mesh, and ended up in the 9th level of clay strips hell.

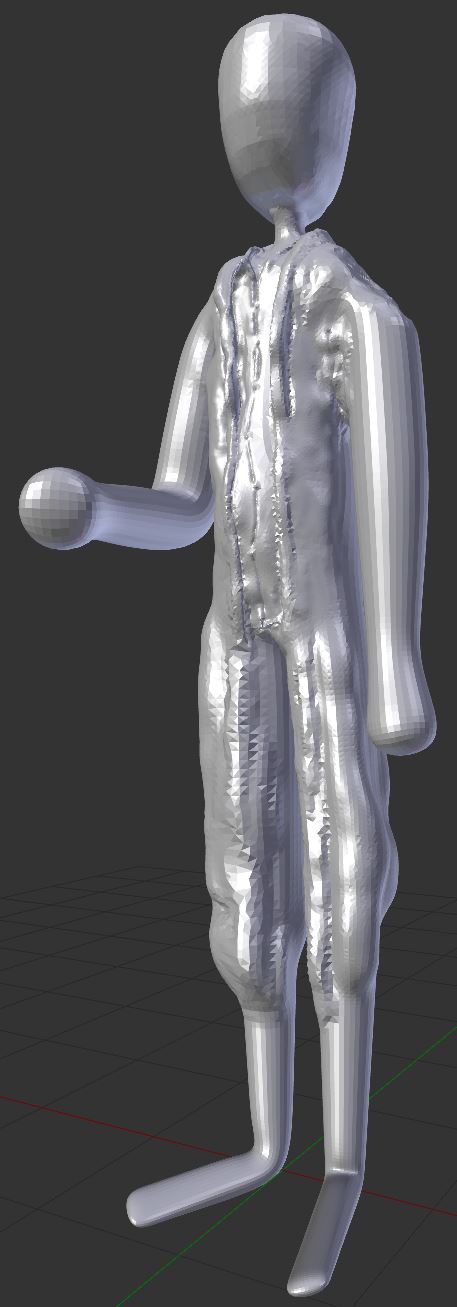
So I went back to step one.
Here’s my pre-sculpt, after taking the skinned mesh on the left and splitting it into a body shirt and robe.


It feels like this will help me get a better sculpt… (I don’t see how I could do worse than my first go at it lol.)
March 20, 2018 at 3:46 pm #33708Coming along nicely…
March 20, 2018 at 3:53 pm #33709Absolutely killed week 2 malhomsi. The lighting of your render really makes it pop. Curious did you use just a simple diffuse or principled shader?
Unfortunately I got no work done for Week 2 so I will need to play catch up.
March 20, 2018 at 4:55 pm #33710My sculpt is essentially already in a neutralized position, so I’m going to take the opportunity to polish it some more before I retopologize.
March 20, 2018 at 5:50 pm #33711I found out that due to the pose I choose some things bended really badly when trying to neutralize my character, practically making a mess of her proportions. I decided to cut her in pieces and use some vertices with the skin modifier as a guide. Before continuing, what do you guys think of her proportions?
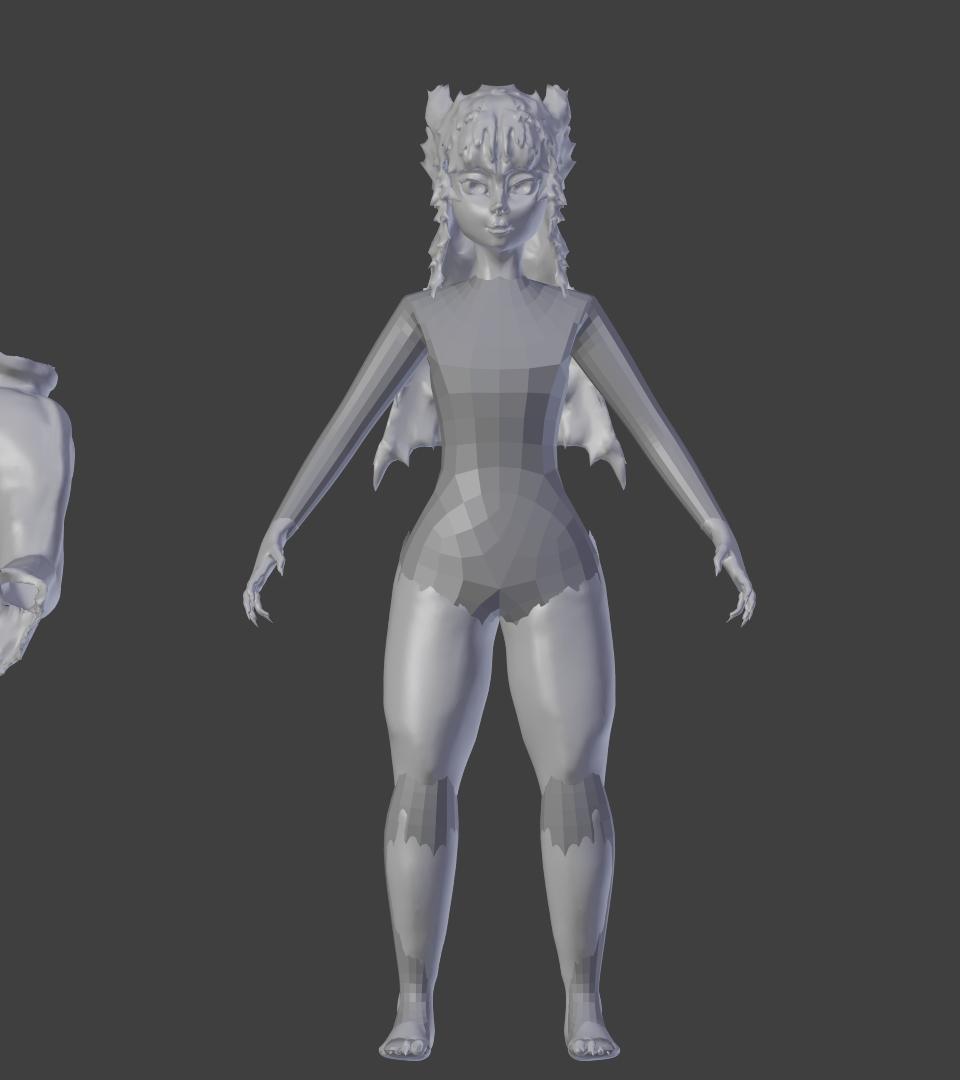
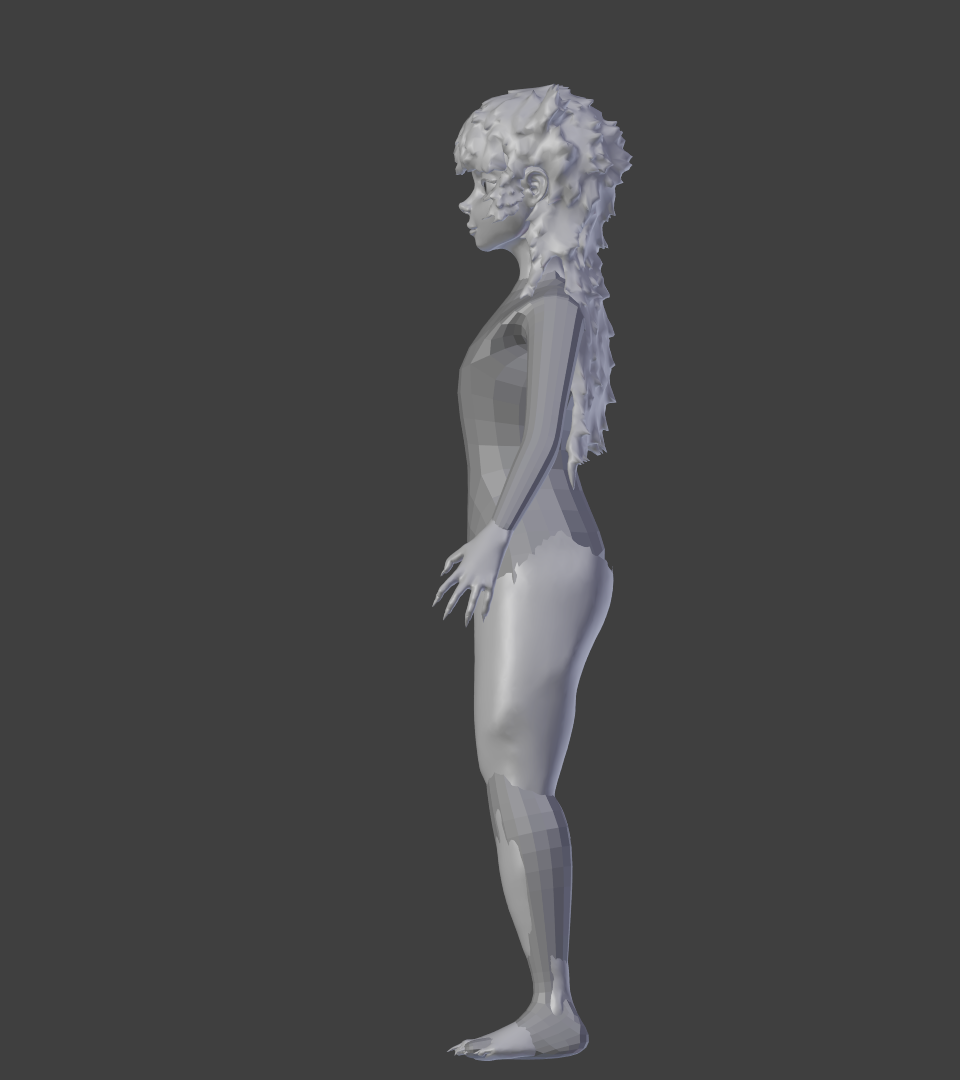
I may need to do some work on her upper legs, some muscles lost their shape in the process.
March 20, 2018 at 6:07 pm #33712I think it might be a bit late to join in on this.
March 20, 2018 at 6:28 pm #33713You may still be on time, depending on how much free time you have. Week 1’s homework is a cartoony head sculpt and to choose concept art for a character you will use the rest of the month, Week 2 is sculpting said character and write it’s background. We just started week 3, we have to retopo a robot sculpt and decide if we will do the same to our character’s sculpt or to keep perfecting it.
Some students used their chosen character for the head sculpt and continued it for week 2, you could save some time doing this.
You won’t be the only one catching up, so don’t worry. Hope you can join us!
March 21, 2018 at 12:10 am #33714I’m pretty far behind the class and hoping to catch up on the required courses–and figure out how to fix all the sloppy creasing and clothing edges I have going on.
It occurred to me some of my troubles may be I’ve been sculpting strictly in the dyntopo Subdivide Collapse mode? Would Collapse Edges help me get rid of some of the lumpiness I have going on in the robe & shirt? (I’m not exactly sure when to use which mode.)
This class has been a blast even though I’m not quite ready for it. I’m seeing some pretty great stuff in this thread!
Bob2 014 by Ryan Brewer on Sketchfab
March 21, 2018 at 1:39 am #33715Starting to finally iron out the sculpting quirks. It takes time to get over that steep hurdle, but I’m getting there. Getting into the flow.
March 21, 2018 at 5:18 am #33716the proportions feel ok for me , the knee region seems maybe to large , but as u said changing in the shape of the muscles
March 21, 2018 at 5:22 am #33717taking shape nicely , u may push the face expresion further to match better ur concept art.
March 21, 2018 at 12:36 pm #33718Normally you would wanna stay in Subdivide Collapse mode for roughing out the overall shape and form, giving the appropriate geometry density to where it needed.To fix the lumpiness,in Collapse Edges mode, you can try the Flatten + Smooth brushes then use the Grab brush to move and straighten out uneven edges, make sure to move around the viewport and check it on every angle and zooming out to have an overall view of your model from time to time. You may also want to have a look or re-visit Kent’s “Sculpting fabric” video to warm you up.
Your model is shaping up nicely, keep up the good work 😉
-
AuthorPosts


- The topic ‘[ENDED] BC2-1803 – March 2018 Class Homepage – Creating Stylized Characters with Blender’ is closed to new replies.