
Paul Caggegi

Forum Replies Created
-
AuthorPosts
-
Check preferences for where ALT might be enabled to emulate middle-mouse functions. If Emulate 3-button mouse is enabled, Alt will create a different function.
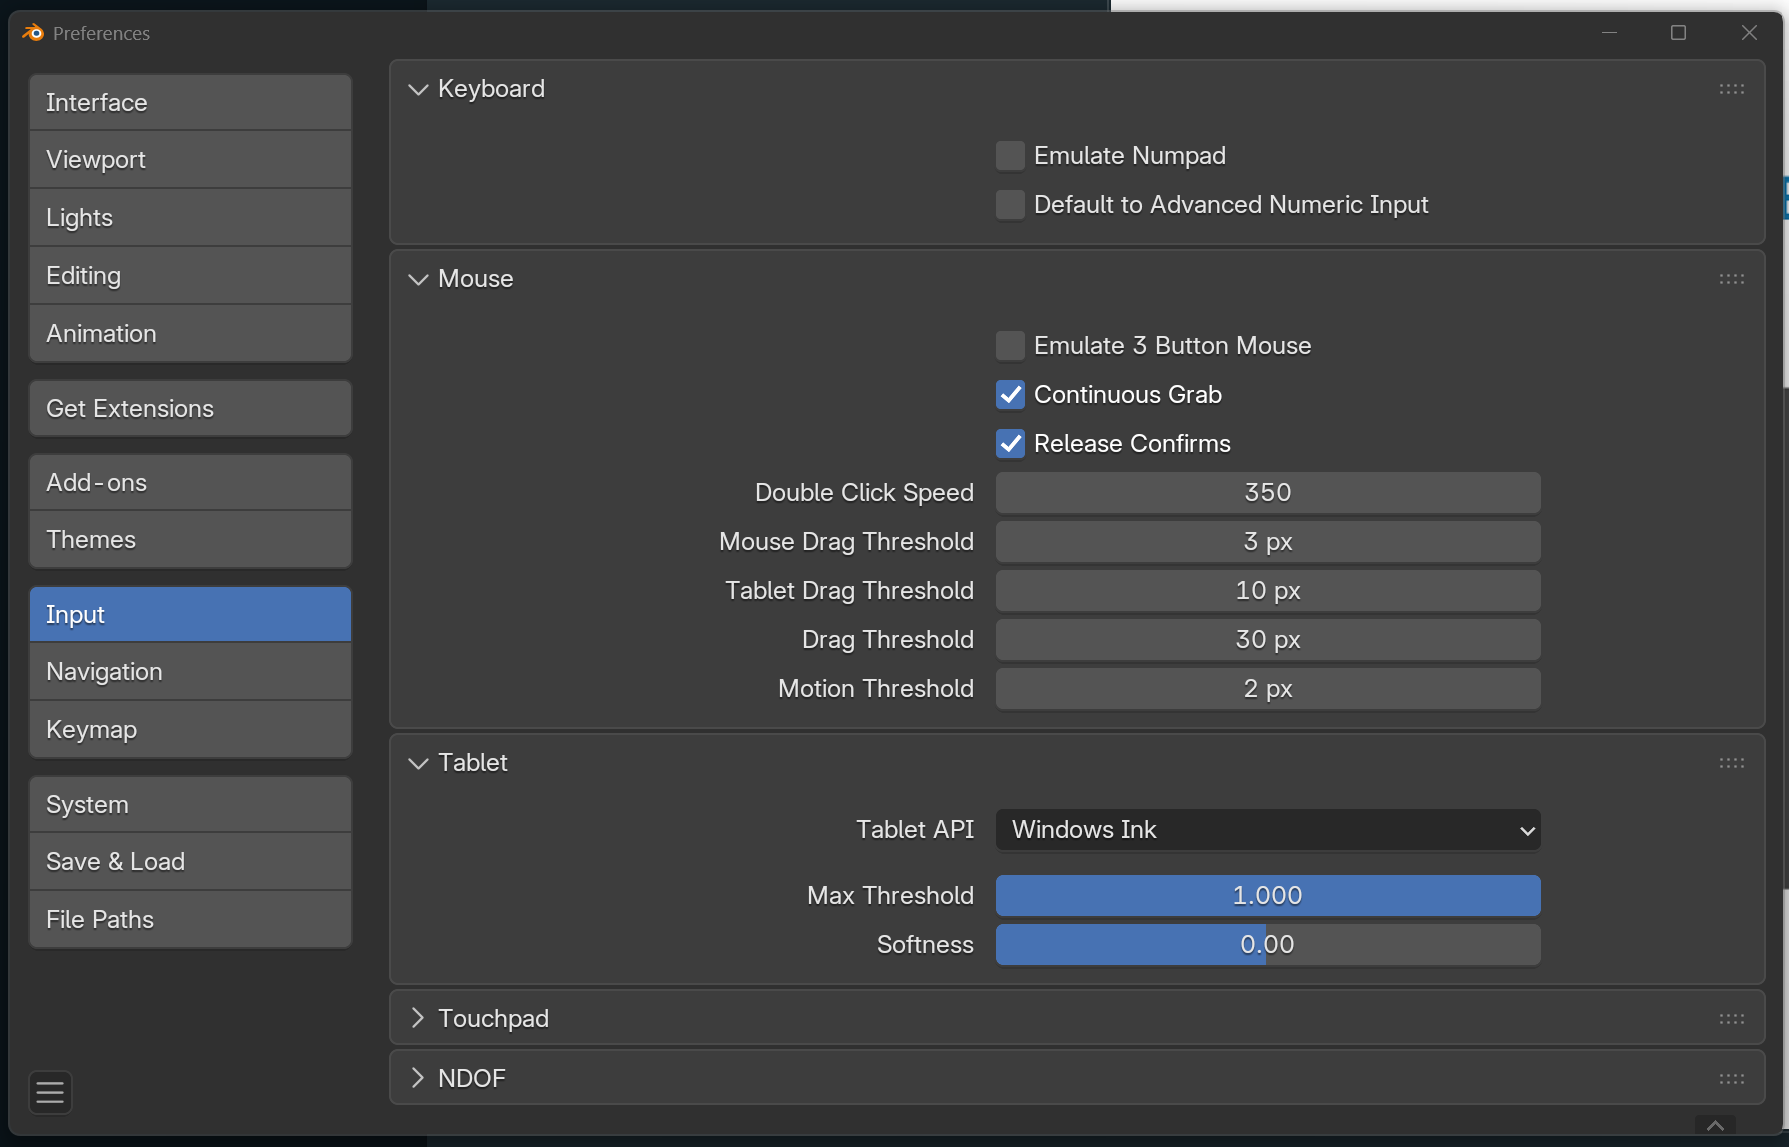
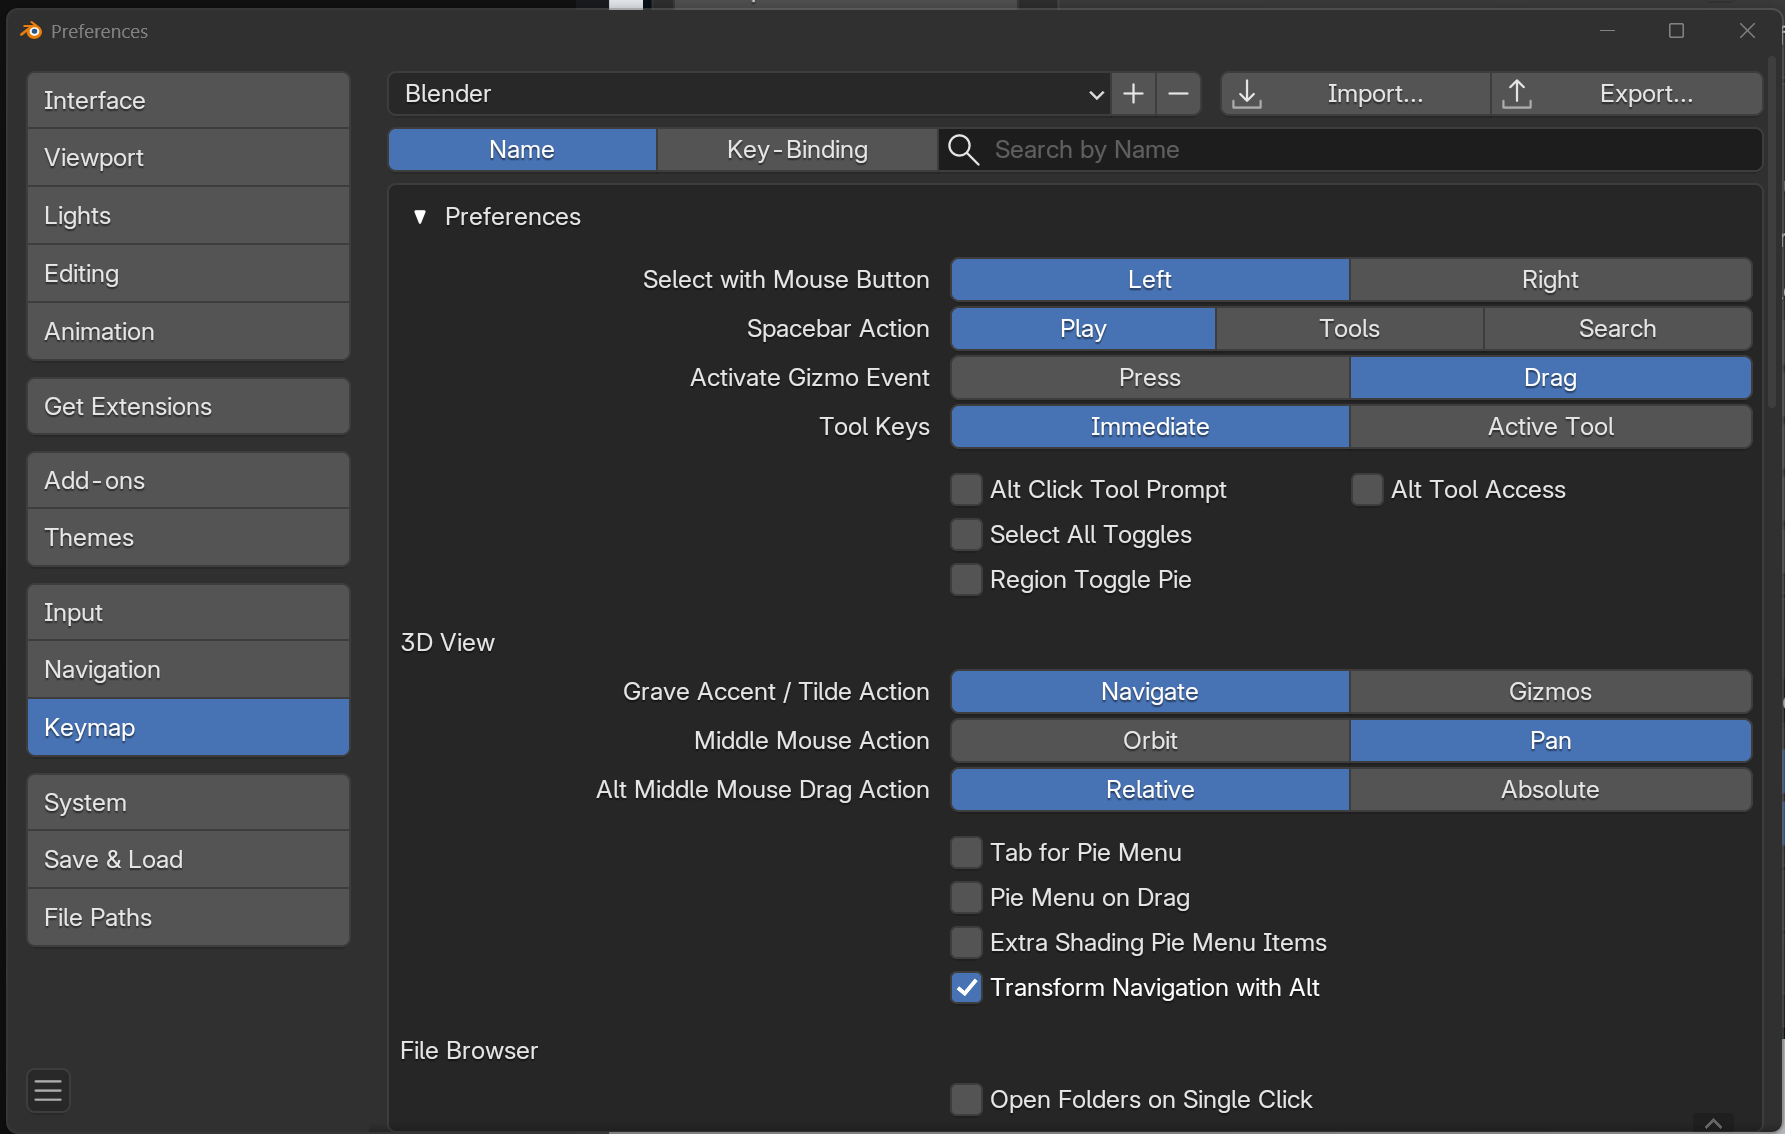
Another thing that might be enabled which would mess with this default hotkey is under Keymap in preferences – Alt Tool Access. By default, that should be switched off, and can create an issue with the hotkey demonstrated.
Hi Shaun! I would highly recommend you download Blender version 5.01 since this issue has been FINALLY fixed!!
Usually hitting Enter when you’re done with what you want cut will commit the operation.
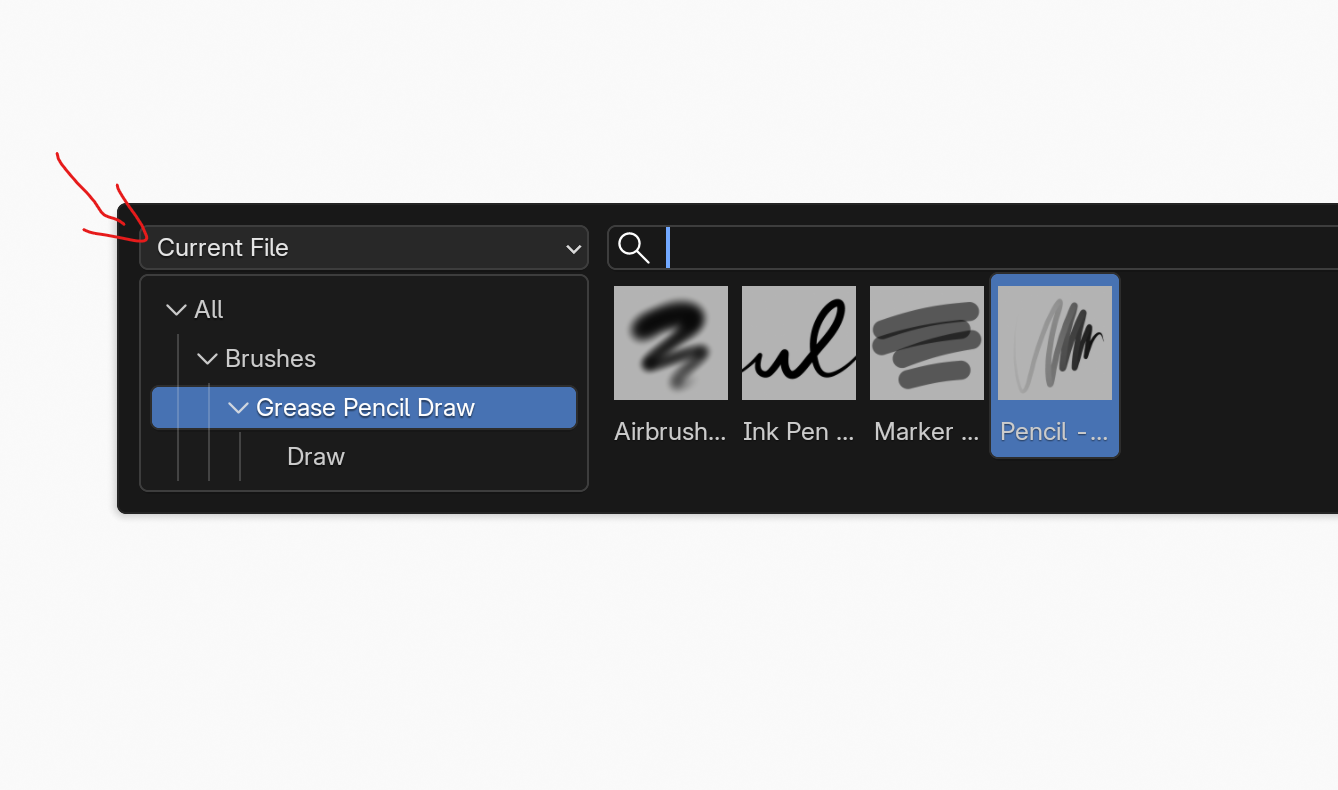
Yes, categories work best with brushes saved as assets, since the category is saved in the .cat file. So if you like to organize assets and know where things are, this is the way to go! I’ve generally found categories saved to the current file on a duplicated brush sometimes don’t save. I should test to make 100% sure, but I think it has something to do with where the catalogue/category information gets stored.
January 1, 2026 at 7:41 pm in reply to: Blender 4.5/ Lesson 7- Problems w/ Toggling & Missing Vertices in Edit Mode #98844Yes that is correct: I edited them side by side to demonstrate how each look like in their edited state.
Hi Gorillamilk! I’ll take a look at the recordings when I get the chance. Thanks for the heads-up! I’ll try and pinpoint where in the production pipeline I can fix this issue. Sorry about that!
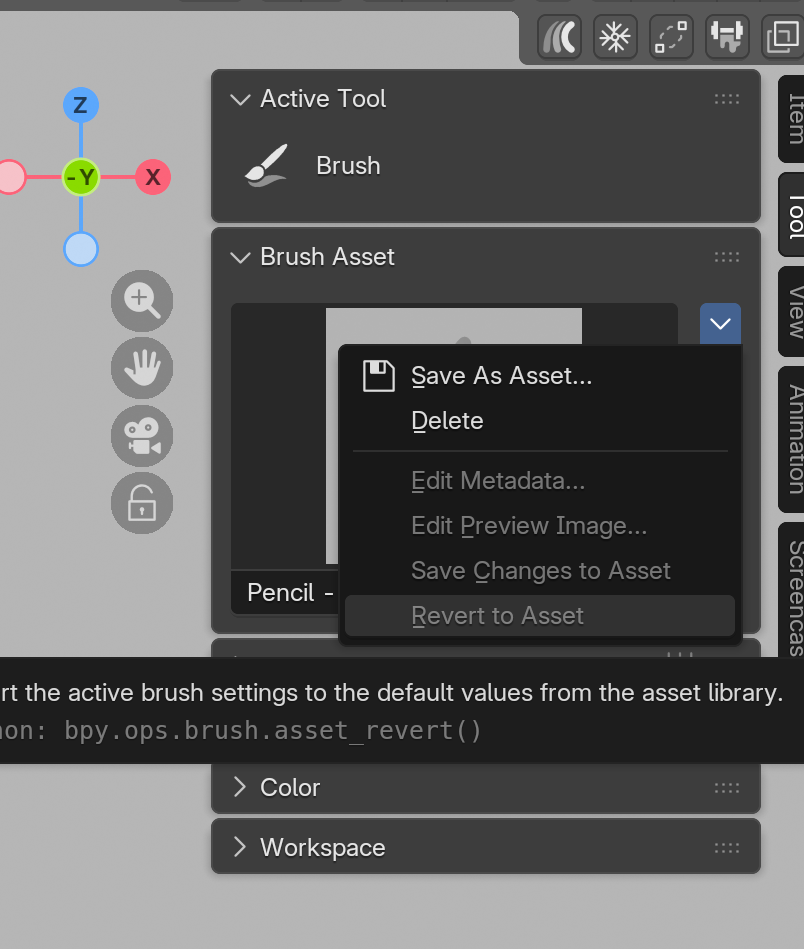
I will be discussing simple methods of saving brushes directly to your file (my current preferred way) as opposed to Assets. The pros of saving it to the file is that all the settings and changes that you make as you go are saved within the file. You can share this file and the brushes will be preserved. You can also filter them in any asset shelf like so:
While any metadata editing is greyed out, it is not necessary because all changes are saved within the file itself.
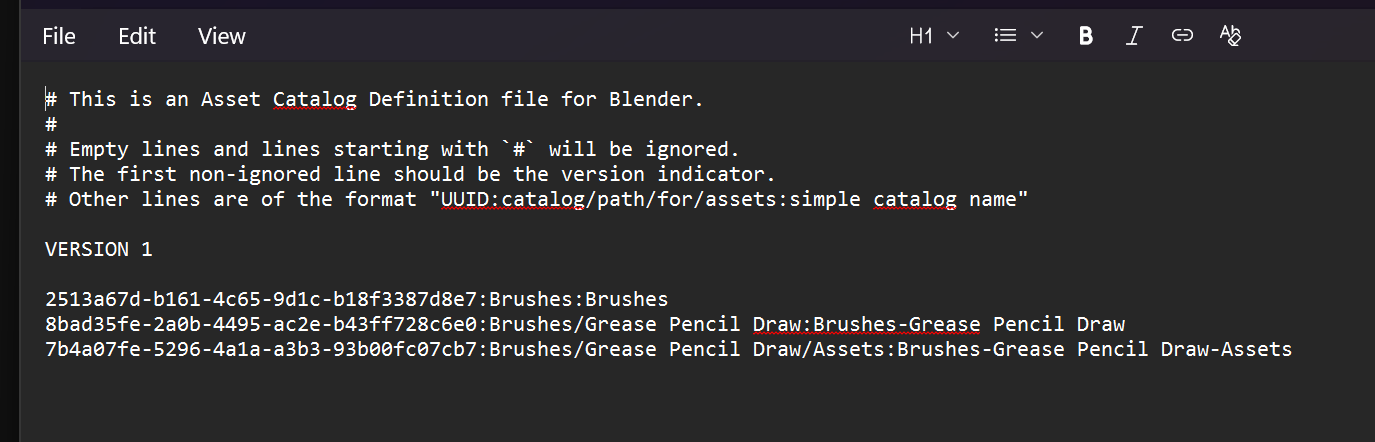
Currently this is my preferred “no fuss” way of working, but should you wish to create a brush pack, then saving the brush as an asset is how you do it. These files are self-contained .blend files – name.asset.blend – and you can edit these like other assets. Where you file these away is completely up to you, just know that a .cat file will be generated and updated wherever your library is created. Often when things go wrong, this file is not updated or is corrupted, and you can either go into the text file and manually edit (if you know what you are doing) or simply delete the files and get Blender to generate a new one.
Both methods are not entirely interchangable, but they have their uses. It is really cool that you can work in a simplified, no-fuss way, or be an asset afficionado and catalogue everything.
You can also hit ESC and this will cancel the operation.
I did not have the rights to bundle that image in with the file, so was using it for the purposes of demonstration. Using your own texture is the way to go.
WHO DID THIS

Yes this is correct. The gradient tool is actually MUCH easier, and works over multiple selections. Here’s a quick demo:
I have here some shapes, all with a solid fill texture.
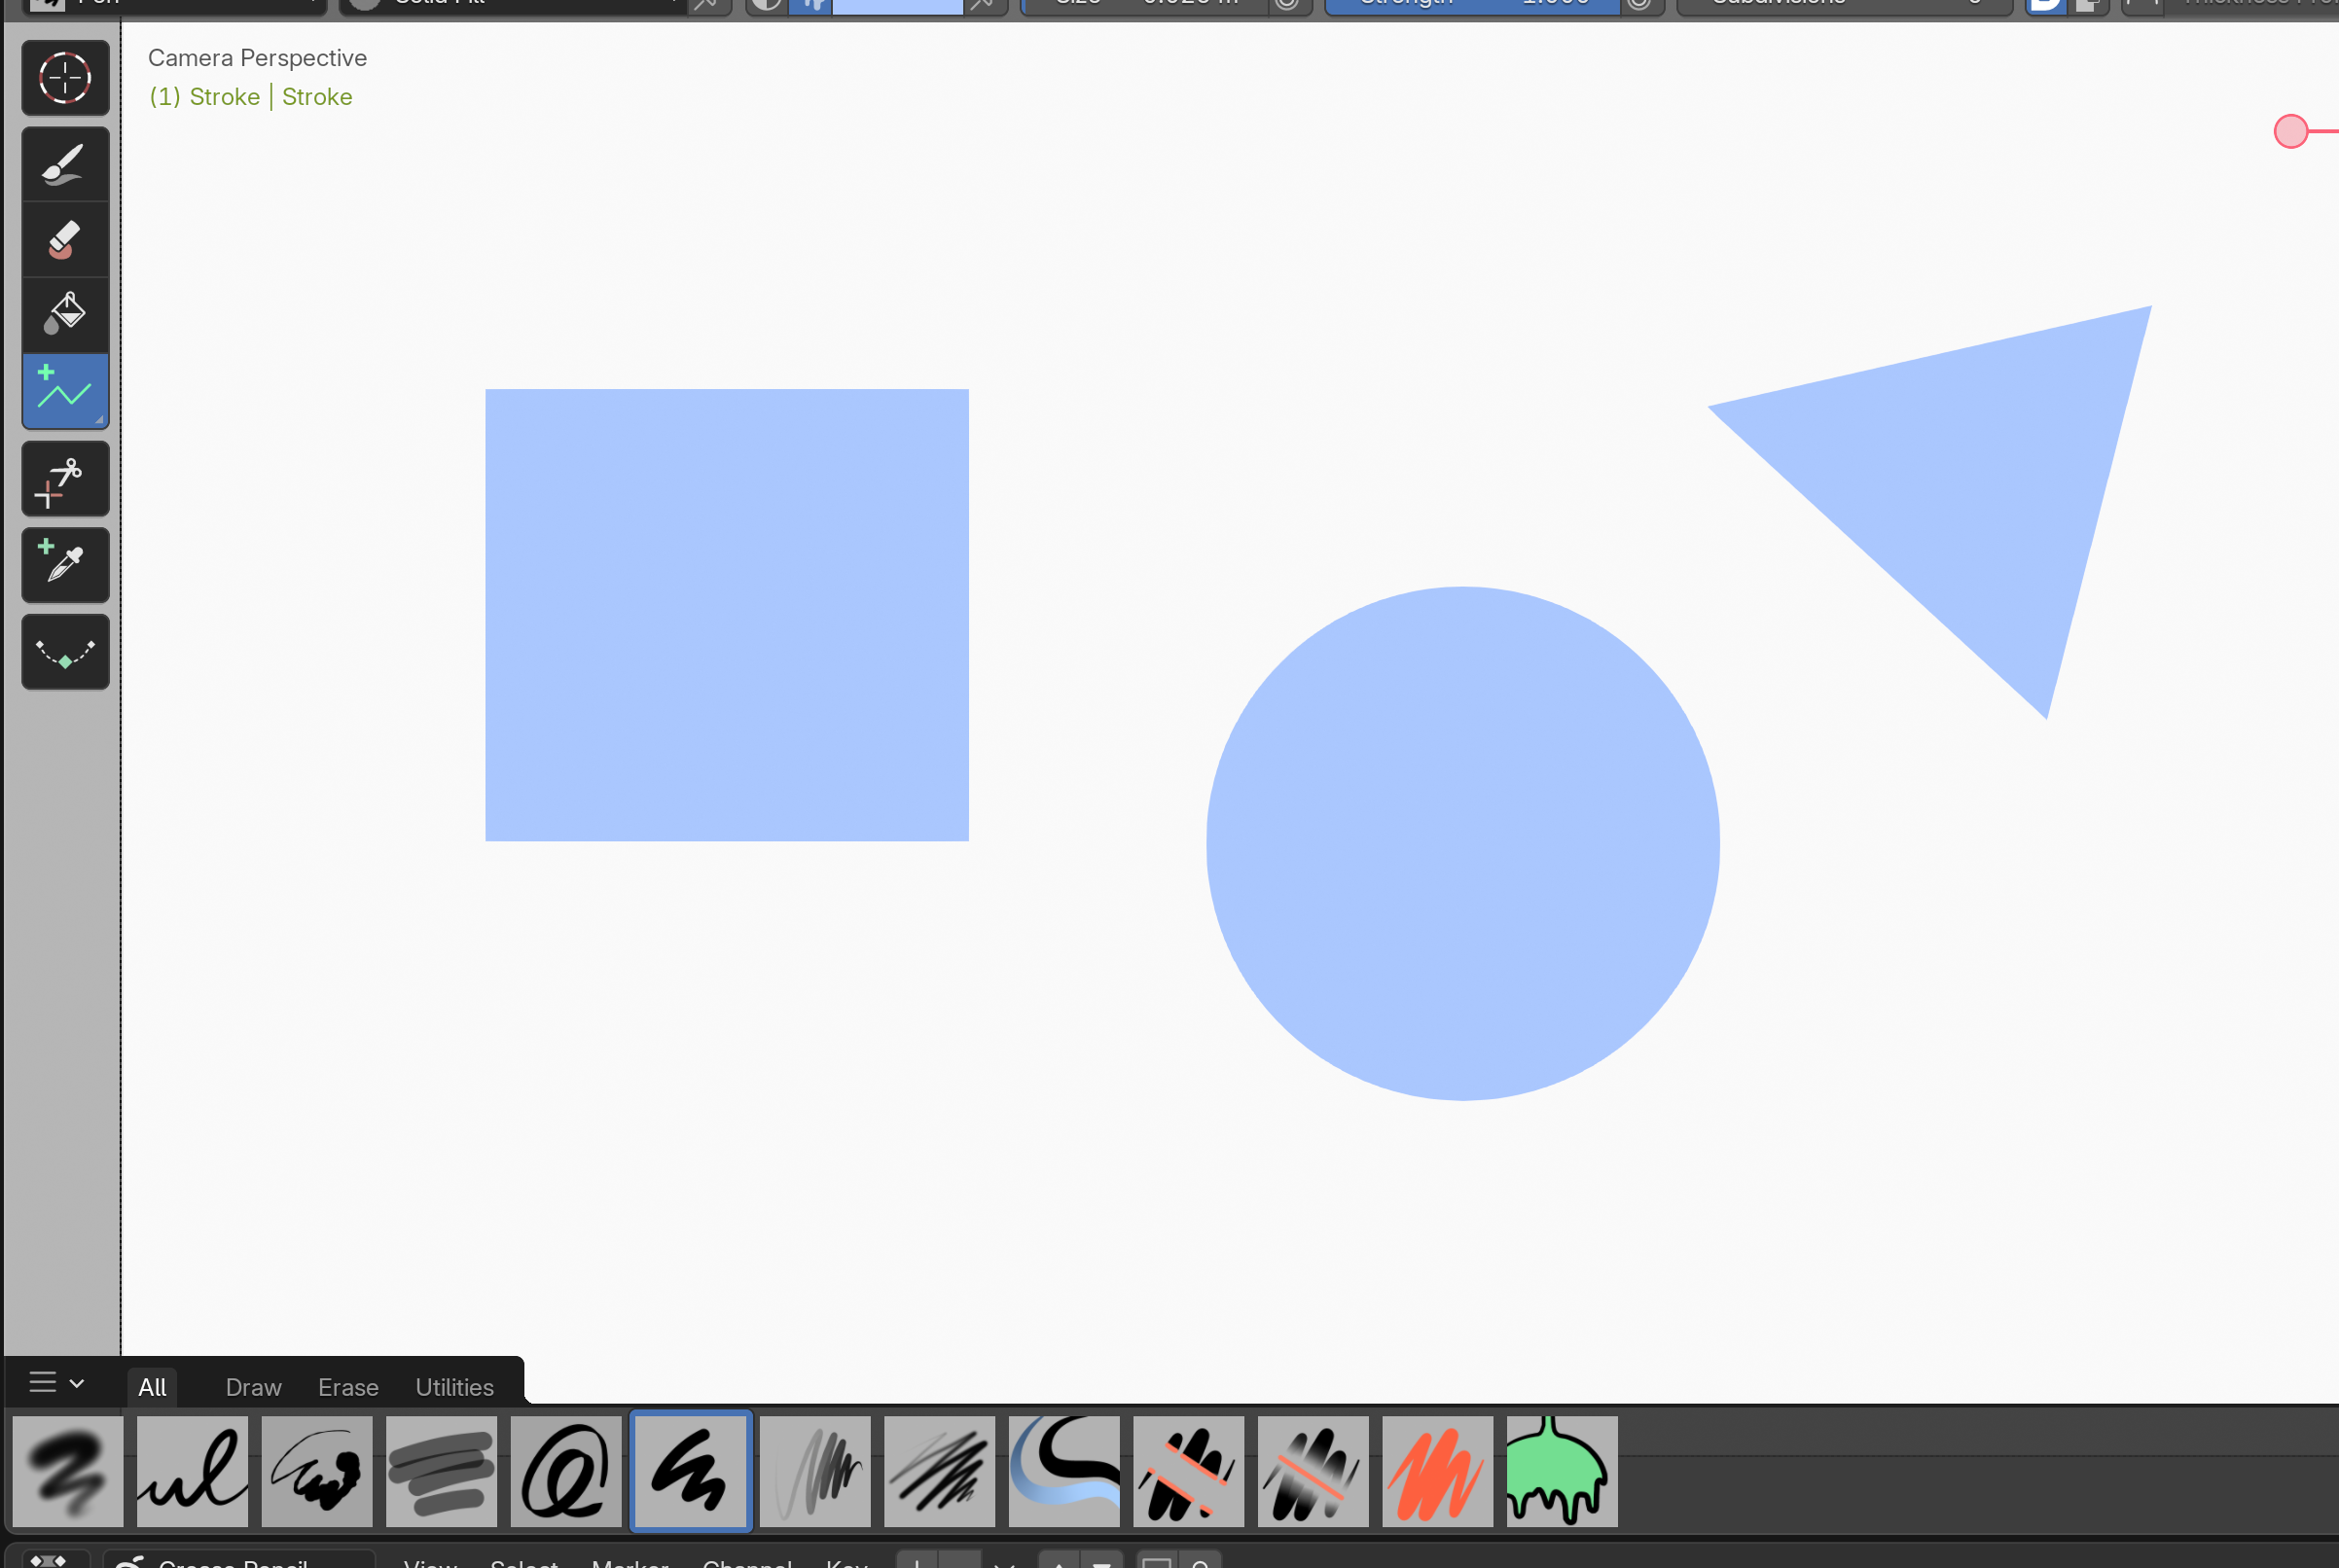
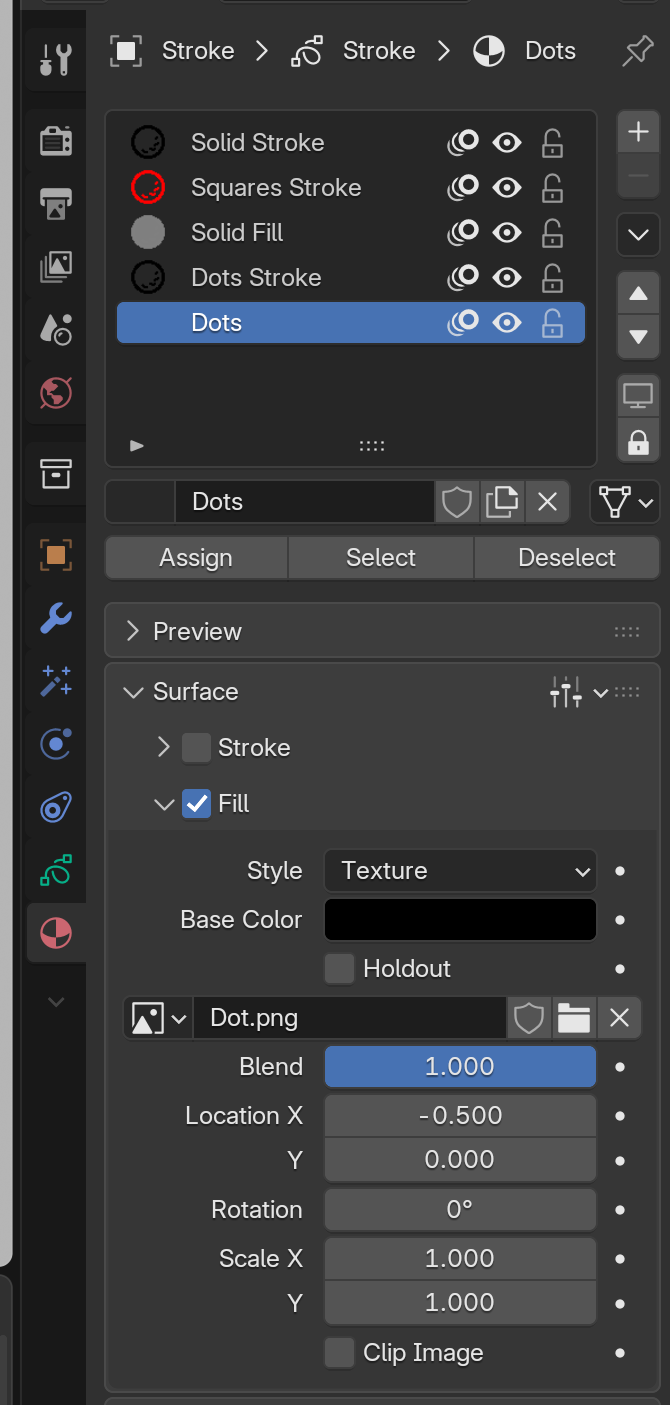
I have created a texture fill called Dot. Under Surface, I have disable stroke, enabled Fill, and imported a texture which is a single filled circle with an alpha channel, and set the blend to 1.000
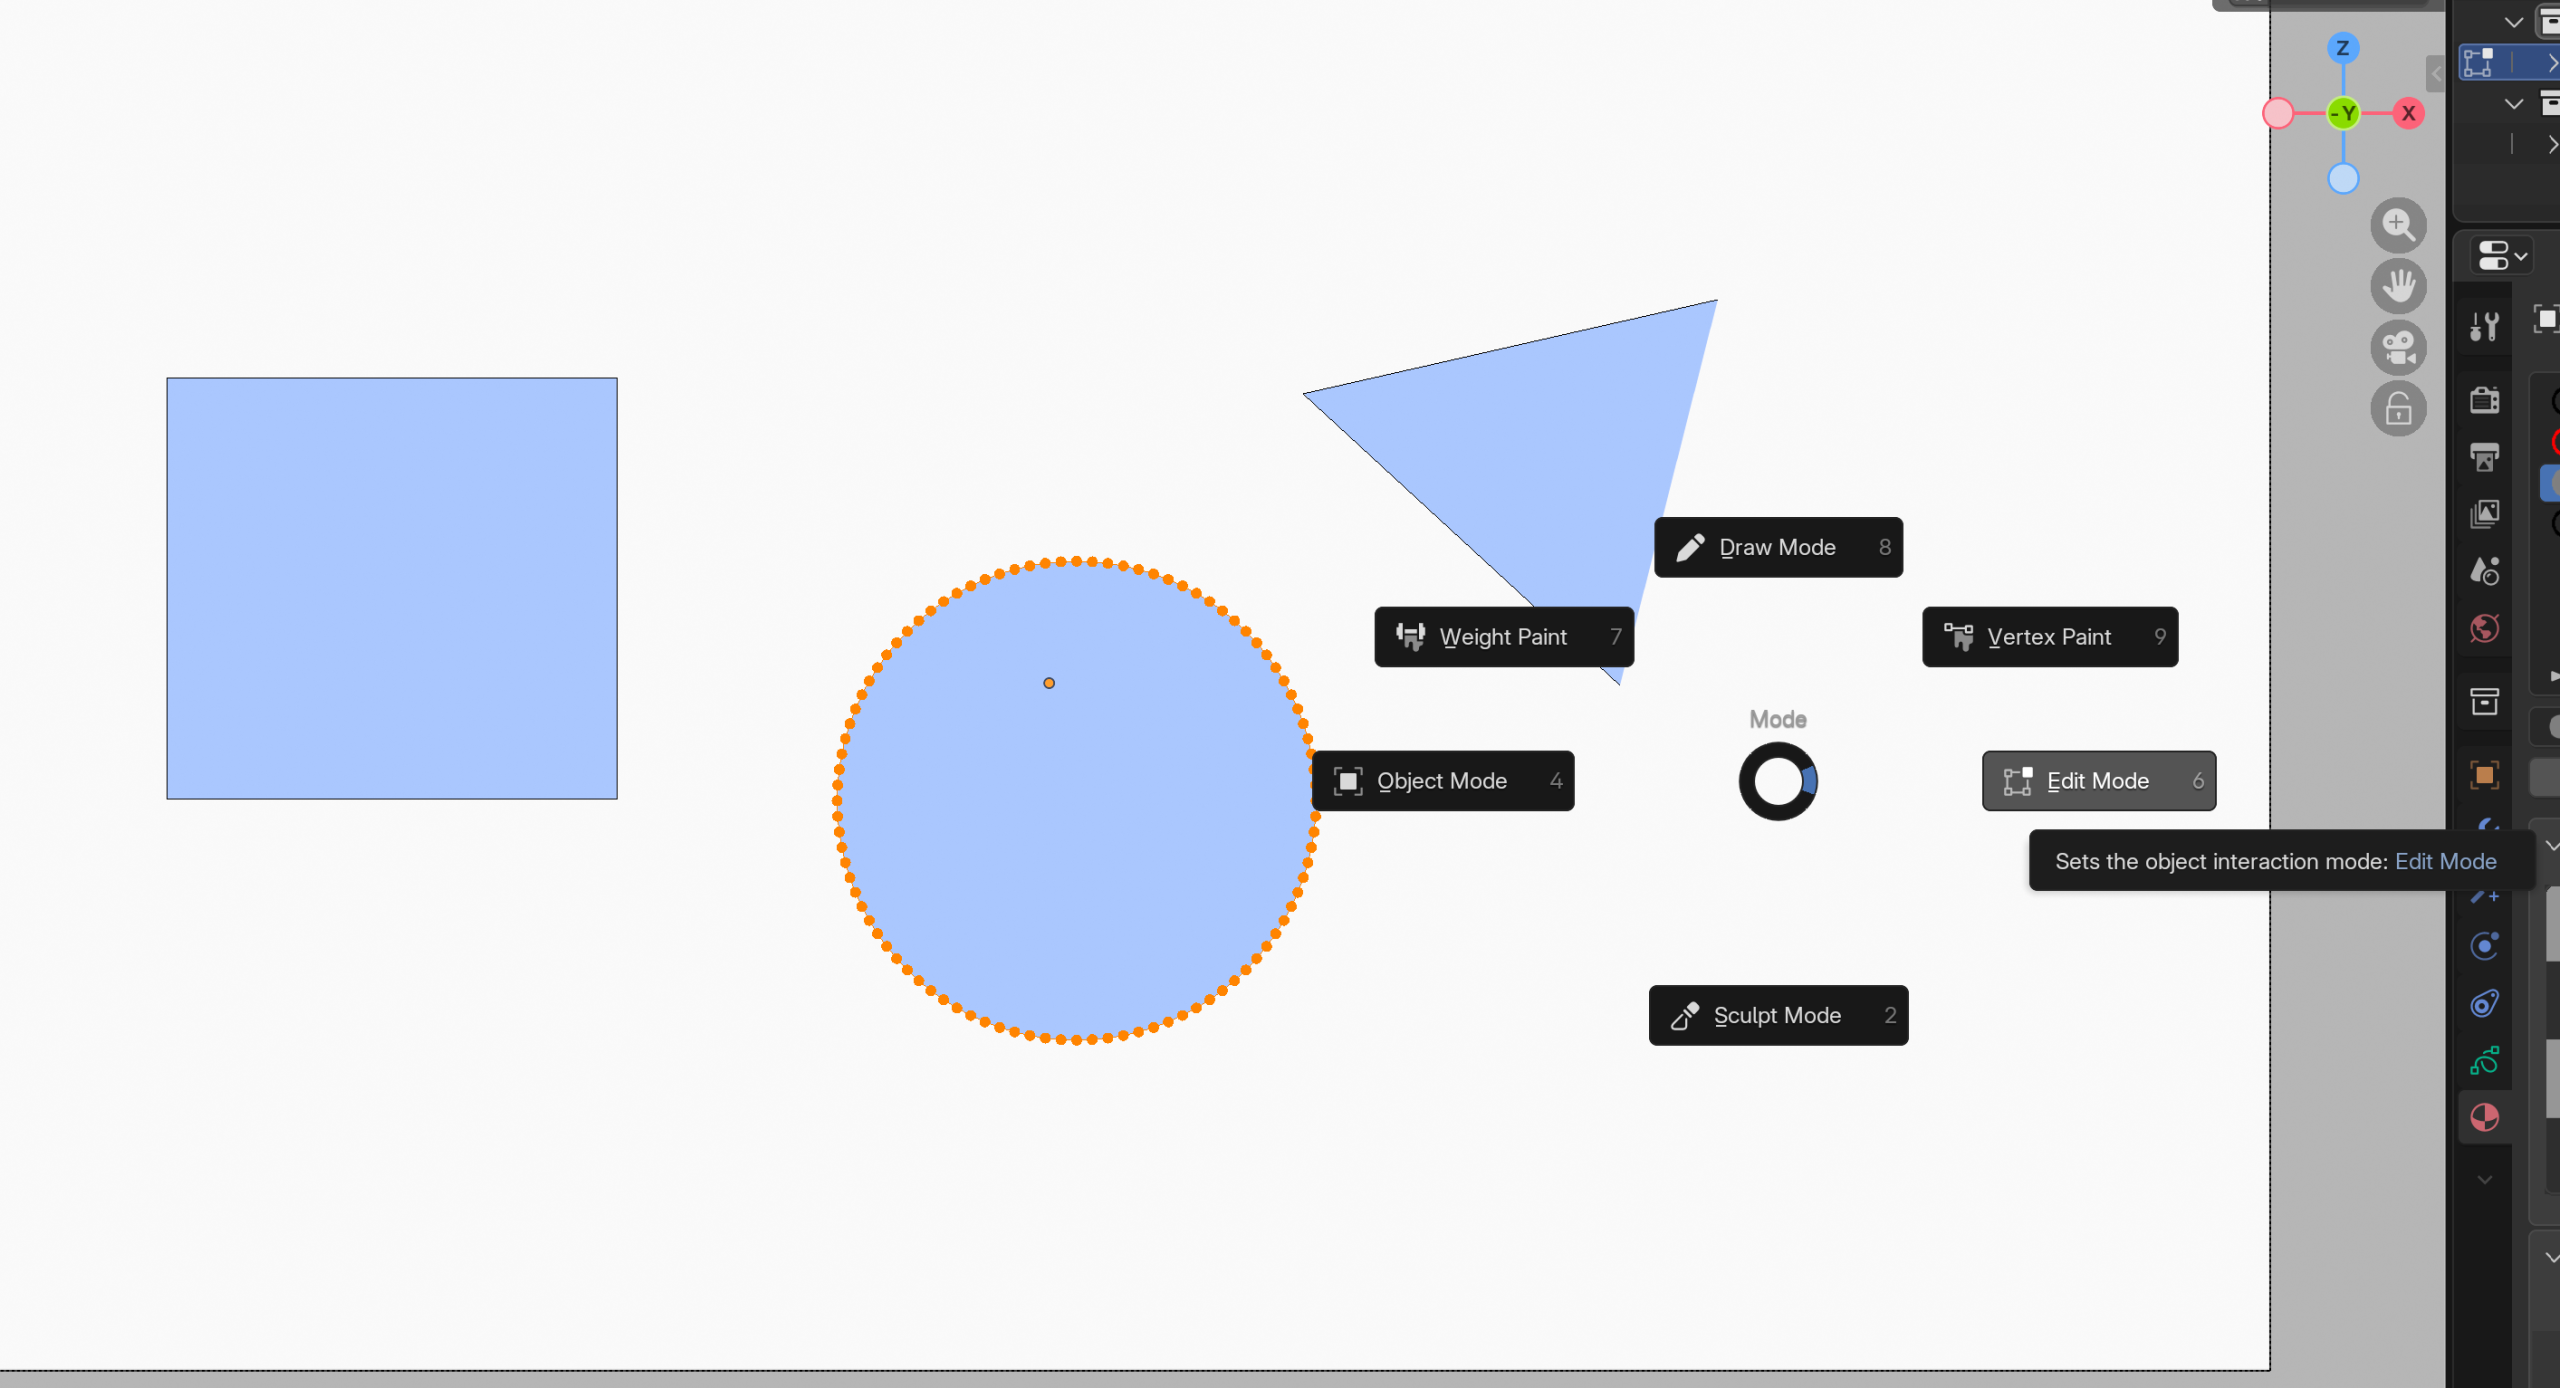
In edit mode, I will select just the circle…
and assign it the dot texture:
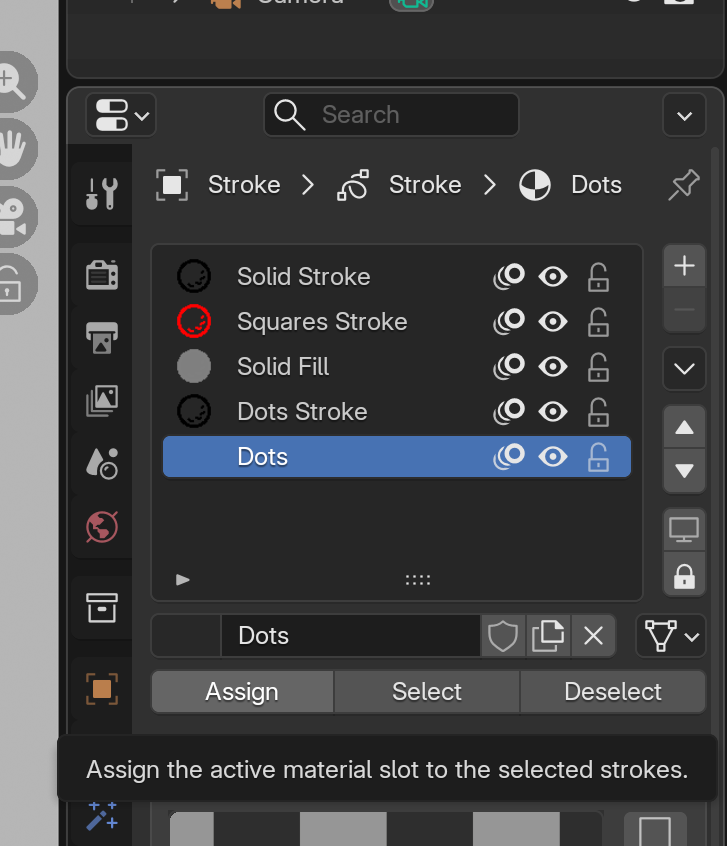
The circle will now have the dot texture applied – not very well, but applied.
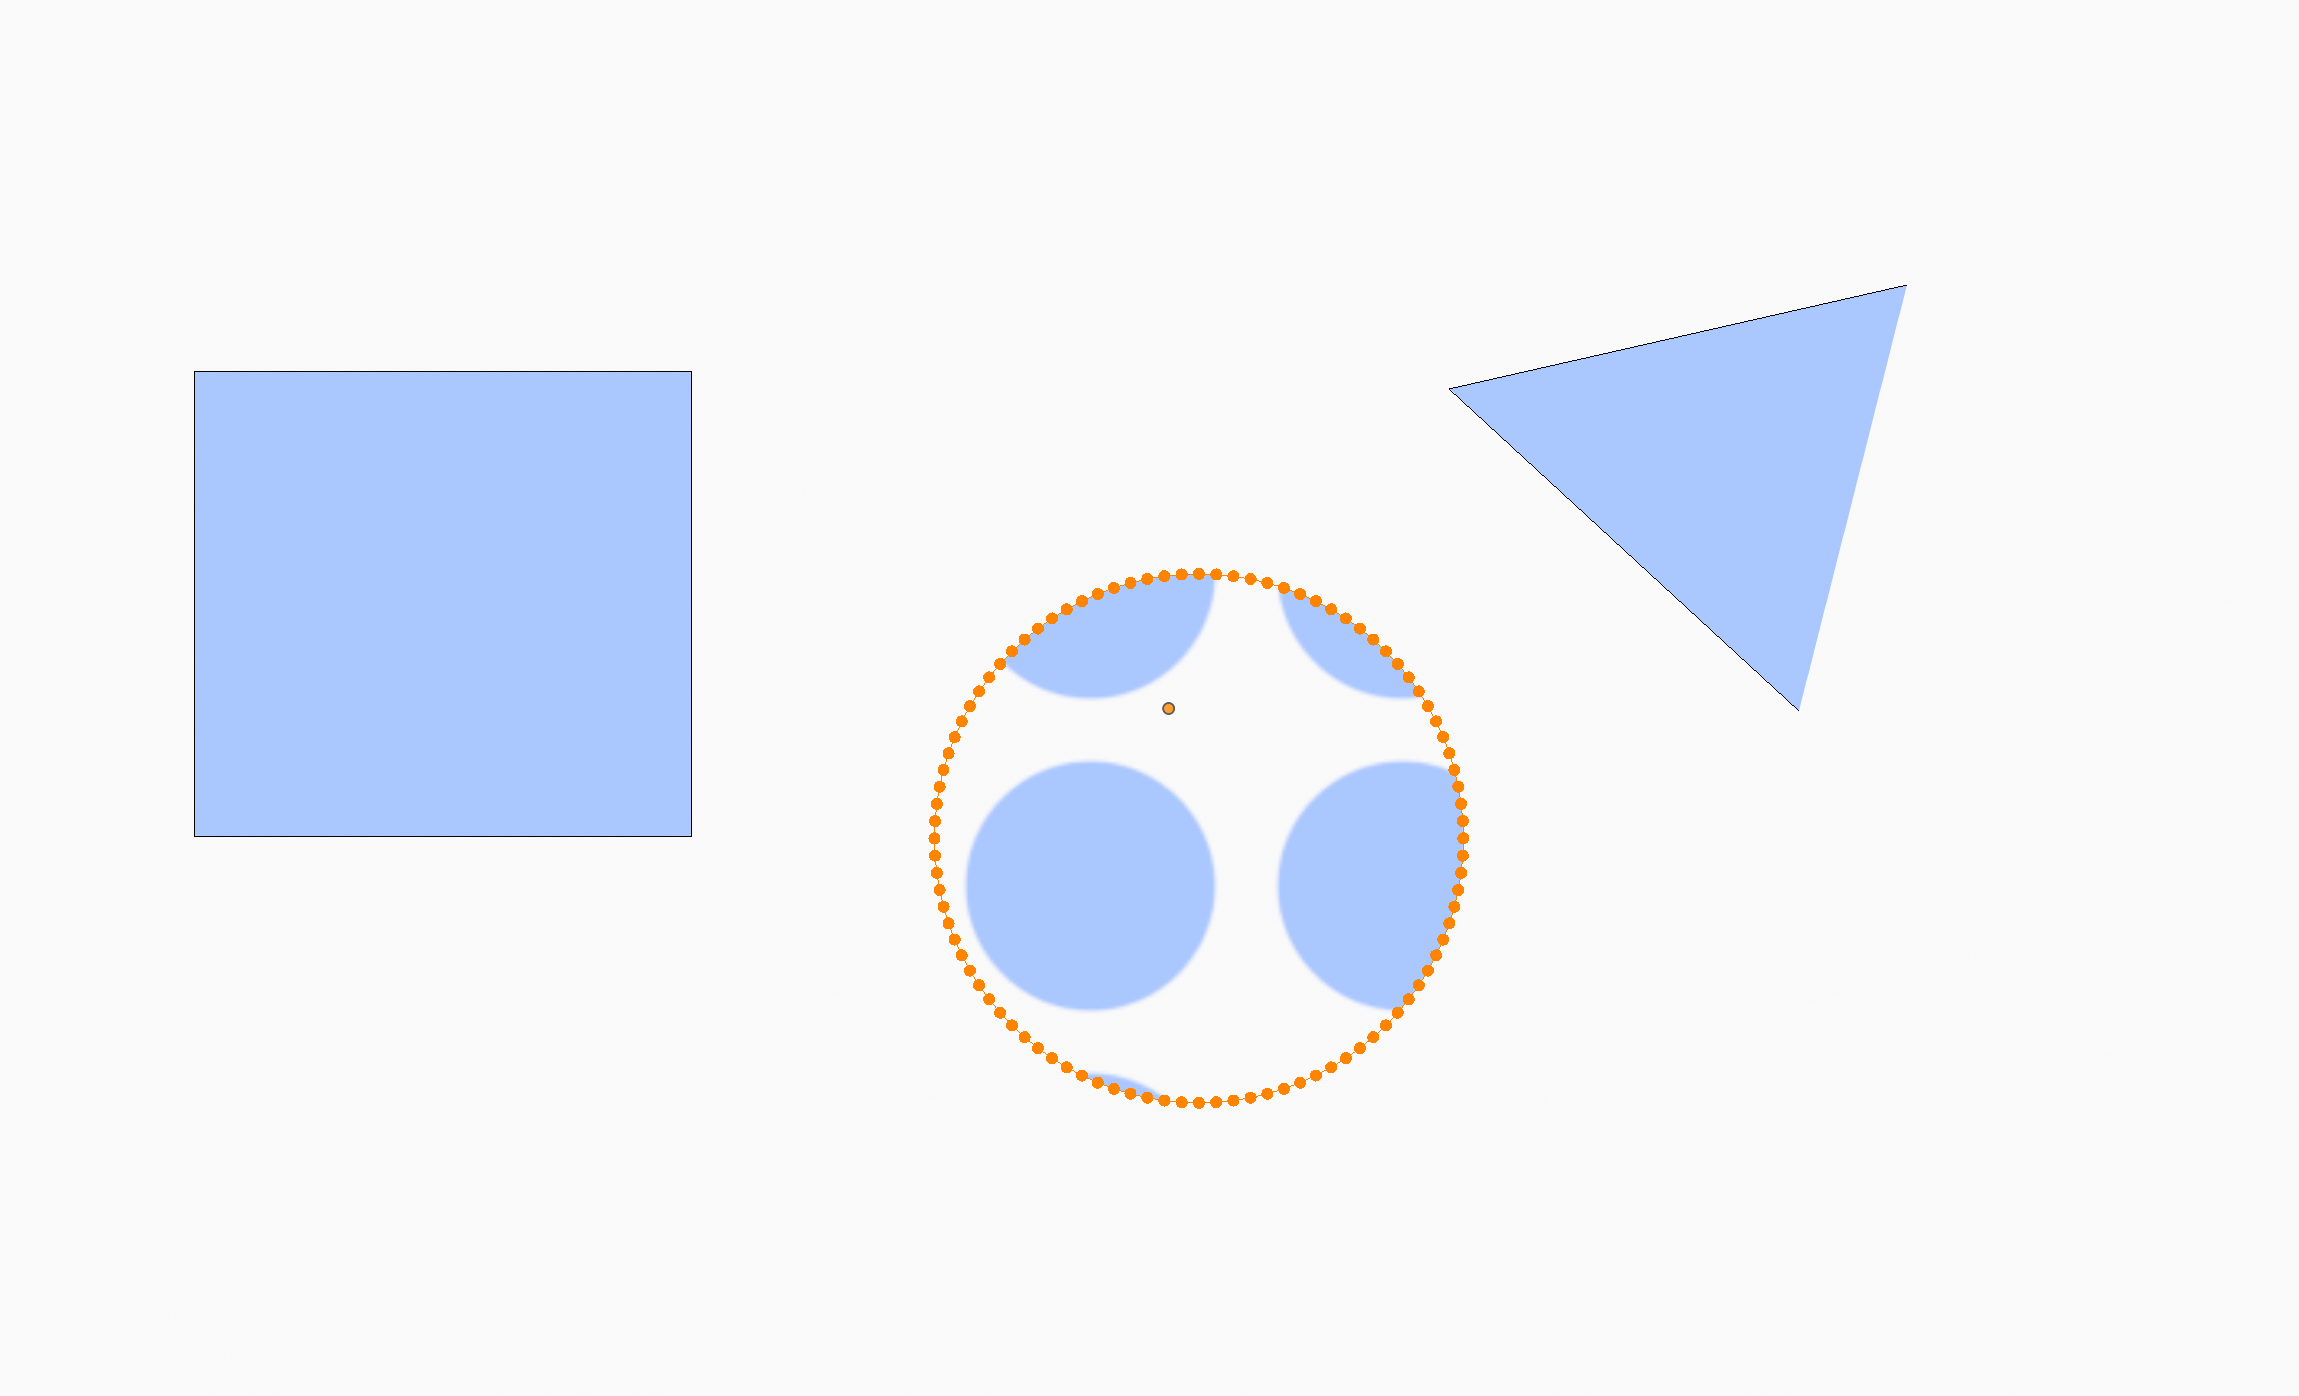
With the circle still selected, pick this tool – the gradient tool (yes, I am hoping they give it a better name, because it can be also used in this way)
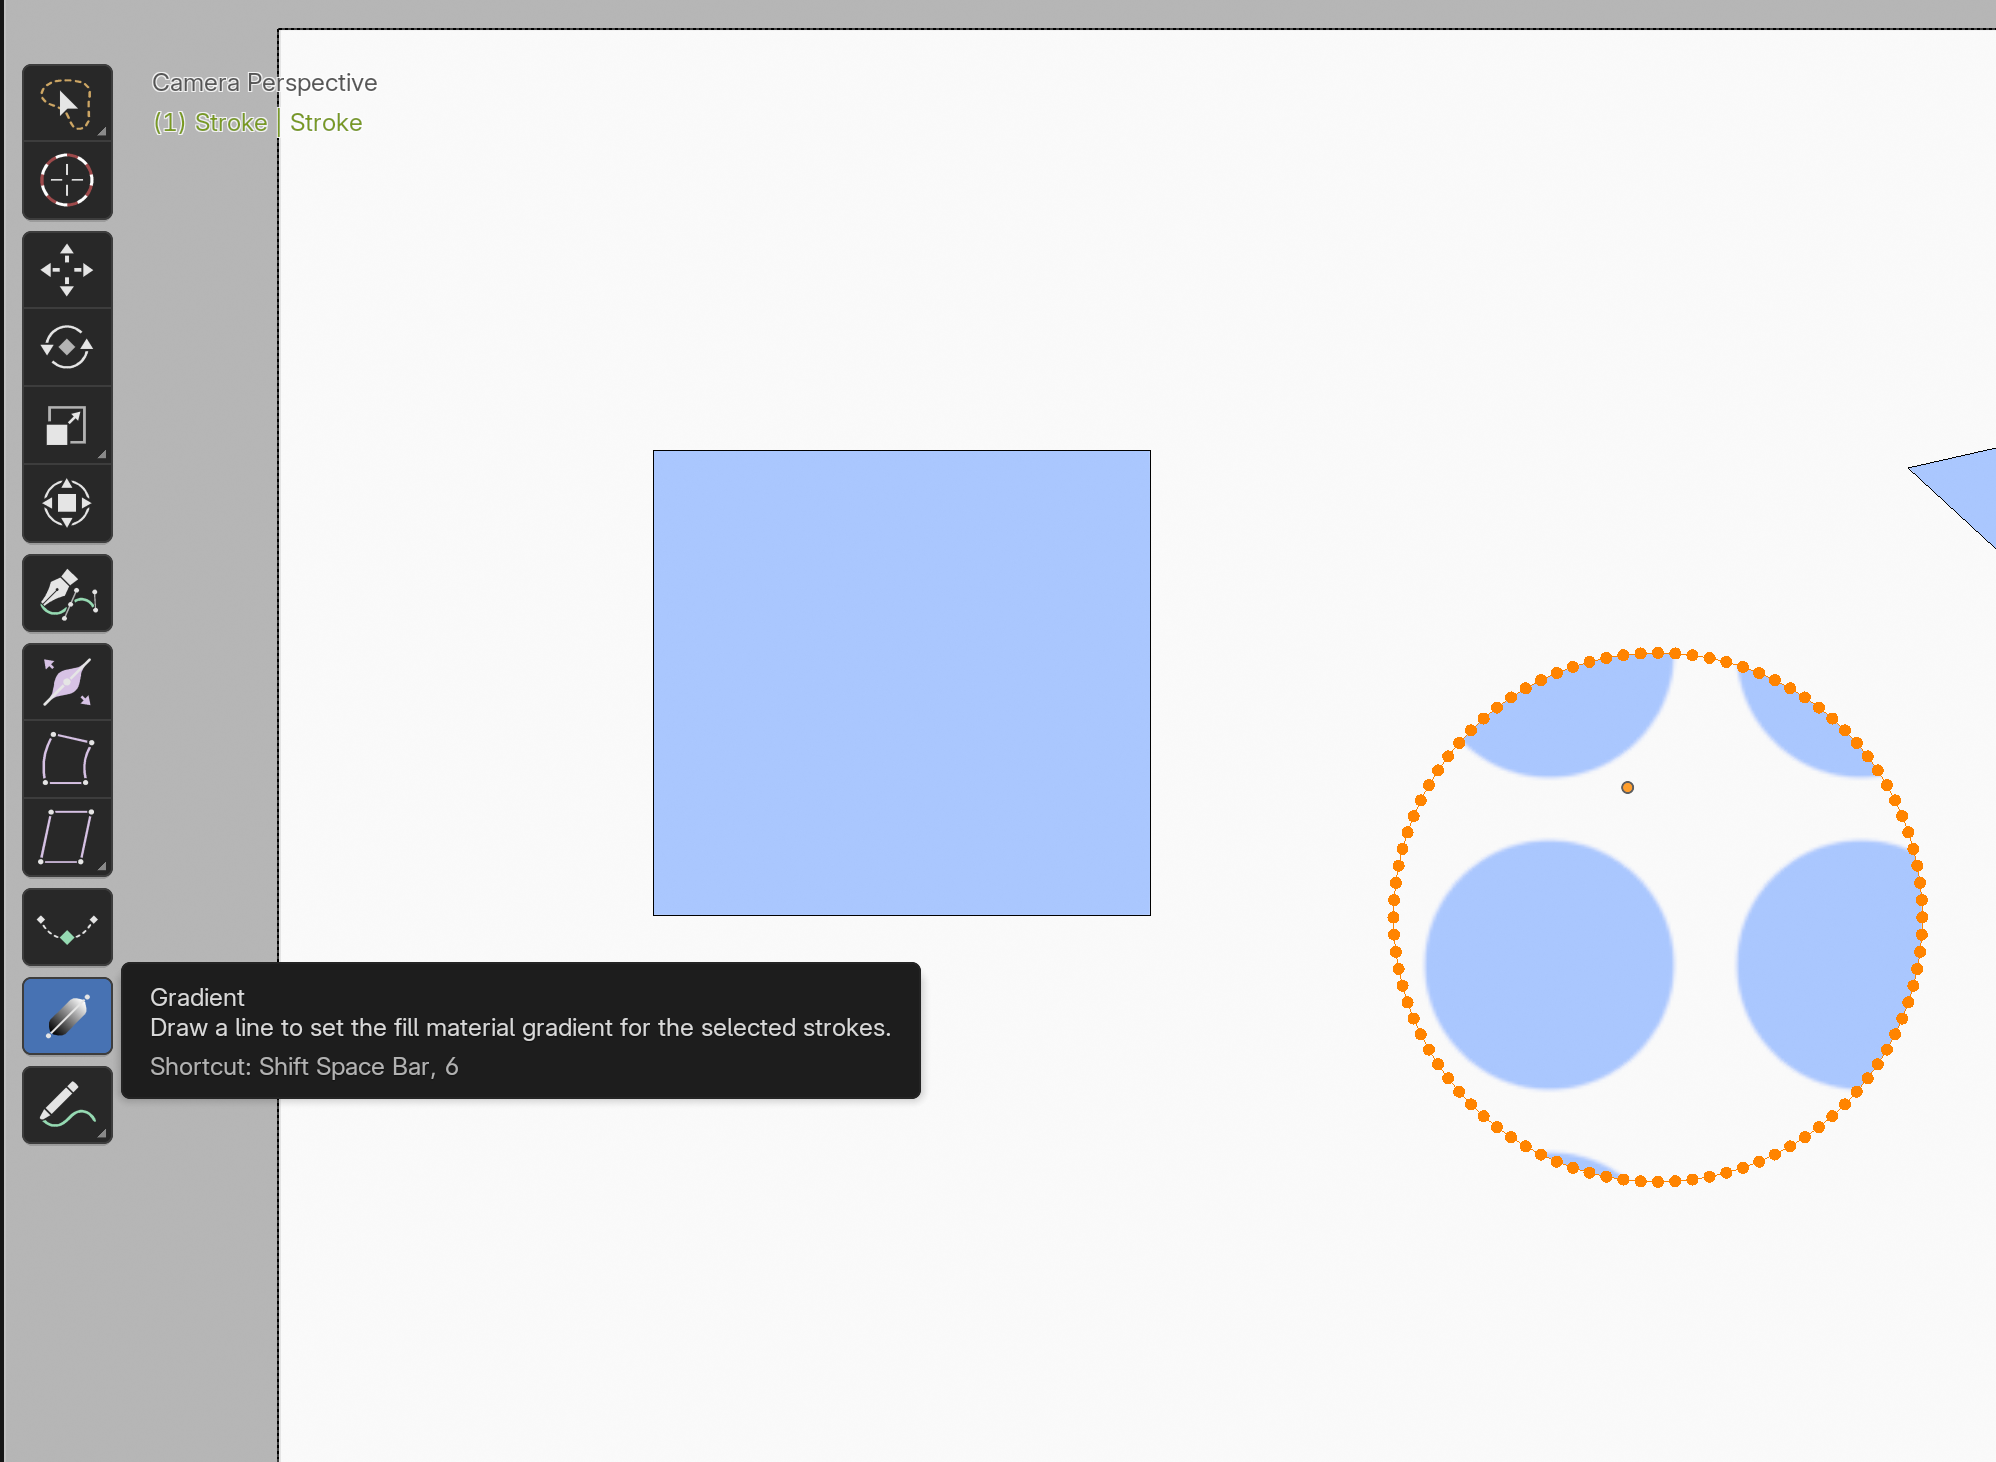
Now, click and drag anywhere on the canvas, and you will be able to control the scale and rotation of this texture.
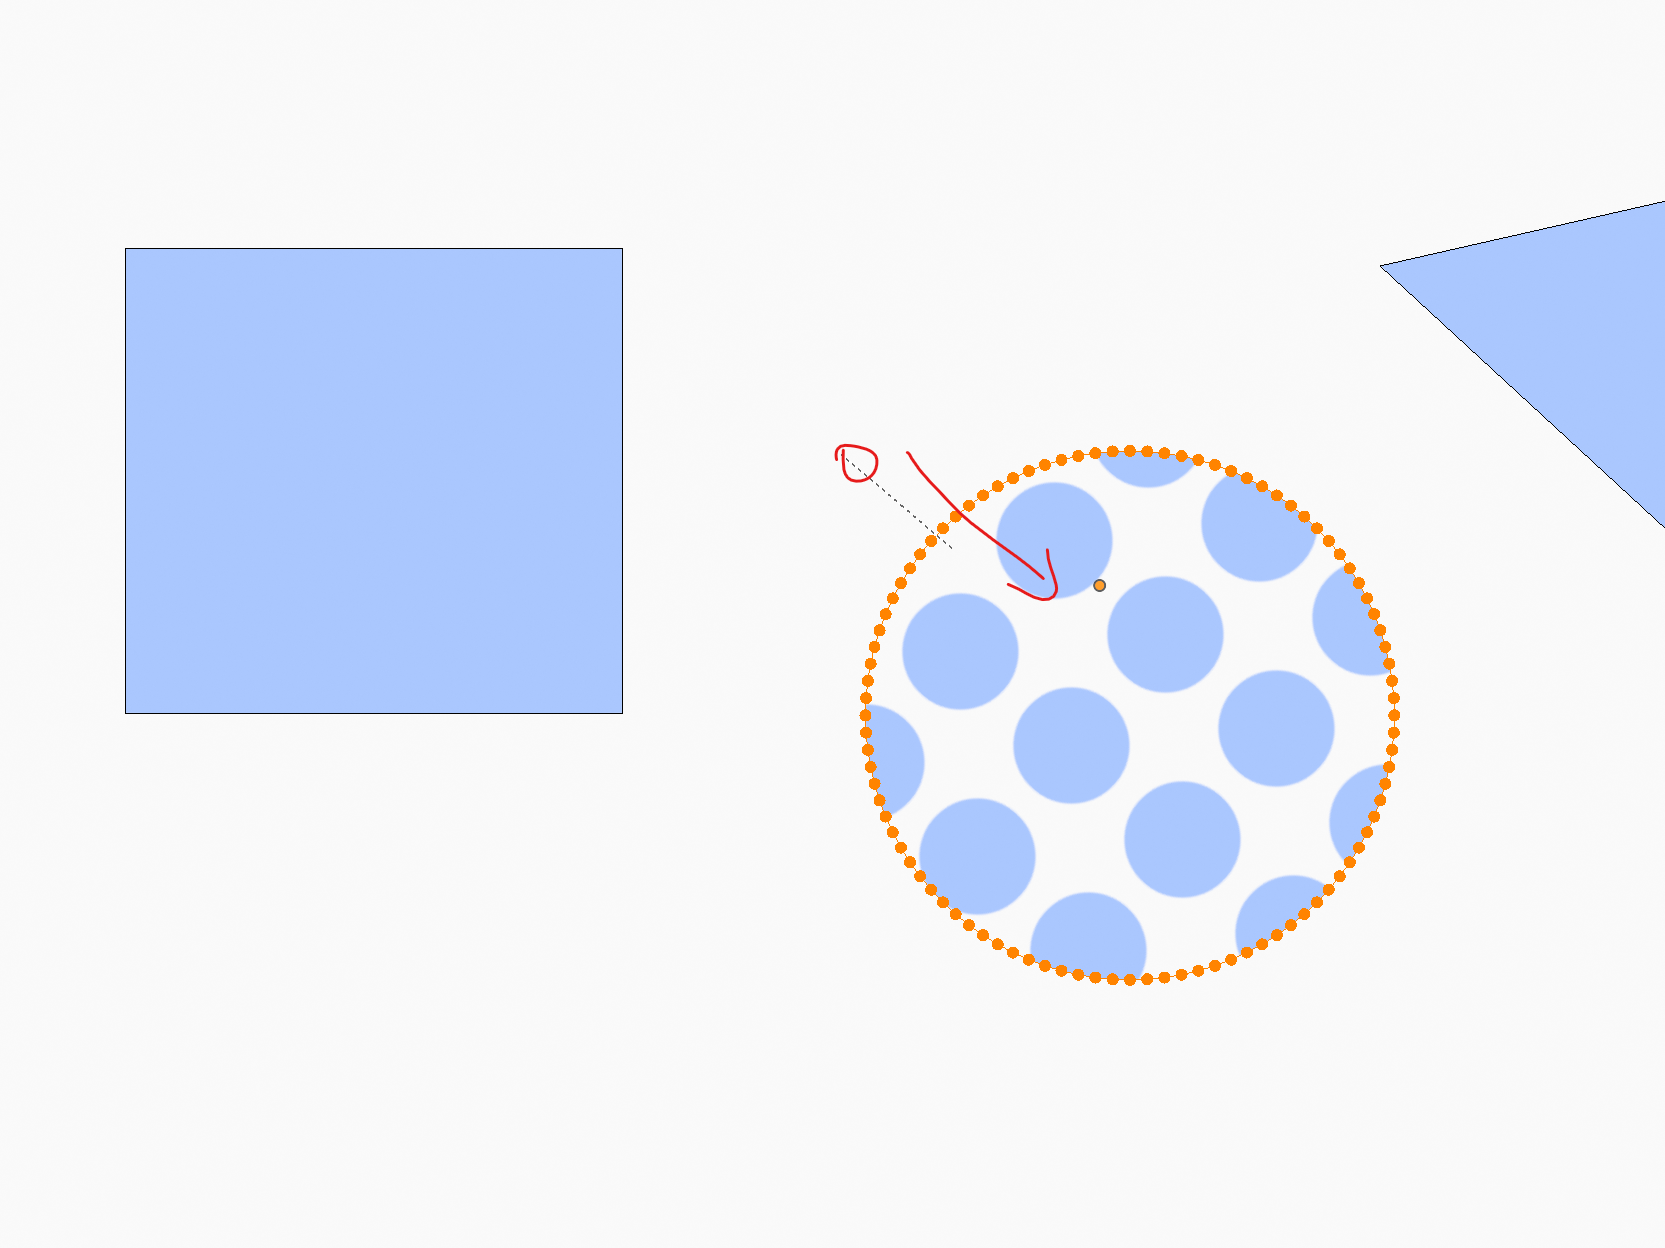
THAT’S NOT ALL! You can also assign this texture to a different selection – or multiple selections if you wish the texture to work over more than one.
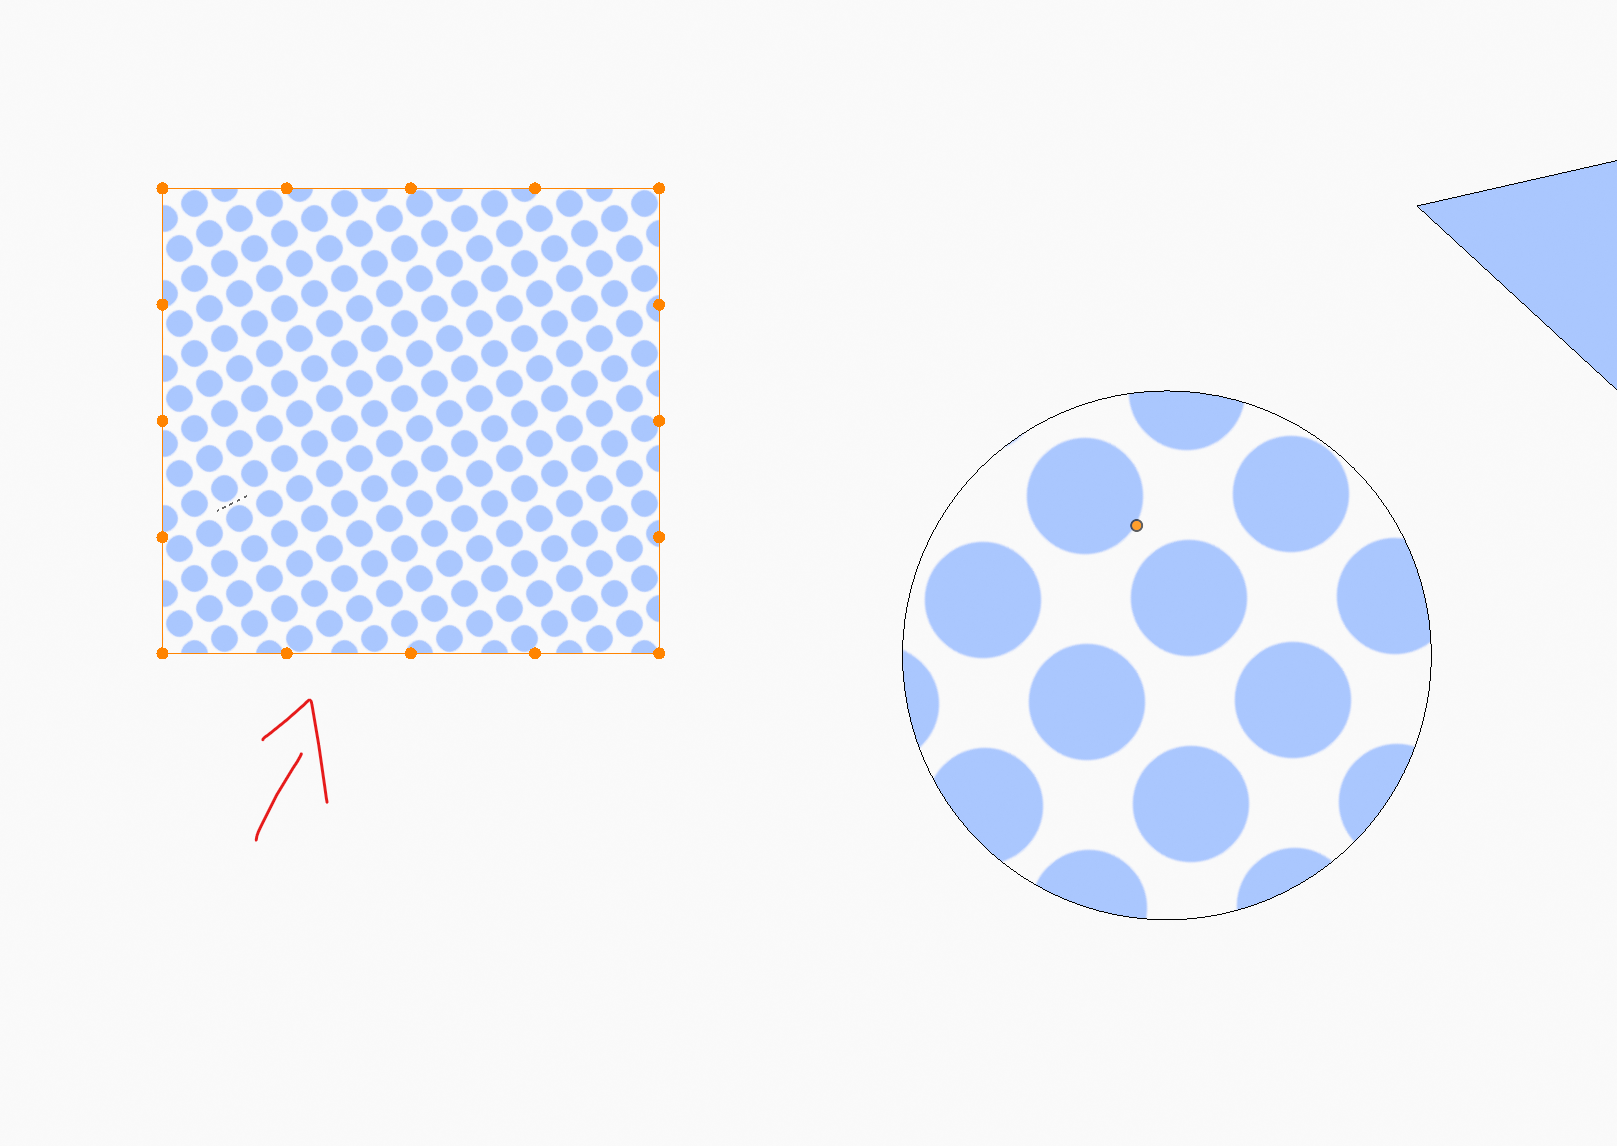
Both shapes selected:
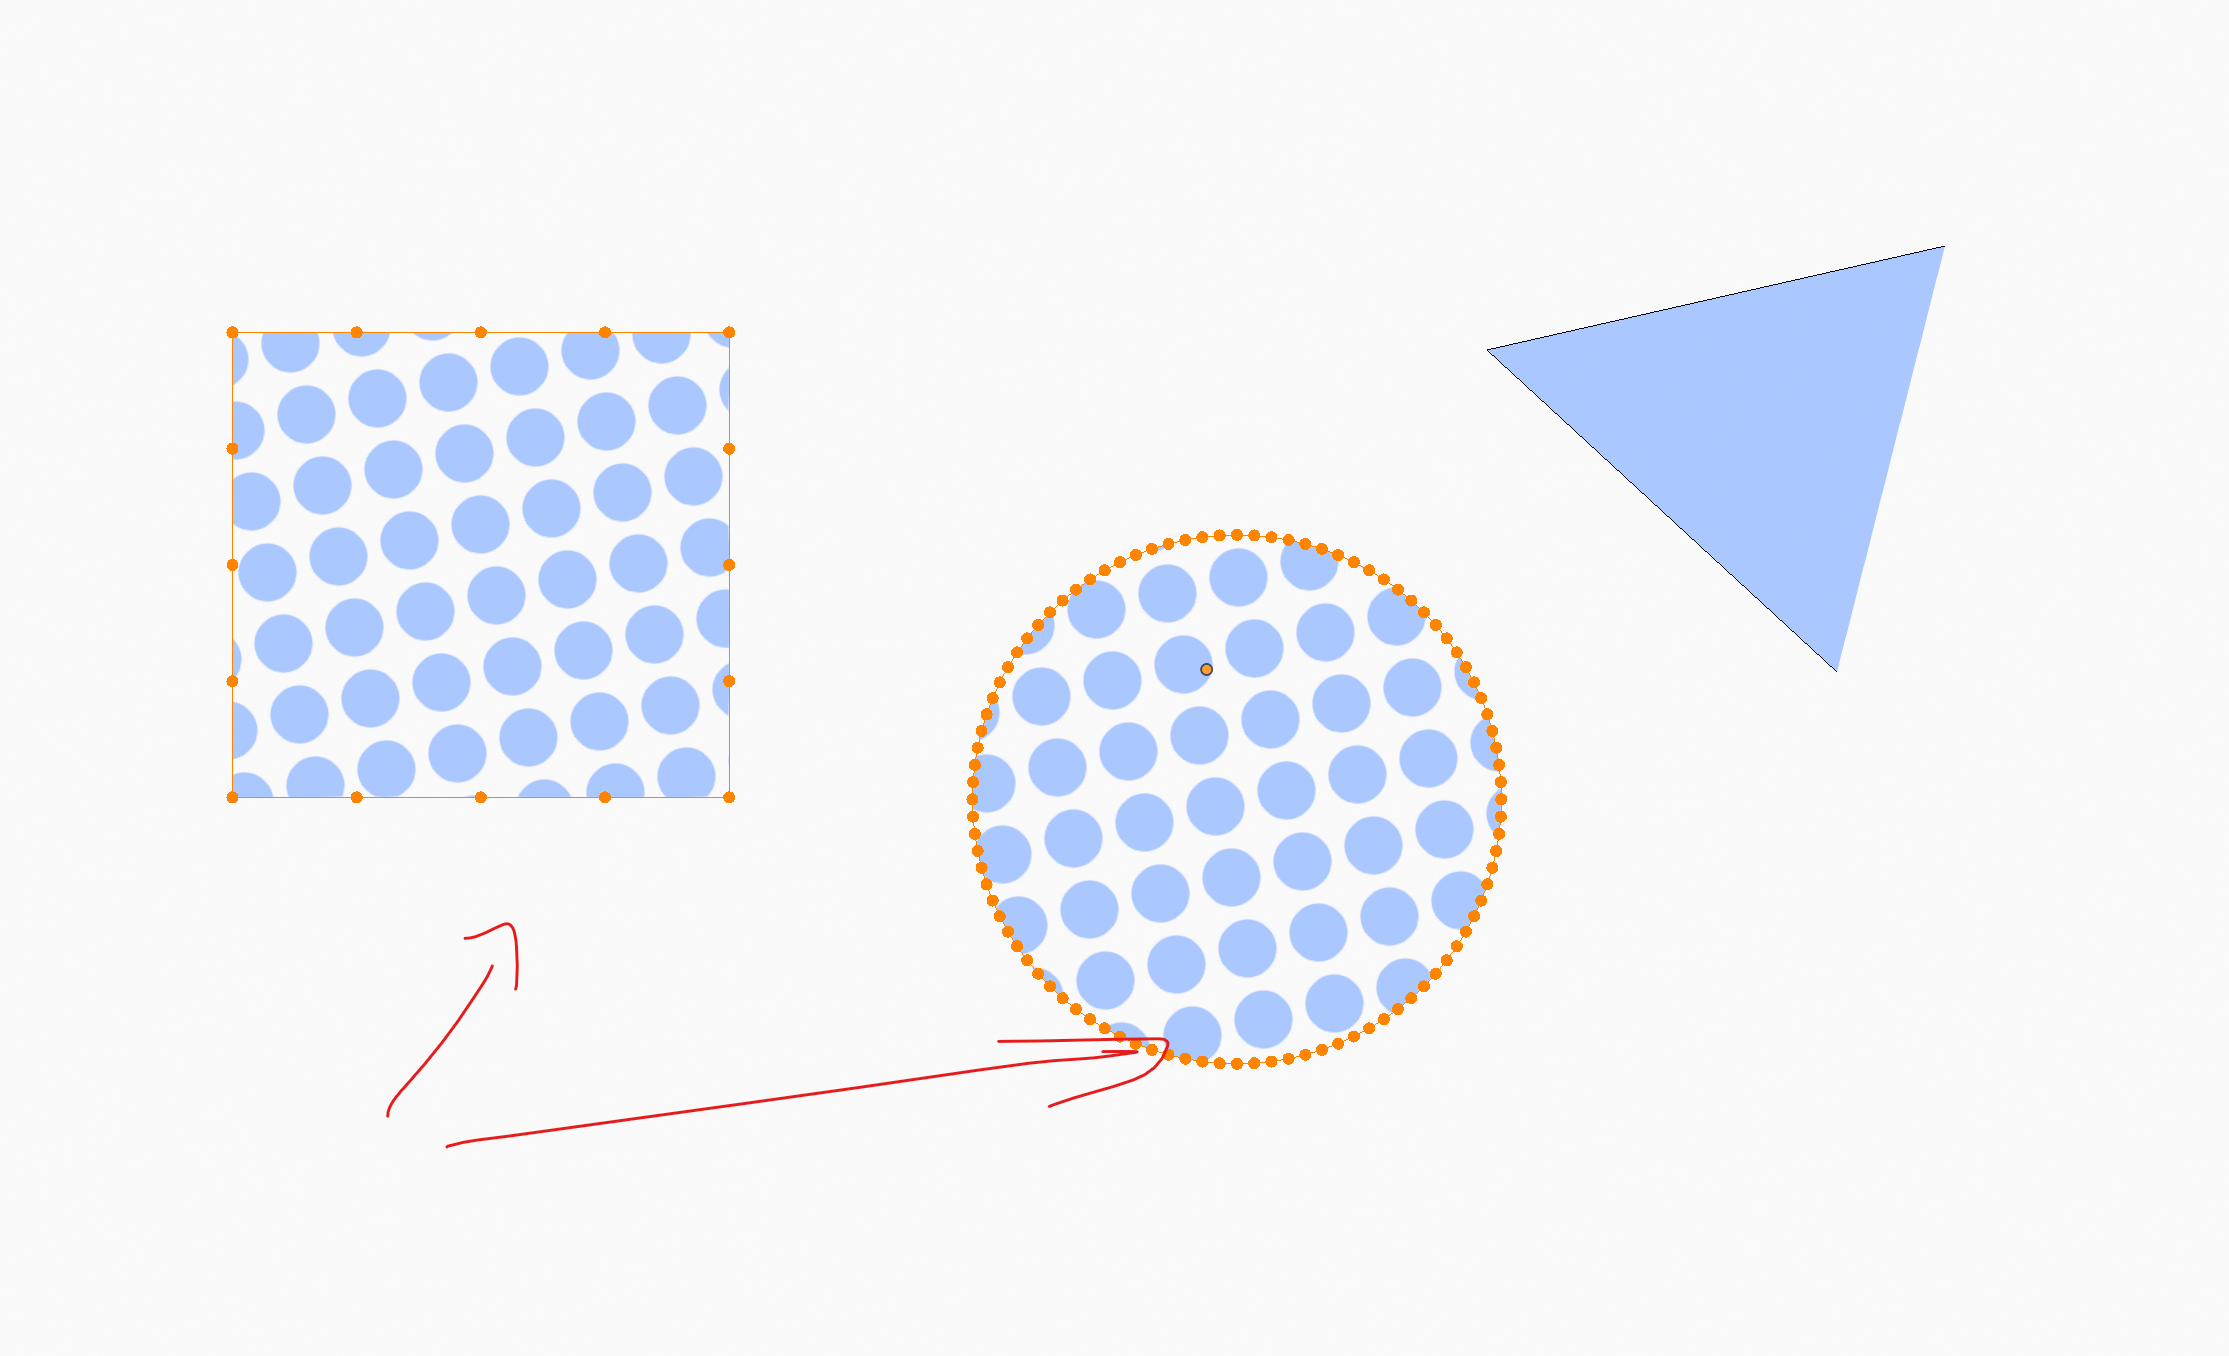
What is still missing however, is precision. you won’t be able to enter exact rotation or scale anywhere. 🙁 Hope this helps?
Yup. Still waiting for it to come back. They promised it will return at some stage, but no word as to when, just that it will be bigger and badder. I really miss it.
October 20, 2025 at 5:00 pm in reply to: Problem with Transforming Objects in Blender – BLENDER 4.5 BASICS (part 3) #97391Yes this is correct! It “snaps” to the closest geometry – a vertex or face – not wraps around to fit snugly. That is a different function altogether and can be done with modifiers.
October 15, 2025 at 4:42 pm in reply to: Problem with Transforming Objects in Blender – BLENDER 4.5 BASICS (part 3) #97389Ah ok, I recreated this. I have thge cylinder here, and I have selected my Add tool, and switched it to Add Cone.
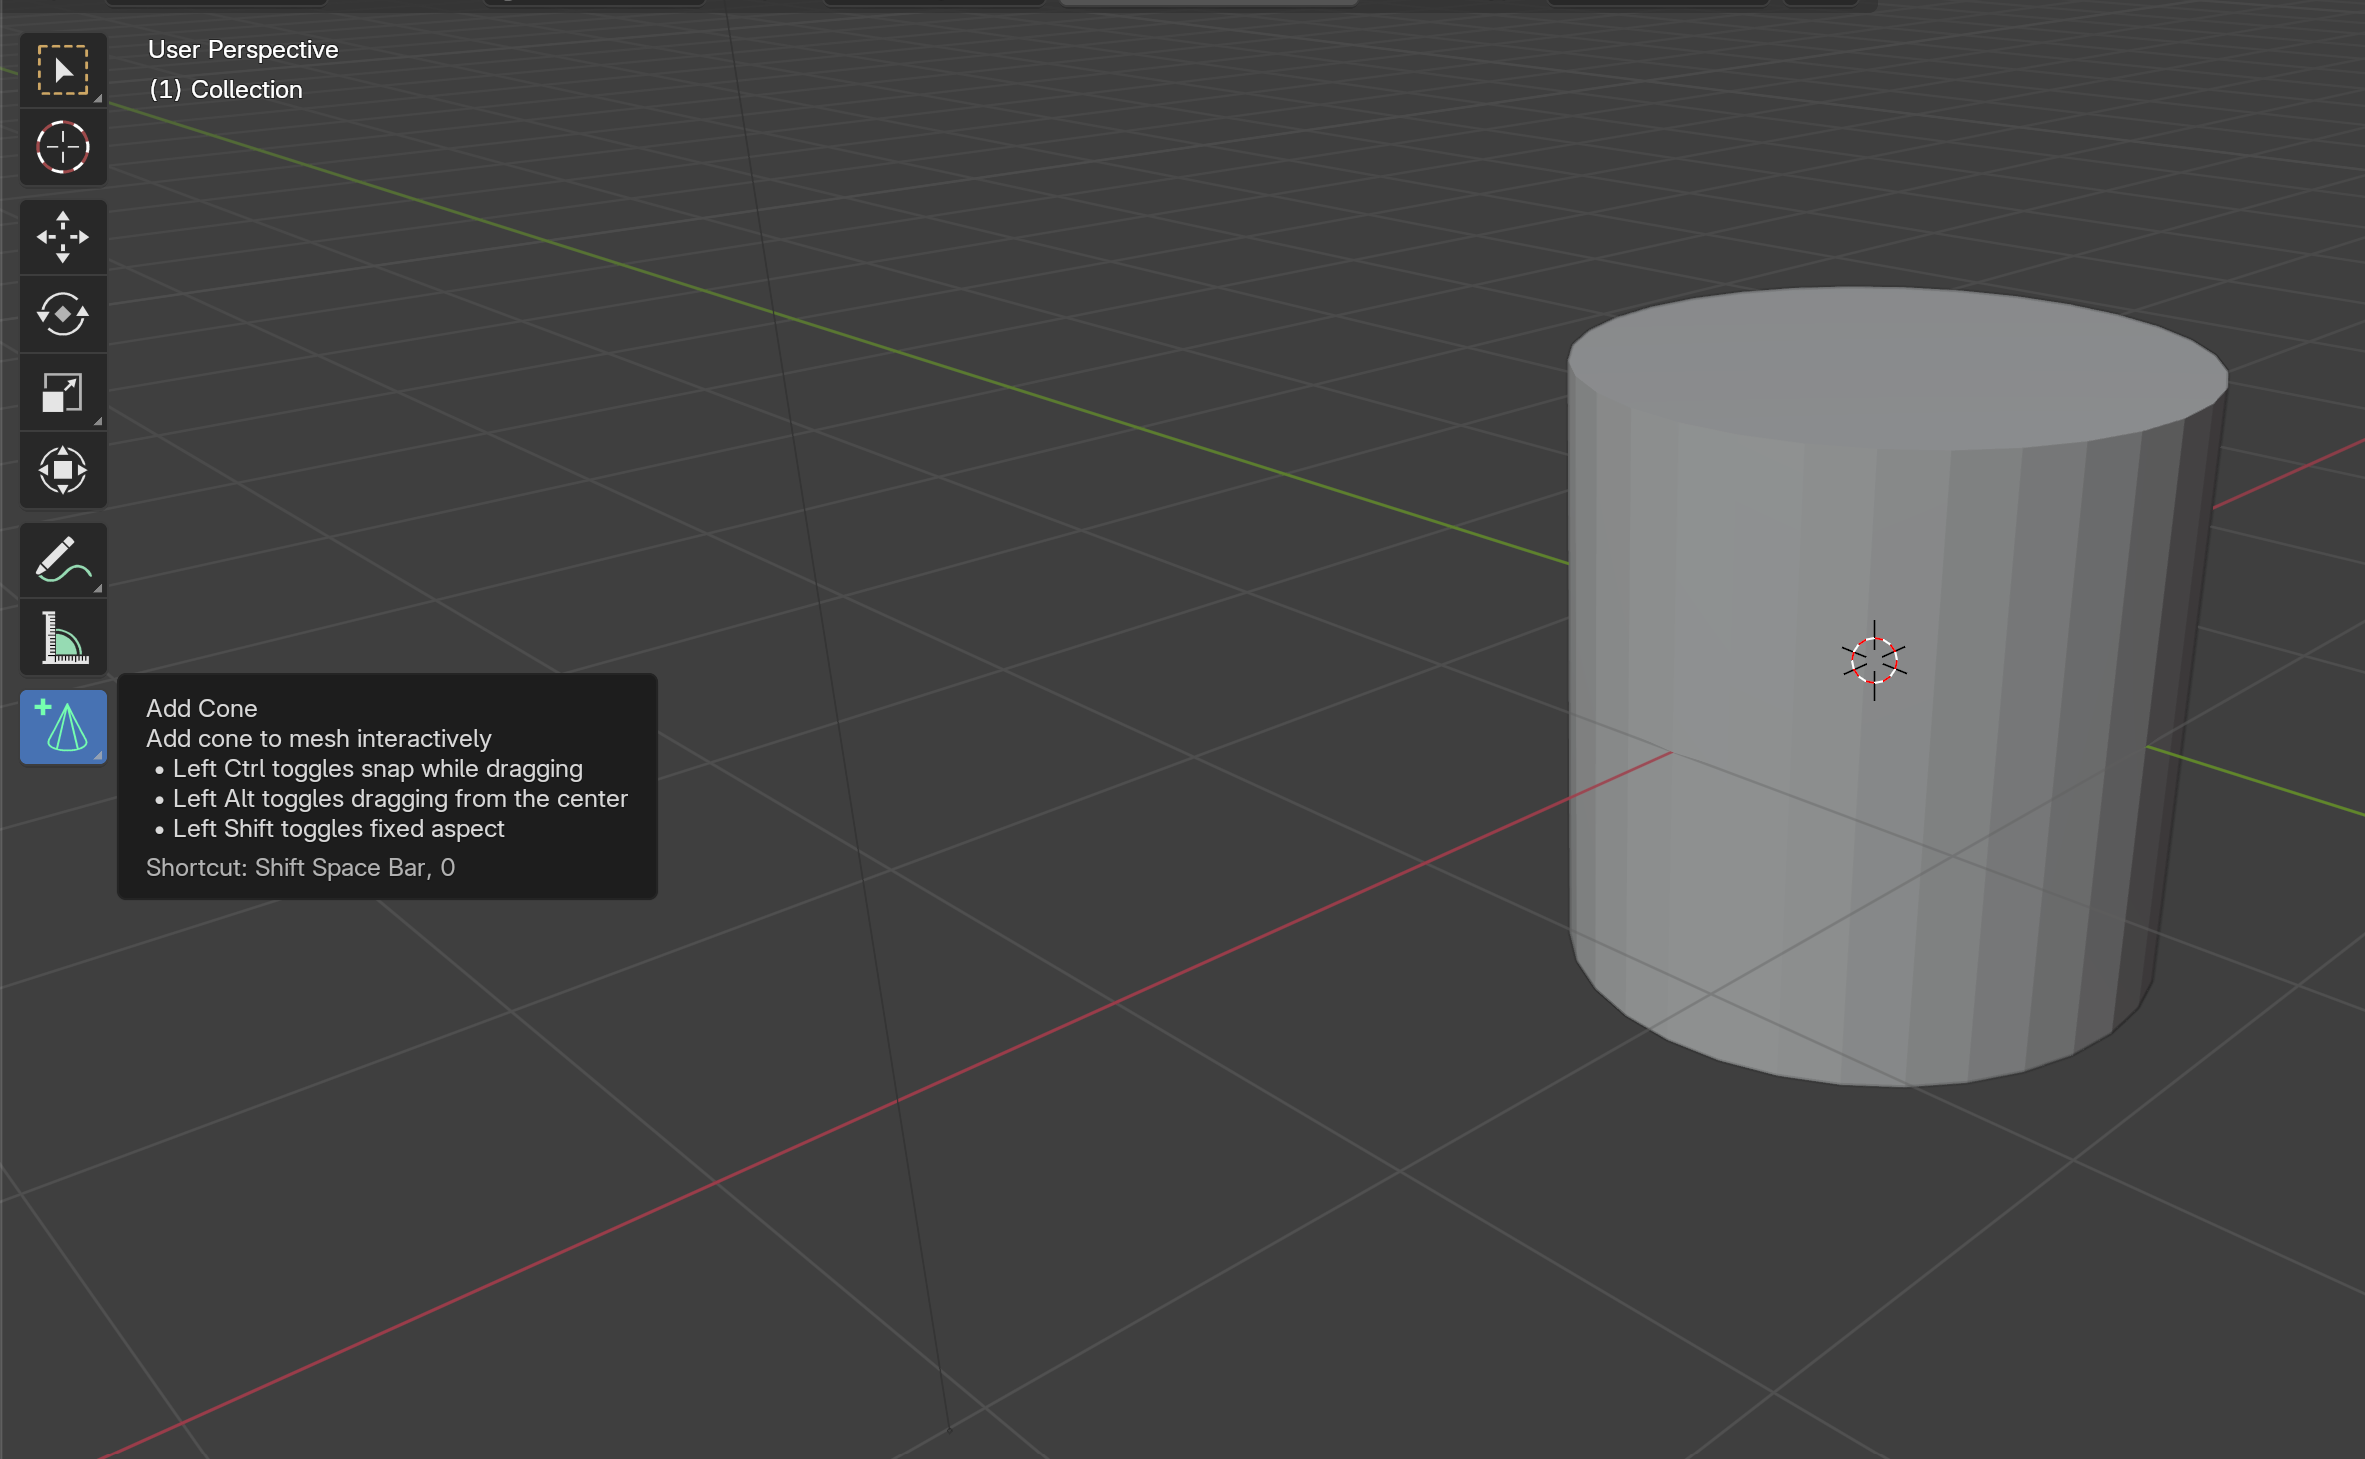
I place my cursor over the face where I want the cone to snap.
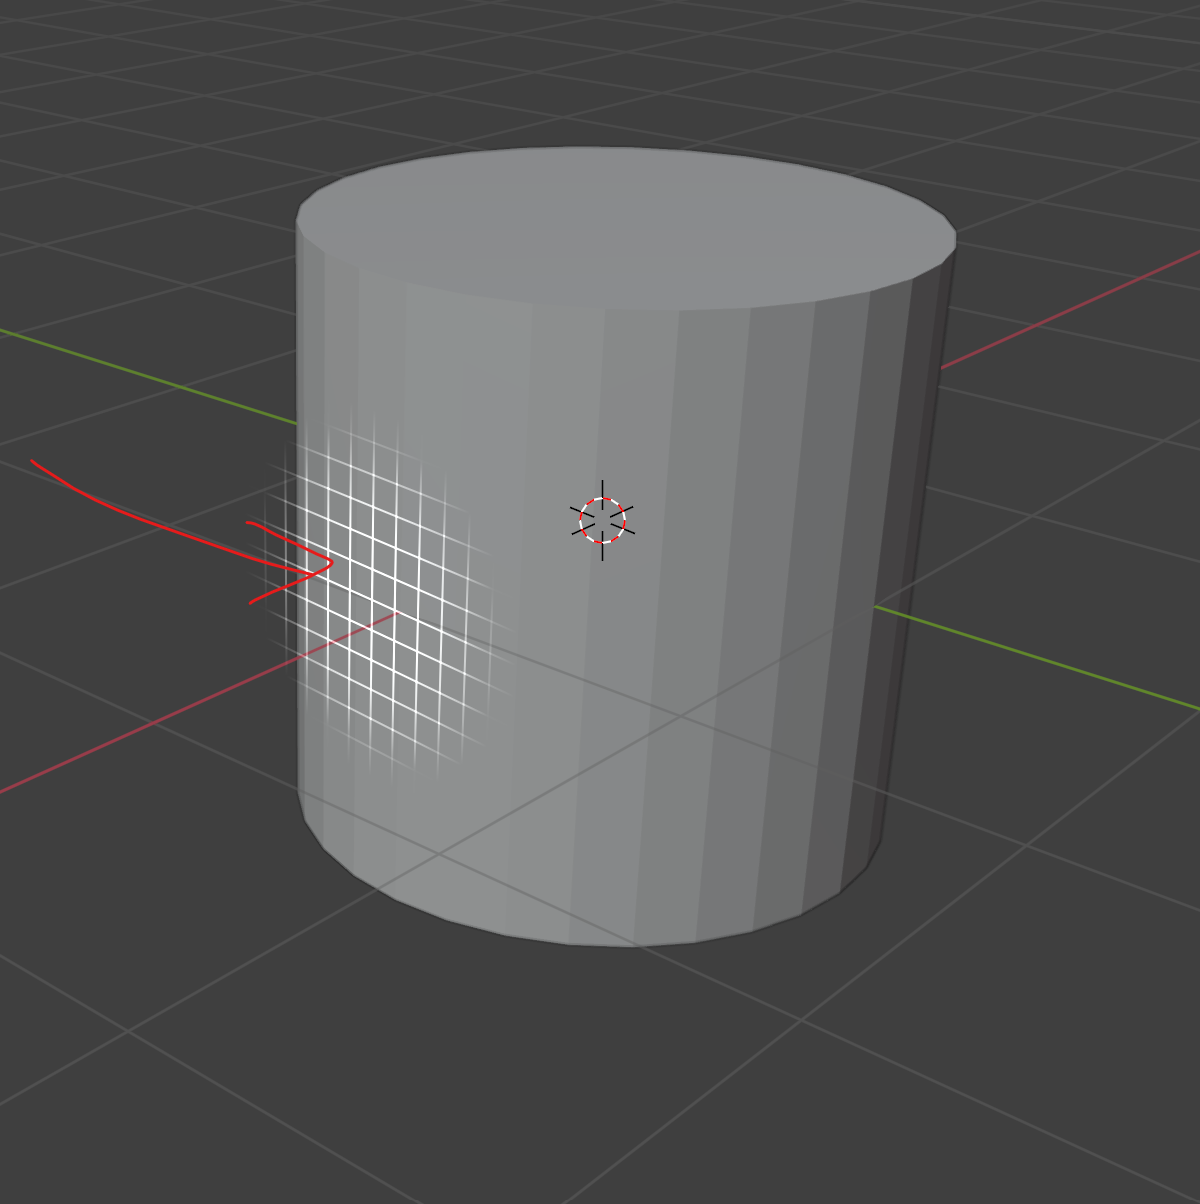
If you click and drag, it will scale non-uniformly from a corner point…
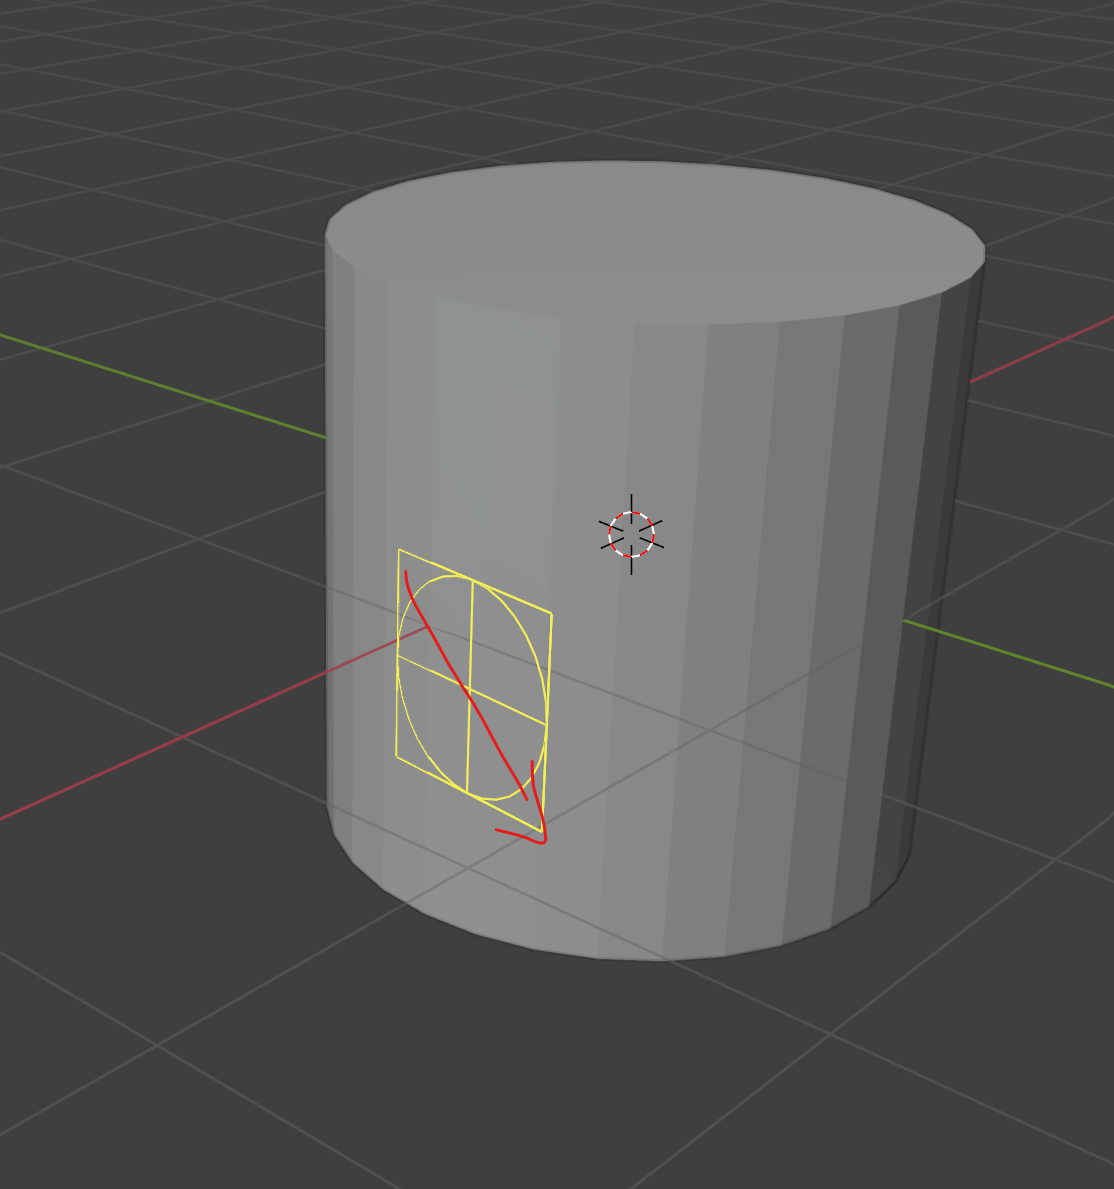
but if you hold down Alt, it will scale from the center
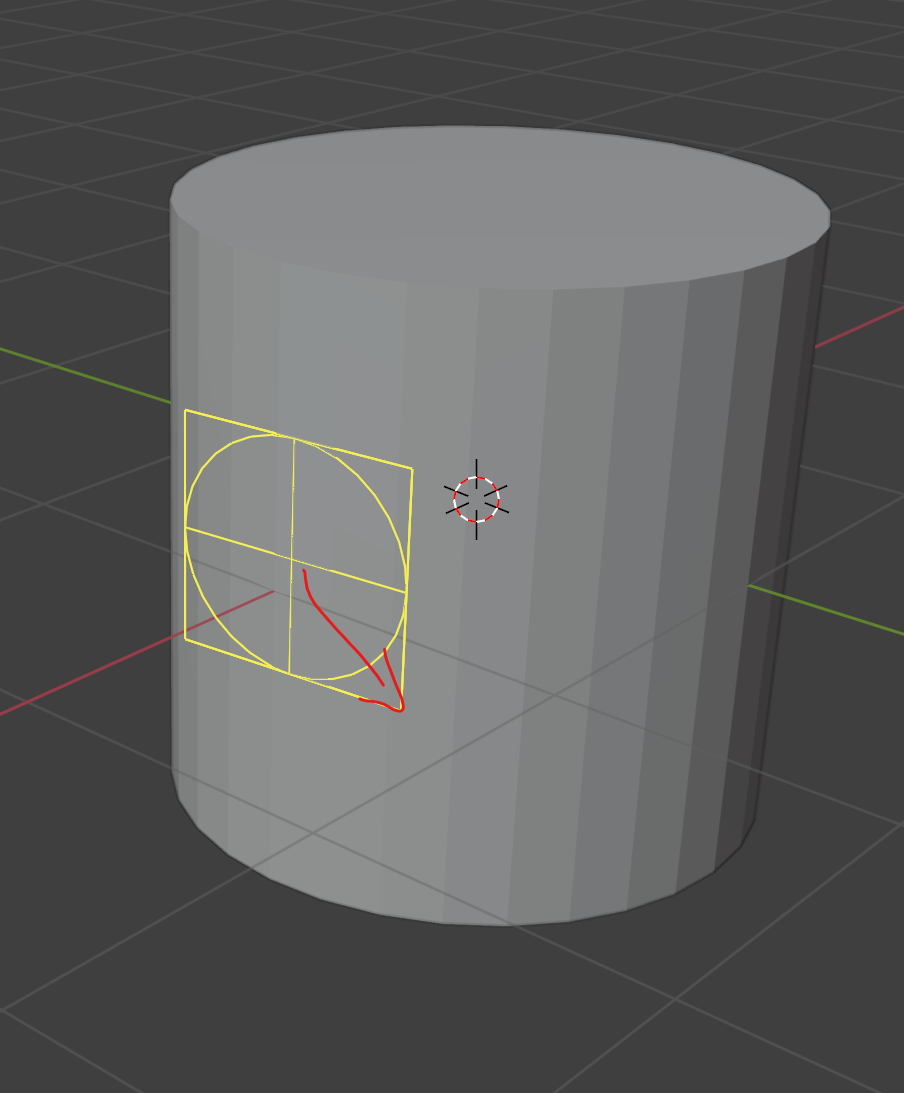
If you hold down Alt and Shift, it will scale from the center AND scale uniformly
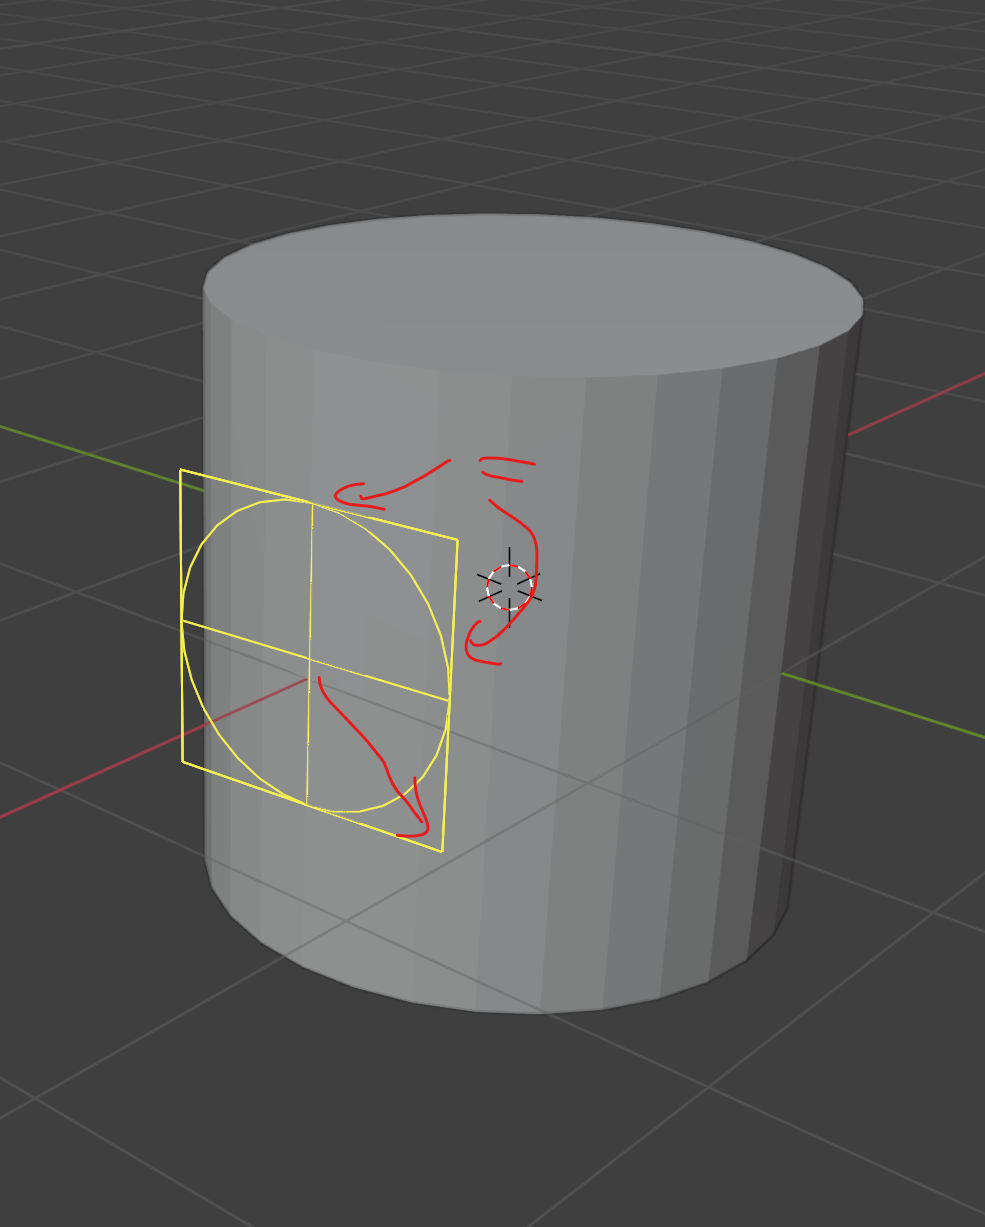
Click to commit the area of the base, and then move your mouse outwards to give the cone height
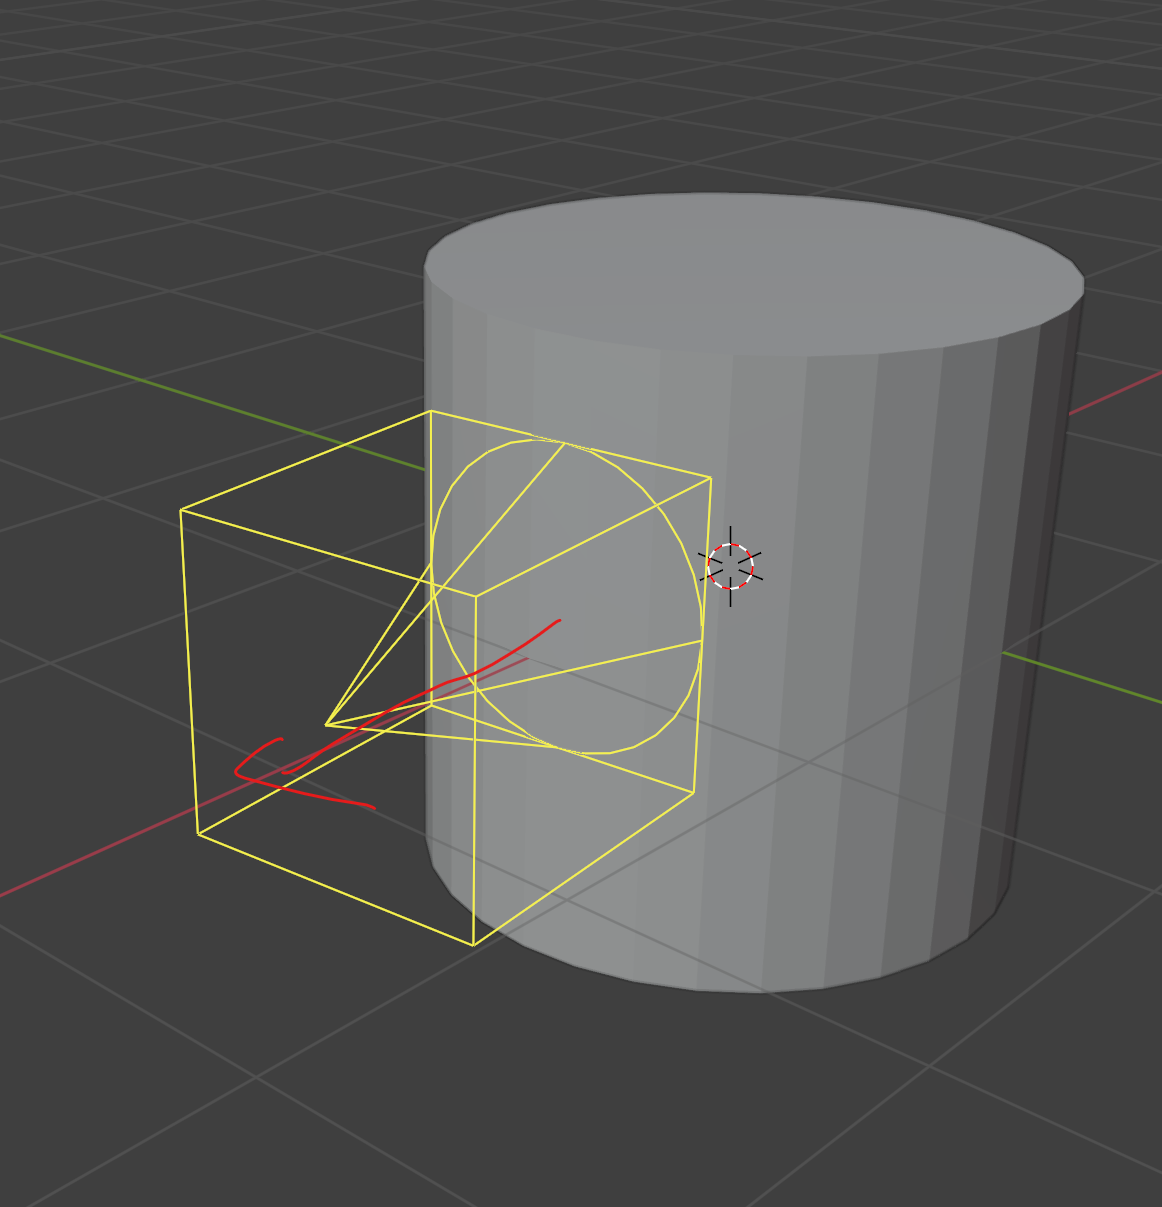
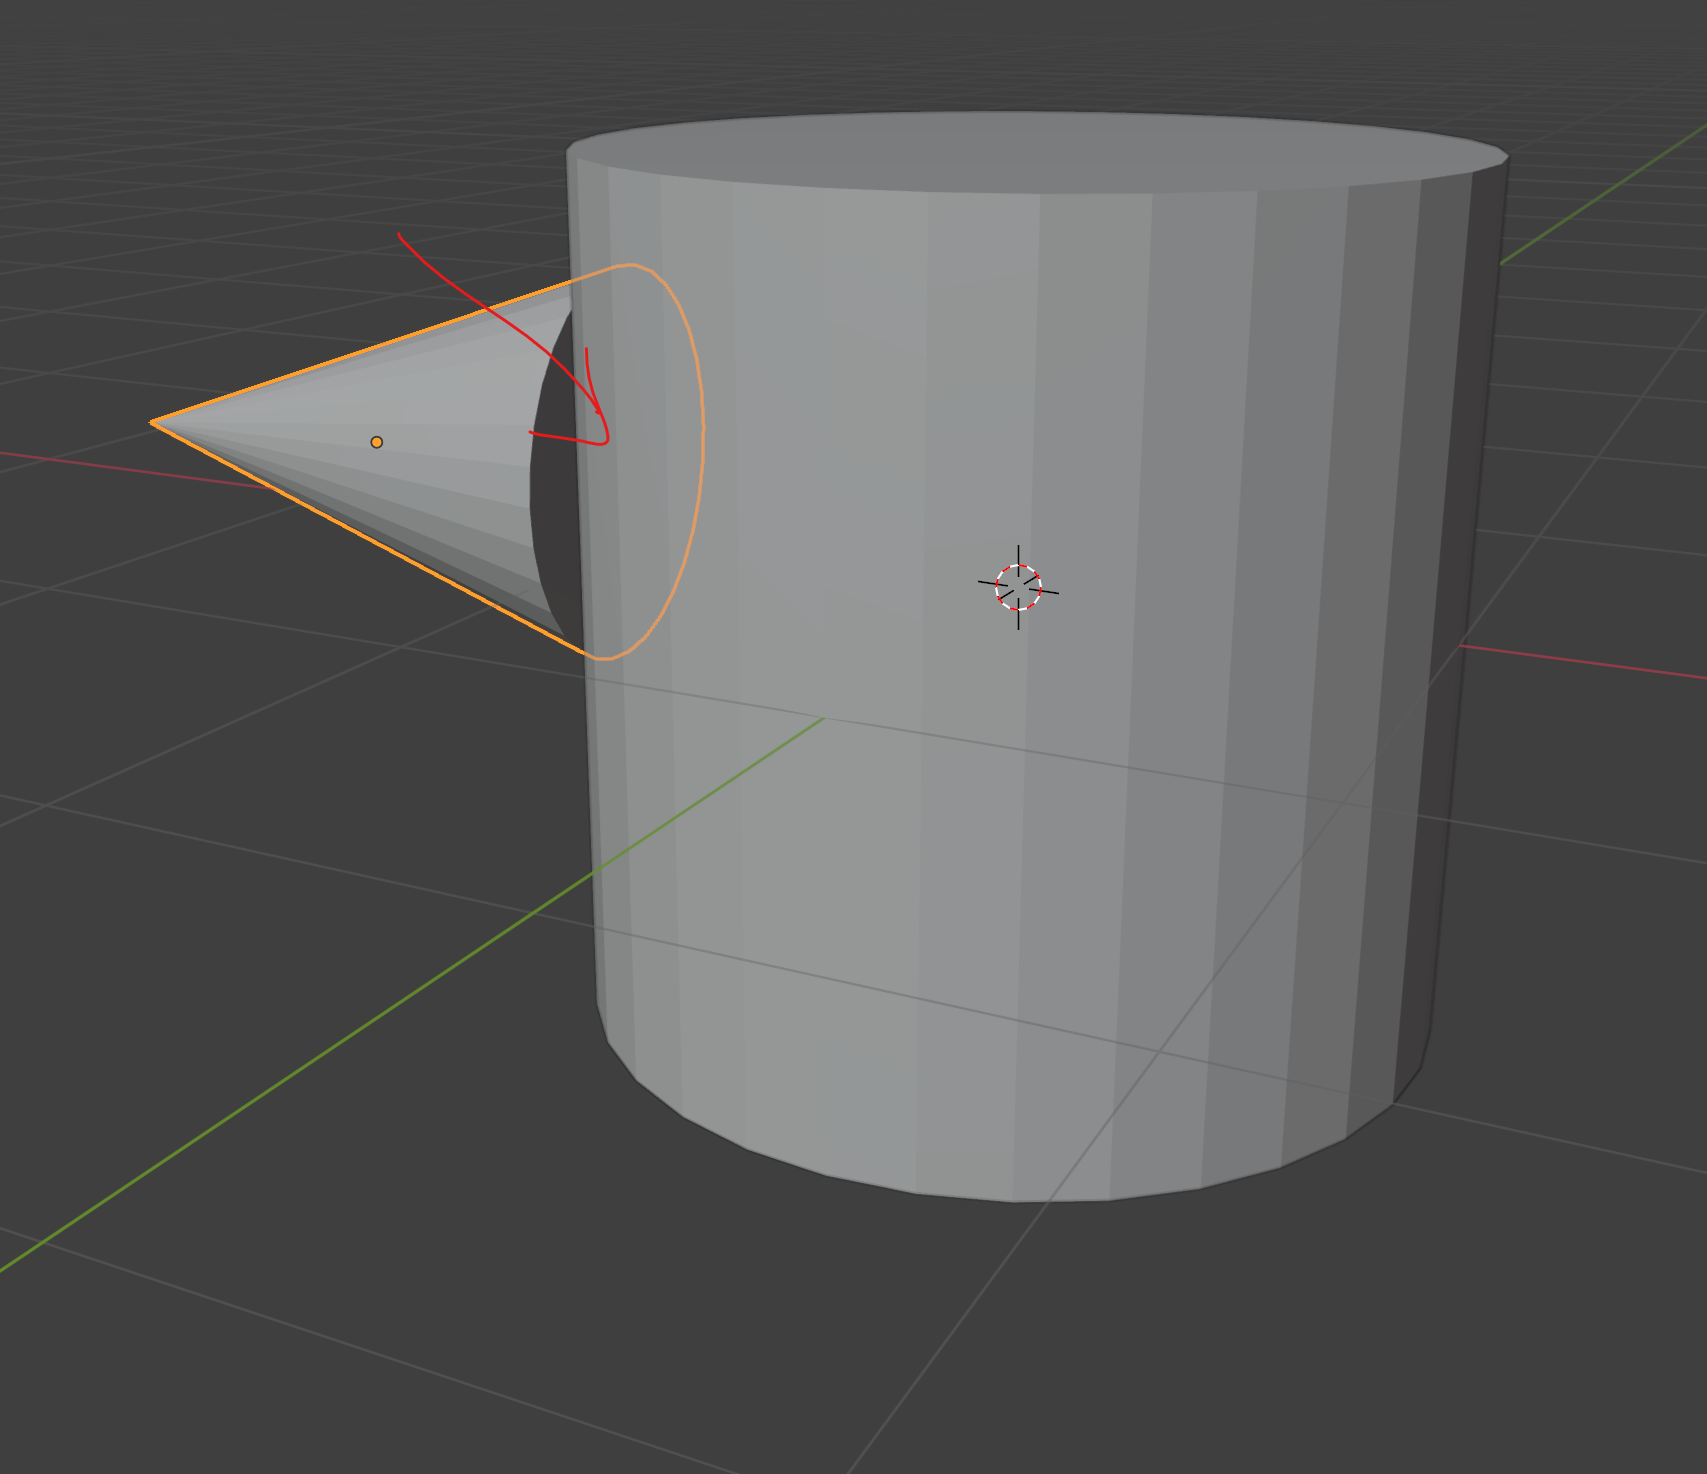
Hope this helps?
October 15, 2025 at 4:09 pm in reply to: Is this course appropriate for complete beginner in drawing stuff? #97071You ,ight be interested to know I am currently putting together a course specifically about this! Title is yet to be decided on, but it will focus on the fundamentals of drawing for absolute beginners! I will be using Grease Pencil as the tool, but the techniques discussed are transferrable and universal.
-
AuthorPosts
