
30 Days of Modeling
Forum Archive › 30 Days of Modeling
- This topic has 338 replies, 22 voices, and was last updated 5 years, 2 months ago by
Adrian Bellworthy.
-
AuthorPosts
-
June 12, 2019 at 8:18 pm #47317
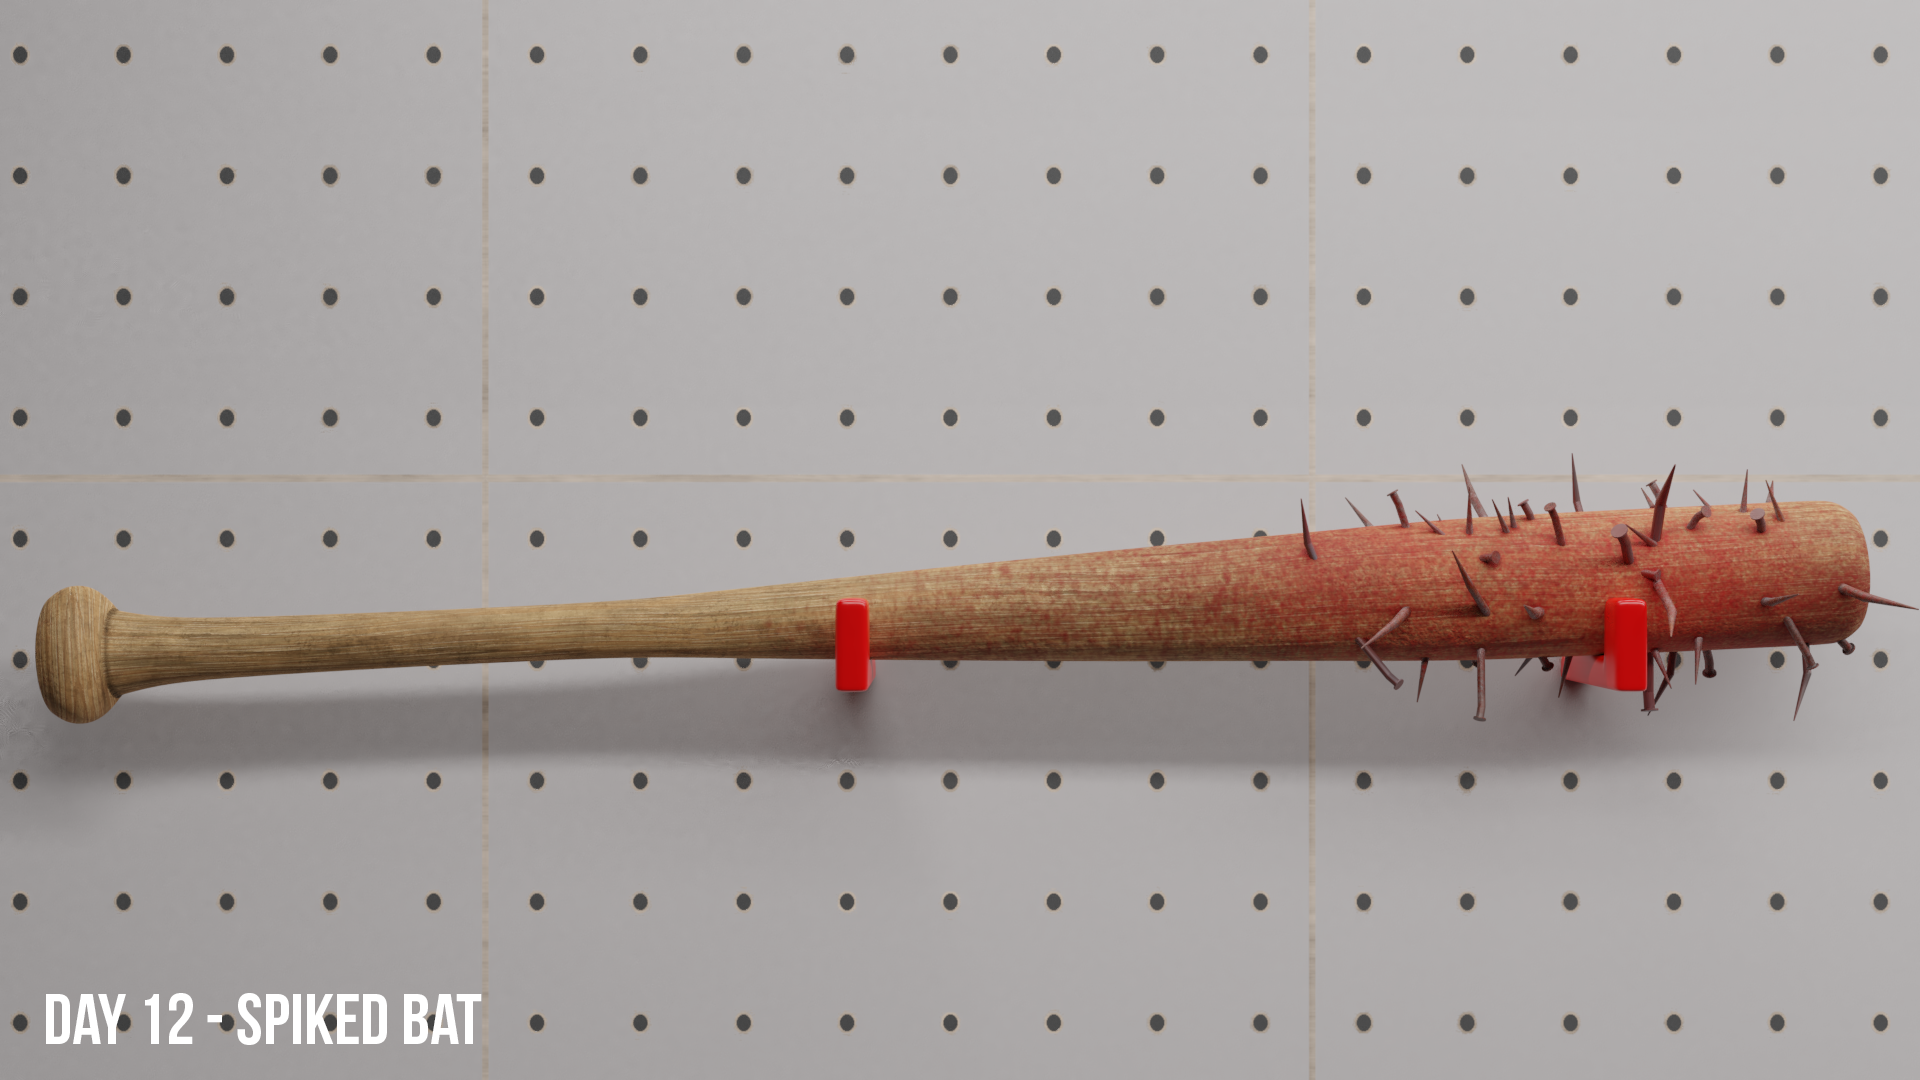
Had more time to work on this. Came out as expected so I’m quite happy about it. Only thing I’d like to learn is how to create “wraps” around the handle. I know I’ve seen some people use the shrinkwrap modifier, so I’ll have to experiment with that. Nonetheless here is my render for today. Put it through Substance Painter to add some nice details and wear on the bat and nails.
 June 12, 2019 at 8:39 pm #47318
I’ve got myself another cylinder-on-a-cylinder situation. Help?
 June 12, 2019 at 9:11 pm #47319
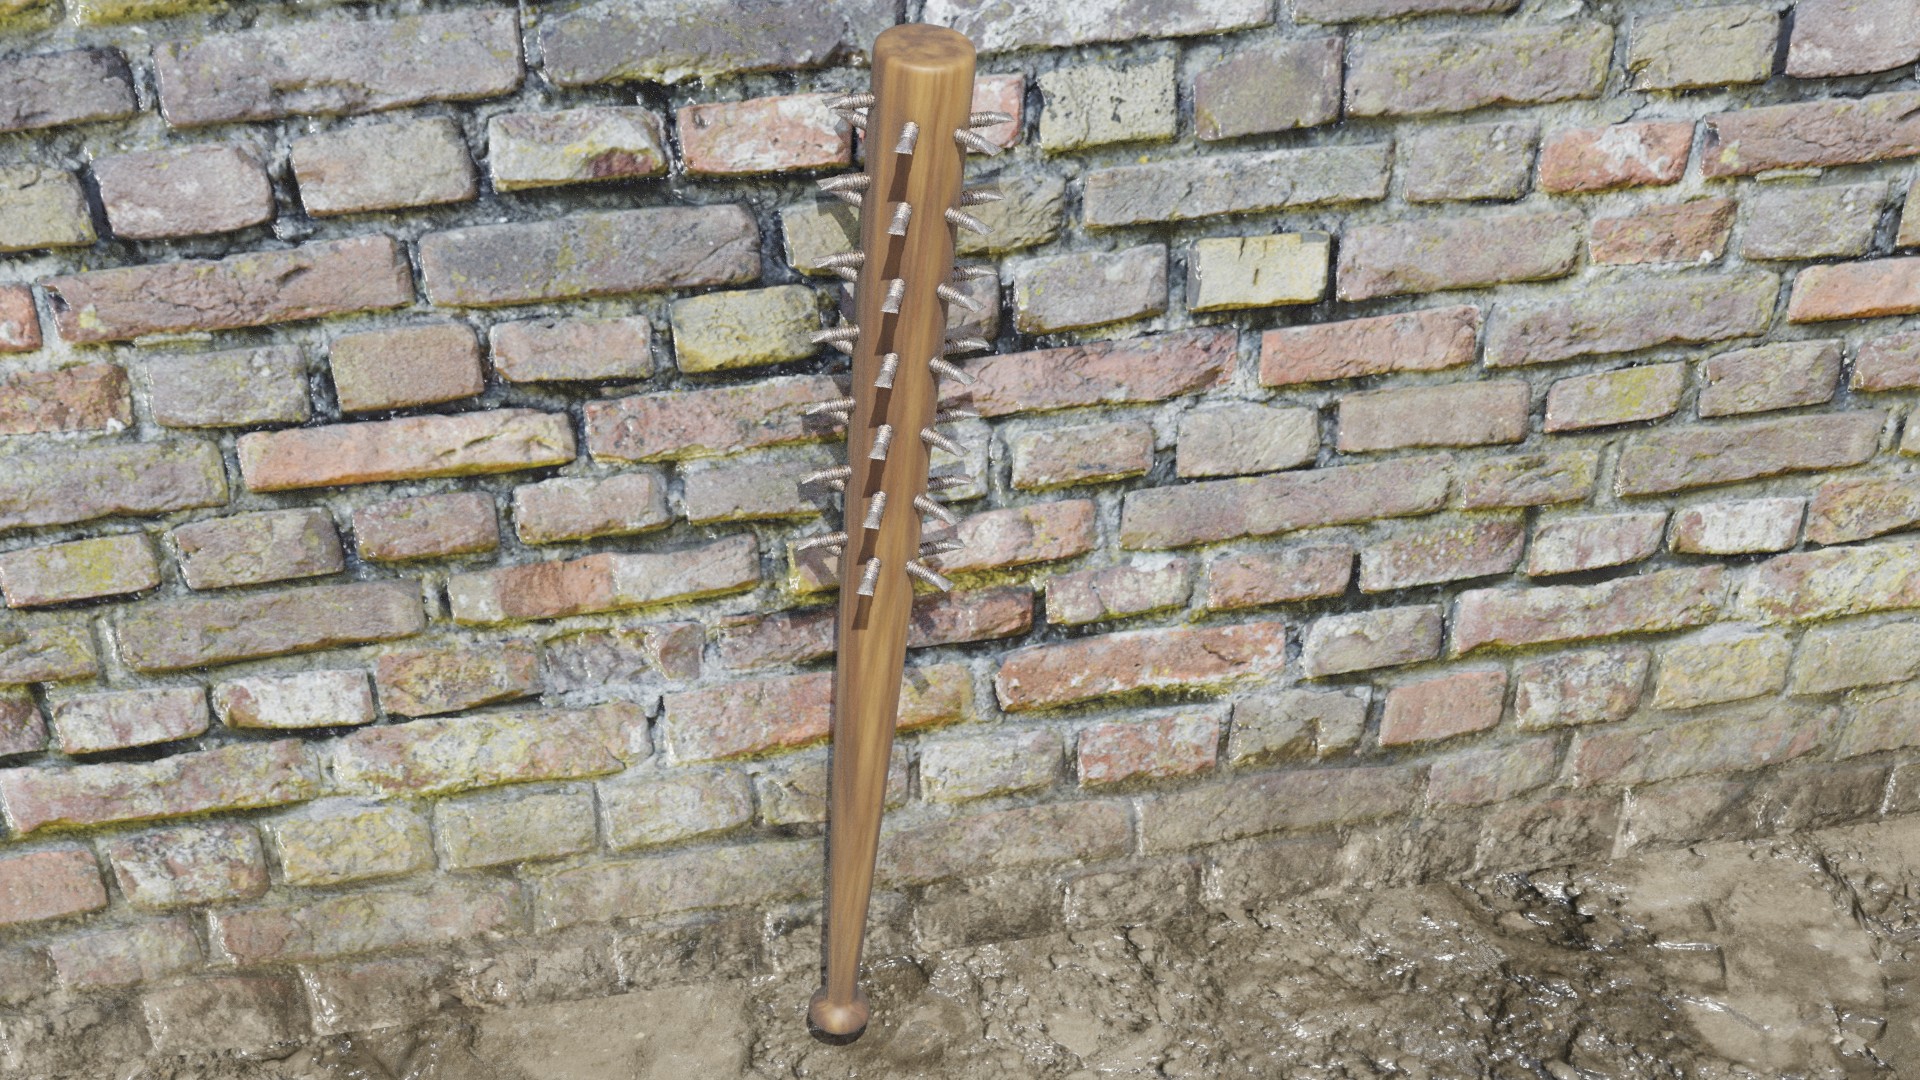
I did not know you could buy spiked bats on Amazon.
 June 13, 2019 at 2:06 am #47320
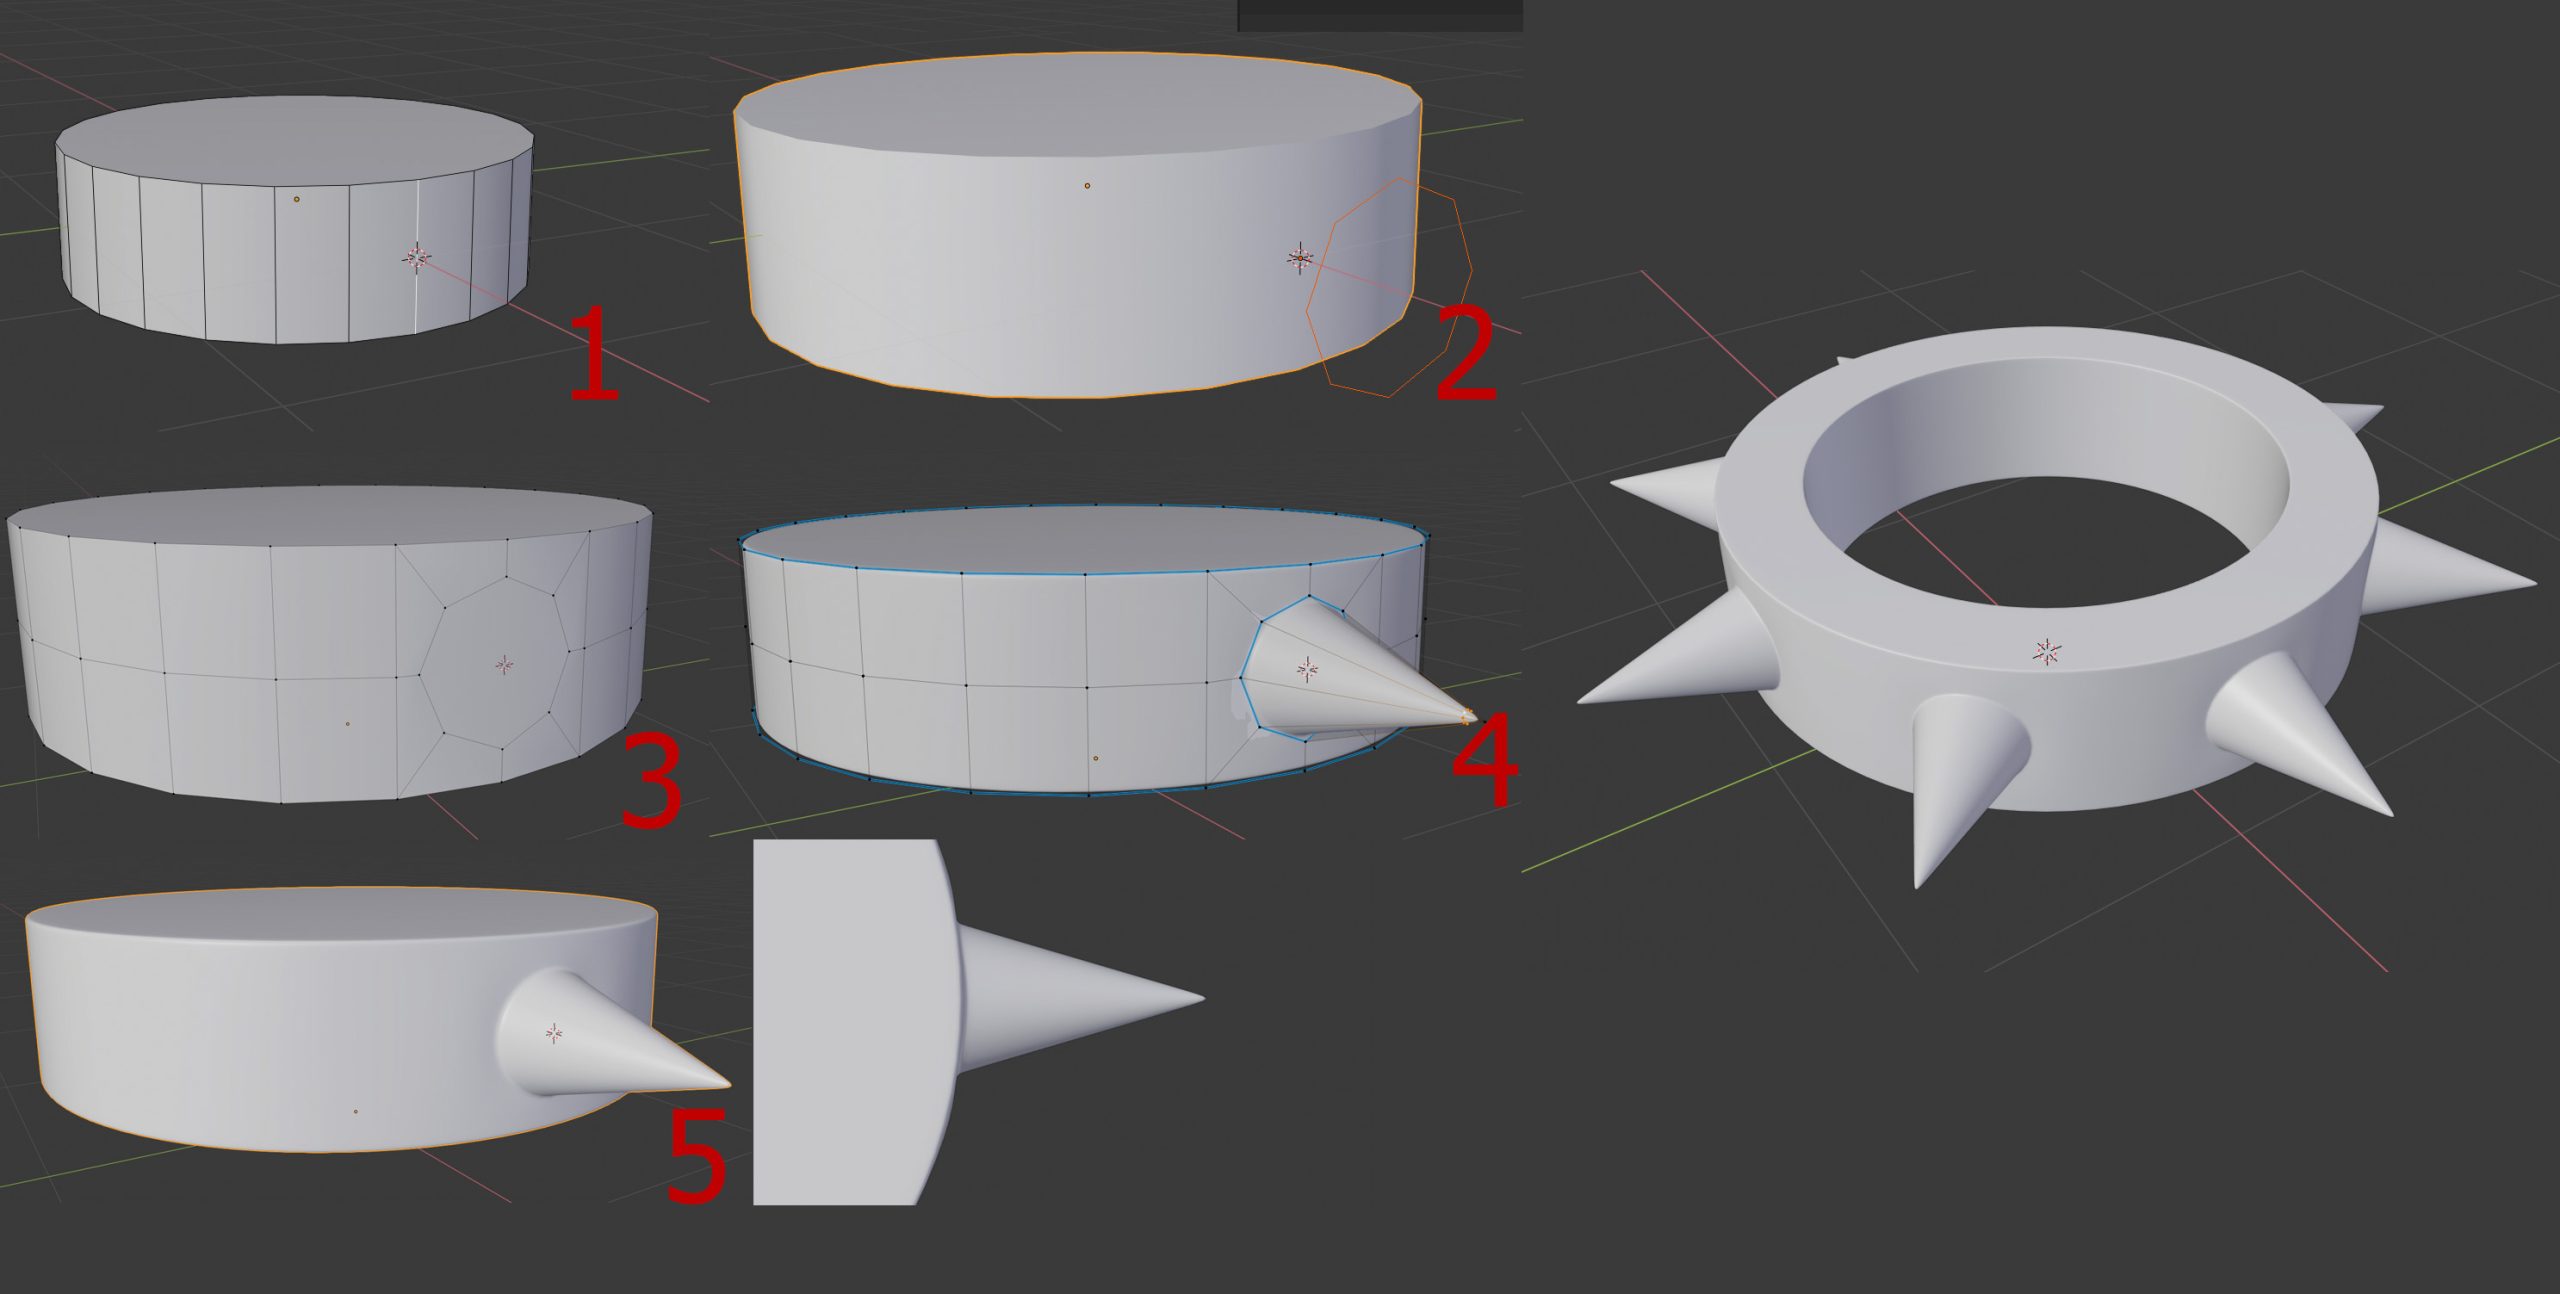
@williamatics So things like these, especially with a sub-d modifier, can be really tricky. You need to plan out the amount of vertices your cylinder will need to support your spikes. I wanted 3 edge loops to support one of my spikes, as that gives me 8 verts to make the spike with. There are a number of ways to do this, but here I chose to insert another 8-sided circle. I line it up against my cylinder object’s central edge, and knife project it onto the cylinder. Add a center edge loop, connect everything nicely. I’m not using an additional holding edge because I’ll be using a bevel modifier set to weight, so I can create my holding edges in that way. The blue lines means its got a bevel weight to it. After the bevel just throw a subsurf on it. It worked out pretty nicely.
Hope this helps.
 June 13, 2019 at 2:07 am #47321
Hello William, I am not sure if I understand your question correctly and where you want help.
I also have the problem that my English is not so good to explain it to you well and clearly.
I really have to improve my English 😉Basically you can set loop cuts and then reinforce the rings by extrude or with bevel.
Also the inset tool works well in some situations.
It depends on the model.
You can also select and extrude individual faces. “extrude individual”
Depending on the model you might have to scale with Alt-S.
With the Loop-Tool (AddOn)- you can change vertices to a circle and scale it
You can select a face-loop for the ring and use “P” separate by selection.
Many of these tools from the Mesh-Modeling-Fundamentals are useful ToolsA simple Screenshot

That my quickly ideas so far. Perhaps this will help you as an idea.
PS: numbernine posted at the same minute. I recommend to follow this explanations 🙂
I did not care of the subsurf and there will be problems with sharpening the edges. Sorry for this
June 13, 2019 at 3:19 am #47322@monaloren I like that we both posted at almost the exact same time 😀
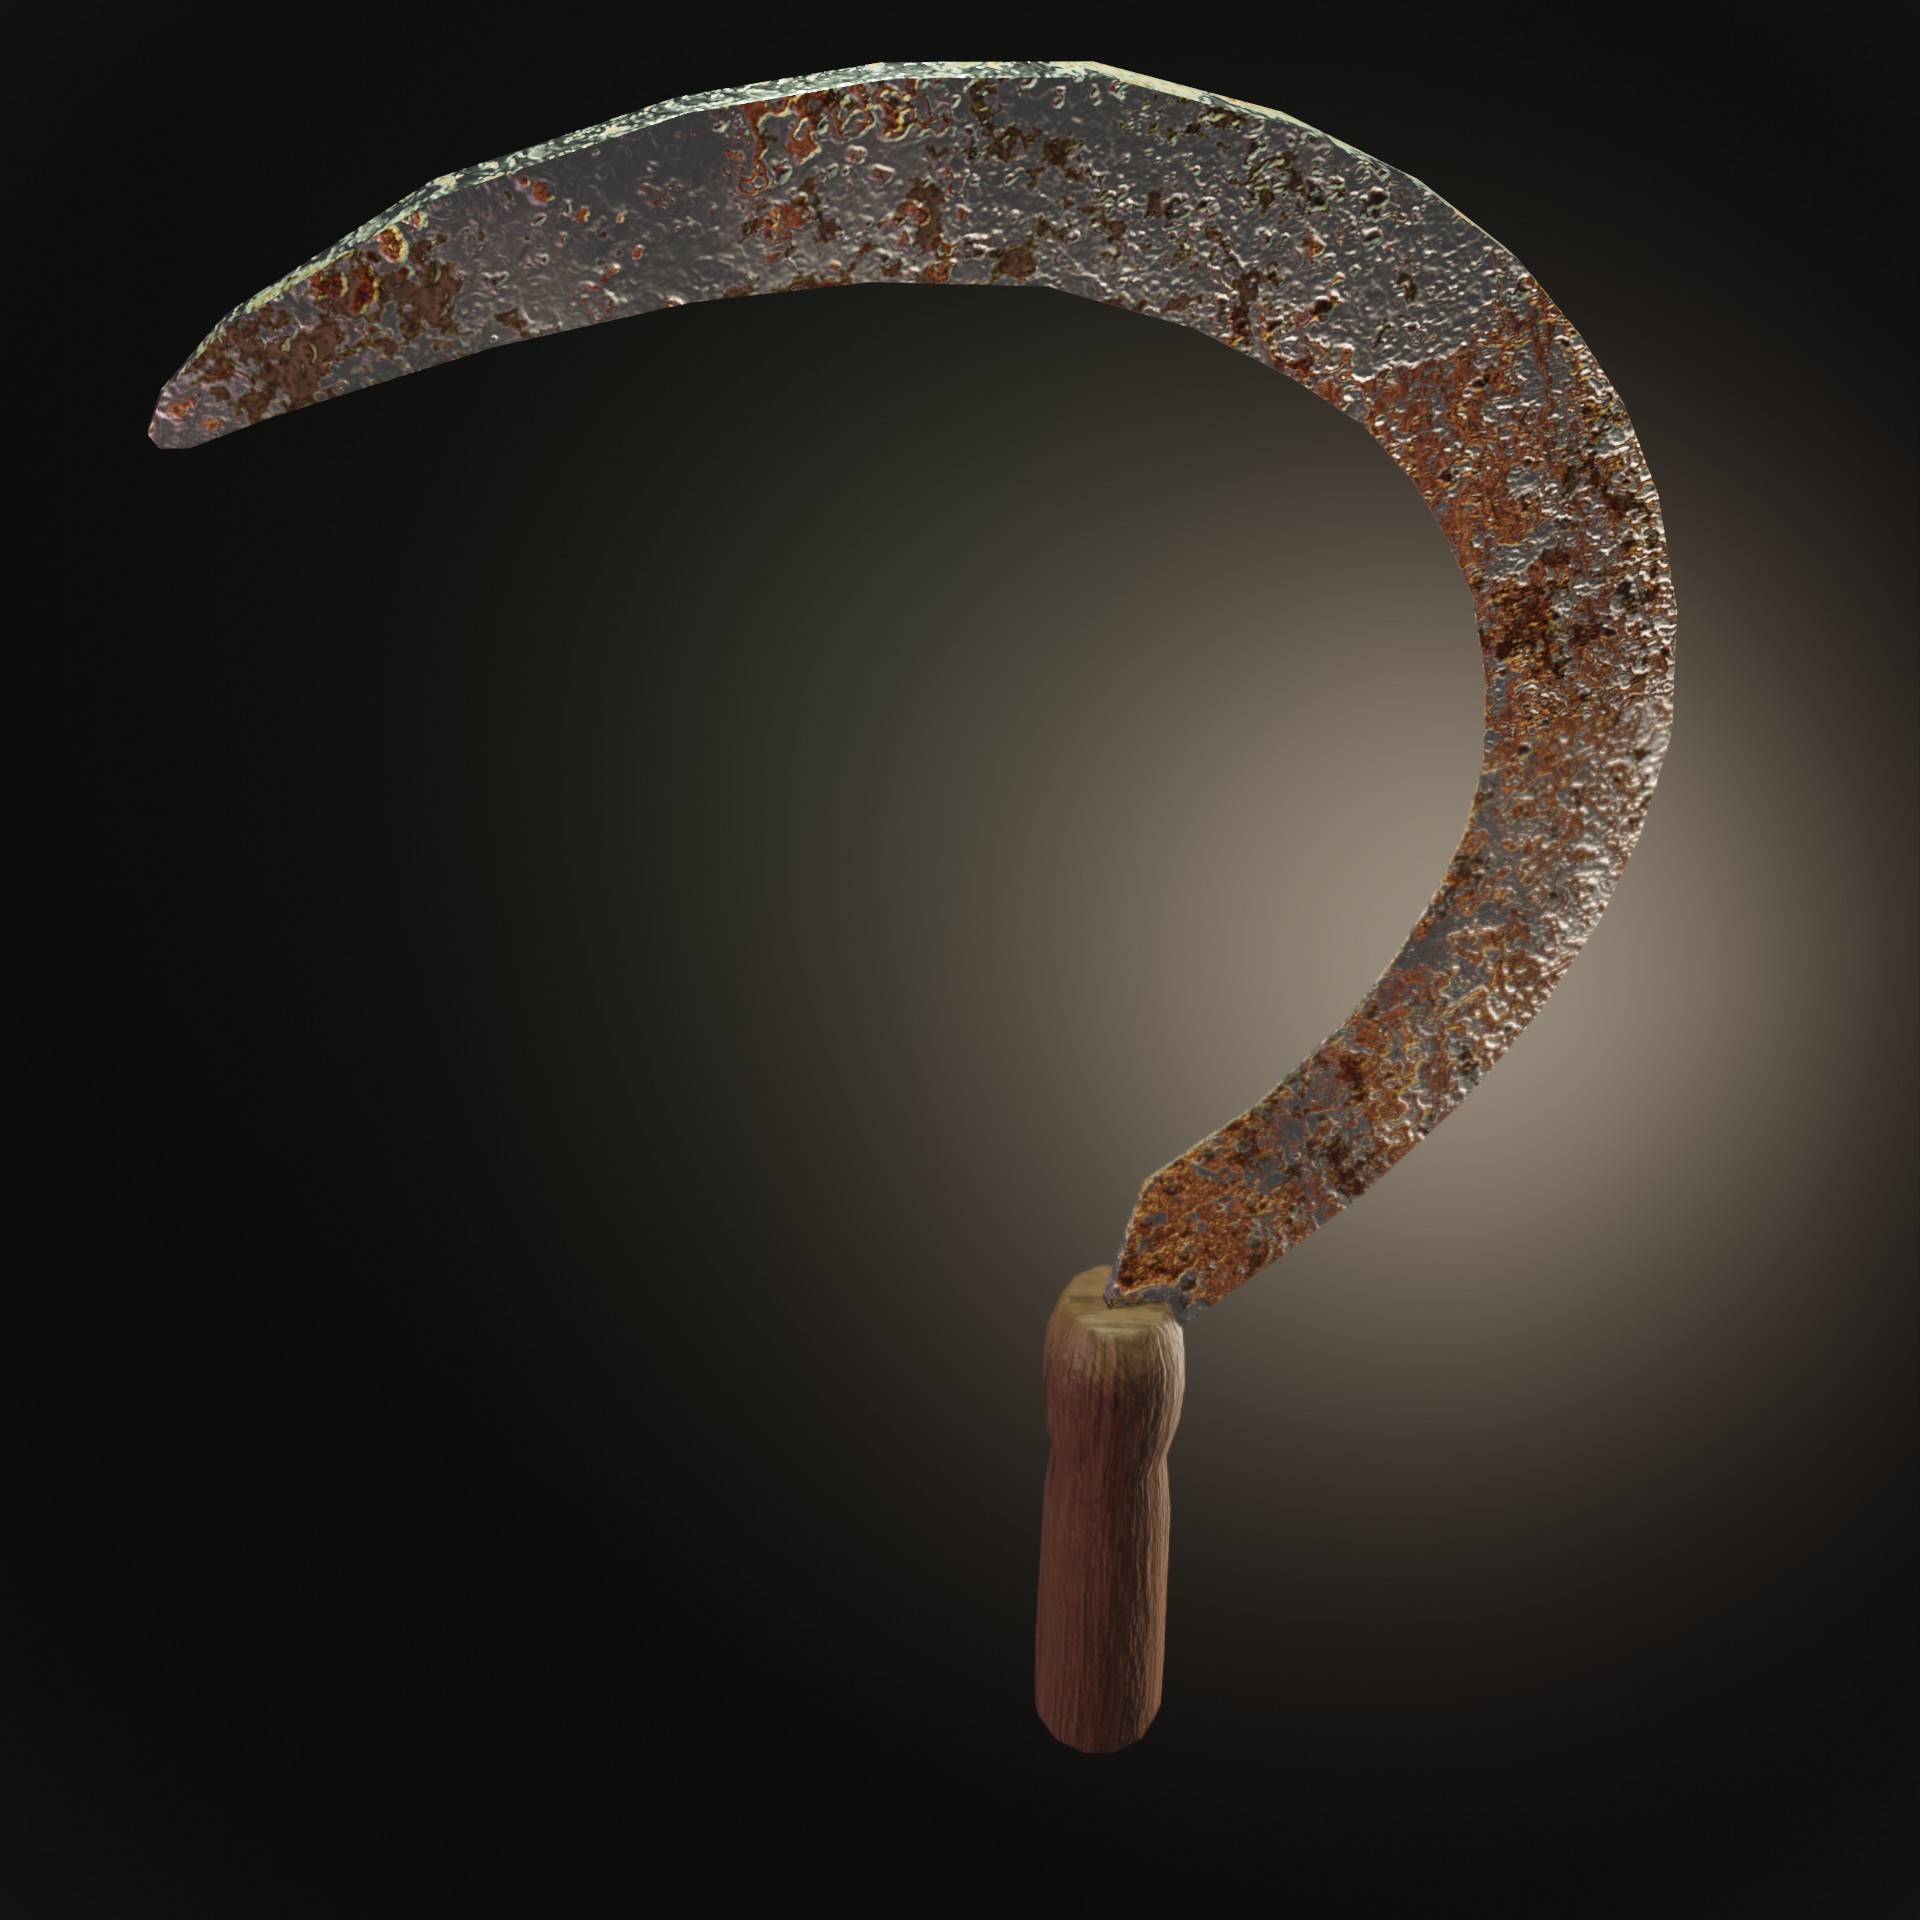
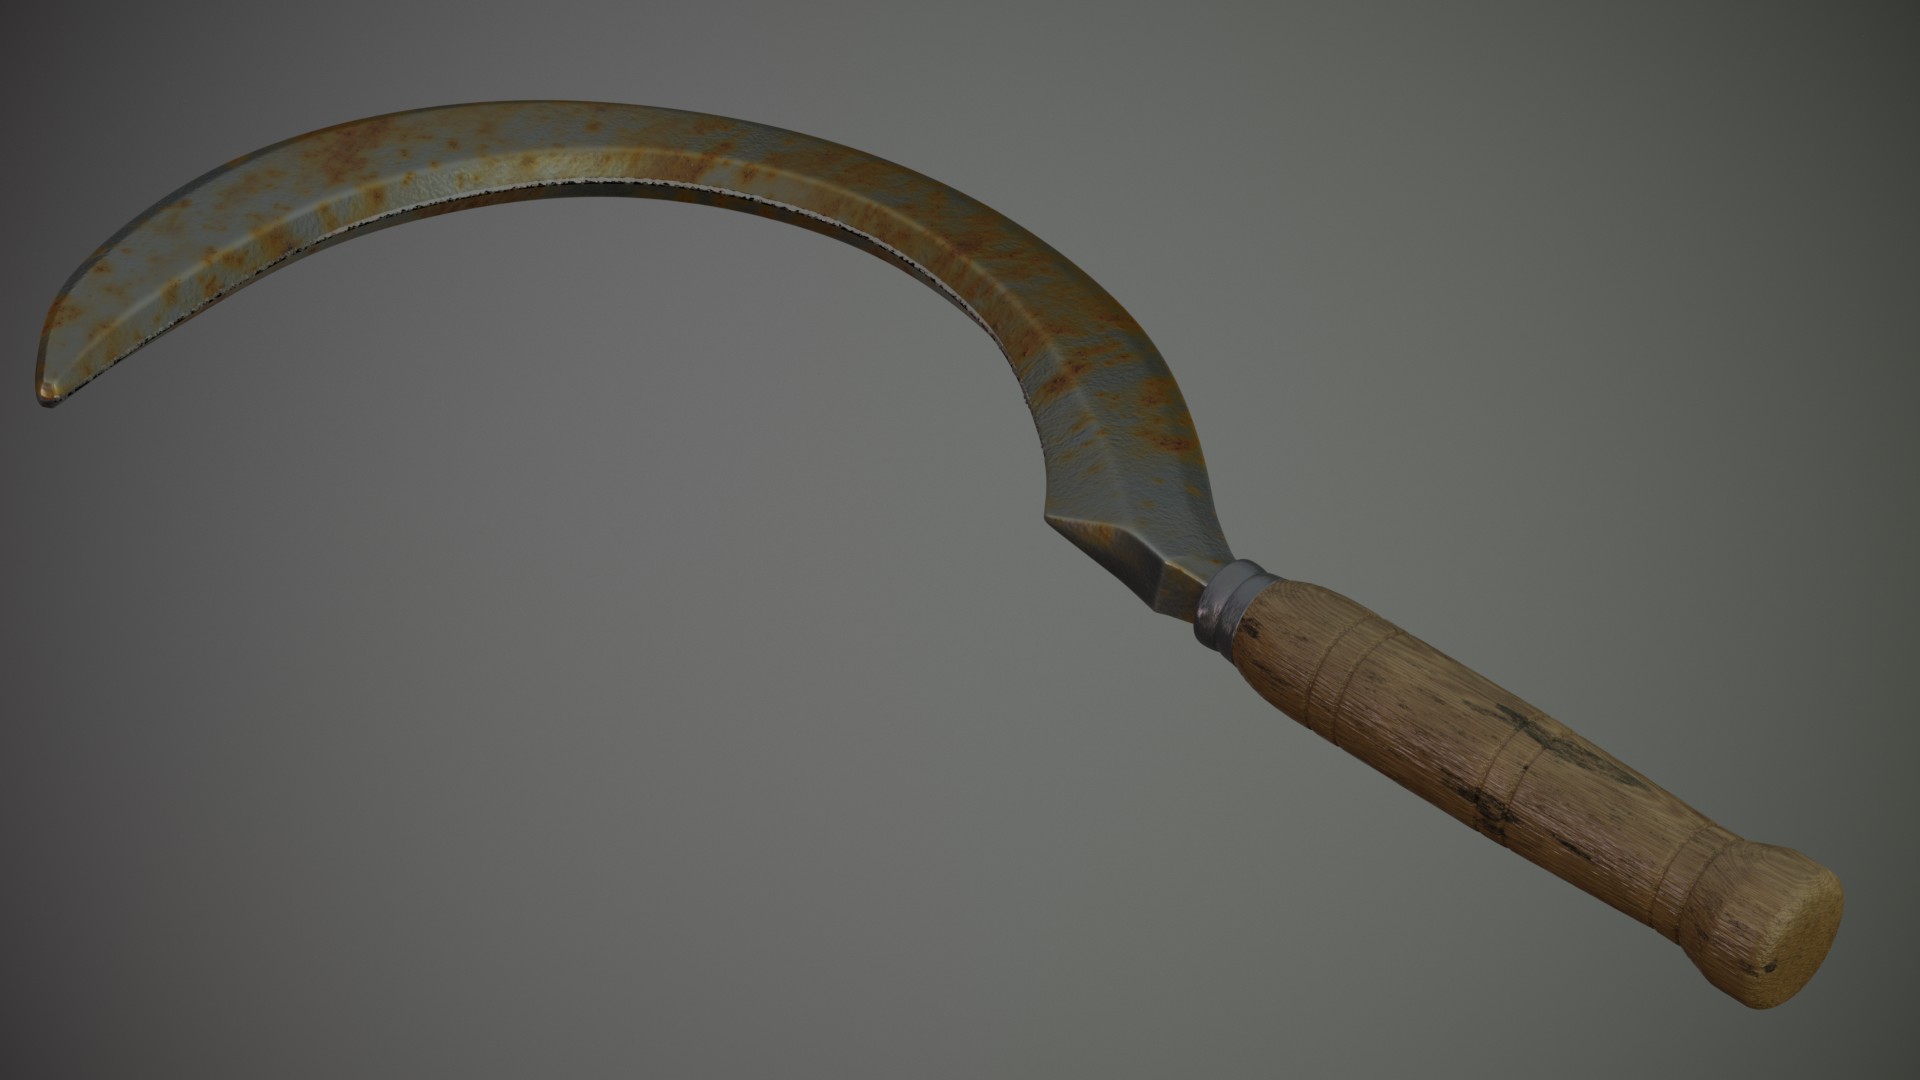
June 13, 2019 at 6:36 am #47323Rusty but shiny sickle
 June 13, 2019 at 11:27 am #47324
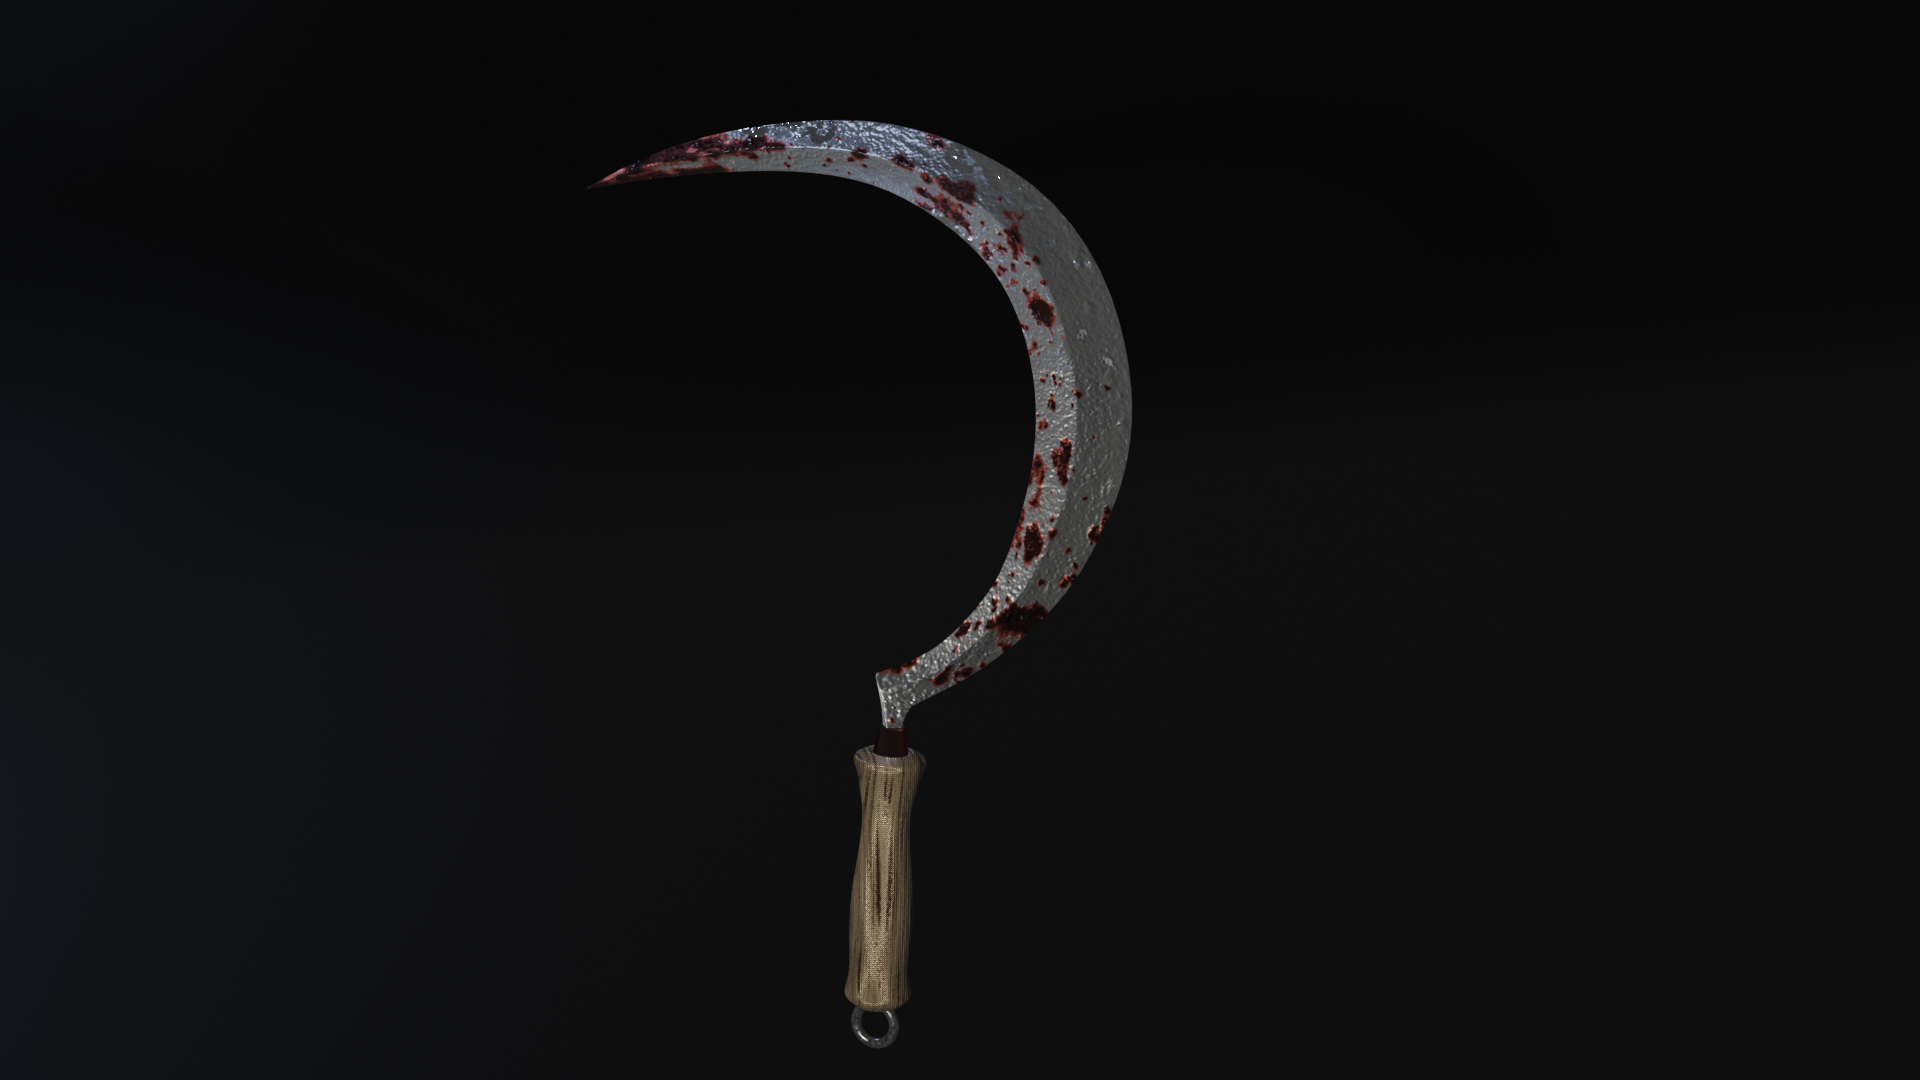
Tried for rust, but definitely turned out to be blood. Learned how to paint a mask in the image editor and tried to use a tablet, both definitely added to the never ending list of things I still need to practice on. Time to do other things. Anyone know any good lighting tutorials?
 June 13, 2019 at 11:27 am #47325
Here it is. Next topic on my growing list are sharp edges 😉
I am happy with this as a result for one day.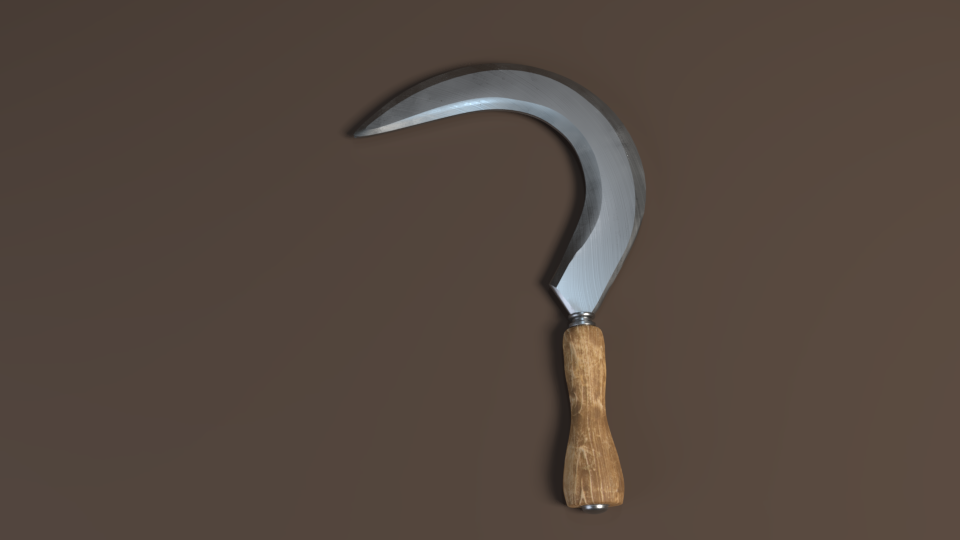 June 13, 2019 at 11:45 am #47326
Here’s my submission for today; as this took me hardly any time to model (thanks to Jonathan’s daily exercises!), I decided to spend some time on texturing and shading, to give this a bit of a worn look, contrary to my so far squeaky clean renders in this thread.
Love the other renders, by the way; you’re all doing great!
 June 13, 2019 at 12:08 pm #47327
@williamatics Here’s another trick (I waited on purpose to pose this, because I think you should try Numbernine’s way first!):
this is what I do when I find myself in a situation, where I know, the shape I want, but can’t figure out the topology.
Let me use your case as an example: I would make the ring, the put a cone through the ring, where it’s supposed to be.
Then go into object mode and use snapping, maybe in combination with the shrinkwrap modifier, Then place edge rings where you need them (around the connecting ‘circle’, one on the ring and one on the cone, also around the edge of the ring ), then finish your topology by connecting everything and extruding towards the point of the cone.
Once you have your topology in place, you can disable snapping (and apply the shrinkwrap) and even delete the ‘mould’.
Now that you have two edge rings around the connection of the ring and the spike, you can easily add edge loops on either side of the connecting ‘circle’ and then scale the edge loop between then in, so that the spikes are sitting on top of the ring and it’s not one piece.
I hope this makes sense to you;)
June 13, 2019 at 1:05 pm #47328@tanya53 blender gurus new lighting series might be worth a watch
https://m.youtube.com/playlist?list=PLjEaoINr3zgH9vCr47kSS5W8PEJBNIiwK
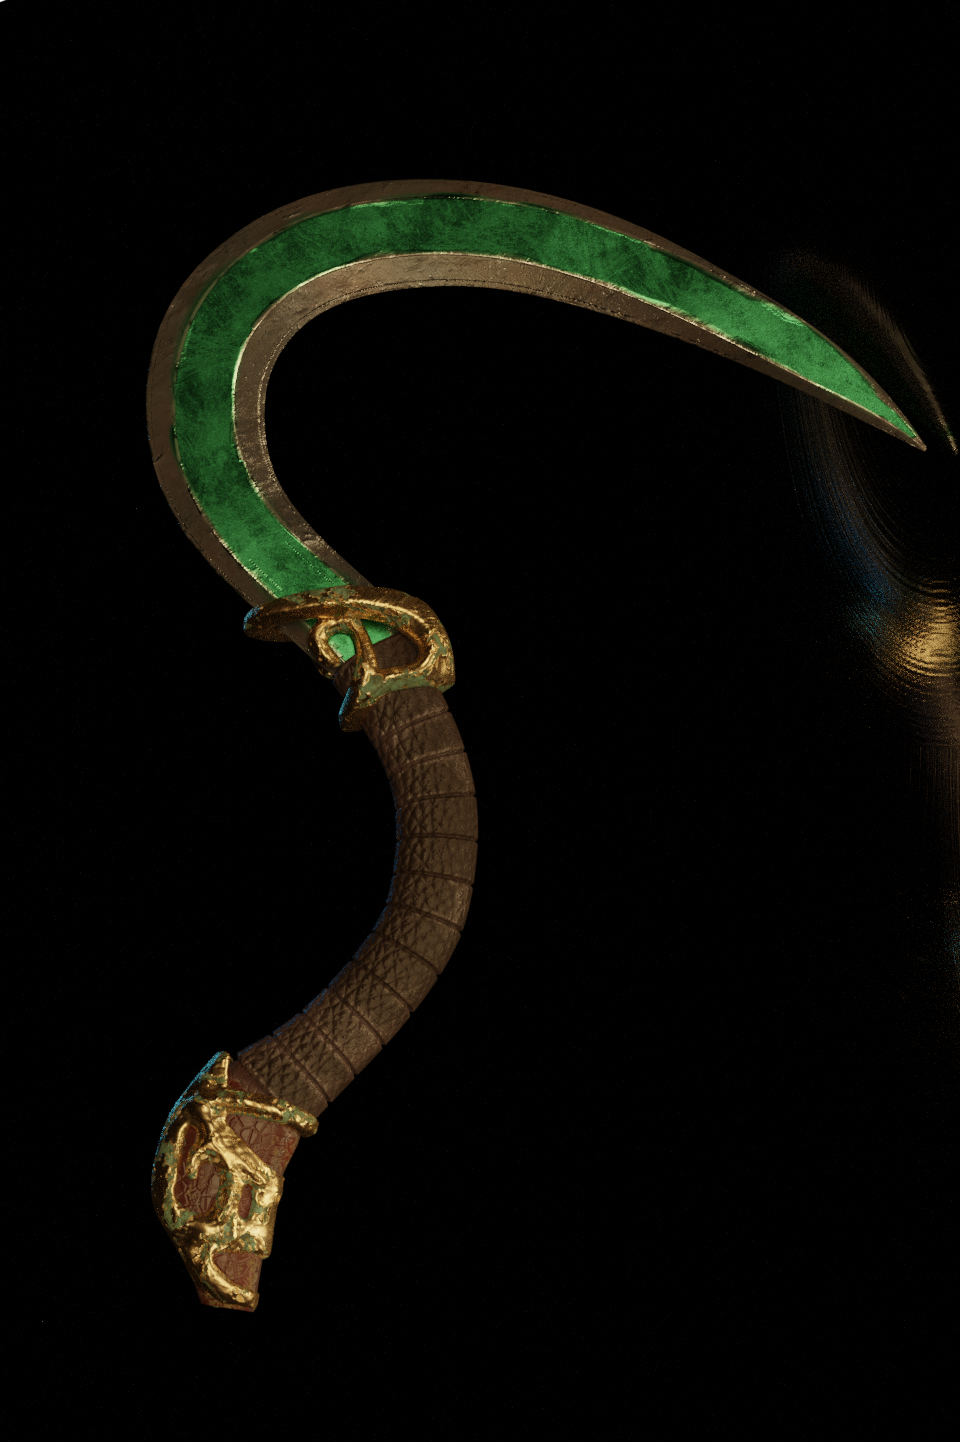
June 13, 2019 at 1:31 pm #47329Literally have to run out of the house in two minutes. Some of the ornaments on my reference were actually quite complicated that I had to resort to sculpting. The top one is looking okay, bottom not so much. For so much rushing I’m still pretty happy!
 June 13, 2019 at 3:00 pm #47330
Thank you, @numbernine , @monaloren , and @spikeyxxx for your answers. The are very helpful. Mona Loren, your English is great.
June 13, 2019 at 5:36 pm #47331@smurfmier1985 thanks, those look good and I hadn’t seen them.
-
AuthorPosts


- The topic ‘30 Days of Modeling’ is closed to new replies.