[ENDED] BC3-1806 – June 2018 Class Homepage – Vehicle Modeling with Blender

Forum Archive [ENDED] BC3-1806 – June 2018 Class Homepage – Vehicle Modeling with Blender

Viewing 15 posts - 556 through 570 (of 1,277 total)
  • Author
    Posts
  • #35611
    Bauke Post
    Participant

      @williamatics You could also put the shrinkwrap on top of the subsurf. That would work just fine.

      #35612
      William Miller
      Participant

        Okay, I updated the blend file.

        #35613
        Adam Bowkett
        Participant

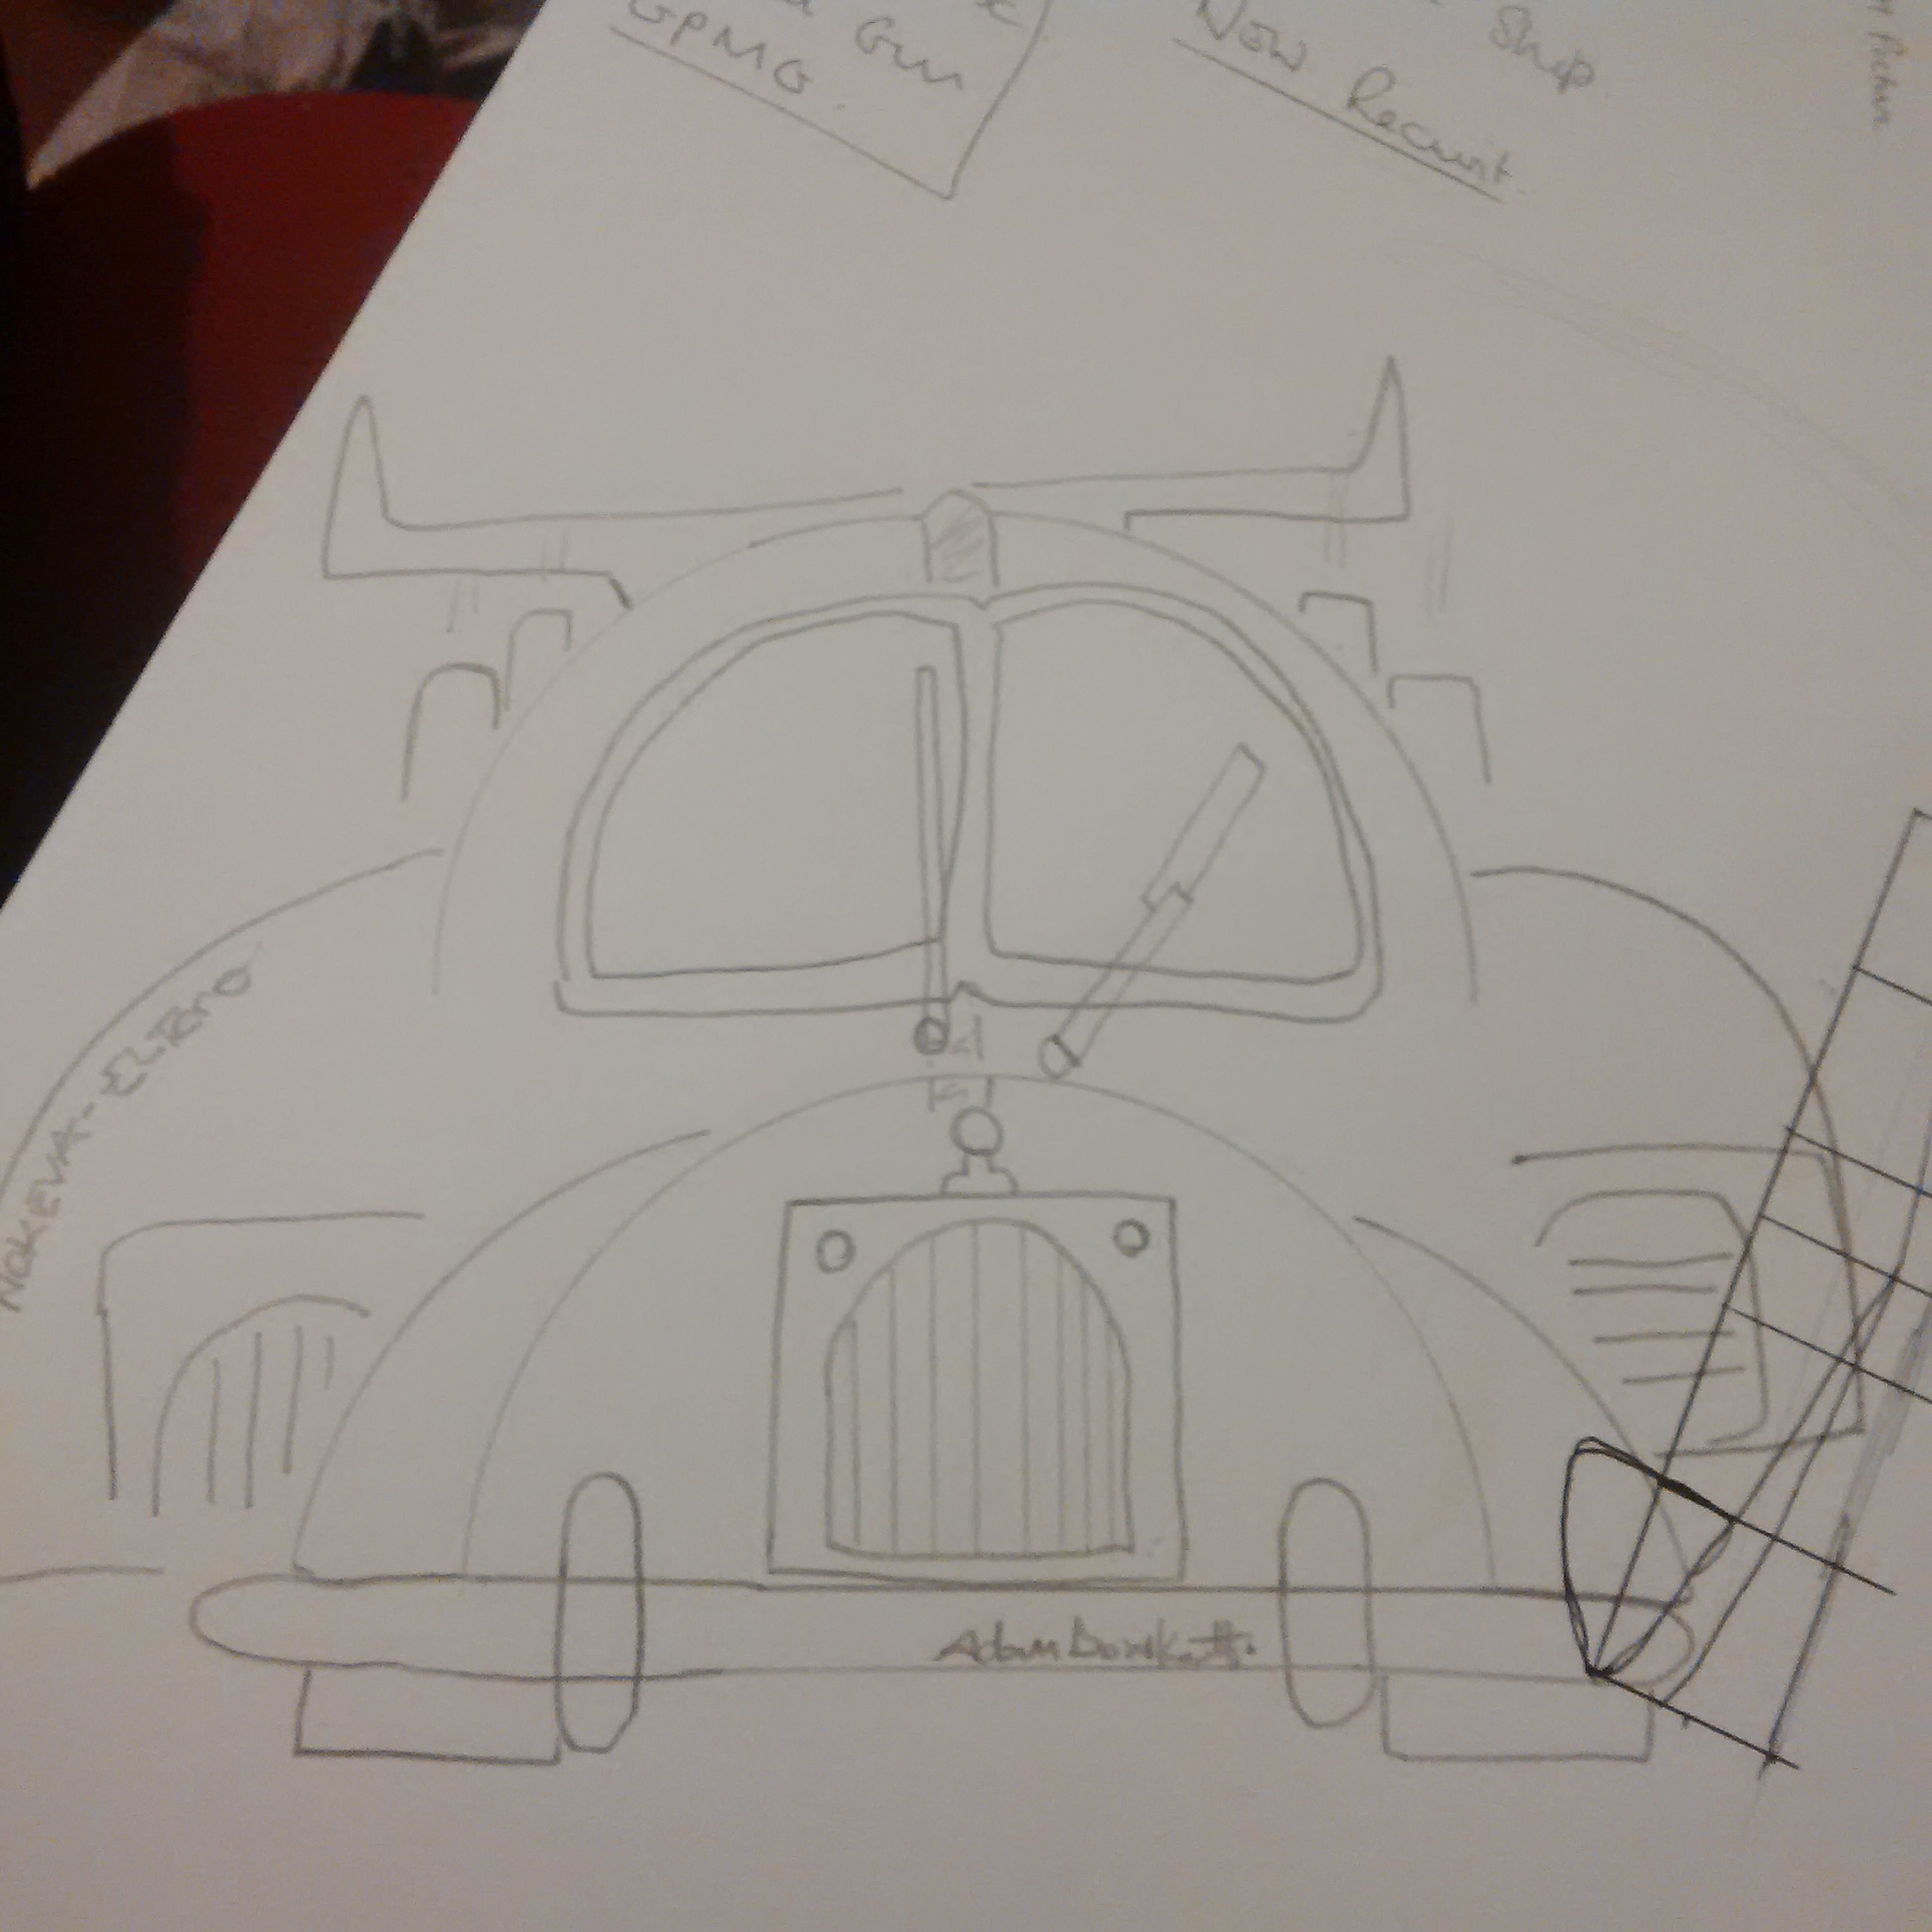
          WIP,  The mouse is mightier than the pencil!! Haha

          #35614
          silentheart00
          Participant

            Started my model today after a busy week.  My side view doesn’t line up, which is annoying, but I’ll figure it out.

            #35615
            Char Hunter
            Participant

              @michallis  Here are some tutorials I’ve relied on before for making holes.

              https://www.youtube.com/watch?v=s7gAdcyzHYs

              https://www.youtube.com/watch?v=Bc52fcrHvAA

              They’re kinda of old, but could still be helpful.  

              Also, this one using knife project.

              #35616
              Aaron Rudderham
              Participant

                @silentheart00 Yeah I have the same issue where my blueprints don’t align at all, fortunately I’ve made good progress using a myriad of references to the point where the blueprints might as well not be there. It’s surprising how much you can fill in the gaps with a photograph and the naked eye so grab as many references as you possibly can, it’ll be a lifesaver.

                #35617
                silentheart00
                Participant

                  @thecabbagedetective Yeah, I’m working on it.  Fixed the blueprint a little bit, but I’ll just have to wing it slightly in those murky areas lol

                  #35618
                  Kent Trammell
                  Participant

                    @thepainter Progressing nicely, Palo 👌

                    @baukepost Clever solution to the pinching! That’s smooth as a baby’s bottom.

                    @martinlisen  You’re nailing the complex curvature. And with such efficient topology. Great work 👏

                    @thecabbagedetective Looking crispy! By ‘crispy’ I mean precise details 👍

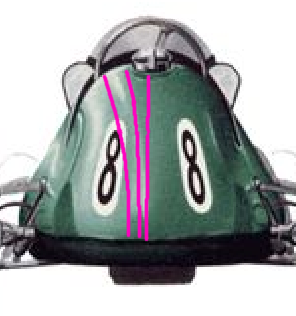
                    @michallis Definitely getting there! As far as I can tell, it looks like the topology needs to be like the image below, where the edges start further apart and gradually pinch in closer toward the bottom:

                    #35619
                    Kent Trammell
                    Participant

                      @mrdojo Great advice. Thanks for taking the time to share this 🙇🏻

                      #35620
                      Kent Trammell
                      Participant

                        @jack07 Phenomenal job. You absolutely should be 200% happy with the end result. You’ve clearly put a lot of work into this model and it shows! If I had one tiny critique it would be that the edges feel a little on the sharp side. The closer I get I can certainly tell it’s all smoothed via subsurf, but from the distance in the render, it could almost be mistaken for lo poly. But it’s a minor note. You earned an A this week easily!

                        Now, let’s say I want to make it game ready, would this be okay to bake normals to a simplified mesh?

                        Yes you can bake very good normals from your subsurfed model down to a lo poly version. In fact that’s arguably the highest quality technique for hard-surface game models. You can find a lot of examples by looking for Halo 5 assets on artstation like this one.

                        #35621
                        Kent Trammell
                        Participant

                          @dostovel You can select all objects and go to the object properties and in the “Display” section,  enable Wire and Draw All Wires while holding ALT. This will enable those settings for all selected objects simultaneously.

                          #35622
                          Kent Trammell
                          Participant

                            @benkroft Good progress, Tobias! It’s definitely coming along. Perhaps a bit on the boxy side right now. A top view would have been helpful for that. Also matching photo-reference will be helpful. Keep up the good work!

                            #35623
                            Kent Trammell
                            Participant

                              @tbrbn I’m drooling over that tire tread 😍 Wow. Those details are major eye candy. Excellent work

                              #35624
                              Kent Trammell
                              Participant

                                @baukepost I agree with @williamatics that the extrude inward could benefit from being deeper. You could angle the walls of the intrusion so it’s beveled rather than 90 degrees all around.

                                #35625
                                Jack
                                Participant

                                  @theluthier Thanks! I started adding some beveled edges to break a little the boxy look!

                                  That armor 😍

                                Viewing 15 posts - 556 through 570 (of 1,277 total)
                                • The topic ‘[ENDED] BC3-1806 – June 2018 Class Homepage – Vehicle Modeling with Blender’ is closed to new replies.