[ENDED] BC3-1806 – June 2018 Class Homepage – Vehicle Modeling with Blender

Forum Archive [ENDED] BC3-1806 – June 2018 Class Homepage – Vehicle Modeling with Blender

Viewing 15 posts - 481 through 495 (of 1,277 total)
  • Author
    Posts
  • #35536
    Jack
    Participant

      @thecabbagedetective Woah, that ornament could be enough for an entire class!

      #35537
      Jack
      Participant

        Homework Submission Week 2 – I guess?
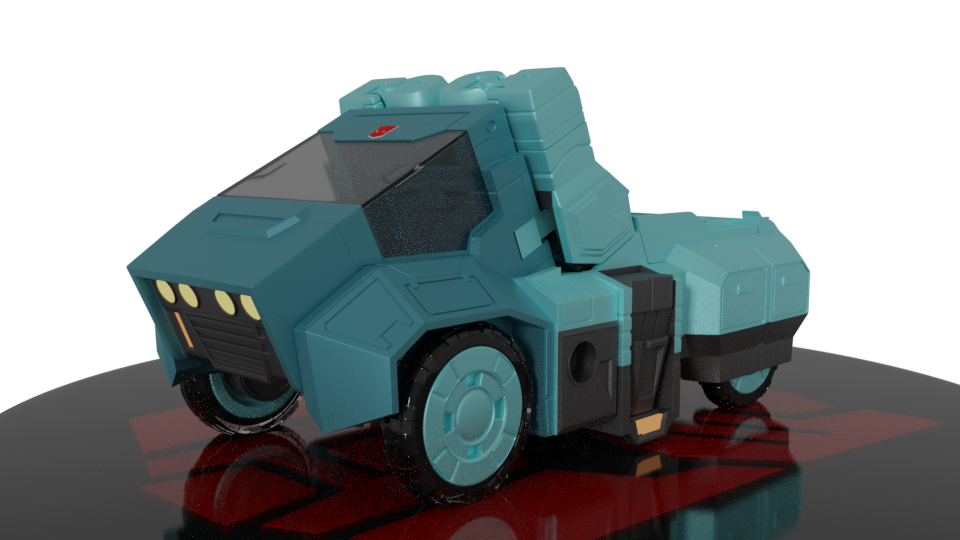
        I finished the exterior of my vehicle so I thought, why not just submit it?

         I learned a very important lesson while making this car: Always be sure all the details are complete before starting work with the subsurf modifier.

        I’m not a 100% happy with some of the meshes, you may be able to tell which ones I started with by how messy they are. But to be fair, there’s so many details in each piece of the real toy, you can see the artifacts from putting too many edges close to each other, on the actual thing!

        I’ll probably use the remaining days to see if I can do something about it, but again, there’s so many details that touching the wrong edge pinches everything. Also my body hurts. Now, let’s say I want to make it game ready, would this be okay to bake normals to a simplified mesh?

        What I’m actually 200% happy with is the look of the end result. Especially the hands, I found myself just looking at them for an hour, I’m so proud of them!

        I miss embeds 😢

        #35538
        Omar Domenech
        Participant

          @theluthier How did you instantly turned on and off the wireframe for all the parts for your model at the same time?

          #35539
          mrdojo
          Participant

            @onelesspuppy

            Something like this ? 1. establish curvature 2. extrude simple box shapes and Snap vertices (weld them after).

            3. add supporting loops but spread them out so they do not distort your curvature.

            #35540
            silentheart00
            Participant

              @baukepost As far as I know, there’s no shrinkwrap function in Maya.  It’s been a few years since I used it, though, so maybe they added it.

              #35541
              silentheart00
              Participant

                @michallis Maybe you could try adding holding edges really close to where you want the pinch, then spread out the other verts along that holding edge to round out the form.

                #35542
                mrdojo
                Participant

                  @michallis so you might try adding 2 edgeloops from the center and spreading them out accordingely to get the right spacing of the pinch. 

                  I did a really quick test to show you (not in any case perfect lol):

                  of course you can also try the “EDGE CREASE” and pinch the middle edge with +- 0.8 and the edges beside it to a lower value (0.5 +-) to fan out but its not easy to get it “smooth”.

                  #35543
                  mrdojo
                  Participant

                    @jack07

                    the lighting doesn’t do the model justice but its modeled fine ! this will bake to a game version without ease (so far I can tell).

                    #35544
                    Zsolt Cseh
                    Participant

                      @jakeblended yes exactly that is the expression, DIFFICULT-surface modeling 😀

                      #35545
                      Michallis Pashidis
                      Participant

                        @mrdojo thank you for the help, I’ll try that out!

                        #35546
                        Michallis Pashidis
                        Participant

                          @mrdojo 

                          Great, that does the job 🙂 thank you very much!!

                          #35547
                          Tobias Schmid
                          Participant
                            Week 2 WIP
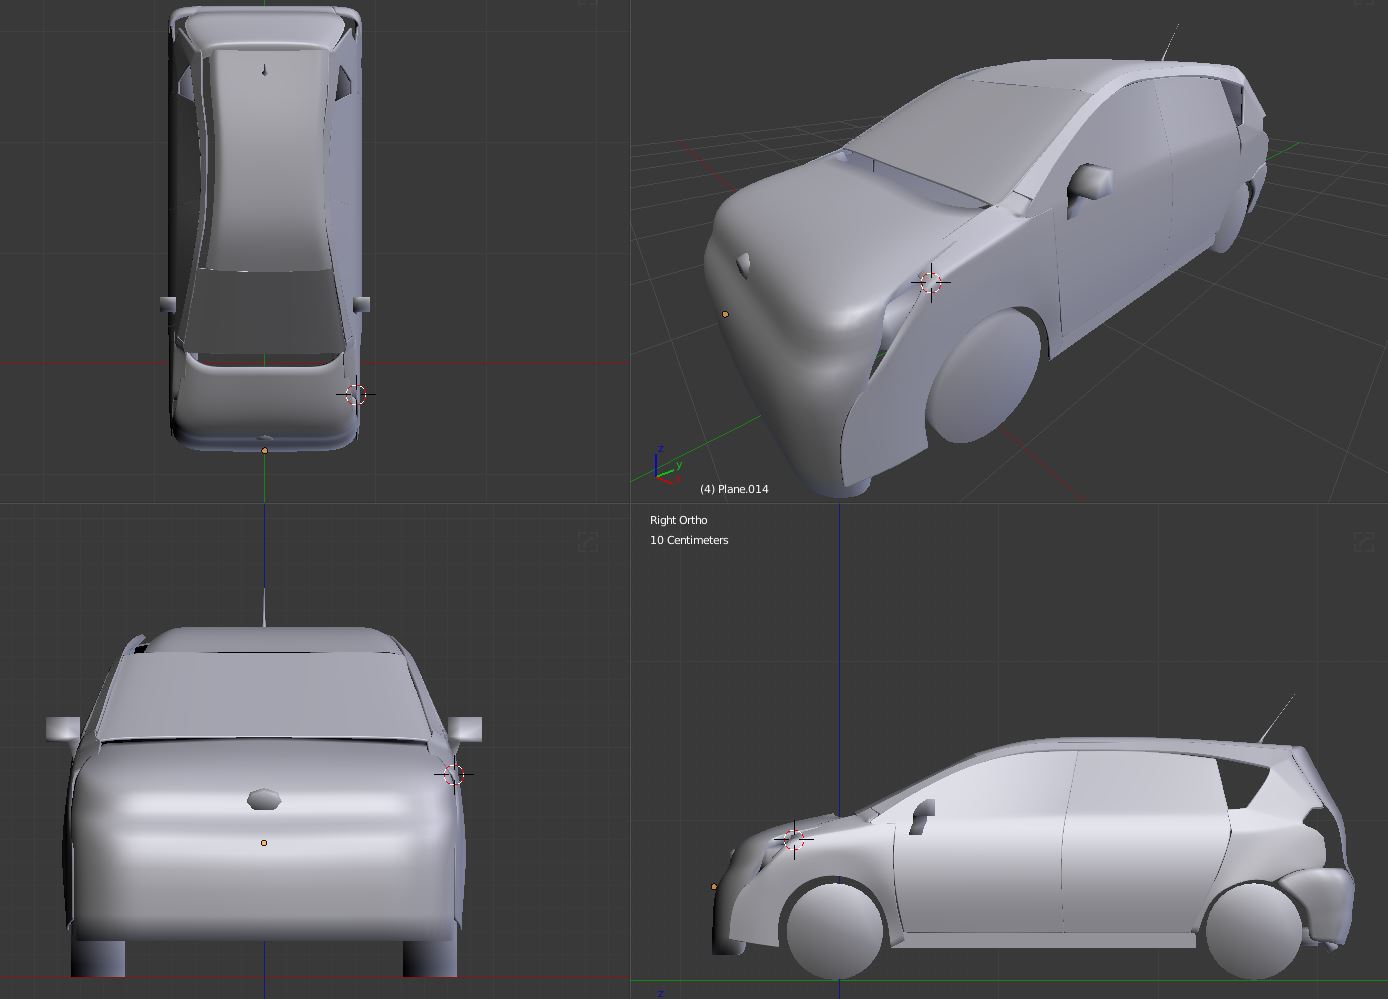
                            Here is my Progress. I have done the main shapes, but im still solving the puzzle of connecting the separated pieces well.
                            I found out that my references were to low res, so it was moore guesswork. I allso missed a topview in the blueprints.
                            But tomorrow i can make some new real-life photoreferences. I hope those will help me where an how i need to connect the pannels.
                            I first started with one solid mesh, but it was not usable. But im thinking of redoing some parts in one mesh, and cut the pannels out later. Maybe the sides with the doors.
                            #35548
                            Thibaut Bourbon
                            Participant

                              Work in progress, focus on the chassis components. The exterior (cabin, that is) was already in advanced stage when the course began, so it maybe should not be evaluated, so it’s fair to those who started tuesday

                              Here’s some picture with/without mesh of the whole vehicle, the rear transmission gear and the front one:

                              The engine is one hell of a part to do …

                              #35549
                              William Miller
                              Participant

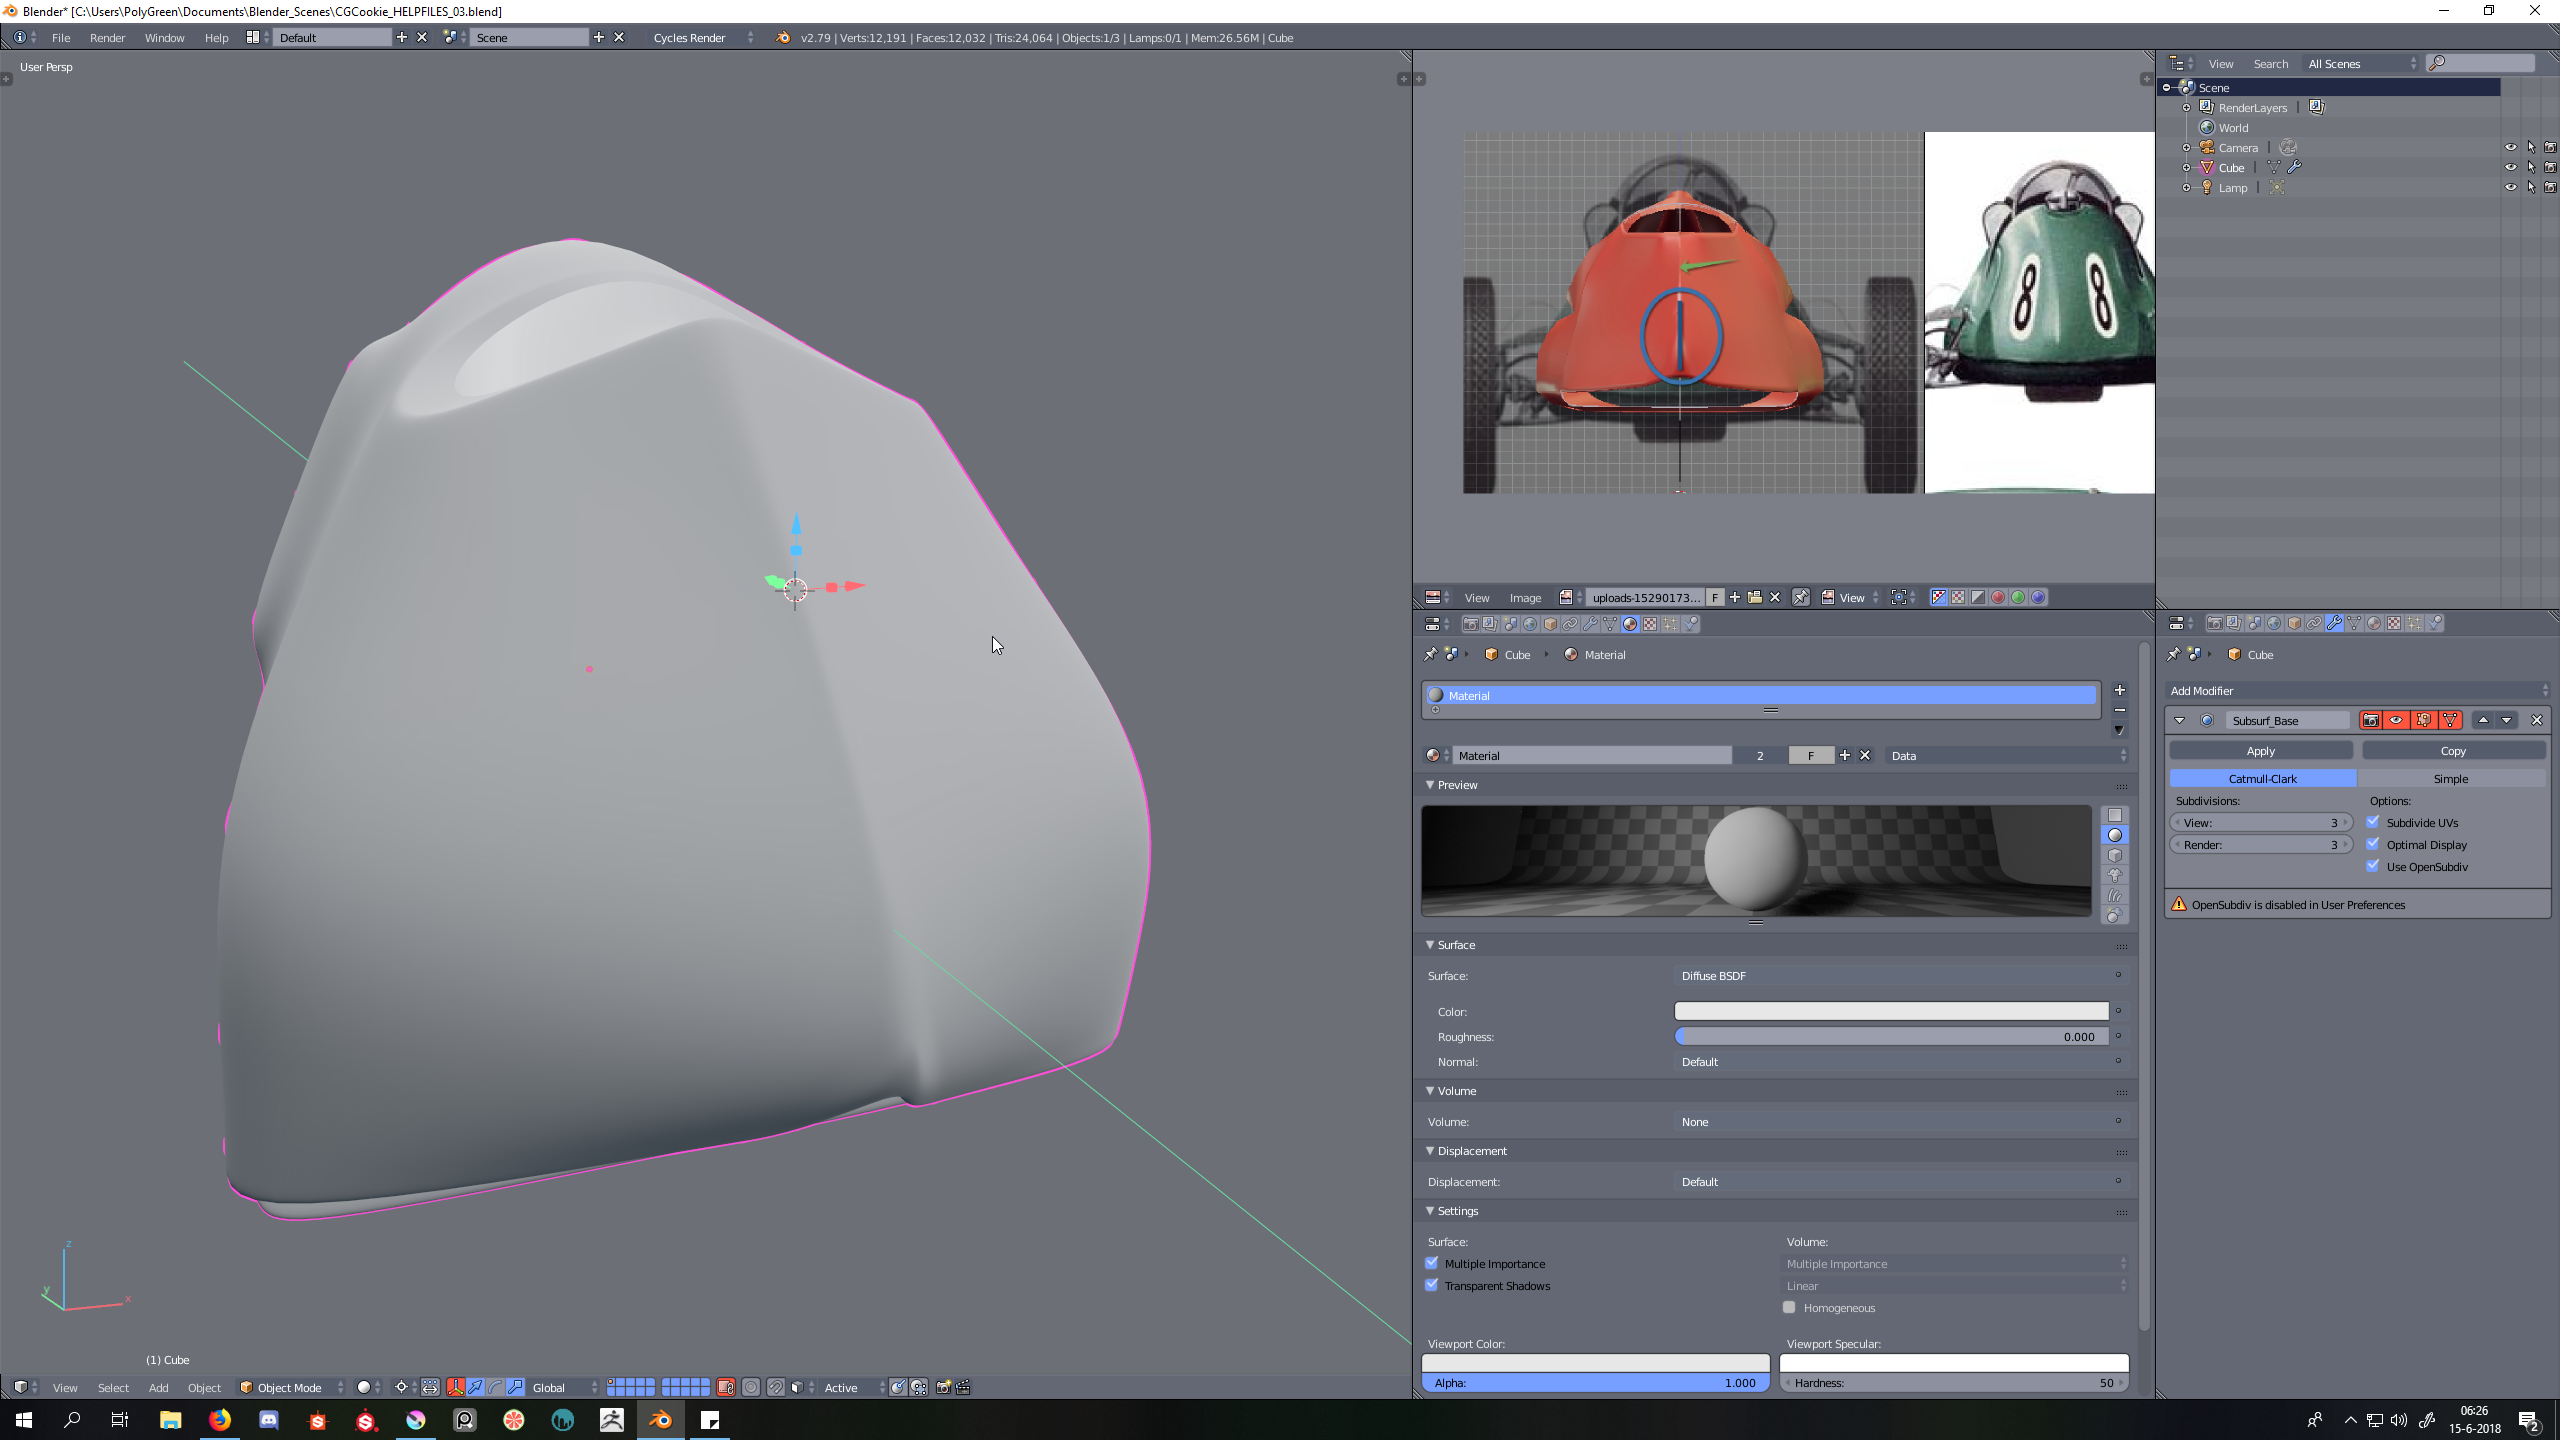
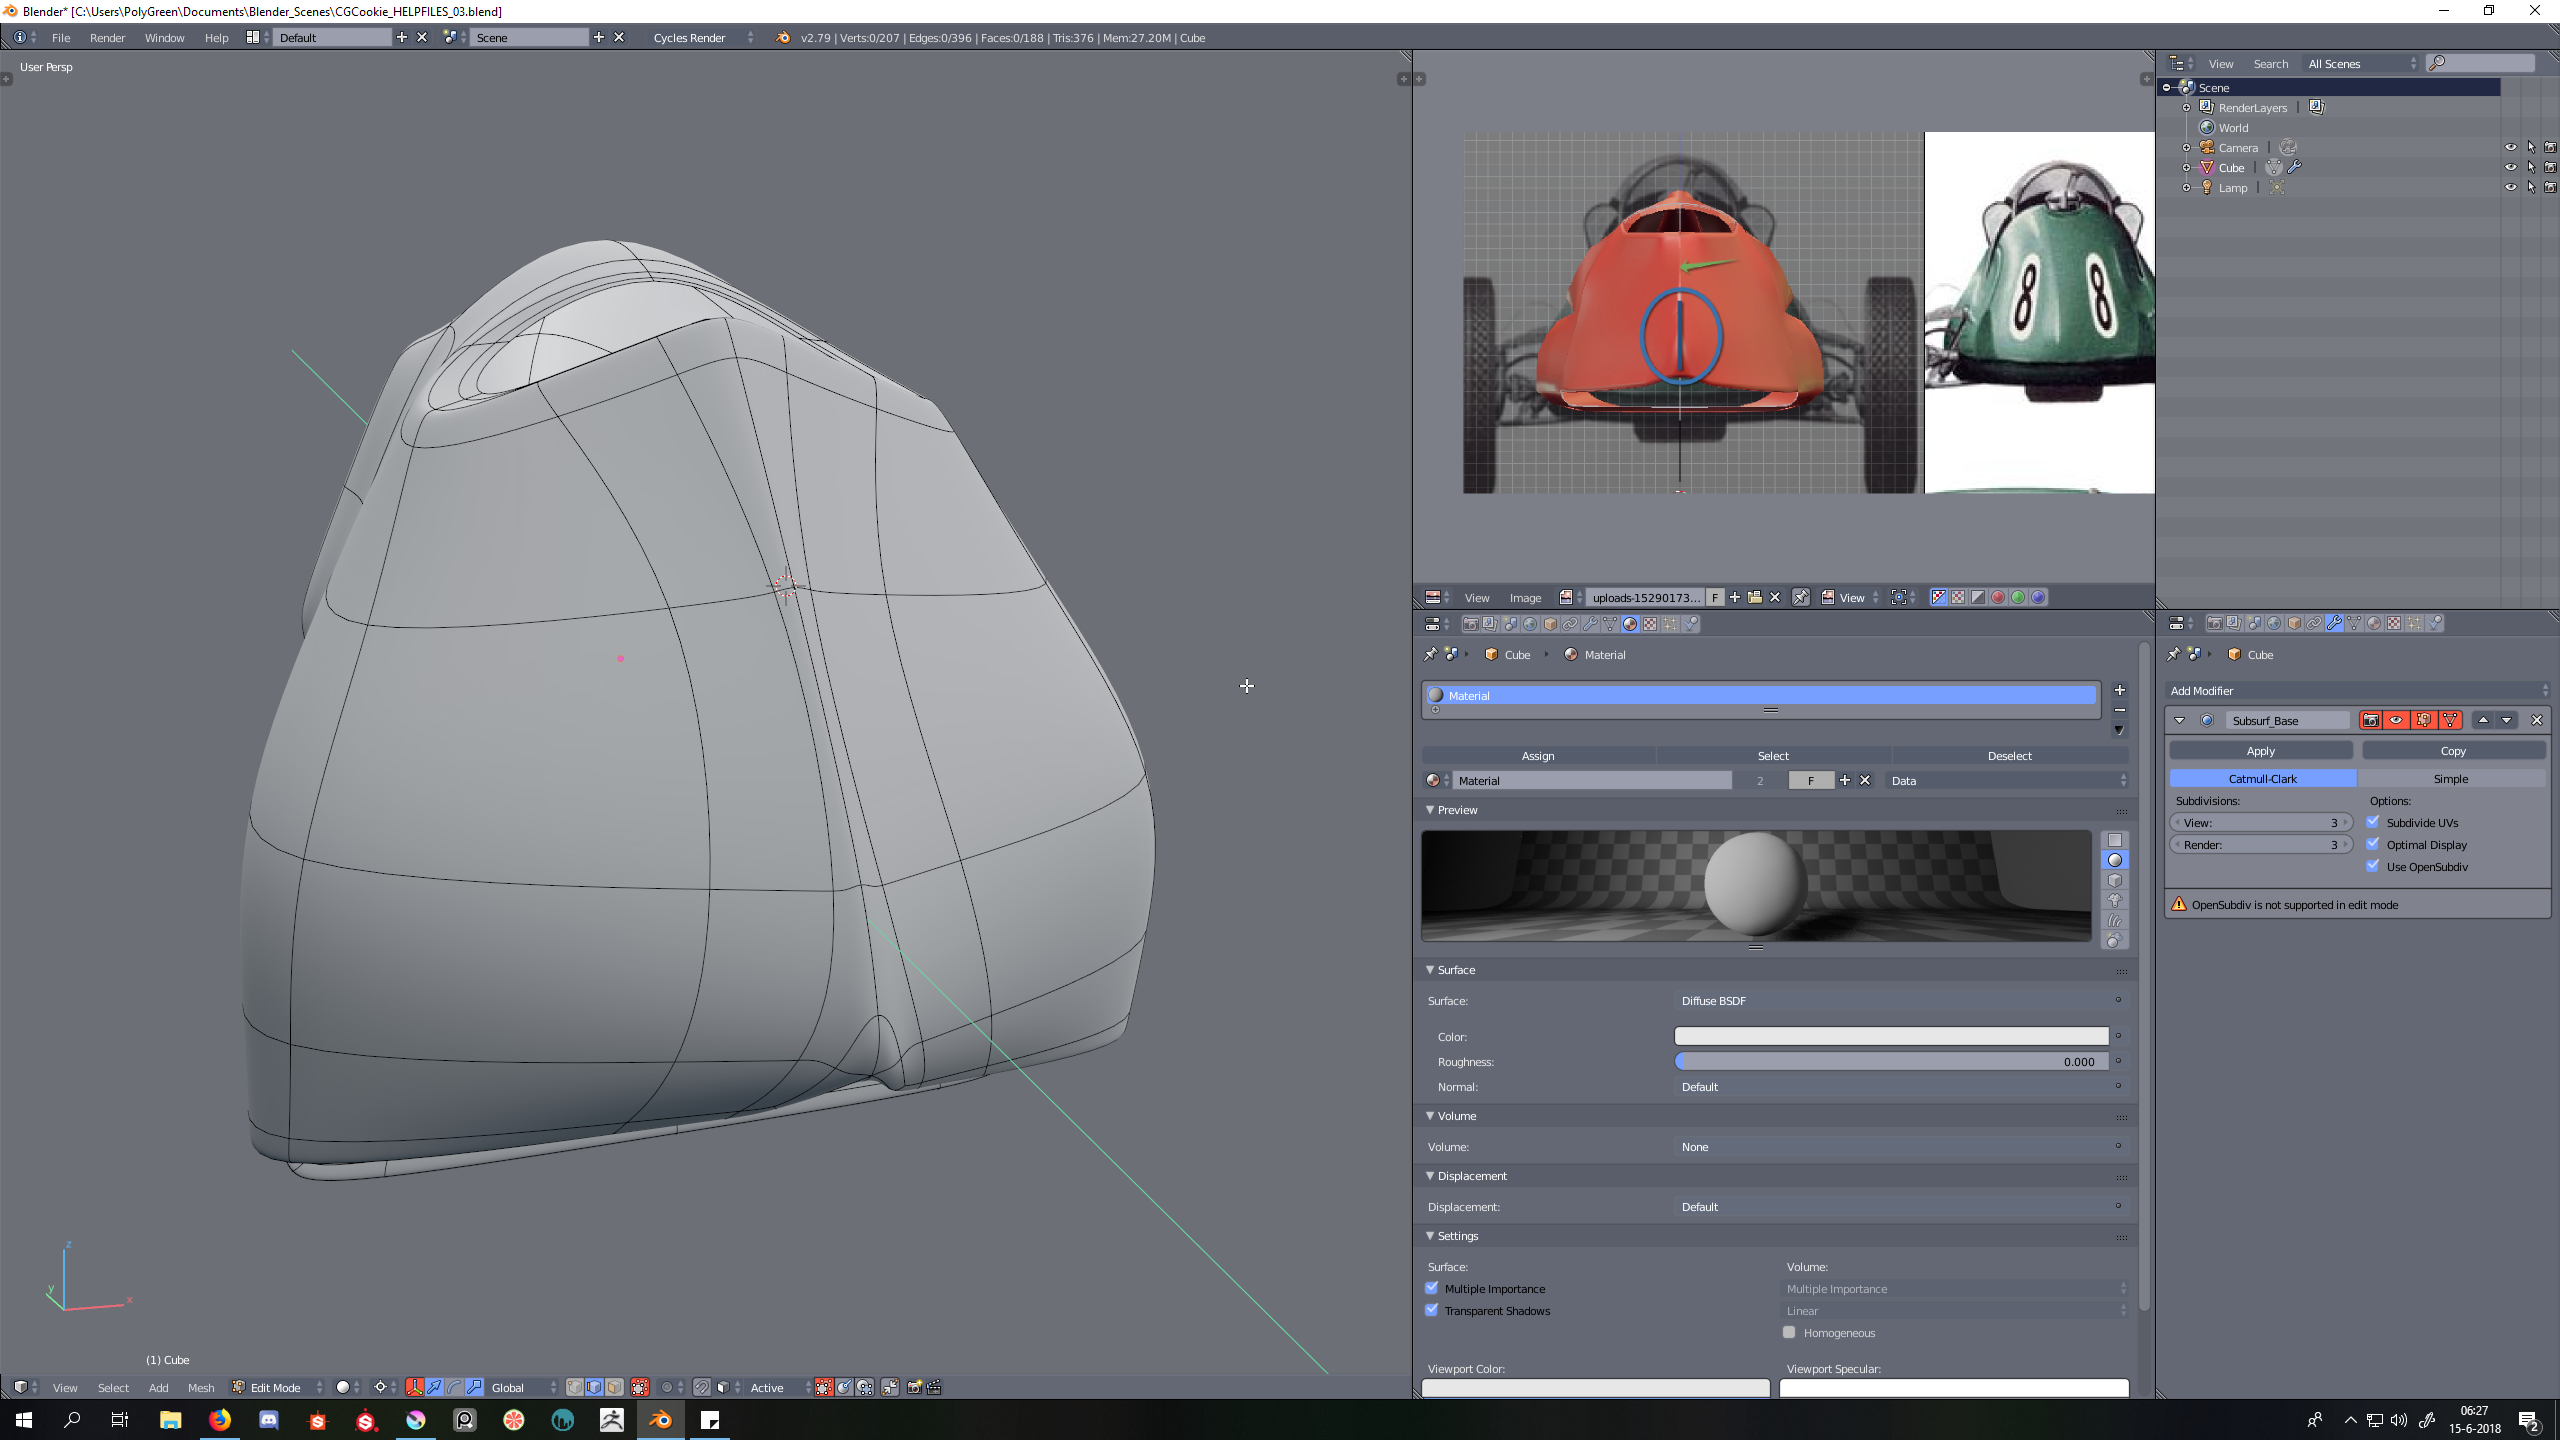
                                I’m having some pinching.  Here’s what it looks like.

                                Here’s what the (subdivided) topology looks like.

                                Here’s what it looks like with optimal display turned on.

                                #35550
                                Bauke Post
                                Participant

                                  @tbrbn Oh my word, the amount of detail is overwhelming. Great job!

                                Viewing 15 posts - 481 through 495 (of 1,277 total)
                                • The topic ‘[ENDED] BC3-1806 – June 2018 Class Homepage – Vehicle Modeling with Blender’ is closed to new replies.