Backhoe Contribution – duerer – Wheels / Rear Axle

Forum Archive Backhoe Contribution – duerer – Wheels / Rear Axle

Viewing 15 posts - 91 through 105 (of 225 total)
  • Author
    Posts
  • #58110
    Ingmar Franz
    Participant

      You’re absolutely right, @spikeyxxx , with being very carefull with vertex weights. I’m currently experimenting a lot in order to avoid any steps due to shrinkwrapping or, if I can’t (easily) avoid them, bring me at least into a good position for final polishing after having applied the modifiers.

      #58111
      Ingmar Franz
      Participant

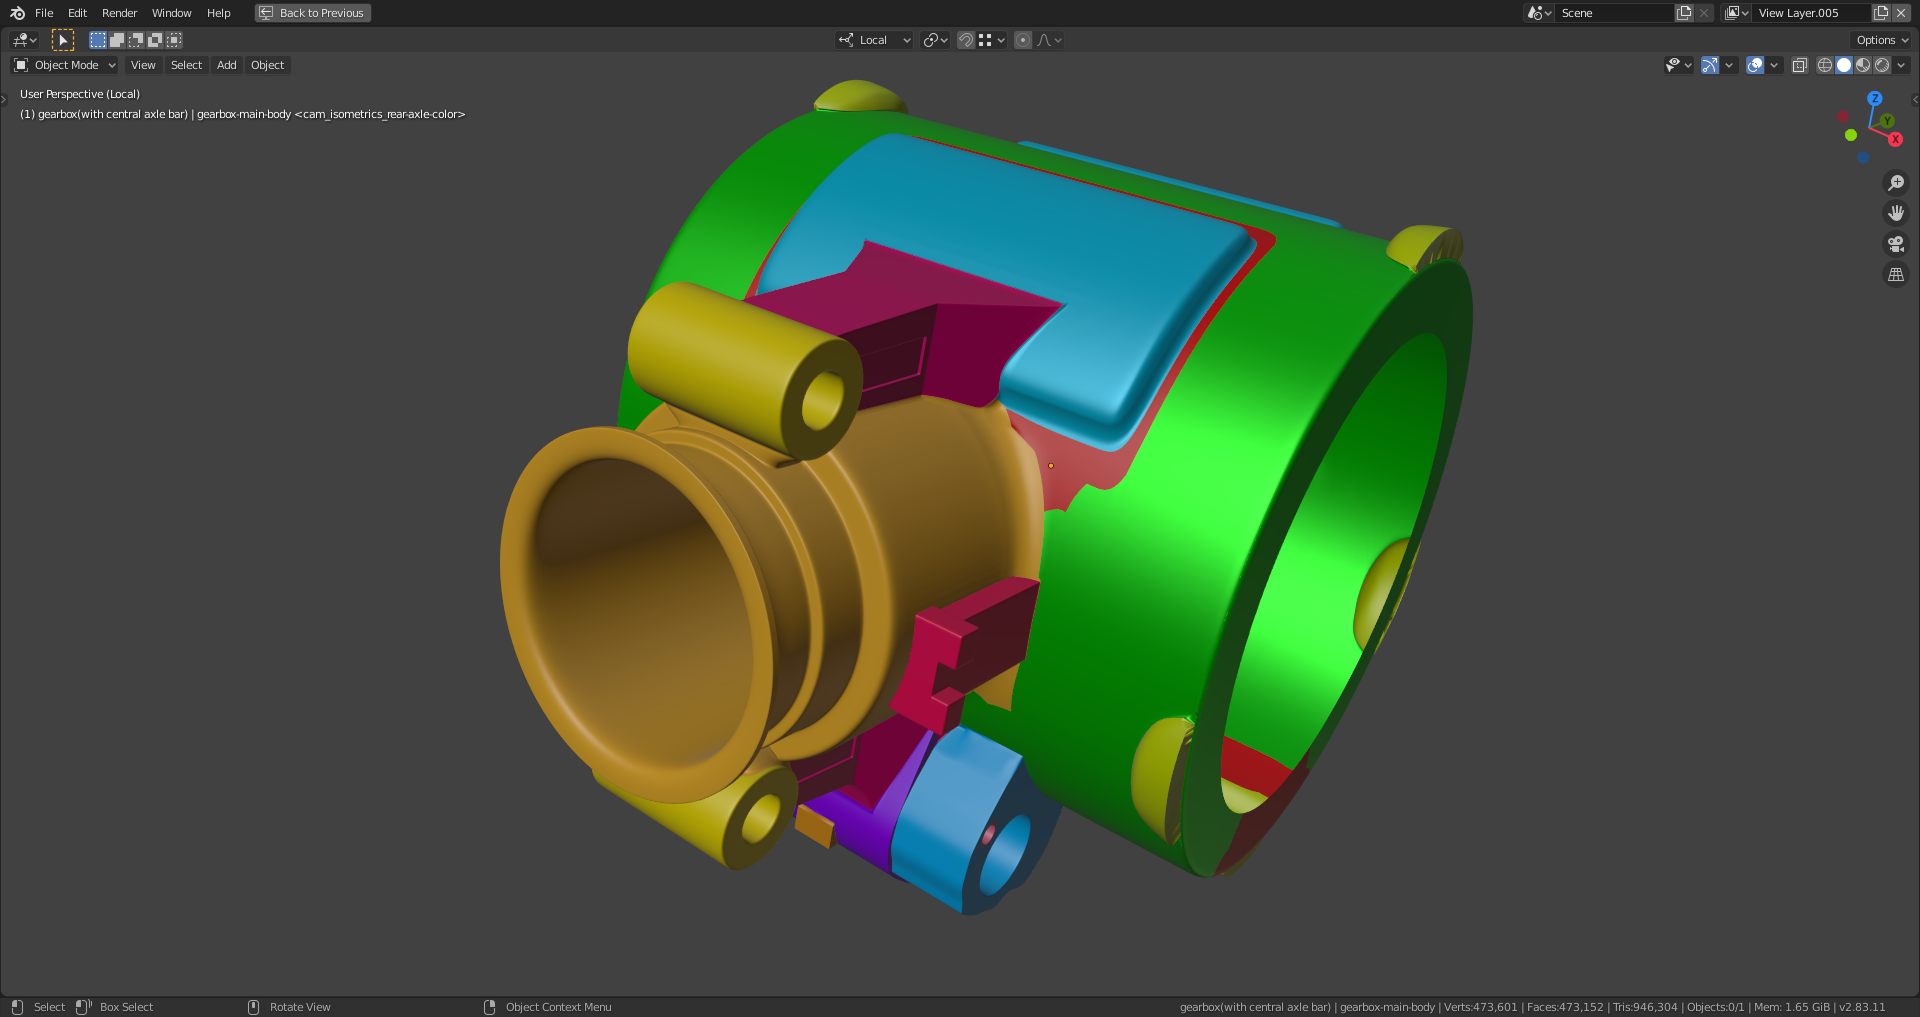
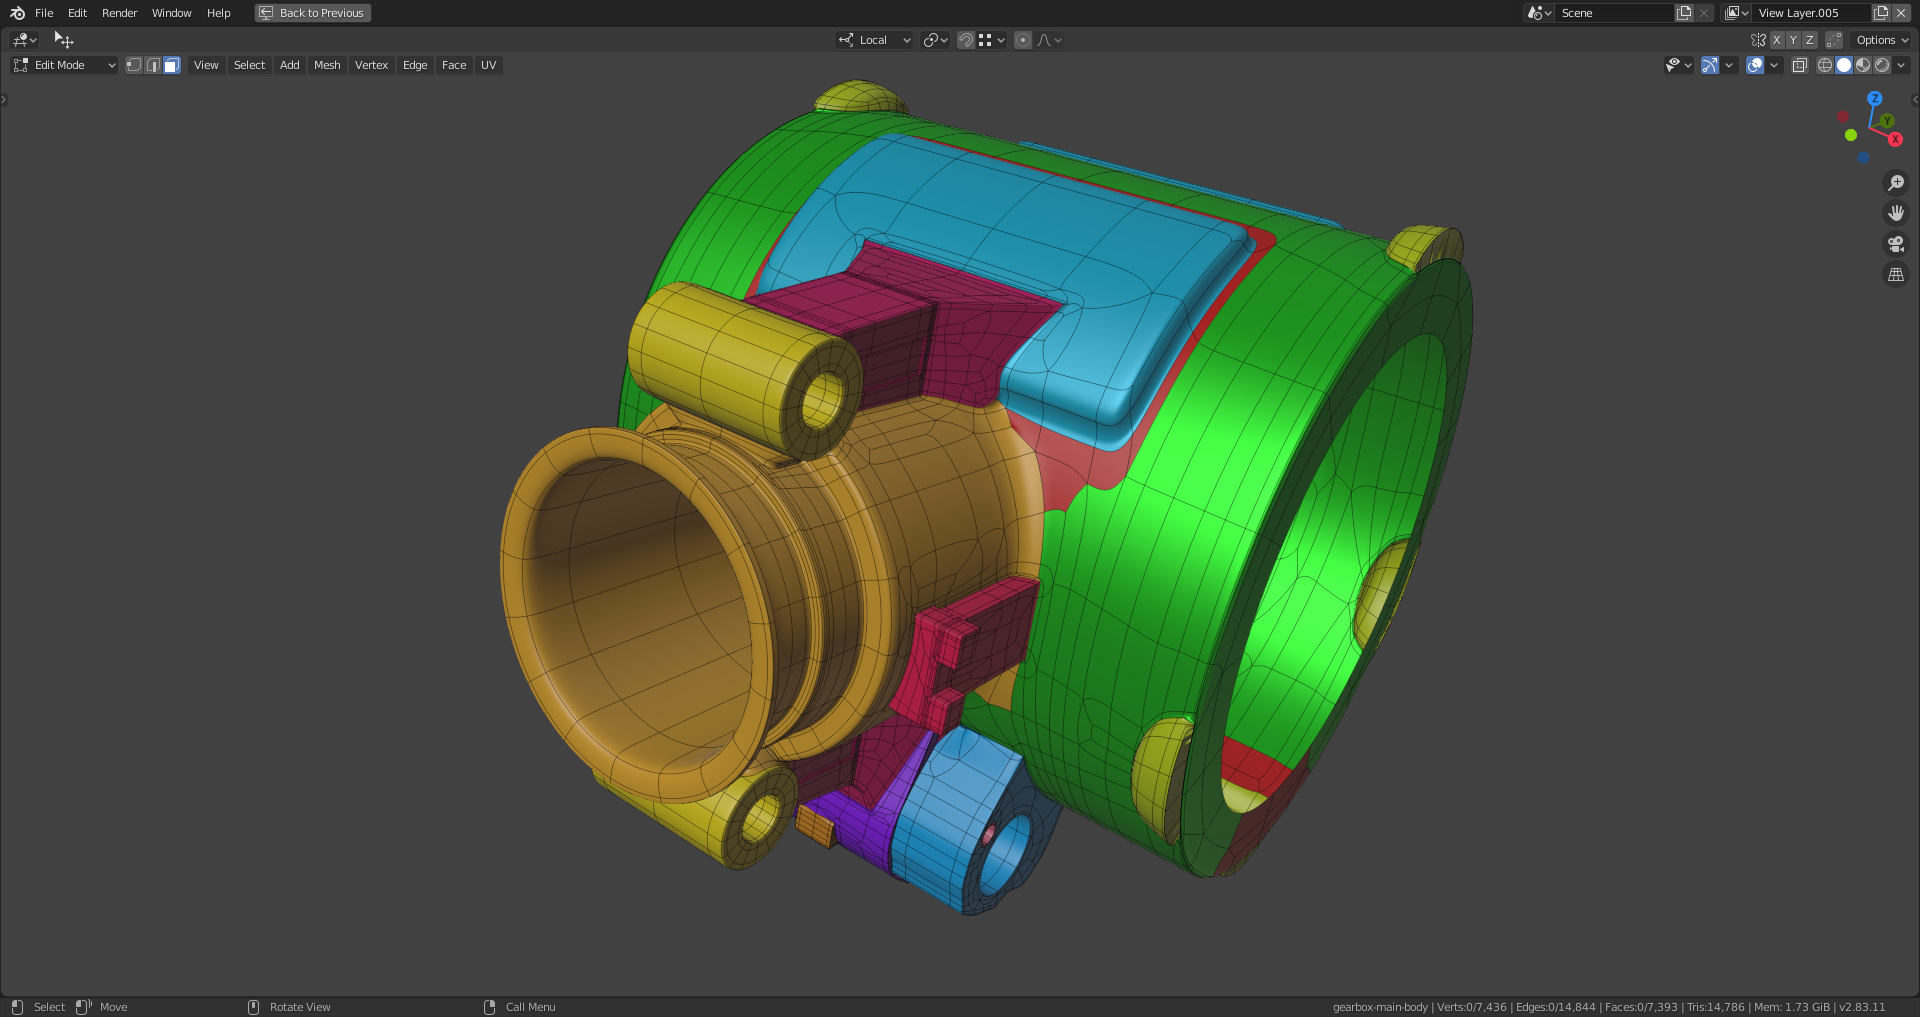
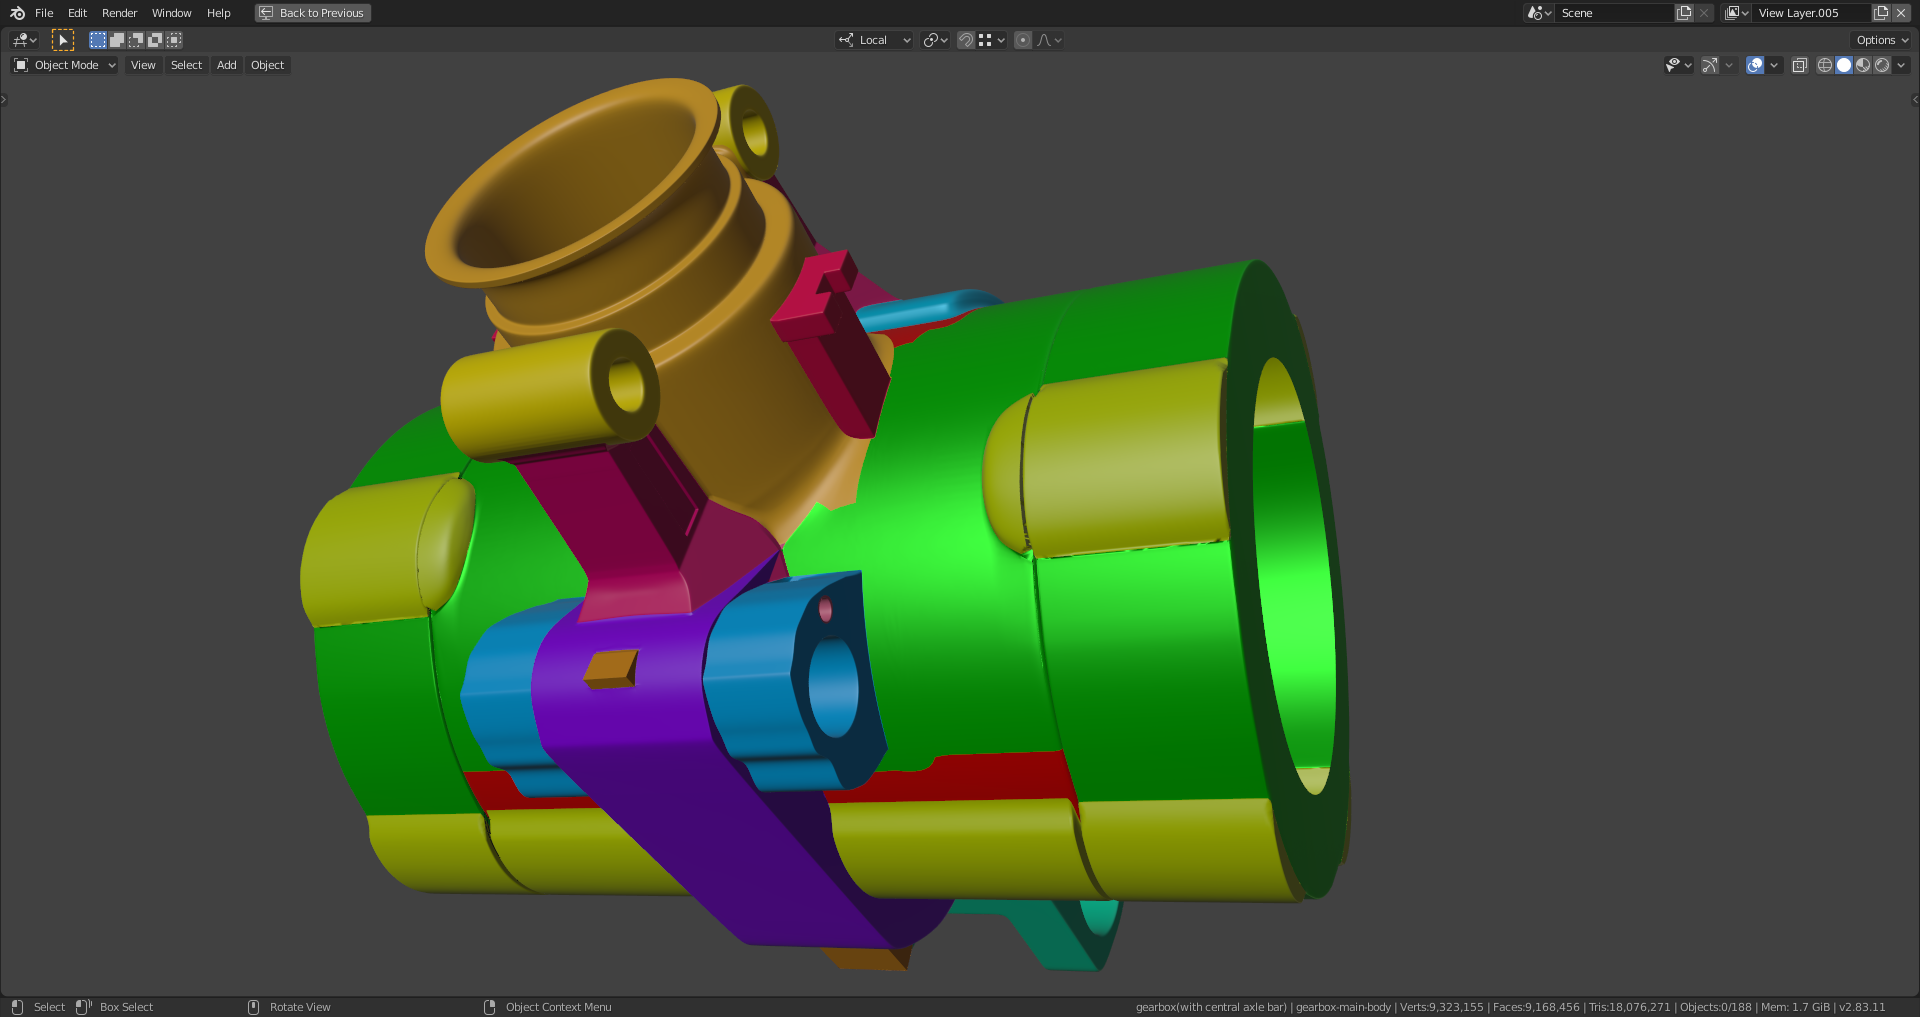
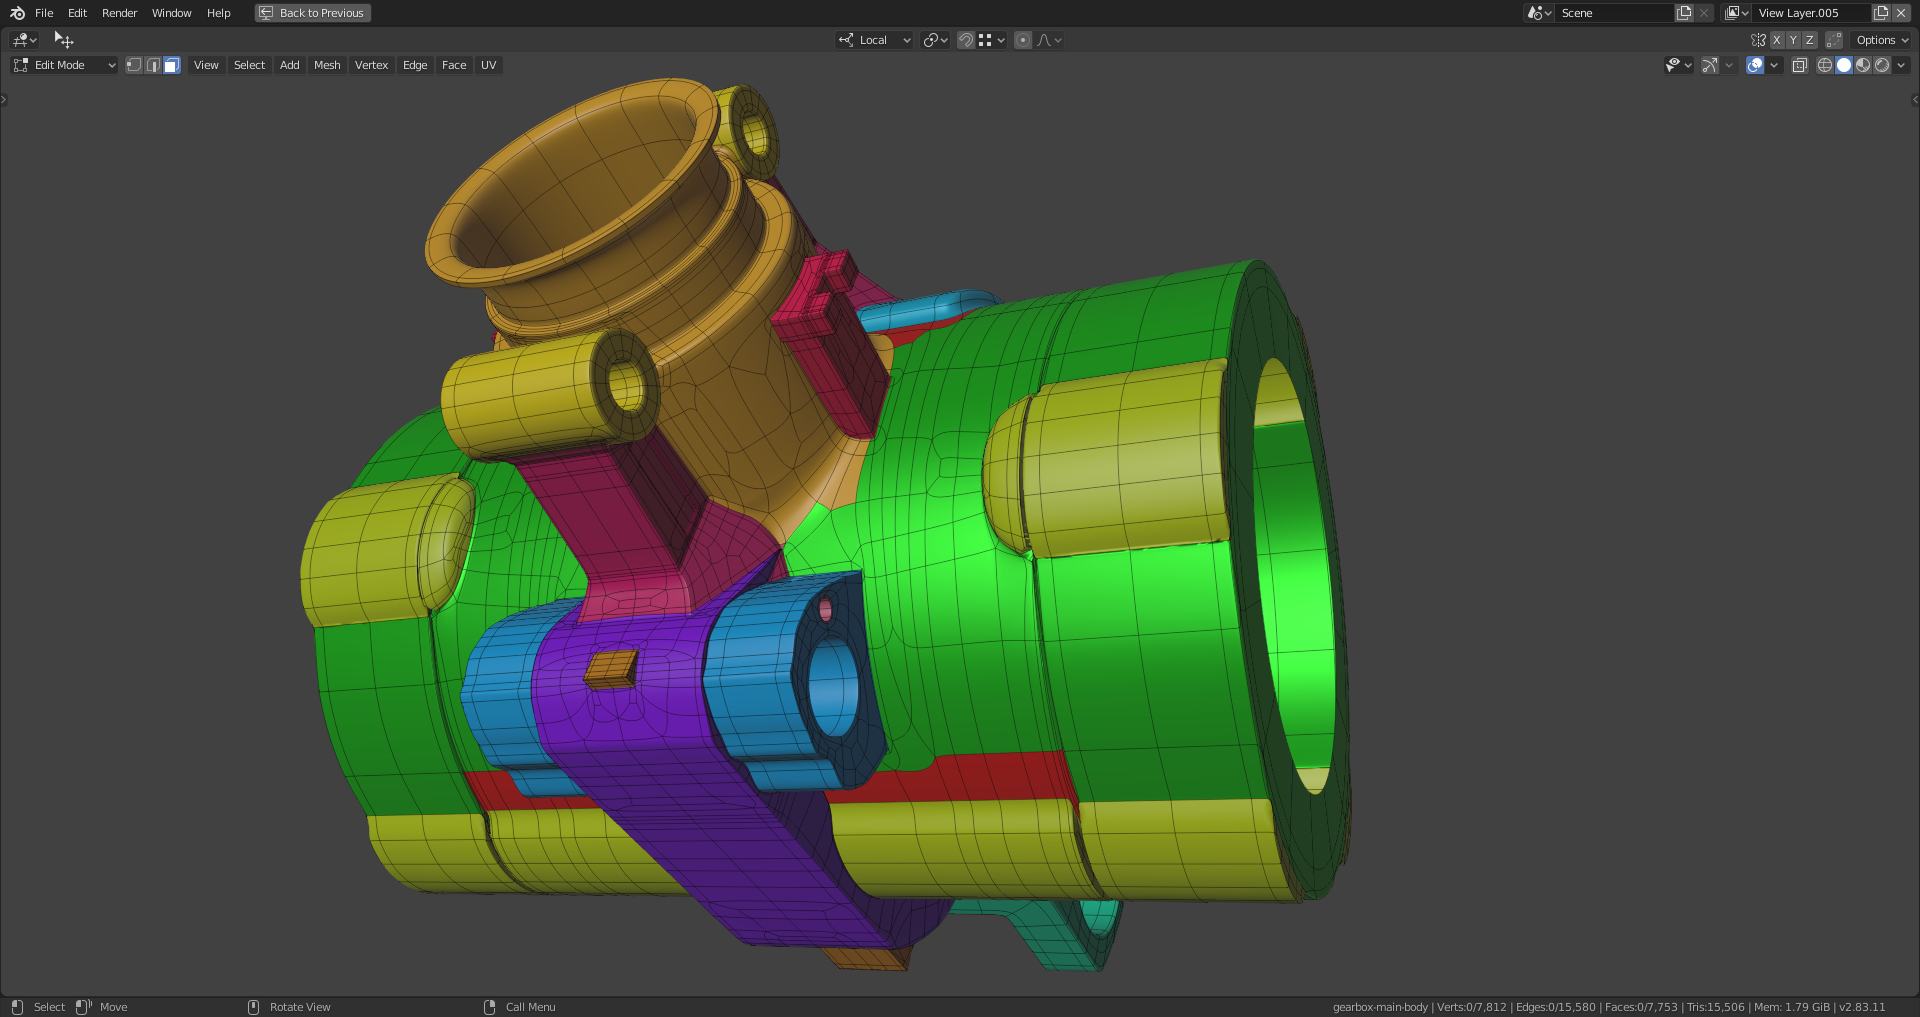
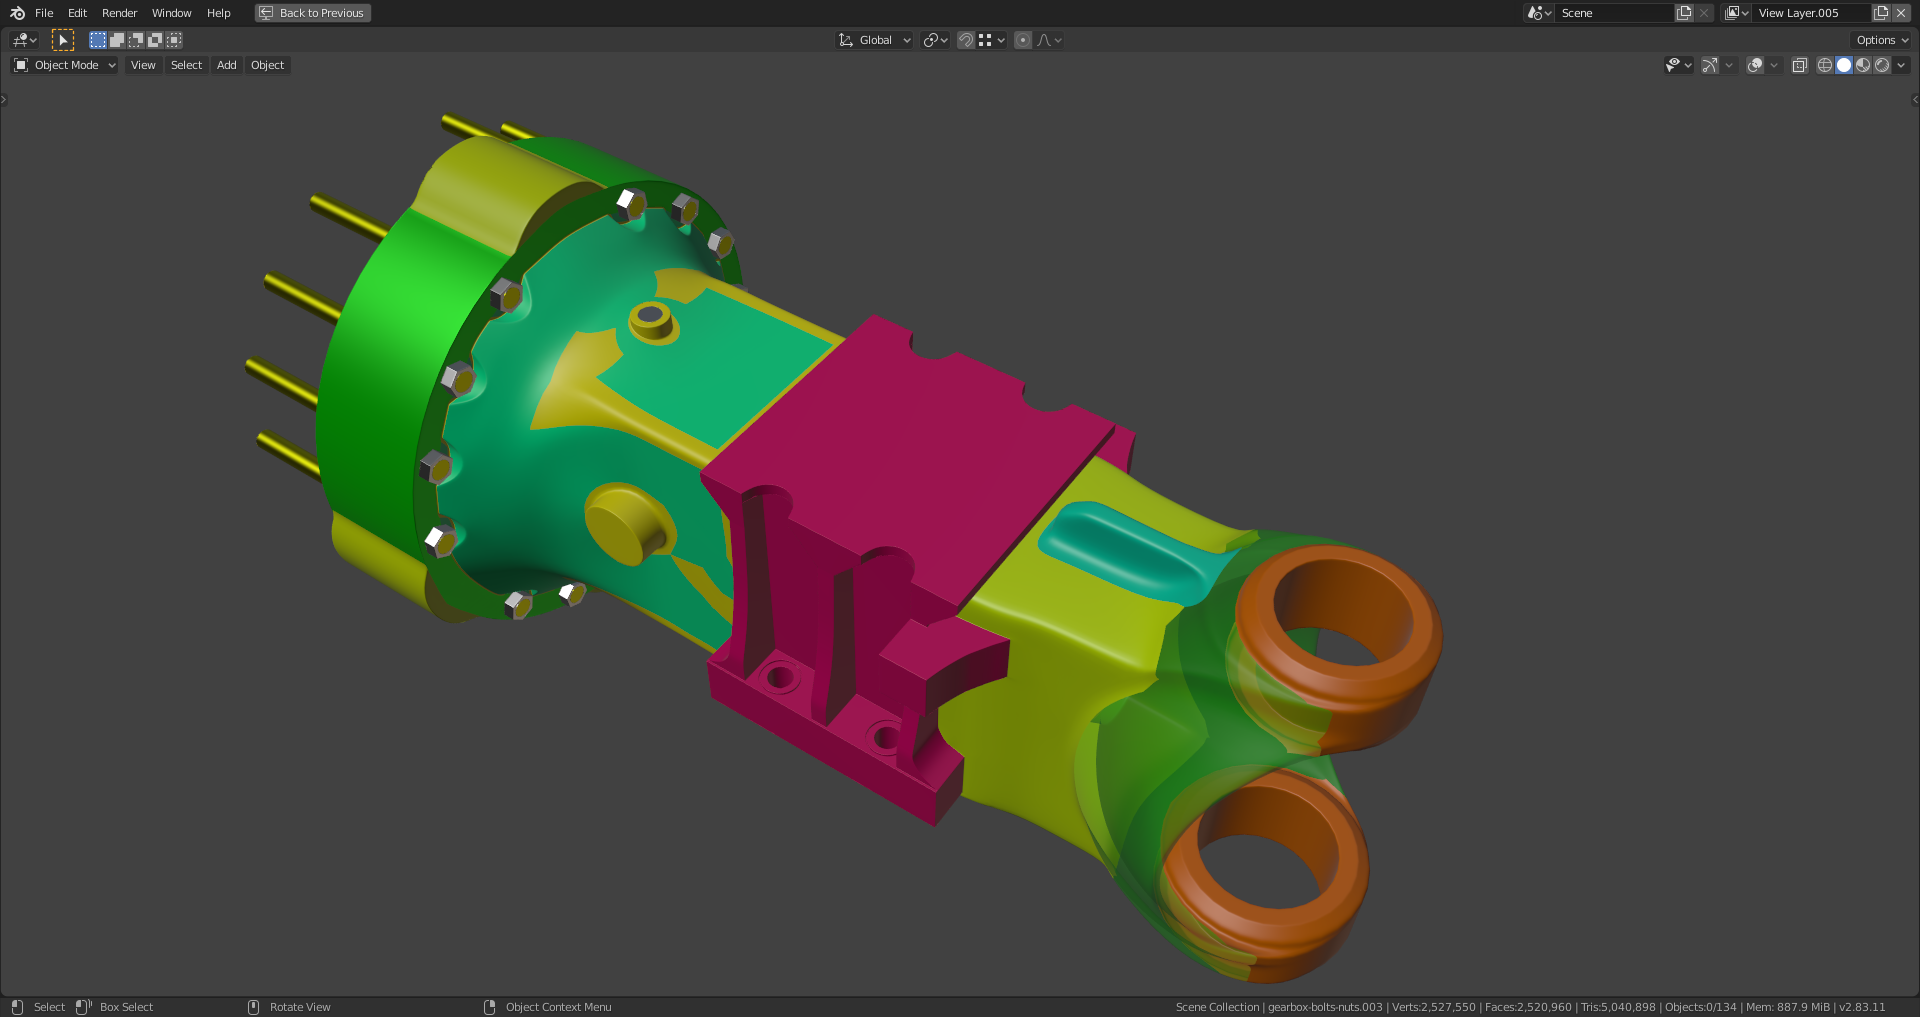
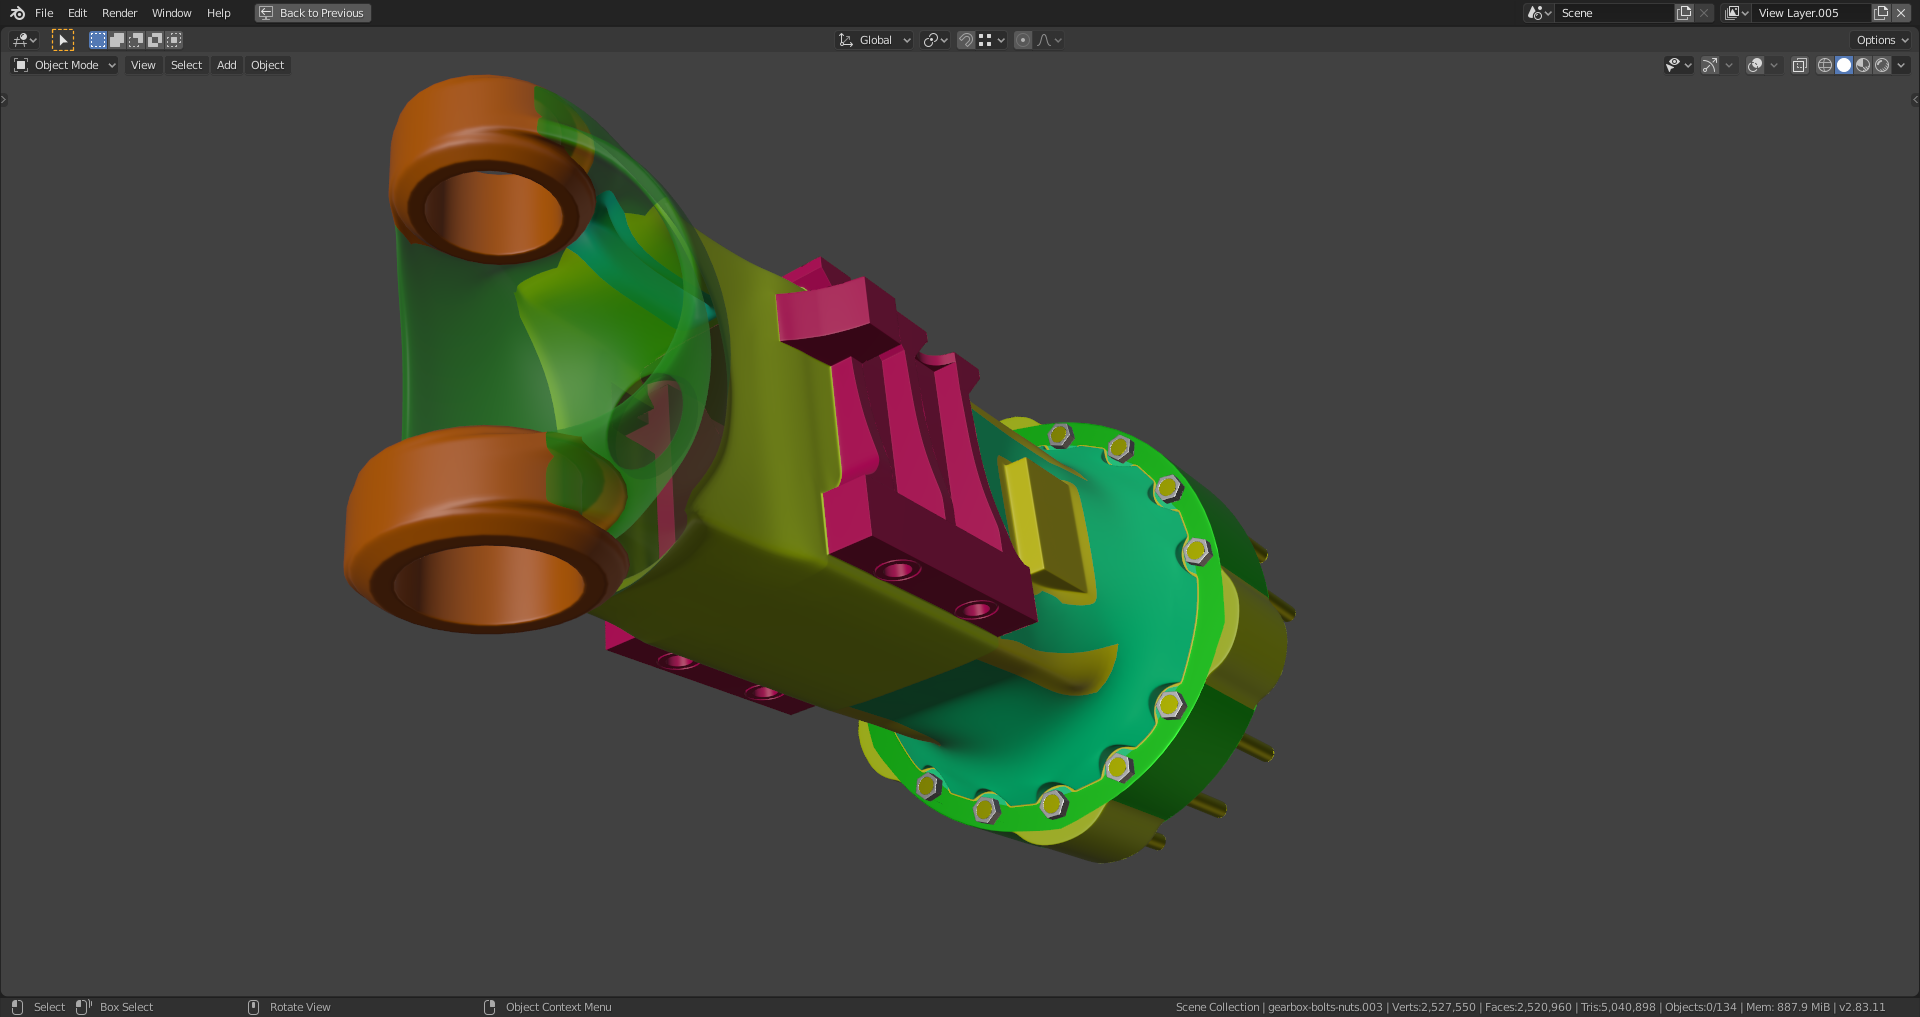
        The gearbox consists now only of quads, but the shrinkwrapping still needs some tweaking, especially at the yellow pads on both sides of the gearbox:

        #58112
        Ingmar Franz
        Participant

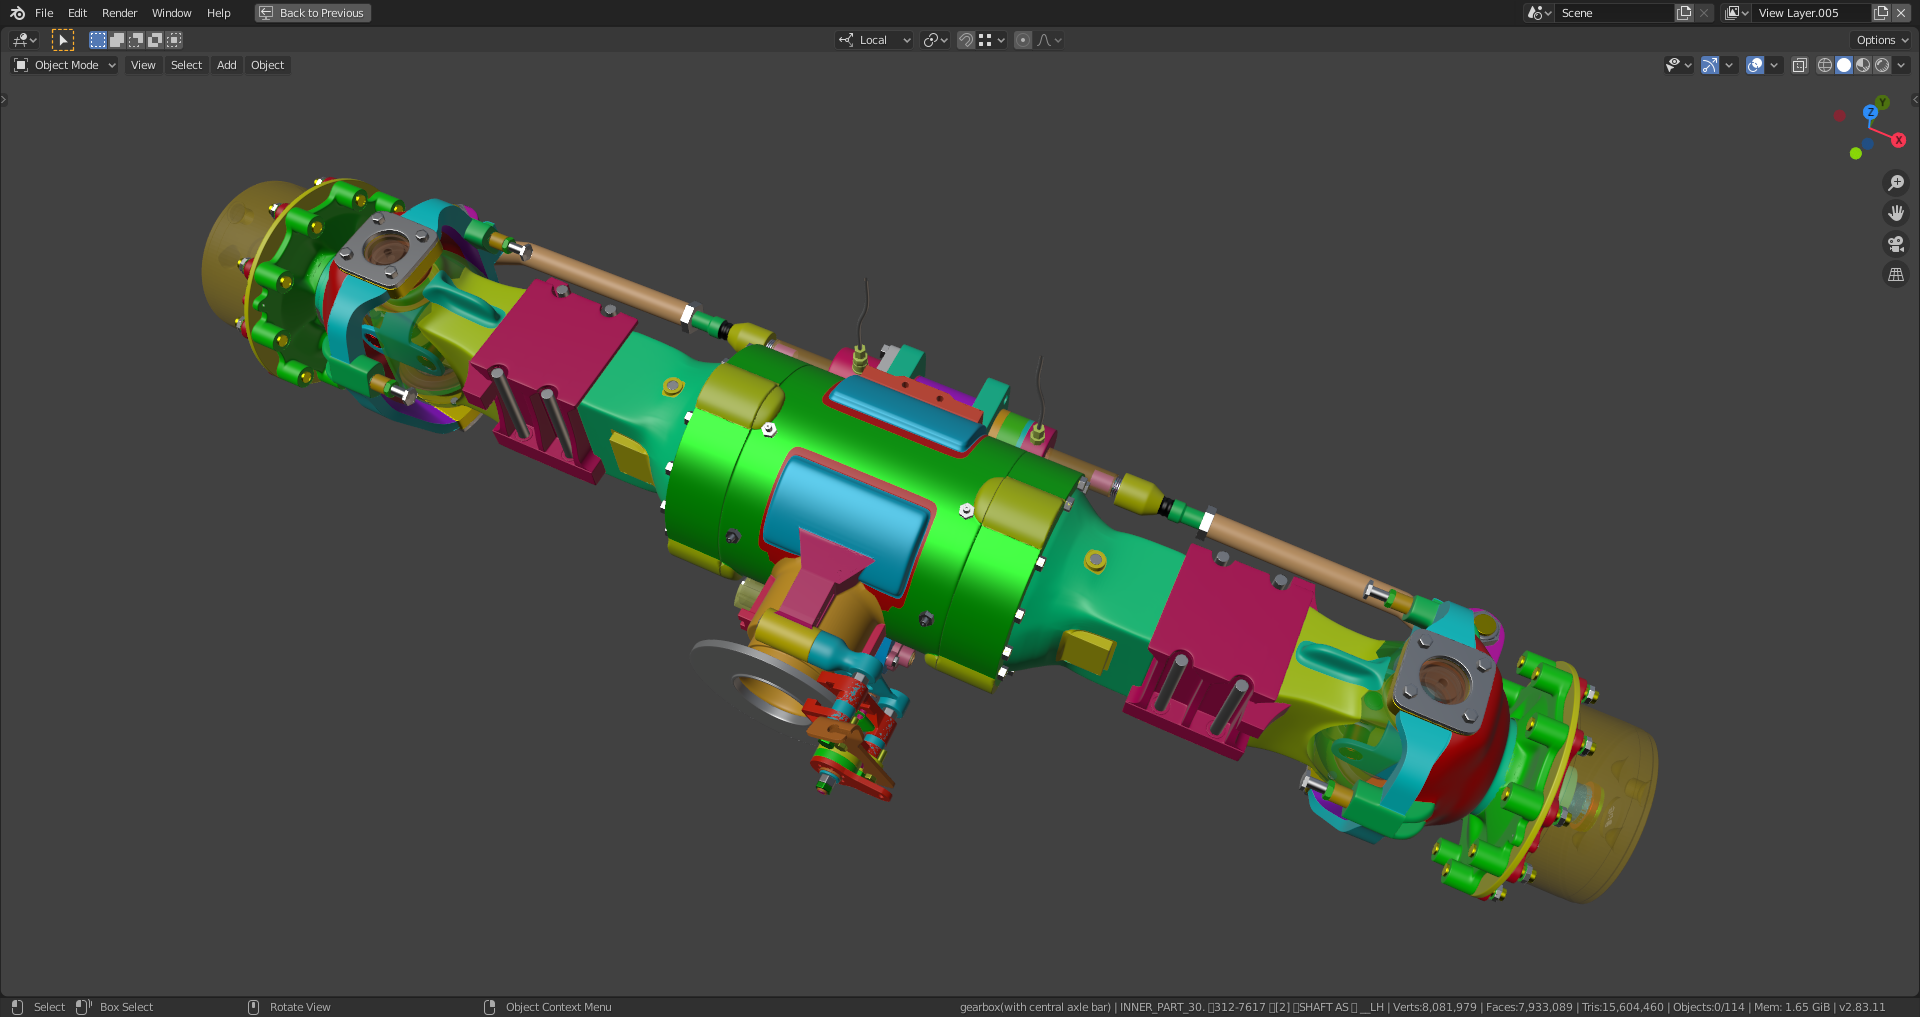
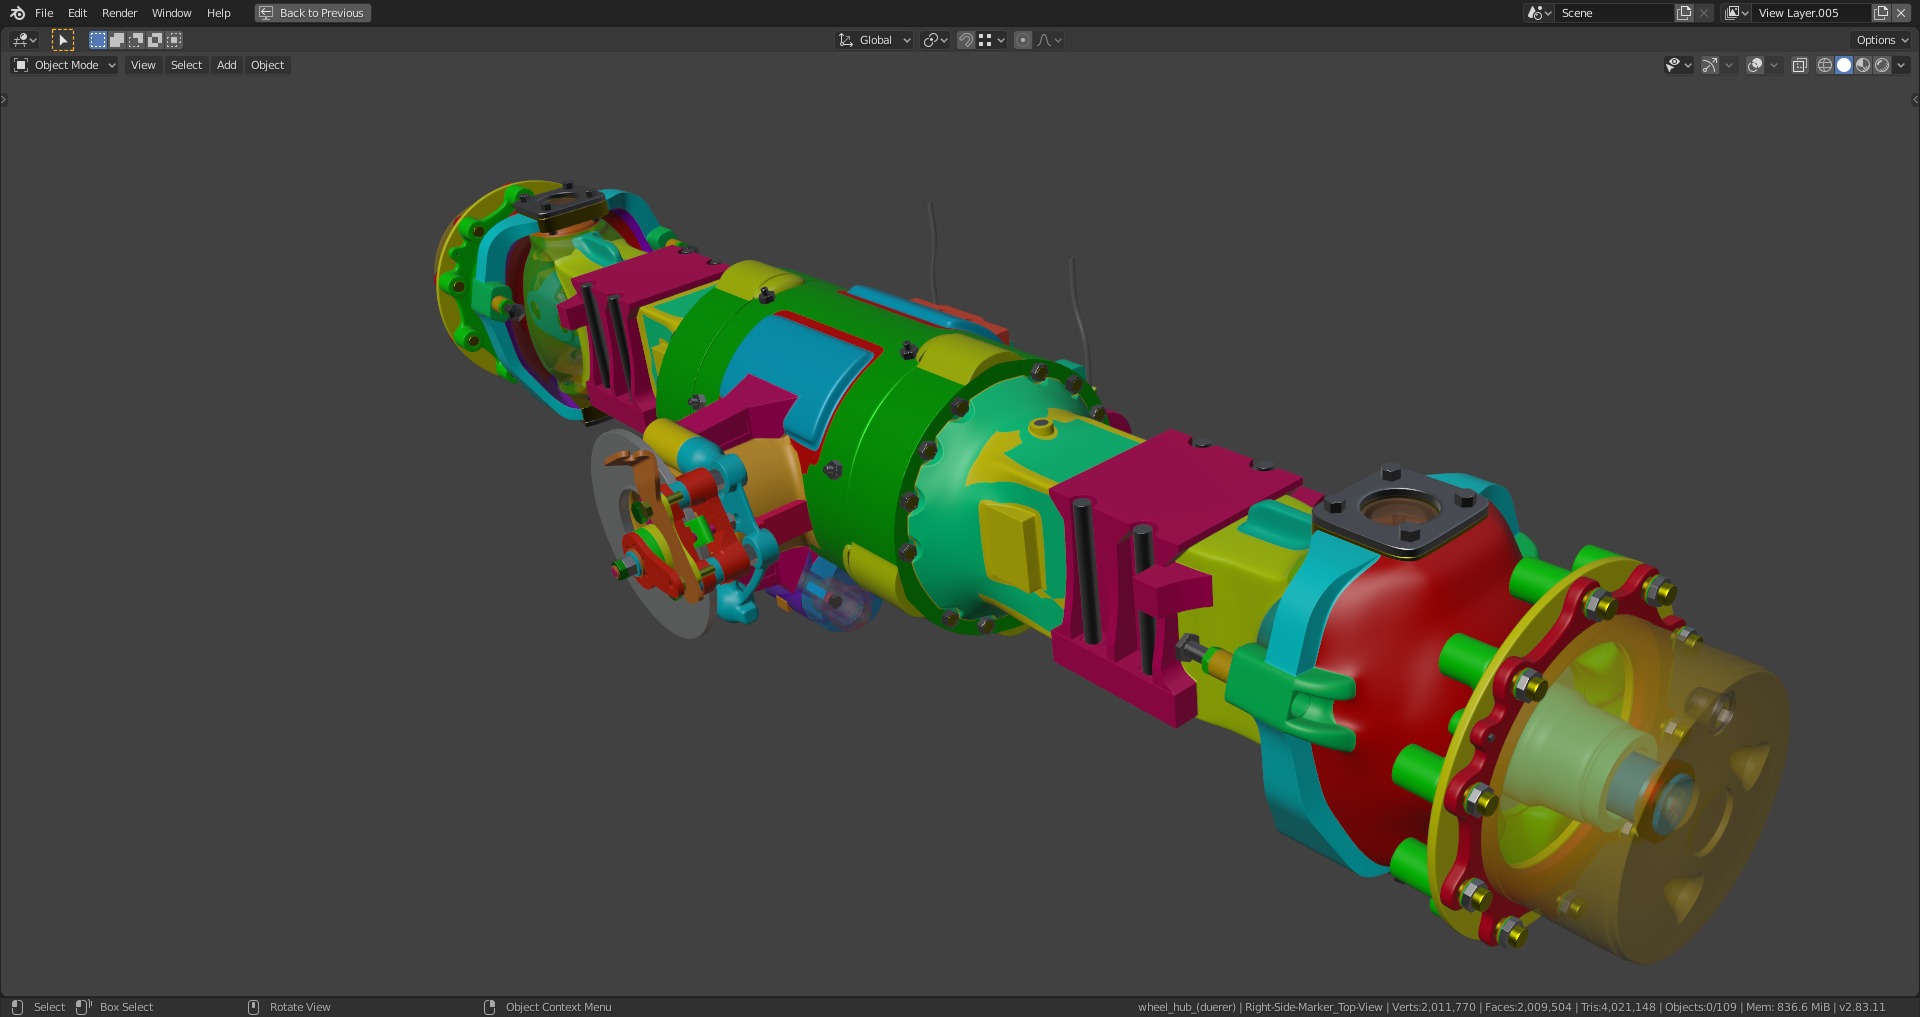
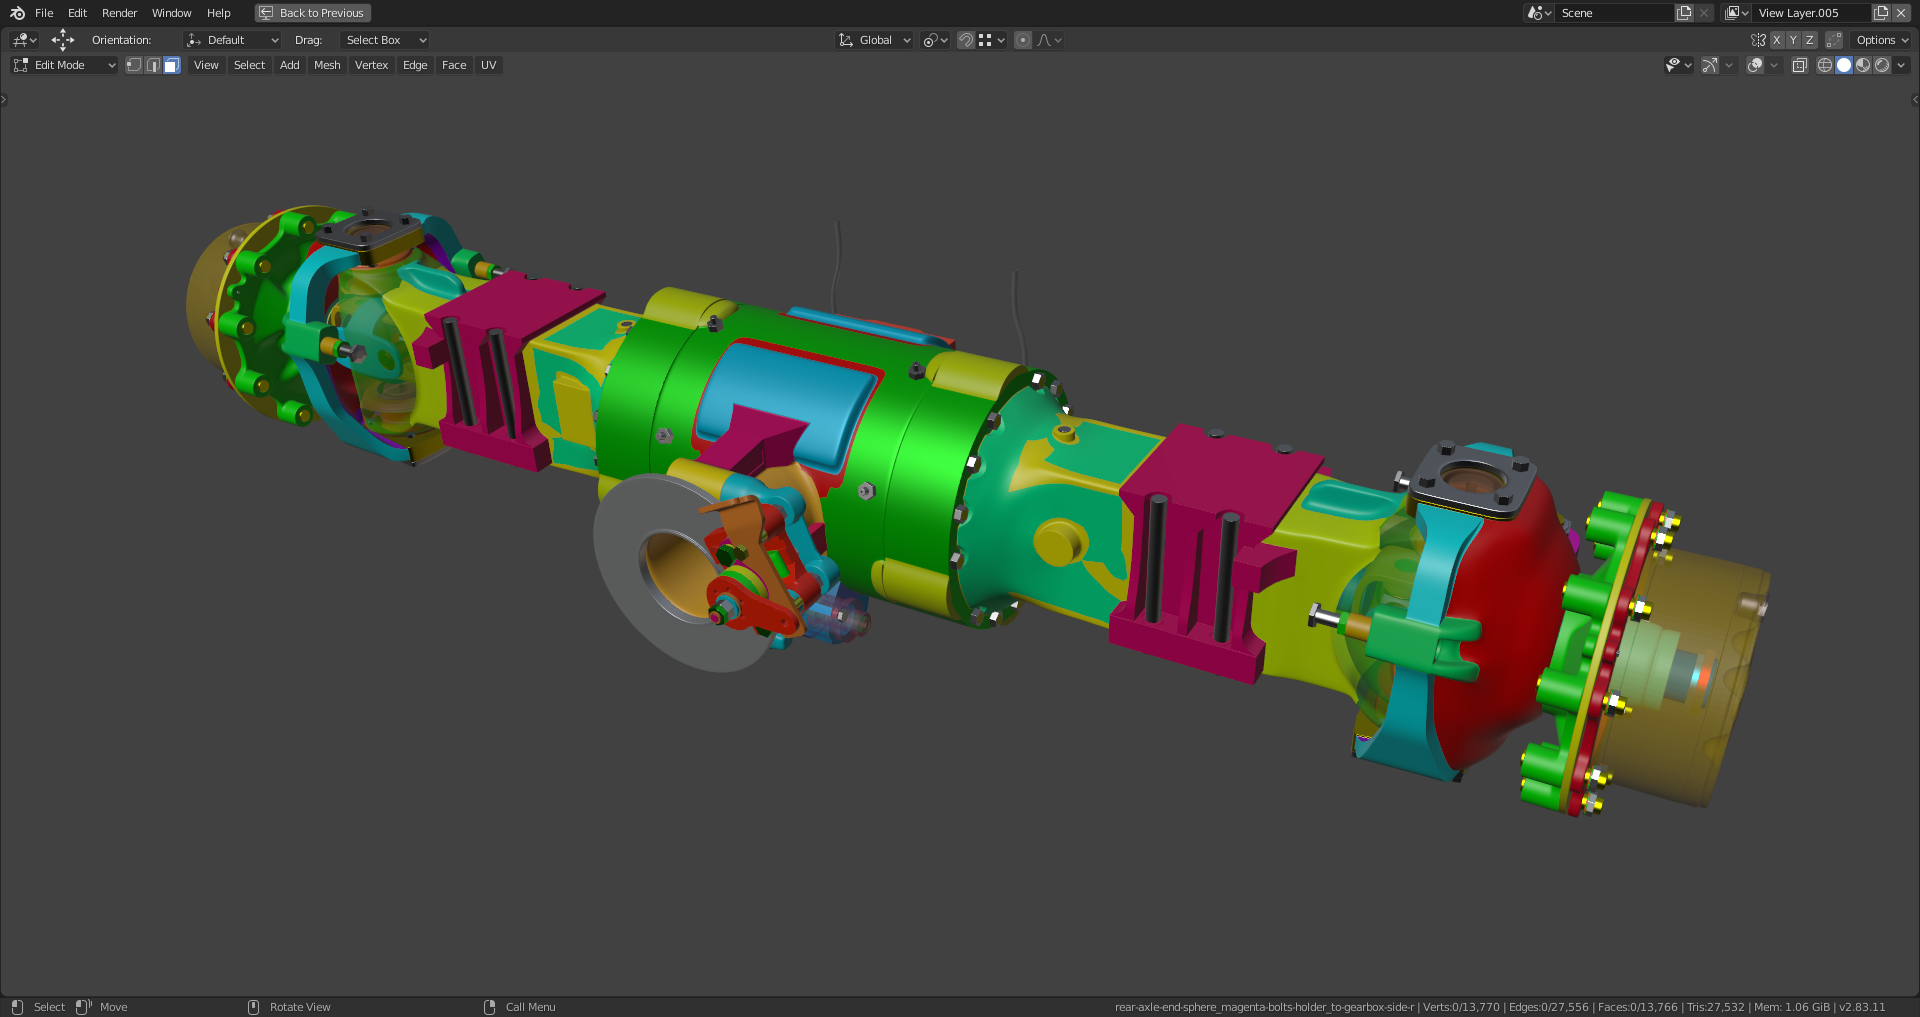
          And this is my rear axle now with the all-quads gearbox:

          #58113
          Ingmar Franz
          Participant

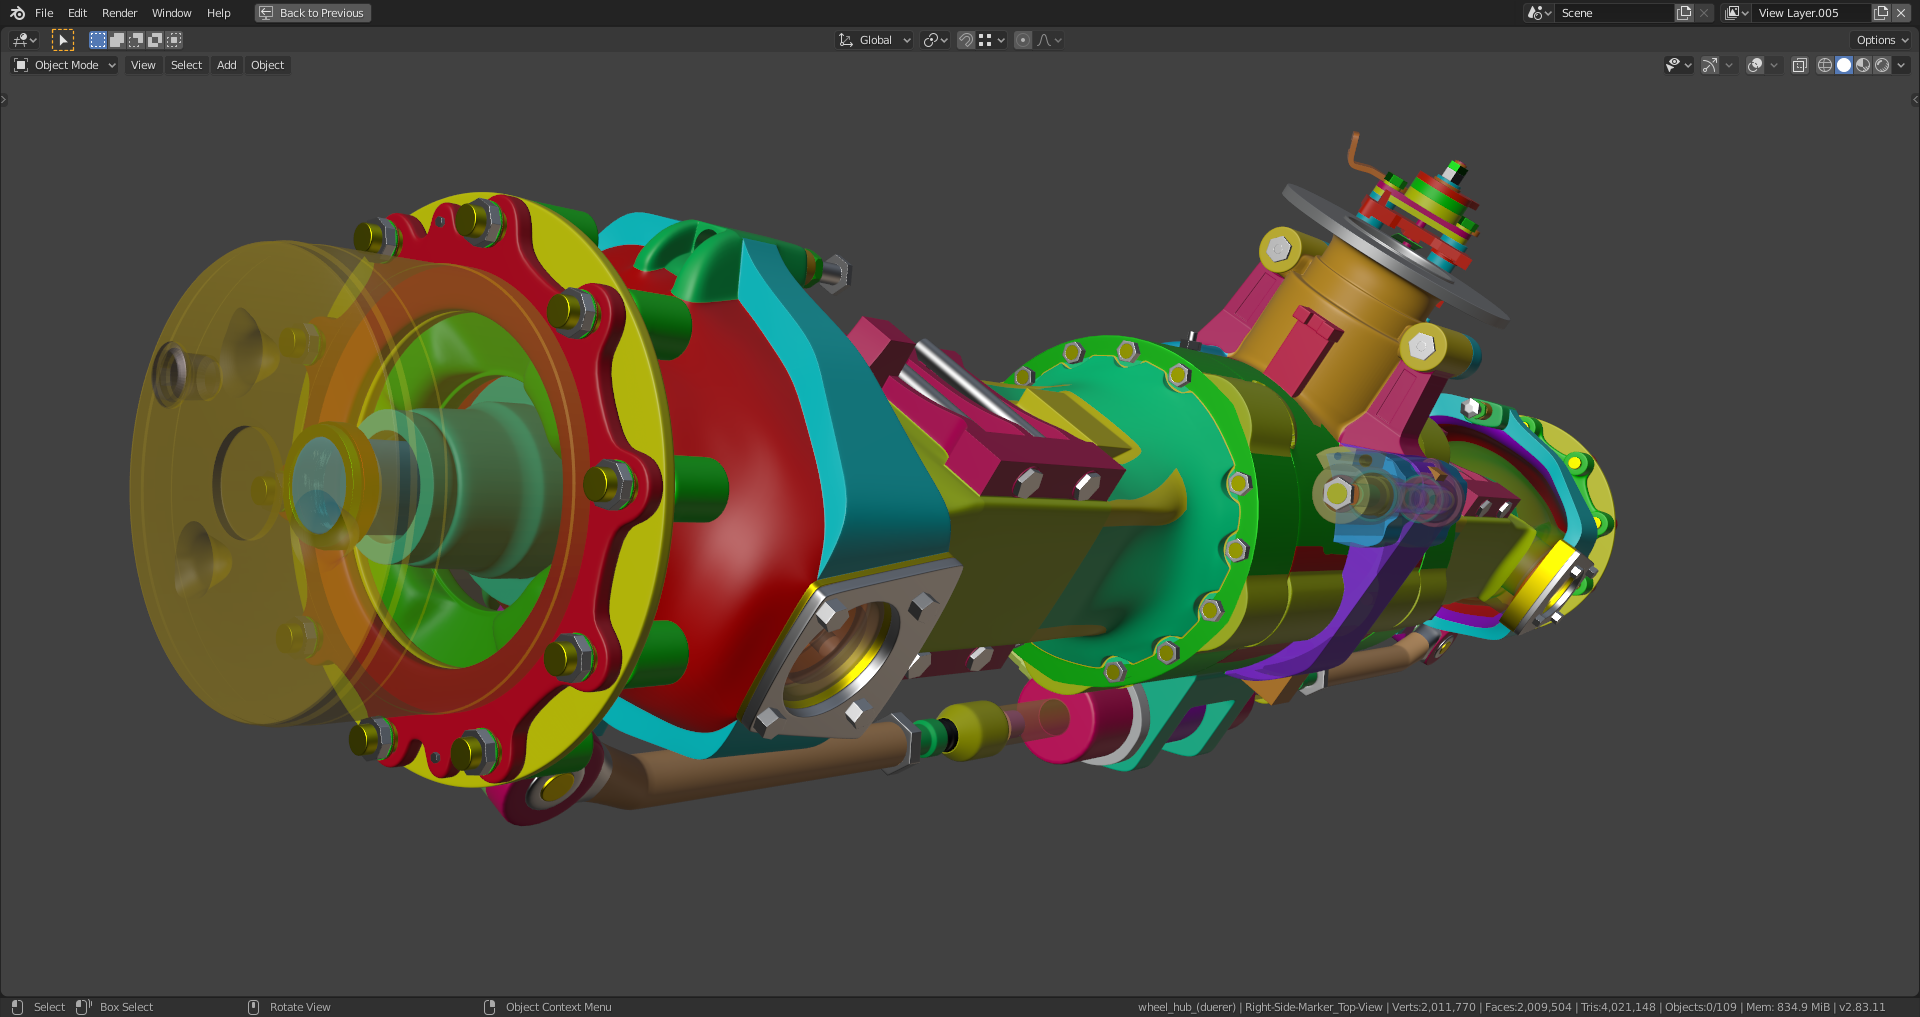
            This is now one continuous all-quads-mesh:

            #58114
            Ingmar Franz
            Participant

              Another part connected to the left:

              Only the gearbox side ring still has  to be connected

              #58115
              spikeyxxx
              Participant

                That is looking really good @duerer! Both the shape and the topology.

                I love this slight ‘bulge’ in this ‘new’ part when it goes from ‘square’ to circular; gives it this almost organic look of cast iron.

                #58116
                Ingmar Franz
                Participant

                  Thanks a lot, @spikeyxxx 😀!

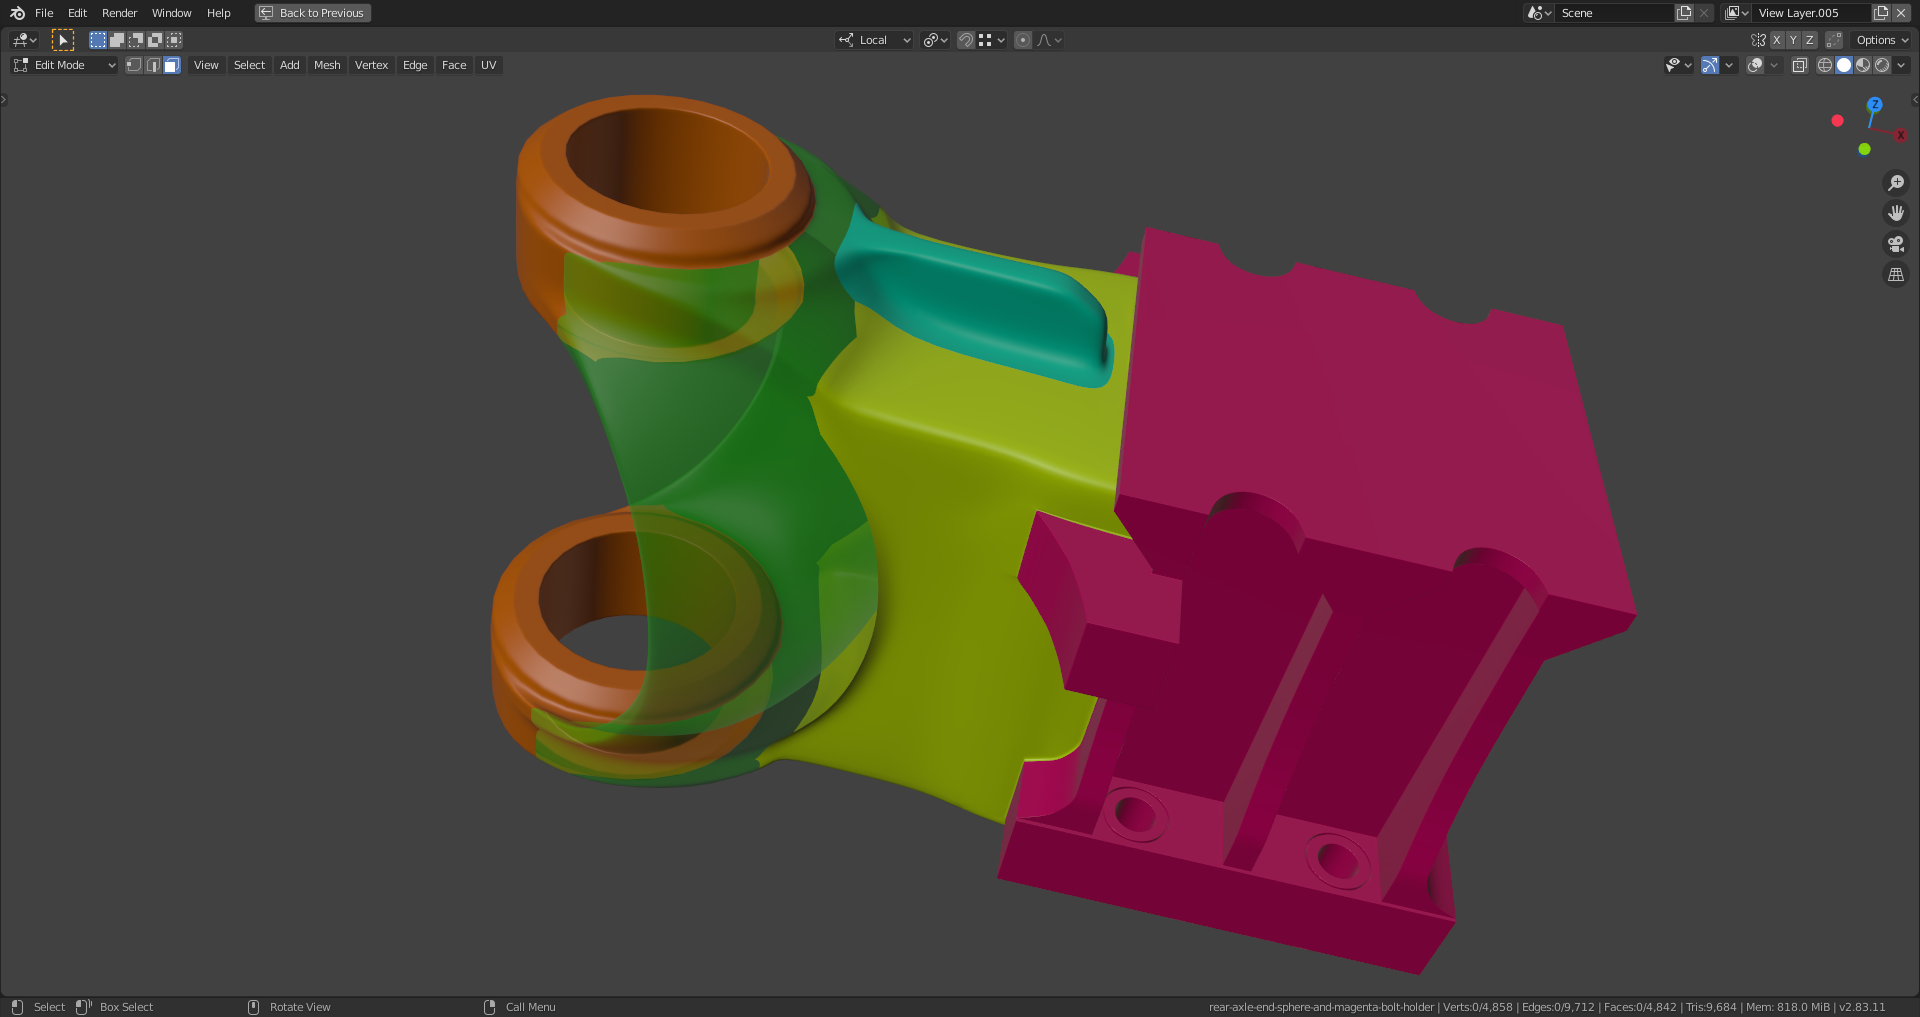
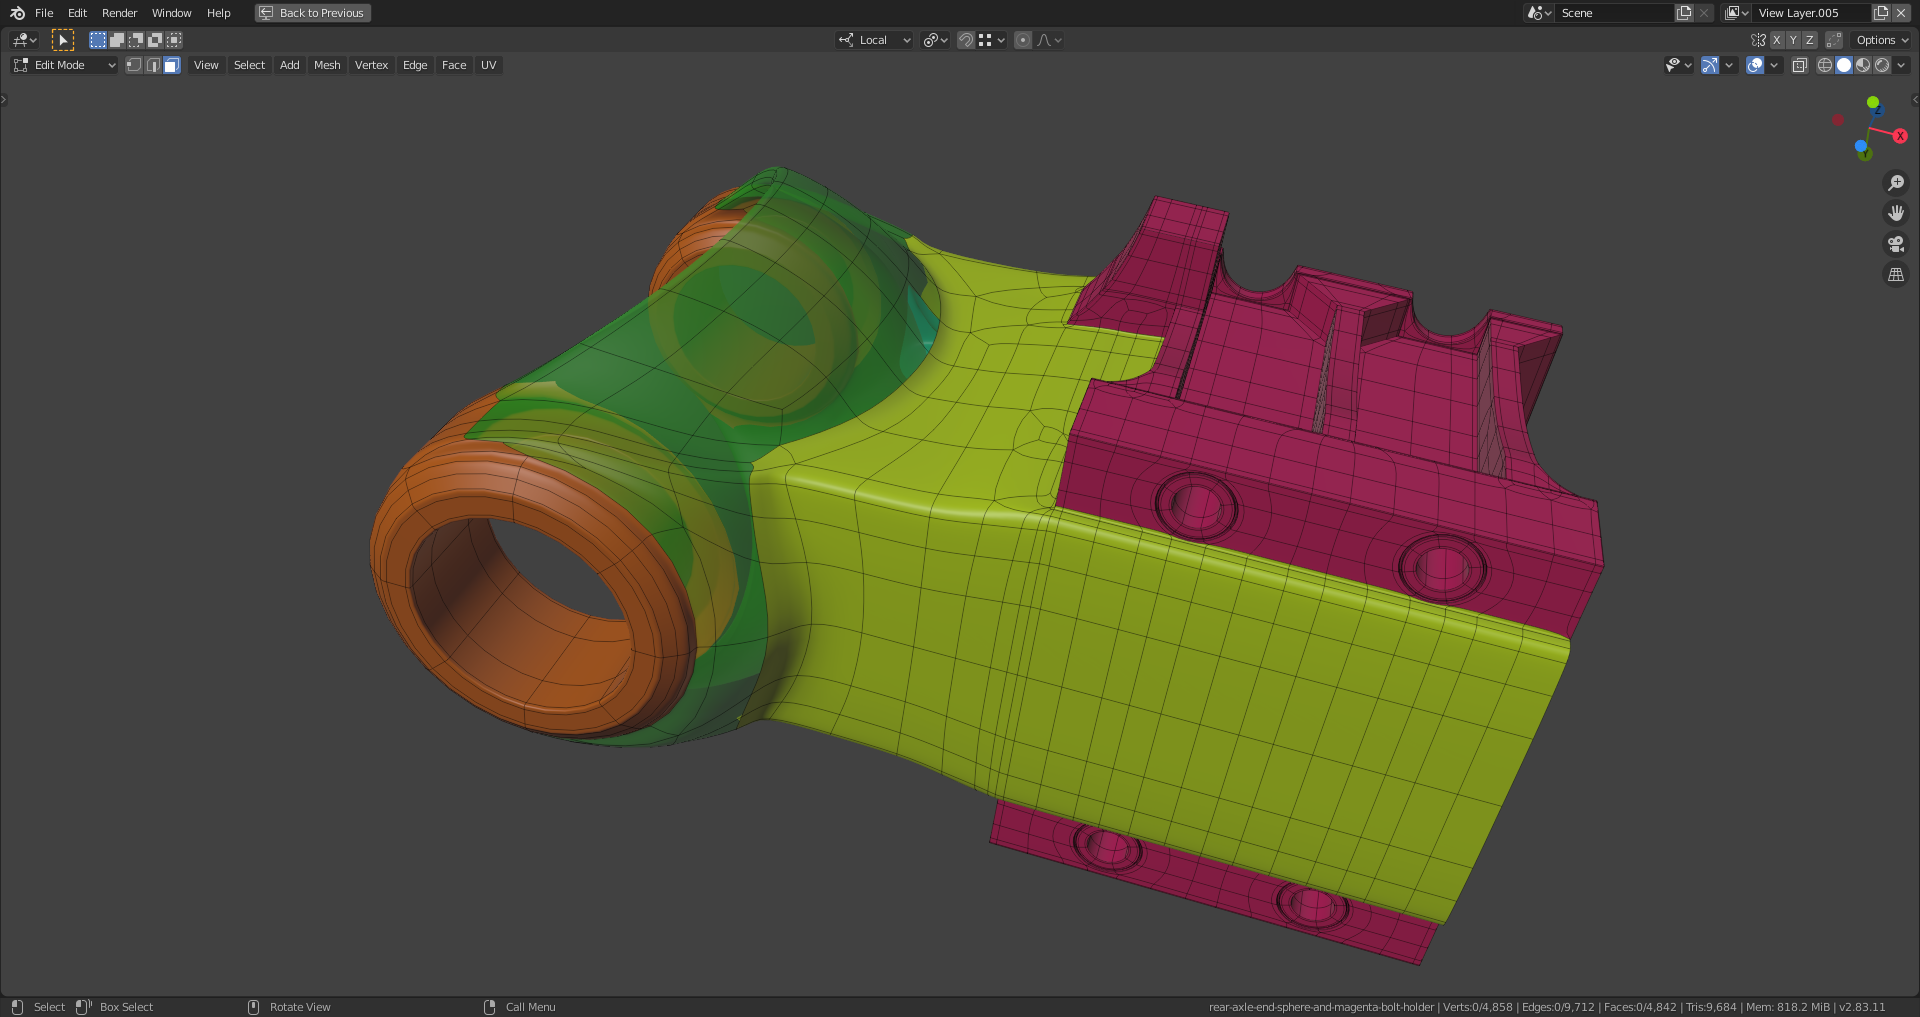
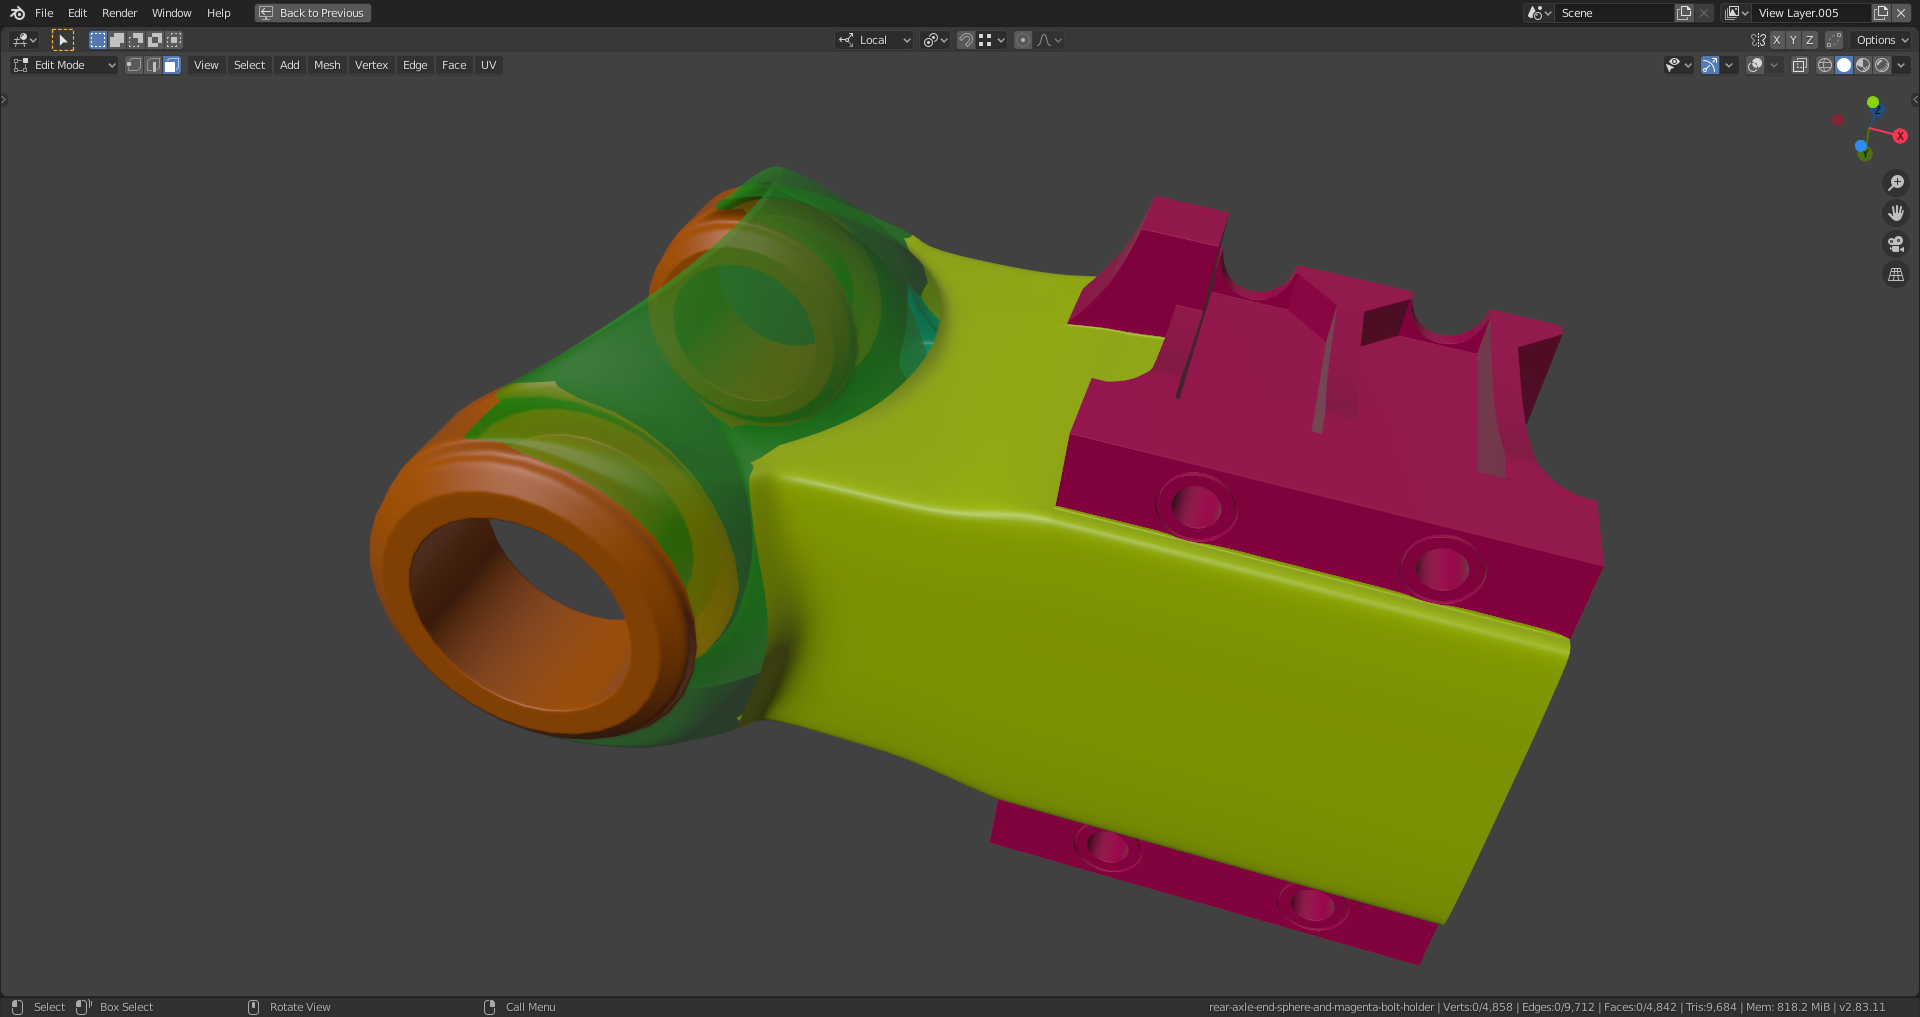
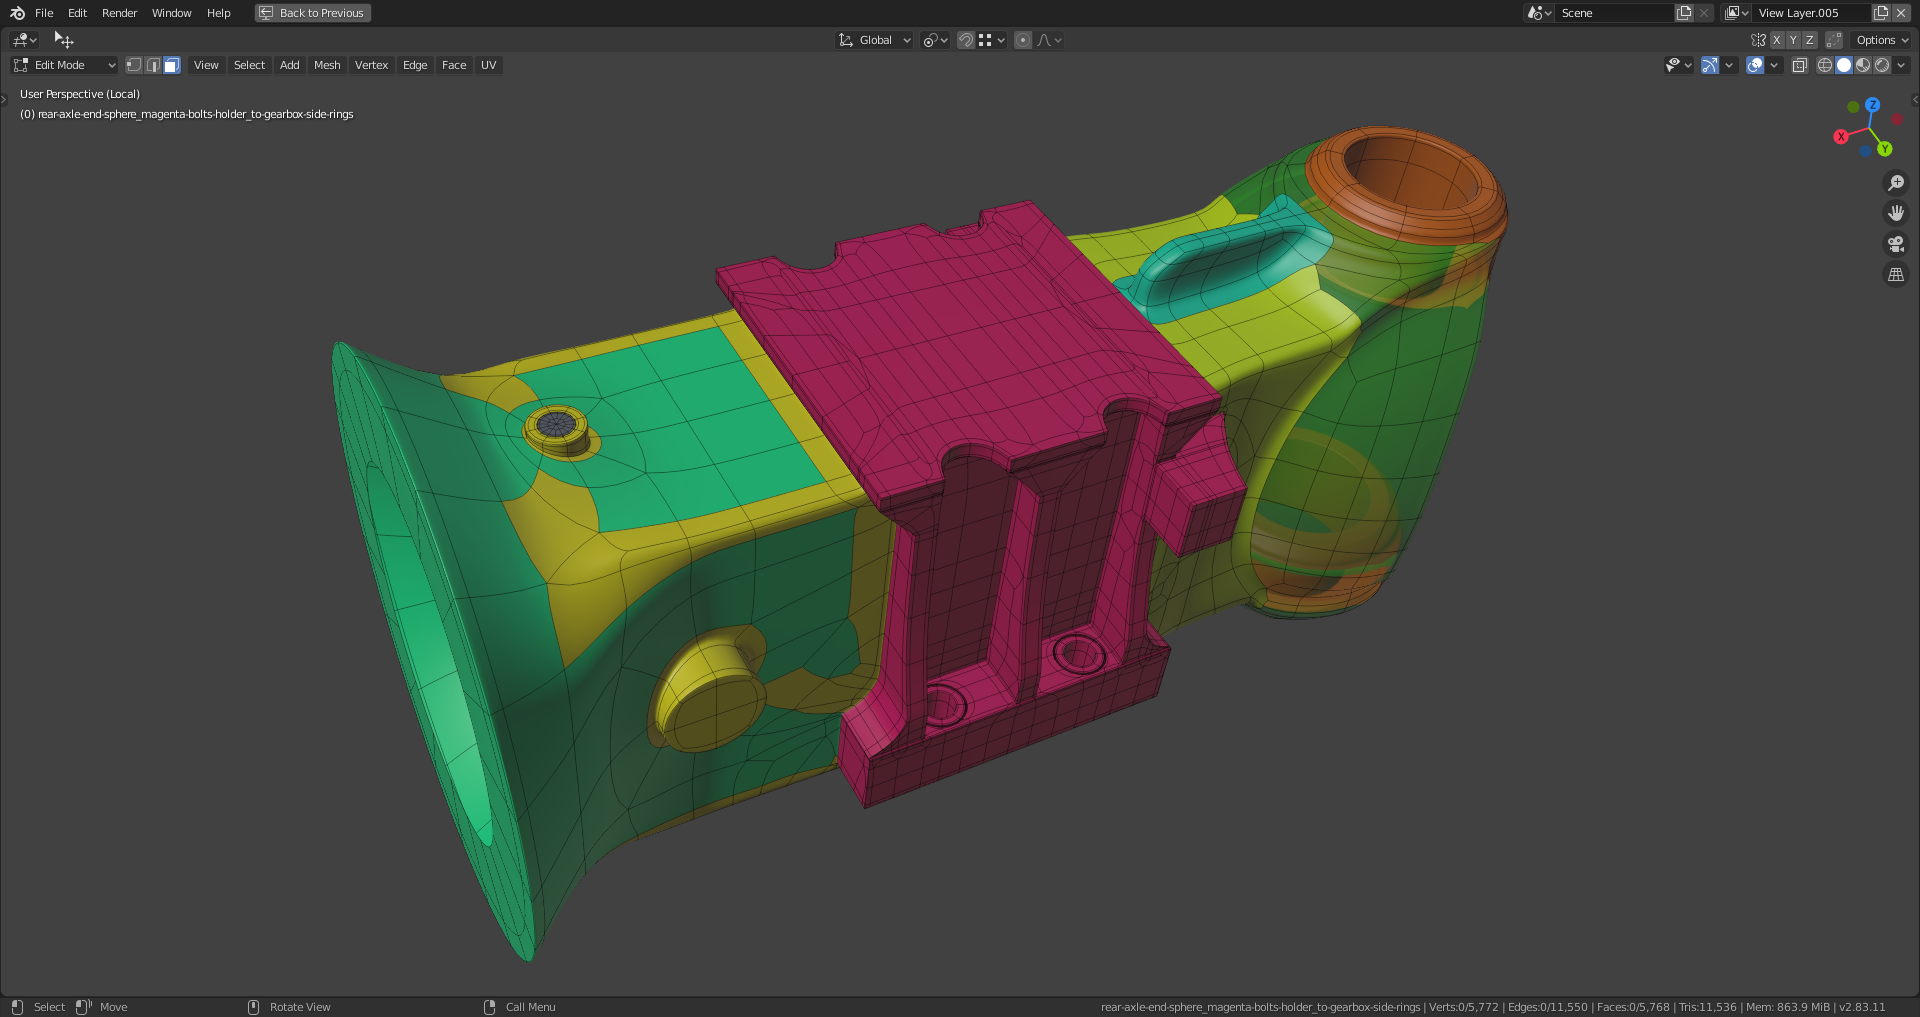
                   I had to dissolve many edges at the green-blue part on the left side and bring the circular shape back to perfect circles with “Loop Tools”. The edges (marked with a more saturated yellow) are beveled. I duplicated one edge area and used it as snapping target for the resting three in order to get an even look.

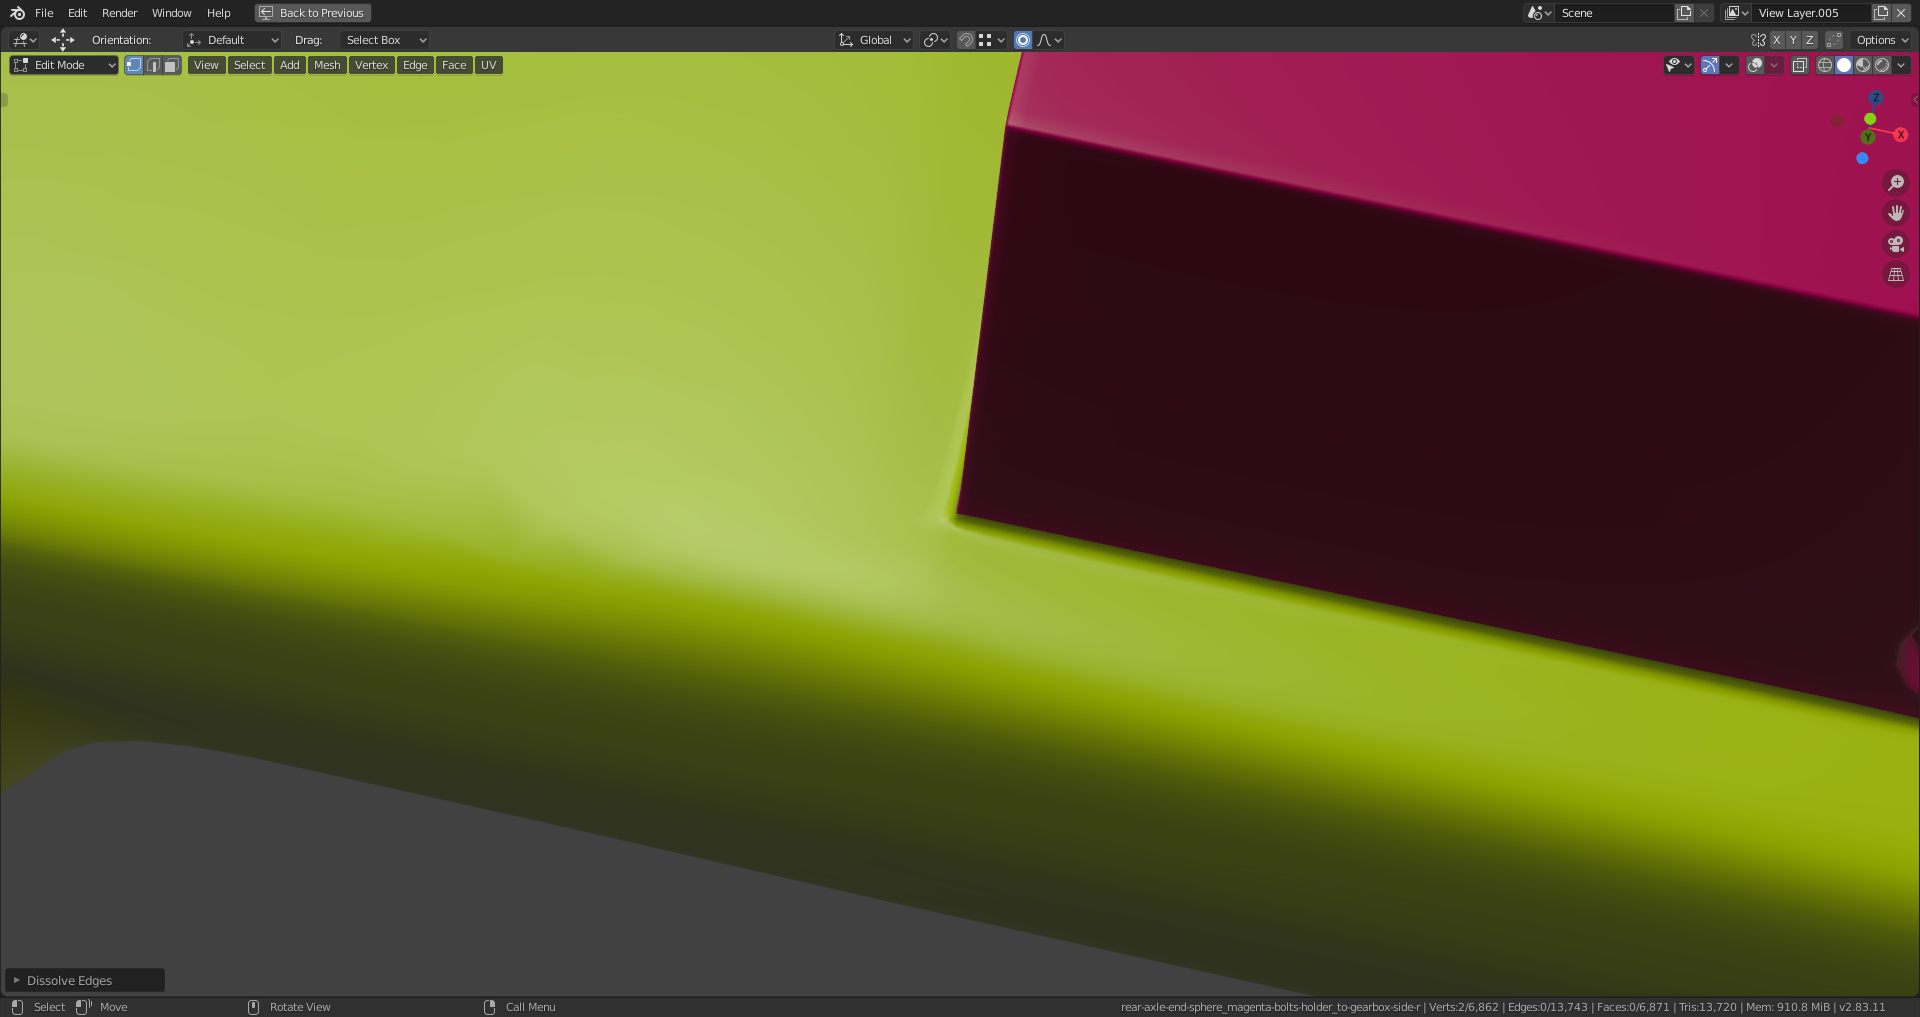
                  At the magenta bolts holder, I made the edge loops run down straight from the holes to the axle bottom instead of directing them into the corners nearby because this caused a lot of edge stretching so that some faces were overlapping which was clearly visible. 

                  The holding edges at the corners  of prodtruding parts are always a challenge, escpecially when they run into curved surfaces. I have a mix of solutions which all aren’t 100 % perfect (I don’t know whether this is possible at all?) but some slight pinching is only visible if you come very close and  I can at least live with it. Maybe you can have a look at it when I post my finished file?

                  #58117
                  spikeyxxx
                  Participant

                    The holding edges at the corners  of prodtruding parts are always a challenge, escpecially when they run into curved surfaces

                    How true and I think you solved that quite beautifully!

                    Here’s an example of what I did:

                    When using one of the extreme Matcaps you can see some stretching, not even a lot. But now look at the mess I made of this in Edit Mode:

                    I’ll be happy to take a look when you’re finished, but what you’ve got so far looks great, I can tell that from the screenshots already.

                    #58118
                    Shawn Blanch
                    Participant

                      Whoah.

                      #58119
                      Ingmar Franz
                      Participant

                        I use the “Shrinkwrap Modifier” in order to project the outline of the cutting surface of the part that I want to connect to an object and do the same with a scaled up version of that outline as holding edge loop.  Round objects are easier to connect since they don’t cause as much stretching as objects with angular cutting sufaces.

                        #58120
                        Ingmar Franz
                        Participant

                          I added recesses for the gearbox bolt nuts, but it’s not yet all quads:

                          #58121
                          spikeyxxx
                          Participant

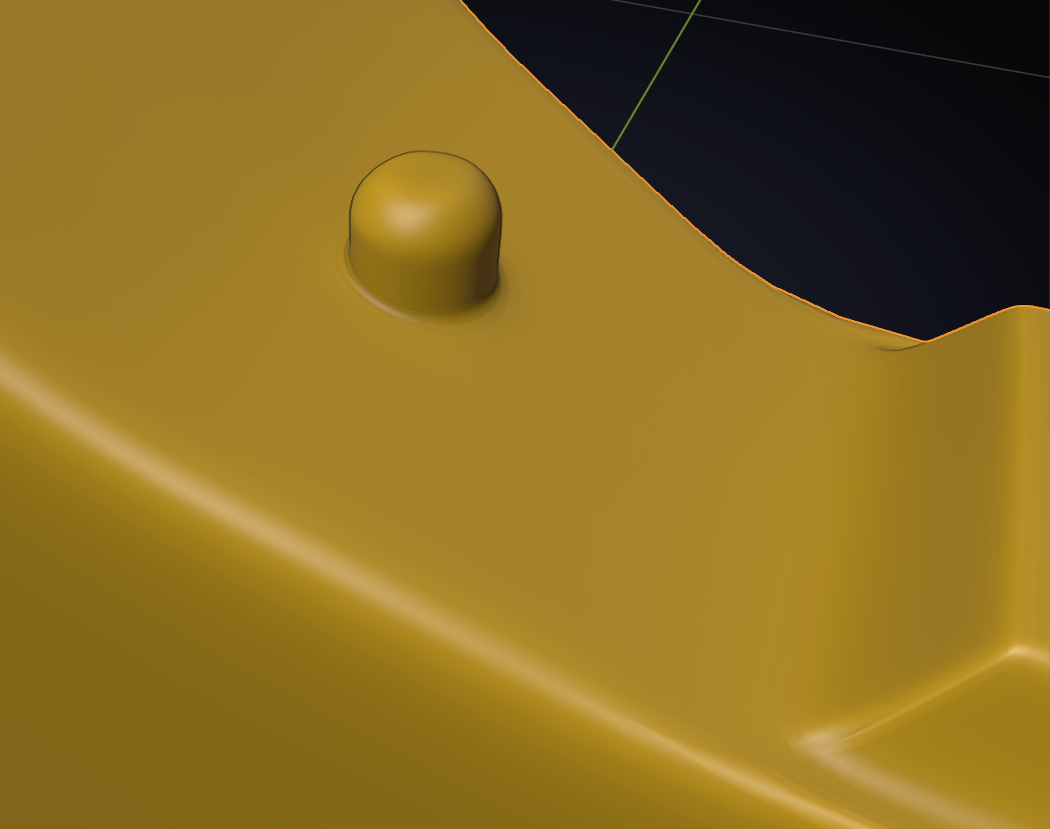
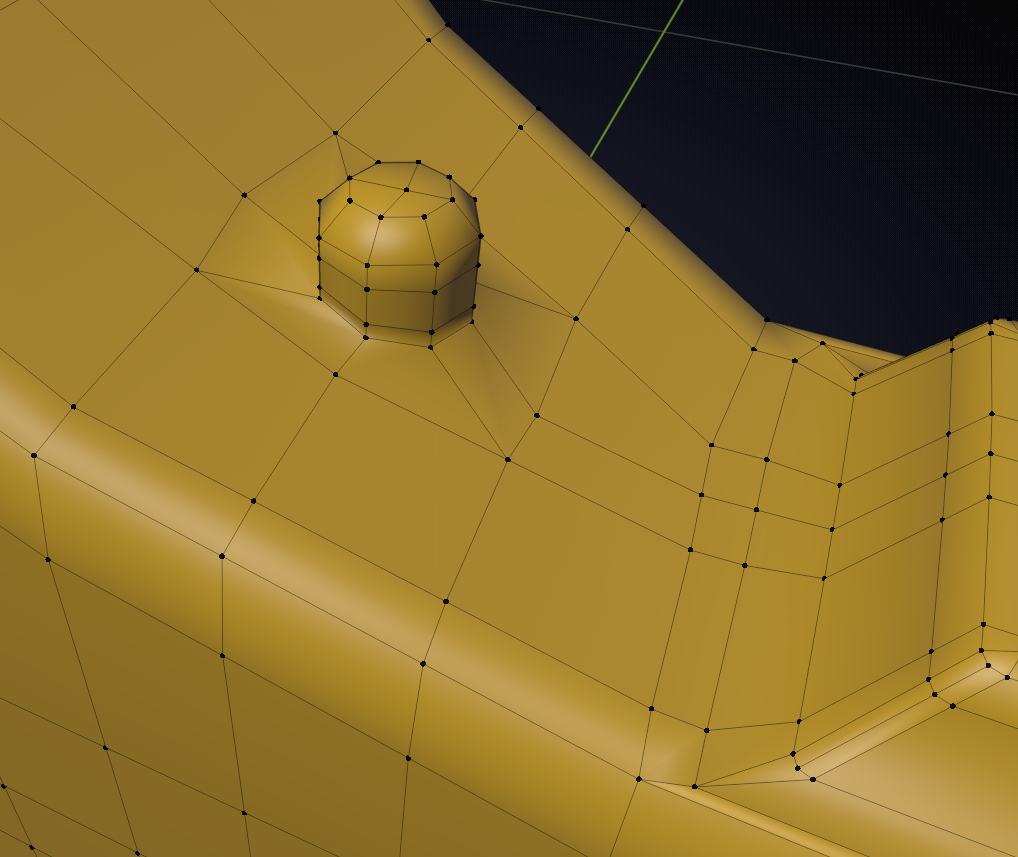
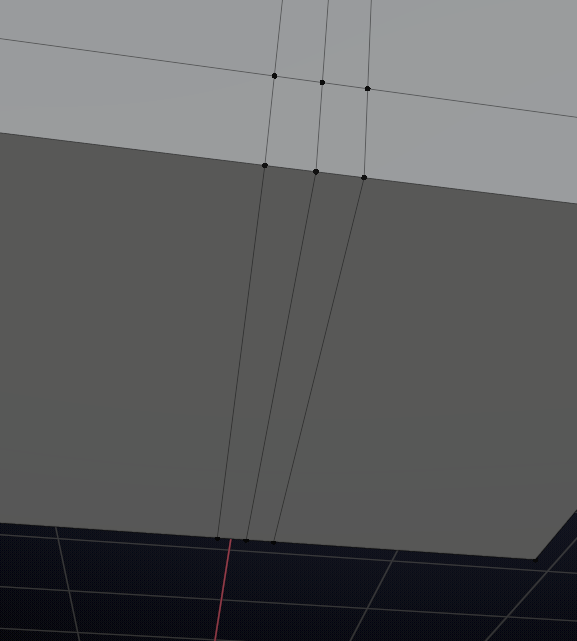
                            Didn’t notice this before, but there is some pinching here: 

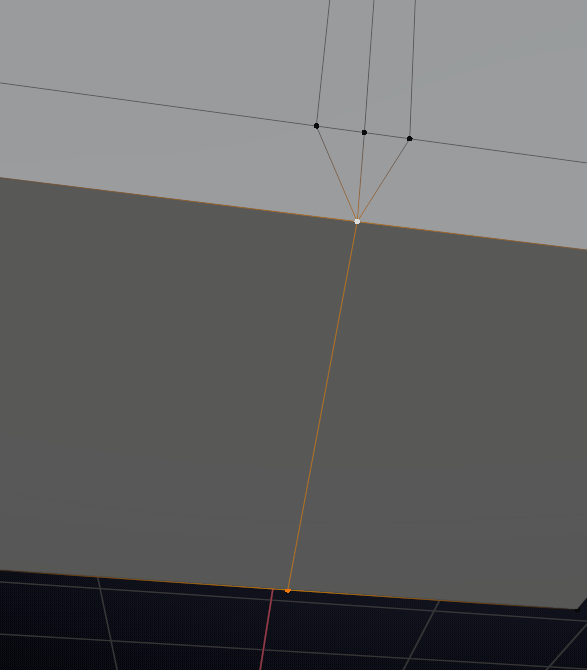
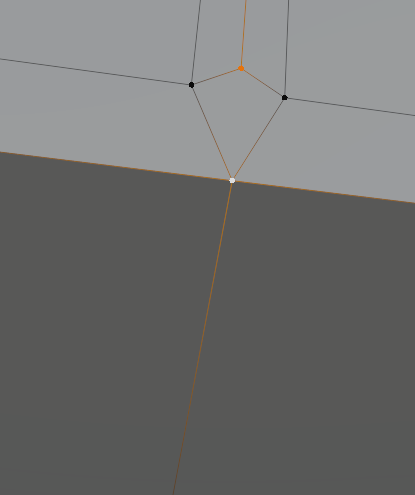
                            might be easy to solve, by merging those three close-together edge loops at the bottom. 

                            Something like this: 

                            and:

                            Might not work in your case, but it’s worth a try.

                            Don’t stress out too much if you can’t solve it, with the right shader (dirty, greasy, damaged, painted iron) you’ll be able to hide it;)

                            #58122
                            Ingmar Franz
                            Participant

                              Thank you, @spikeyxxx, for the hint 😀!

                              #58123
                              Ingmar Franz
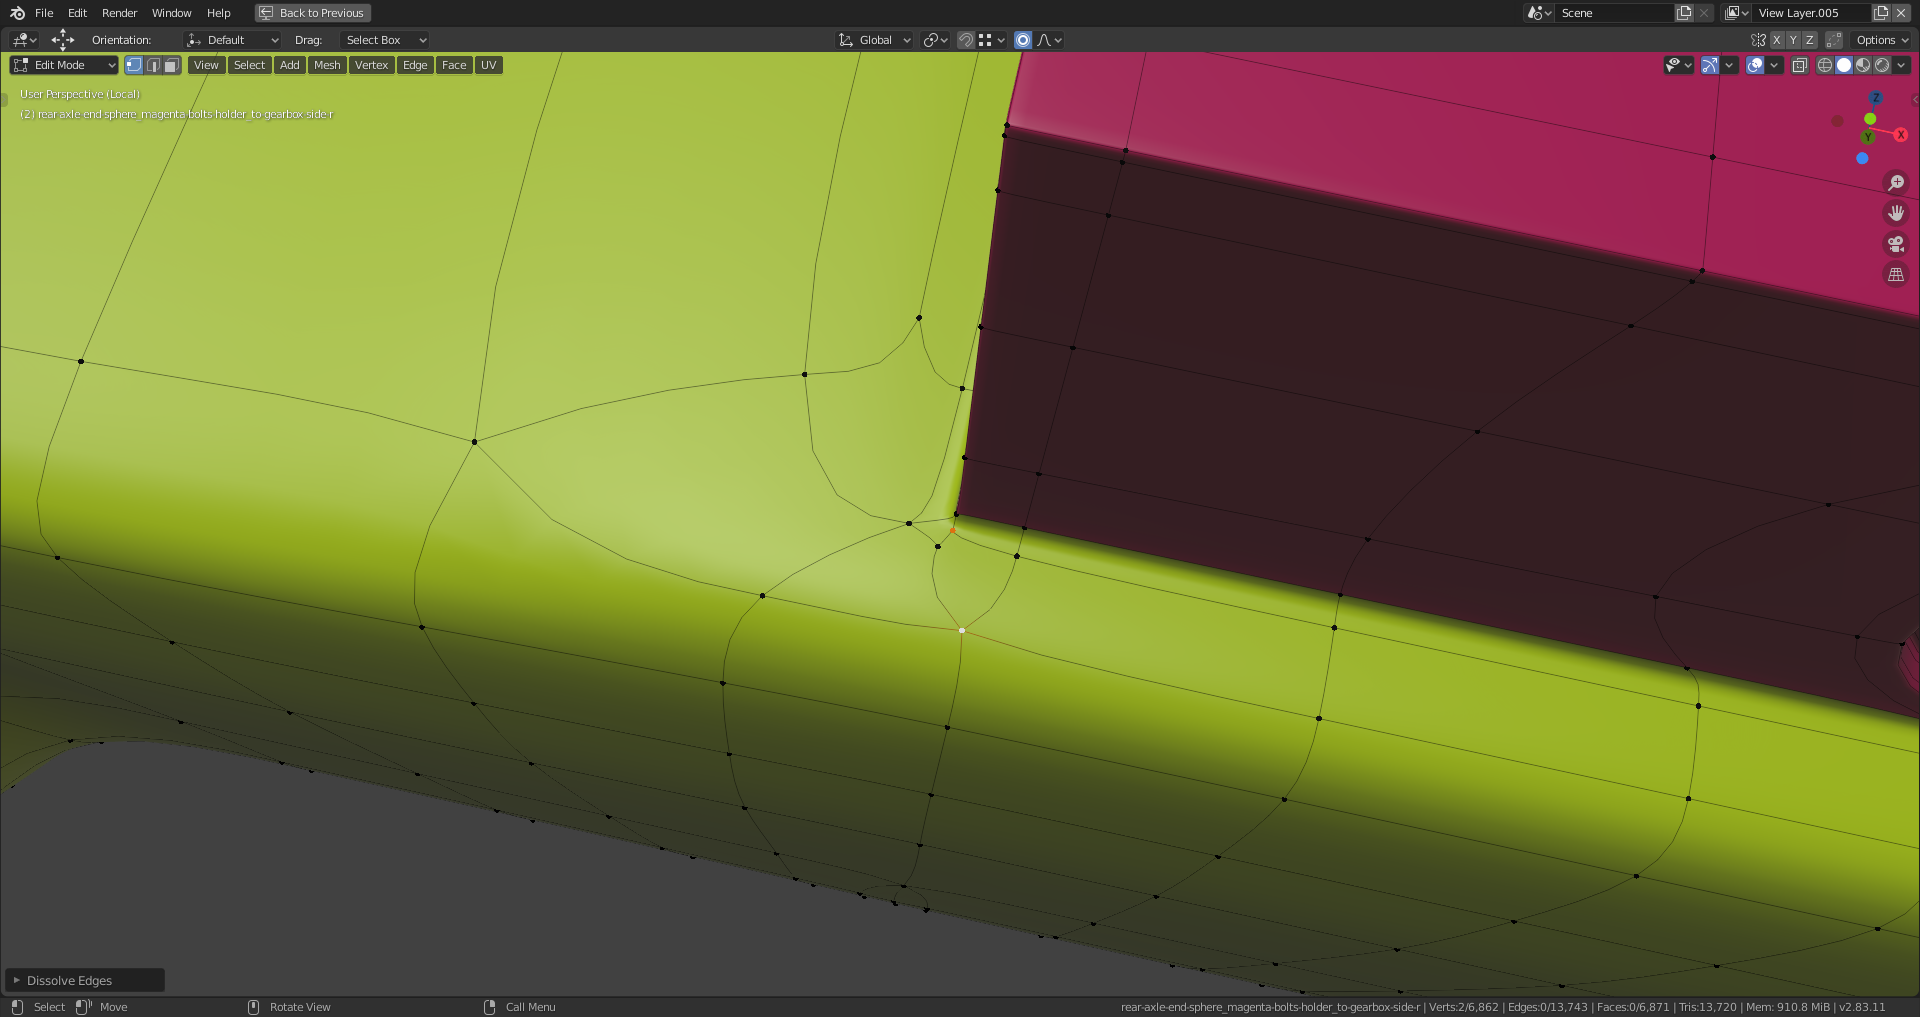
                              Participant

                                And it worked very well (!) 😀:

                                #58124
                                Ingmar Franz
                                Participant

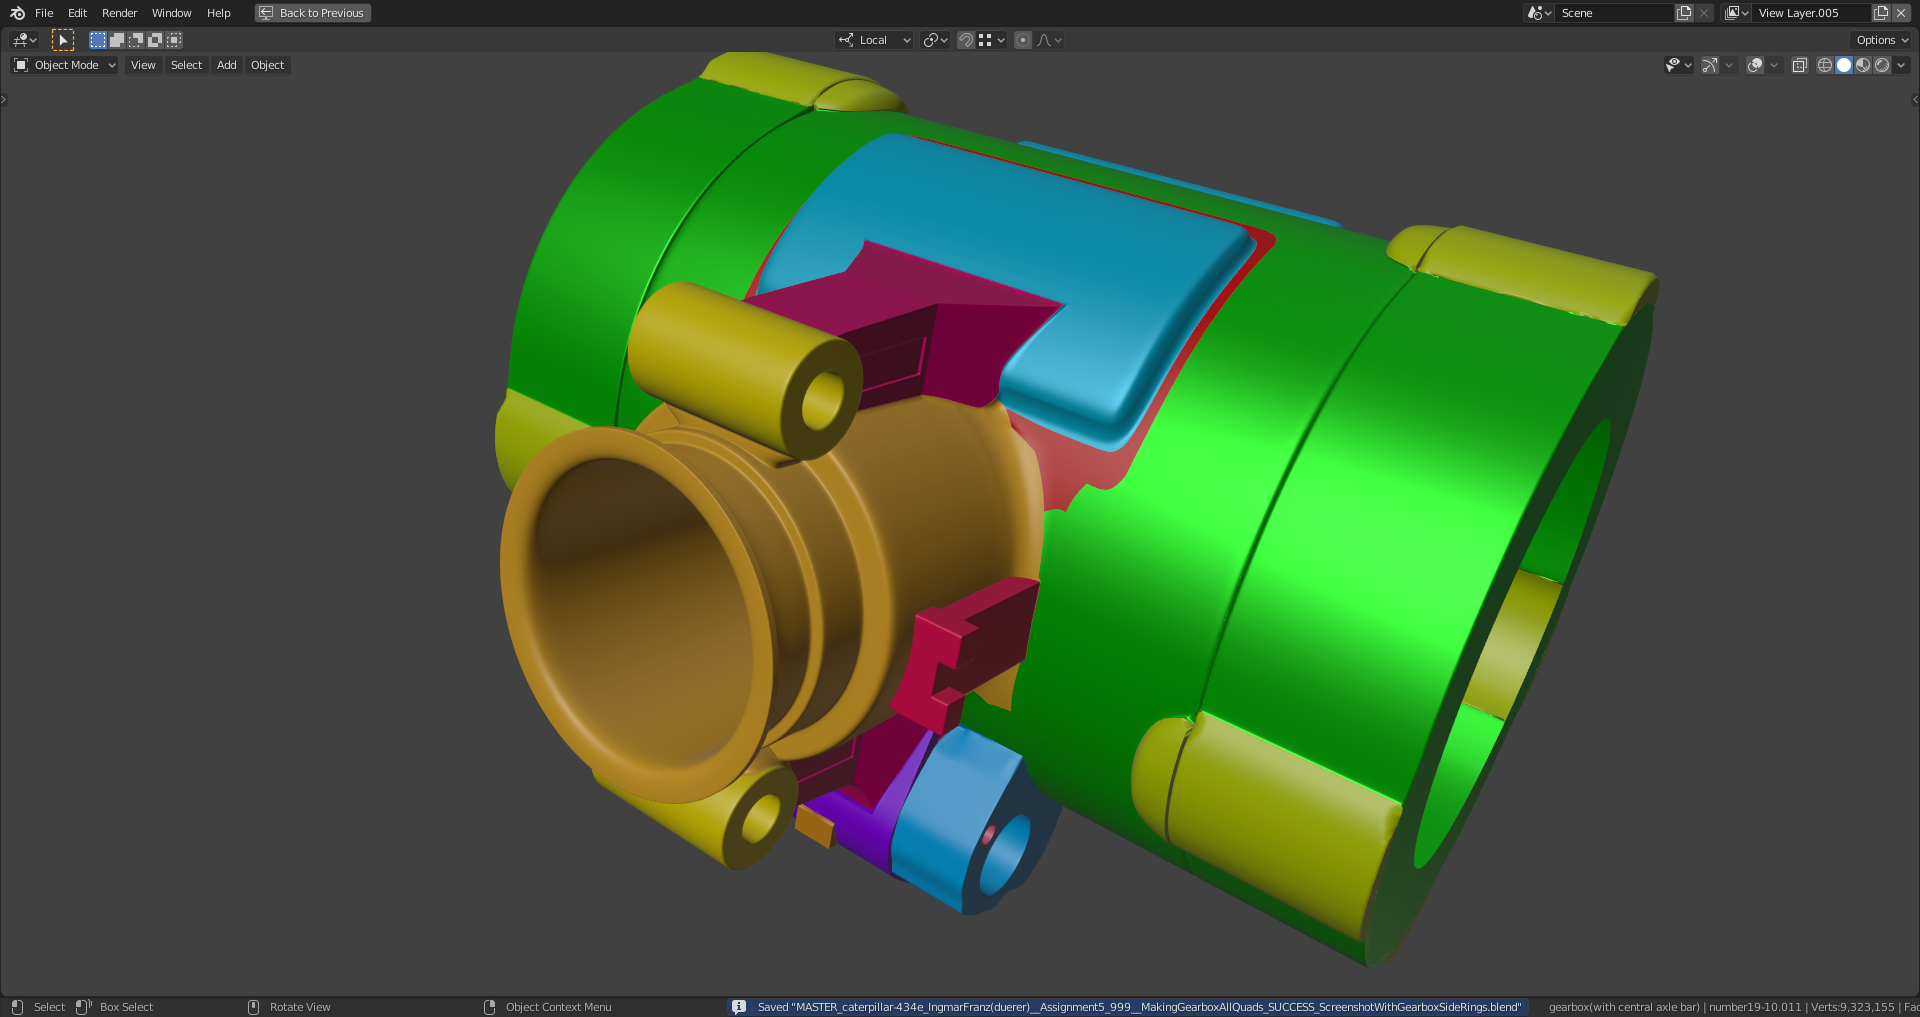
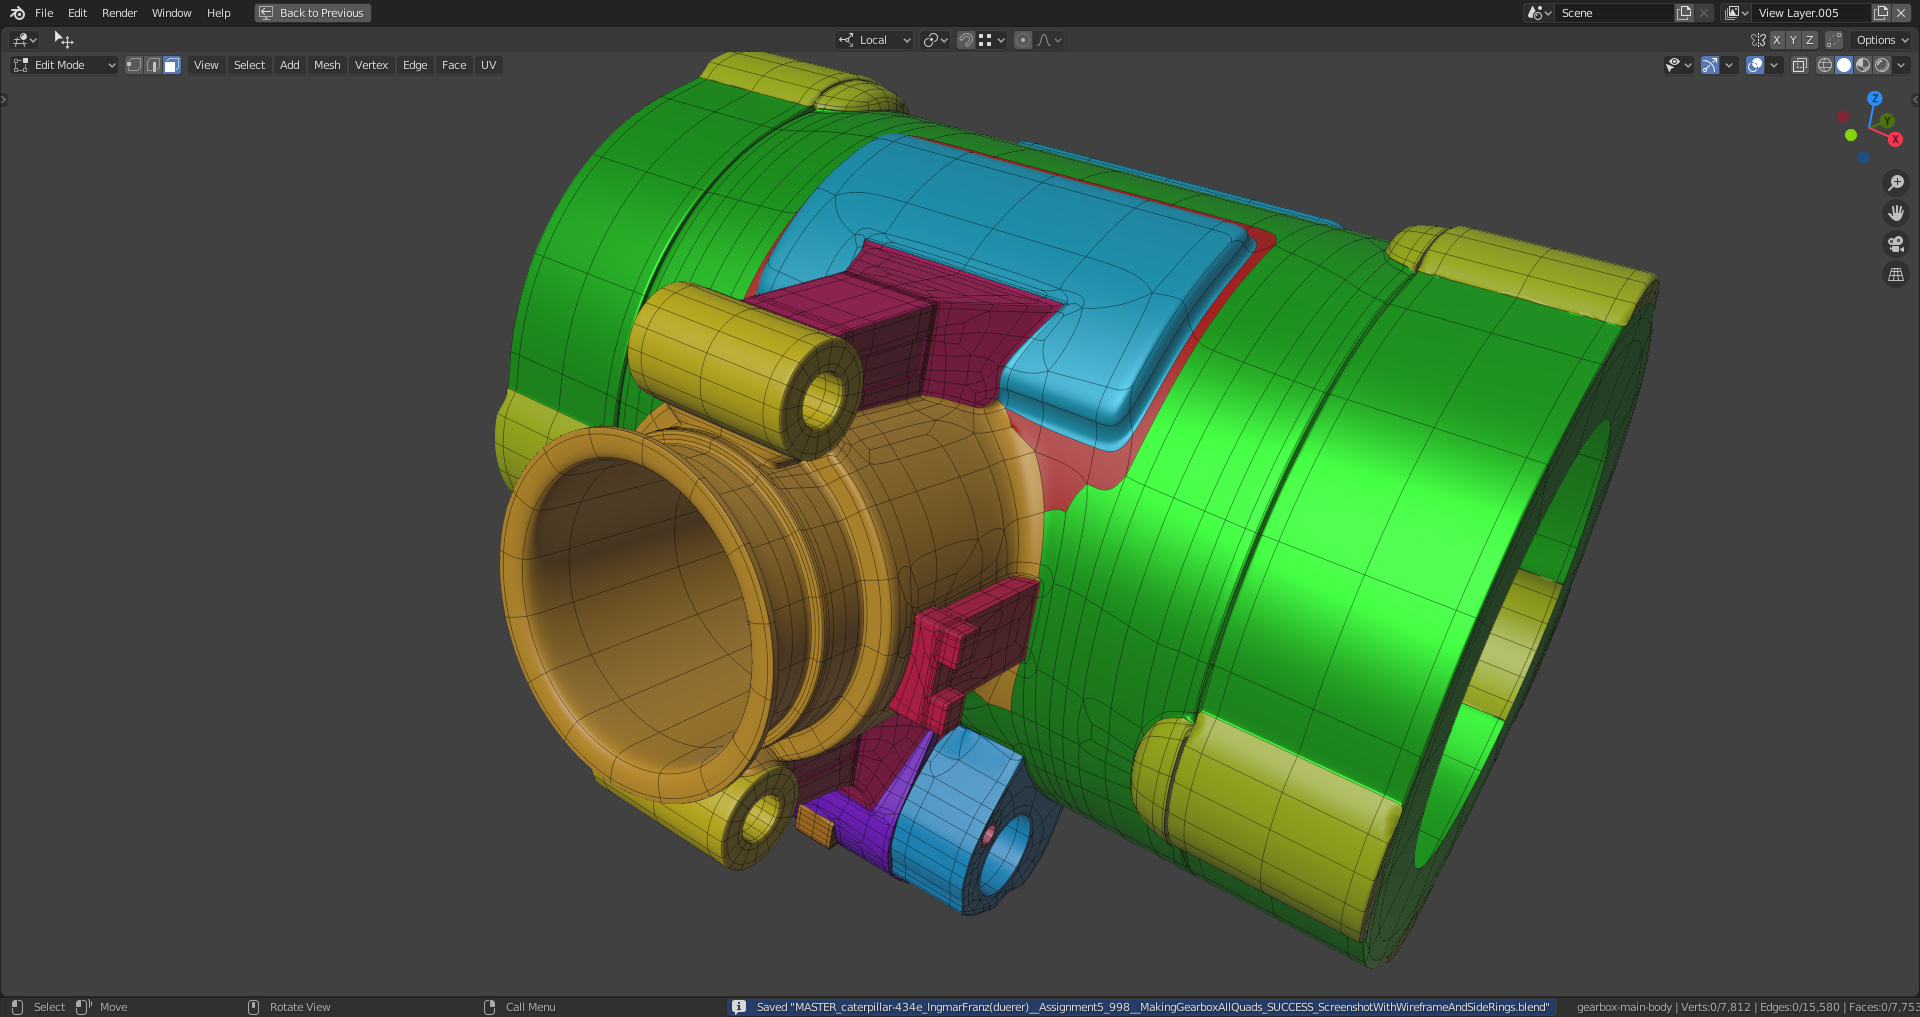
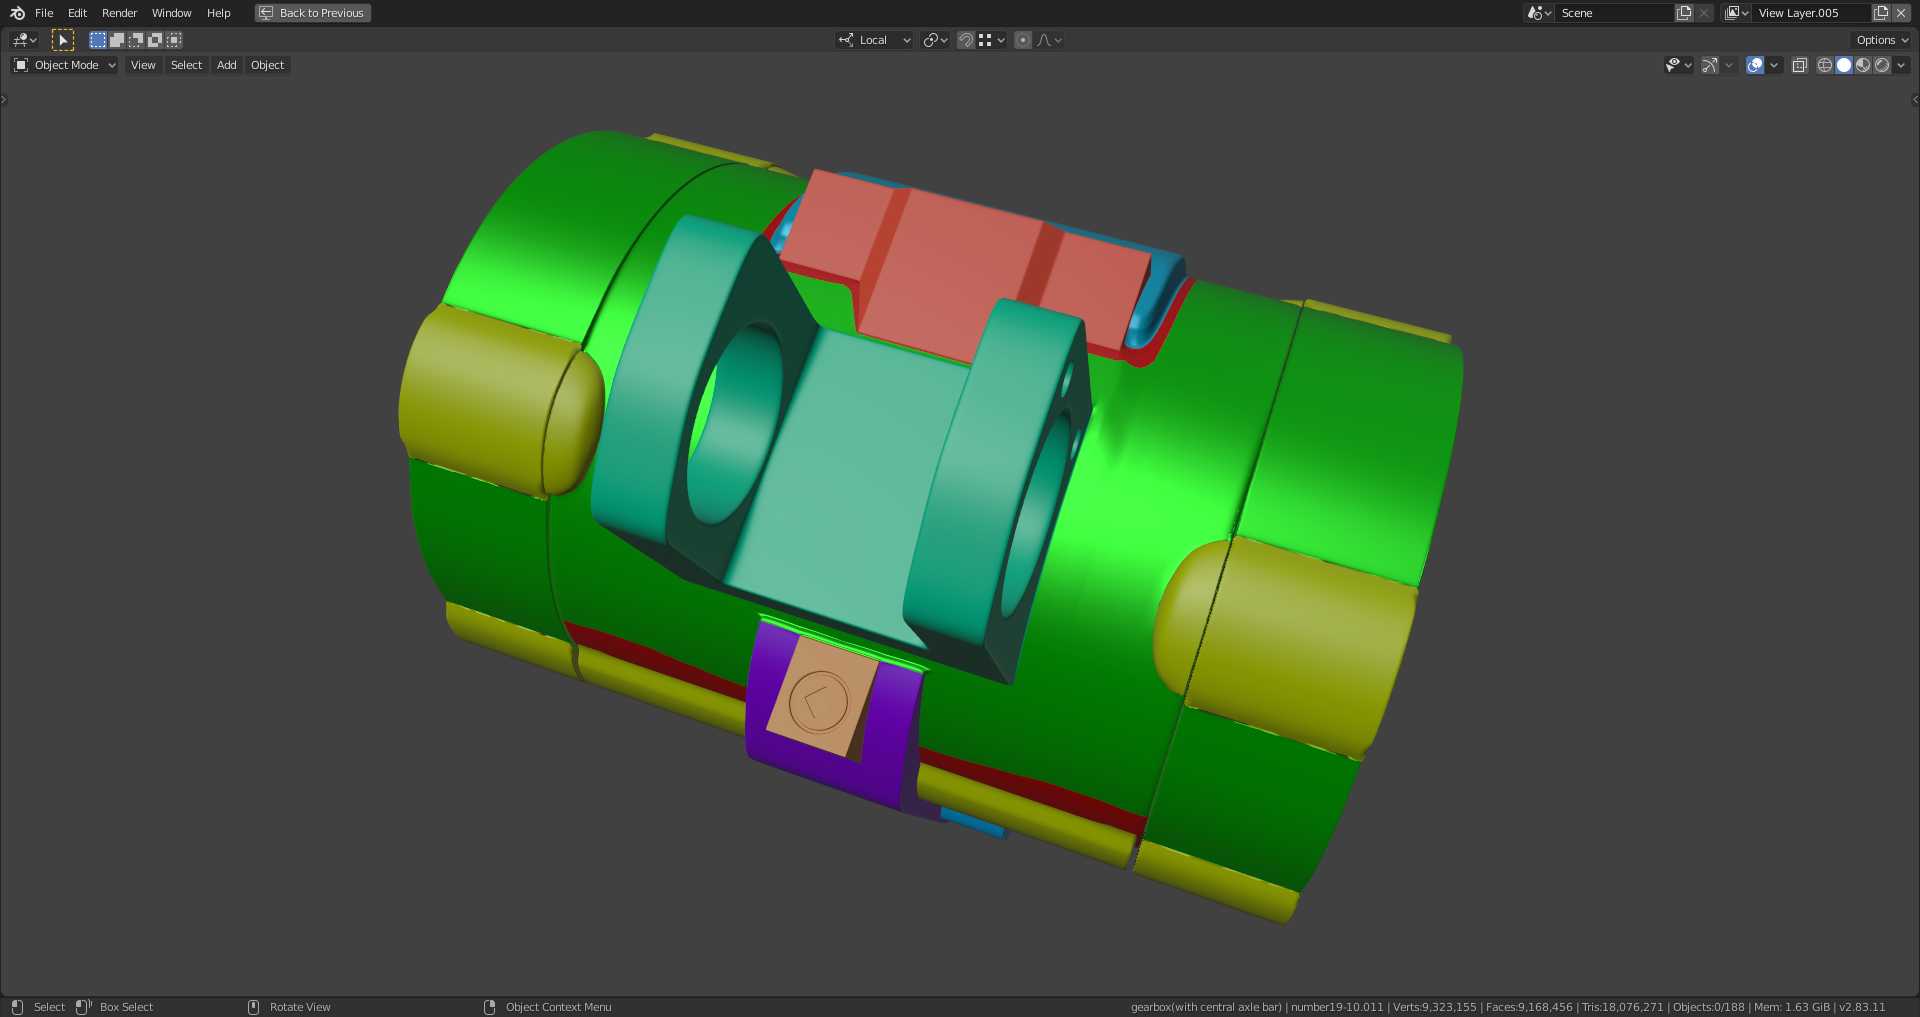
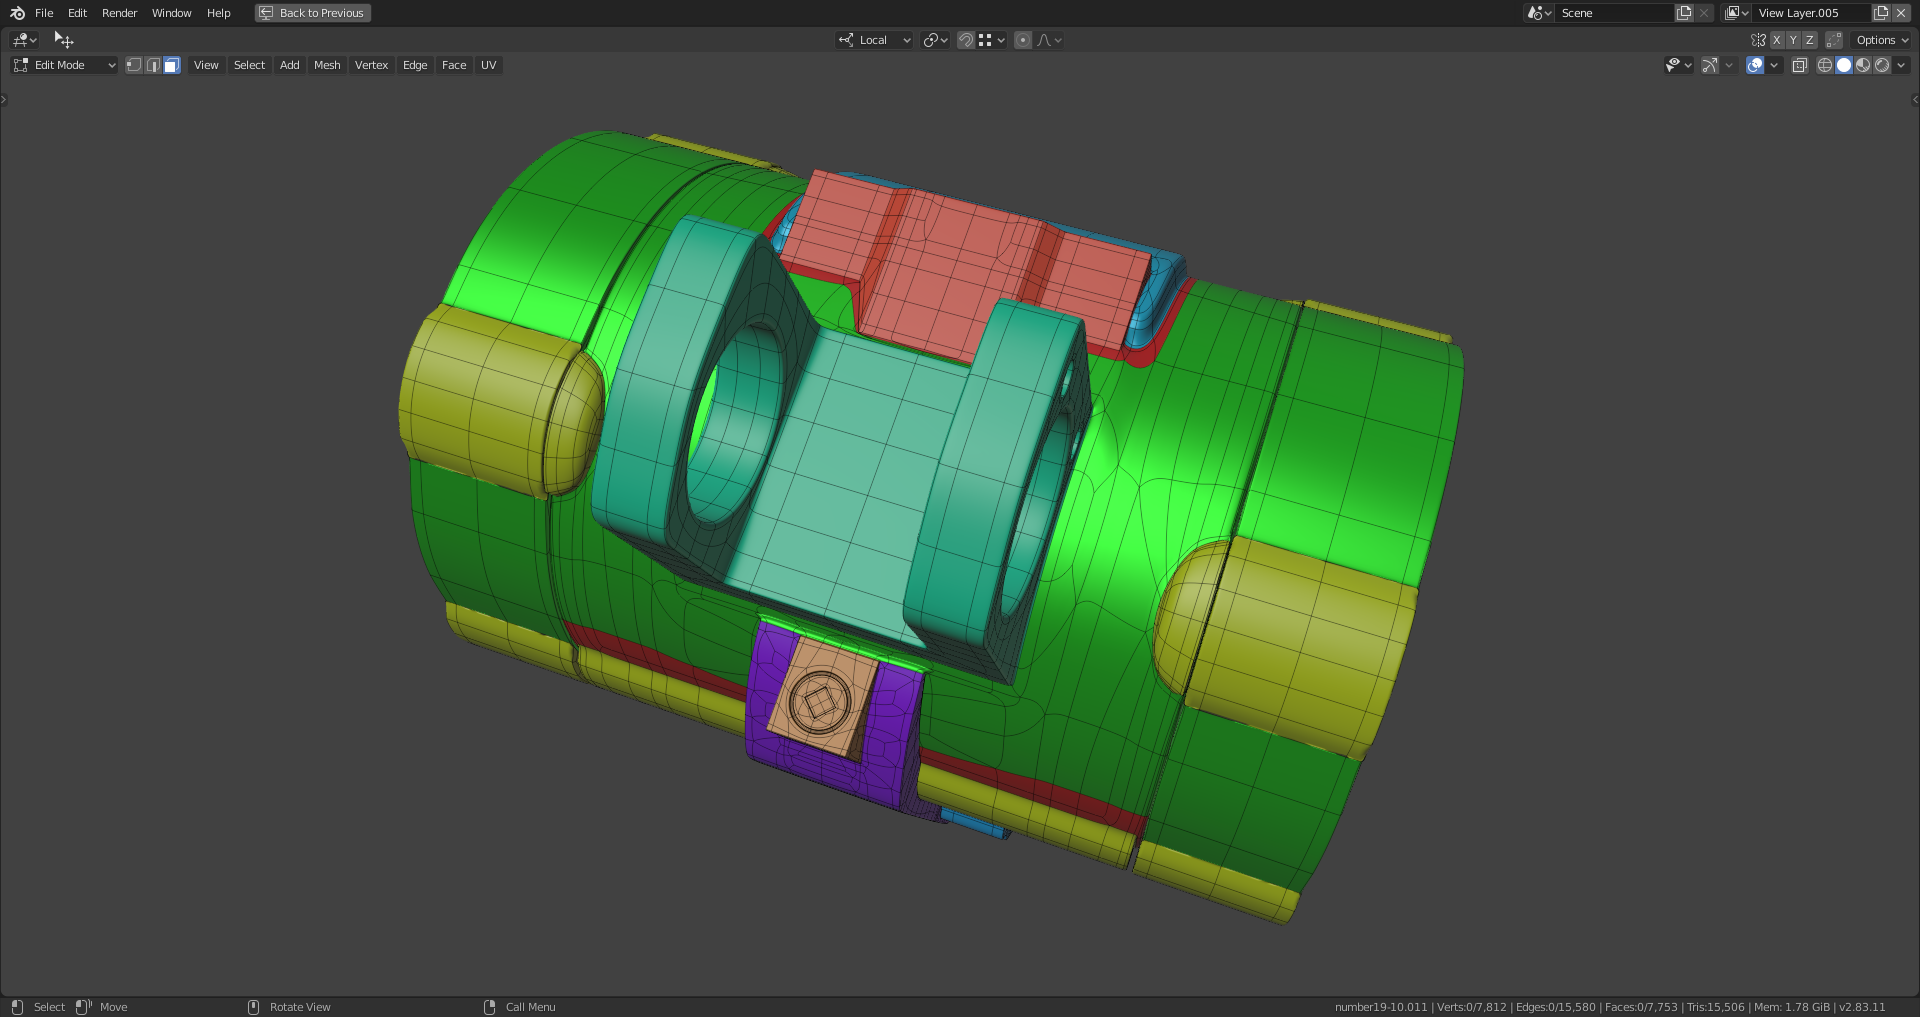
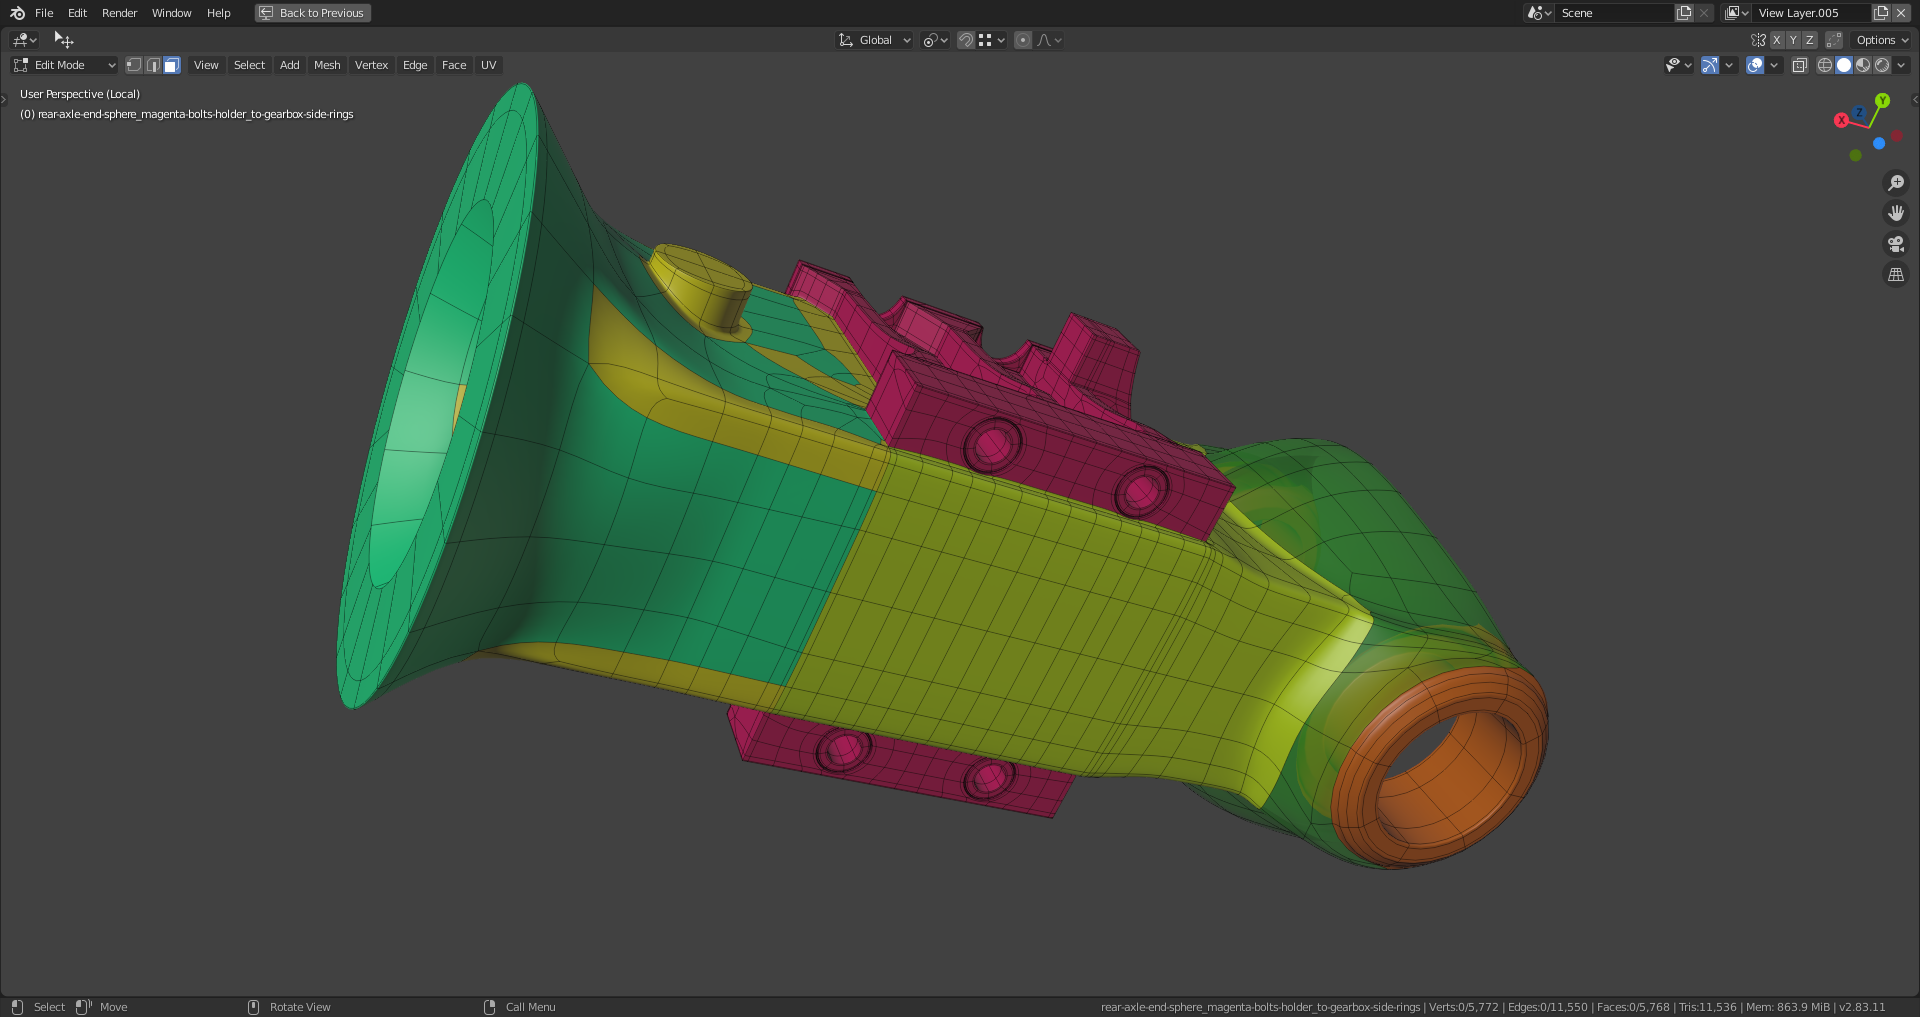
                                  Now, the gearbox side rings and the green-blue part are all quads and without any 6-poles:

                                  The green-blue element to the right of the gearbox is a mirrored in global Y duplicate of its axle left side counterpart.

                                Viewing 15 posts - 91 through 105 (of 225 total)
                                • The topic ‘Backhoe Contribution – duerer – Wheels / Rear Axle’ is closed to new replies.