
Backhoe Contribution – Blanchsb – Exterior Loader Arms and Interior Chair
Forum Archive › Backhoe Contribution – Blanchsb – Exterior Loader Arms and Interior Chair
- This topic has 215 replies, 9 voices, and was last updated 5 years, 10 months ago by
Rita Geraghty.
-
AuthorPosts
-
July 6, 2020 at 7:04 am #56899
Classic case of ‘Right man for the job’ scenario. For such a complex part of the Dog, you nailed it.
 July 6, 2020 at 9:12 am #56900
I would say each of our parts is very complex.
However let me be the first to say that I chose the Loader Arms because they “looked” more simple and closer to my skill level, ha! Yeah that was a rabbit hole down to underland lol. Way more complex but oh sooooo rewarding for experience.
July 6, 2020 at 10:19 am #56901I would confidently bet that your setup is loads better than most YT tutors. Thanks for sharing the details of your hardware + software. I use OBS very similarly but I get mixed results with noise gate, usually leaving it off. You’ve inspired me to test it again.
I love that you included your animals!
July 6, 2020 at 11:07 am #56902I think you may have under estimated your skill level.
Hit it out the park.

Sorry no baseball in the UK
July 6, 2020 at 11:56 pm #56903Soooooo close to completion it’s driving me nuts! I gotta call it a night though. I need to rest for the big win tomorrow.
I made the magnet and sensor assembly. Nothing terribly complex but I took a break earlier to help someone on the forum make a complex tumbler cup. I wanted to exercise my modeling skills on something outside the workflow just a little to keepmy modeling muscles exercised.
Here’s the progress for today though.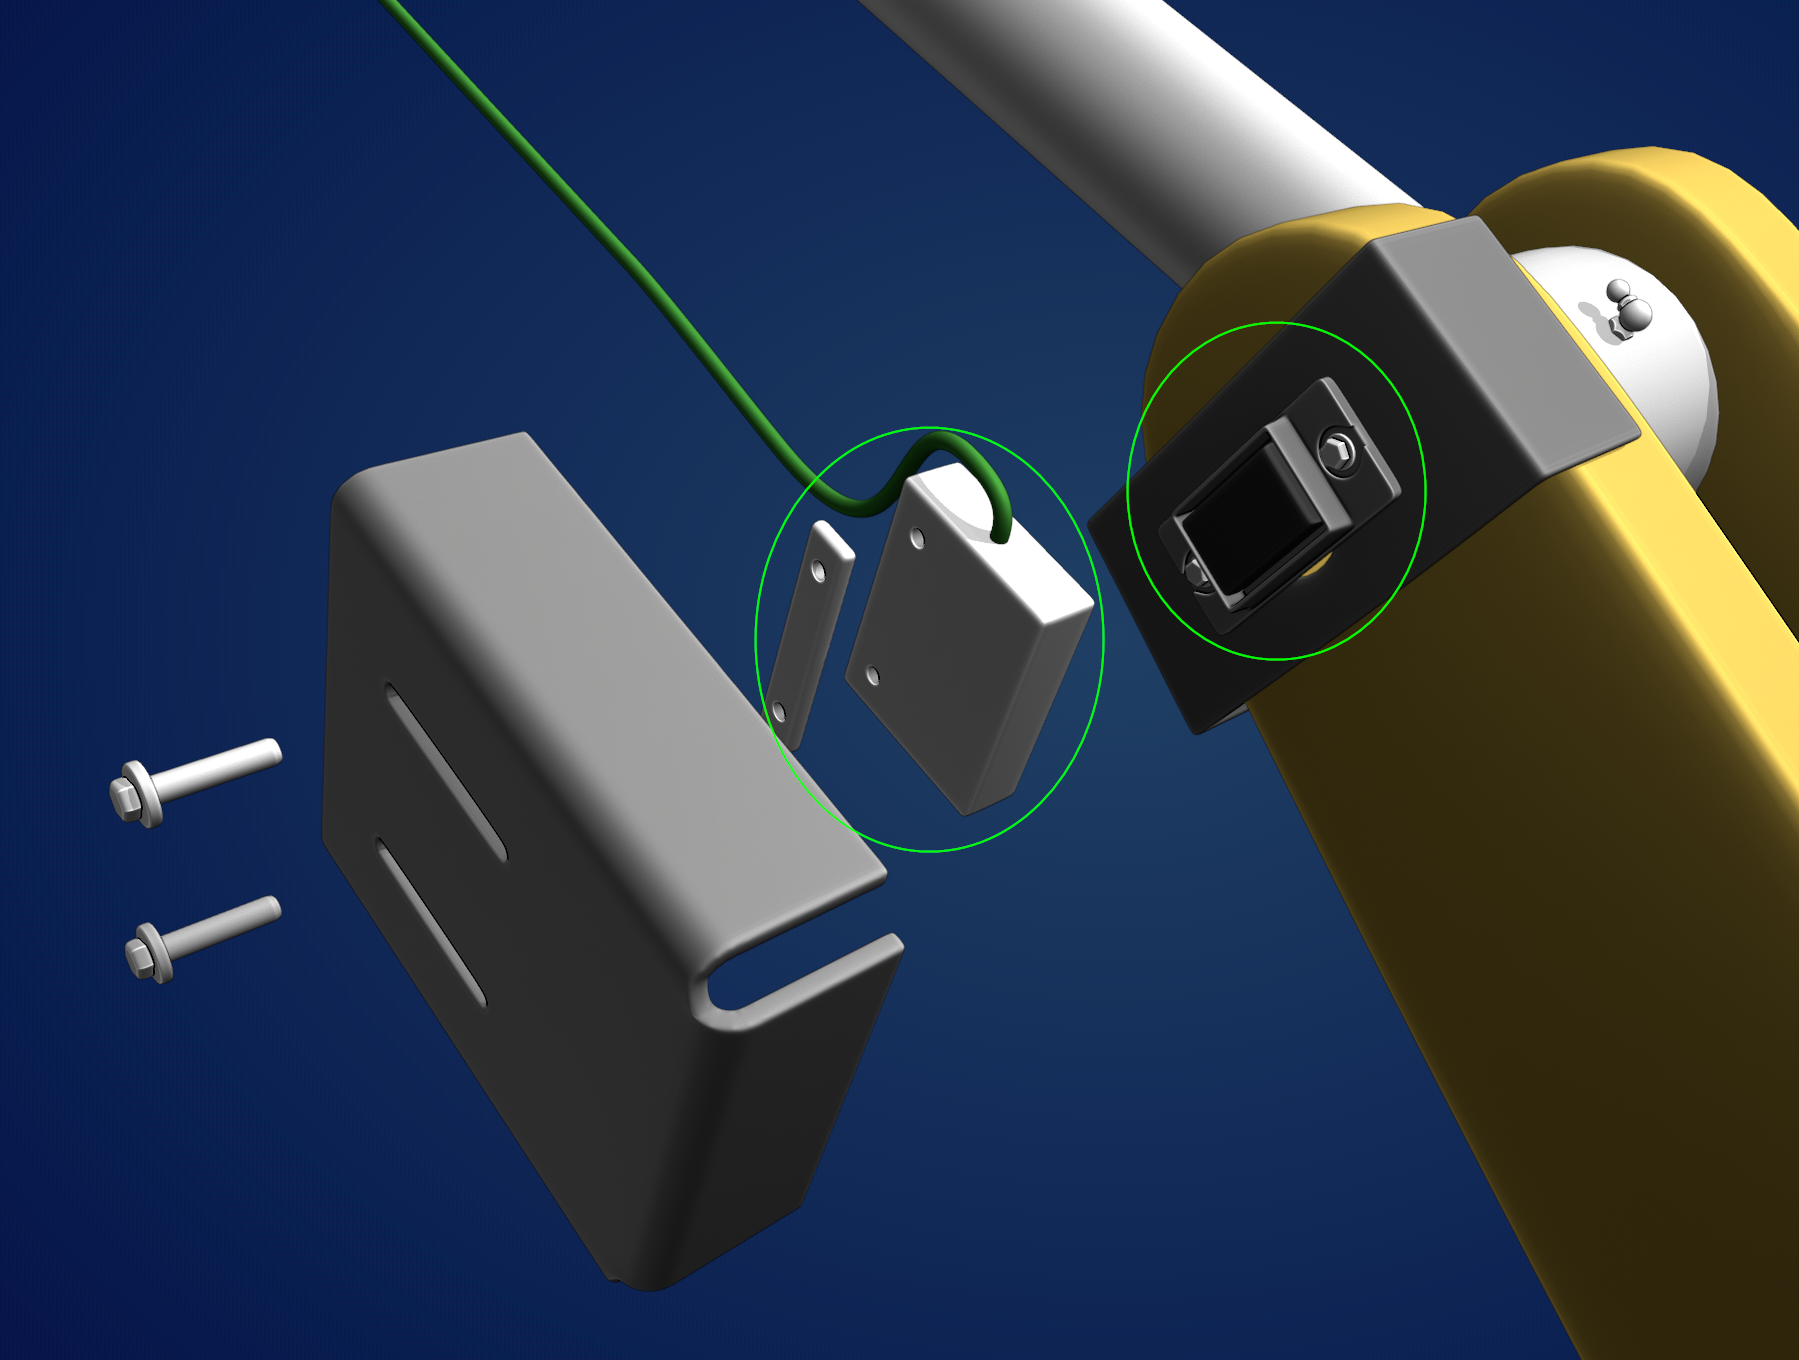 July 7, 2020 at 1:35 am #56904
Excellent👍! And I can see the “grease fitting” (?) from Kent’s live stream demonstration at the right image border 😀.
PS: Cutting out holes like that at the corner of the sensor housing (below the left green ellipse) is something I still need to exercise.
July 7, 2020 at 3:03 am #56905I can’t get over how much detail and effort you put in, and with such good quality also.
 July 8, 2020 at 1:26 pm #56906
Does it ever feel like you keep finding things to work on???
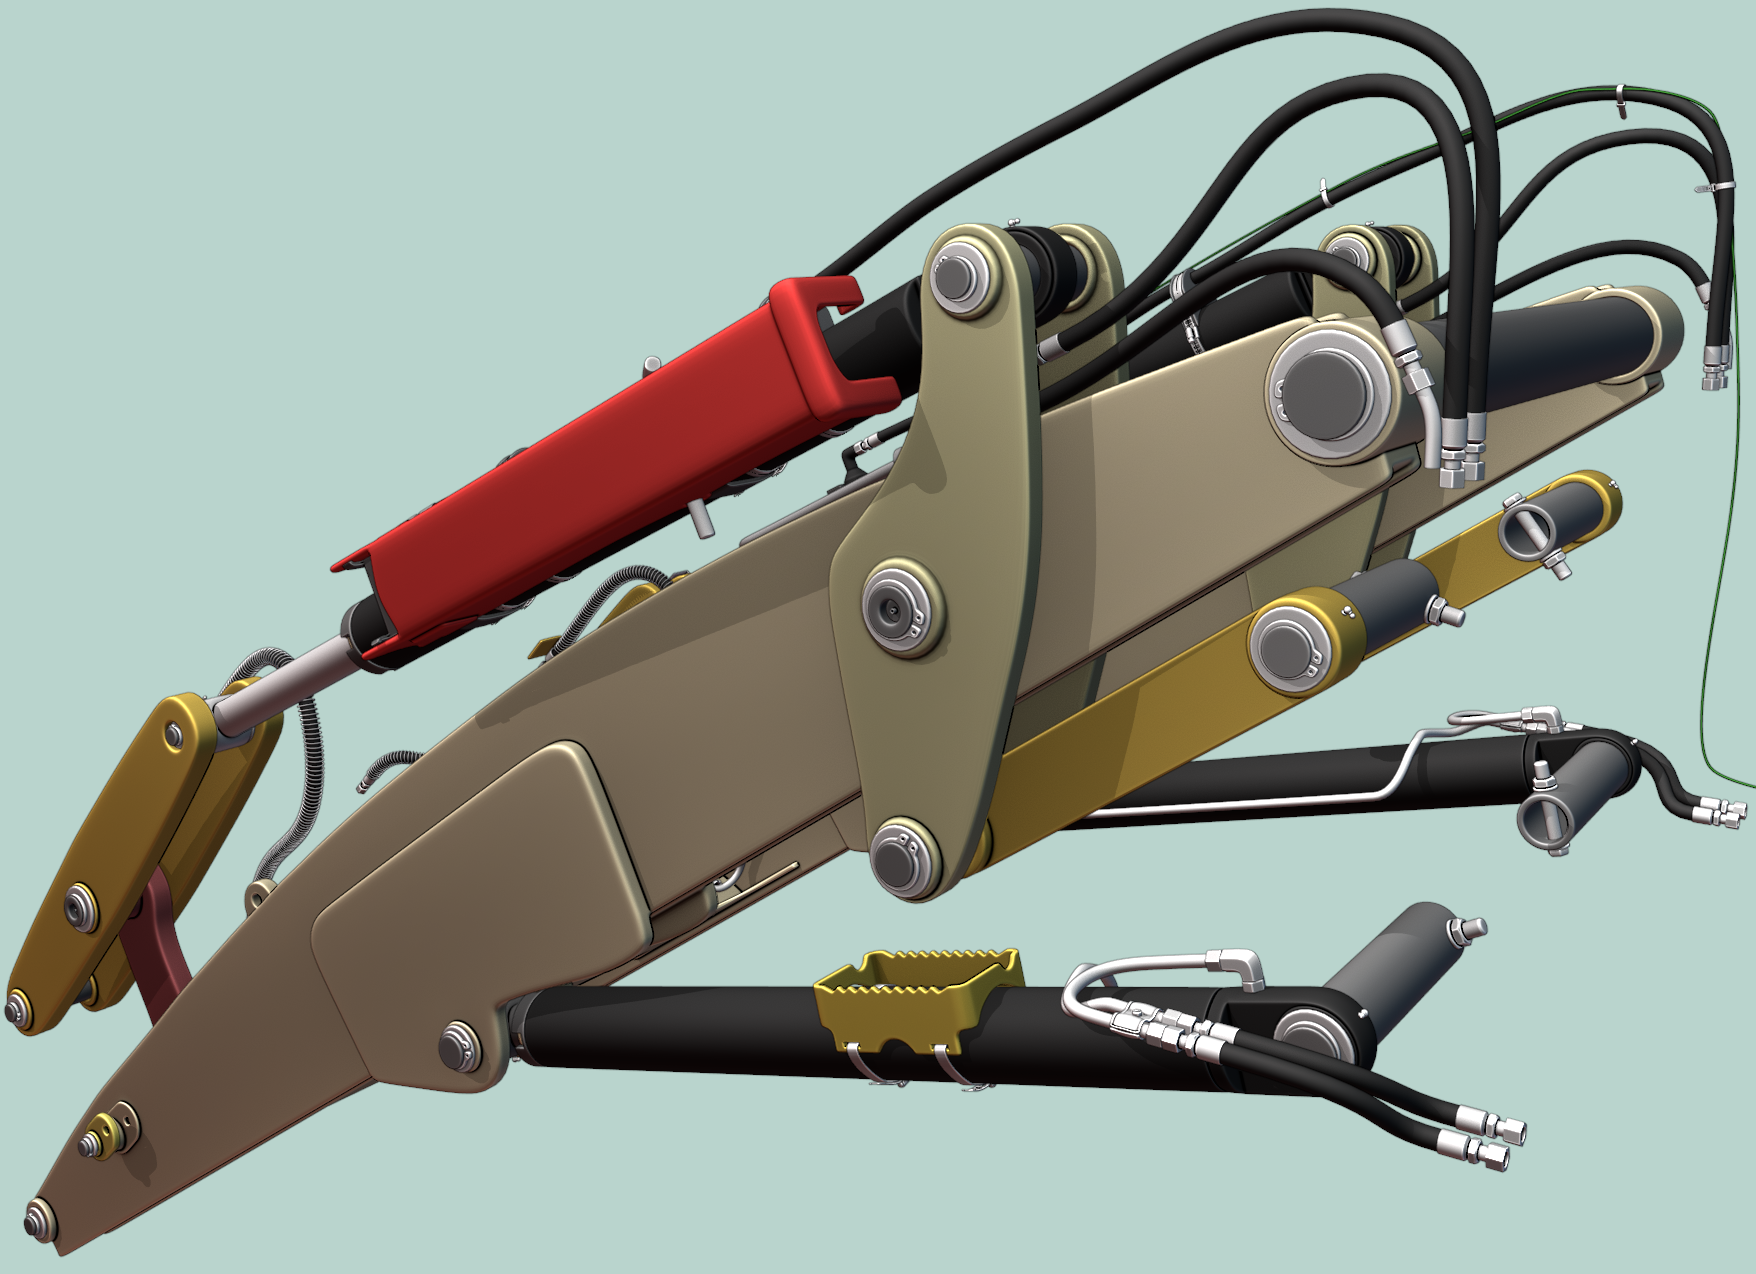
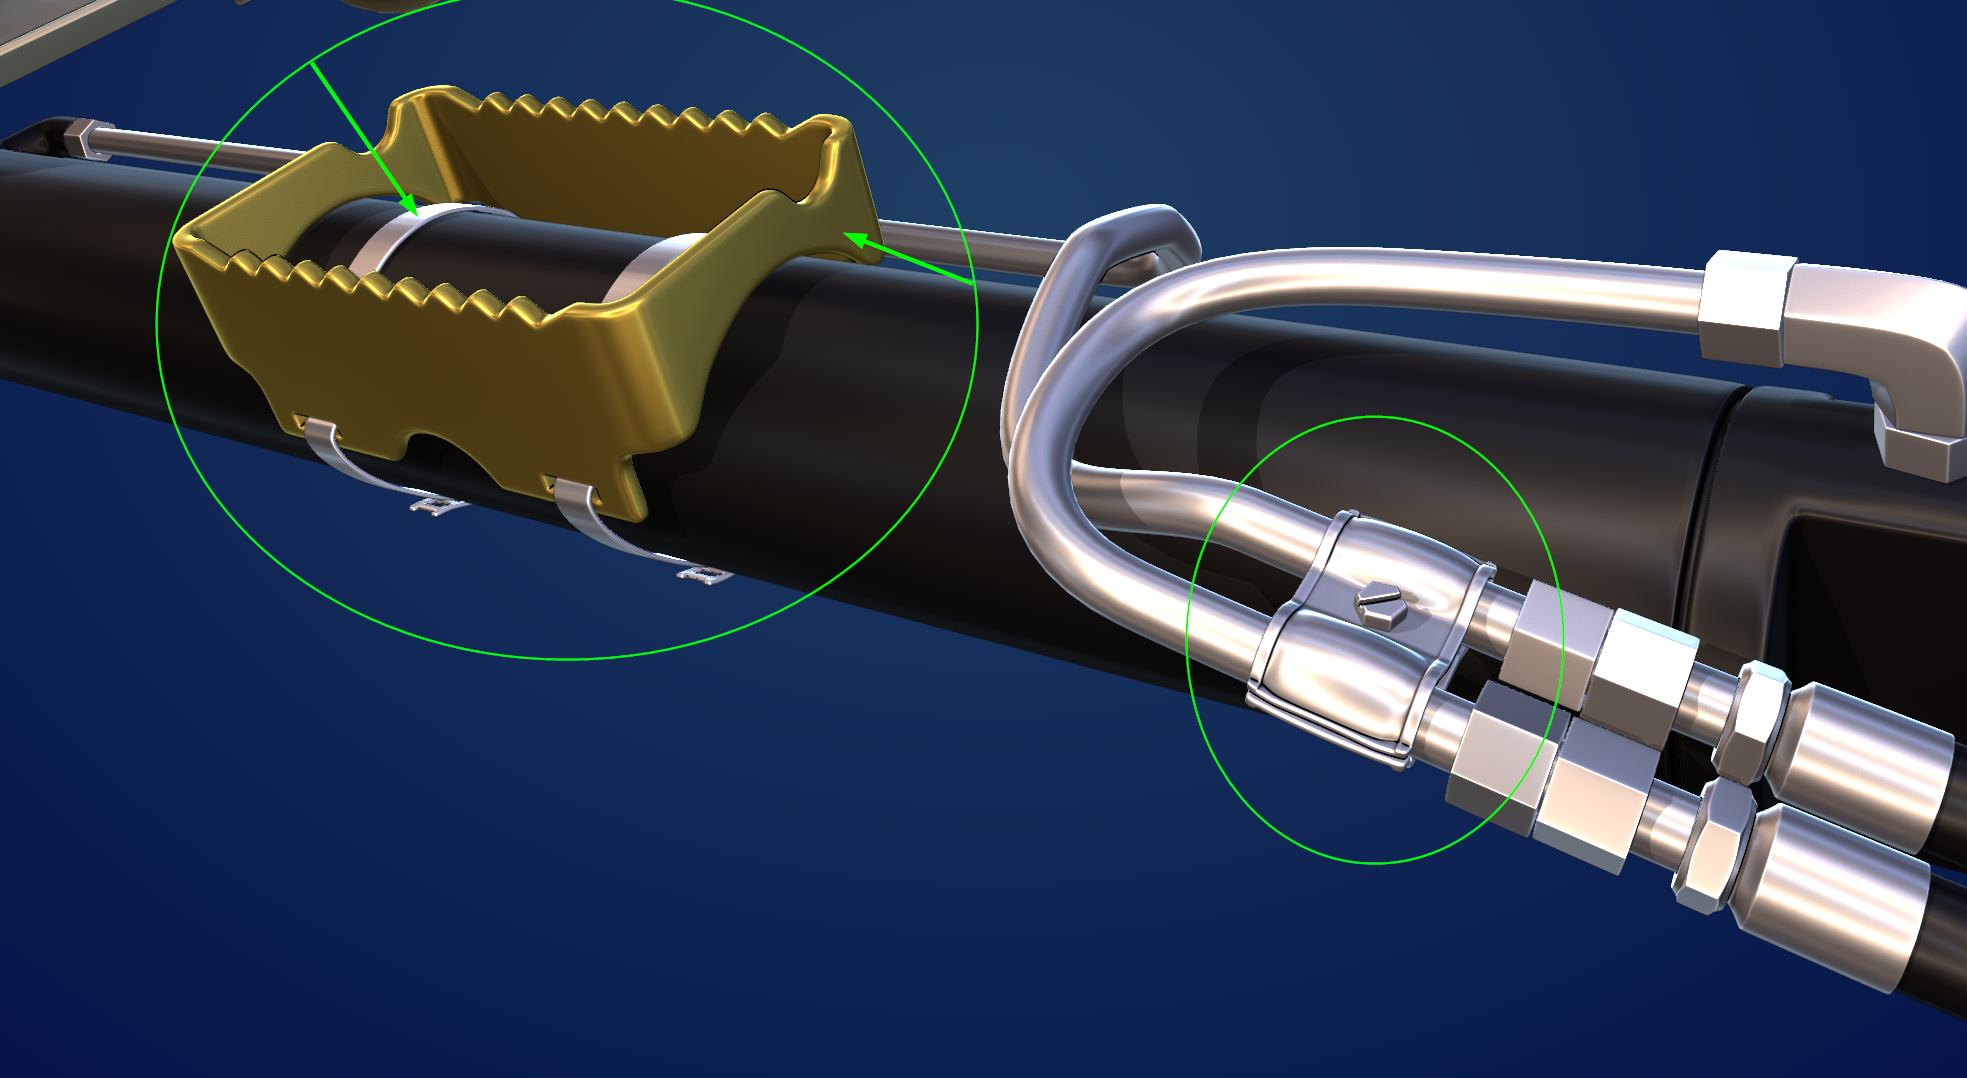
I realized my jubilee metal bands were a little too thick and so I spend some time doing cleanup on ALL OF THEM…..ugh. I still had my Solidify mod active so it wasn’t terrible……thank heavens for modifiers! Whew!
Then I was really bugged by a line clamp that I decided to not model, so I tackled it as well.
Then I found a step plate that I had seen before but forgotten about. It is in quite a few of the reference images but I believe it is only on the driver’s side. Not a big deal to mirror it across if needed but I am enjoying this A-symmetrical look now so I’m going to leave it as is.
I think I am mostly finished with the modeling side so I will call it for today. I need to go through all of my collections and doublecheck all of my parts. I plan to tackle this by turning them all off then turning 1 on and check each part’s name. Then rinse and repeat. It should be ready for submission tonight.
 July 9, 2020 at 12:09 am #56907
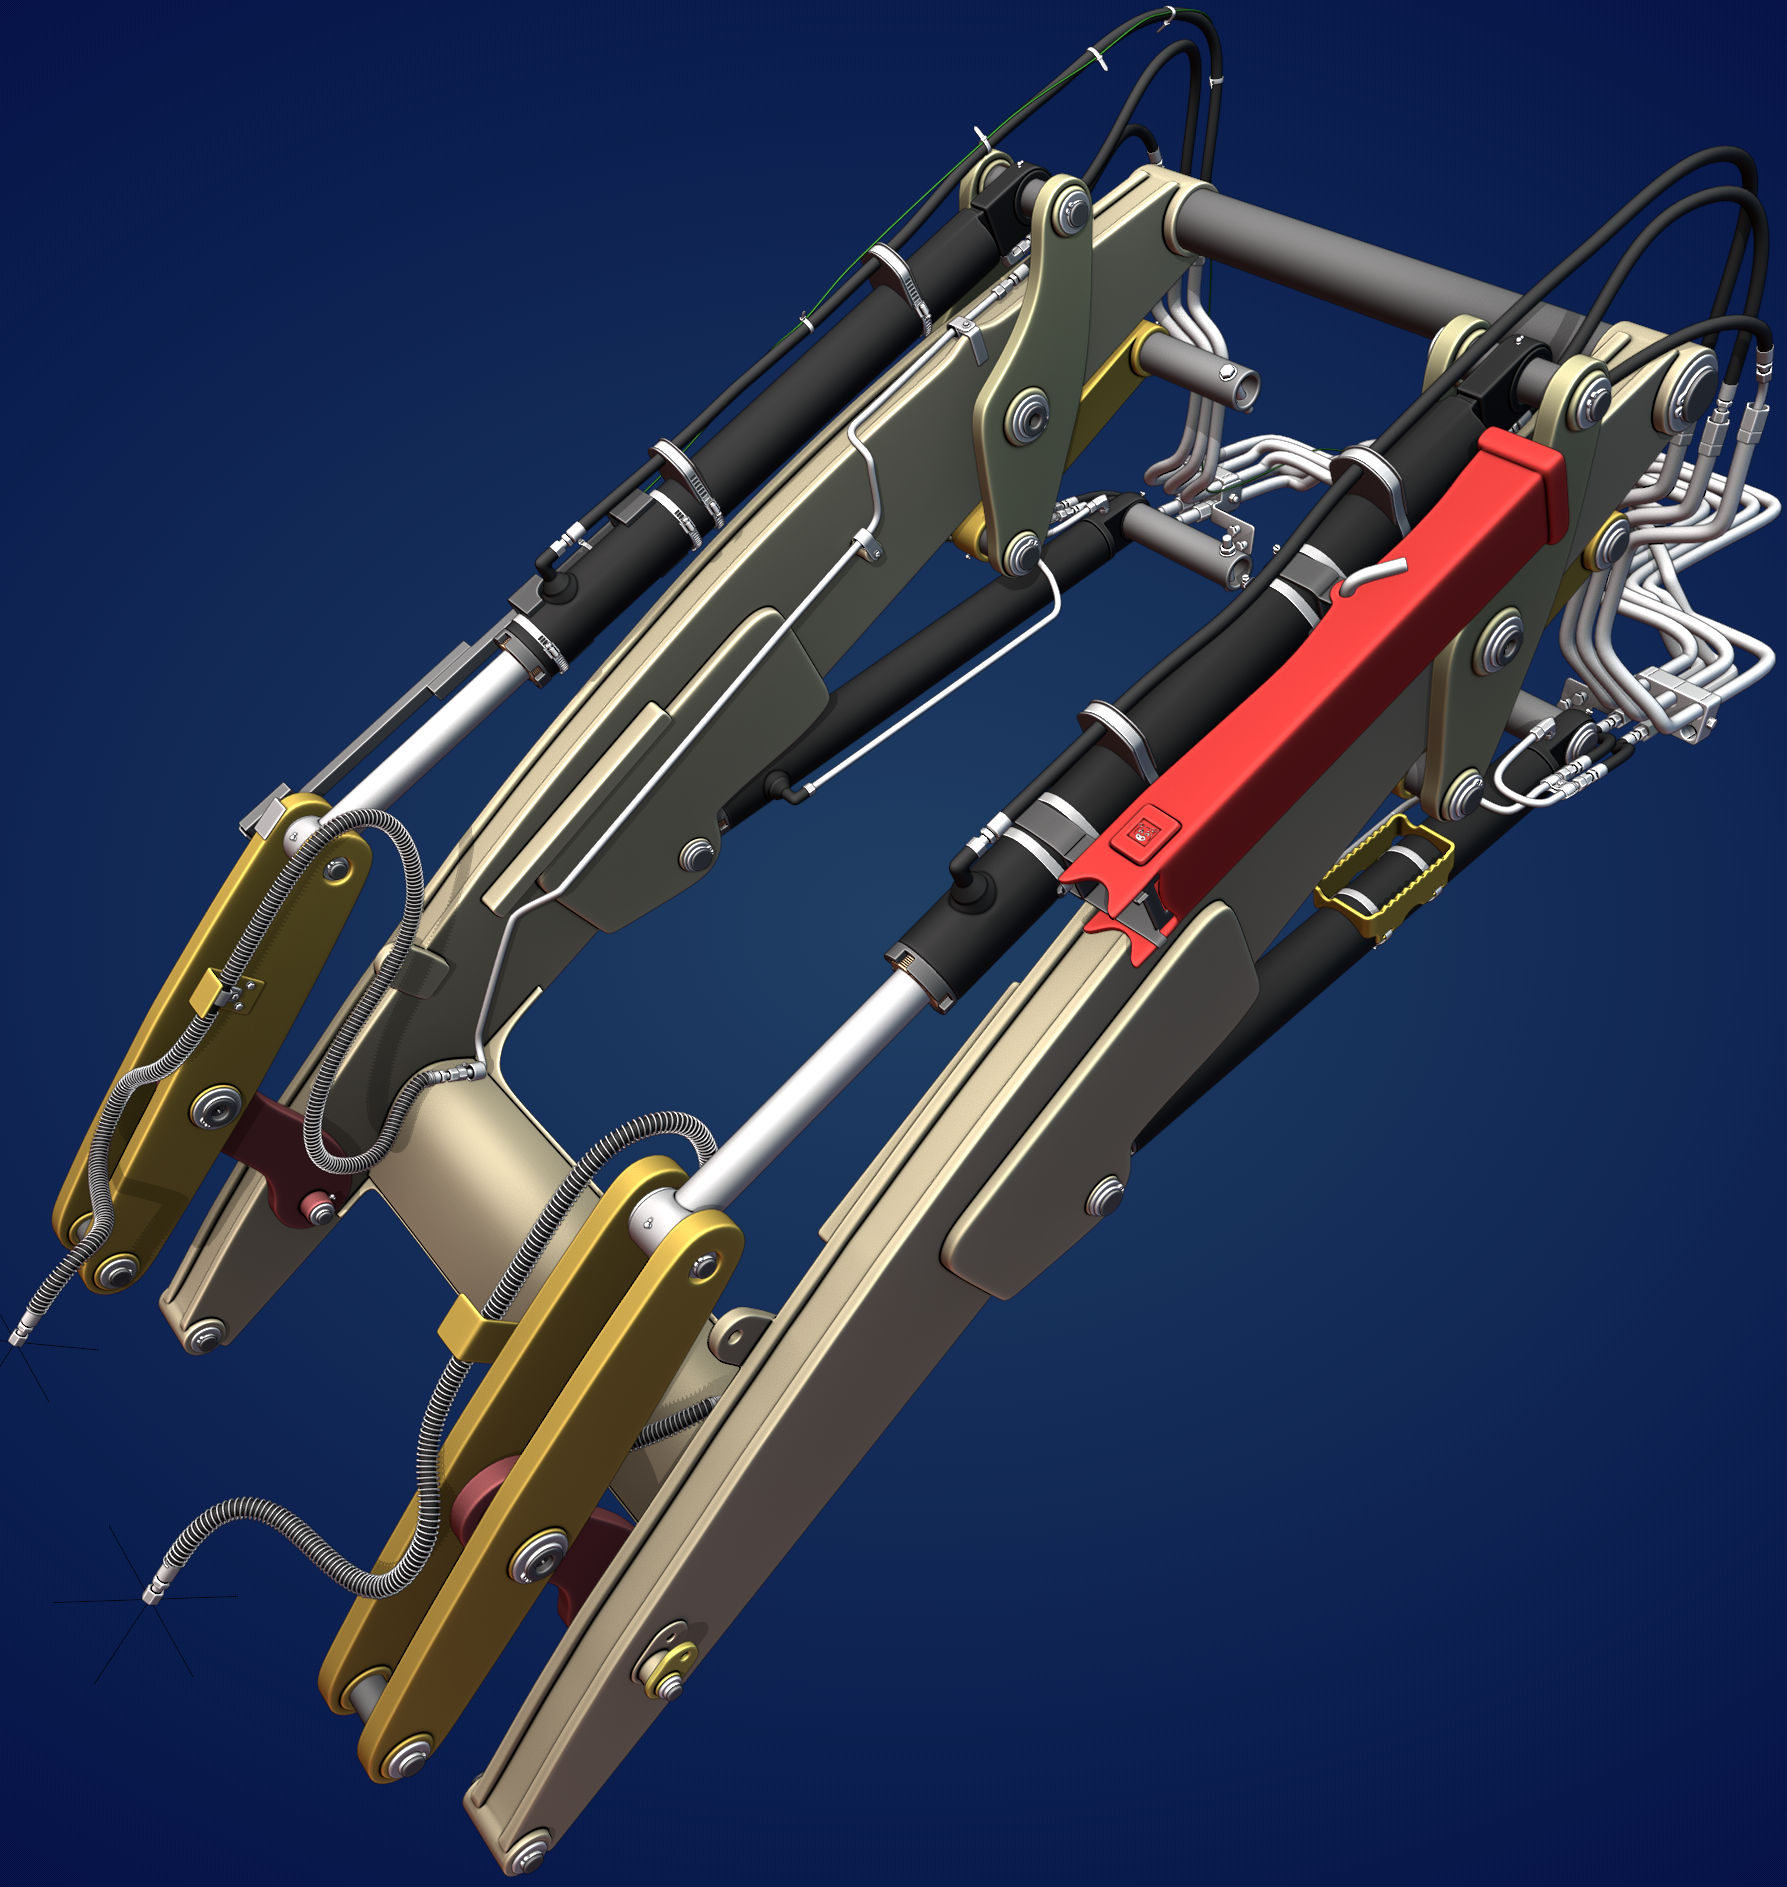
I think it is done, as long as my collaboration partners agree. Looking forward to the Live Stream!
 July 9, 2020 at 8:26 am #56908
Incredible job, Shawn. The details are simply delectable.
July 9, 2020 at 8:31 am #56909With something as complex as our DOG, I think there will always be something we missed if we look hard enough. I’m more the type to get it to the believable mark, short of 100% accuracy. You’ve certainly accomplished that for you loader arms.
July 9, 2020 at 8:32 am #56910Heh that grease fitting is TEENY
July 9, 2020 at 8:55 am #56911Thanks @theluthier As I look back on the model after a good night’s sleep, I am really impressed with how it looks overall.
Granted, there are mistakes here and there as you really look closely.
Some lessons I am learning from my mistakes.
1. Issues with Array and Curve Modifiers after having used them and applied them and seeing quads that I didn’t want duplicated at the Array line of duplication, hard to explain but easy to see after applying the array haha.
2. Curve Modifier is way more powerful than I originally thought about. Like assigning an An Object’s array length to a duplicated small-section of a long curve and then assigning the object to deform along the longer curve to the curve modifier . This makes combining 2 different objects on a long curve really simple and gives a very similar behavior as start and end caps, except it follows the curve and is non destructive ! I think I want to write down all of the cool things and maybe make a couple of tutorials regarding the cool workflows and lessons learned in more complex ways.
3. And getting local coordinates messed up on a few parts and troubles correcting them. Making a plane and getting the local rotation correct on that and then joining the messed up object to that plane and then deleting the plane. Fixes the local coordinates issue. You have to reapply mods to the object after that but knowing in advance makes that not very painful or you can copy mods to the plane before joining. I almost want to do a video on this too.
4. Deciding when Subsurf, Bevel, and/or Topology Flow to my advantage OR when they should happen around geometry corners or complex details. I can’t say I am close to being a pro at this. I’m still learning when to do one versus the other.
July 9, 2020 at 9:12 am #56912maybe make a couple of tutorials regarding the cool workflows and lessons learned in more complex ways.
That would be simply magical. Especially unearthing the depths of the curve modifier’s potential! I know I haven’t tapped into it fully myself.
Looking through your list I noted to go over your #3 point in the stream next week: Fixing messed up local coordinates. Are you OK with me doing that?
July 9, 2020 at 9:17 am #56913Yeah that would be great @theluthier
-
AuthorPosts


- The topic ‘Backhoe Contribution – Blanchsb – Exterior Loader Arms and Interior Chair’ is closed to new replies.