
Backhoe Contribution – Blanchsb – Exterior Loader Arms and Interior Chair
Forum Archive › Backhoe Contribution – Blanchsb – Exterior Loader Arms and Interior Chair
- This topic has 215 replies, 9 voices, and was last updated 5 years, 10 months ago by
Rita Geraghty.
-
AuthorPosts
-
September 29, 2020 at 1:18 pm #56989
It is a side benefit from joining The Pound. Kent wasn’t kidding when he said copious amounts of XP were up for grabs.
September 29, 2020 at 1:32 pm #56990Excellent work, @blanchsb, this is really a CG jewel and a feast for the eyes 💎🥇! I often come back to see your work and just enjoy what I’m seeing 😊. Congrats for entering the TOP 10 on theXP leaderbord 👍! I’m currently not far away on 27 😉.
PS: Maybe joining circular details together on curved surfaces could be a candidate for a demonstration in the next livestream or a tutorial video?
September 29, 2020 at 11:09 pm #56991Thanks so much for the kind words everyone!
@duerer I have a couple of youtube videos I reference a lot for this kind of work. One of the most crazy is the set of topology case studies by masterxeon where he joins two curved objects together and then does cleanup. I don’t have the link handy but I can take a look around tomorrow and see if I can dig it up.
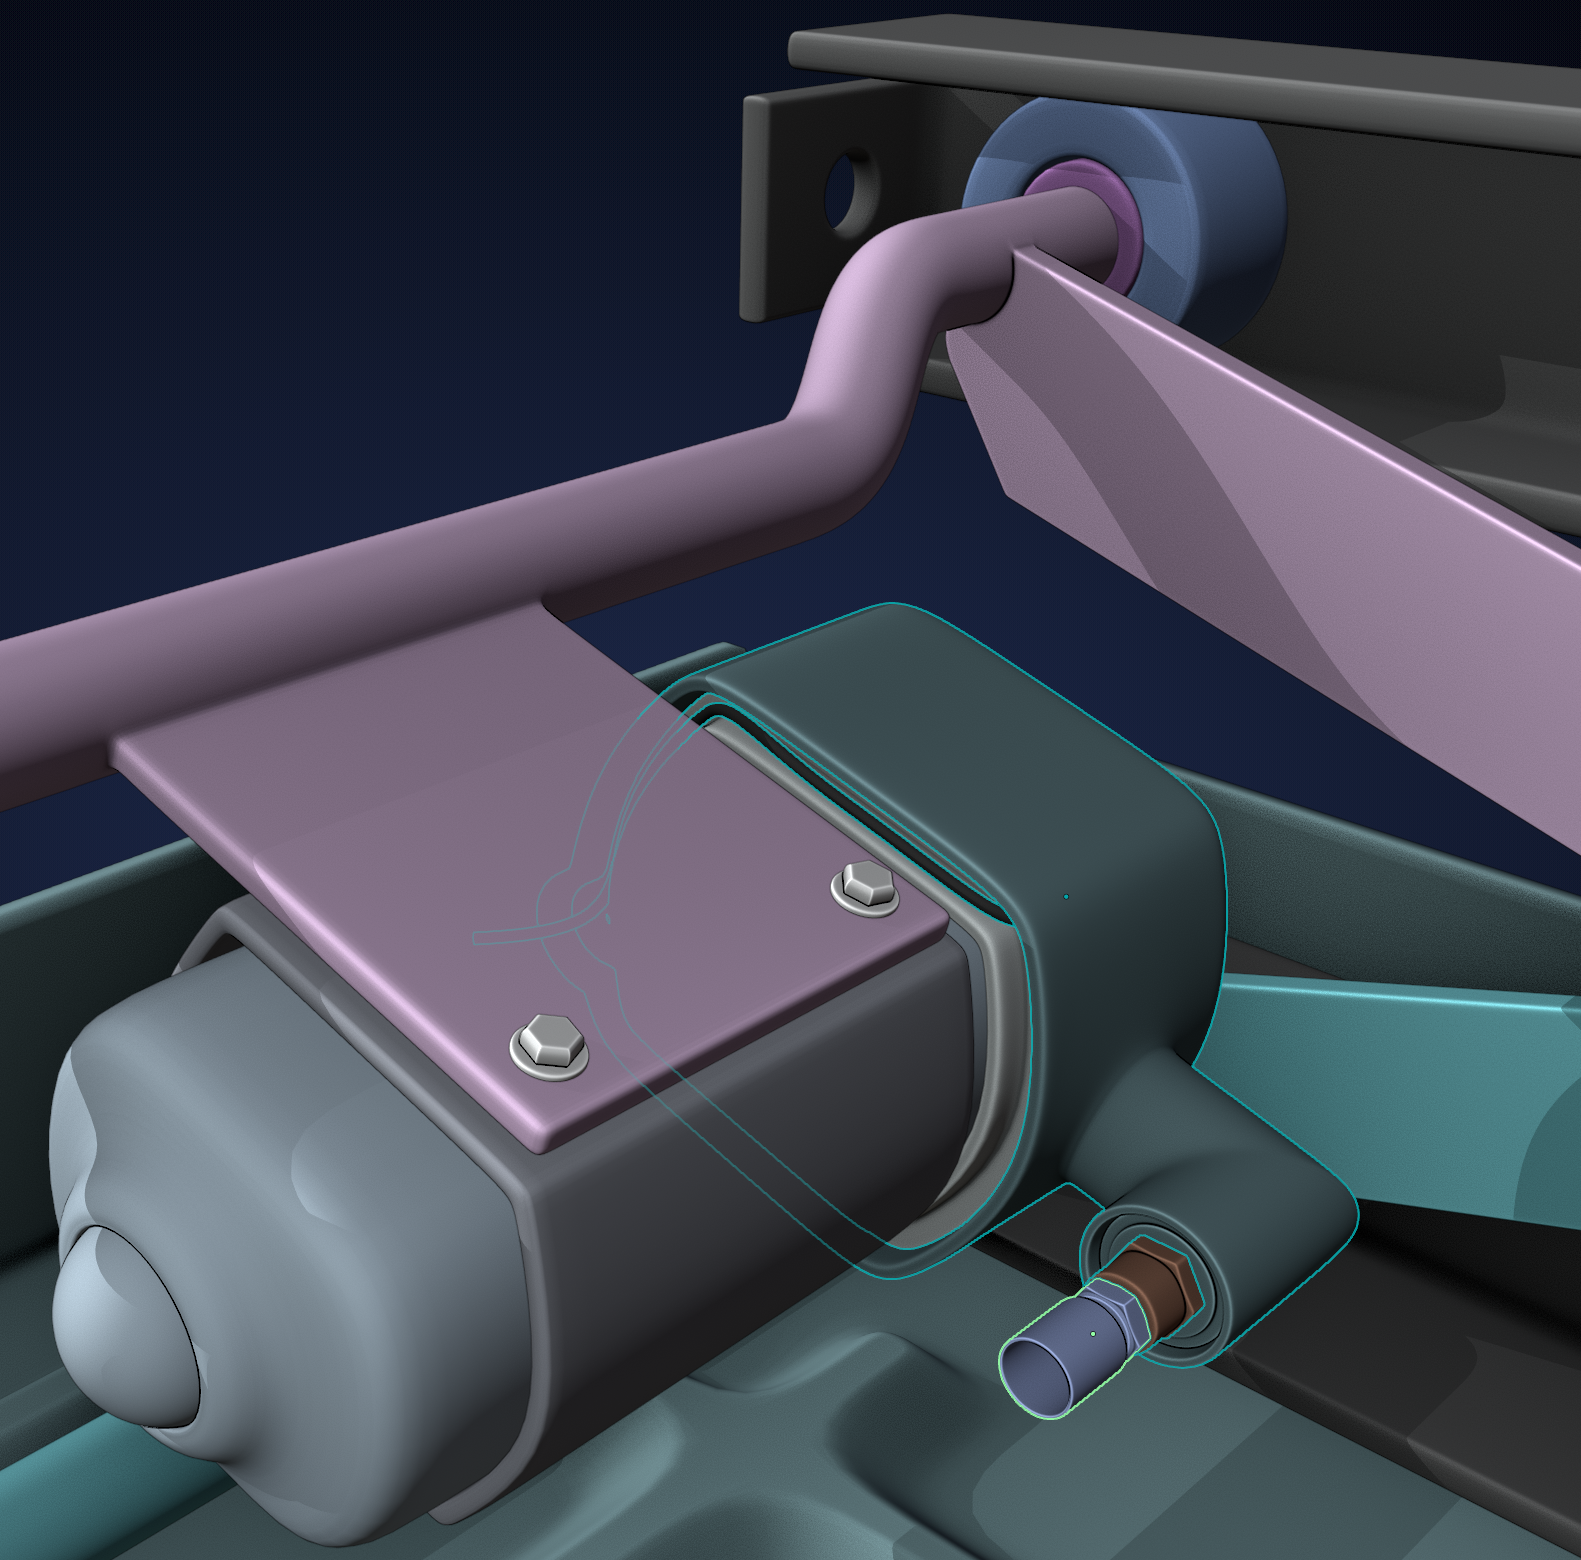
Okay as far as the updates go. I got more of the compressor done and I think I am ready to move on the lines going to everything else. Will attempt that tomorrow hopefully.
 September 30, 2020 at 12:57 am #56992
Here’s a playlist with many topology studies by Masterxeon: https://www.youtube.com/watch?v=Xz4w6QXpuDo&list=PL0RqAjByAphH9emGFNAcha1prKi1P_I3n&index=2
Also a great resource on (CG) topology is Josh Gambrell. He even has a topology ‘handbook’ (series of videos) that you can get for free: https://www.youtube.com/watch?v=QDKMpni8HsI
And of course. congrats Shawn! Well deserved! You’ve come a long way these past months!
September 30, 2020 at 2:15 pm #56993@spikexxx for the win as always. Yes. Josh and Masterxeon really nail these topics well. I have downloaded Josh’s content but haven’t gone through all of it . Though I just purchased their Mech course where they cover using Hard Ops/BoxCutter/DecalMachine/etc. in a workflow and it is super interesting to watch already. I own all of these add-ons and have been itching to learn a better flow with them. I have used a little bit of boxcutter on some pieces to start out on our DOG. It’s just such a fun add-on to use. I want to use it better though.
Thanks for the kind words @spikeyxxx and for sharing the links I spoke of.
September 30, 2020 at 2:18 pm #56994This must be a week of accomplishments for me. I just reached Level 10 today! Man, such a cool feeling.
October 1, 2020 at 10:40 am #56995spikeyxxx I love that box cutter in that first video link you gave. I cannot believe it can bevel edges & corners. I am now looking at the extended tutorial of a box cutter by Masterxeon. https://www.youtube.com/watch?v=KXVCnd4-NCg
Manuel for Boxcutter 713 https://boxcutter-manual.readthedocs.io/en/latest/getstarted/
October 1, 2020 at 11:14 am #56996It’s a dangerously fun tool to use @ritag but understanding topology makes it even more powerful in my opinion.
October 2, 2020 at 2:00 am #56997Indeed @blanchsb !
@ritag whenever you are working with Booleans in hard-surface modelling, (whether you are using BoxCutter, HardOps,or other tools or not, you will probably have to do some manual topology cleanup at some point ( to avoid shading issues) and that is mainly a matter of practicing and getting better at it each time (it’s actually a lot of fun, I think, especially if you like ‘puzzles’).
October 3, 2020 at 9:26 am #56998Ok, Shawn Blanch (blanchsb) and spikeyxxx , I take your words.
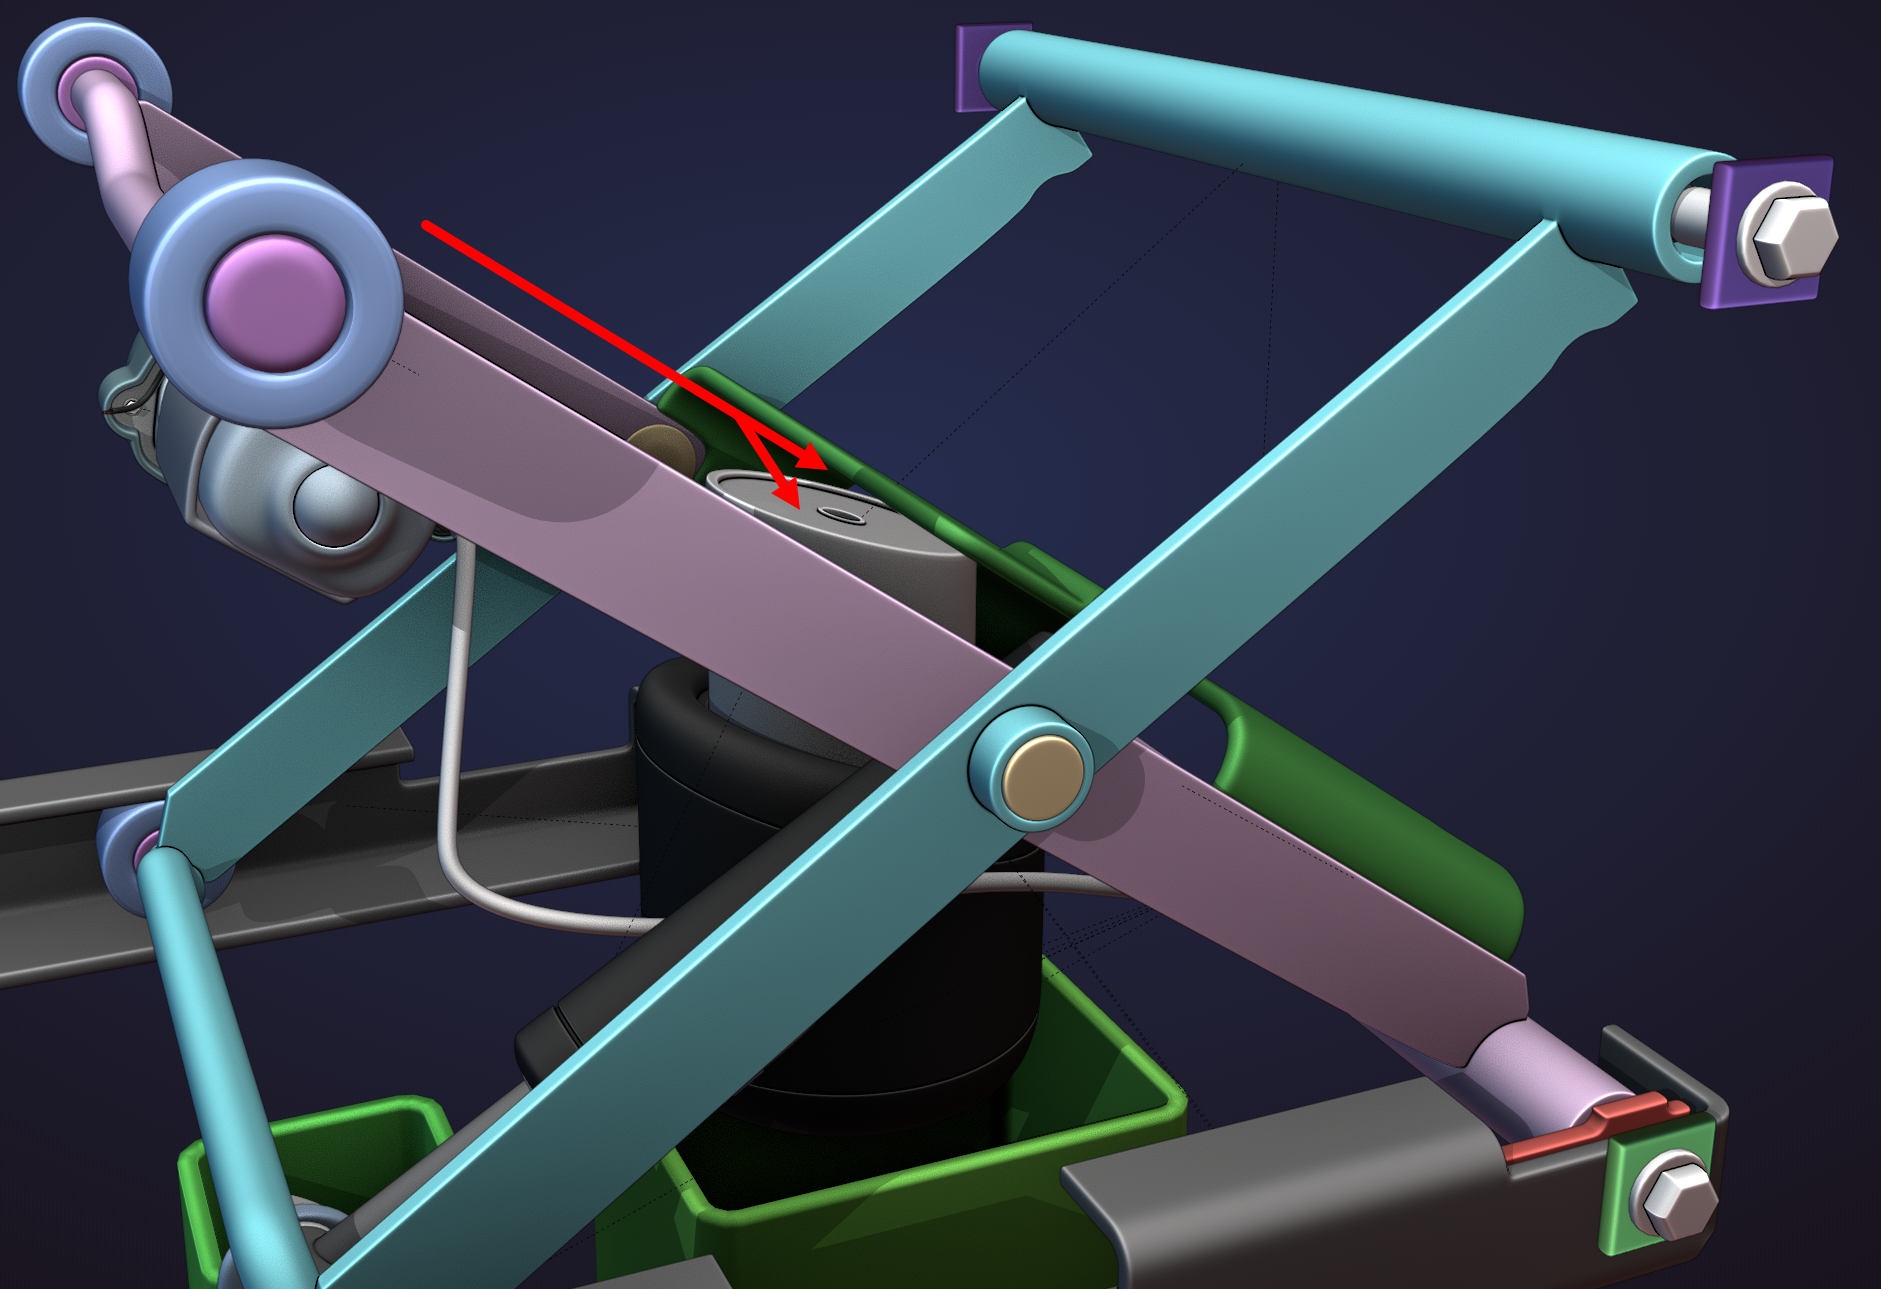
October 4, 2020 at 6:25 pm #56999I had to go back and do some repair work on the scissor lift and other parts because the assembly was too squatty. Took longer than I expected but I have one residual problem with the center lift. I am not sure how the frame piece interfaces with that lift and when I “actuate” the scissor lift dynamically that green center support tilts with the scissor………… Not sure how all of that goes and there isn’t a whole lot of reference so I am left to my imagination. If I can’t figure it out I am afraid I’ll need to move on because I have plenty of other pieces to build still. I’m still working on the pneumatic lines but I at least have them going where I want them to go. Just need to make there length and shape make sense (curves are sooooo handy for this)
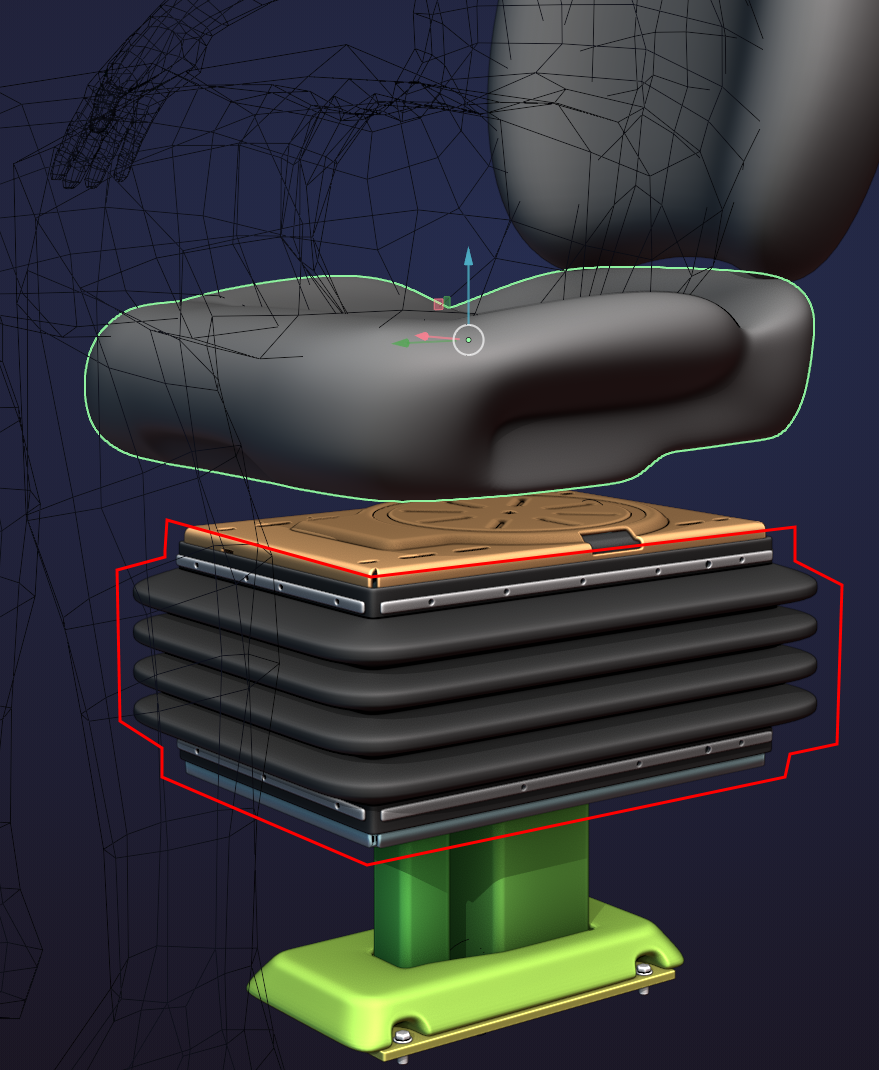
I was able to successfully make a nice shiny new accordion boot.
 October 5, 2020 at 11:33 am #57000
“I think it’s a bit of a Masterpiece….”
October 10, 2020 at 11:58 pm #57001Working on the top rotation base that connects to the sliding mount (which is where the rump cushion mounts to……..getting closer to working my way to the finish line.
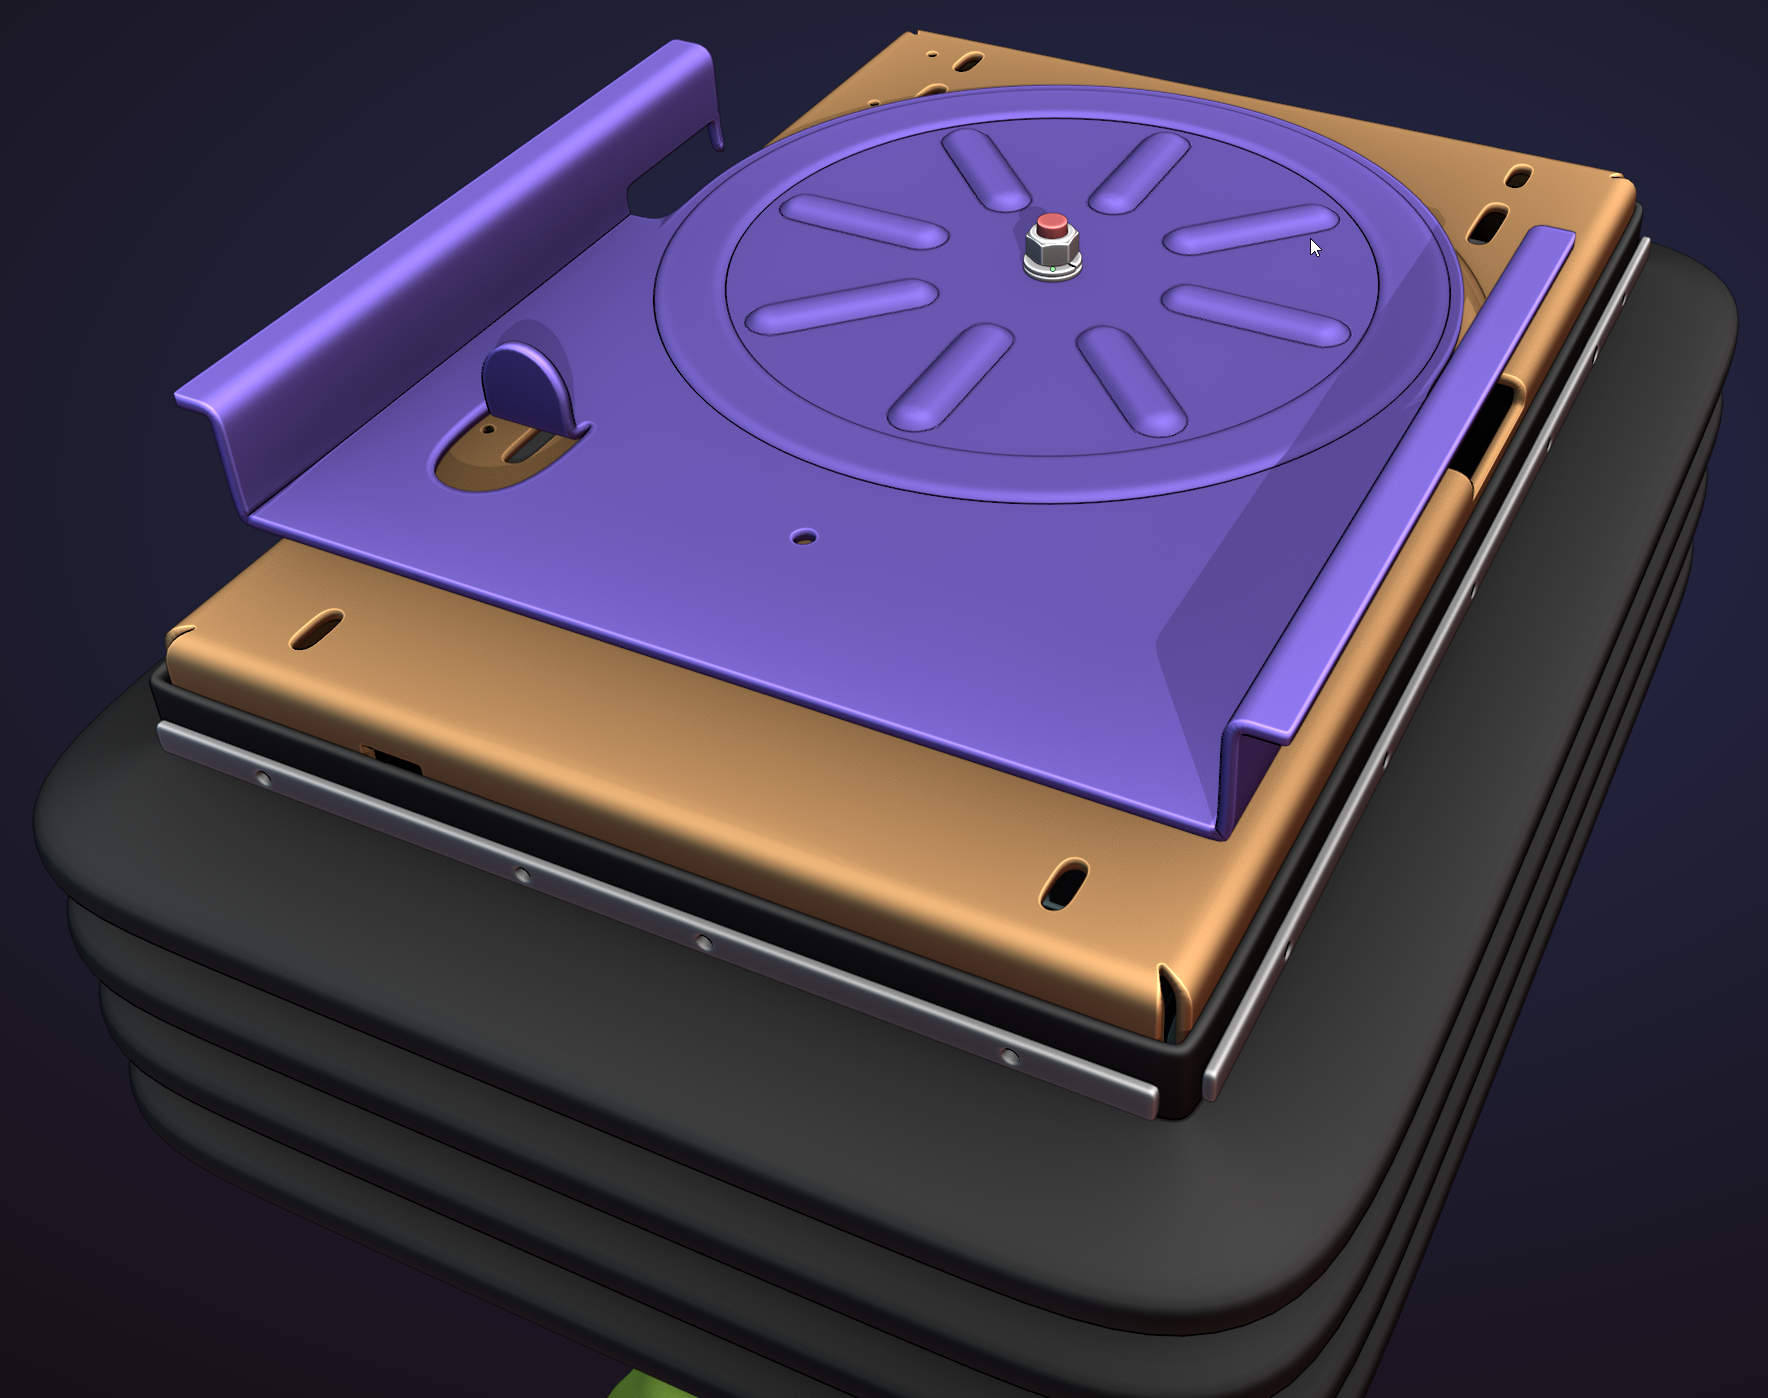
It was a rough week but I am back at it now.
October 11, 2020 at 2:09 pm #57002Got the ball bearings and race made and spent most of the morning figuring out how the upper assembly works. I now have a really good understanding how these sliding and rotating chairs work.
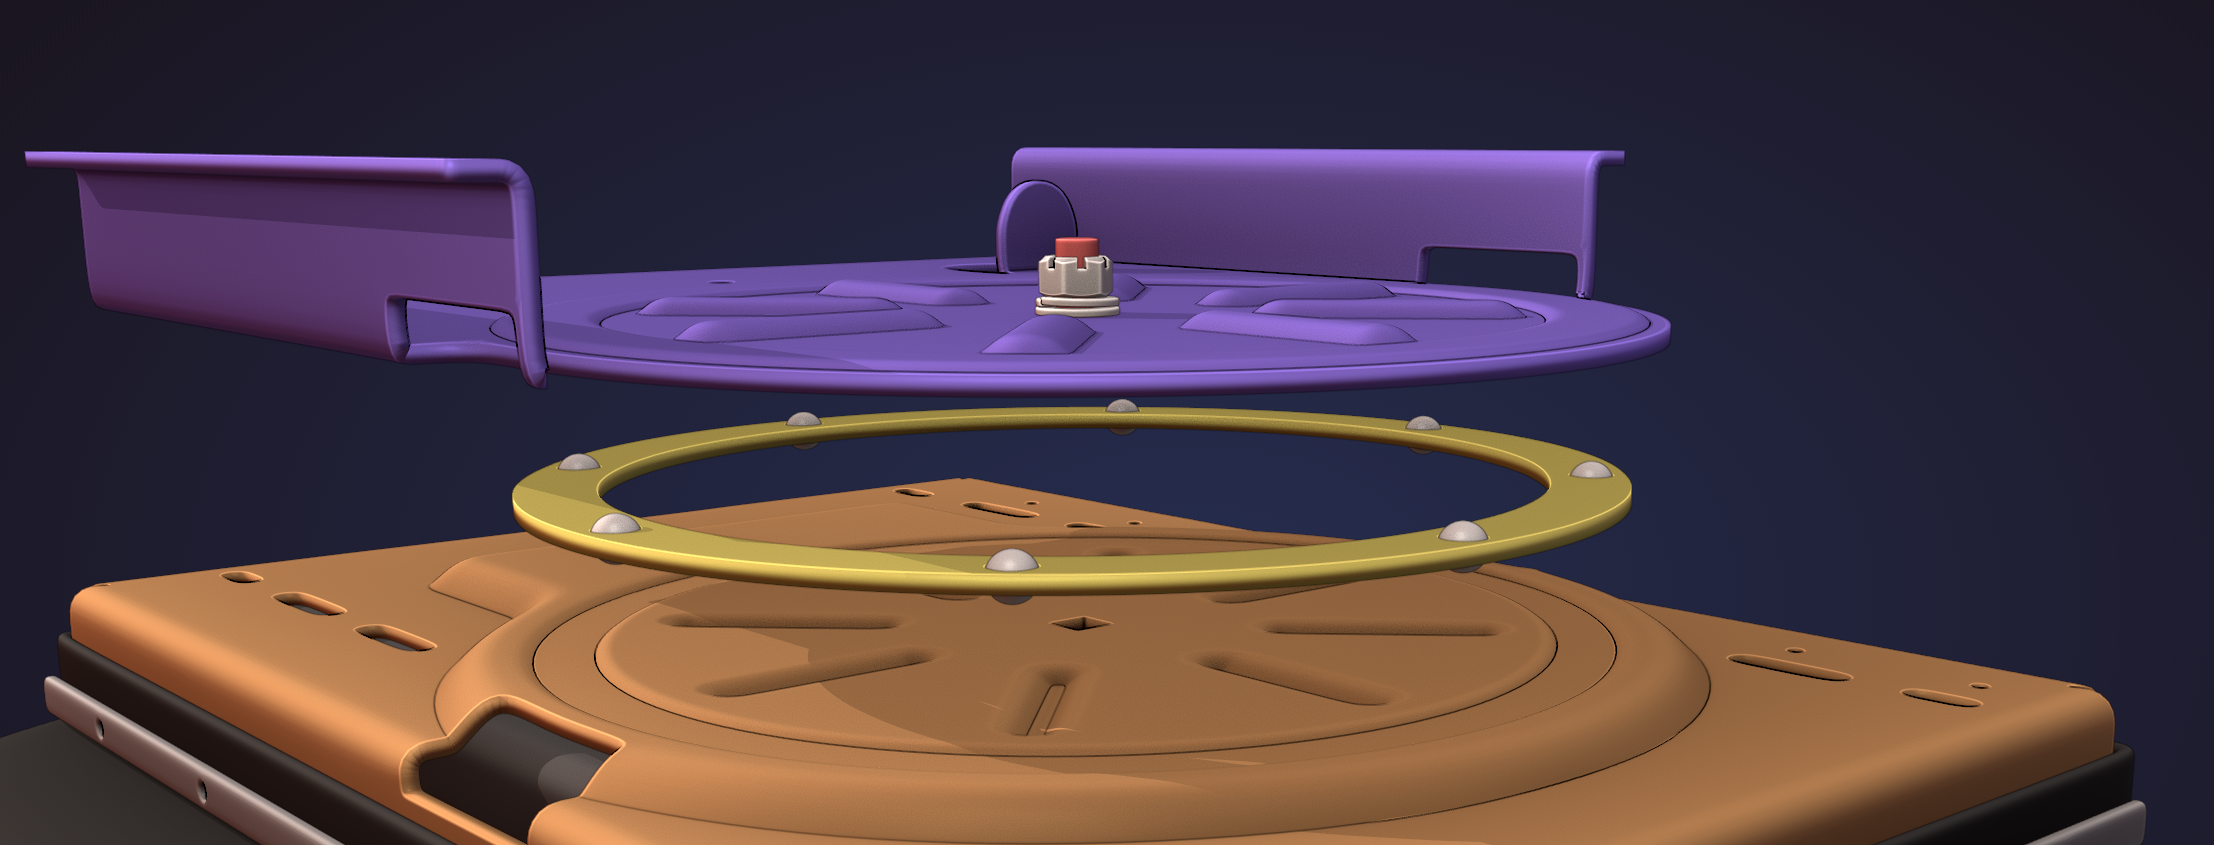
Still got to work the top rotation base then will work on the sliding mount.
October 11, 2020 at 2:18 pm #57003@blanchsb This is definitively more than “just” a technical piece, this is an artwork 👍👍👍!!! Always a pleasure to see what you’ve created 👀😀!!!
-
AuthorPosts


- The topic ‘Backhoe Contribution – Blanchsb – Exterior Loader Arms and Interior Chair’ is closed to new replies.