
Grid Fill causing corner bulges even after subdivision – how to fix?
Forum Archive › Grid Fill causing corner bulges even after subdivision – how to fix?
- This topic has 40 replies, 3 voices, and was last updated 1 year ago by
Deb kanta Guin.
-
AuthorPosts
-
August 22, 2025 at 9:01 am #96631
Now I get it — thanks a lot, Omar and Martin!
From Martin I learned this:
For big meshes, only use as many vertices as needed to look smooth from a distance.
If you need it to hold up when viewed up close, you can just add one subdivision, since the base geometry already has enough vertices to look smooth. That way you avoid adding a huge number of unnecessary vertices.
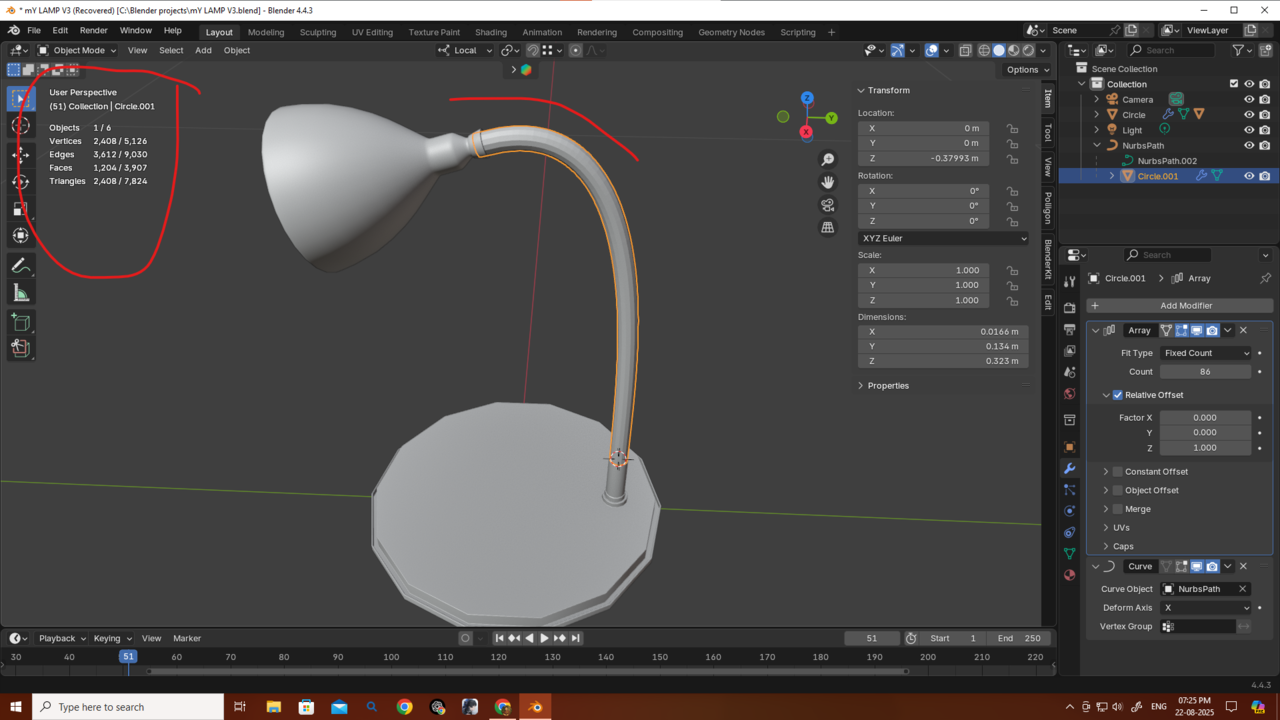
For example, just by removing the subdivision from the base of the lamp, I reduced a huge number of vertices.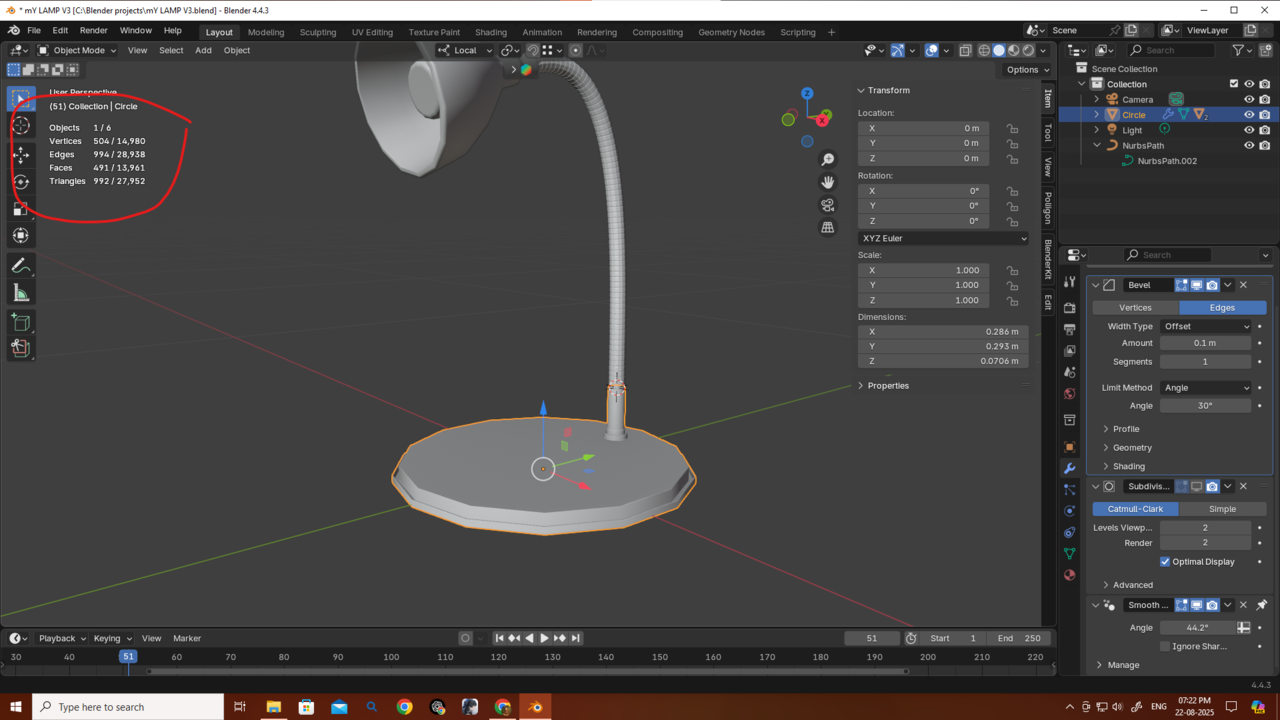
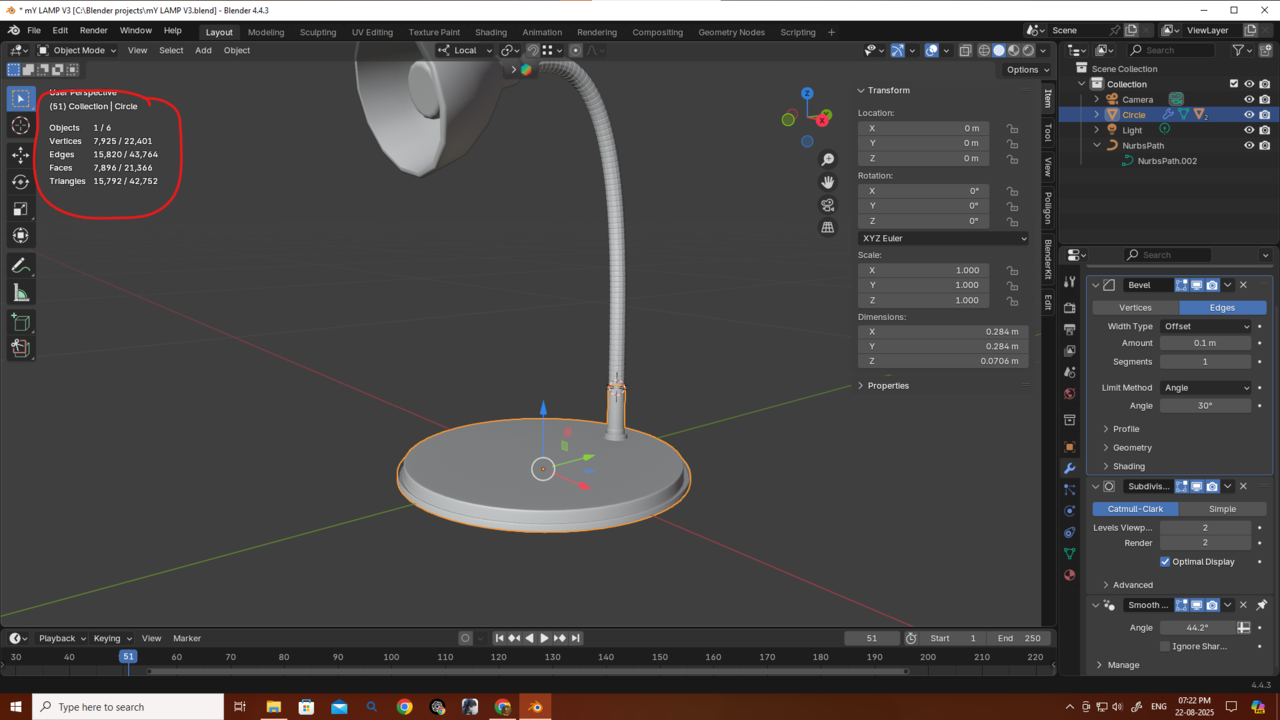
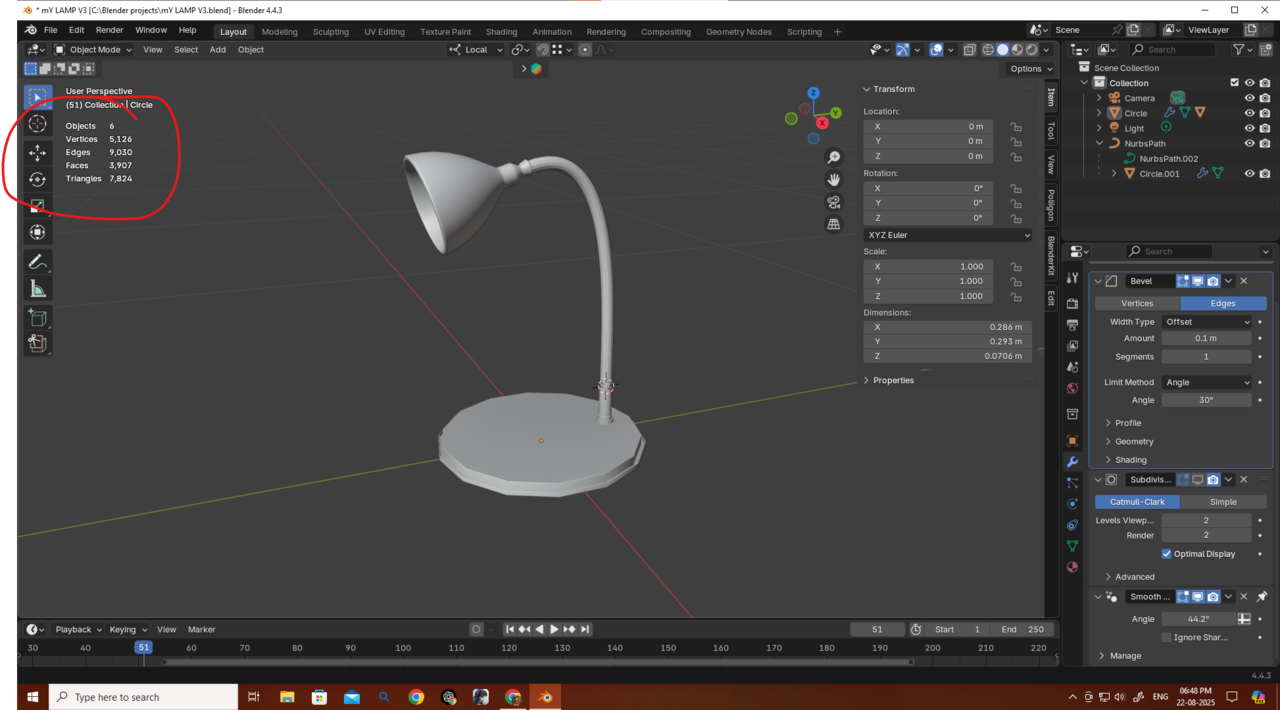 The mesh looks jagged right now, but if I had started with 32 vertices it would have looked smooth from a distance. And if it needed to be shown up close, 32 vertices could still work, or I could just use subdivision level 1. That would still be fewer vertices than starting with 14 and subdividing to level 2. So starting with a bit more geometry in the beginning can actually save vertices overall.
From Omar I learned this:
For the wire, the ridges can be done with a normal map instead of adding extra geometry and bevels.
I originally made the wire, added the ridges, and then arrayed it more than 70 times along a curve. But after removing just those ridges, the vertex count dropped massively. Also, I probably didn’t even need 14 vertices for the wire to begin with, so that’s another way to reduce vertices.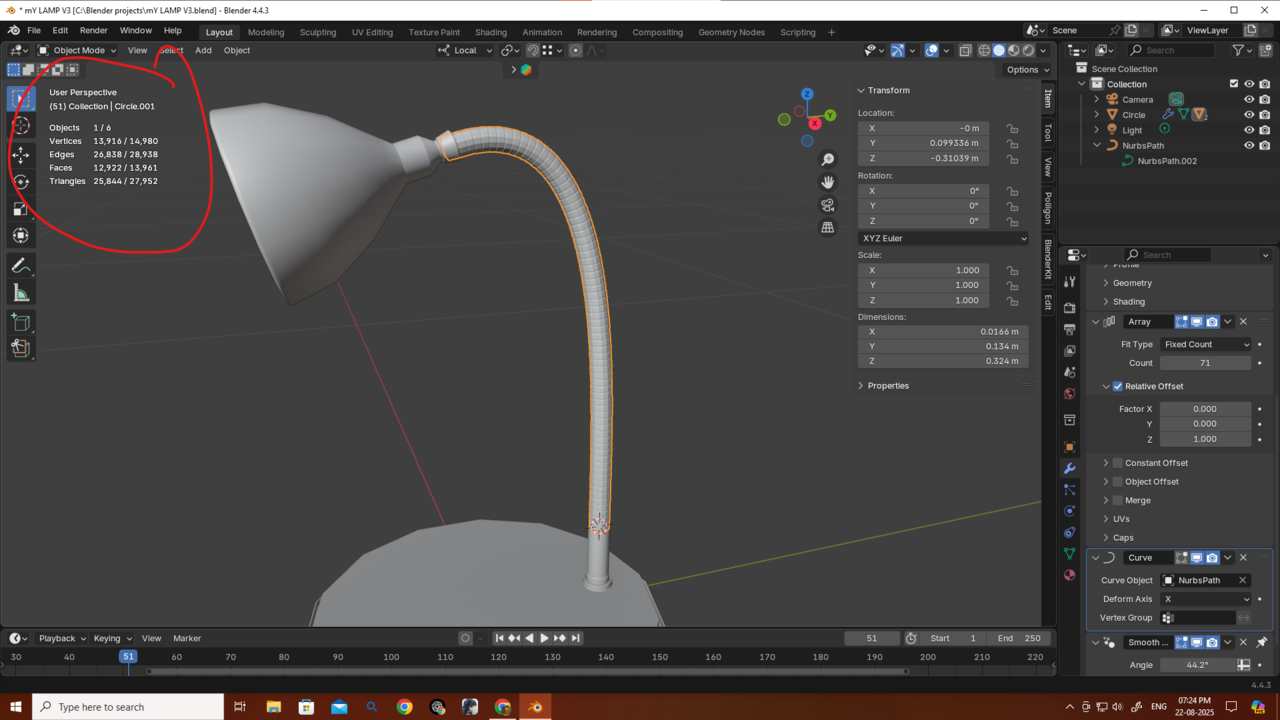
Thanks a bunch, guys, for giving me this much knowledge! If I said anything wrong, please correct me. I’ll try to remake the object using this approach. I still haven’t finished all the Core mesh modeling classes, but this one lamp has been taking all my time — I really want to finish it so I can continue my studies.
If I ever got the chance to meet you guys (though probably not in this lifetime 😅), I’d treat you all—and this awesome community—to a big banquet.
Thanks again! 🙏
August 22, 2025 at 9:39 am #96632Well, what I was trying to say is, if you want to use 14 Vertices for the base circle, than you can use something like 6 for the wire.
But anyway, I think you learned a lot already👍🏻
August 22, 2025 at 10:51 am #96633Got it completely
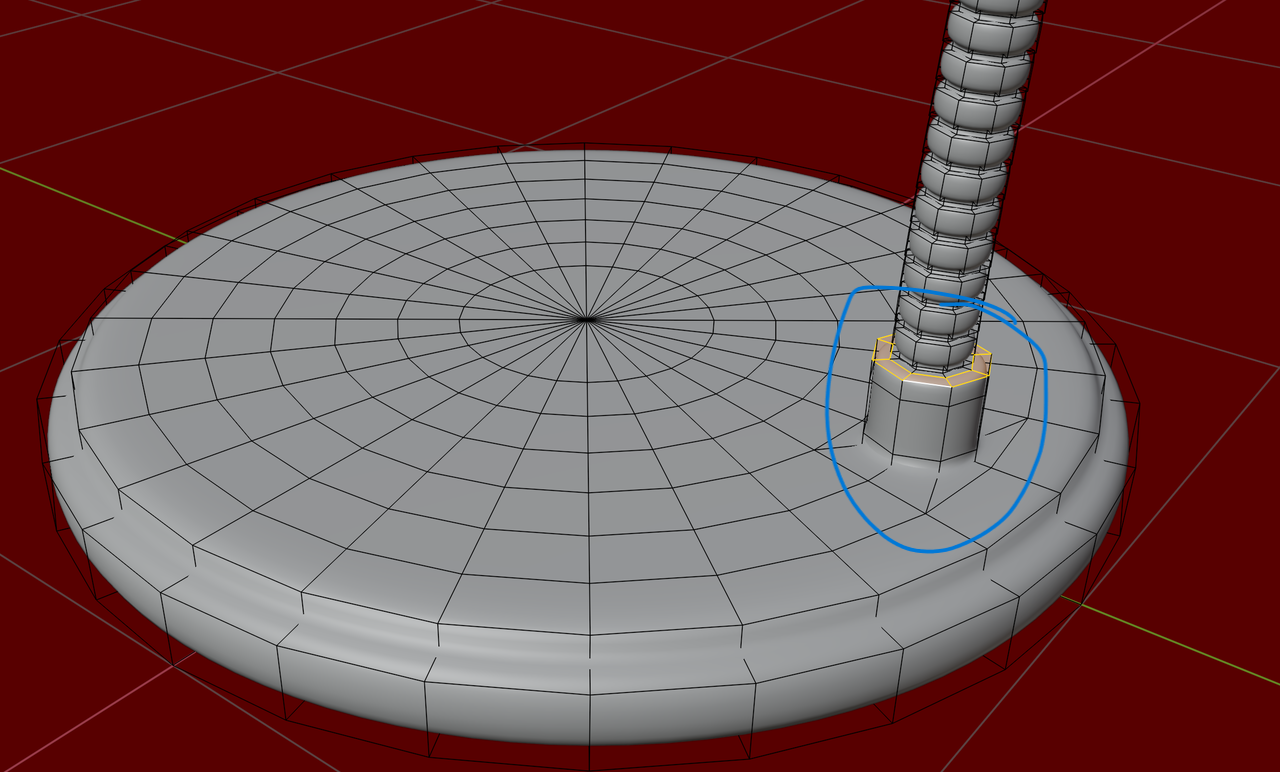
Thanks martinAugust 23, 2025 at 1:14 am #96634Martin, how did you make this part? I’m not able to do it. My method was using LoopTools → Circle then inset and extrude
 or sometimes deleting some faces, adding a new cylinder/circle with fewer vertices, then joining them together and pressing F to connect. After that, I applied Subdivision,
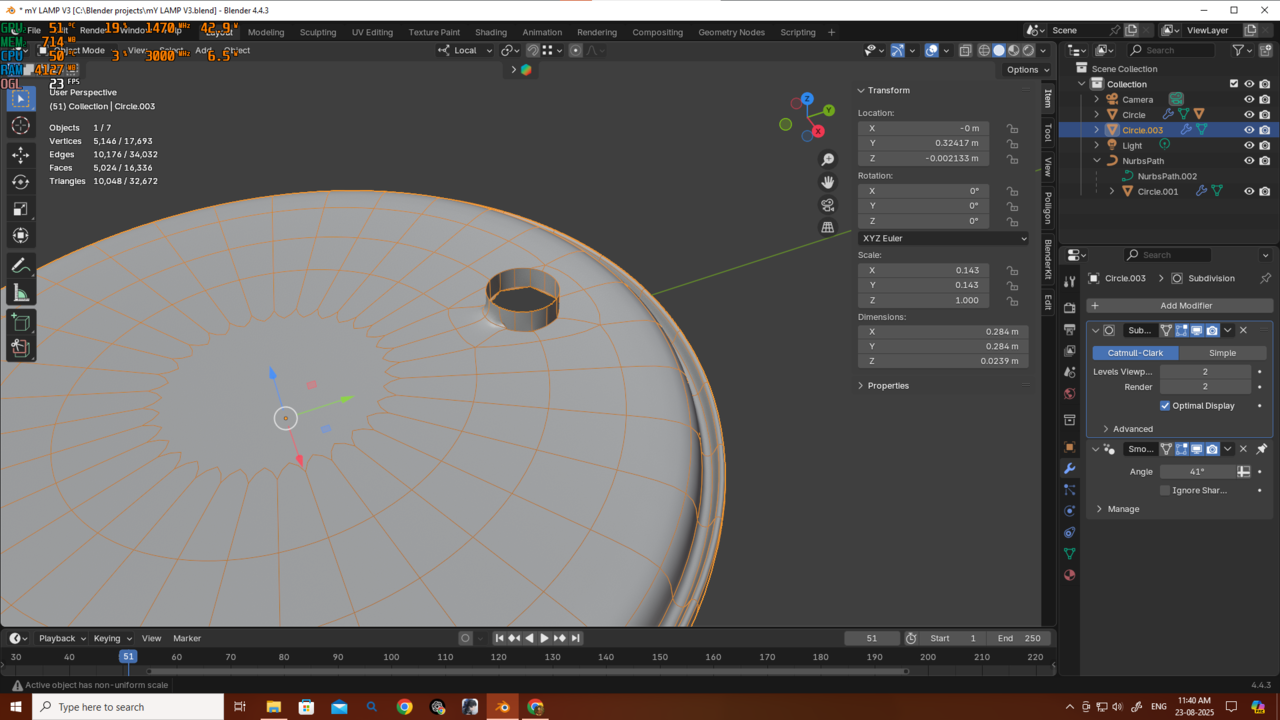 but the result isn’t as good as yours. Also, I’m trying to use only one Subdivision.
 August 23, 2025 at 2:06 am #96635
Okay so I just made a separate circle with 8 vertices, joined it with the base of the lamp and yeah it’s working kinda okay now.. I’ll share the result and let’s see how much I can reduce the vertices.
August 23, 2025 at 2:58 am #96636That first method, Loop Tools > Circle, then Inset and Extrude is perfect.
What I did was Inset, then Loop Tools > Circle and Extrude, but your method is much better.
August 23, 2025 at 3:25 am #96637Okay Martin, thanks! I already made this one — please check it. I tried to reduce the vertices as much as possible.
My method for this version was:
I created a separate circle and then joined it.
I used the same method for the switch (8 verts). Both the circle and the switch are getting one level of Subdivision because they’re joined with the base mesh, which already has Subdiv Level 1.
This time I didn’t use a Bevel modifier for the base of the lamp. Instead, I added edge loops for sharpening. The Bevel modifier was only used on the lamp itself.
Wire → 8 verts
Base → 32 verts + 1 Subdiv
Lamp → 16 verts + 1 Subdiv
At first, my mesh had over 50,000 verts.
I know it could still be optimized further with baking, although I don’t know much about that yet. Then I reduced it to 18,000 verts, then 12,000, and now 6,000.
I’m eager to hear your opinions, Martin and Omar.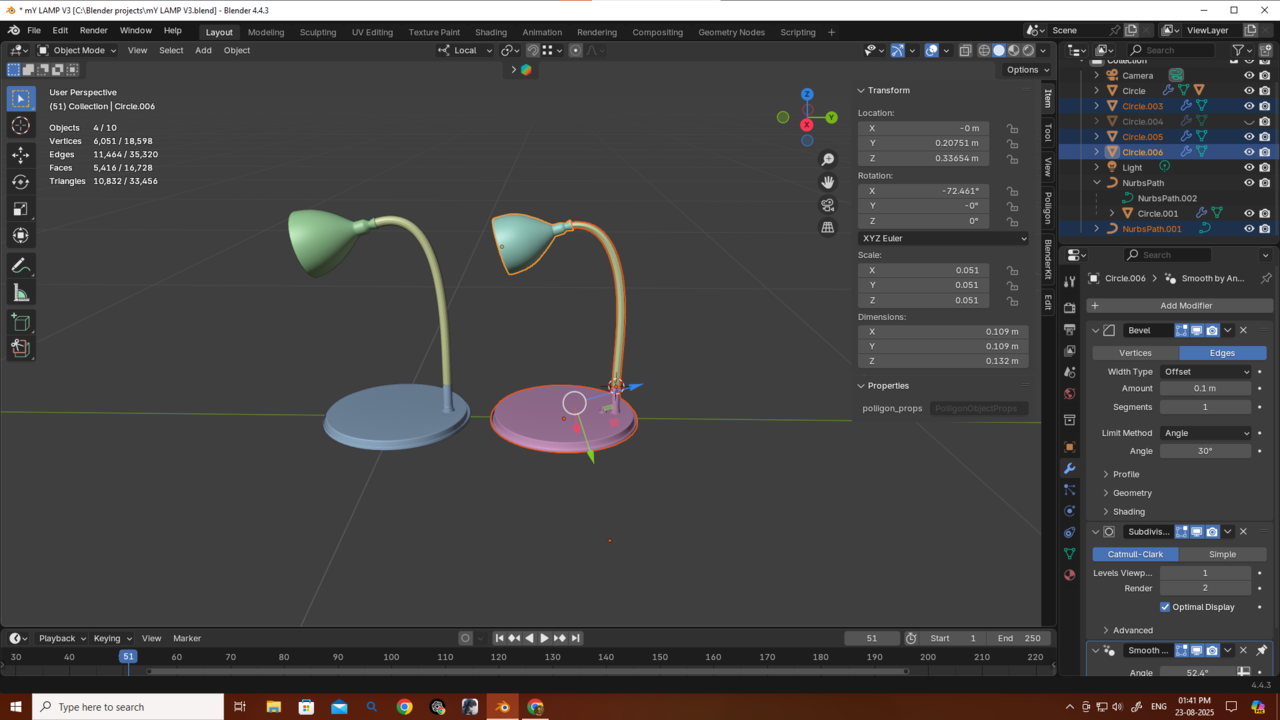 And thanks a bunch for always helping me out this much! 🙏August 23, 2025 at 4:05 am #96638
I think that’s an excellent result, Deb!
There is only 1 thing left to do: Apply your Scale!!! (You will probably need to adjust the Bevel Amount after that.)
Now I’d suggest you move on with the CORE: Fundamentals of Modeling and maybe look at this file again in a few months (or years).
August 23, 2025 at 8:29 am #96639Thanks Martin! I haven’t finished the whole Mesh Modeling tutorials yet, but I saw Jonathan gave us the challenge of making an isometric room with at least 30 objects, so I’ve been preparing for that by creating some smaller pieces.
One thing I’m unsure about is poly count. For example, just my dining table setup is already over 2 million polys 😅 (mainly because of details and Subdiv level 3 on the legs), and I’ve only made 6 objects so far.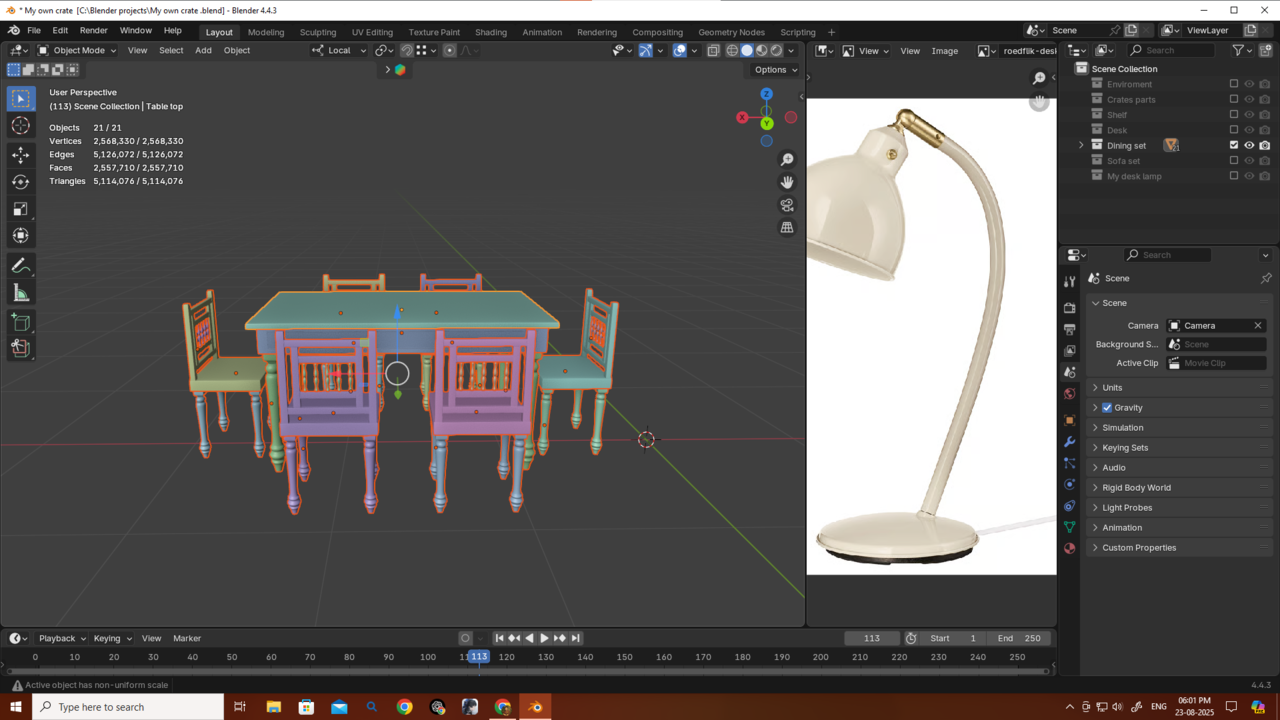 Since I plan to focus on environment design (either for games or hyperrealistic renders), what’s the better practice for me right now: should I aim to keep objects as low-vert as possible, or should I add as much detail as I can? Even for this isometric room, I’d like to do some zoomed-in shots, so I’m not sure which approach to train myself in.
This will be my last question in this section, I promise. Please don’t be annoyed with me—I always ask here because I don’t get such clear answers on Reddit or sometimes even on Other Discords. Also, where I live, nobody cares about this profession, and none of my friends are into 3D or animation, so I always have to seek answers online. Thank you very much.August 23, 2025 at 8:52 am #96640Hi Deb,
A subdiv Level of 3 is actually a lot. I rarely go above level 2…You can probably save some geometry there.
Also, if you haven’t already, use Instances (Linked Duplicates) for the chairs, so ALT+D instead of SHIFT+D:
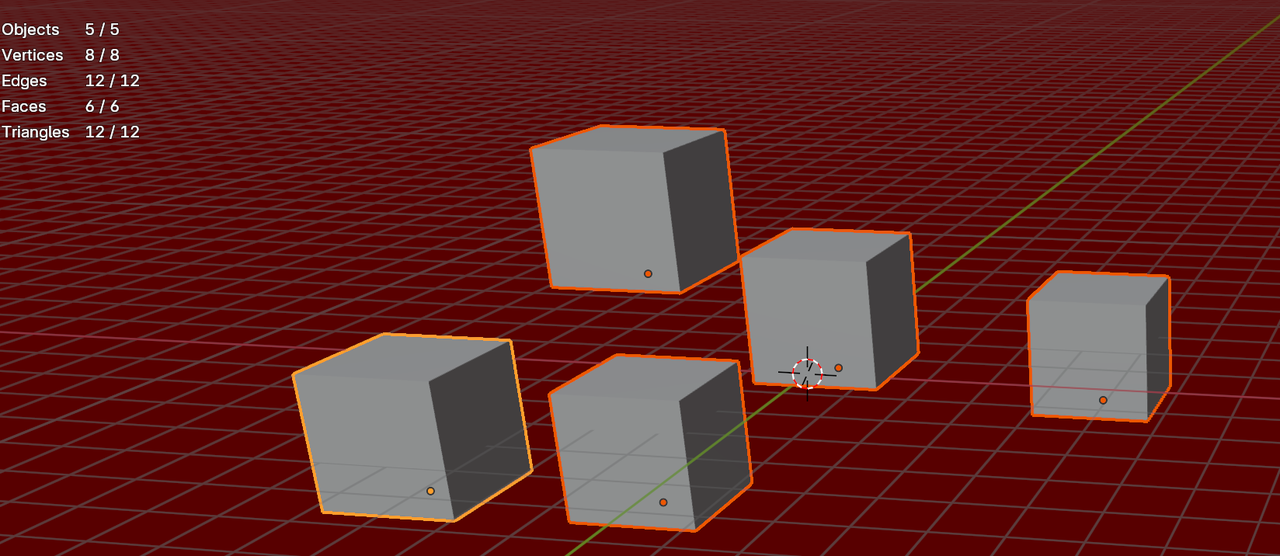
I wouldn’t worry too much about Poly count for now, let that be one less ‘stress point’. Just don’t go overboard, with so many Triangles, that your computer starts to smoke.
August 23, 2025 at 8:57 am #96641Thanks a lot, Martin! I actually used instances for the chairs already (ALT+D). Really appreciate your advice on the Subdiv levels too — I’ll keep it at 2 max from now on. Thanks again!
-
AuthorPosts


- The topic ‘Grid Fill causing corner bulges even after subdivision – how to fix?’ is closed to new replies.