
[ENDED] BC3-1806 – June 2018 Class Homepage – Vehicle Modeling with Blender
Forum Archive › [ENDED] BC3-1806 – June 2018 Class Homepage – Vehicle Modeling with Blender
- This topic has 1,276 replies, 54 voices, and was last updated 7 years, 8 months ago by
Paul Haynes.
-
AuthorPosts
-
June 25, 2018 at 8:42 am #36016
@adsb2035 Heh technical, detailed rabbit holes like this can be a lot of fun. And you’ll likely be a stitch expert from now on! Thanks for posting. As I think about texturing/shading my interior one day, I’m increasingly aware of the importance of stitching.
June 25, 2018 at 8:43 am #36017@thecabbagedetective Uh oh lol..you may be getting to the point where it’s best to spend some time optimizing your model/scene for rendering
June 25, 2018 at 8:55 am #36018@vlado159 I really like how you approached the sketchfab upload: Adding exterior and interior views with notes about which camera to use for which area. Everything is looking solid – good work, Vlado! The interior feels a little simplistic but then again vintage cars were far more simpler than modern cars. Even though it feels simple, the details are crisp. You’ve earned an A in my book 👍
And I probably just missed the links to your blueprint – my bad. I’ve updated the grade.
June 25, 2018 at 9:00 am #36019@theluthier Yeah I fortunately managed to get it down from 5,000,000 verts to 3,000,000 verts last night, and I possibly got more optimization to go. Just concerned I won’t be able to get a nice render before tomorrow’s stream, I want a chance to get on the showcase! Haha but seriously thanks for the compliment, I won’t lie I’ve been feeling a bit less confident since the submissions have been pouring in but I’m determined to see this through to the end.
June 25, 2018 at 9:05 am #36020@baukepost This is simply awesome. Not much else to say..everything is so crispy and detailed. I really like ow you handled the dashboard. Overall, great job. Easily an A for the week!
June 25, 2018 at 9:12 am #36021@tbrbn Ahh yeah, look at those details – all the way down to the screw-head level! Everything is super crispt and precise. I love it. Easy A this week 👍
And yes, interiors feel endless to me as well lol.
June 25, 2018 at 9:26 am #36022@jakeblended You absolutely crushed it, Jake. From the level of detail, to the precision, it’s all really well done. Even the ridges in the floor mat/panel. Fantastic work! A+ 👏
June 25, 2018 at 9:28 am #36023@jakeblended You’ve progressed surprisingly quick having started seriously this past November 🤯
June 25, 2018 at 9:56 am #36024@doulos4iesou Fully textured and shaded everything – nice! And I *think* I detect some shader forge lessons in use 🤘
I have a couple notes: The detail level in the model feels a little simple. As in there’s significantly more objects/details to build if you’re to match the real thing. At least it seems that way based on images like this:

Perhaps you’re modeling a different variation of the ’67 Plymouth Roadrunner. Still, the ‘under-modeled’ feeling is the impression I get.
Also the scale values in the textures feel a bit off. From the speckles in the car paint, the the fabric texture on the floor carpet, to the leather – all the scale values feels bigger than what they should be.
So based on the modeling, I’m inclined to give a B but since you went above and beyond by texturing + shading, I’m bumping it up to an A. Congrats on the amount of work you did this week! It’s not easy doing all that 👍
June 25, 2018 at 10:06 am #36025@dostovel Great job, Omar! There’s a lot of complex curvature happening in that interior. You’ve done really well. Is the speedometer in the middle of the dash on this Toyota? Pretty wild – I’ve never seen that before.
I thought I knew how to model well, this exercise exposed all the things I need to work on.
I felt similarly this week especially. It’s really shown where my workflow is lacking and also makes me respect great vehicle modelers like I never have.
Anyhoo, you’ve earned an A in my book, sir 👍
June 25, 2018 at 10:12 am #36026@thecabbagedetective Ah come on, you shouldn’t feel less confident at all. Your interior is turning out really nice – details, quality, precision. Polish off that sucker and get yo grade 😎
June 25, 2018 at 10:37 am #36027June 25, 2018 at 11:55 am #36028Ah, it’s times like this that I wish I had a real life reference. Apparently, the trunk lid of a Challenger cuts through the tail lights and meets at the bumper. I was assuming something different. Oh well. At least I didn’t get too far with the back end before discovering this.
June 25, 2018 at 12:04 pm #36029@shiennar The secret to the dashboard is the shrinkwrap modifier. I made a very simple version of the dash with just the two big gauge cut-outs being the only details, duplicated it, and used the duplicate as a shrinkwrap target. After that I could add more geometry, even tightly-bunched geometry, and the shrinkwrap modifier kept the surface from ever becoming un-smooth. The only thing is if you make details that need to stick out or protrude into the dash – like there is an inset area where my glovebox is for example – you need to add the vertices of those details to a vertex group that is excluded from the modifier. This video explains the trick better:
https://www.youtube.com/watch?v=3rlMzsBWtPY
I used a bunch of shrinkwraps in this interior. Especially modeling knife-project details like the CHEVROLET letters into the dash bezel and the steering wheel horn would probably be impossible without shrinkwrapping those base objects first, or at least it would take hours and hours of work and tricks I don’t know (or patience I don’t have) in order to solve the topology to make them look smooth on their own.
One potential downside to shrinkwrapping that I found out is that it’s not like the mirror modifier where eventually for whatever reason you can apply it and get on with life. As soon as you apply the shrinkwrap modifier, artifacts from any tight or questionable topology become visible again. So the modifier must permanently stay in the stack and the target blank object will have to permanently live in your .blend – which isn’t a problem if all you’re doing is taking pictures or animations on your own; but for example Sketchfab doesn’t recognize the shrinkwrap modifier – it will apply it while uploading, so in Sketchfab any shrinkwrapped surface will look un-shrinkwrapped and that might not look great. And on top of it, Sketchfab will also upload and make your target blank visible, even if you have it set in Blender to be invisible. That will screw with the look of any inset details in Sketchfab.
For the gauges, I did an image search and a regular web search for “Chevy 3100 gauges”. Just doing a straight image search got lots of nice images but nothing really usable; but with the web search I found a store that sold the actual gauges, and that store had very nice and big pictures of them. In GIMP I blacked out all the unwanted parts like the needles and bezels, and touched up the markings so they were all bright white. Then I color-selected just the markings, pasted them onto a new transparent background, did any final touching-up there, and exported it for Blender.
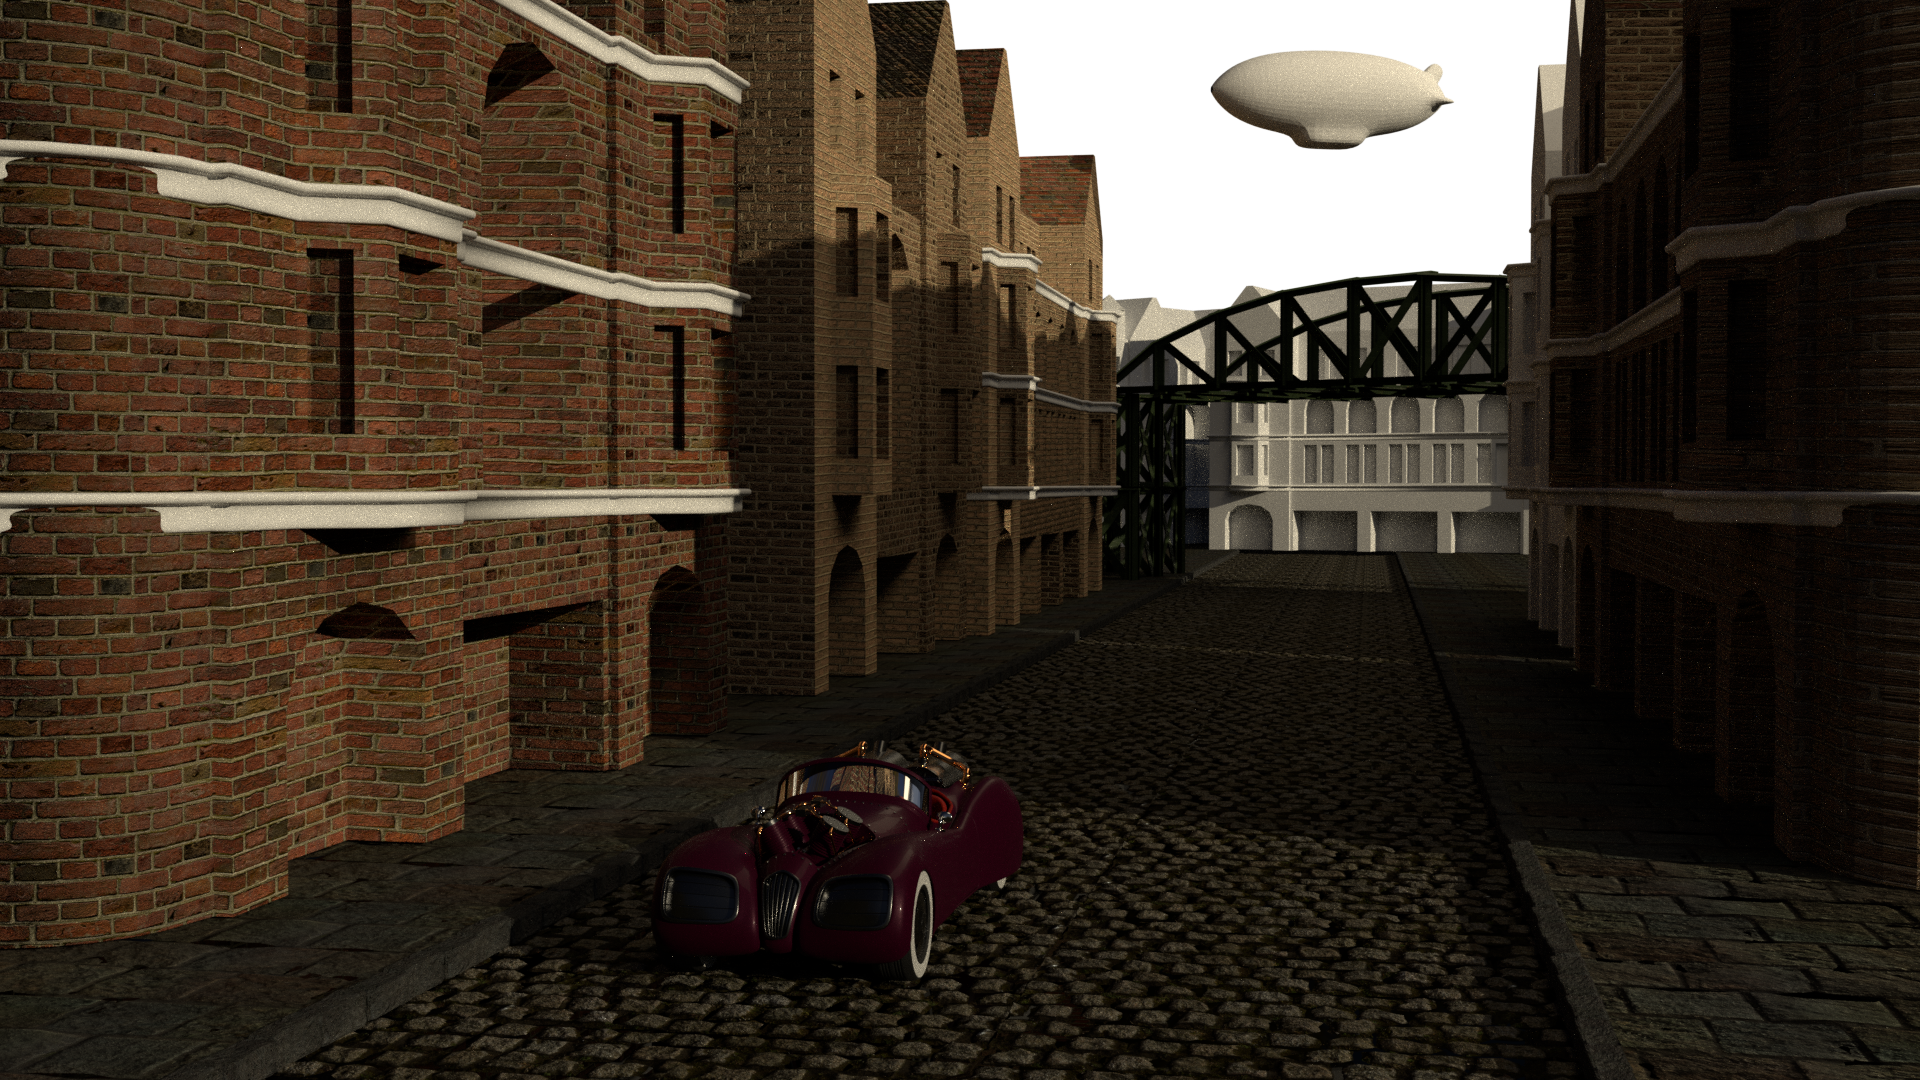
June 25, 2018 at 12:35 pm #36030@dieedi A few years ago when visiting Second Life I saw this steampunk city some people built there called New Babbage; your cityscape gives me the exact same kind of vibe, I love it.
-
AuthorPosts




- The topic ‘[ENDED] BC3-1806 – June 2018 Class Homepage – Vehicle Modeling with Blender’ is closed to new replies.