
[ENDED] BC3-1806 – June 2018 Class Homepage – Vehicle Modeling with Blender
Forum Archive › [ENDED] BC3-1806 – June 2018 Class Homepage – Vehicle Modeling with Blender
- This topic has 1,276 replies, 54 voices, and was last updated 7 years, 8 months ago by
Paul Haynes.
-
AuthorPosts
-
June 23, 2018 at 7:36 pm #35956
@baukepost Oh yeah I remember seeing that, thanks for the heads up!
June 23, 2018 at 7:45 pm #35957@theluthier Thank you! I hear what you’re saying about the floor and the seats as well.
The floor you see in that render isn’t the actual floor, it’s just the skirt of the car that I extended under just to give me a basic idea of the floor at the time, I’ve added a proper one since.
I’ve also been making adjustments to my seating as well, might redo the back seats entirely, but when I look at pictures the limo doesn’t seem to have much legroom to begin with:

So I’m not sure how inaccurate I’ve made it, I’m sure it’s definitely too cramped but I’m not sure by how much. You have any idea, looking at both this and the render? Here’s an OpenGL render from a similar angle:
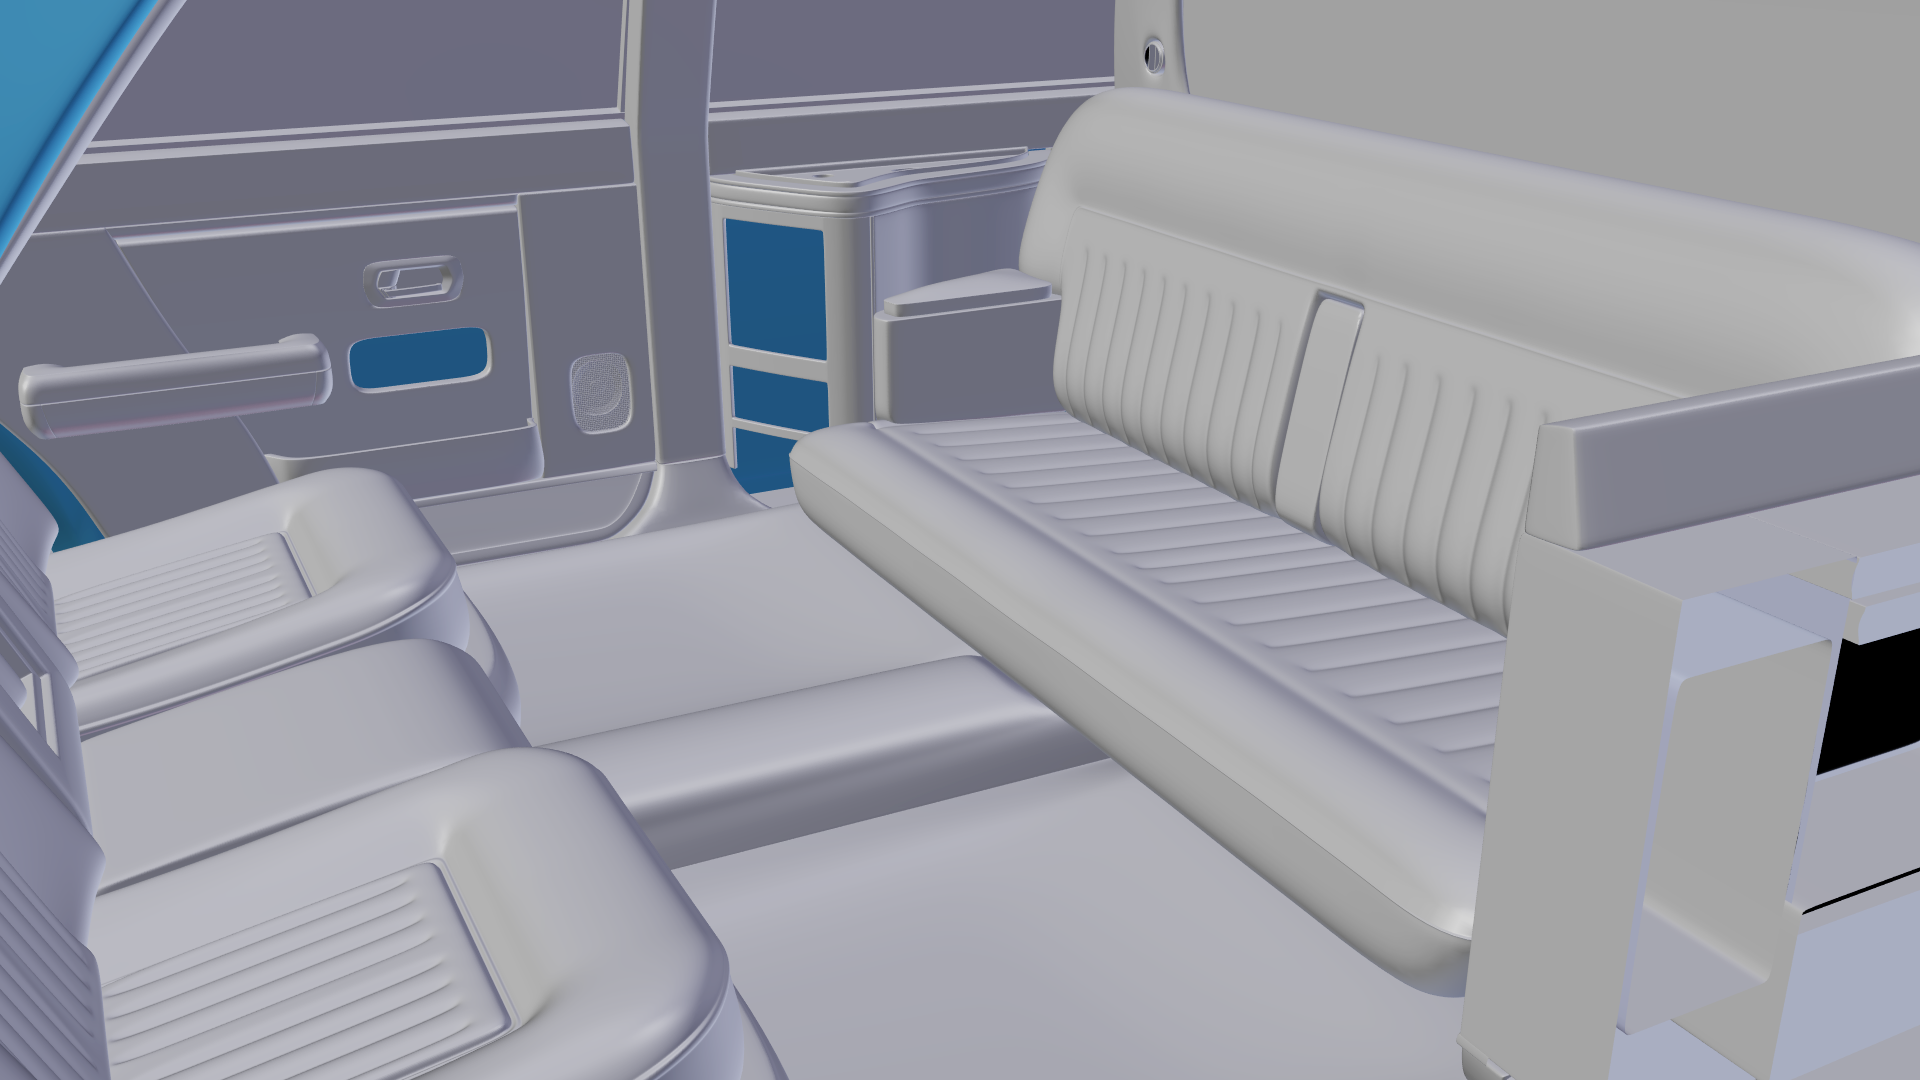
Just looking at these two I can see a couple areas to improve but nothing that would drastically increase legroom. Sorry if this makes me appear stupid so I’m gonna use the “tired” excuse as it’s 2AM and hope I get away with that haha. Thanks again for the feedback and a massive thanks in advance for anyone with advice on this situation.
June 23, 2018 at 7:59 pm #35958@theluthier Thanks! Doing my best and actively applying the knowledge I’ve gained since last time.
June 23, 2018 at 9:33 pm #35959@oboshape You’ve come a long way, Darren! Overall it’s a very clean model both in surface, detail, and topology. Good job on the interior as well. It’s an A from me this week! 👍
June 23, 2018 at 9:36 pm #35960@thecabbagedetective Actually your model looks pretty accurate to me. Sorry if I spoke to soon – keep up the great work! Love those details 🤩
June 23, 2018 at 9:46 pm #35961@theluthier cheers Kent, onwards and upwards.
couple of hours each night and once i got into it, did enjoy it. few troublesome areas but its all good practice.
another step along the learning journey 😉June 23, 2018 at 10:27 pm #35962Oh good grief. Bumpers are a pain. Sharpened up some lines. Looking pretty sweet!
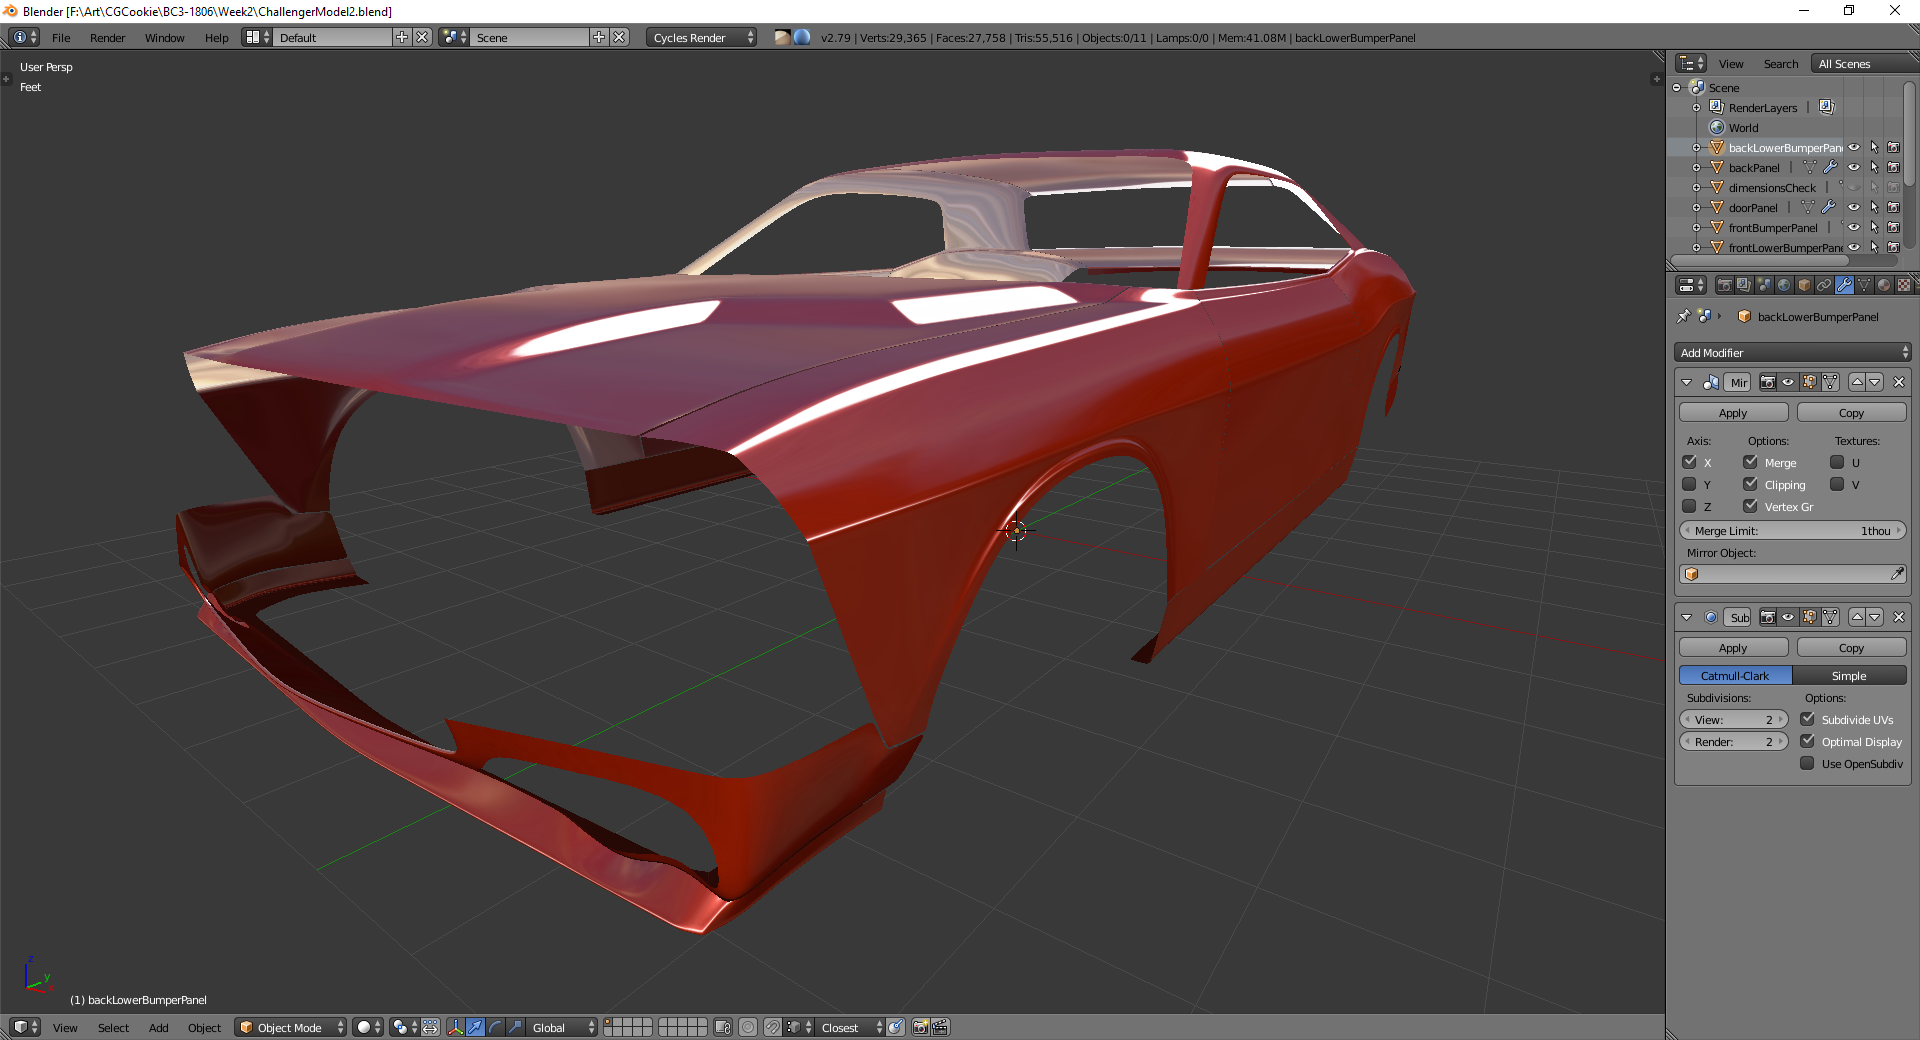
Of course, some things to hammer out, like that massive hole in the bumper. That’s where the fog light is suppose to be, and it’s fairly complex geometry. Might just make that a flat surface and punch a hole in later.
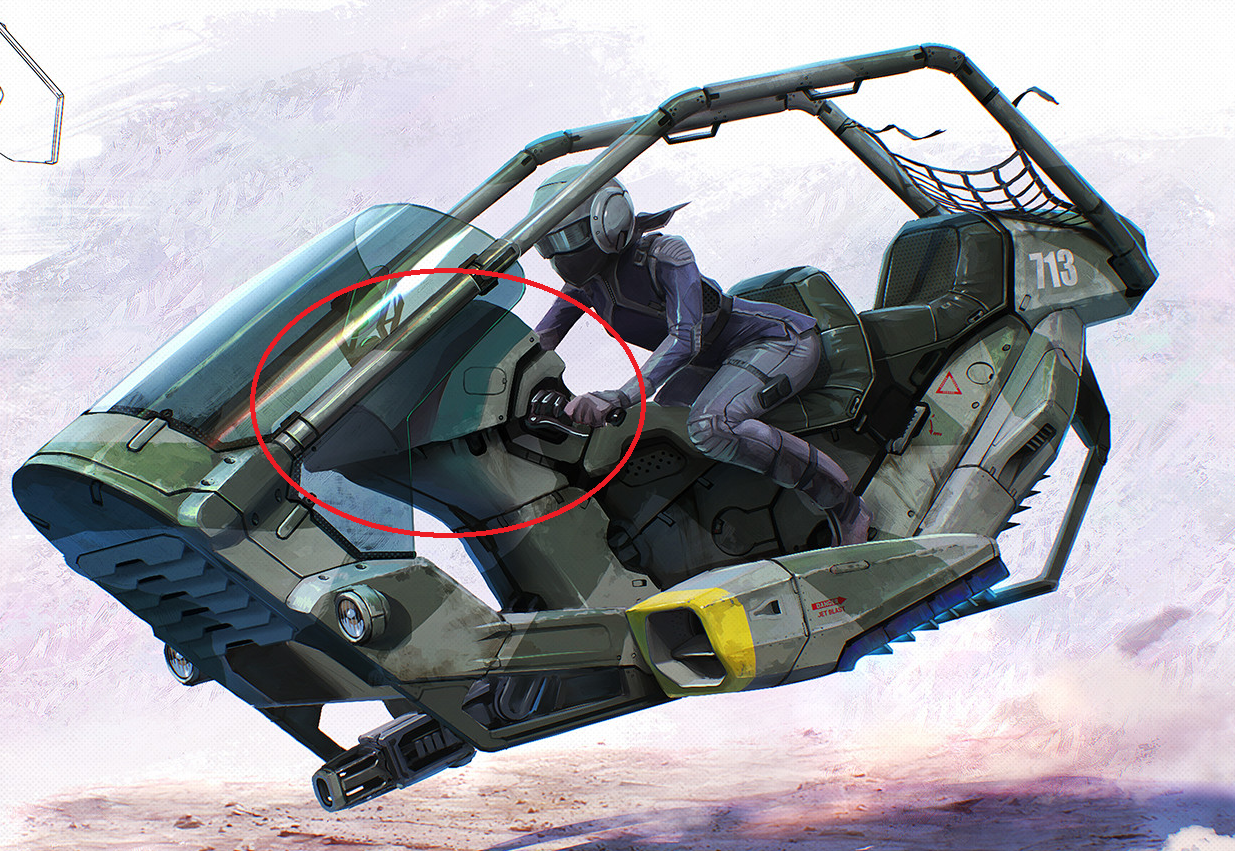
June 24, 2018 at 1:54 am #35963Hi guys, another quick question: what do you think would be on this dashboard thing? Would you think there would be some good old fashion gauges (with a futuristic tint) or just a screen with some buttons around it? I decided not to model the green thing on top of it by the way, since I already have a lot of empty space to fill.
 June 24, 2018 at 3:40 am #35964
@baukepost The green screen you mention is a Head Up Display (HUD), which usually gives extra informations for the driver, in an augmented reality (AR) fashion. So that mean, if you remove it, that these info must be somewhere else, so on the dashboard.
I would go for a big screen on the middle of it and some buttons on the sides. I think it’s a great idea to keep it a little bit old school as well. For the screen I was thinking of something like this display:
The tricky part would be to make it look a bit less futuristic perhaps ?
Since it reminds me of a motorcycle, you need to also think ergonomic: both hands of the driver are needed for driving, and the driver should avoid having to play with all the buttons while driving 🙂 Safety first!
June 24, 2018 at 4:16 am #35965@tbrbn Thanks, this is the first time I really have to design big parts of an object so that definitely helps!
June 24, 2018 at 6:21 am #35966@theluthier I want to seperate because the exterior isnt completely finished. But as it turns out i am not feeling too well today, so i dont think i will be able to finish this weeks lesson today.
June 24, 2018 at 9:04 am #35967@oboshape Looking good! Glad you stuck with it, you’ve come a long way. It’s honestly quite impressive how much work you’ve managed to get done in the time you had considering you started fresh.
June 24, 2018 at 9:06 am #35968@theluthier Ah no worries, I’m glad you did actually, helped me locate a few areas that need improvement. Thanks for the compliment as well, details are my favorite part so they probably get more attention than the main part of the vehicle haha.
June 24, 2018 at 9:11 am #35969Day 4 & 5 done!
Not gonna lie, I was rather disappointed with the work I got done on day 4, probably because I spent too much time on small details which I usually reserve for last, or maybe it’s because the dashboard was a massive pain in the backside to model. Probably both.
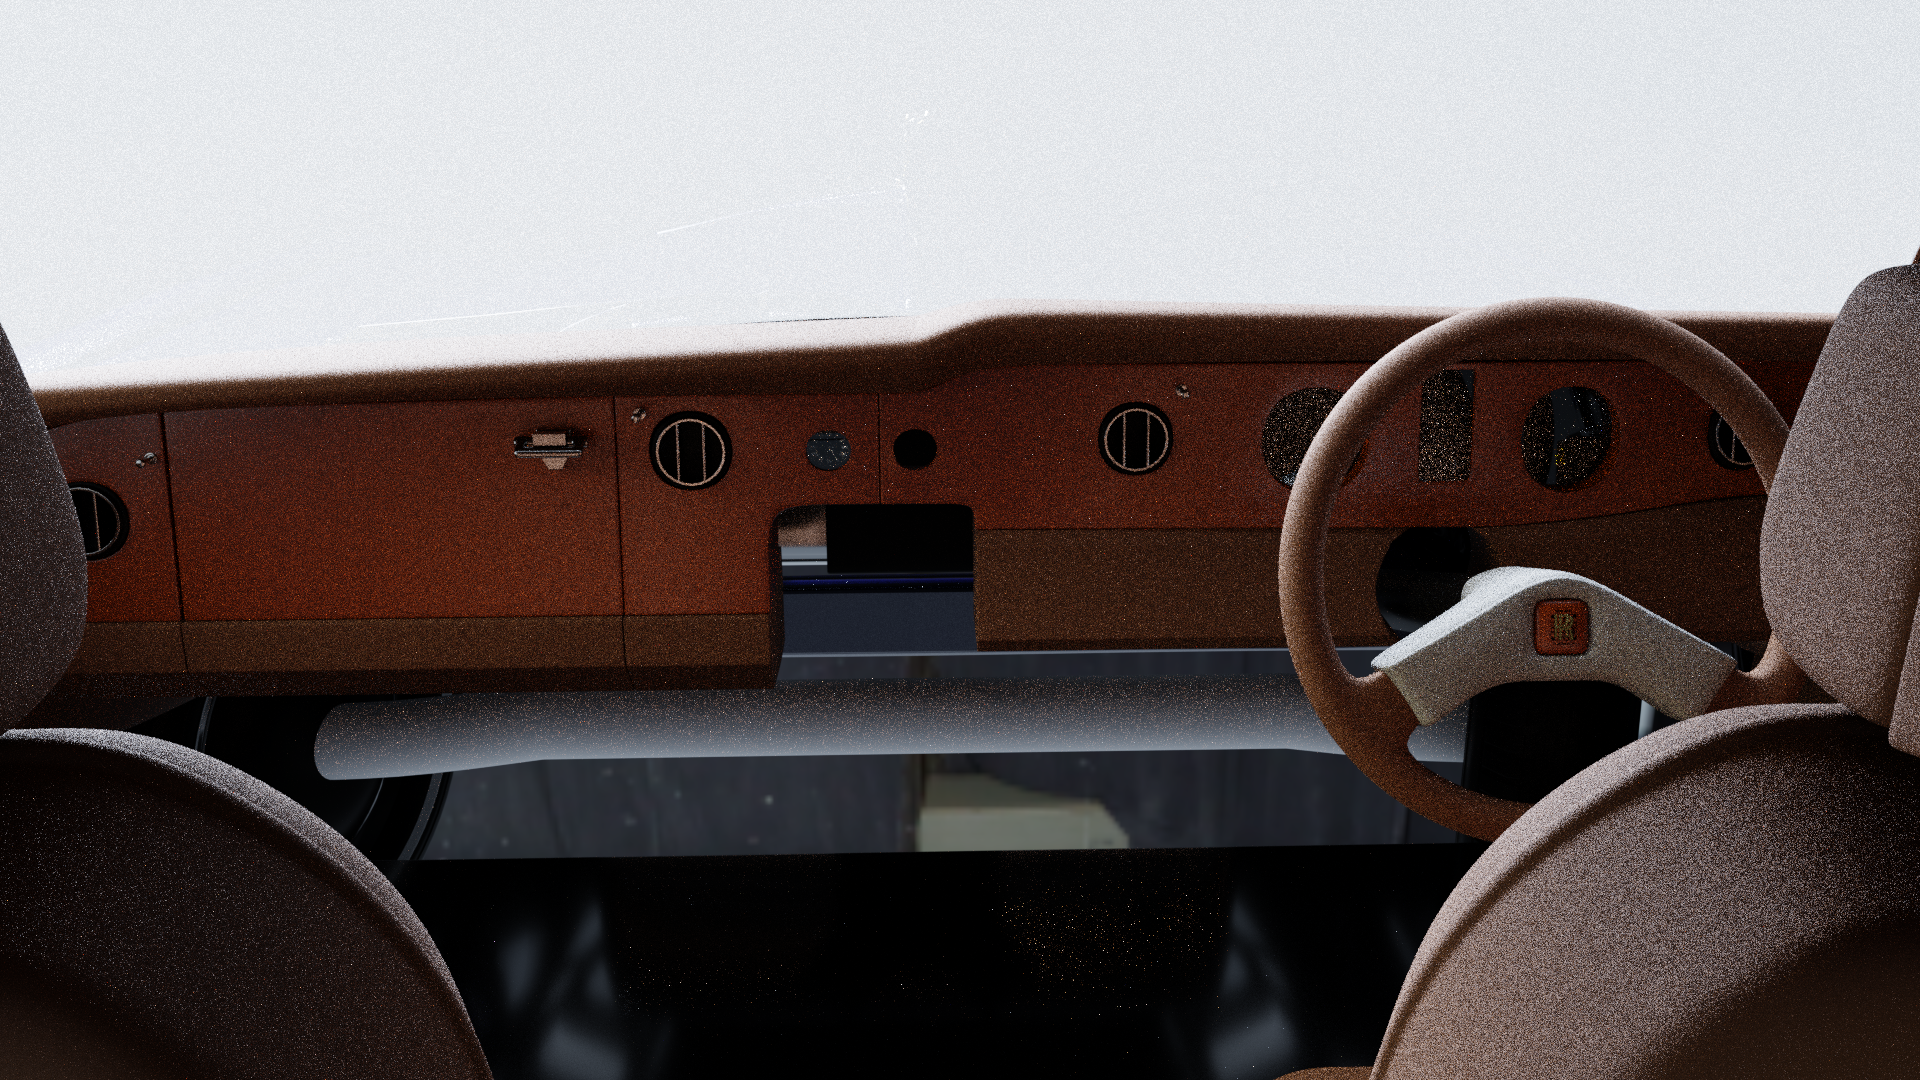
Day 5 however I really felt I compensated for the lack of work done on day 4, to the point of outside of the area for the pedals I’m pretty much done with the main interior and can concentrate on my favorite part: the small details!
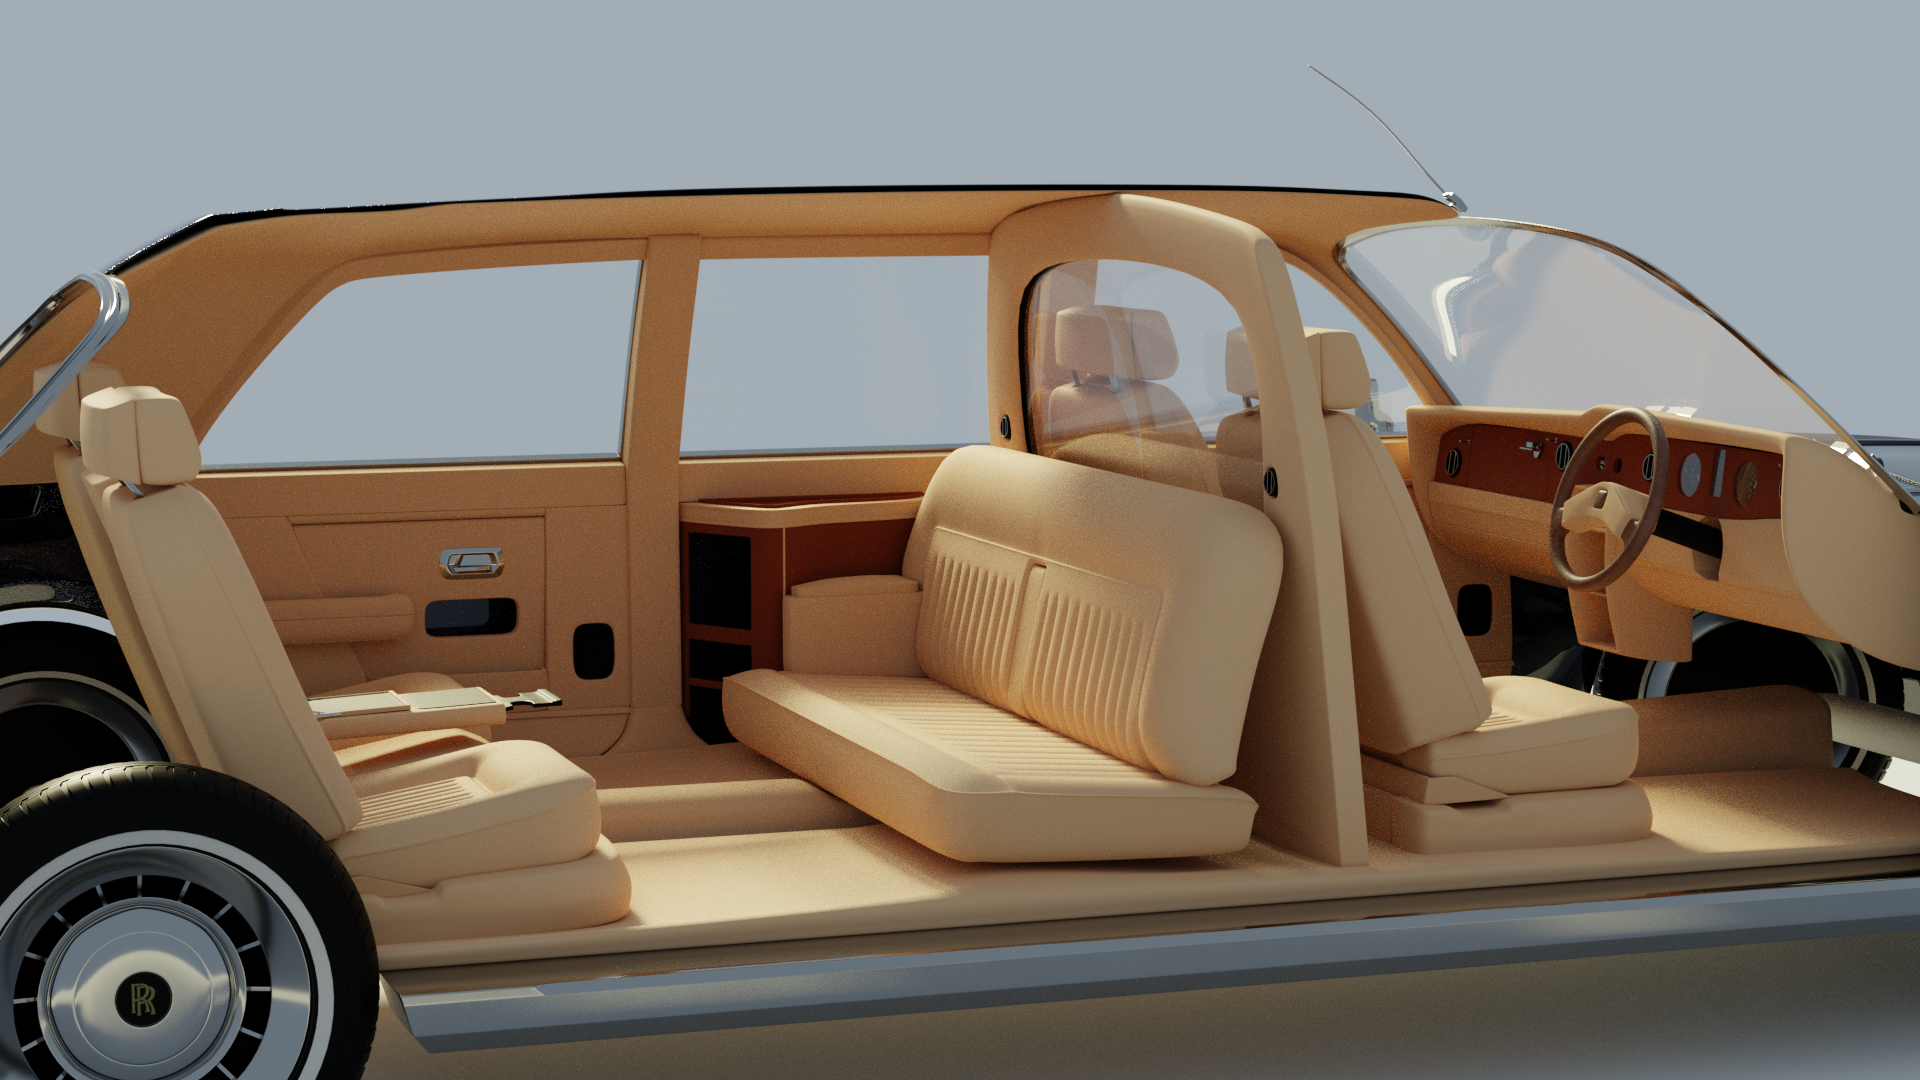
This took 9 hours to render by the way, maybe 2,500 samples was too much? Maybe I shouldn’t be running Blender on a toaster? Who knows? Either way it’s been really fun so far and good luck to all of you working alongside each other!
June 24, 2018 at 9:24 am #35970@thecabbagedetective Nice work Aaron, you did so much work in one week! I’m still working hard to get it done on time, kudos to you.
-
AuthorPosts


- The topic ‘[ENDED] BC3-1806 – June 2018 Class Homepage – Vehicle Modeling with Blender’ is closed to new replies.