
BC1-1808 Homework, Ken Claassen
Forum Archive › BC1-1808 Homework, Ken Claassen
- This topic has 53 replies, 12 voices, and was last updated 8 years ago by
Ken Claassen.
-
AuthorPosts
-
August 24, 2018 at 9:57 am #41074
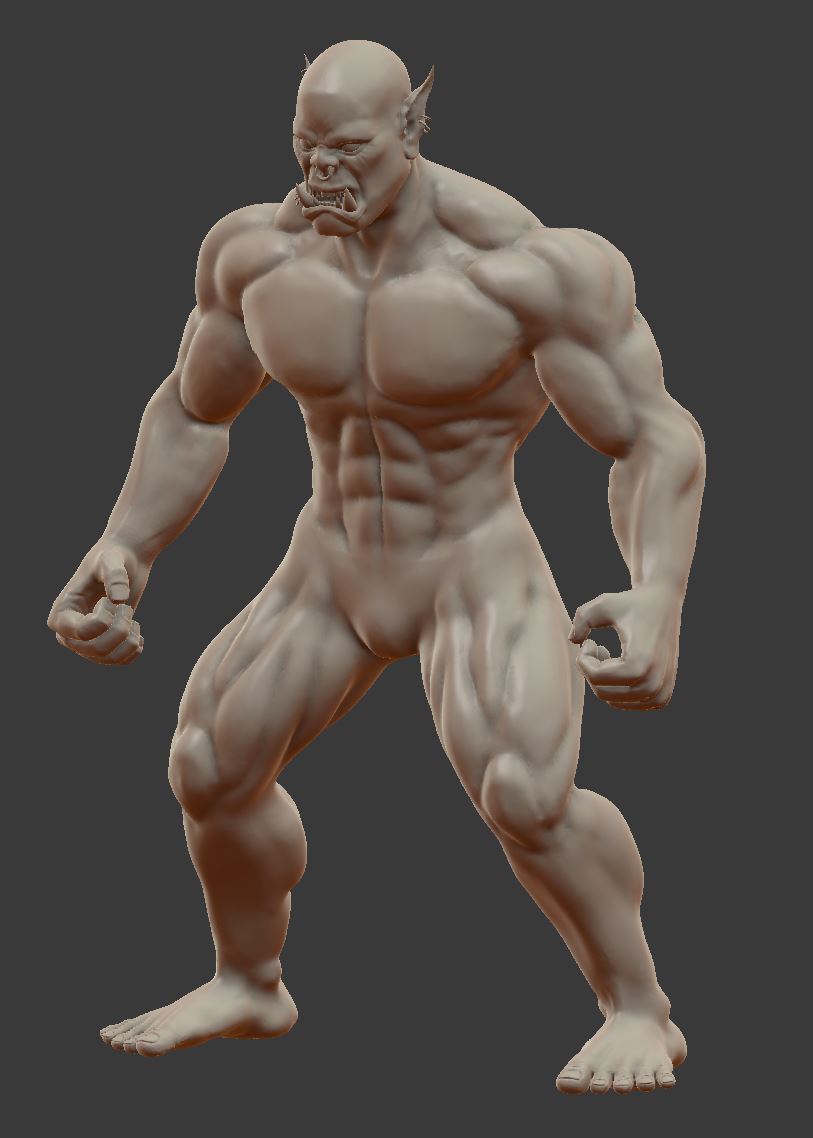
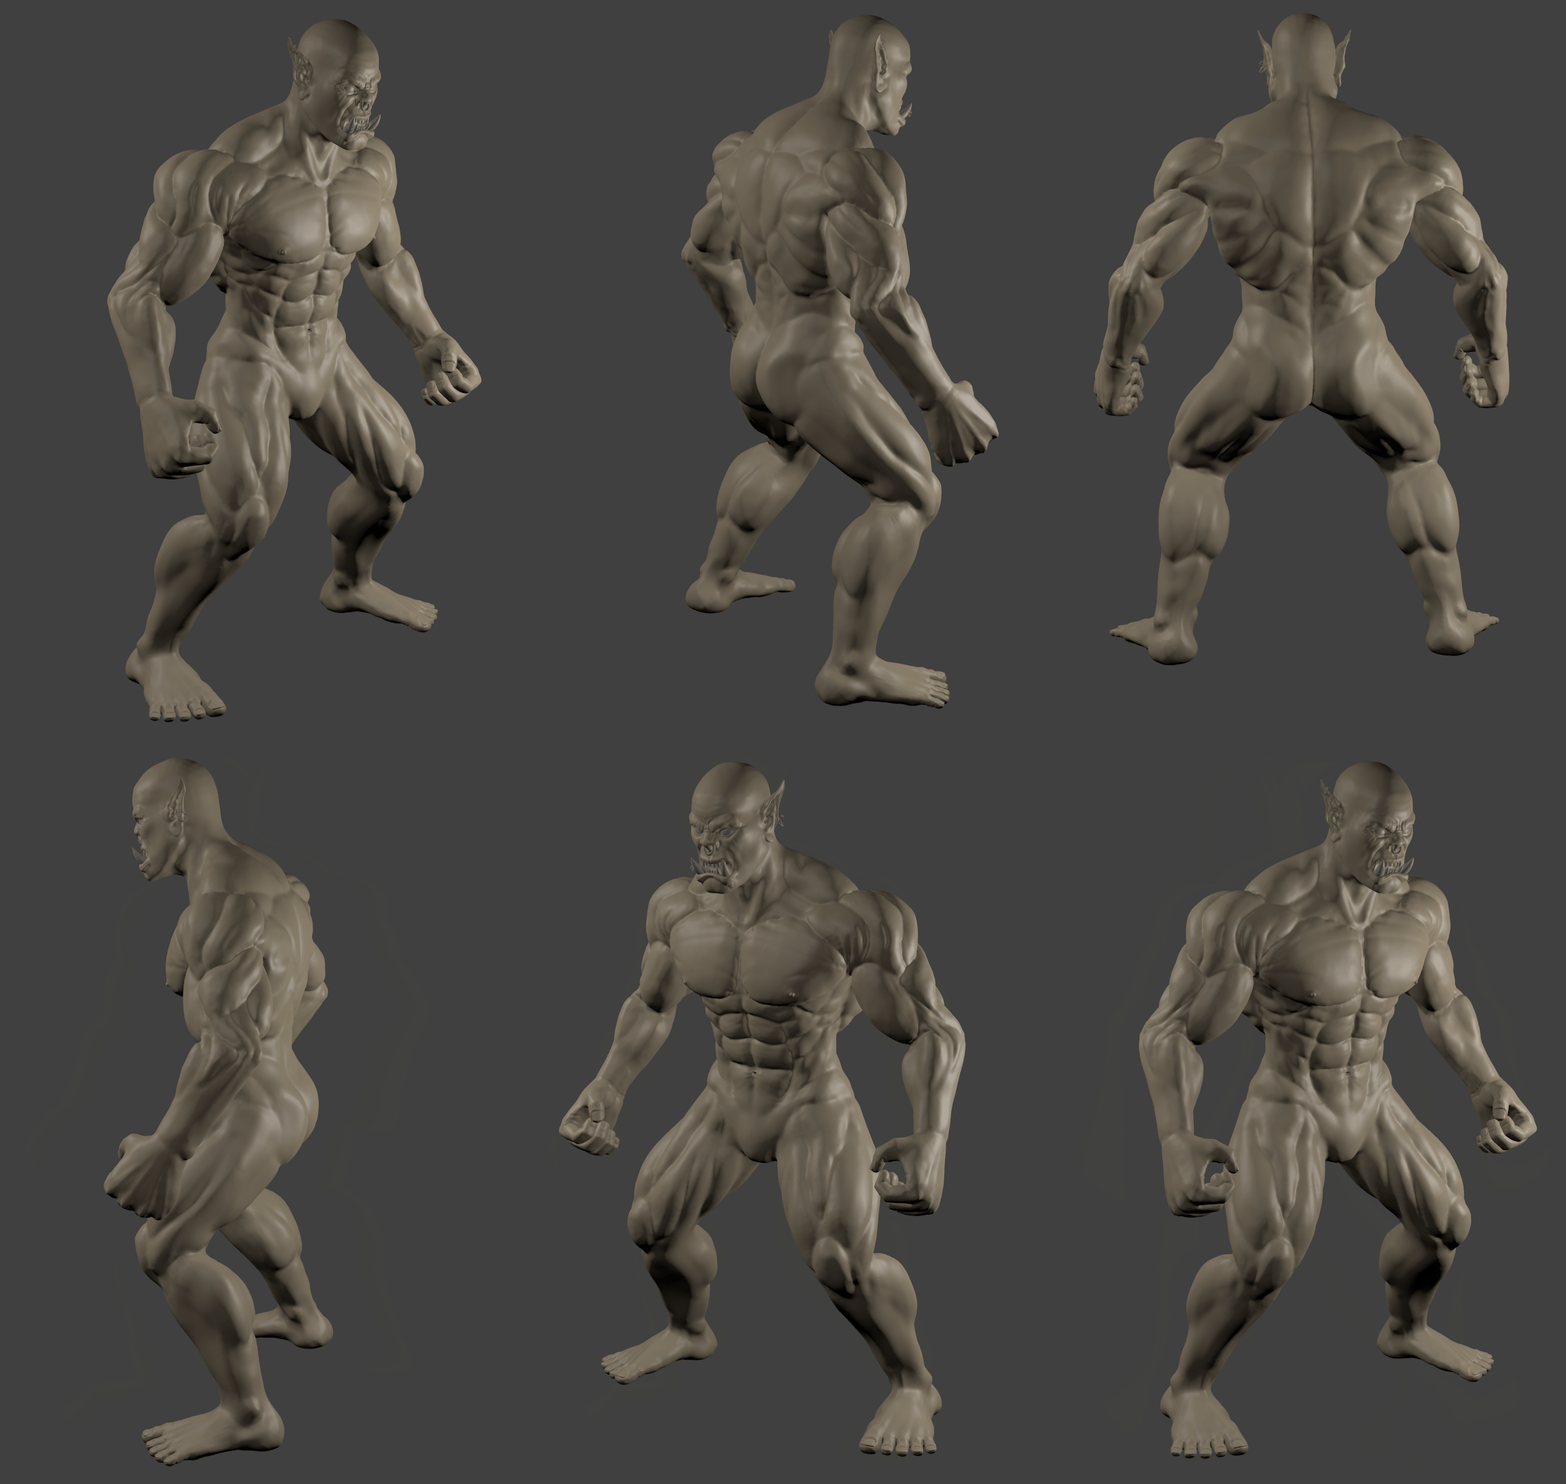
Day 3: I’ve now got all forms in with a first pass on detail. I’m gonna try tweak a few things that are annoying me like the forearm and maybe even the leg length (seems a little short) then move on to detailing the head to the next level. Considering using the multi-res modifier for that part. Also at some point I want to turn off symmetry and make things less symmetrical. Should make it more interesting I hope. Super keen to sculpt some roided veins!
That being said I spent all night on just hands and feet. I’m kinda over doing digits lol! very time consuming, fiddly and they get in the way of each other.
I also tried the technique mentioned by Kent and Miranda to scale down the head. Masked the head, and half the neck, inverted it, smoothed the maske and pinched it a few times with a brush as big as I could make it. Worked better than expected, though I did loose a bit of quality in the head which I had to resculpt…. worth it though, the head looks more in proportion now. I had to also re-scale and re-position the teeth and earrings etc but that’s no biggy really.

 August 24, 2018 at 10:32 am #41075
@cptken Great work.
August 24, 2018 at 12:56 pm #41076@cptken Looking better every time! Glad the trick with pinching worked out 😊👍🏻
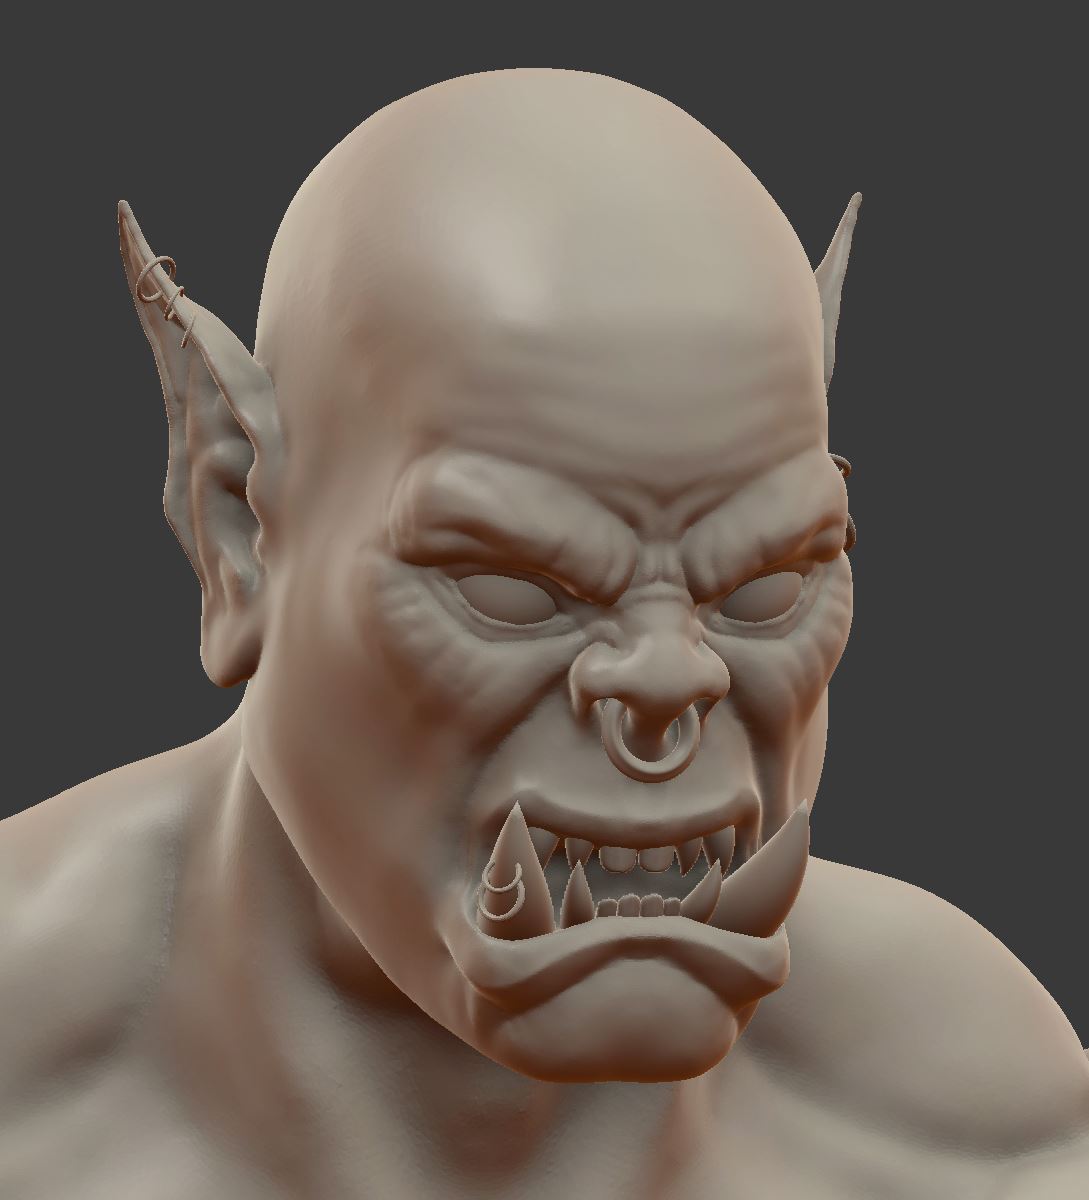
August 25, 2018 at 6:03 am #41077Ok I’ve been working on this a lot today. Trying to refine the anatomy and add more detail to the muscles. I’m spent haha… anatomy is tough and there’s a number of parts that I don’t really like, particularly the forearms and the calves… they are such weird shapes and hard to get right but I think I just need to move on for now, I’ve done my best with them.
I’m gonna call this done in terms of symmetry. There is one last pass that I want to do and that is turn of symmetry and add scars, veins and slight variances to the body to get rid of perfect symmetry. Though it is starting to get difficult because I’m at 3 million tris. It’s workable but only just. I might try using the curve tool for adding veins. No idea how to add scars… maybe a textured brush? if anyone knows that would be helpful.

 August 25, 2018 at 6:09 am #41078
@cptken Wow! just wow! It’s looking amazing! 😄
August 25, 2018 at 7:48 am #41079@cptken wow this looks really amazing. i love all the details.
August 25, 2018 at 10:38 am #41080@cptken Great work! You can use the decimate modifier to help cut down on the polycount. I’d probably save what you have as a separate file, then apply the decimate modifier and go on your way. That way you have your original copy to fall back on if things go terribly wrong. Can’t help with the scars bit. Experiment?
August 25, 2018 at 11:14 am #41081You did an amazing sculpt. Looks very good! 😃👍
August 25, 2018 at 1:02 pm #41082@cptken You’re blowing this week’s assignment out of the water 💥
Individually detailed fingers and toes…that takes tiiiime. And everything is looking very nice. Brilliant work, my dude!
It sounds like you might be maxing out dynamic topology’s workability. Once your into a few the millions of polys, dyntopo gets impractically slow. And it sounds like you want to add more details. Granted you’re way beyond the scope of this week’s assignment so my next suggestion is not required, but if you want to keep going with the orc, I’d recommend converting over to multires.
First do an optimized retopology then use the technique in this video to salvage all your detail in a multi-res modifier. From there you can subdivide into much higher polygon counts with multi-res.
August 26, 2018 at 12:08 am #41083@carrotnl @smurfmier1985 Thank you XD
@silentheart00 Cheers. The issue with decimate is that I will lose a lot of detail. I also find that decimate creates a tonne of artifacts. Cheers for the idea though.
@theluthier Thanks Kent. Those toes and fingers sure did sink a lot of time haha. I’m definitely at the max of dyntopo at least for my PC. The retopo / multi-res solution sounds like it will work the charm. Thanks for the link. I’ve never done retopo before so I might not have the time to get this done before next class. I think I’m happy with where it’s at for now. However, I’m so happy how it has turned out I don’t want to abandon it just yet. I’ll probably use it to learn Retopo and I would love to put armor and weapons on it and maybe learn some hard surface modelling / sculpting for that part as it’s a bit of a mystery to me at the moment. Cheers
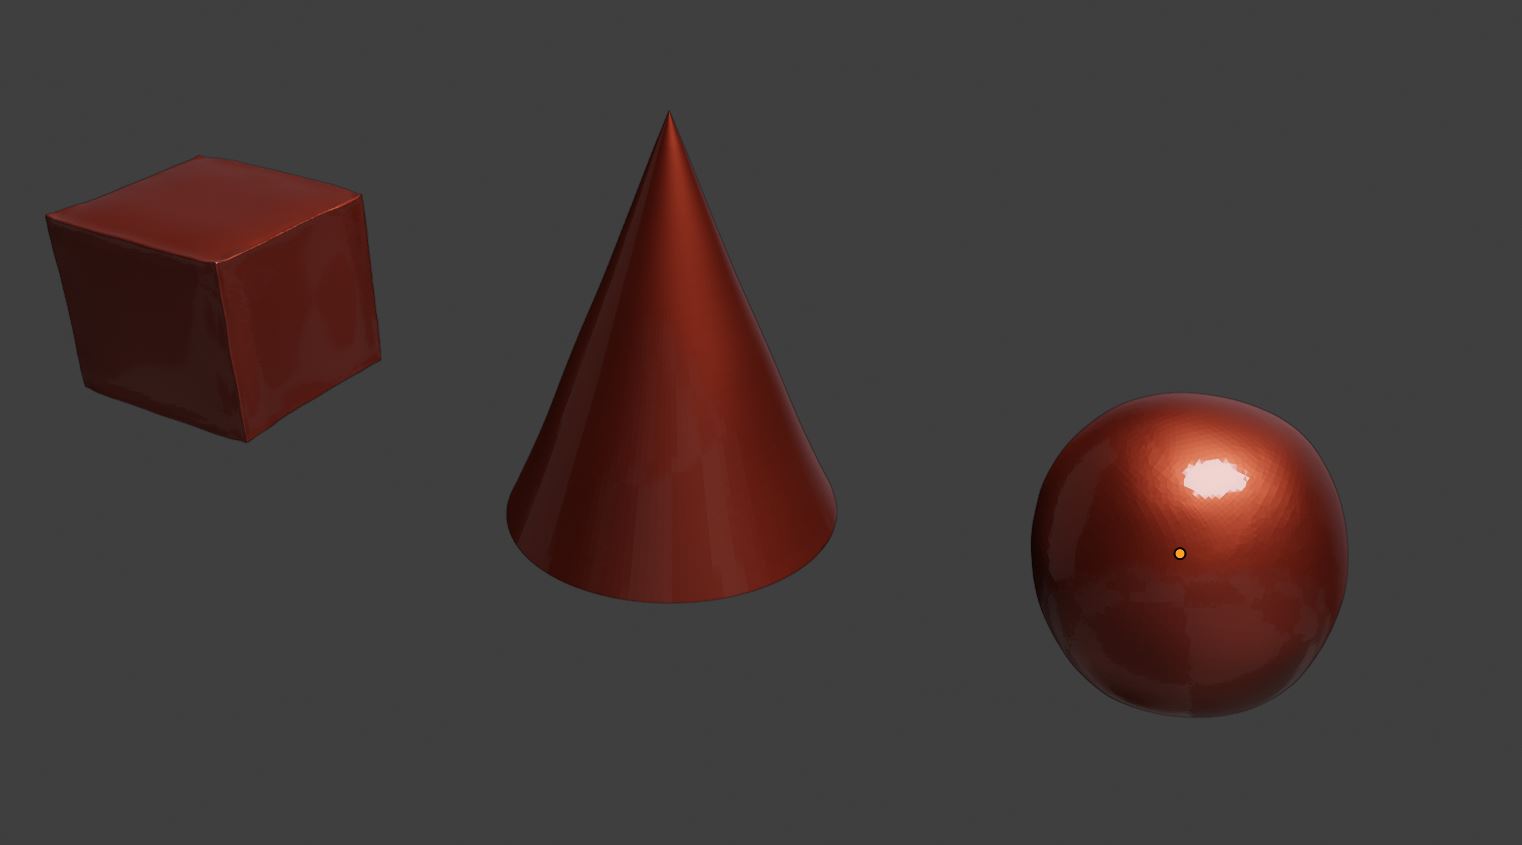
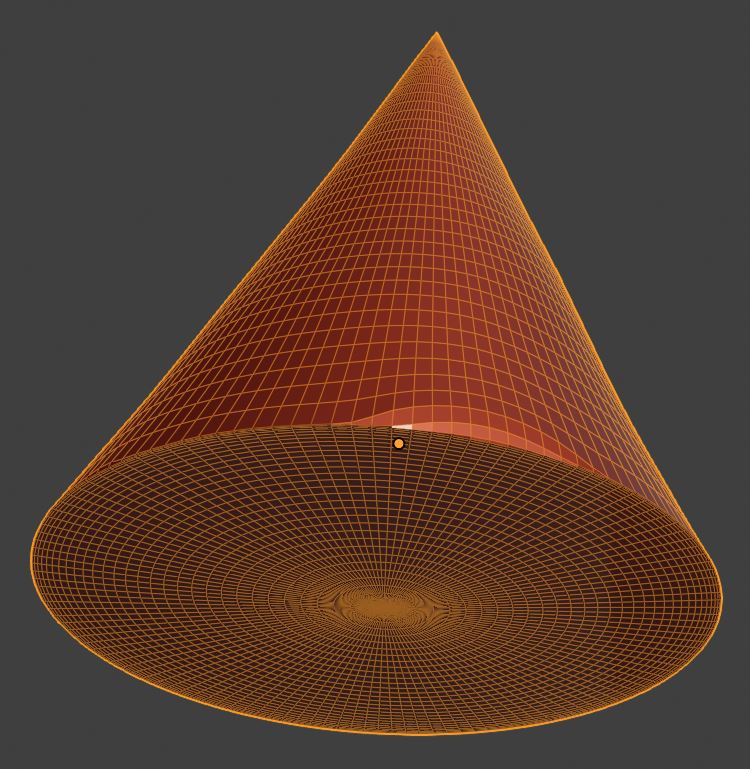
Figured I’d better do the base homework so here are my primitives. Regarding the cone… I promise I did not cheat. I simply started with a high resolution sphere and didn’t turn on dyntopo . I used a mask on the top half of the sphere and used the flatten brush several times on the unmasked bottom part. Then I inverted the mask and used a combination of the smooth brush and the grab brush to make the cone shape with x and y symmetry turned on. I added a screenshot of the mesh so you can see on the bottom the original polies underneath that match a sphere and also one point where I got the mask wrong and slightly smoothed an edge.
 August 26, 2018 at 3:04 am #41084
Inspired by Arron’s turntables, I decided to try make one myself. I don’t know anything about lighting, rendering or materials so the lighting is bad but oh well. I actually think I like it in stills better because the movements makes it difficult to see the details in some ways.
 August 26, 2018 at 4:14 am #41085
@cptken nice anatomy here! Awesome work indeed 🙂
August 26, 2018 at 4:52 am #41086@cptken Lol, dancing orc 😆 I keep lovin’ the spinning things!
Those primitives look mighty good, that cone.. wowie!
August 26, 2018 at 1:31 pm #41087@cptken Good work as always.
August 26, 2018 at 10:15 pm #41088Makin’ it look easy, dude. Awesome sculpt!
-
AuthorPosts


- The topic ‘BC1-1808 Homework, Ken Claassen’ is closed to new replies.