
Pascal Schovanez

Forum Replies Created
-
AuthorPosts
-
Makes sense, I looked over the FBX data, and found out it just didnt export any ‘sharp edge’ data for some reason.
So despite the middle seam being marked as sharp in blender the baker from marmoset didnt know about it.
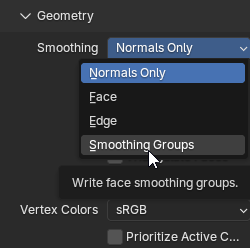
For some reason FBX exported changed its ‘smoothing’ to smoothing groups for that object, rather than Normals Only.I have no idea how, since I exported multiple objects at one, and repeatedly but only one of them had different export settings each time…
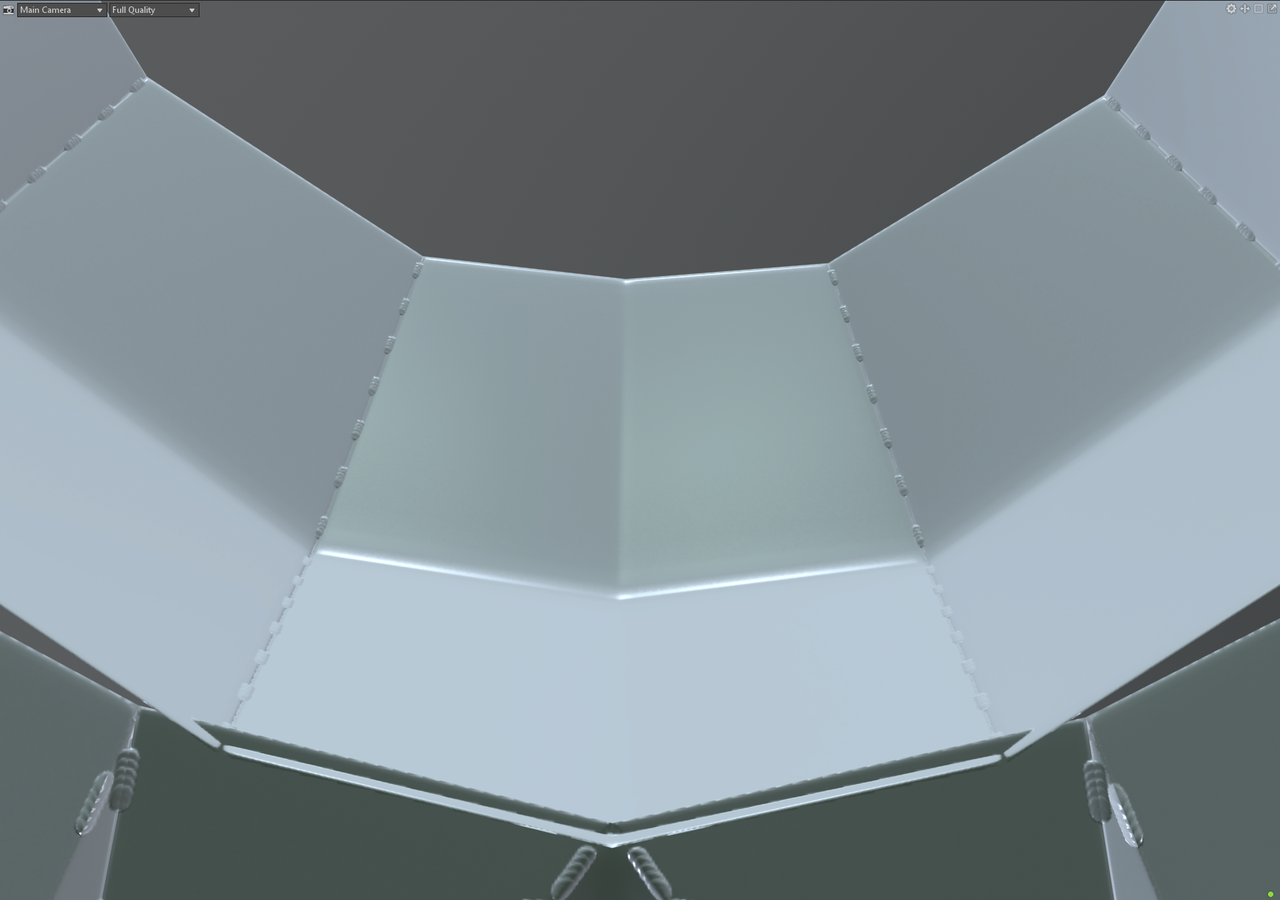
In marmoset, there is no Cage / Skew issues that I can see (though I dont know why one half of the model doesnt have skew indicators).
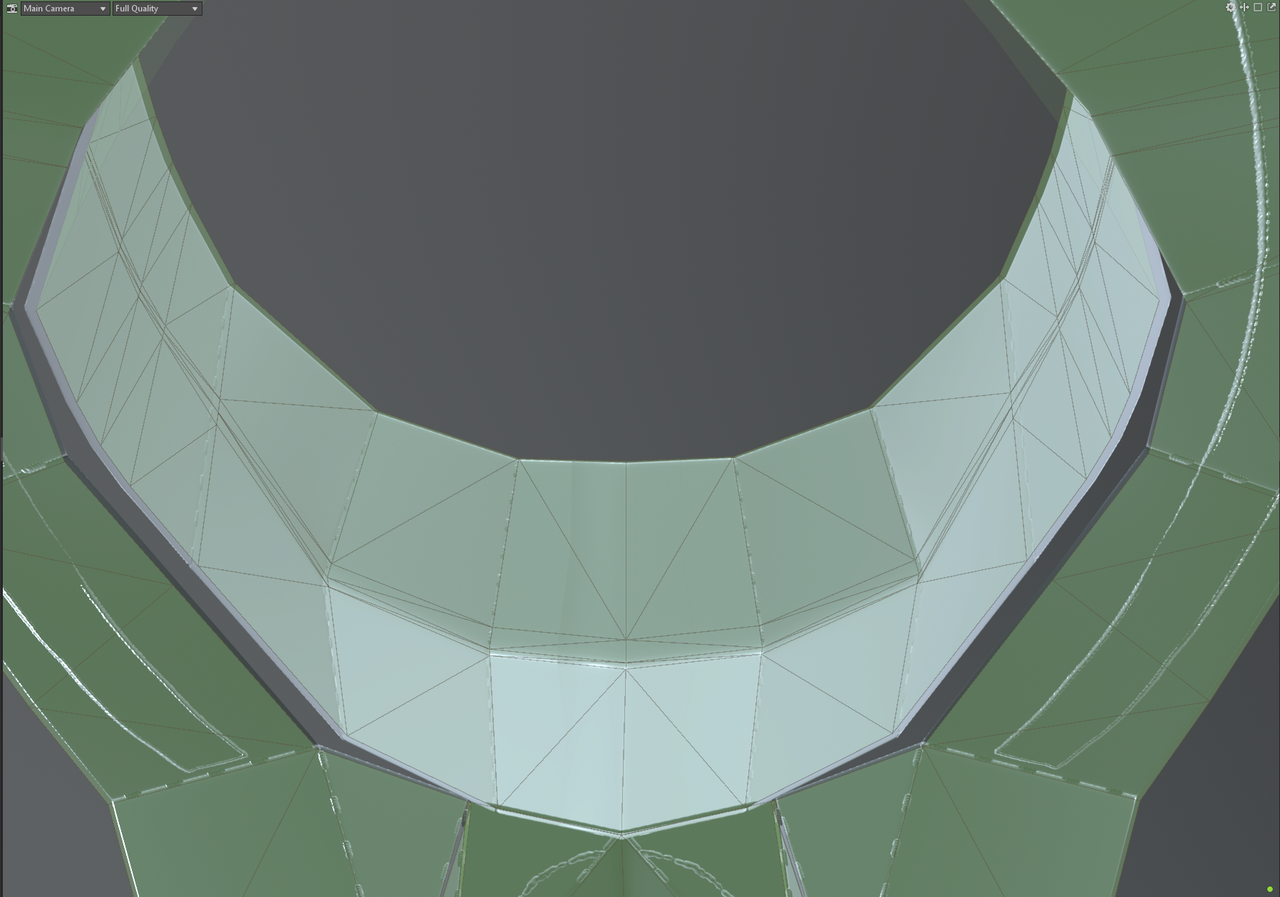
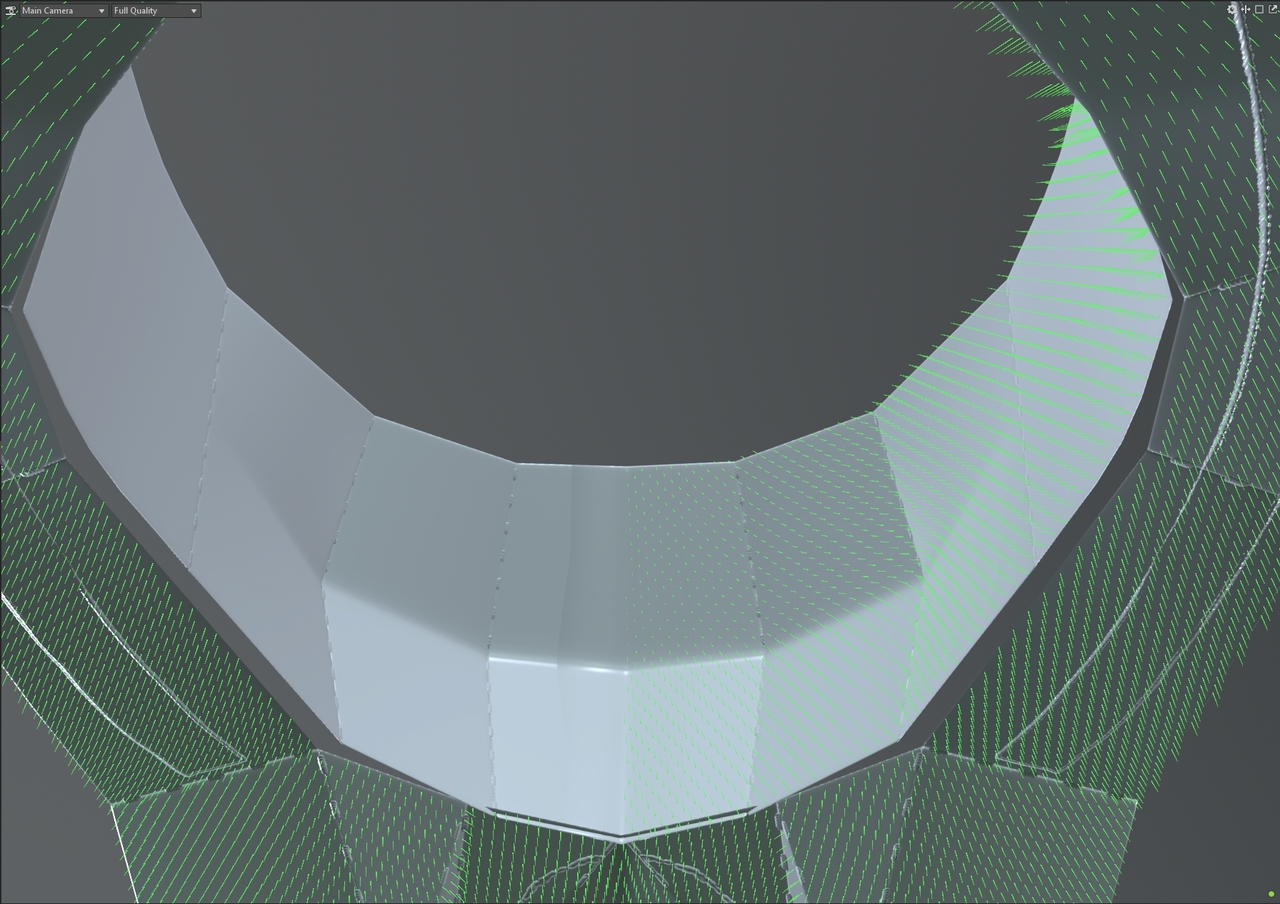
I modeled it in Blender, and used Marmoset for baking, since I generally like their bake engine.
That being said, I did now test baking it in Blender and it doesnt have that error in the normal map.
There are 5 panels total, and the last one has 1 more hard edge / division in the bake than it should when baked with marmoset.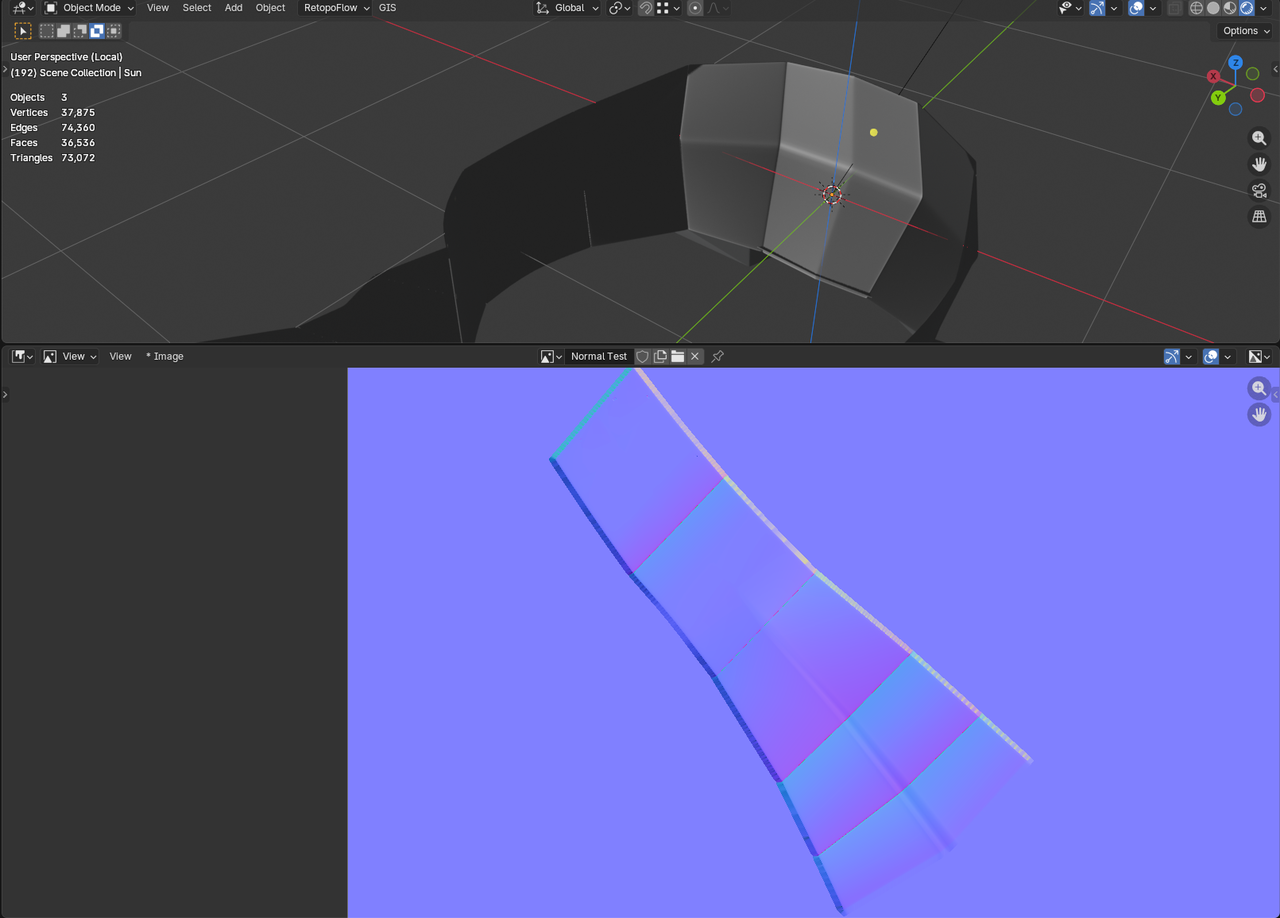
(PS, I just figured out how to add images to posts here haha)
It is present, this is a mirrored object, so the defect is only visible in a half view in the map, but its the harsh line towards the end.
The image you screenshoted simply has a border drawn around it to show which object in the normal map it is.I added a new image to the same imgur link, that highlights specifically that line in normal map too.
Sorry had thesis and exams to work on so got too busy to look at anything 3d until just recently.
Ill give those a try, thanks for the ideas.Im not really good at sculpting, but doing this via a mesh then you could try to simply have two crossing bridges for the simplest effect?
Not exactly the same, but also I made that in a minute, with a bit more work you can get it a lot closer.
Then use a curve modifier to wrap it around the handle, maybe mirror it to save some time unless that breaks pattern.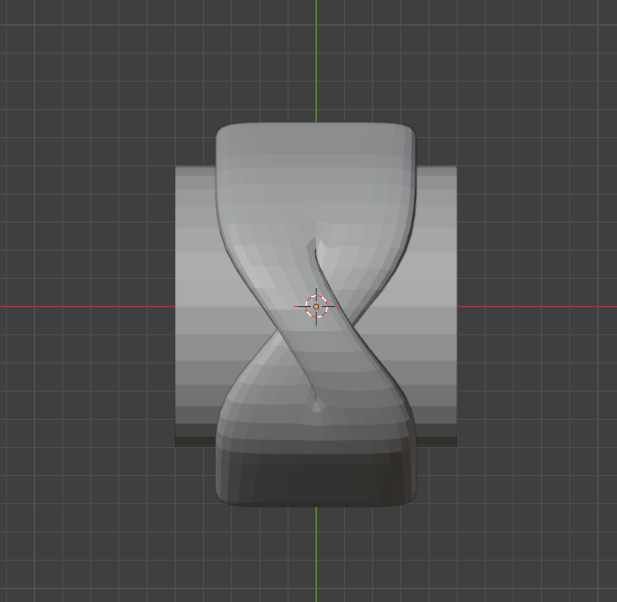
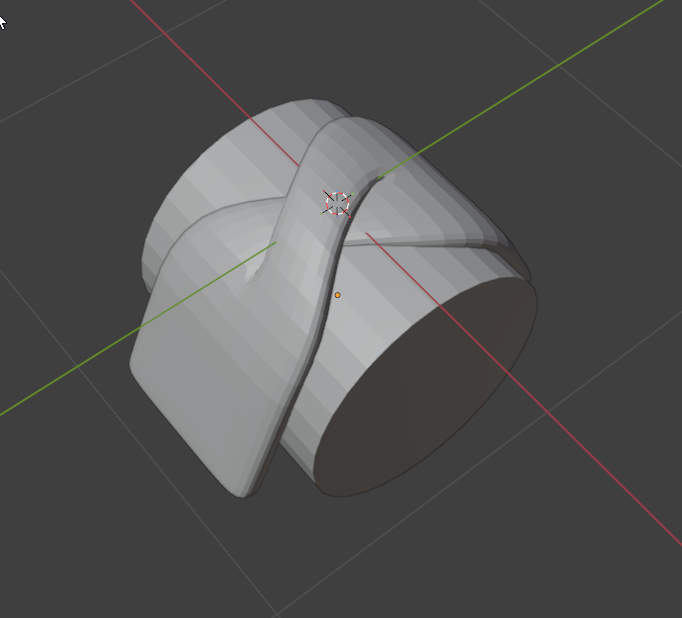
Heres a short video of how I made the mesh: https://imgur.com/a/SnawTot
Now that I think about it, it kind of looks like t he ‘cool S’ that people used to draw on their highschool desks or grafiti on walls lmao.Hmm, would need to give that a try, maybe using geometry nodes?
Not sure if you coul achieve this style (as in the corridor video) using that approach, at least I cant picture it.
I would test it, but Ive never even rigged a face before.Speaking of, is there any courses on it? Or ar there any planned for face rigging since thats not covered in the current ones?
See I have gotten something similar done using modifiers.
But what I couldnt think of was how would you be able to, using these modifiers, put together a face rig for an animatable character?For instance, lets say you for some reason wanted to make the character raise its brow like the rock’s meme (because why wouldnt you).
I cant picture how you would rig a face that has ‘essentially’ (but not truly since were offsetting it) only a 2D depth to its mesh.
Hey Label, as Omar said, this happens from time to time.
But to shed a bit more light on it, from my experiences in the past, there are certain ‘edge cases’ where the solver for the boolean operations gets confused / messes up. And instead of for example cutting a hole into the mesh you wanted it to, it does an ‘inverse operation’ where it deletes everything but the cookie cutter shape.I used to solve this via either changing some settings, as Omar suggested, but found that sometimes this ‘edgle case’ can be avoided by simply shifting your cookie cutter mesh (in your linked post, the star) by a bit.
That is sometimes enough to get it working correctly, even if it means its not EXACTLY in the correct spot where you wanted it.(Mind you I worked with this back in 2.79 so maybe its now caused by something different, but give that a go and let me know).
Thanks didnt know about the Hook Modifier honeslty.
I probably saw it years ago when I looked into all the modifiers and then never used it.I opted for the 3rd method whic was the simples way for me to quickly change out meshes, and I can still select the bone too.
I dont really understand the difference between 1 and 3, other than how you get the hook modifier set-up.
1 via selection, and 3 via the modifier menu?Yeah the clamp overlap, that was the name, is there to prevent this from happening.
It is essentially the option ensure that you dont just cranck up the size and have it break the mesh, it will hard limit the bevel size of an edge if it reaches other geometry, though I dont really remember ‘how’ it works. Like I said im rusty.But glad you got it working.
I never heard of anyone uploading a complete blender file to sketchfab before.
Granted I hardly use the site, but from what I remember people usually upload exported meshes (i.e. .FBX, .OBJ, etc.) files to it.So if your trying to upload a model, try that instead.
If its a whole scene… then maybe someone more experienced in using the site can help.From the look of it, it seems like your vertex is over-extending in its bevel size, crossing into another bevel.
If two bevels meet they dont play nicely since they will just ignore each other and ‘walk past’ one another causing visual glitches like this.I usually hop into wireframe in such cases and play with the bevel strength value to see which bevel is causing this.
Would be my guess, im a bit rusty though.
I admit I had spent a further two hours earlier to figure this out.
After going back and forth a bunch between bones to check parenting / constraints settings / drivers / etc.
I found that the parent’s (Toe_IK_parent) ‘Copy Transforms’ constraint is the one causing it.
I was able to ‘fix’ it by setting it to L,L instead of the default W,W space.But I must admit, I have no idea why this is doing it.
No other Copy Transforms constraint needs to be set to L,L in the entire setup.
And the fix is nothing more than a patch until I know whats causing that behaviour.I checked the bone that it was Targeting (MCH – Heel_roll_02) and it is neither rotated, rolled, nor affected by its parent or constraint, to explain what the driving factor is behind this behaviour that I could see.
(Lets ignore the fact that I had assigned the wrong widget to the two Toe bones, in case it was confusing in the video).
Interesting, I honestly didnt even realize that we now have ‘extensions’, havent really being much attention to it.
But was able to get that setup pretty easily enough.
Seems to me like they intend to move away from the whole legacy addon’s and shift to the new extension system entirely. -
AuthorPosts
