
Shun Saiki

Forum Replies Created
-
AuthorPosts
-
May 5, 2025 at 10:25 am in reply to: Translucent Material: How to better increase the translucency? (Cycles) #94745
@Dostovel
I was able to introduce softness of the ant’s shadow but since it decreased the translucency of the ant, I decided to change the rotation of the HDRI, change the backlight angle, introduce a hidden key light, and change the camera angle. Also, checked the brightest parts if the alpha was past 1 (on the render preview it doesn’t seem so, not sure if this is accurate measuring).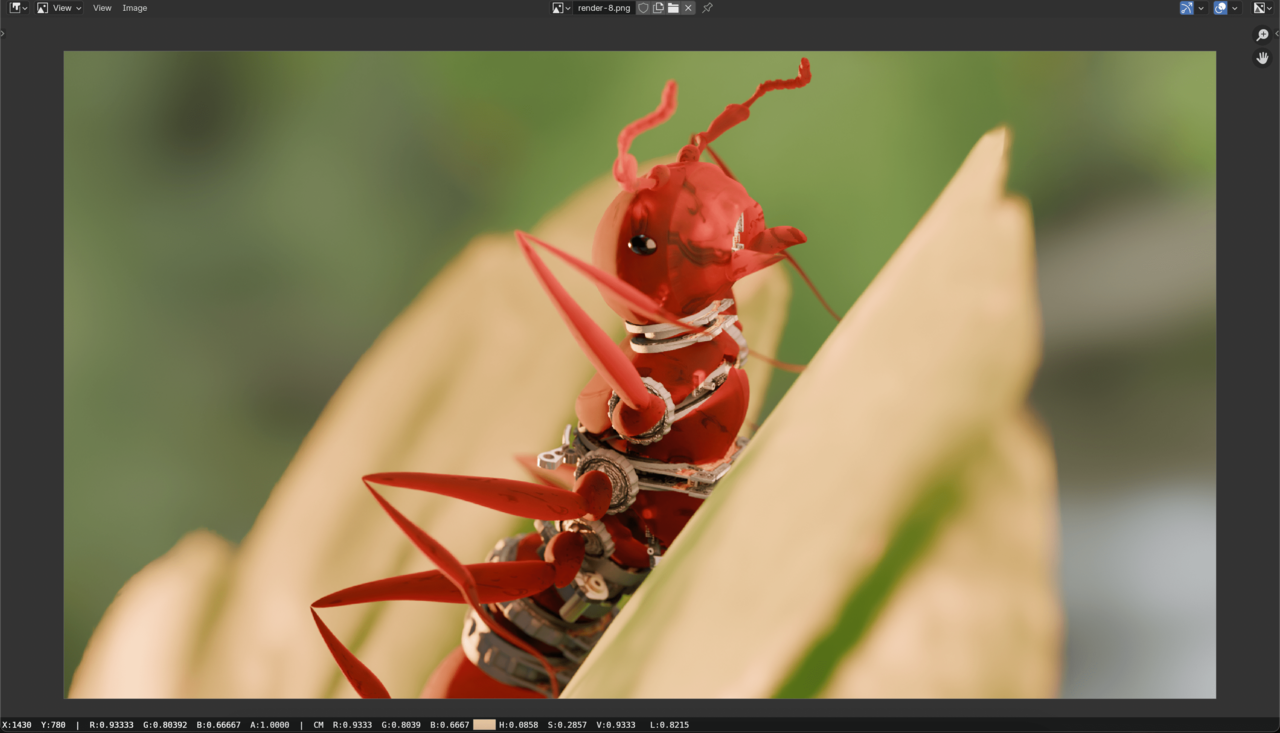 May 4, 2025 at 1:51 am in reply to: Translucent Material: How to better increase the translucency? (Cycles) #94743
@Dostovel Hi thank you for your input!
I see, I guess I didn’t really consciously think more about how the camera, light and material would determine the final render.
I took your advice and focused on light concentration with point light and how the light would bounce towards the camera, and here is the results of it.
Please feel free to let me know what you think, and how I could improve!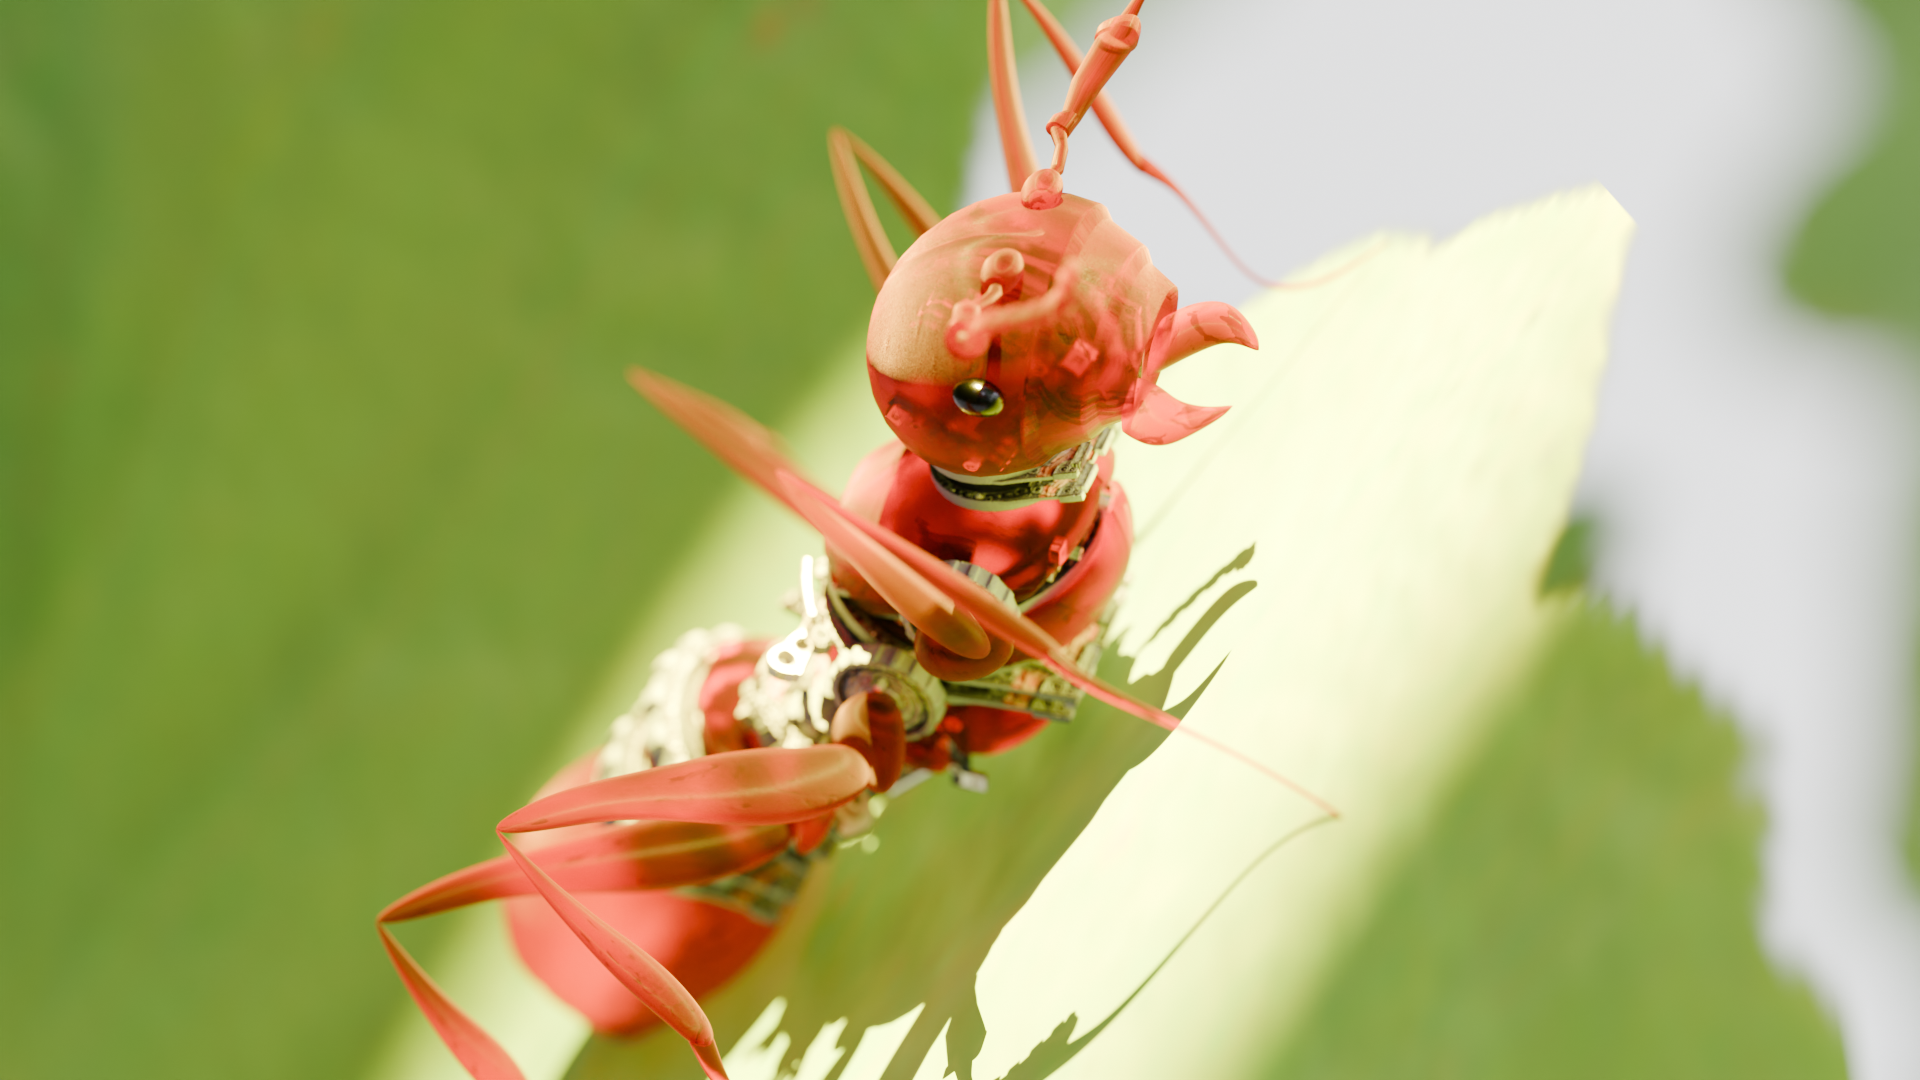 April 30, 2025 at 3:21 am in reply to: Translucent Material: How to better increase the translucency? (Cycles) #94741
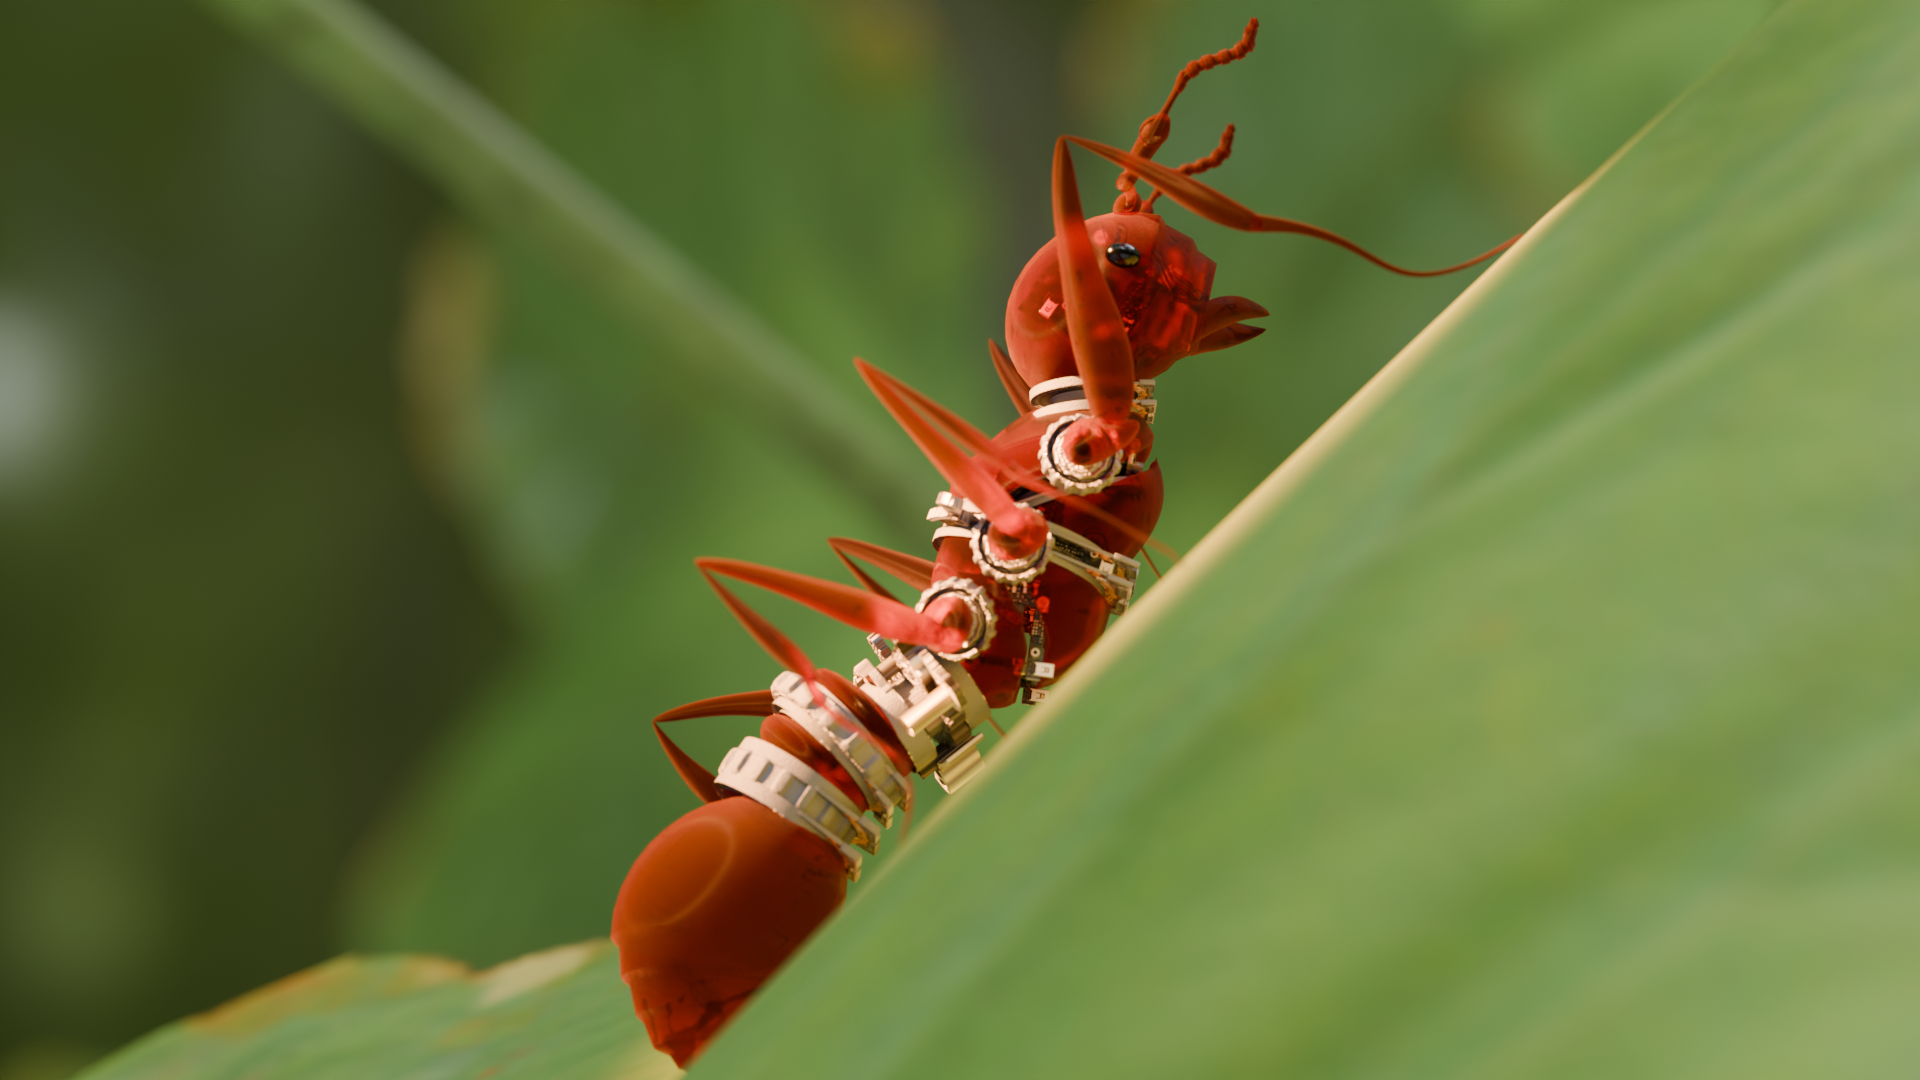
Okie, thanks for checking out the issue. I have reduced the IOR a bit and it reduced the specular dimple and allowed it to see a bit more components on the inside.
 April 30, 2025 at 12:54 am in reply to: Translucent Material: How to better increase the translucency? (Cycles) #94739
Hi @spikeyxxx! Thanks for the helpful reply! By adjusting the roughness, I was able to achieve a better translucent effect, thank you!
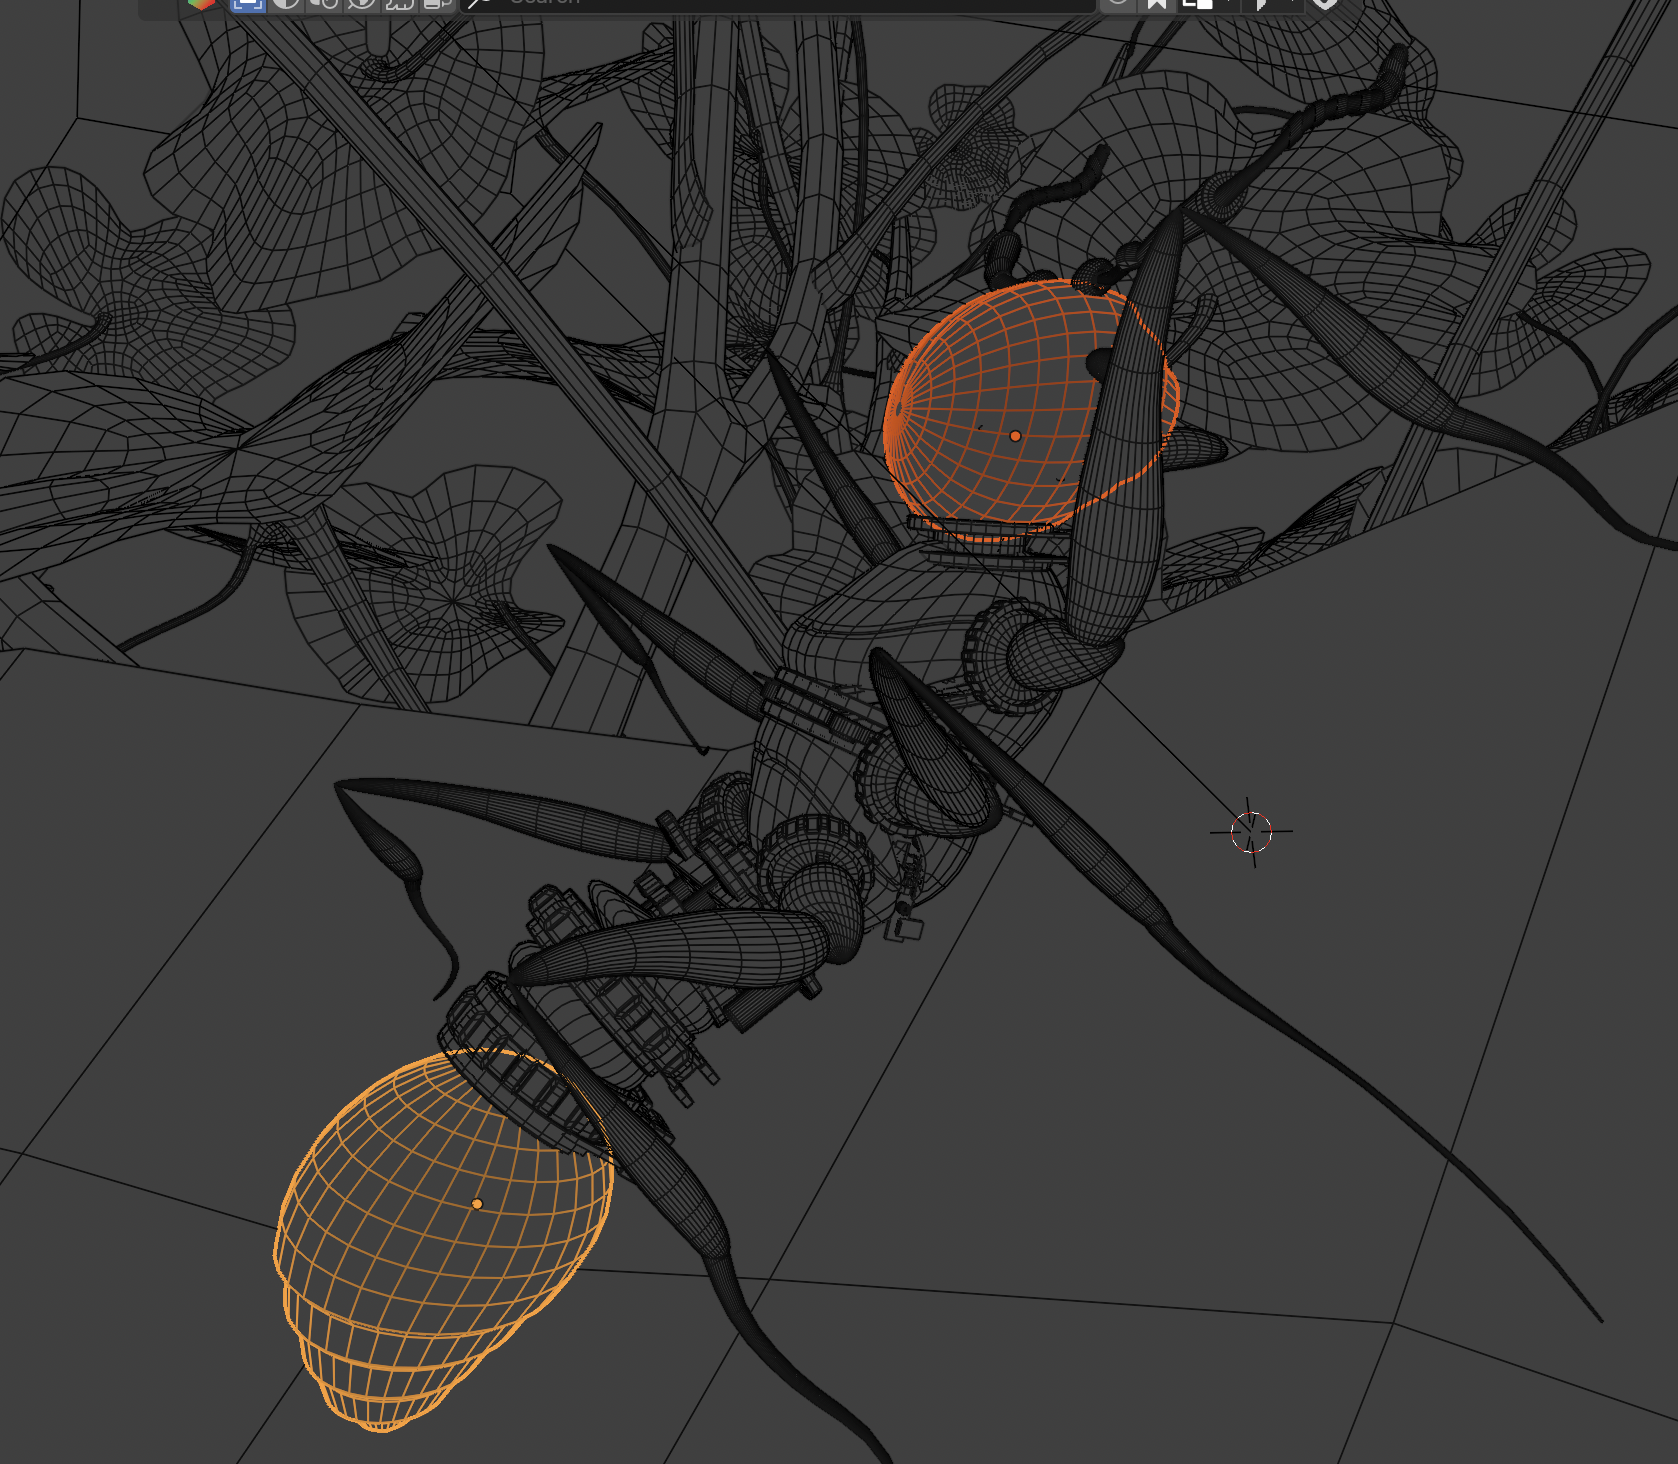
Just wondering now, I wonder what are those specular dimples on my head and the abdomen? Is this the result of the topology?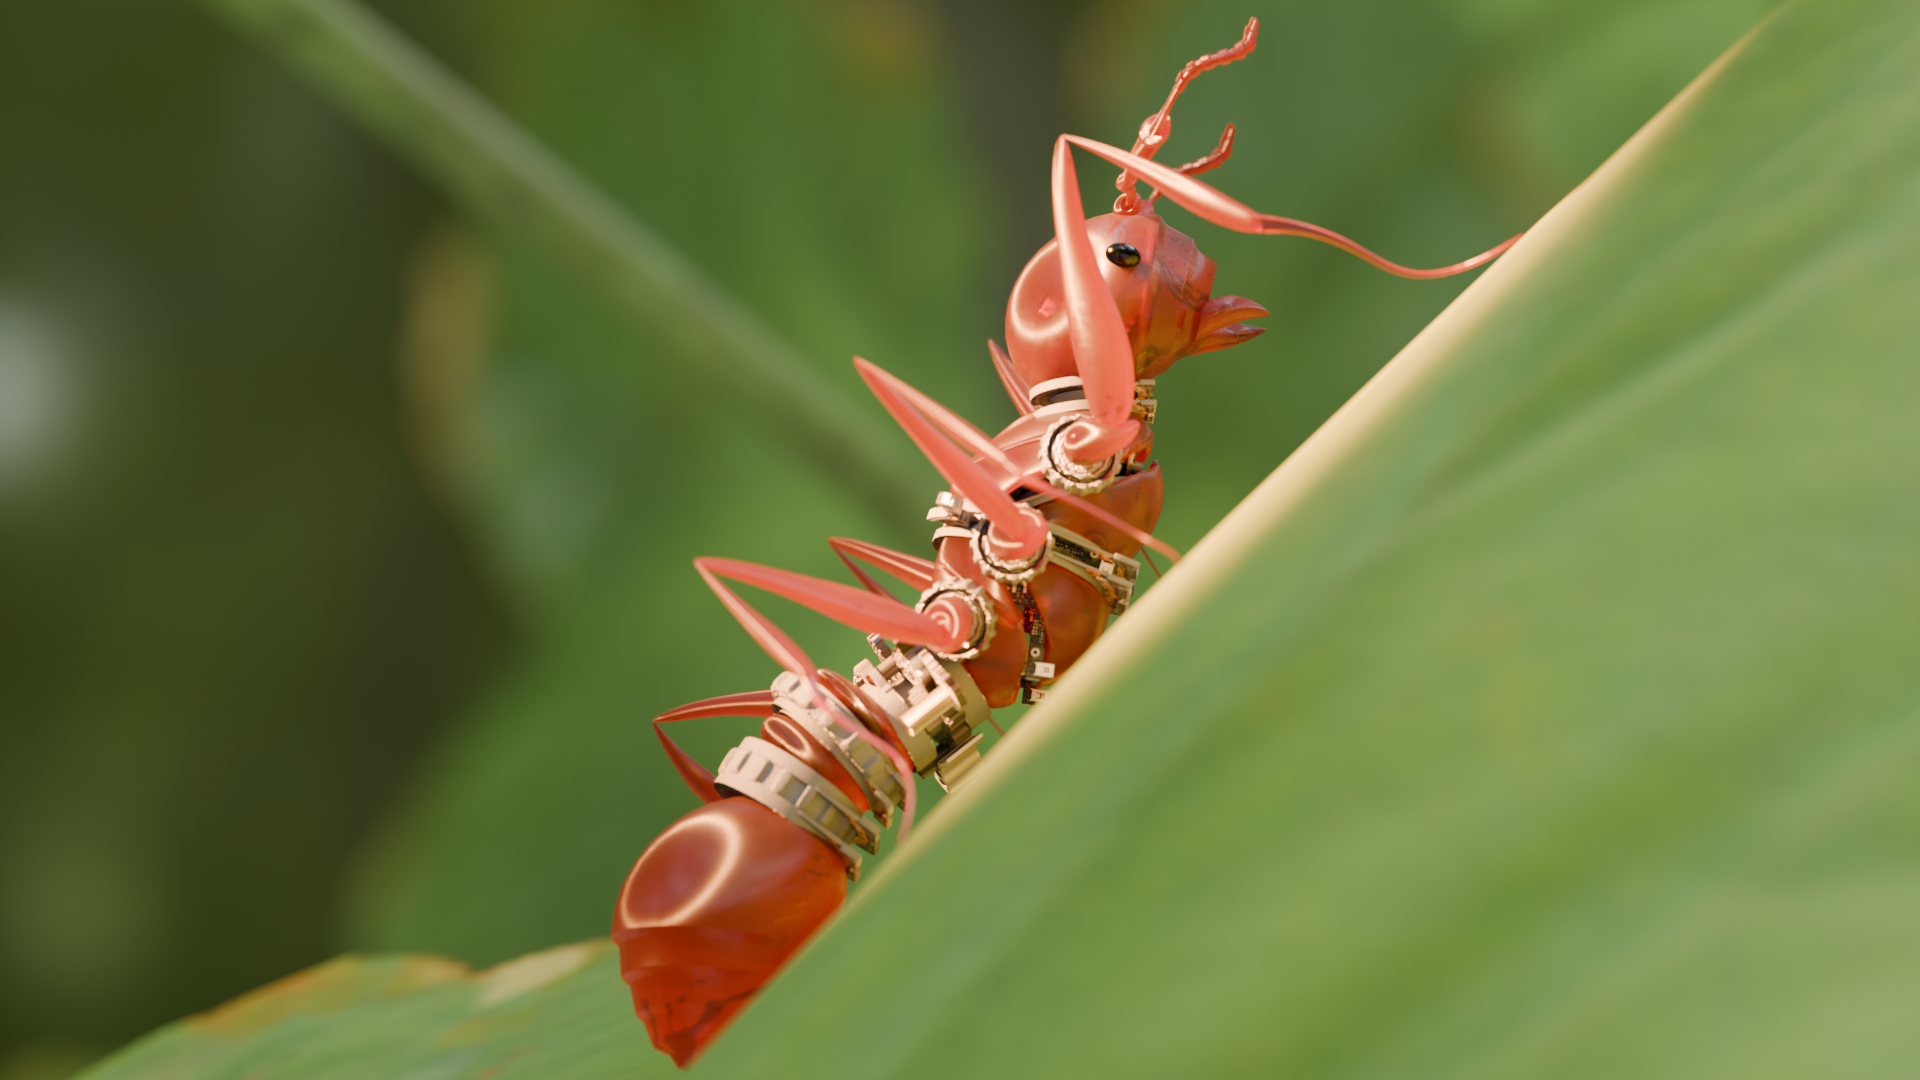
 April 29, 2025 at 9:25 pm in reply to: Translucent Material: How to better increase the translucency? (Cycles) #94737
Update 1: First Render
After setting the Transmission to 1.000 and directly shining an area light towards the ant, here is the first render result.
This was done with Full Global Illumination settings in the Light Paths.I wonder if I can get more of the effect with the Transmission? It seems a little too opaque to my liking, and would like to get closer to glass.
Would enabling the Subsurface Scattering help in the BSDF?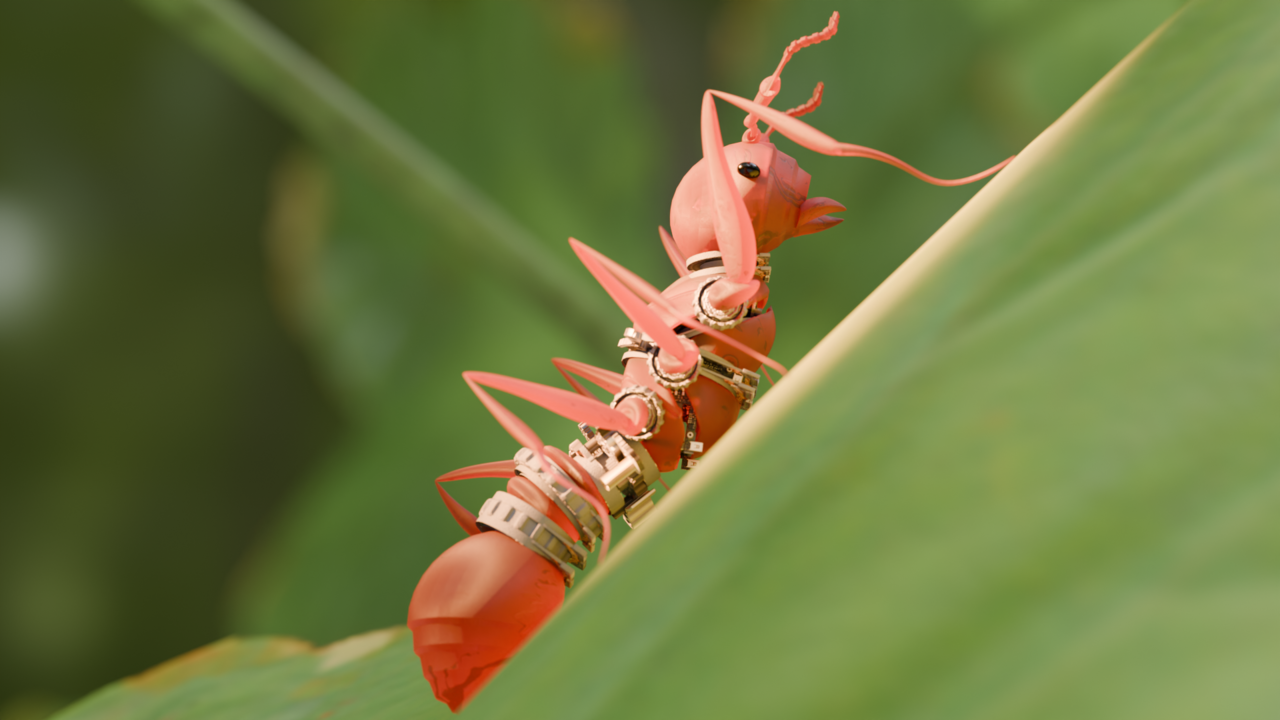
Also, remember to change the `Transform Pivot Point` back to `Median Point` or else you will face problems when doing the process of:
1. Shift + D
2. Right-click
3. S + Z + -1Was having problems flipping (mirroring) correctly because it was set to `Individual Origins`.
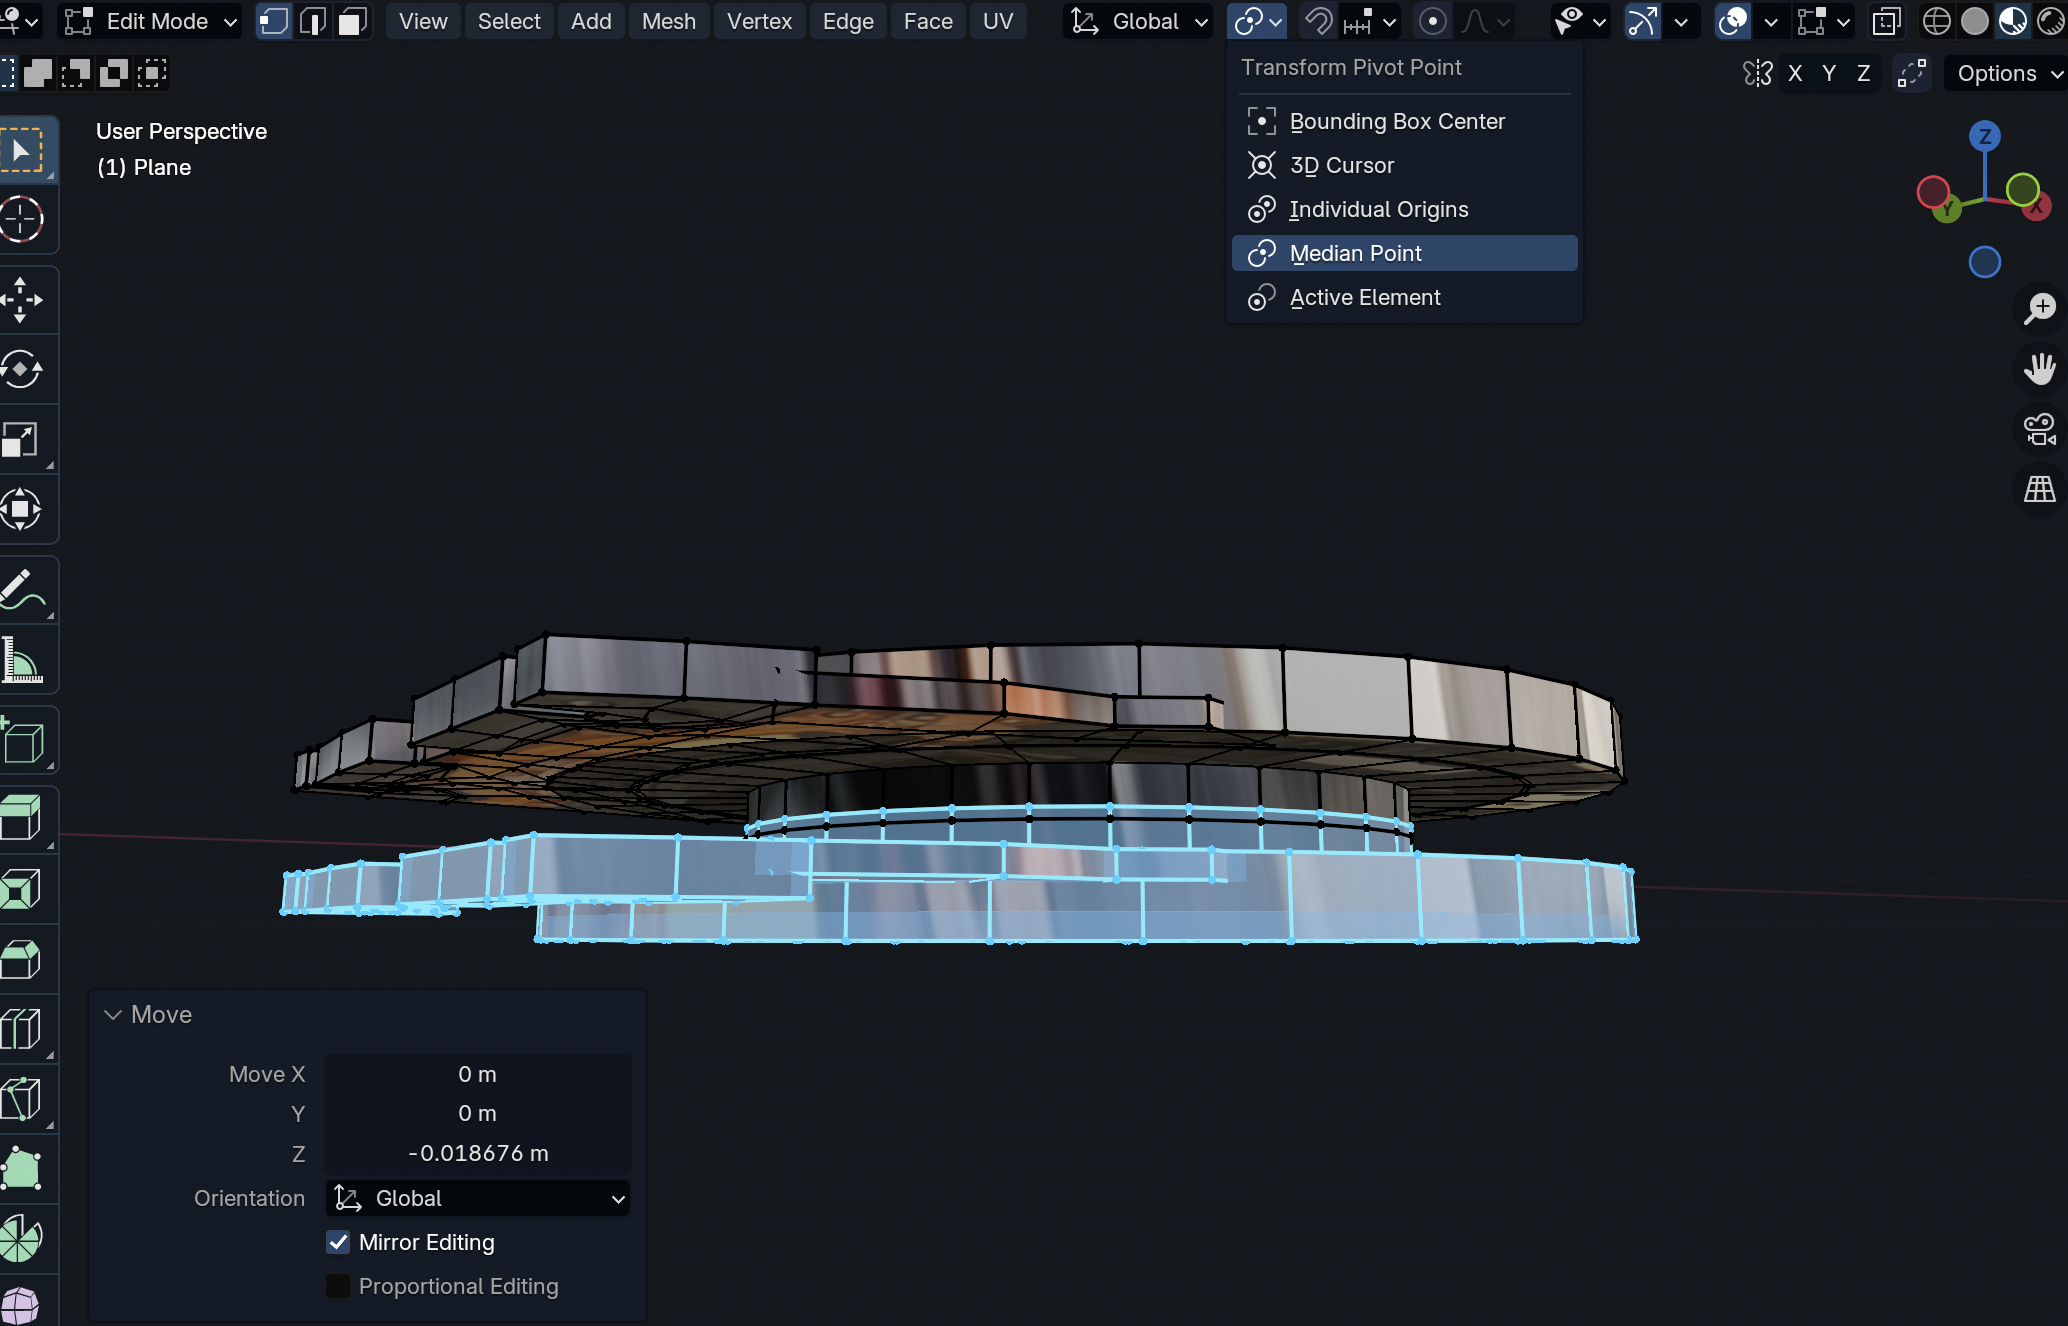
Just wanted to share my experience too! After following the tutorial exactly, (Shift + D & Scale -1), I did too have inverted normals.
Bevel worked after recalculating normals to outside! (Select all -> Alt + N -> Recalculate Outside)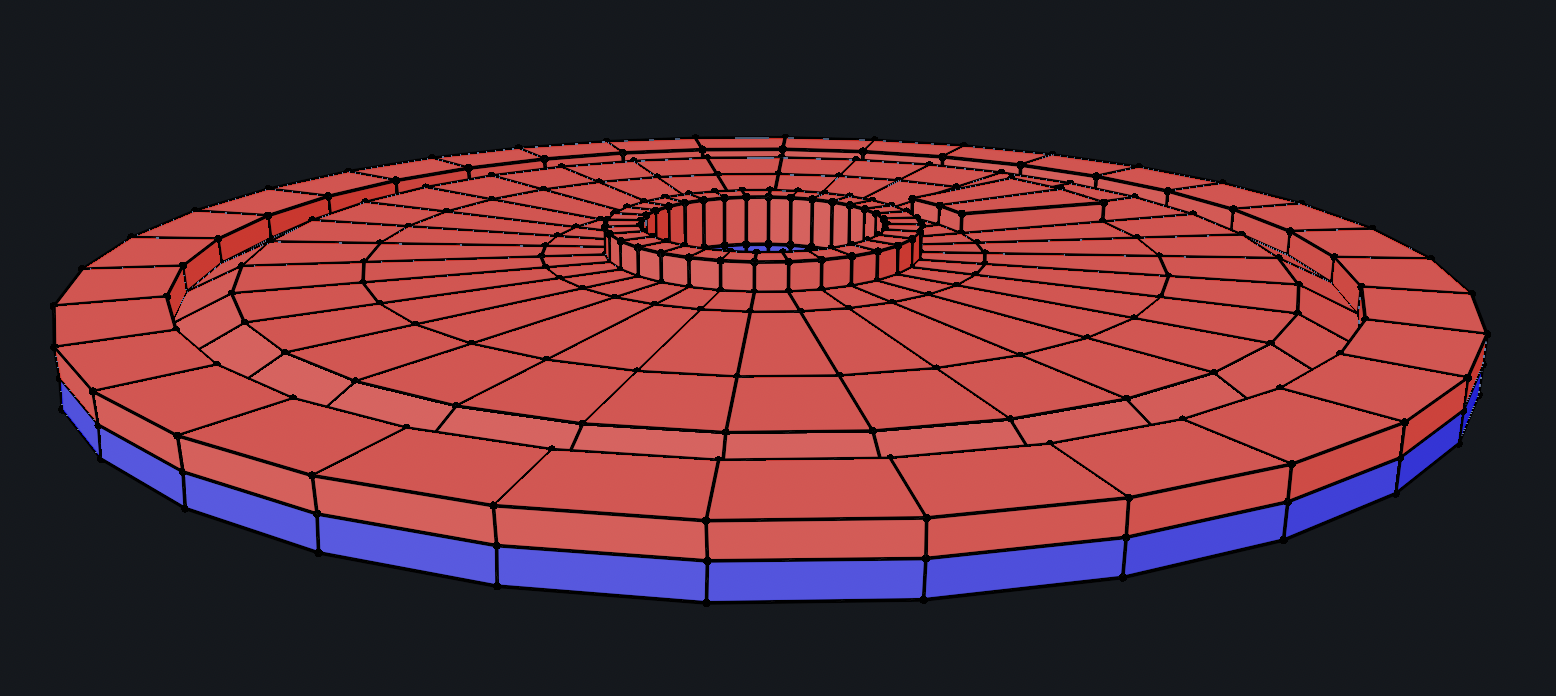
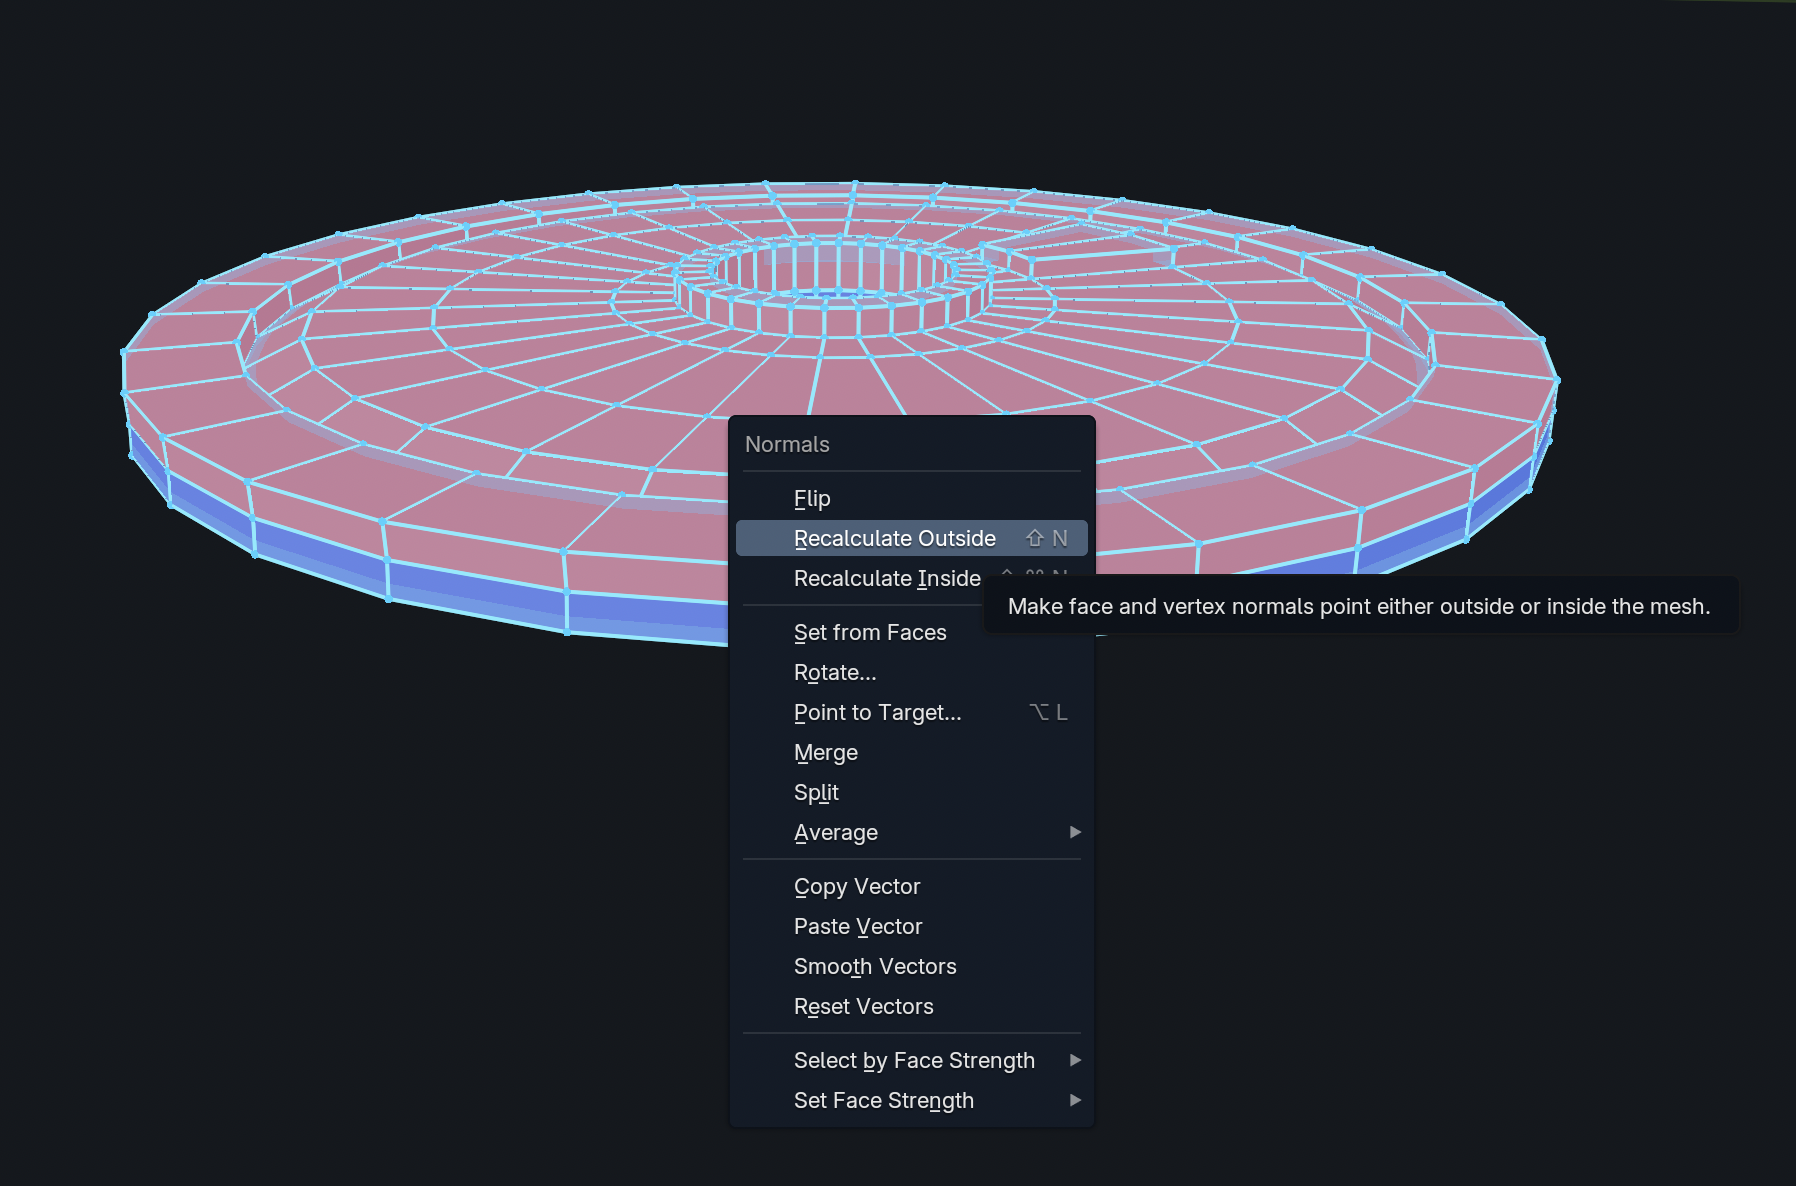
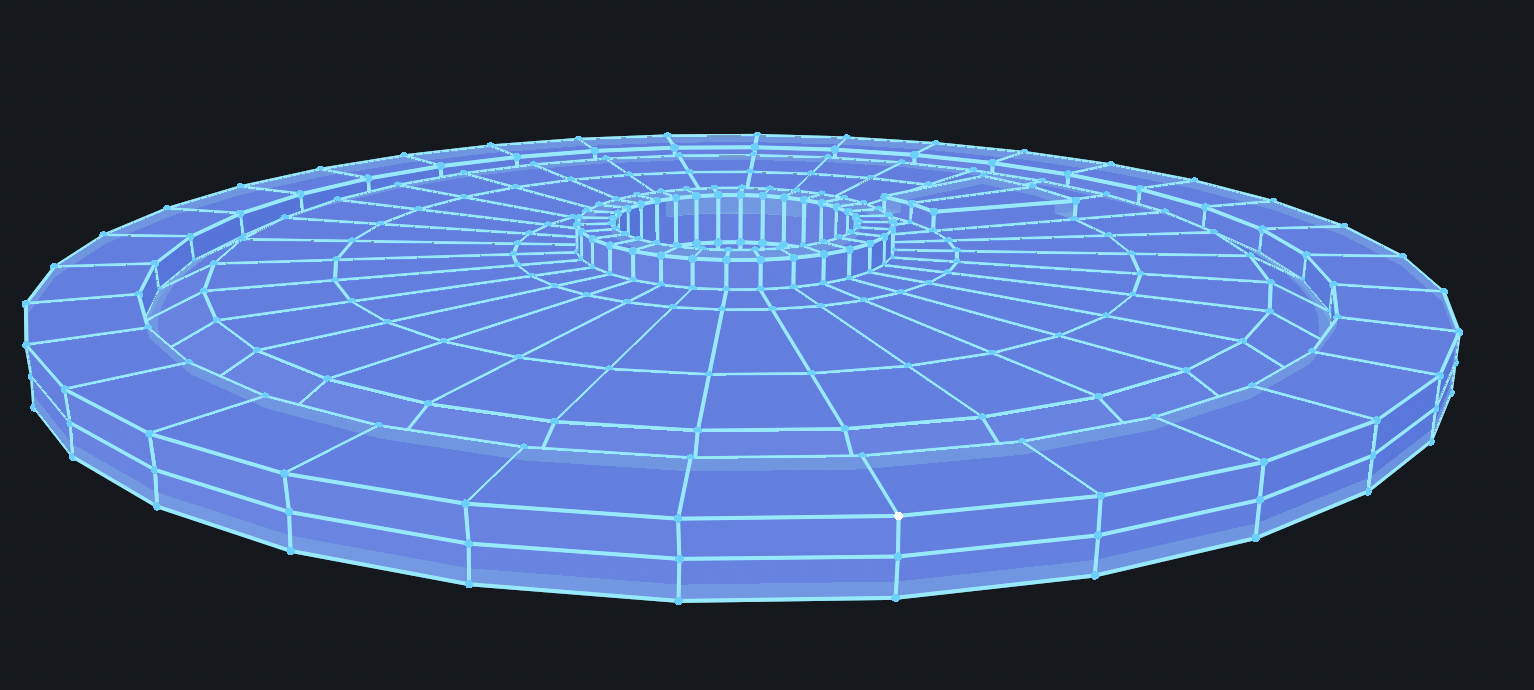
Henlow to anyone concerned! It seems like there is no color-code on the mug cup! Please see the overlay, material pane and the Material Preview!
(Unfortunately, I get Access Blocked when I try to upload a screenshot directly, so I have uploaded to Imgur.)
@jmac05 I too also had the same problem but checking `Ignore Sharpness` worked out for me in the end.
But I think I notice that they are not probably perfect circles, and I guess the shading is a bit weird.Oooo thanks for the tip! Ah must have been me, but selecting the face, duplicating and doing scale x -1 didn’t work for me so I did Caleb’s way. Hmm, seems like I have to do it for all of the faces though if I want the symmetry everywhere. (Luckily, we only have to do the places where the cameras sees teehee)
Ah just for reference for anyone who does come across this thread, here are the things that I did.
—
■ Blender Version

  - 4.2

■ Changelogs

    - Alpha Blend = Render Method "Dithered" to "Blended"

    - Sun Blend Gradation Values = 0.3, 0.1, 0.03, 0.01, 0.003, 0.001, 0.0003, 0.0001, 0.00003, 0.00001

    - Bloom = Checkmark settings gone, need to use GLARE(BLOOM) in COMPOSITING

- See <https://www.youtube.com/watch?v=M_OlXyyMIW0&t=124s>Hi @Omar Domenech, @dillenbata3 & @SFE-Viz!
With the combination of your solutions, I was able to solve the problem!
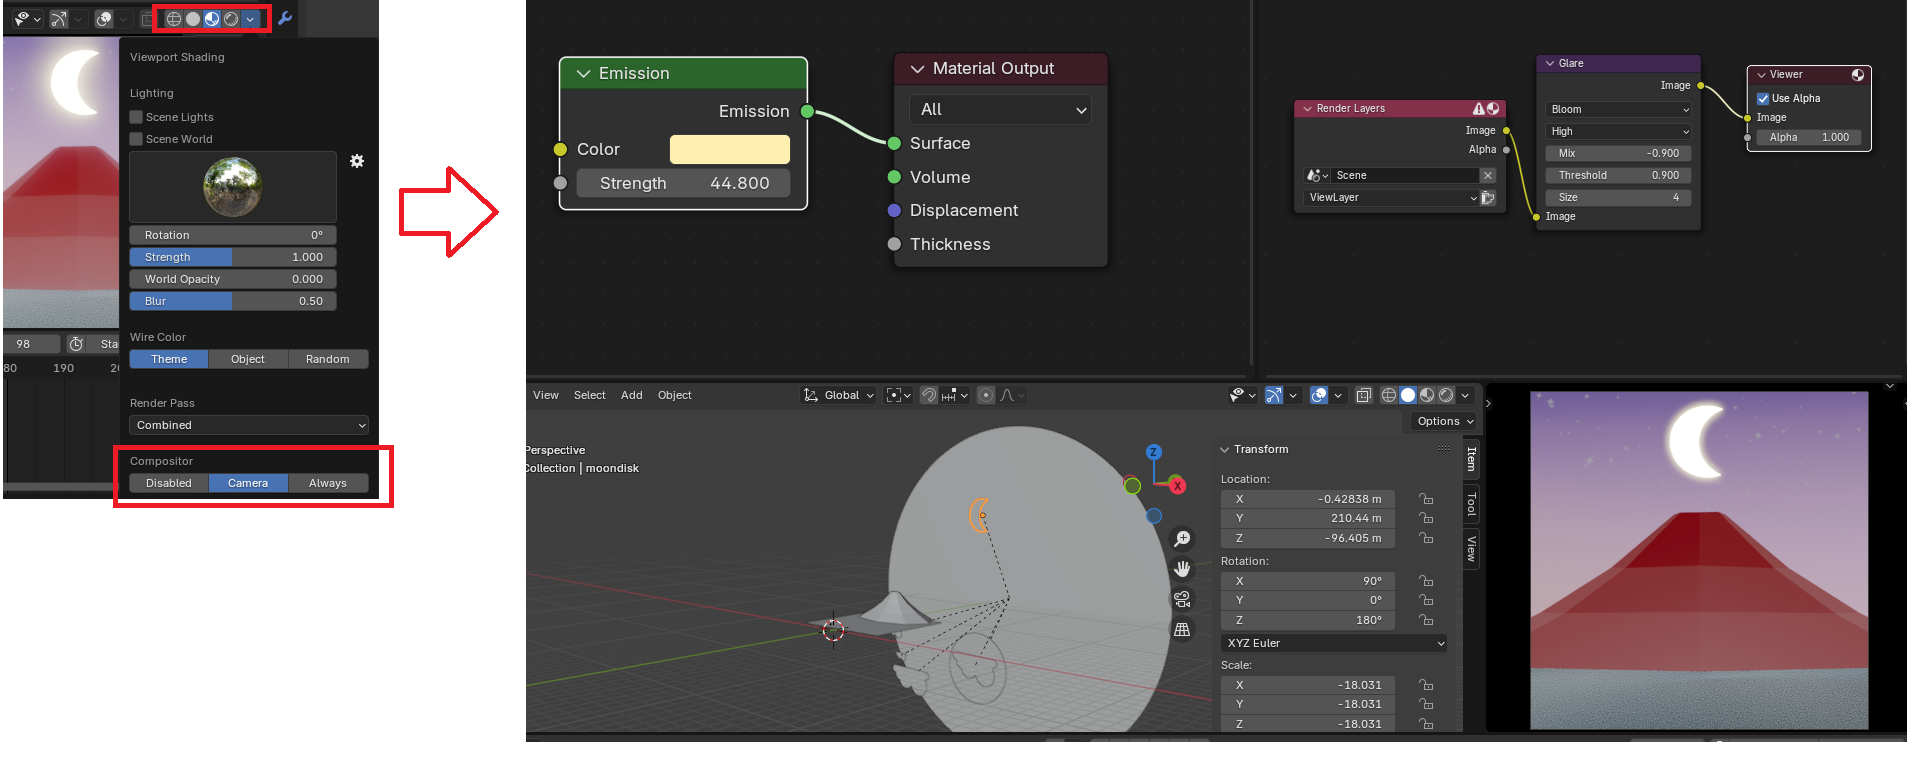
1. Threshold was too high, so I reduced it greatly.
2. Cranked up the emissions more.
3. Set compositor to “Camera”Seems with Blender 4.2, the settings to change Viewport Compositor has changed.
Please see screenshot for final settings and result!Thank you for the awesome helps!

Final Settings and Results!
■ Additional Info
Here are the shader nodes used during the tutorial for bloom!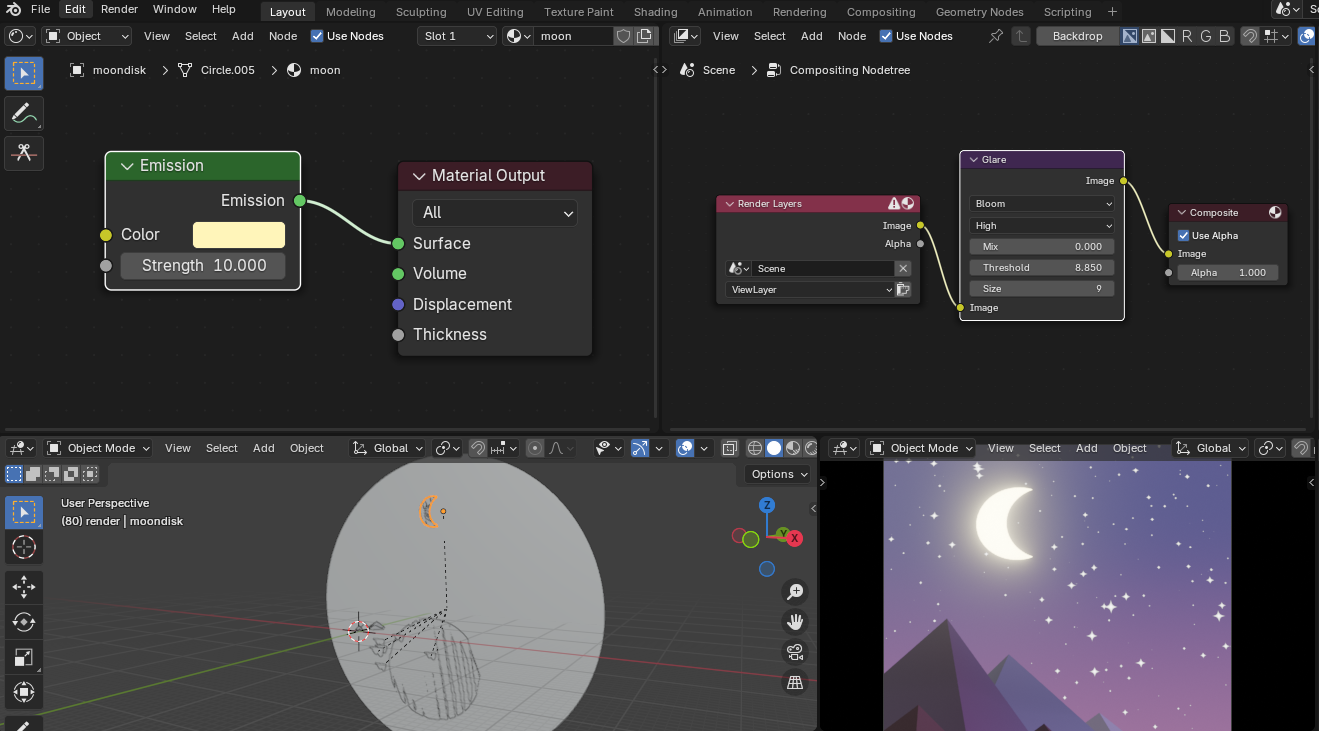
Wow loving them water reflections and suds from washed-up waves!
Thank you very much for your helpful replies! I realized:
1. I did not have a face (hence it was just a circle)
2. Clip end of the camera was set too shortBy applying the solutions above, I was able to resolve my problem! Thank you!
-
AuthorPosts
