
Kerri 3D

Forum Replies Created
-
AuthorPosts
-
Hi Martin @spikeyxxx –
I actually wanted to know if I could resize the spheres pre-render, but when I finished the project it turns out it didn’t matter much, lol. I was able to get the [final] particles the way I wanted them, which are in the new pic below.
But thank you SO much for the screenshot and for responding so quickly (as you always do 🙂). You’re awesome.
Cheers-
Kerri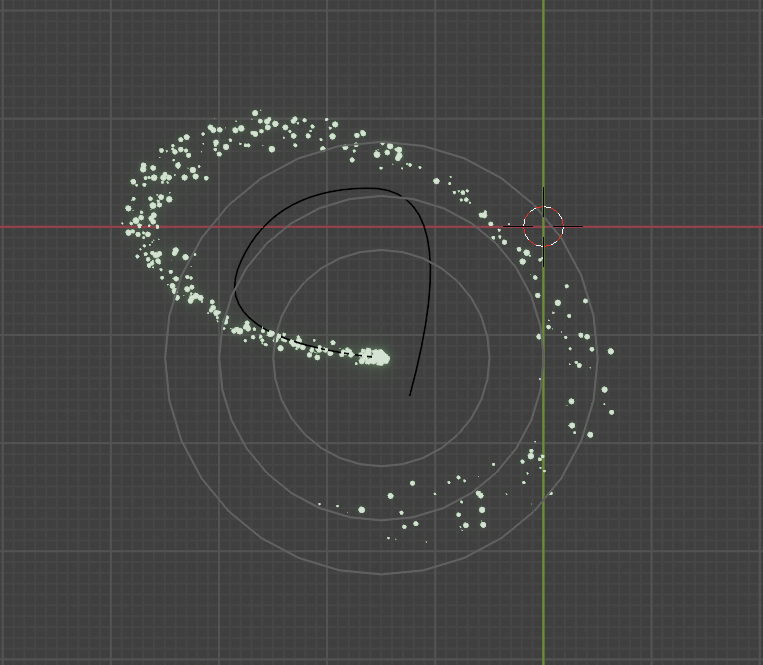
Haha! Well, since you held out, now you have two completely different ways to approach it. You can ether do the single spinning donut (3.0), or his latest 4.0 version of eight donuts, complete with round and long sprinkles on a plate in a kitchen 😎, lol.
I’m familiar with the tilde key but haven’t really used it much so far (for no reason other than initial preference, I guess). I didn’t realize it may make my life easer with some of the tutorials I’m following. I’m going to keep your notes handy and see if I can navigate some of my future ones a little easier until I get my replacement mouse/num pad.
My first Blender project (like a lot of us beginners) was the donut from Andrew Price. I watched his new 4.0 donut tutorial recently and he actually uses the walk/fly mode and some of the other options you noted above, so I will definitely give it a go. I’ll let you know how it goes.
I realize it took a lot of your time to type this all out, and I can’t tell you how much I appreciate it. Also, I don’t mind the option overload because I’m like a sponge right now. Better for me to learn different ways to approach this stuff now, before I get “set in my ways” like we all tend to do.
Thank you so much for your willingness to help me once again 😁
Dwayne @dillenbata3
Oh wow, “….top left corner of viewport the text says front,” is not something I noticed in this tutorial! Usually I see all of that stuff because, (not afraid to admit), that I’ve slowed the speed of some of these videos down their very lowest setting, lol.
I will definitely watch for that going forward. You (and the others I named in my “Press Start” upload) have been such an amazing help – even with my very novice questions. And no, none of this is a waste for me. I’m learning so much from the tutorials and especially the comments/feedback/responses.
Thank you (again) for taking the time to comment 🙏🏻
Omar @dostovel
Gizmo is eye candy, lol. It is pretty cool looking.
Sooooo… (I don’t even like typing this, but here goes): I’m only using the trackpad on my Mac right now… *cringe*… I know. I bought a sleek mouse/numpad specifically for Blender projects before I even downloaded it for the first time, but they’re not compatible with my machine for some reason. I know we can change the settings to emulate the numpad and change up the mouse settings, but (at least for me) the comparable navigations don’t always work. Since I’m becoming hooked on these projects, I’m definitely going to buy new ones 👍🏻
Adrian @adrian
I appreciate that you posted such a detailed response. I was definitely mostly “concerned” (for lack of a better word) about the position of the camera and light being the opposite of his because I’ve quickly realized that those are two things I struggle with the most in Blender; lighting especially (definitely need to take more courses on that!). I could have done a better job of clarifying my question, but luckily, you picked up on it immediately and included camera/lighting in your comment. That was mostly what I was questioning. Thank you (again) for your help!
Hi Dwayne @dillenbata3
We meet again 🙂
Interesting… where does he hit numpad 1? Because, even at 2:55 his view is still opposite of mine. I realize this is just a nit in the overall Blender world, but I just want to be sure this doesn’t mess anything up for me when I’m much deeper into the course. Thank you!Jonathan @jlampel
I can definitely see where all of you are coming from when you say you understand the updates. And I’m certain that once I move from novice to advanced beginner, I’ll appreciate them more 🙂
And, I have to say that the Blender community has been one of the most helpful and nicest groups I’ve ever come across. Even in the YouTube video tutorials, people so are willing to help, even on something small like this. I definitely would have given up by now if if weren’t for the great tutorials coupled with the awesome community.
The Game Boy has been just the right amount of fun and challenging for me. I’m also about halfway through Chapter 1 of your Pothead tutorial – I love it!
Omar @dostovel
I try not to complain since this is all open-source, but I agree. That’s exactly what I was trying to say in my earlier posts. Perhaps the small tweaks don’t affect people who are more seasoned, but some of the small stuff can seem big when you’re first starting out.
Dwayne @dillenbata3
I can’t tell you how much I appreciate you doing all this research, and the screenshots are super helpful! I’m going to finish this tonight so that I don’t have to worry about Auto Shade for this project anymore, lol. Although, I have to say that I love working with geometry nodes. First got exposed to them from Andrew/blenderguru; now I’m one of the millions who has a spinning donut out there. And I created a snowflake (from a tutorial) using only geometry nodes – was pretty crazy. Anyway, thank you again for all your help.
Adrian Bellworthy @adrian
Yes, I’m finishing this in 4.0.2. I was just pointing out that my original question resolved itself from .1 to .2. Also, thank you for the screenshot showing that Auto Smooth is also available from the RMB context menu! I never would have found it there (at least not until I’m more familiar with Blender). I appreciate you taking the time to respond 🙂
Hey Dwayne @dillenbata3
(I refer to 4.1 in my original post; I should have said 4.0.1.).
Anyway, I downloaded Blender version 4.0.2 this afternoon and Auto Smooth is available again under Normals in the Data Objects Properties. Maybe the Blender folks had enough feedback about it and fixed it…? No idea, but the question I posted last evening seems to be a non-issue now with the latest version.
I know software updates all the time, but it has been a bit challenging to keep up with Blender’s when someone like me relies on tutorials to learn.
Let me know if you find Auto Smooth anywhere else; I’m curious to know. Thanks for responding.
I’m sure there are logical reasons for everything they do. I still feel that making small changes like that can hinder the learning curve a bit for newbies like me. I still love using Blender, but it definitely slowed me down last night trying to finish this tutorial. Oh well. Definitely not the end of the world 🙂
Hi Omar @dostovel
Completely agree. Especially for people like me who are fairly new to Blender and don’t yet know enough about it to troubleshoot things on our own… or find the same tools in different places. I spent more time researching where Auto Smooth had been moved to than I did on most of the videos in this tutorial, lol. Thank you for responding.
Hi Martin @spikeyxxx-
I named it 4.0+ on purpose. I don’t know when the Auto Smooth change took effect; I assumed it was with 4.0 (not just at 4.1), so that’s why. If it did just get rolled out with 4.1, I will definitely change the title to avoid confusion for others 🙂
Also, thank you so much for pointing out where it is in the menu! I probably should have dug a little deeper before posting my question, but I appreciate you taking the time to answer.
-
AuthorPosts
