
Michael Artsymovych

Forum Replies Created
-
AuthorPosts
-
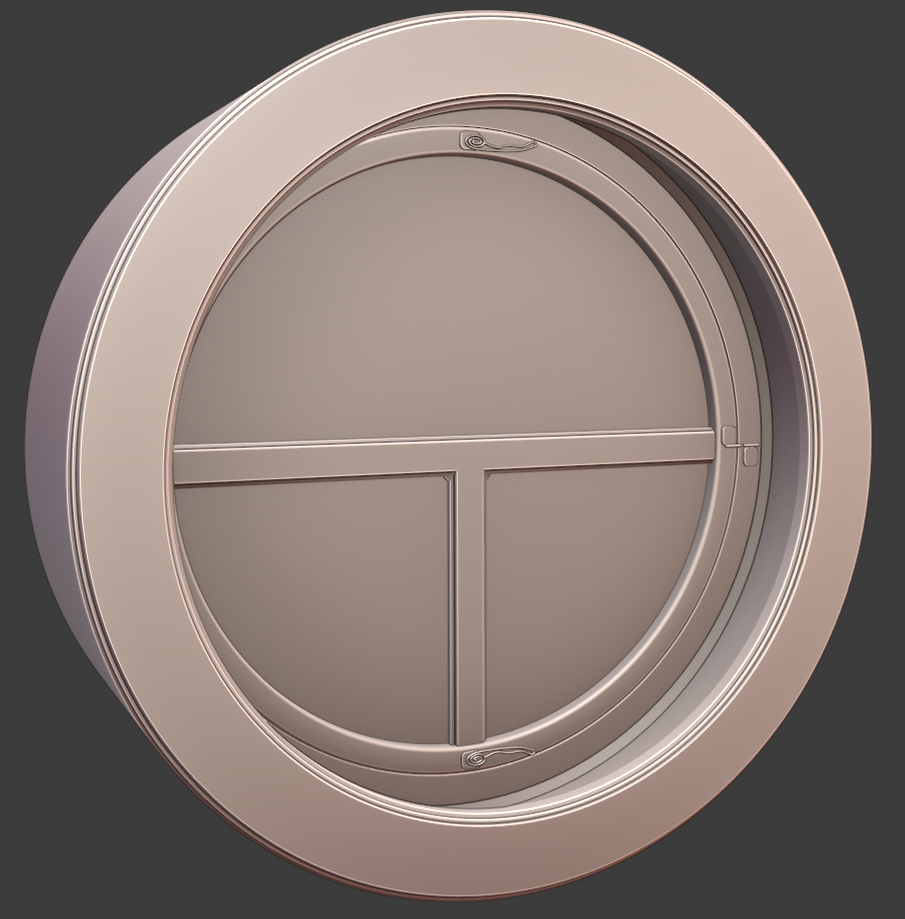
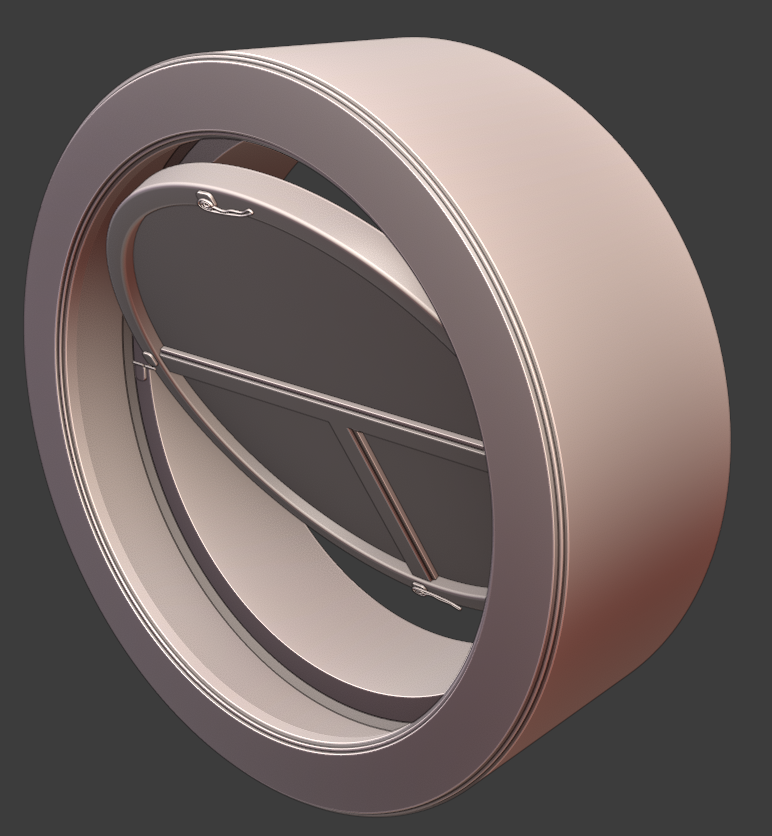
@theluthier , I think that the asset is finished, for the most part. I will definitely need to work on my textures in the future, might spend some time on it in the near days, but would appreciate any feedback on the current state.
I’ve put the main object into the Master file, with the shader, and all texture maps are synced to google drive.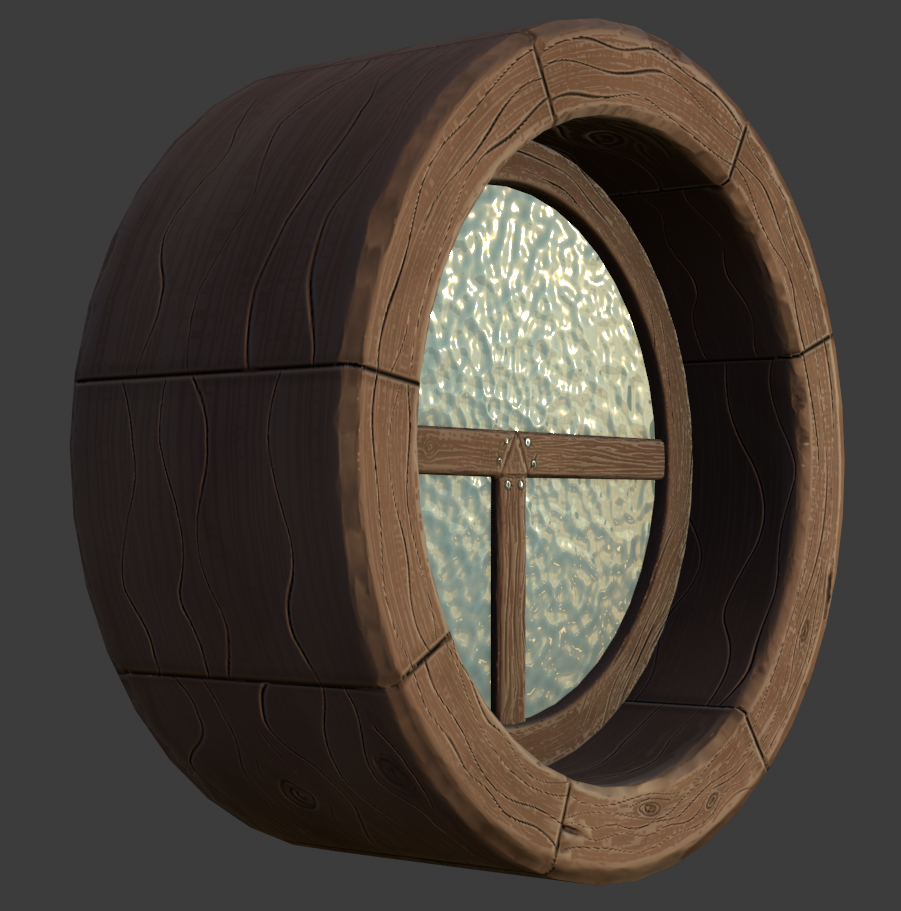
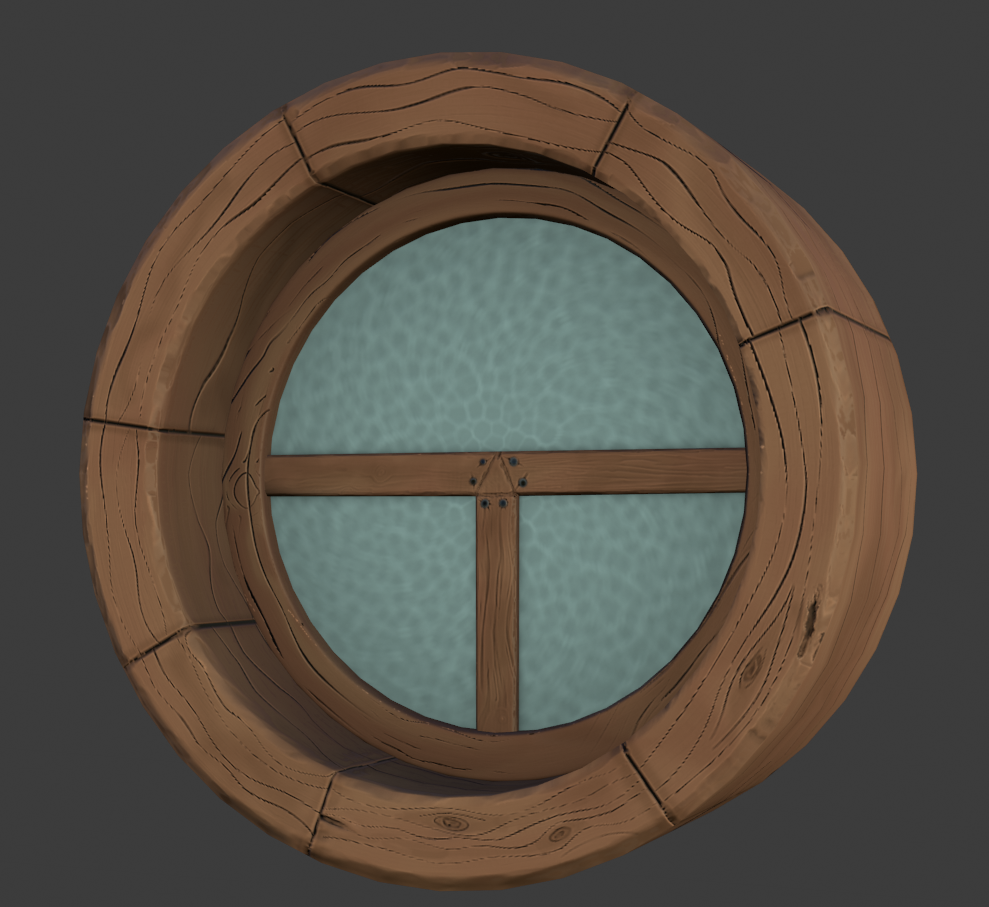
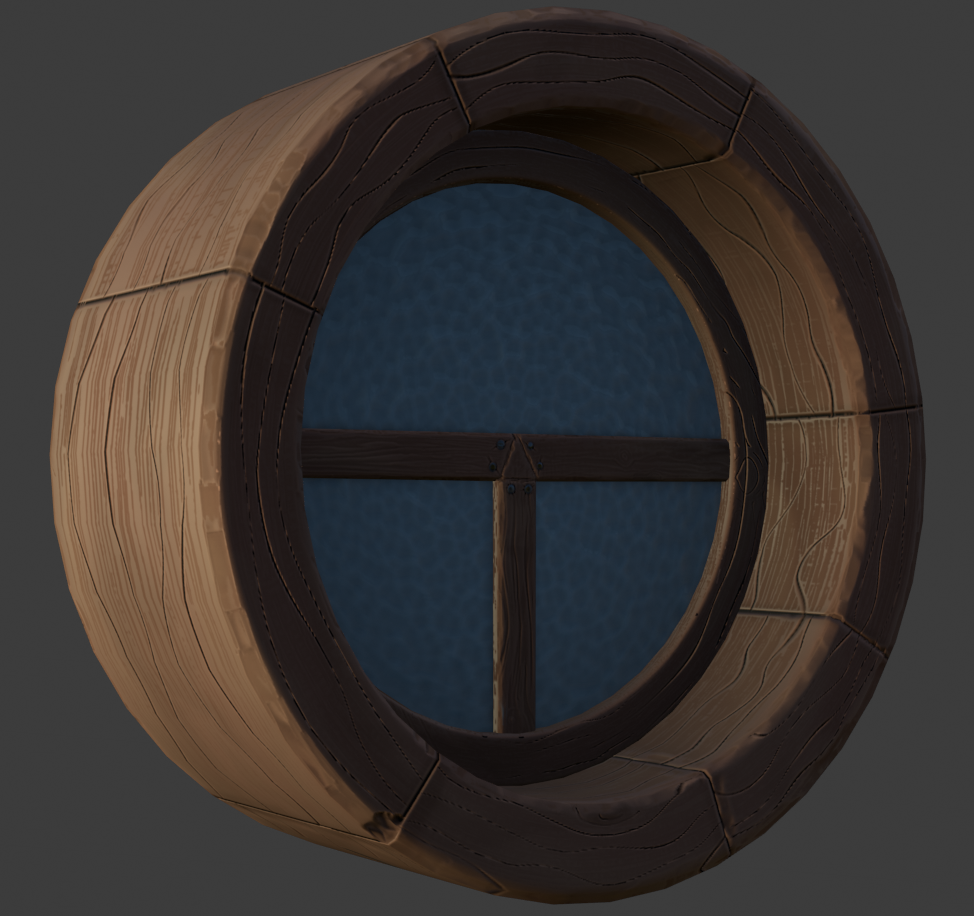
@theluthier , thanks for the advice, will fix the outer rim
Thanks for the reminder @theluthier.
I missed the deadline, normals gave me a huge headache, never before I had struggled with something for so long time and I finished only yesterday right before your stream.
I’ve begun texturing process only today and still looking through some tutorials on “how to texture”.
At the moment, the model looks like this.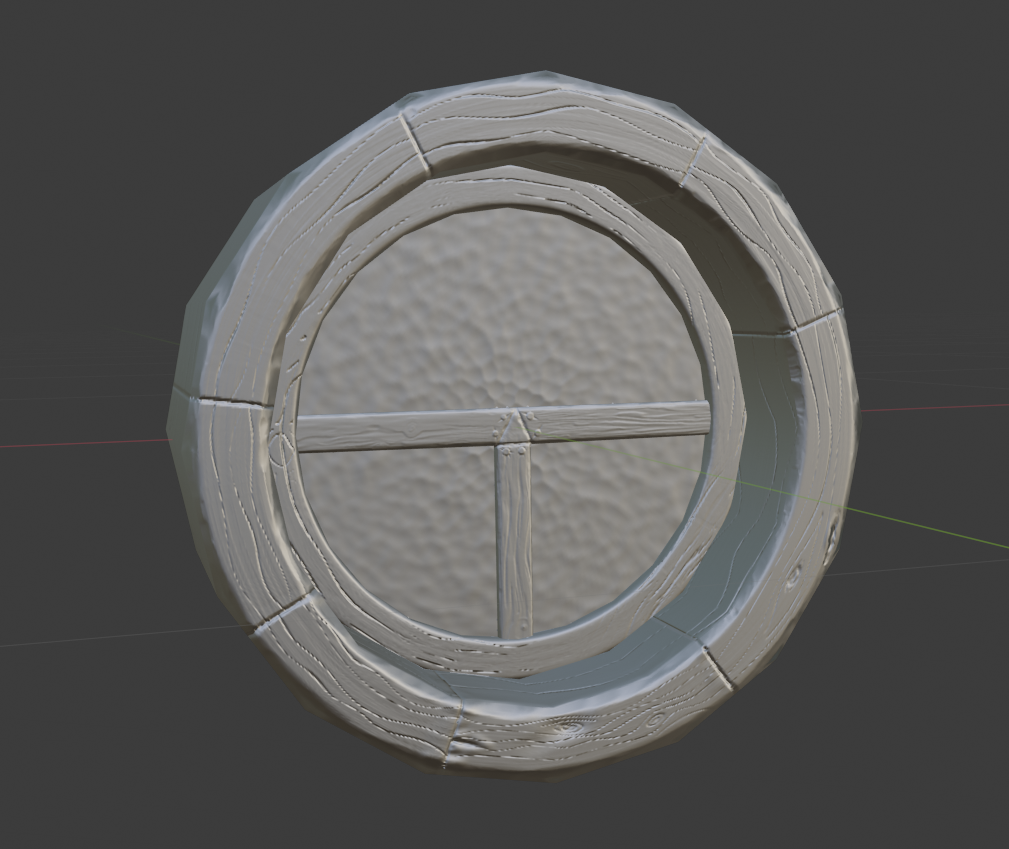
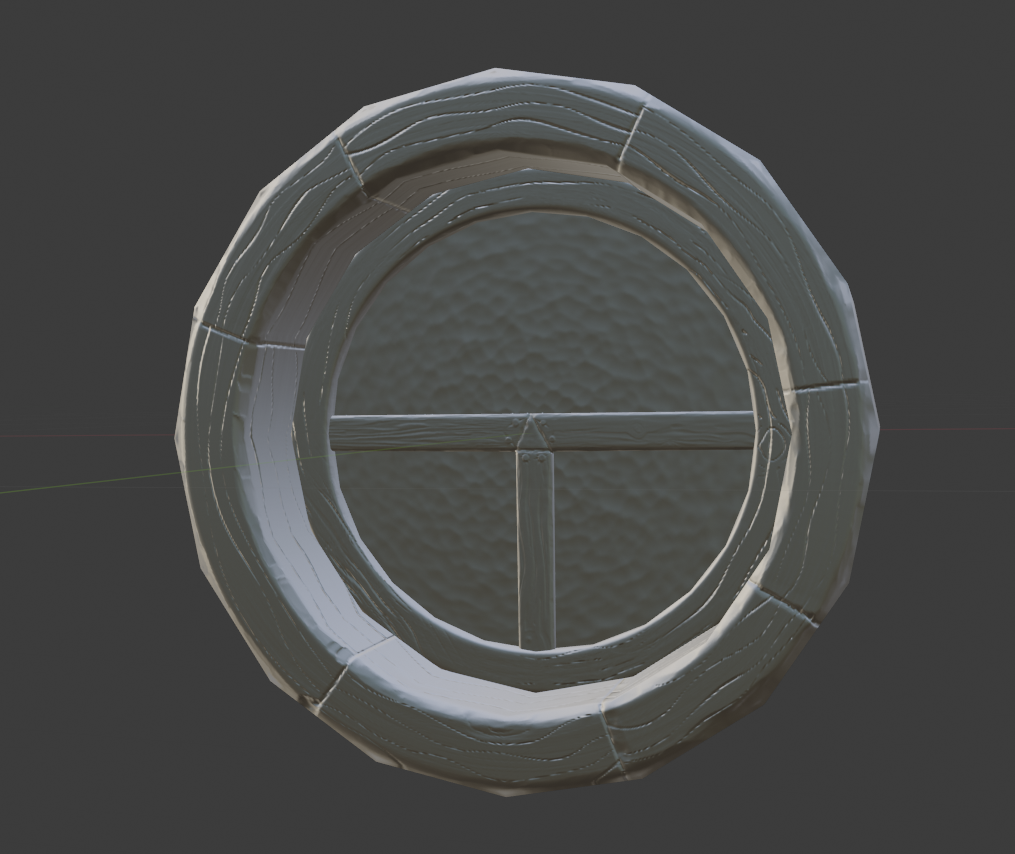
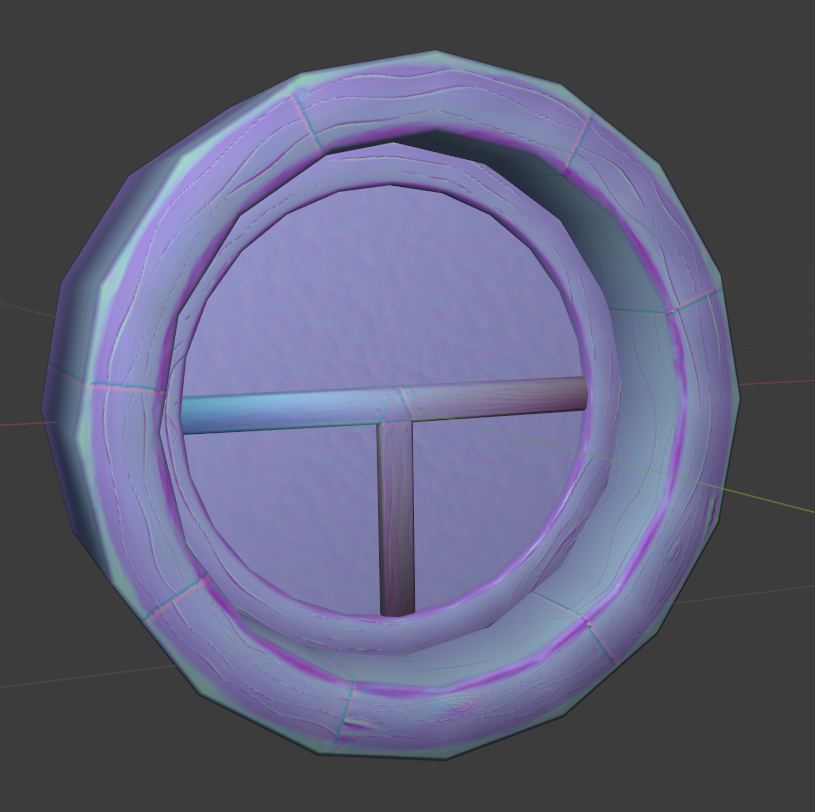
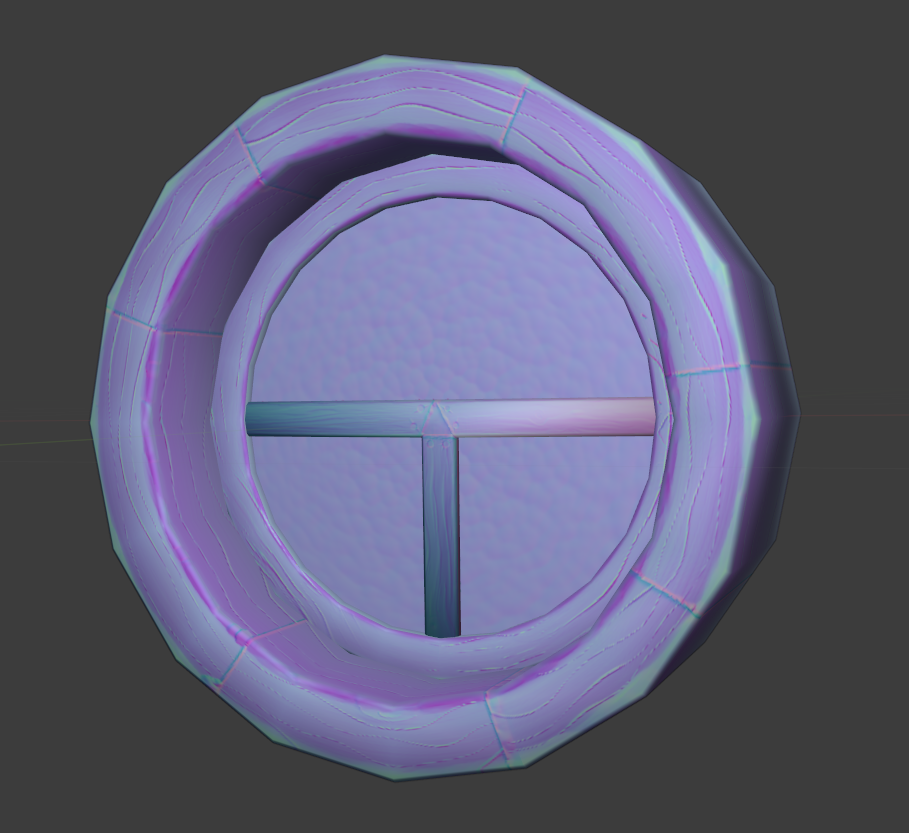 And my normal map is1024x1024, yellow zones are intersecting parts of the inner rim, that are not visible. I am not quite sure if I must fix those, would appritiate any thoughts.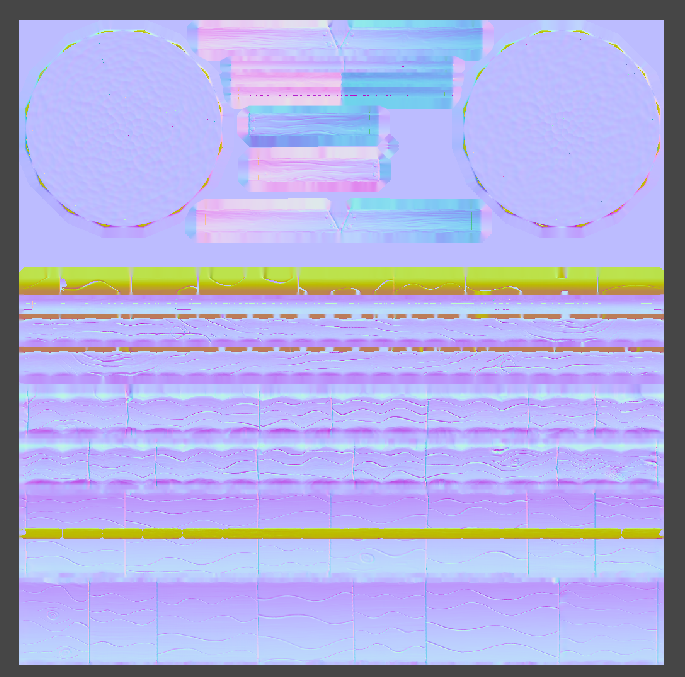
@theluthier thanks for the feedback!
@blanchsb I used a plane, added thickness, added some edge-loops to make faces more square-like, and used a curve modifier. After that – yeap, multires.
A small update – today I might finish the outer rim of the window, and I synced it to a WIP file.
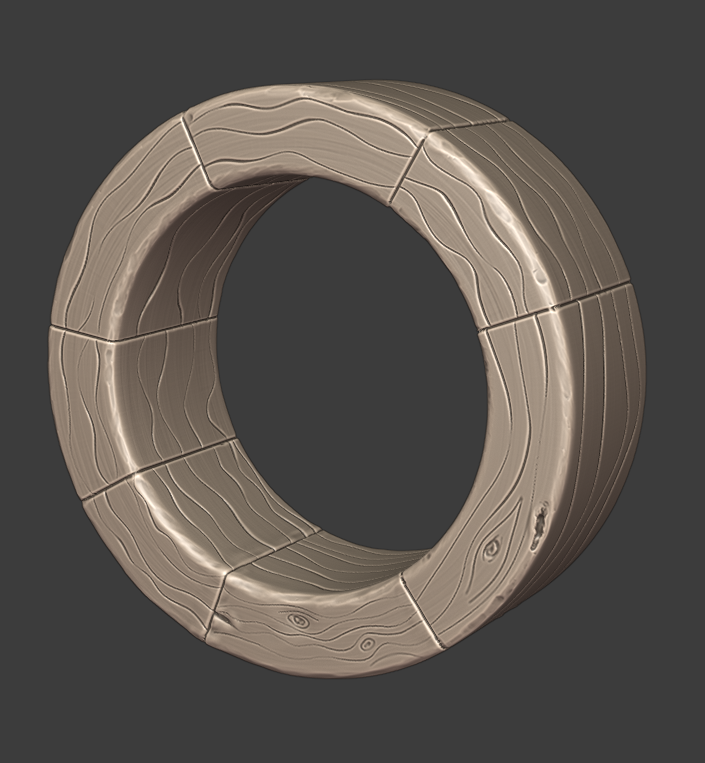
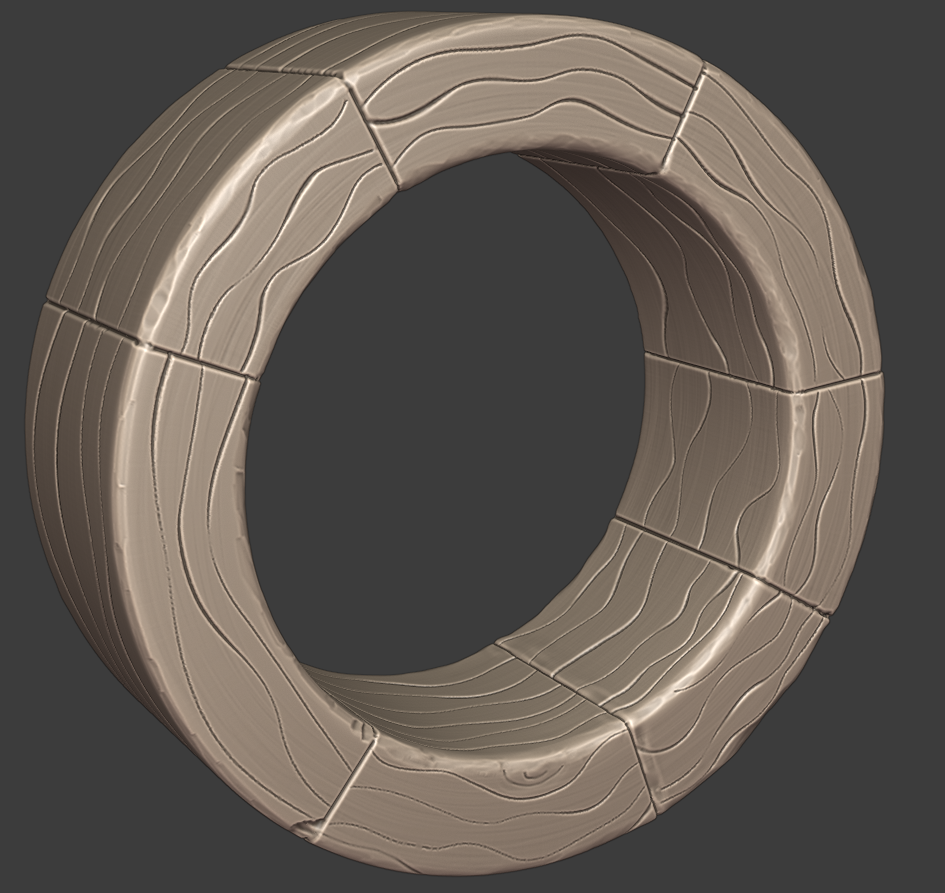
I also want to share my “failed and scrapped attempts”.
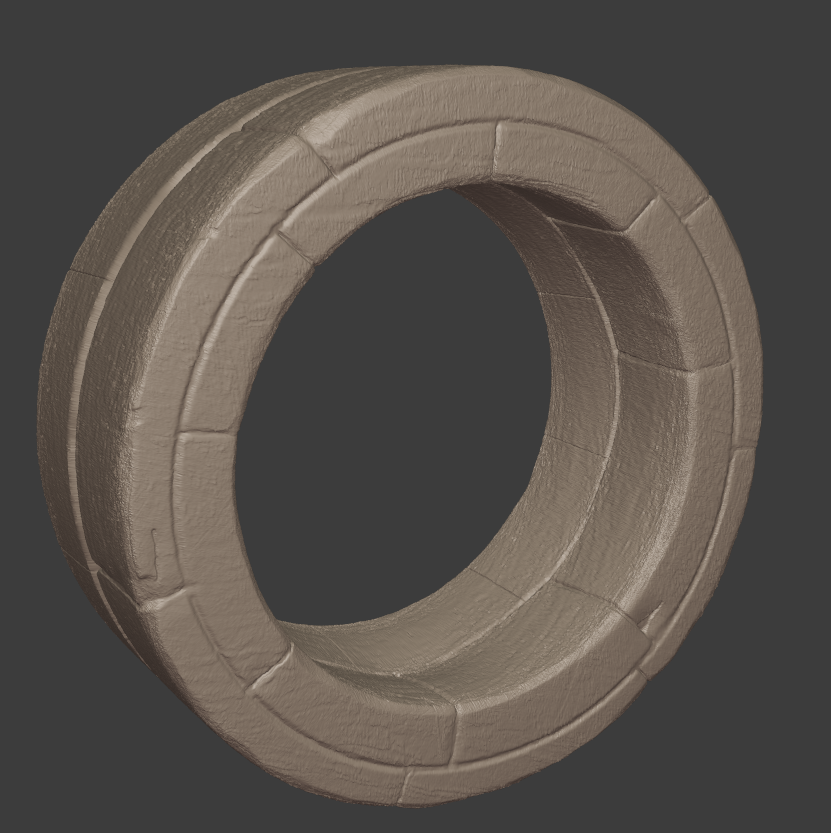
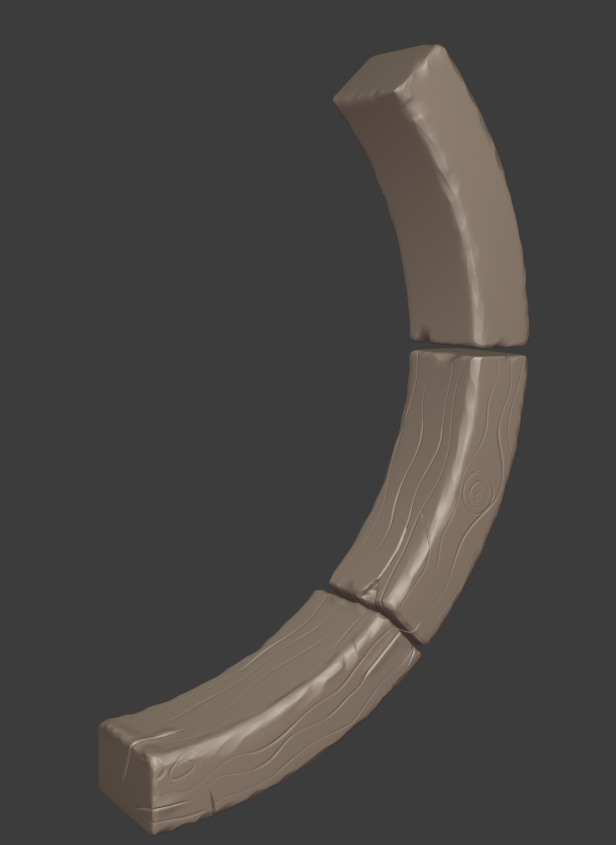
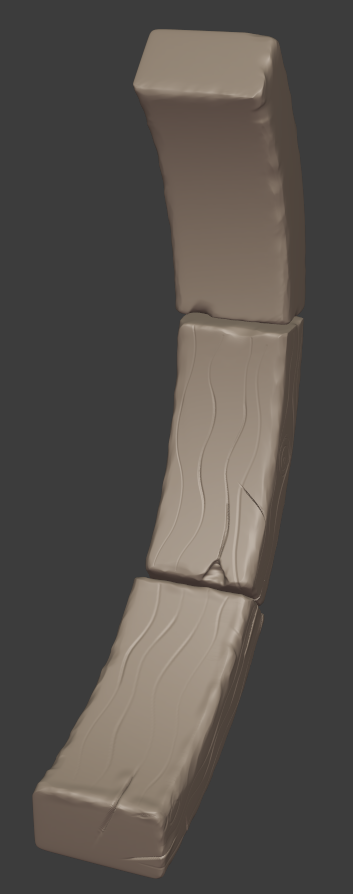
Week 2 of the collab started for me on Saturday, 17th 🙂
I’ve spent the first and a half-hour watching a course “Fundamentals of digital sculpting” and most of the rest of the time fighting with Blender’s sculpting mode and in the end I hope I found something that is “getting there”.
But I started to enjoy sculpting and it became oddly satisfying, even though I still rage over it sometimes because it doesn’t work or breaks “just at the right moment”.@theluthier these are my results so far. I did not manage to finish my sculpt in time, but I will have more time available this week so will catch up with the schedule.
I am highly grateful for all the feedback.A special thank you goes to @blanchsb for his tip. I used another method (curve modifier), but you gave me an idea that I didn’t think of.
And thanks to @phoenix4690 for the fun company during work!Any additional feedback from anyone is highly appreciated!
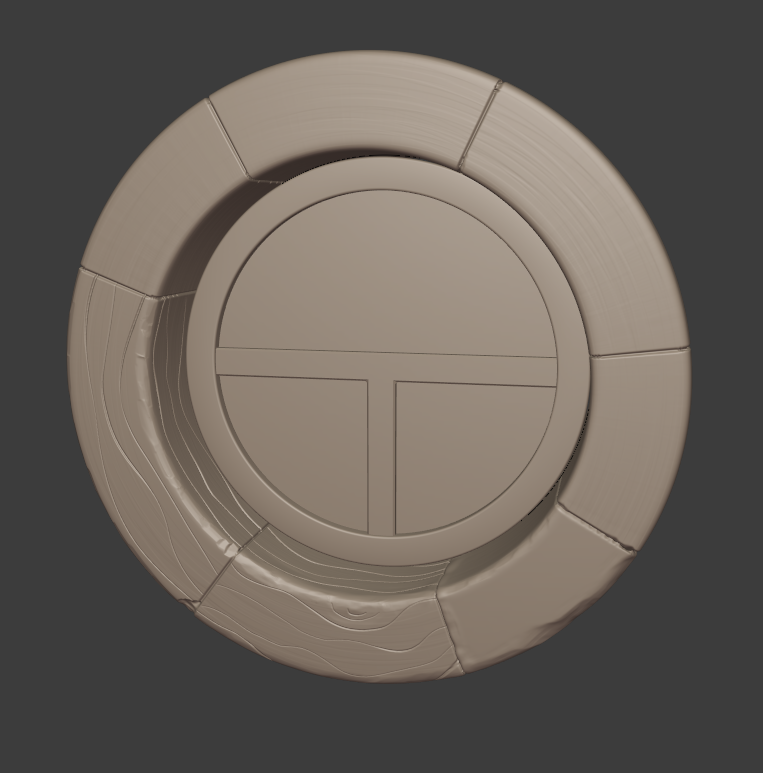
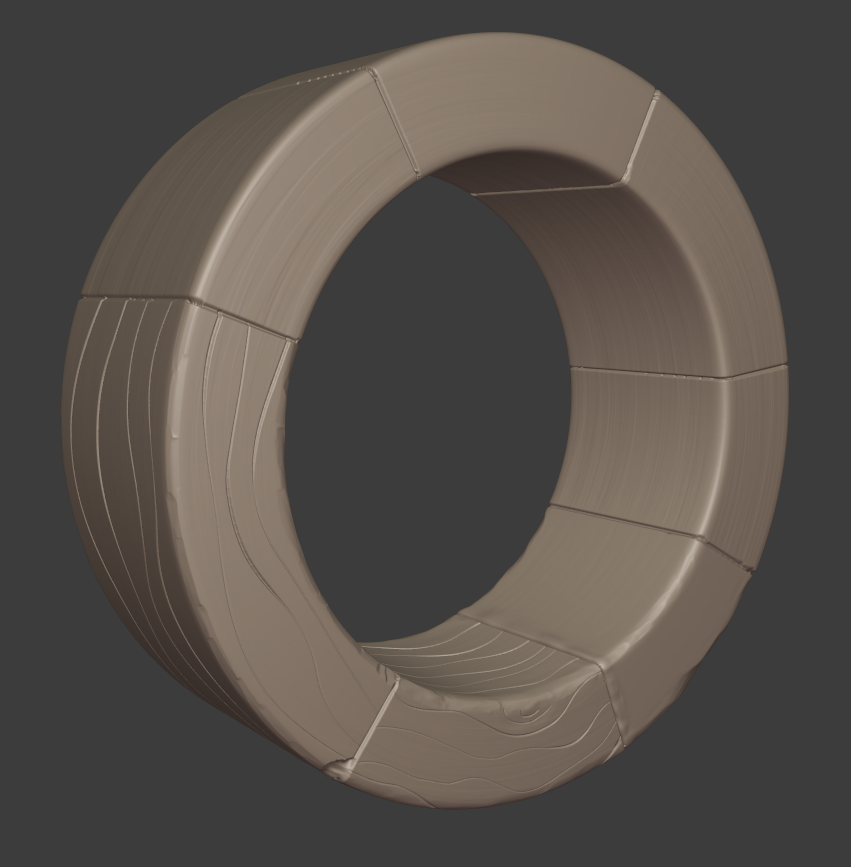
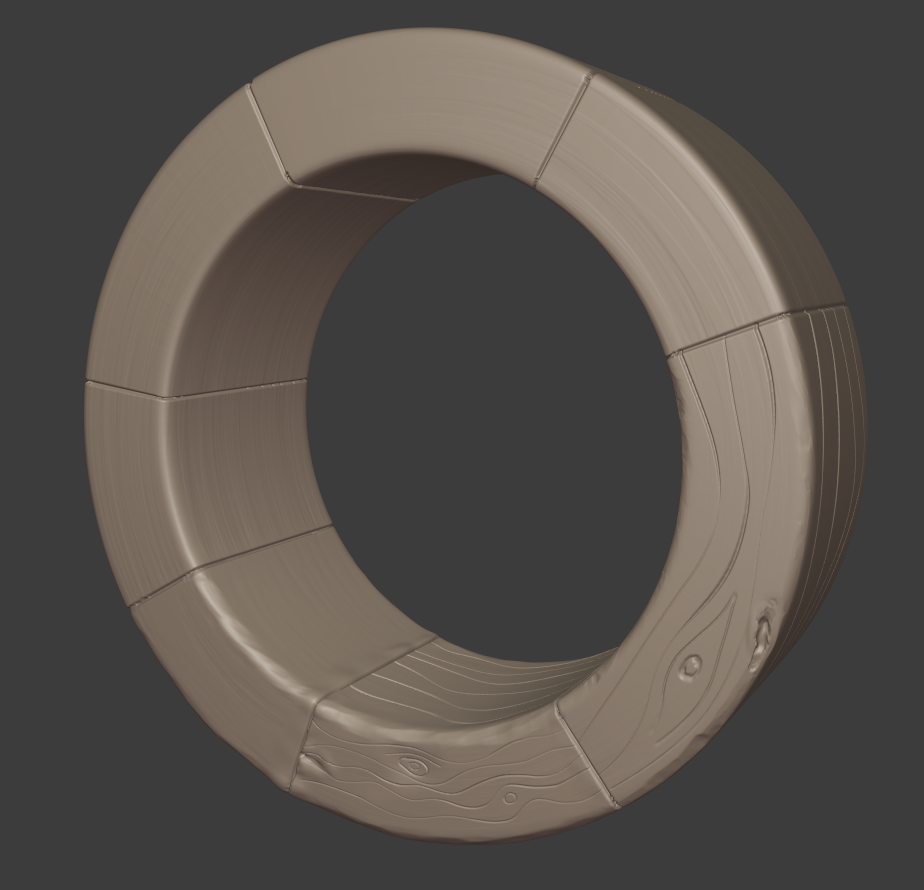
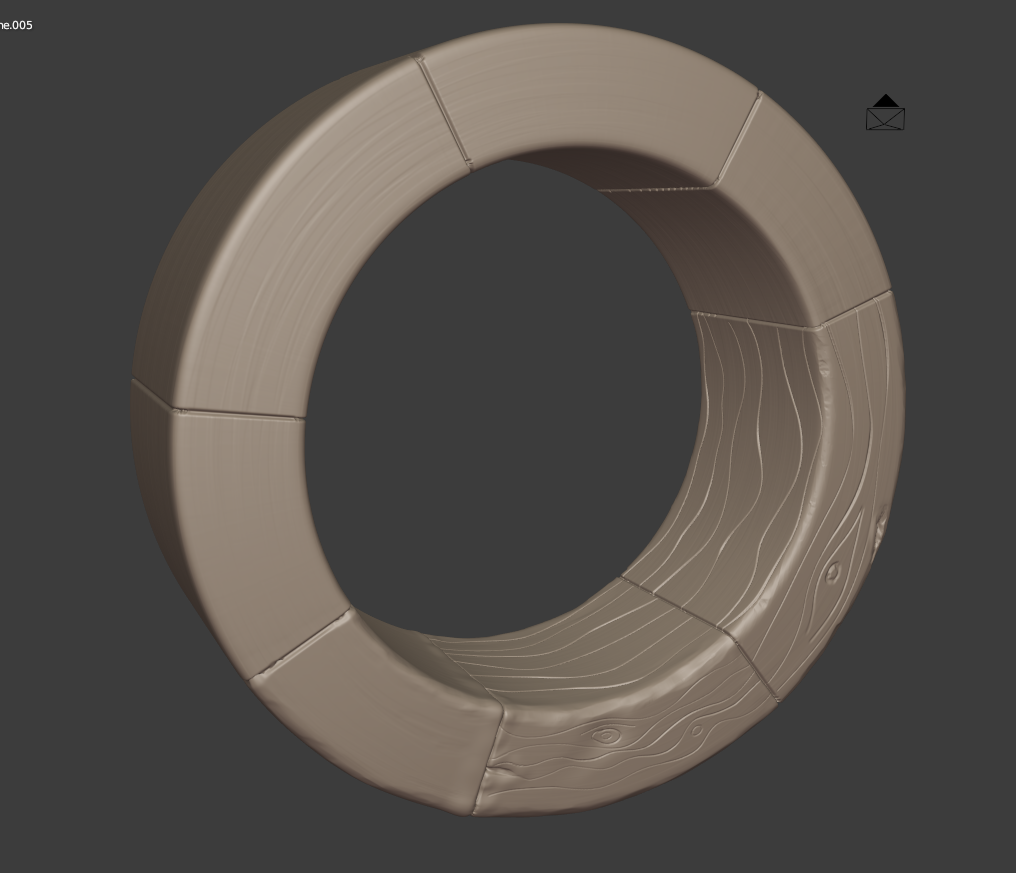
@blanchsb thanks for the feedback!
Yeap, know I see that bevels were a bit “overdone”, so will change them for much simpler ones, so that they match the style more.@beefkeef thanks for pointing that out! With the fresh eye I see now that the frame of the window is a bit too thin, and that makes the whole thing look bigger than it actually supposed to be.
April 10, 2021 at 11:10 am in reply to: COLLAB2021 – Team CRAYSONS – House Exterior (Front) Assets #64760@blanchsb thanks for the feedback!
@yukinoh1989 I don’t know 😀
I think if the bake will be right – it should look mostly the same apart from having a bit jagged shape from the “upfront” side, from other angles- backed normals should do the rounding, as far as I know.@yukinoh1989 I am sorry, English is not my native so I don’t fully understand what you asked, can you rephrase that?
April 9, 2021 at 2:02 pm in reply to: COLLAB2021 – Team CRAYSONS – House Exterior (Front) Assets #64750I think I finished with Window B block-out, so would appreciate any feedback in case I missed something 🙂
WIP thread interuse@yukinoh1989 all geometry is generated by modifiers stack, so wireframe is “horrible” 😀
But there will be sculpt+retopo+baking anyway 🙂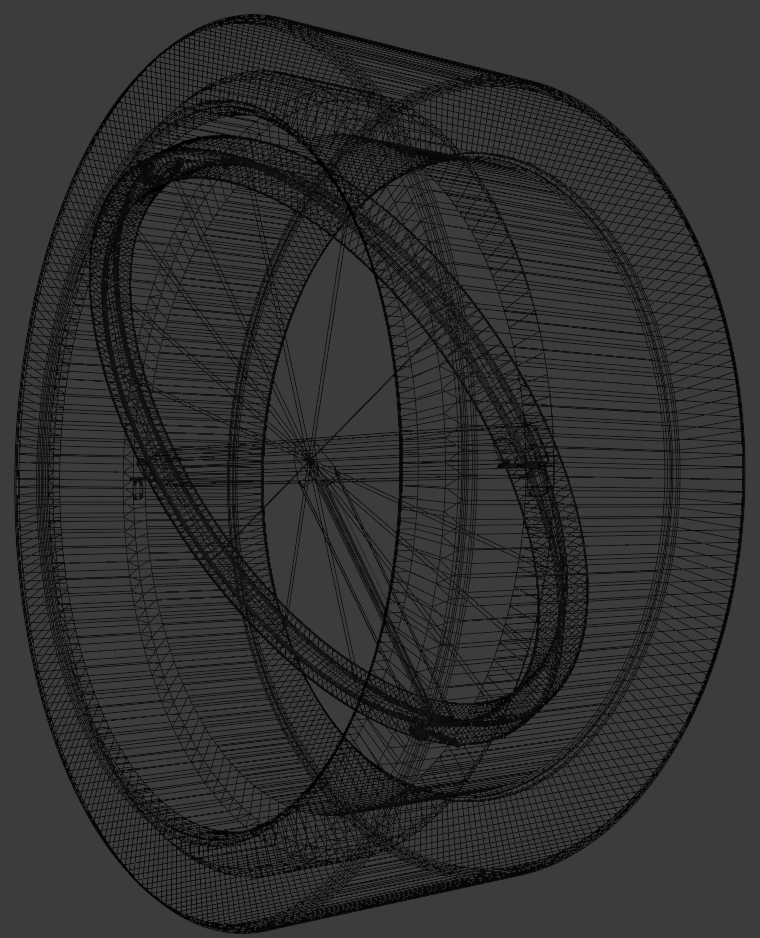
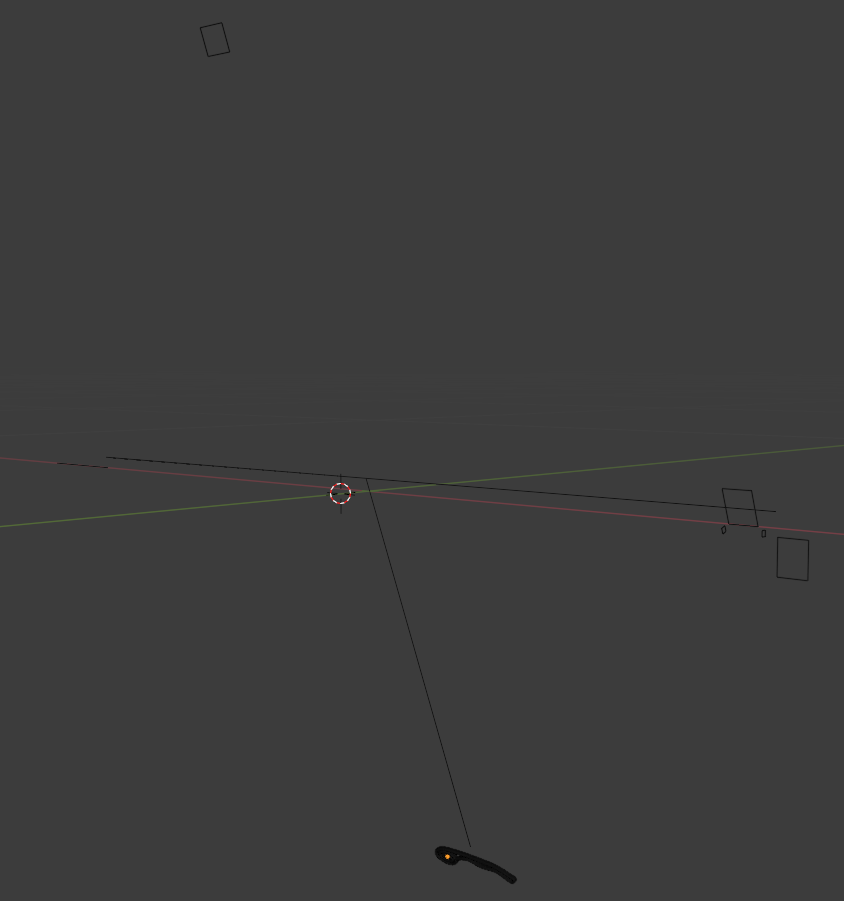
this is all of “base” geometry – a few edges, a few planes, and one curve 🙂
So, the first week, huh? 🙂
@theluthier , I think that my block-out of a Window B asset is finished.
I still did not settle on the style of hinges just yet, and their inclusion at all is dependent on if we will have the interior, so I left them just as a placeholder 🙂
Same with the handles, but I more-or-less have a vision for them, so I really hope that we will have the interior 🙂The whole mesh is based on modifiers for ease of edit for when we will have the final block-out of the house.
Would really appreciate the feedback 🙂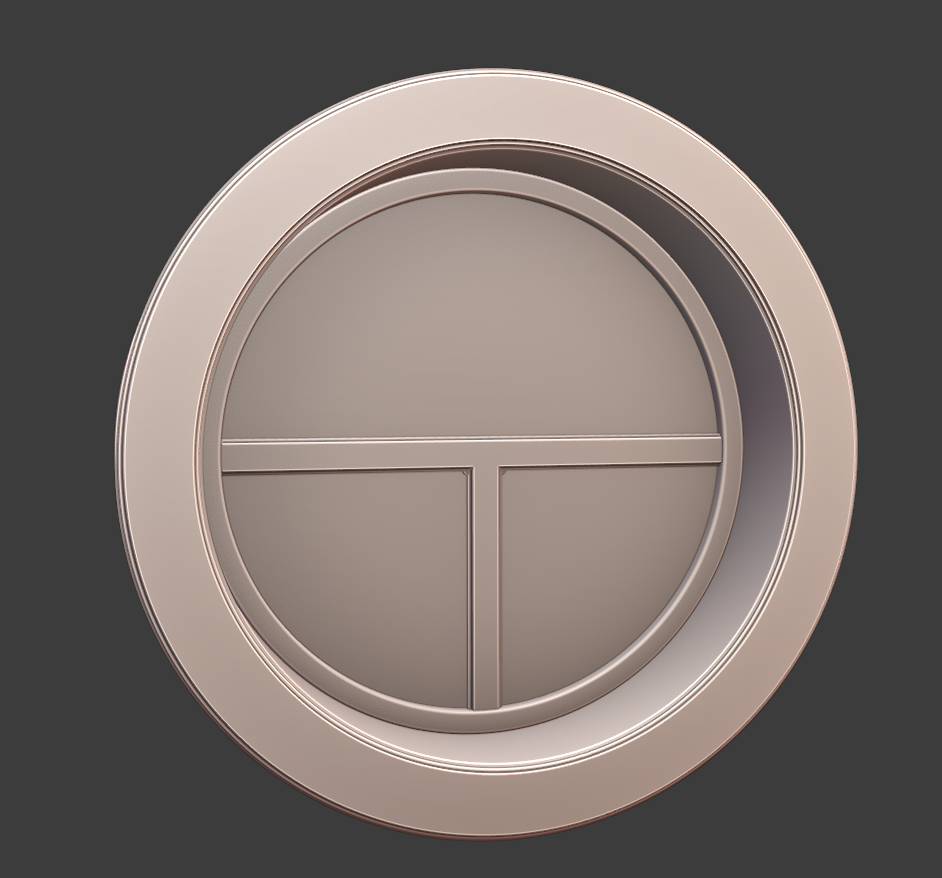

-
AuthorPosts
