
Tire Treads Demo
Forum Archive › Tire Treads Demo
- This topic has 33 replies, 11 voices, and was last updated 6 years, 3 months ago by
spikeyxxx.
-
AuthorPosts
-
May 15, 2020 at 8:13 am #56557
Thank you @spikeyxxx
May 15, 2020 at 12:10 pm #56558Man there sure are some funny “Delete the Default Cube Videos”
(My personal Favs: 1: Delete Default Cube; 2: What happens to the cube when you delete it )This is my favorite meme of Blender Instructional Videos:
 May 15, 2020 at 12:46 pm #56559
What about this one @blanchsb Default Cube.
May 15, 2020 at 12:59 pm #56560Nice one, Adrian!
May 16, 2020 at 6:02 pm #56561@spikeyxxx : I tried to follow the tutorial which you prepared. But even though I have 360° bend. There is gape in the tyre tread. While I did another tyre, it worked there.
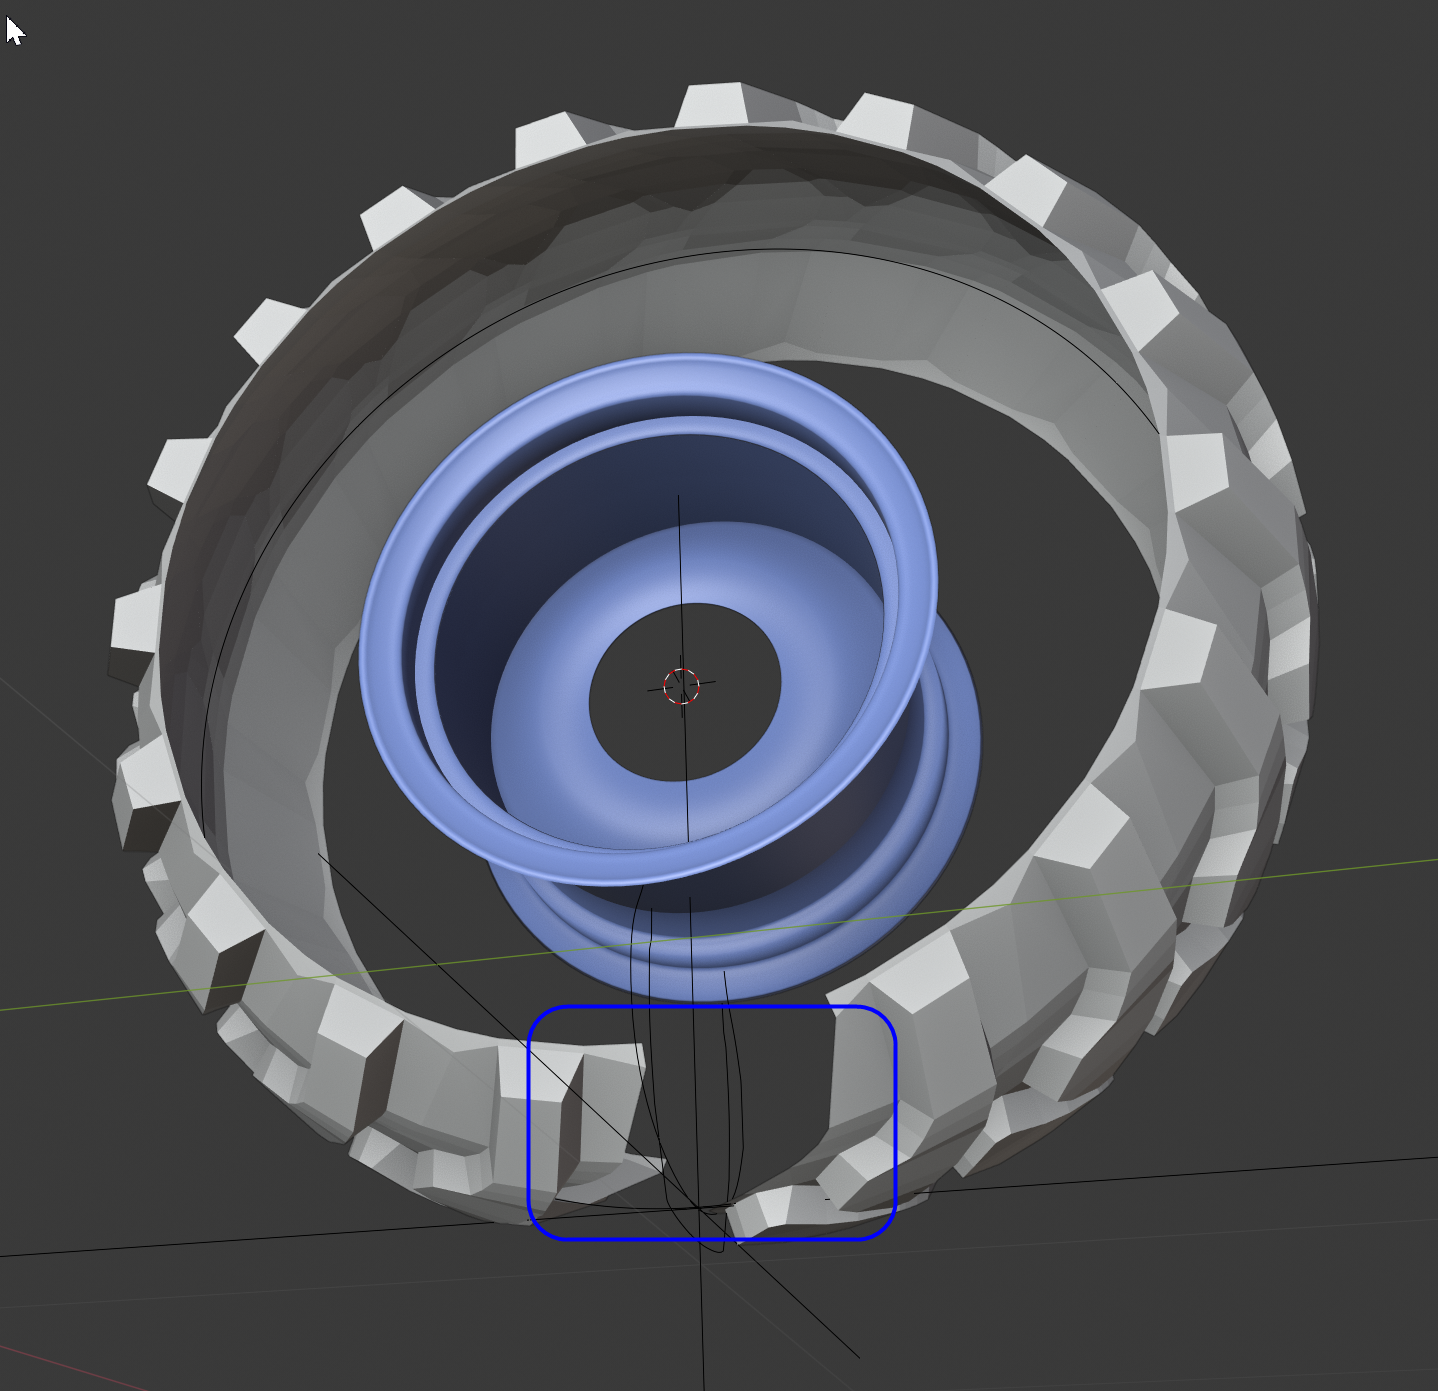
Above tyre tread has a gape.
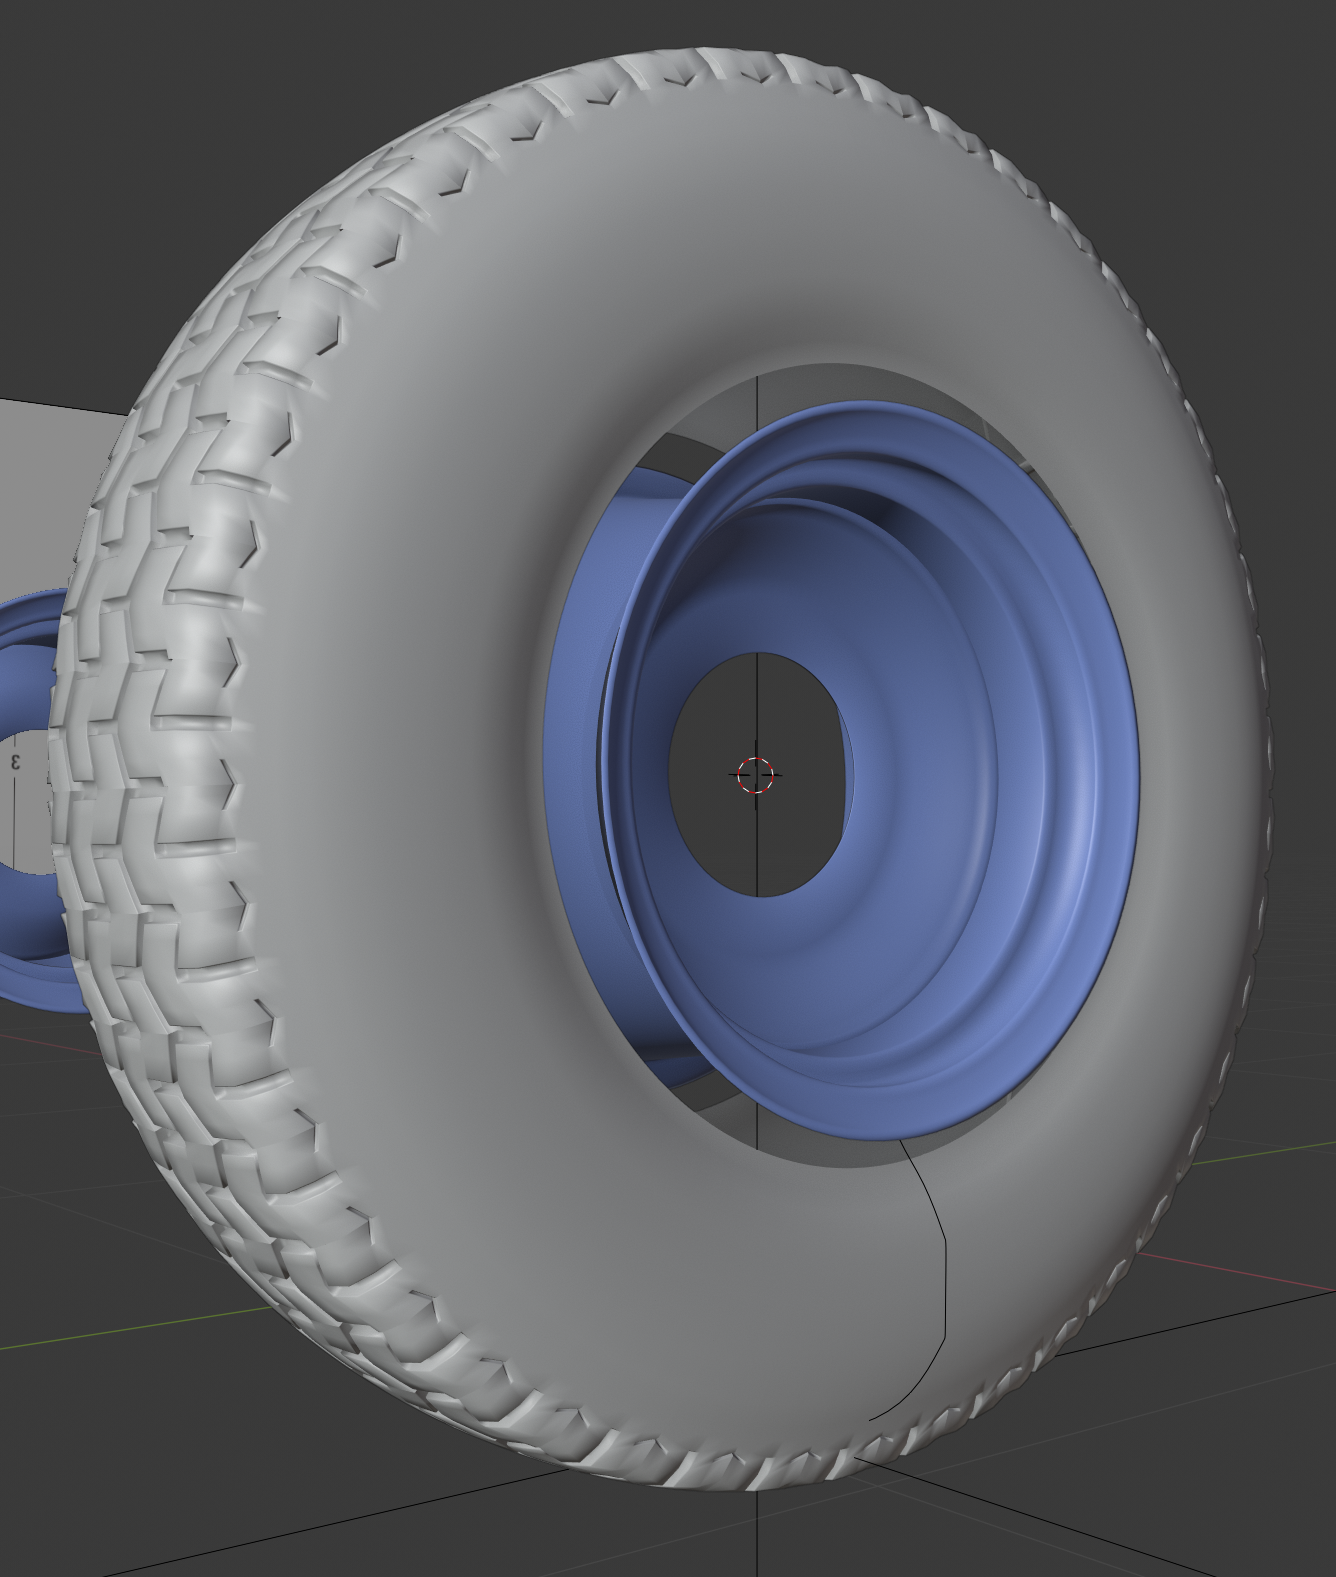
This one worked perfactly.
Do you know why it happens?
May 16, 2020 at 11:24 pm #56562@ryzen7 I have absolutely no idea how you managed to do that.
Looks like your original segment is missing. One way to create a gap like that would be to have an angle less than 360°. but even then would the gap not be where it is now.
My guess is that you used a Count of 18 in your Array Modifier. Now only 17 are visible….Strange.
Make sure that your segment is straight at the connecting edges, so not something like:
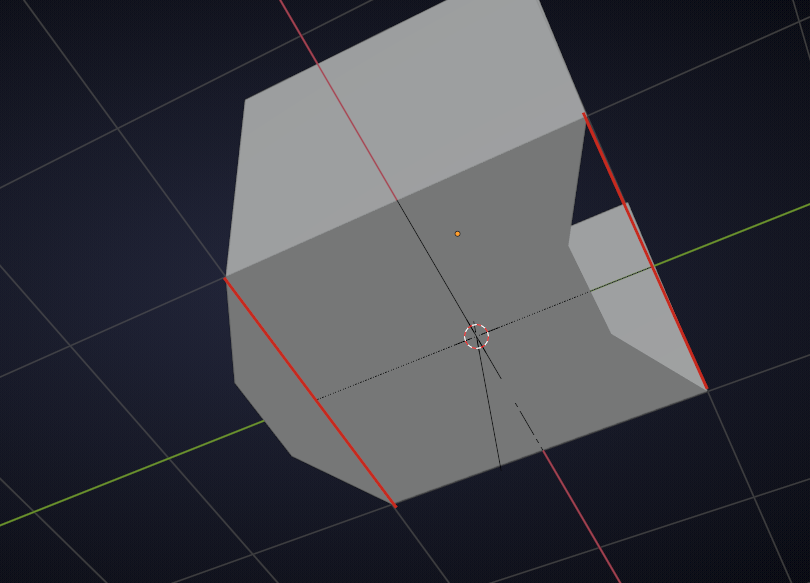
The beauty of the ‘Bend Modifier’ is that you can set the angle and 360° is always a full circle (unless you are in a country where they still use a 400° circle…).
No matter what I try, I cannot accidentally create a gap like that.
The closest I could get to something like your screenshot is by applying the Modifiers and then deleting the original segment and I don’t expect you to have done that.
Or by using a Curve Modifier instead of a Simple Deform.
Long story short: I’m clueless!
(Do you still have that .blend file????)
May 17, 2020 at 4:50 am #56563As I explained you that same process worked for the other tyre tread. But not for the CAT tyre.
Here is the blend file.
https://drive.google.com/open?id=1UBat4Ntyyru_g7xLEylqBwOTHxQ_oZDd
I have 360° circle. And there was no need to add the segment numbers as I have used the fit curve in Array modifier with offset of 0,52.
Can you please take a look?
May 17, 2020 at 5:11 am #56564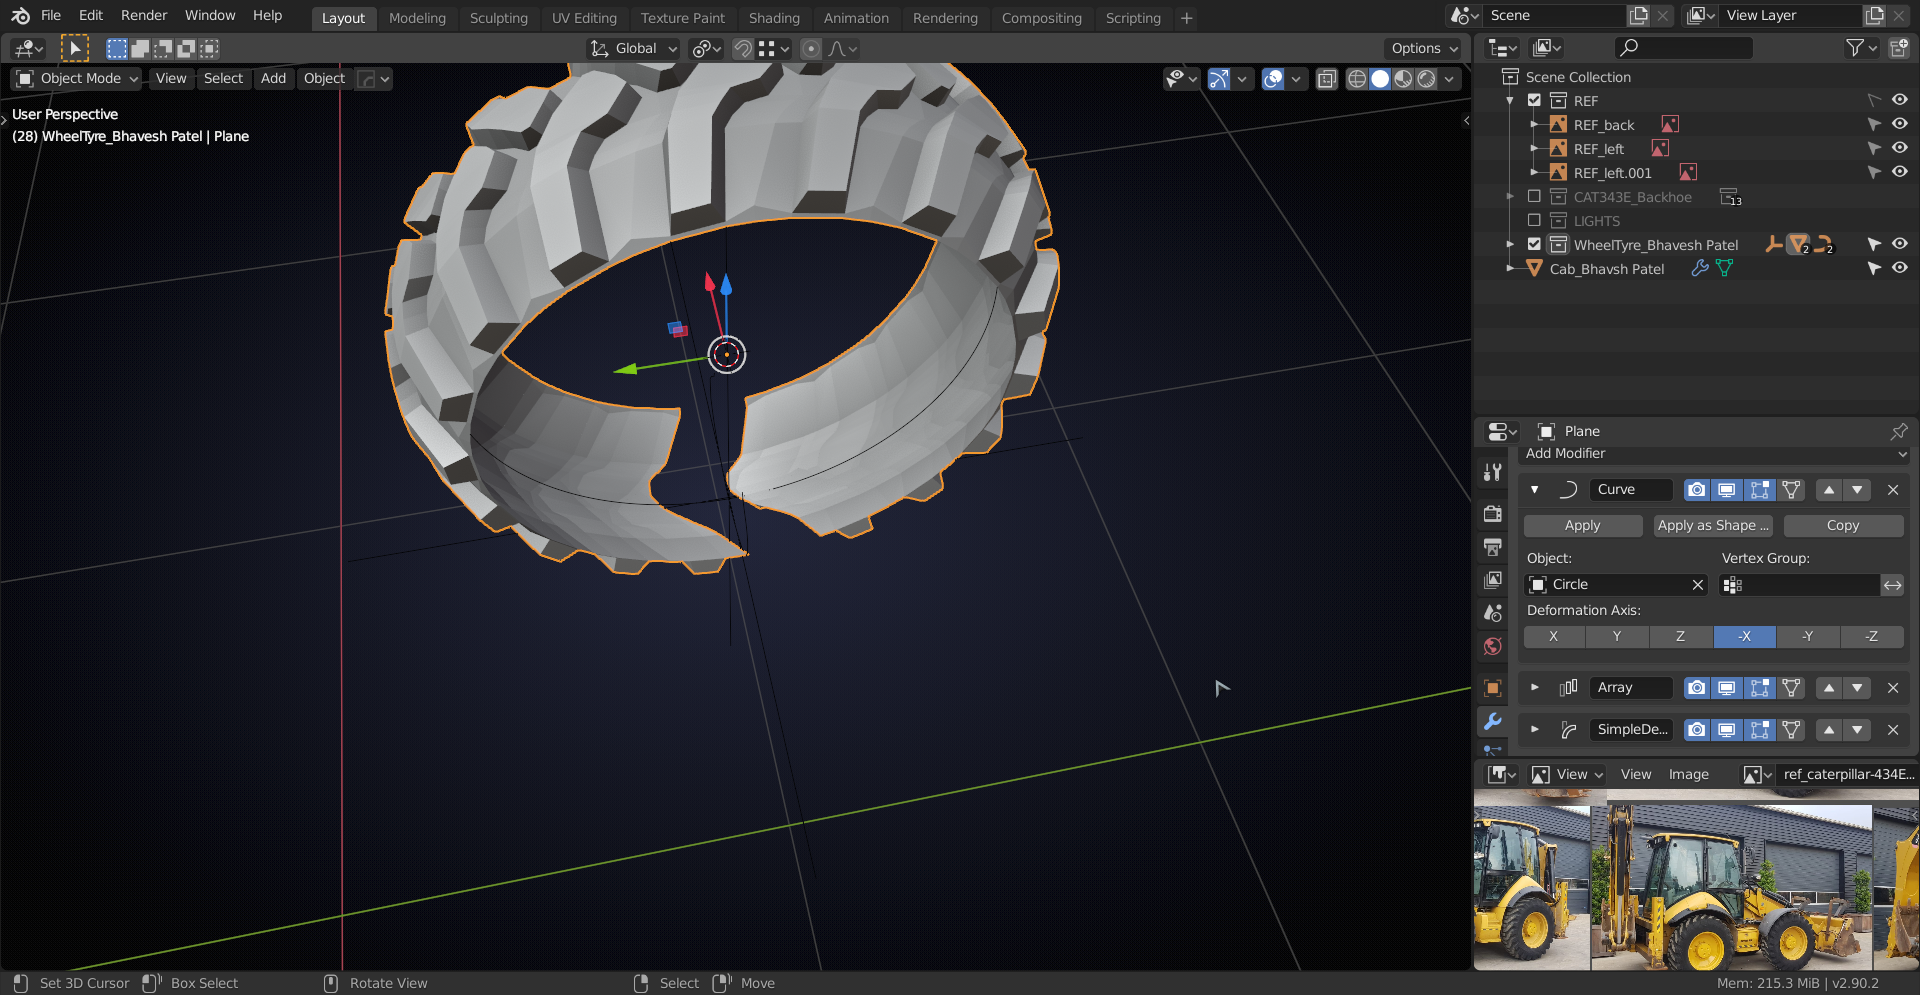
|Make sure that your segment is straight at the connecting edges
which they aren’t!
That’s why I used the Knife Tool to cut straight edges….
And you are using a Curve Modifier, even before the Array Modifier! What is that supposed to do???
May 17, 2020 at 5:13 am #56565I got confused on Driver, what are driver ?
May 17, 2020 at 5:16 am #56566Thanks for the quick look.
The curve modifier I have used to move the profile to follow the tyre shape.
Yesterday late night, I figure out that my segments are not straight, I made it straight then also it did not work for me.
May 17, 2020 at 5:31 am #56567Sorry, I missed that the curve was working it that direction, that’s okay then;)
|Yesterday late night
Sometimes things don’t work late at night, try them next morning:
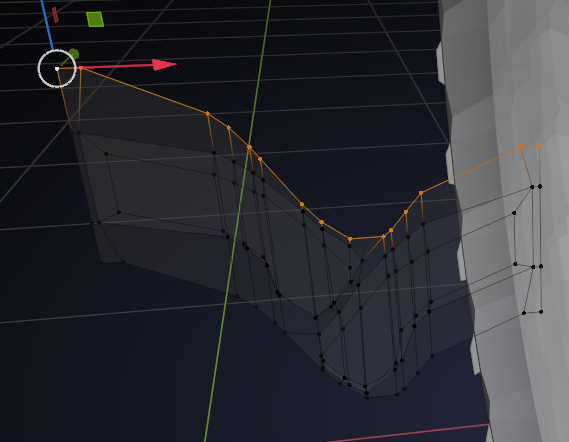
Pivot Point is set to Active Element and the straighten them out with S, Z, 0.
Same with the bottom edge:
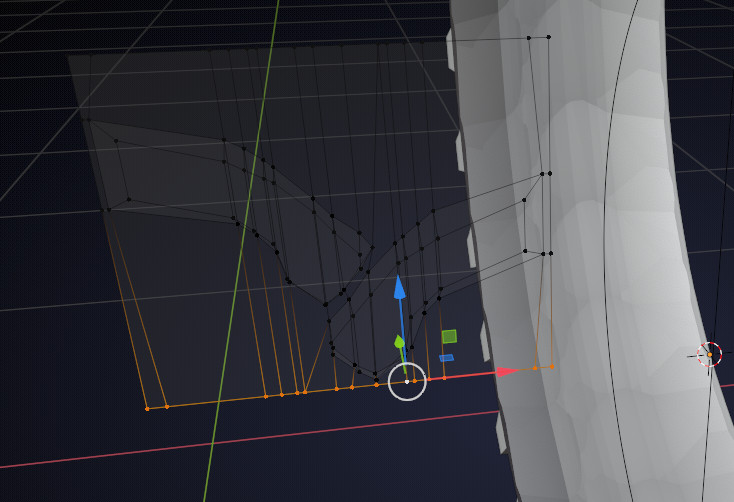
Gap is gone!
Move the top edge down a bit:

Now maybe you can see why I made a few segments first an then cut on out, instead of just making one segment an getting in all sorts of trouble…
May 17, 2020 at 5:41 am #56568Hi Sudeep, this was not meant as a tutorial; Shawn had asked me during the stream to show how I made the number of treads changeable, so I just showed my workflow here.
Don’t worry about not understanding the Driver part, that is completely unnecessary in tire making, that was just me, seeing if I could pull it off;)
Drivers are not something I can explain in a few words, unfortunately.
Maybe have a look at the Manual: https://docs.blender.org/manual/en/dev/animation/drivers/introduction.html?highlight=drivers
May 17, 2020 at 5:56 am #56569Thanks a lot! @spikeyxxx
I see the mistake now. Actually I did the specific shape, so that the treads are not so far away from each other. But it seems that it does not work for that shape. Your suggestion works.
Thanks again for helping me out.
May 17, 2020 at 5:58 am #56570Hi @spikeyxxx,
Actually I missed that I made the straight edges for the other tyre. After you showed it to me. I checkey why the hell it worked for the other tyre and not for the CAT tyre.
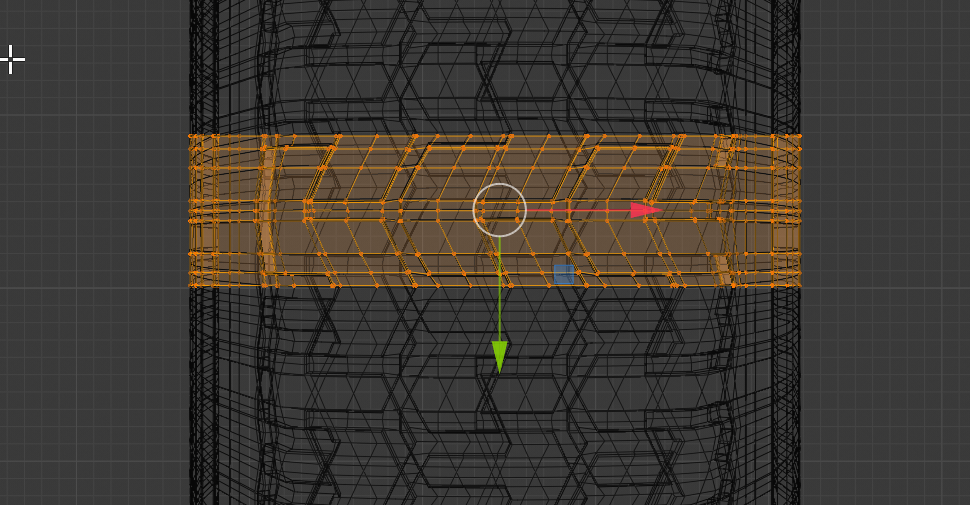 May 17, 2020 at 6:06 am #56571
Here is the complete fix: select the two edges and delete them.
Duplicate the treads and move the duplicates up. Shift R to repeat that (so the moving distance will be the same as the first time).
Connect those pieces like so:
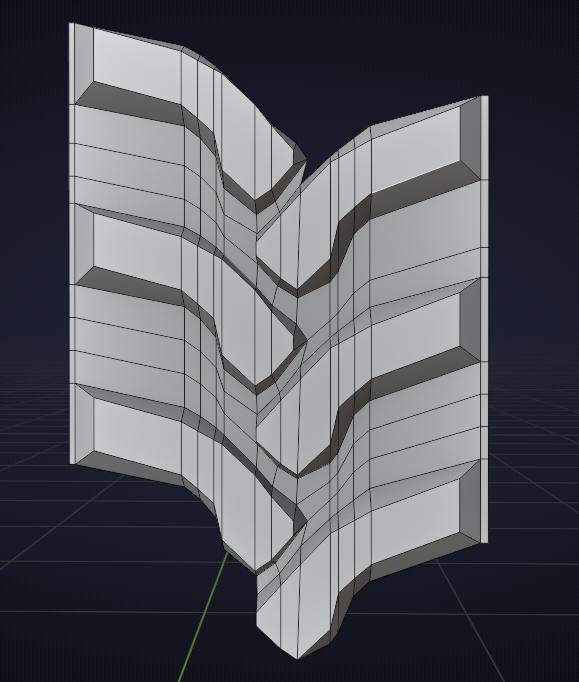
Make two straight cuts to make one segment and remove the unnecessary vertices:
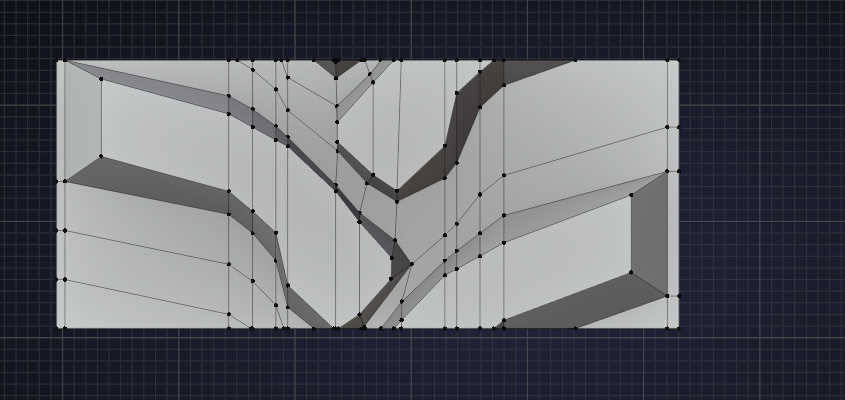
Don’t forget to set the Relative Offset back to 1:
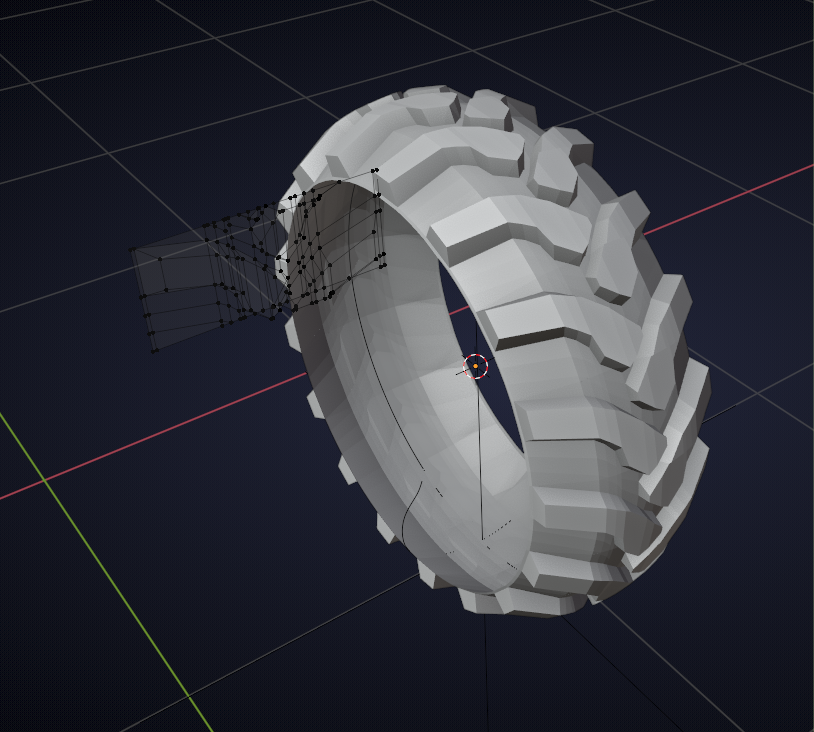
Still needs some topology cleanup, but it’s a gap-less tyre at least;)
-
AuthorPosts


- The topic ‘Tire Treads Demo’ is closed to new replies.