
Blake’s Polybook
Forum Archive › Blake’s Polybook
- This topic has 75 replies, 5 voices, and was last updated 4 months, 1 week ago by
Martin Bergwerf.
-
AuthorPosts
-
January 6, 2026 at 7:32 pm #98723
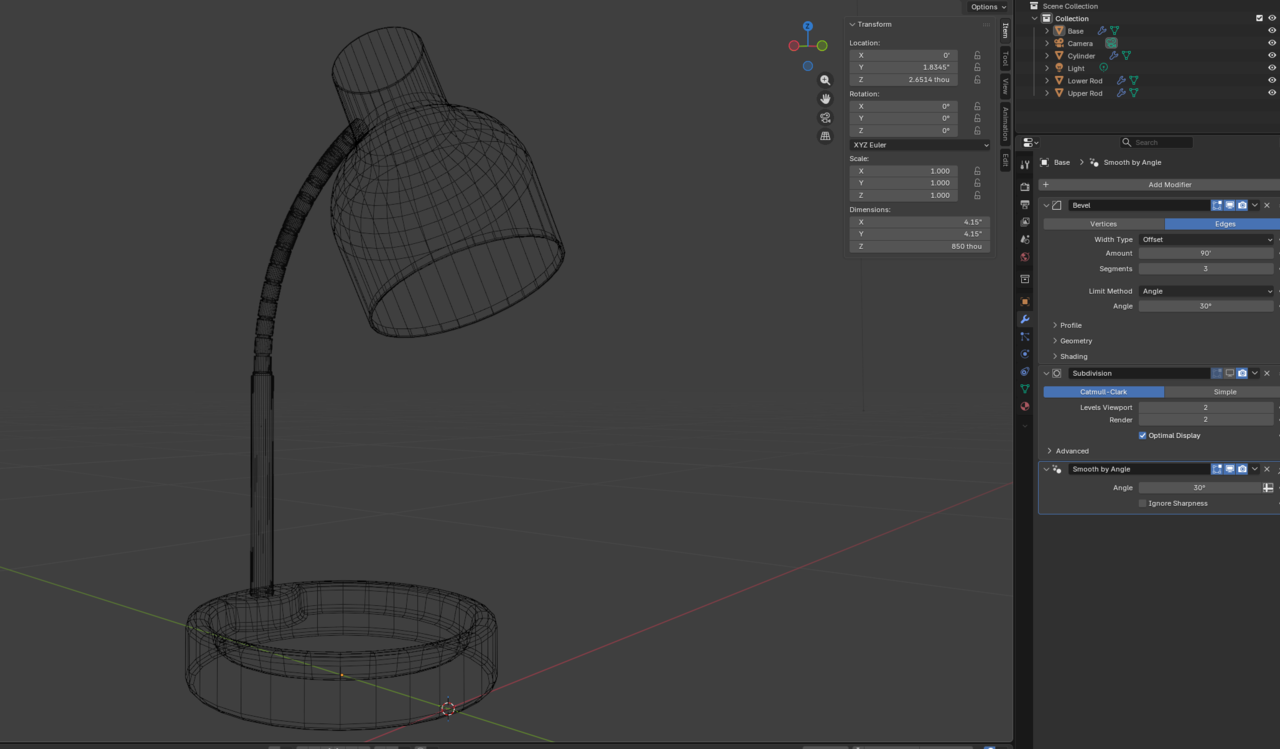
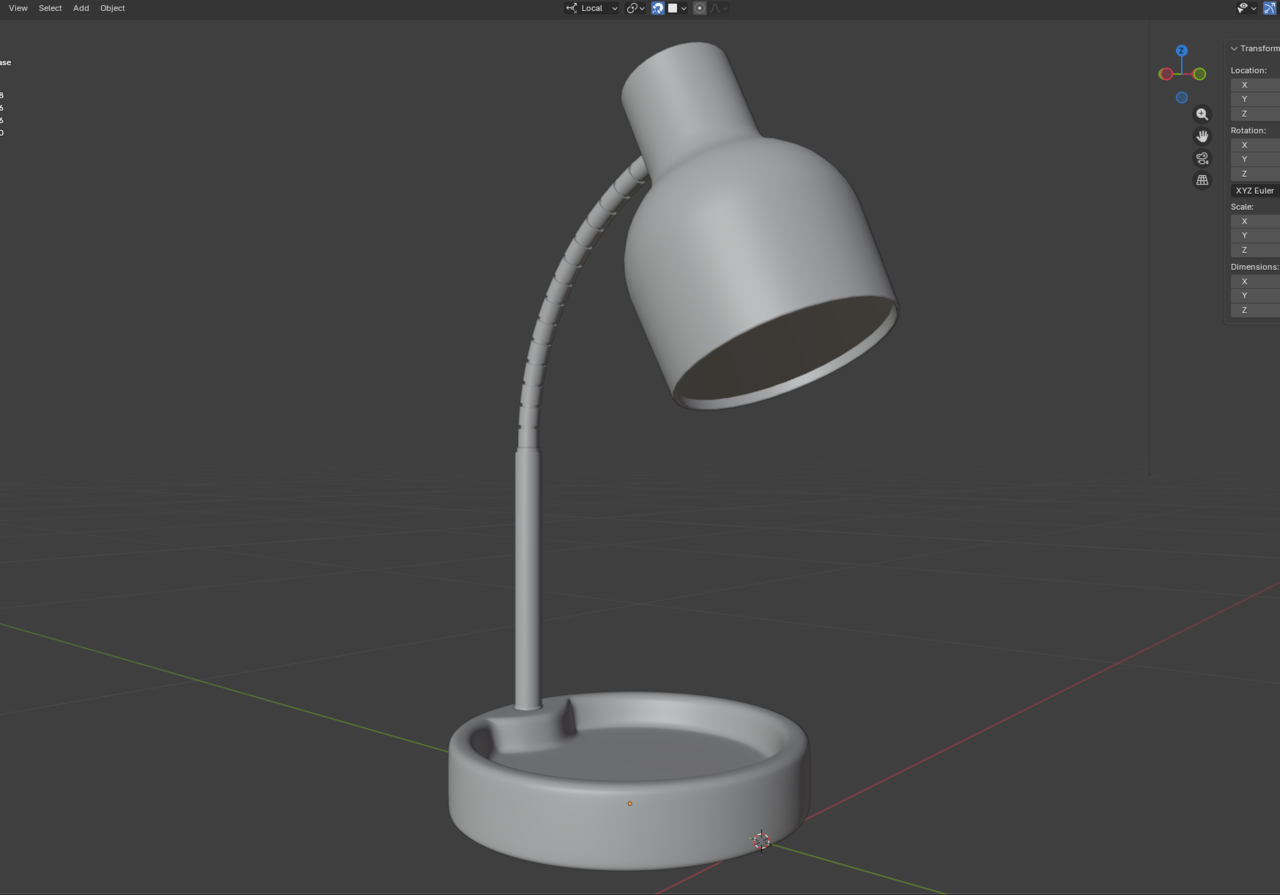
Did this all on my own, no tutorials! Only from the notes I’ve taken in the course so far. Used modifiers, remembered to keep it simple, and experimented a little until things clicked. Thoughts?
 January 6, 2026 at 7:34 pm #98724
The rods I know could have been a little less dense in geometry in my opinion, all good though.
January 6, 2026 at 7:42 pm #98725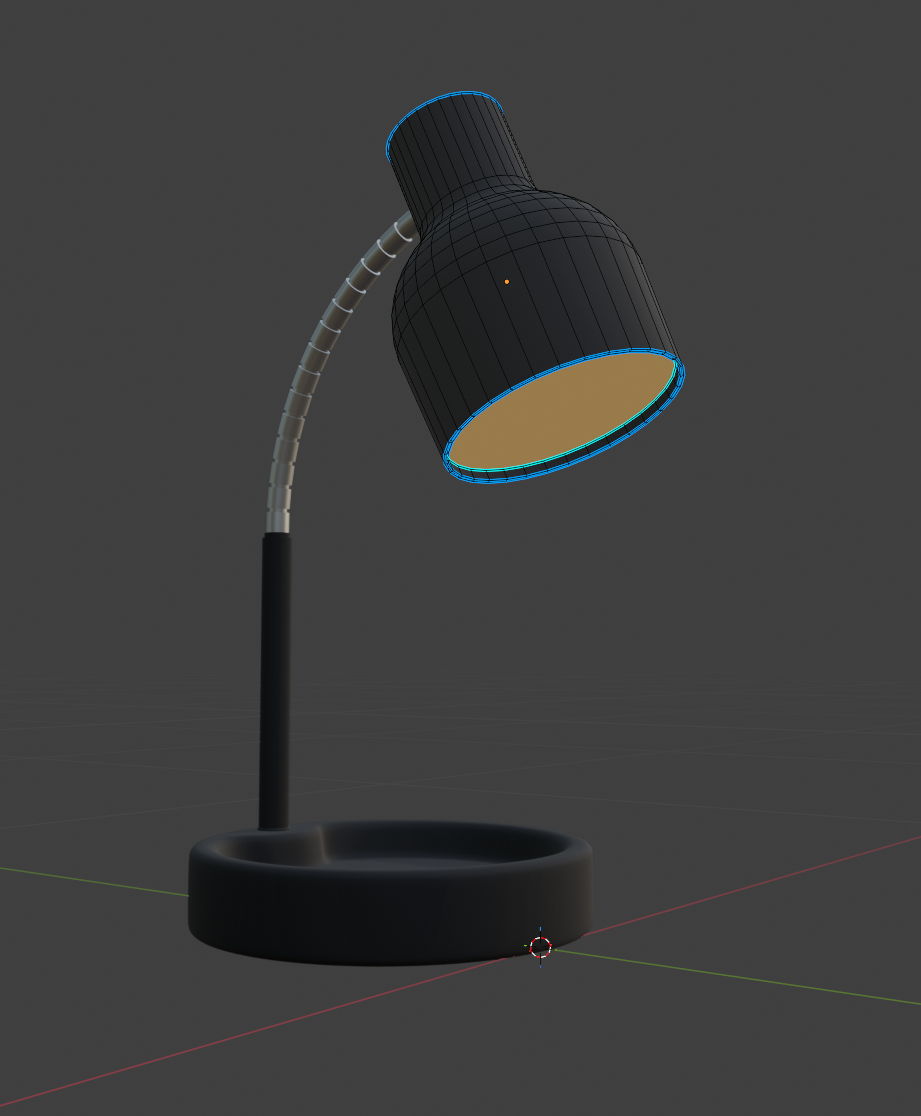 January 6, 2026 at 7:59 pm #98726
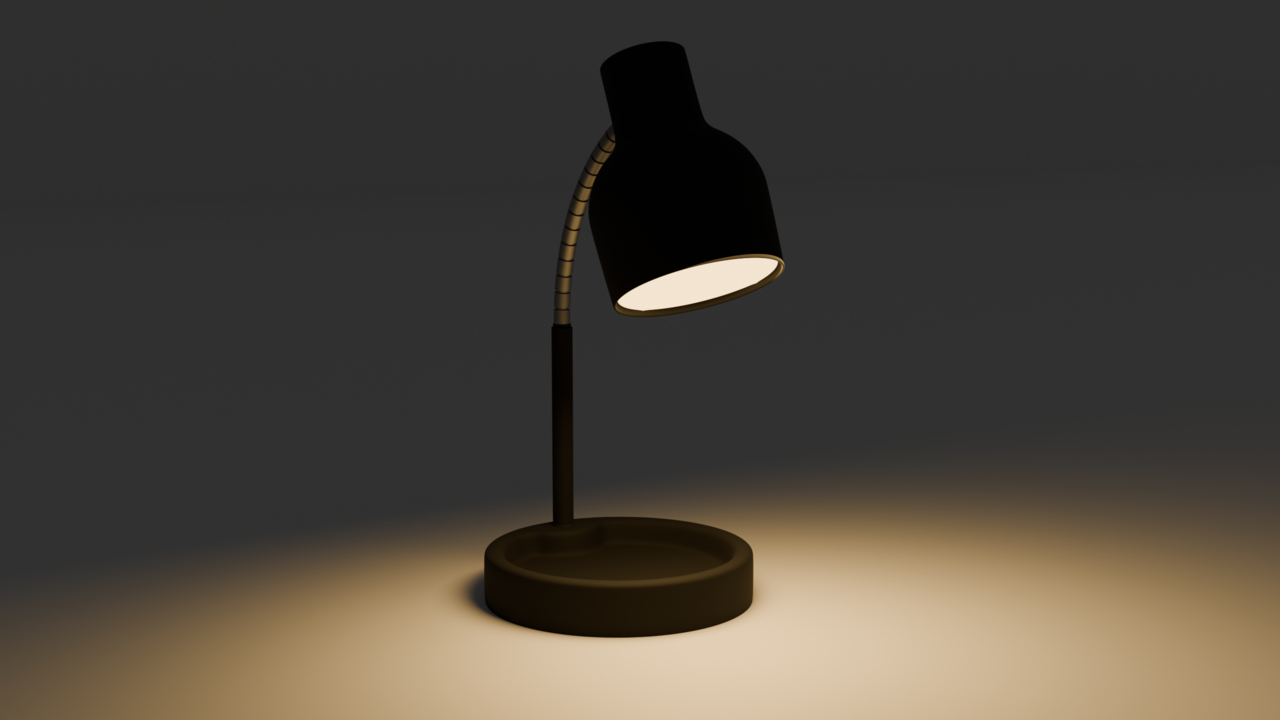
Is there a way to limit the light bleed from a light source? Maybe using a lattice?
 January 7, 2026 at 2:28 am #98727
HI Blake, Cool lamp!
That might have to do with the Radius of your Light (and what sort of Light you are using). Part, might also be coming from Indirect Light, as you can see in this small example:
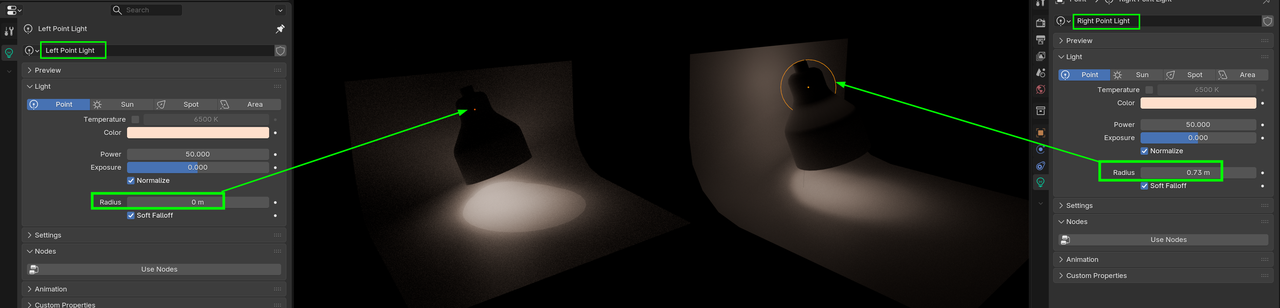
In your case, it looks like you are using a Point Light and reducing the Radius will give you a harder Fallof, so maybe use a Spot Light. That doesn’t shine in all directions.
More advanced, would be to use IES Lights, but that seems a bit overkill in a situation like this.
Or even using Light Linking, by making the ‘bend’ a separate Object and exclude it from being lit by that Light.
January 7, 2026 at 7:07 am #98728But by light bleed you mean the spread of the light or the thing that happens where light shines through the mesh in parts where it’s not supposed to? Light bleed happens in Eevee all the time, specially in interiors. It’s better now with the new engine, but light bleed is more referred to that and not the radius of the spread. I’m guessing you mean the radius so as Martin points out that should do it.
January 7, 2026 at 7:32 pm #98729Hi Omar and Martin,
A spotlight would indeed be better; I’ll go with that option next time. I think what I was meaning with light bleed is for example taking an area light, and blocking out where light is dispersed across the scene. Maybe I didn’t want the light to bounce behind the lamp, although I had used a point light. Can I basically set an invisible boundary to how far this light can travel without having to lower the strength?
January 8, 2026 at 3:55 am #98730Hi Blake,
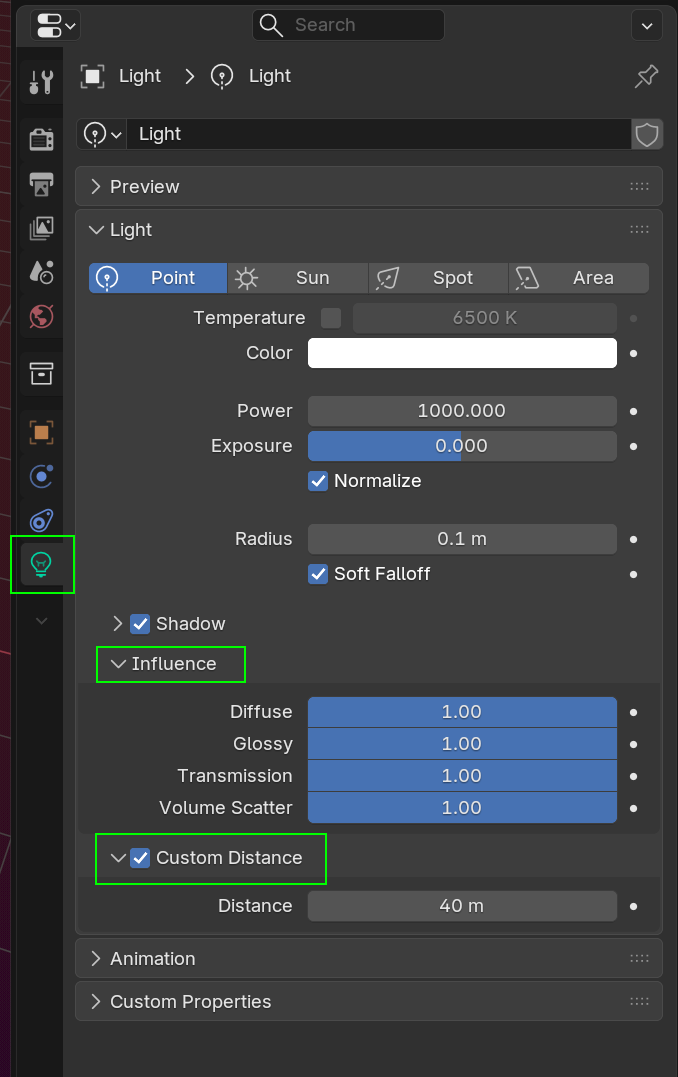
There are many ‘hacks’ to control Lights in Blender, for instance, EEVEE has a Custom Distance for Lights (apart from a Sun Light):
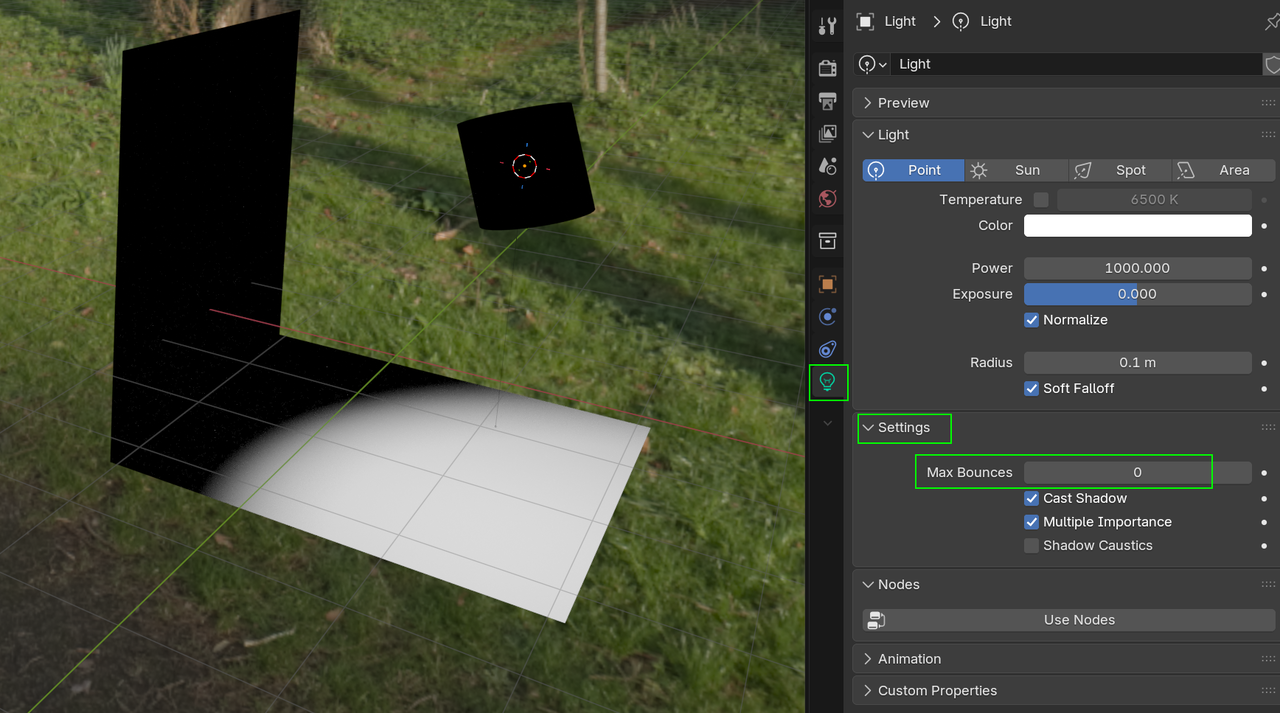
In Cycles, you can set the Maximum Bounces for a Light (attention, 0 means 1 Bounce):
Already mentioned: Light Linking.
In Cycles, you can also do crazy things (not only with Lights) with a Light Path Node.
January 8, 2026 at 7:11 am #98731Also as Martin mentioned before, IES lights are super useful in this regard, don’t forget them.
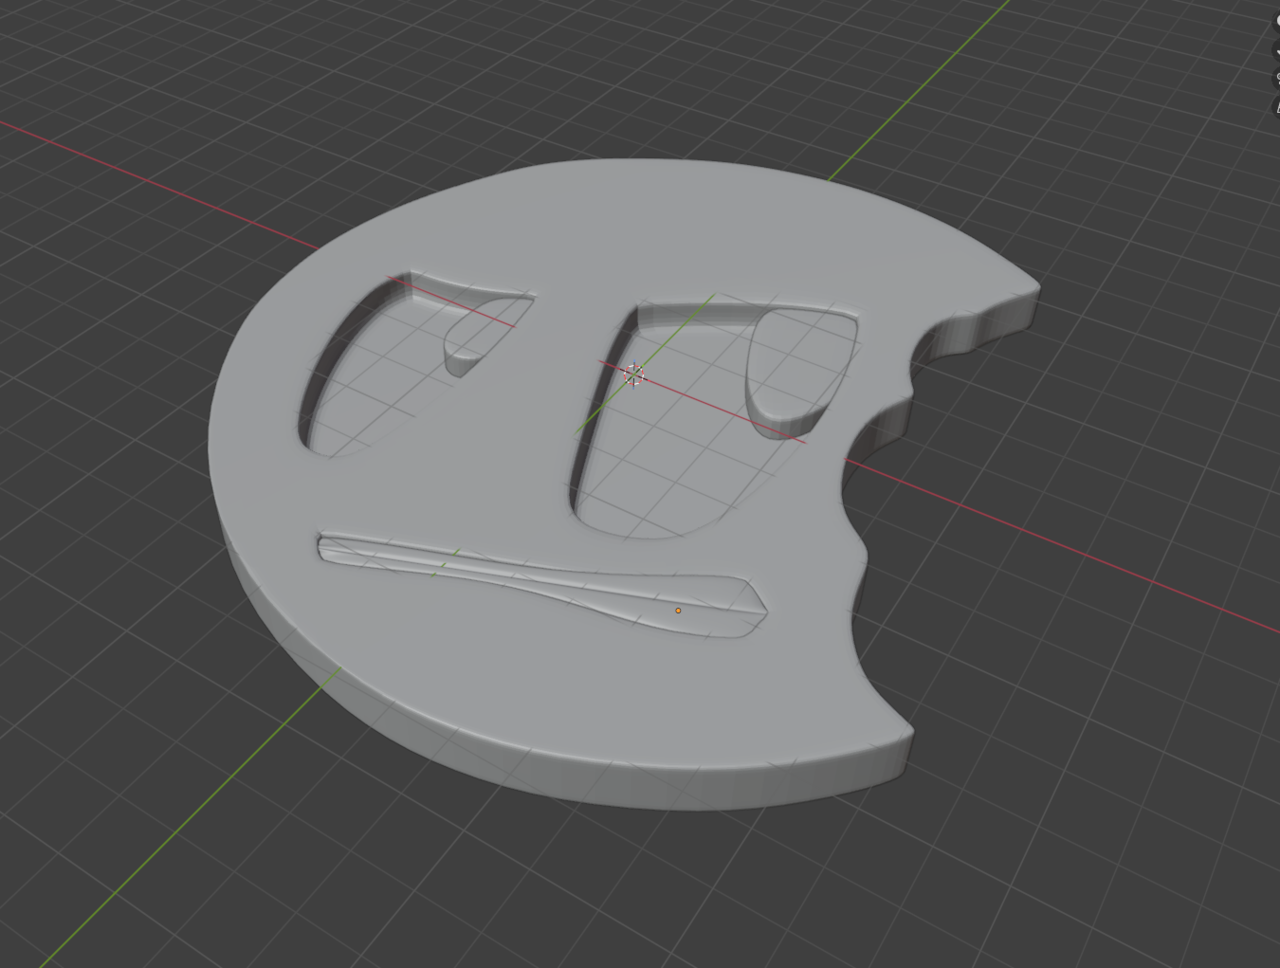
January 14, 2026 at 8:54 pm #98732This tutorial really taught me how important it is to sort of pre-plan your model. I.E your support loops, outlining the major points of a model (eyes, mouth) and working around those created loops to complete a model. It seems a little bit more complex than meets the eye due to the art of managing your quads and loops to make the topology look good. Admittedly, I left one or two triangles in the model. I’m a little sick but wanted to get my Blender in either way so maybe I should revisit this down the line.
I guess my next question here though is how to approach subdivision surface modeling on more complex shapes? For example, creating a dog or an organic shape? Or would one sculpt it and retopologize? I guess I’m trying to figure out my workflow here when it comes to these models and what’s best.
 January 15, 2026 at 3:08 am #98733
Hi Blake,
In the Modeling Bootcamp: https://cgcookie.com/courses/blender-mesh-modeling-bootcamp
more organic subjects are covered:
It’s in an older Blender Version, but the techniques are still valid.
Normally you’d probably Sculpt and Retopologise those, but it’s definitely worth doing these at least once.
January 15, 2026 at 7:10 am #98734Kent is a super supporter of sculpt it first and then retop, instead of box modeling everything without a guide mesh. It’s a longer process, but I like that approach as well, because when you sculpt first, you get a freedom of just creating without worrying on topology and stuff. It’s harder when there’s nothing there to just box model away. But when you have sculpted a base mesh first, you have something there and then it’s easier to visualize the edge flow.
January 15, 2026 at 9:36 pm #98735Thank you. I would like to animate at some point, so I suppose sculpting is the way to go to retain detail when I retopologize. I’ll play around a little.
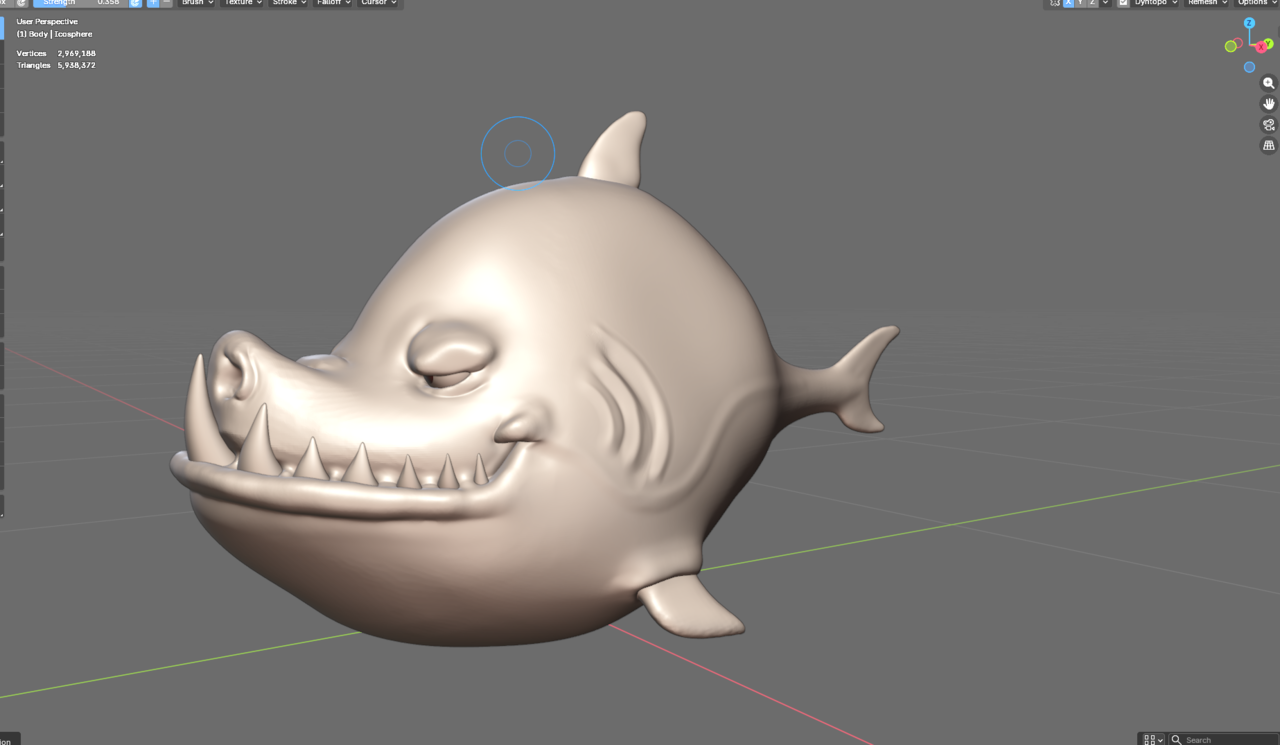
January 21, 2026 at 8:08 pm #98736Lol, I obviously need more practice here, it’s okay… I found that I accidentally went too high of detail and was trying to re-lower the density with remesh with no success, so I just stuck with it. This is going to take a long while and lots of practice if I want to get better at this, so.. Oof, haha.
 January 22, 2026 at 7:01 am #98737
Yes that always happens at the beginning. As you say, it’s just practice and re-adjusting when you hit upon a realization. The shark sculpt is looking good though, keep it up.
-
AuthorPosts


- The topic ‘Blake’s Polybook’ is closed to new replies.