
Reply To: BC4-1810 Homework, Grady Pruitt
Forum Archive › BC4-1810 Homework, Grady Pruitt › Reply To: BC4-1810 Homework, Grady Pruitt

I’ve had to go back and forth on these to get things to work.. had to use 2.79 to pose, then started trying to texture in 2.8, but ran into problems (specifically on Victor) trying to go into edit mode, so went back to 2.79 and imported the textures I’d done and tweaked them, making sure I had slots for the hair, then went back into 2.8 to get the new hair shader BSDF… Fun challenges all around, but I like the results.
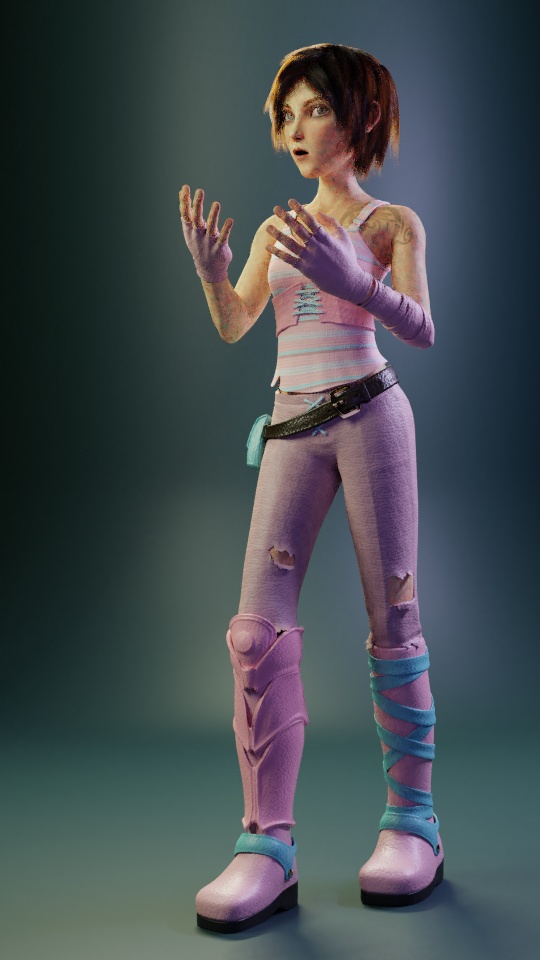
With Sintel, for some reason, the packed textures weren’t working in Cycles, but when I unpacked and relinked them, it worked. not sure why, but it did.
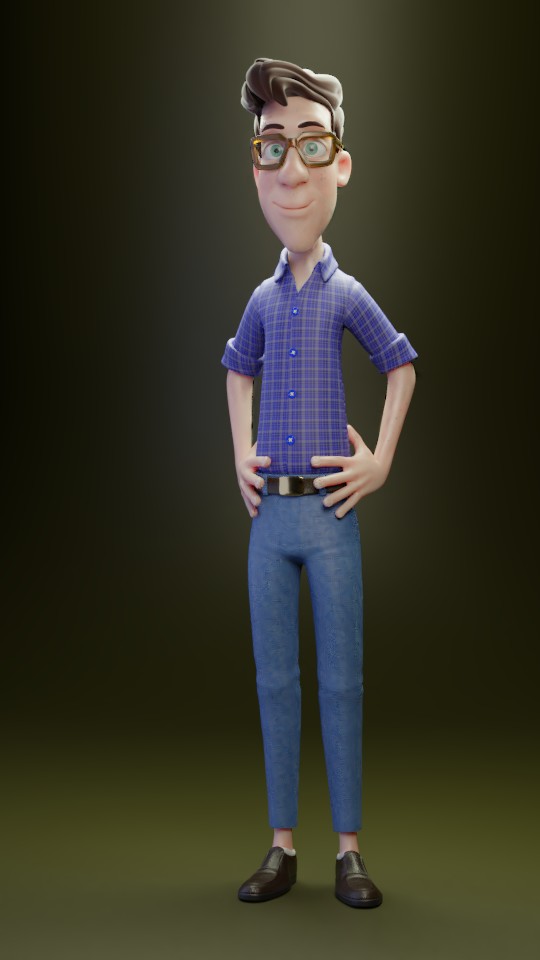
Finding the right way to do the hair on Vincent was a little tricky. I think I eventually went with a darker color and the roughness way up to get it to look like this using the shader node. the big difference is that Vincent’s hair was a solid, rather than particle, hair.
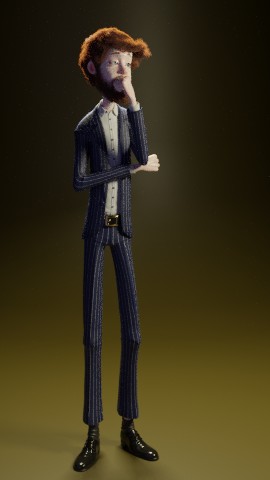
Other than not being able to go into edit mode, Victor wasn’t too hard. In fact… It may seem like I did a lot of work to do 3 characters (and, it was, sort of), but a lot of textures are reused with modifications for that character. Even the leather was a reuse of the one I did on Herbie.
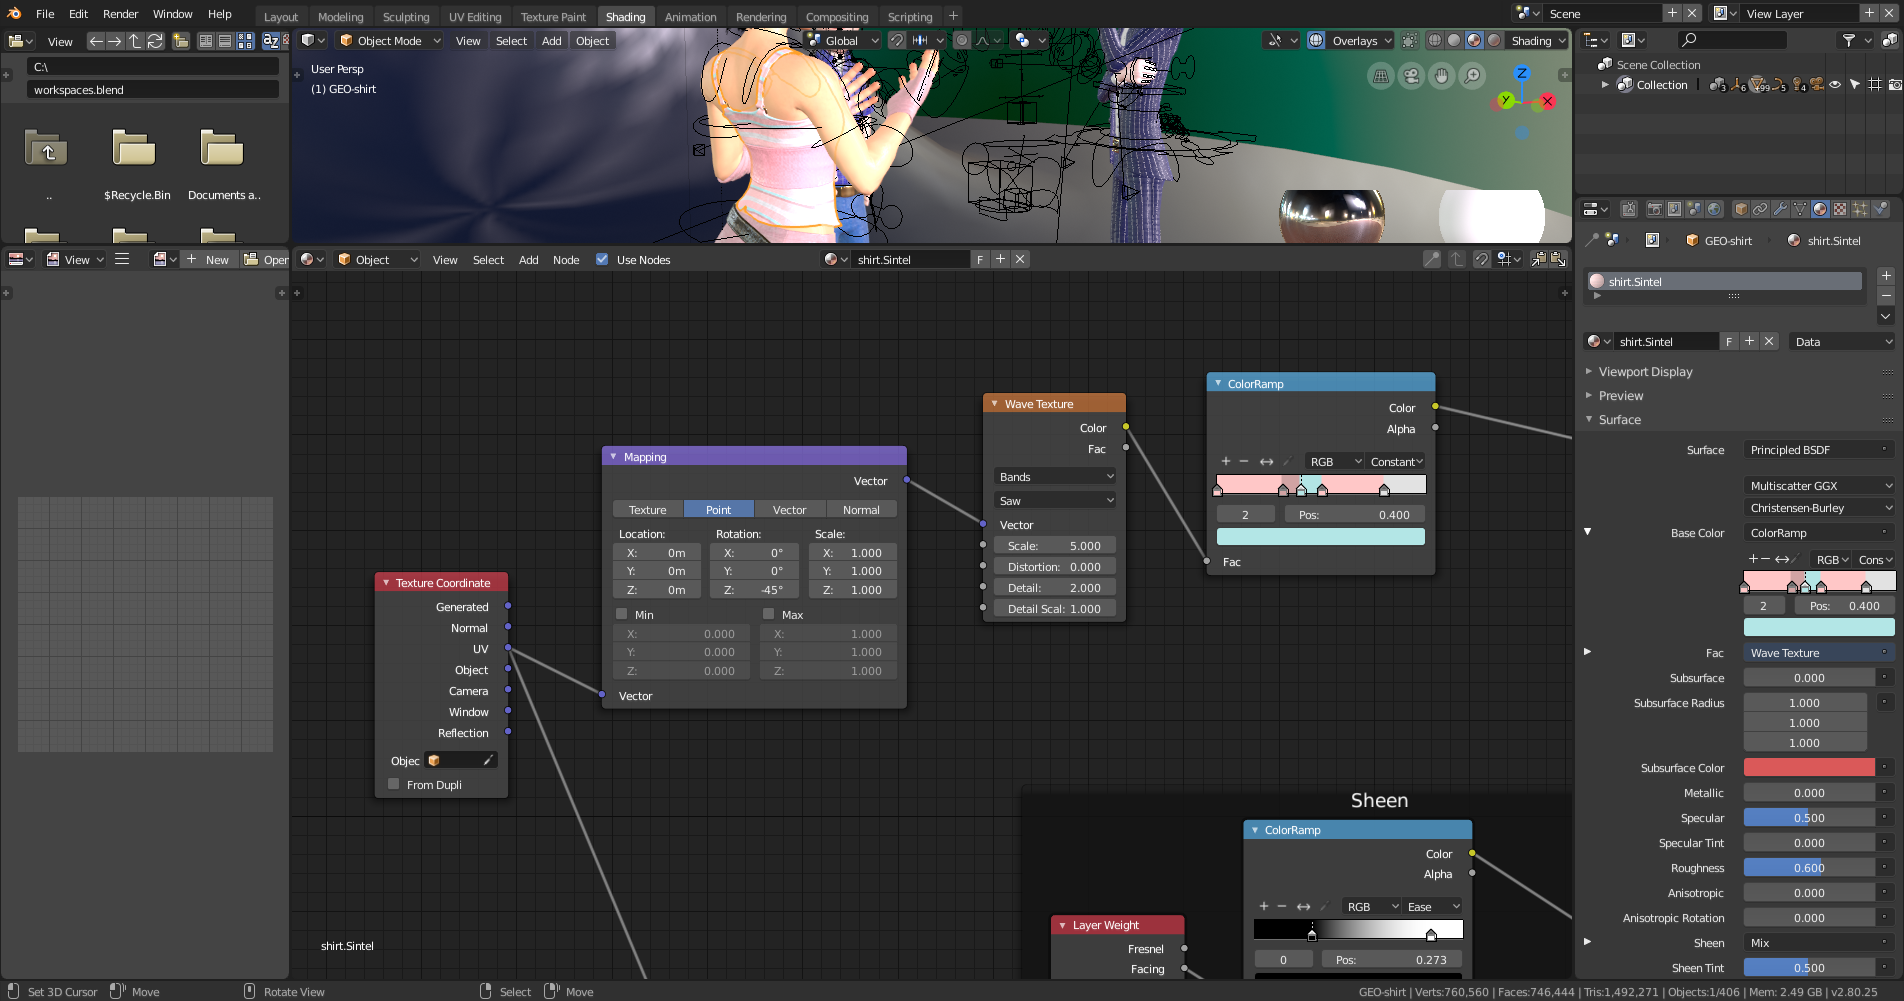
For anyone interested, the stripes are 100% procedural on all 3. The only difference on the pinstripe suit was that it was only 2 markers. Vincent’s plaid was a little more complicated, but was achieved by duplicating the stripes, rotating one 90 degrees and then color mixing them. It’s actually 2 sets of criss-cross stripes on the plaid to get the yellow stripes to mix correctly. You can adjust how often the stripes repeat simply by adjusting the scale of the wave texture.
Incidentally, @theluthier … You mentioned Bartek Skorupa’s wood texture in the shader forge tutorials.. it was that tutorial, or specifically, the mod function, that was the key to being able to doing stripes like this… but the Wave function with the Saw mode (which wasn’t available when Bartek did that tutorial) handles what the Mod node group did, but in a better way. that you don’t have to pay as much attention to the shift.
One note… here, I’ve used UV coordinates… the BEST way to do use this pattern on material like clothing is to mark your seams where clothes would naturally have seams. Like for a shirt, along the under side of the sleeve, around the arms, around the collar, along the shoulder, etc. For Vincent’s, I did create a separate UV map (so it didn’t interfere with the main UVs) to get the look… I could have done it without doing that, but I think the area around the shoulders was better when done with the more natural seam placement. That said, I have used this node set up on generated and Object, so it can work on those as well.
I think the biggest thing I learned, though, was in lighting. Particularly when Kent said to use area lights in the last stream. So this time, I only used area lights to light everything.
(Got one more rendering and I’ll work on the color match later tonight/tomorrow)