
BC1-1908 Homework – Katerina Novakova
Forum Archive › BC1-1908 Homework – Katerina Novakova
- This topic has 50 replies, 12 voices, and was last updated 7 years ago by
Paul Haynes.
-
AuthorPosts
-
August 3, 2019 at 5:57 am #10517August 3, 2019 at 6:00 am #49677
Kate!! 😃 good to see you back, how are you?
August 3, 2019 at 6:01 am #49678Wow, my third BC1 class already 🙂 I wasn’t sure I was going to make this one because I’ve been very busy lately, but I’ll do my best. Each class has been different so far – in this one I want to focus on effectivity: get done as much as possible in the few hours I have. I’ll also try to post some in-progress images (I haven’t been very good at this, time to improve 🙂 ) Oh, and I really want to do the class reels again. I hope I’ll be able to squeeze them in, I really enjoy making them.
August 3, 2019 at 6:34 am #49679@shiennar Glad you’re joining us! I’m really looking forward to see what you make this time!
August 3, 2019 at 6:37 am #49680@smurfmier1985 I’m good, Miranda, glad to see you too. 🙂 I’ve also had a lot of work lately, so I had to stop doing the weekly projects (but I’m working on something special at the moment – I hope I’ll be able to share more details in a couple weeks’ time).
I saw that you already created your own homework thread, I’m looking forward to seeing your completed chest (I’m curious what kind of spin you’ll put on it.)
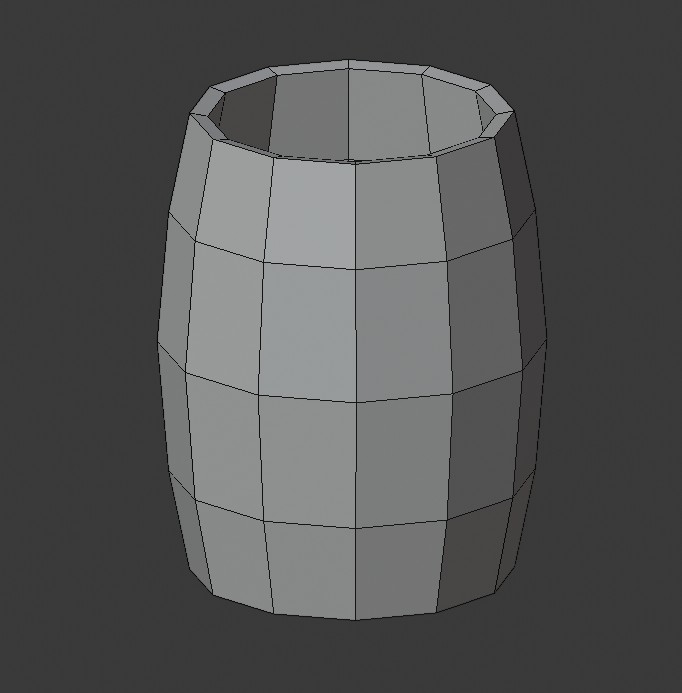
August 3, 2019 at 7:15 am #49681WIP 1: Barrel stave
I have a simple scene in mind that I want to create with the barrel (or do I hear barrels?). I want to make them stylized, but with realistic measurements, so I set out to hunt for barrel dimensions. I found those quickly enough. In gallons. And liters. And special wood-working magic units that have been passed from father to son for generations. In centimeters? Not so much.
But in the end I found something believable, and, equipped with some extra reference, I started from a cylinder with 12 divisions (I hope to separate these into planks later). To get the right shape, I added a circle with the right measurement, positioned it in the middle of the barrel and scaled the mid section to meet the circle.
Then I deleted the head (that’s barrel jargon for you, ha) and the bottom and I added the Solidify modifier. Remembered to apply the scale (I always forget) and I ballparked the plank width (so much for accurate measurements). I thought about the hoops and realized that it might be a good idea to mirror the barrel on Z (I had to reset the origin to the centre to make this work). And so the barrel stave was born.
 August 3, 2019 at 8:16 am #49682
WIP 2: Plank separation
I knew I’d need some holding edges for each plank, but I didn’t want to add them one by one, so I used a little trick. I added a loop at the bottom. Then I selected all vertical edges and bevelled them with one extra edge inside.
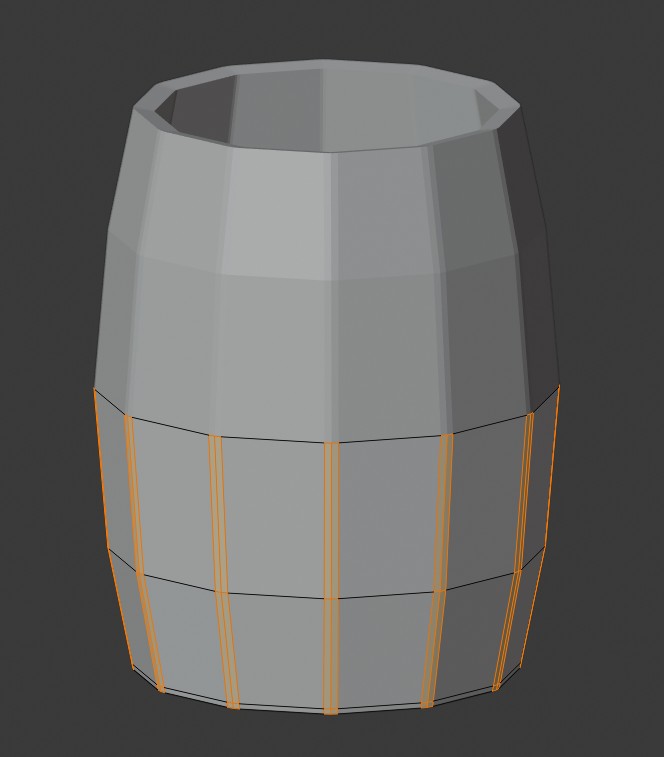
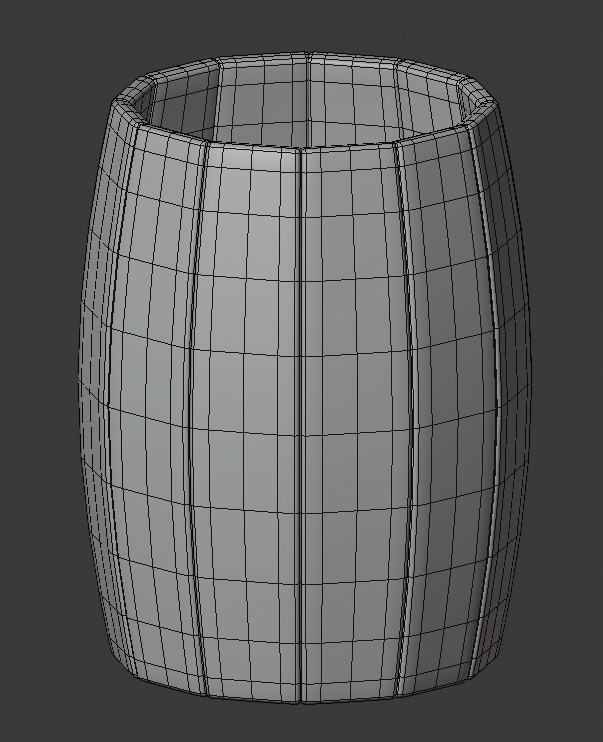
I selected these extra edges and ripped them (with V). This didn’t seem to do much, but when I added the SubSurf modifier and smooth shading, it started to look more like a barrel. (The modifiers are not applied, it’s just that I’m showing the wireframe).
 August 3, 2019 at 8:17 am #49683
@shiennar Great! By using the Solidify Modifier, you already got the slant of the wood planks ends for free;)
One easy way to separate the planks is to select all the vertical edge loops (in edge mode) and press V.
Select a plank and press F to fill both sides at once (you’ll need to have the F2 addon enabled for that to work, I think).
Sorry if you already knew this, but others reading this might not;)
August 3, 2019 at 8:25 am #49684@spikeyxxx We must have posted at the same time 🙂 Yes, I ripped the edges – I rarely use it, but for some reason it hit me here as a good way of making the planks. I had a duh! moment with the plank filling, but when I went to check, I found out the solidify modifier had everything under control (we’ll see if that’s still true when I apply it later). Thanks for the tips, I need to check if F2 is now bundled in or if I need to get it – it’s a great tool indeed.
August 3, 2019 at 8:29 am #49685@shiennar Yes of course! The solidify Modifier already does the filling. I forgot about that;)
August 3, 2019 at 10:52 am #49686WIP 3: Adding hoops
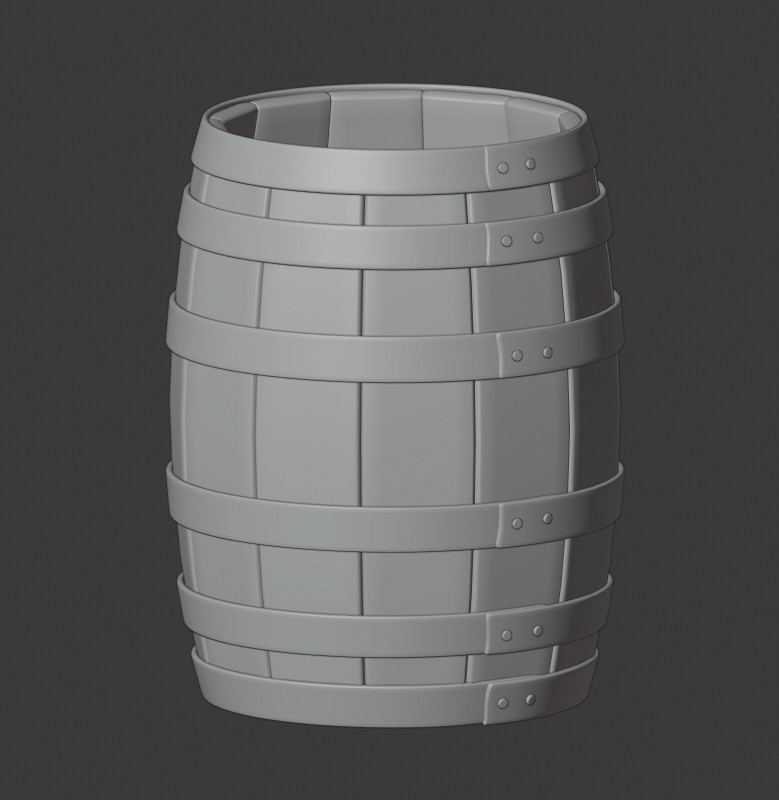
Next I added a circle, and extruded and copied it to create the three hoops. I temporarily disabled modifiers on the stave so that I could position the hoops correctly. Then, in object mode, I selected the hoops and the stave and copied (linked) the modifiers with Ctrl+L. Now the hoops also have thickness and smoothness.
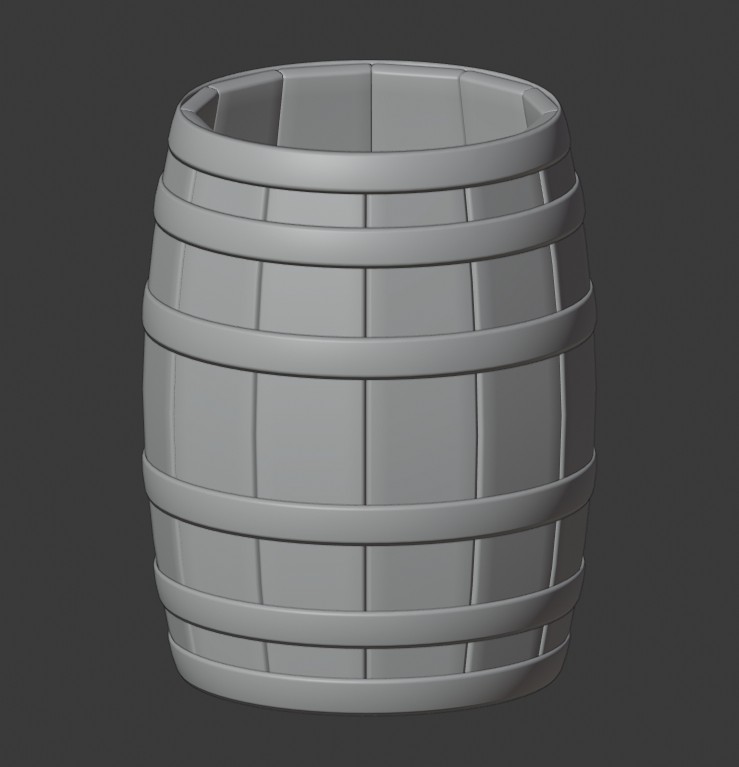
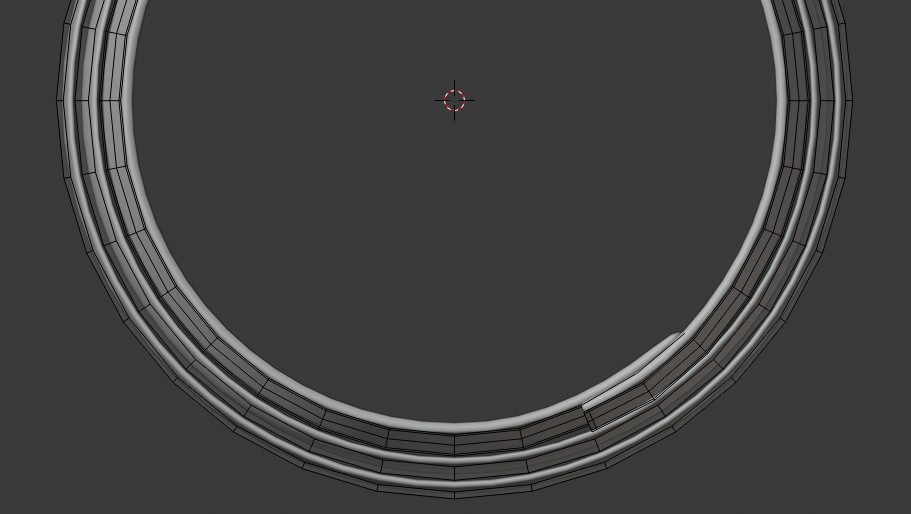
I didn’t add the holding edges at this point, because I wanted to add more detail to the hoops. I ripped the top hoop at one vertical edge. Then I moved the cursor to the center of the hoop and I changed the pivot point to cursor. With this setup, I was able to scale (with Alt+S) and extrude+rotate the edges so that they weren’t overlapping. I finally added the holding edges and moved the vertices at the end of the hoops so that it looked more like it was truly welded.
After that I modelled a simple rivet. I enabled snapping to faces (affecting rotation) and I switched to “Normal” transformation orientation. Then I snapped the rivets onto the hoops and moved them in the Z normal direction. At the end I joined them to one object and mirrored them exactly like the hoops.
 August 3, 2019 at 11:06 am #49687
@shiennar Cool! That’s almost exactly the same method I used for my rings…
As for stating the obvious: at some point, apply the Z- mirror, so you can rotate the hoops a bit more randomly. The mirroring is too obvious now.
August 3, 2019 at 11:48 am #49688@shiennar I’m learning a lot by reading about your process 🙂
August 3, 2019 at 1:45 pm #49689WIP 4: Adding top/bottom and a rack
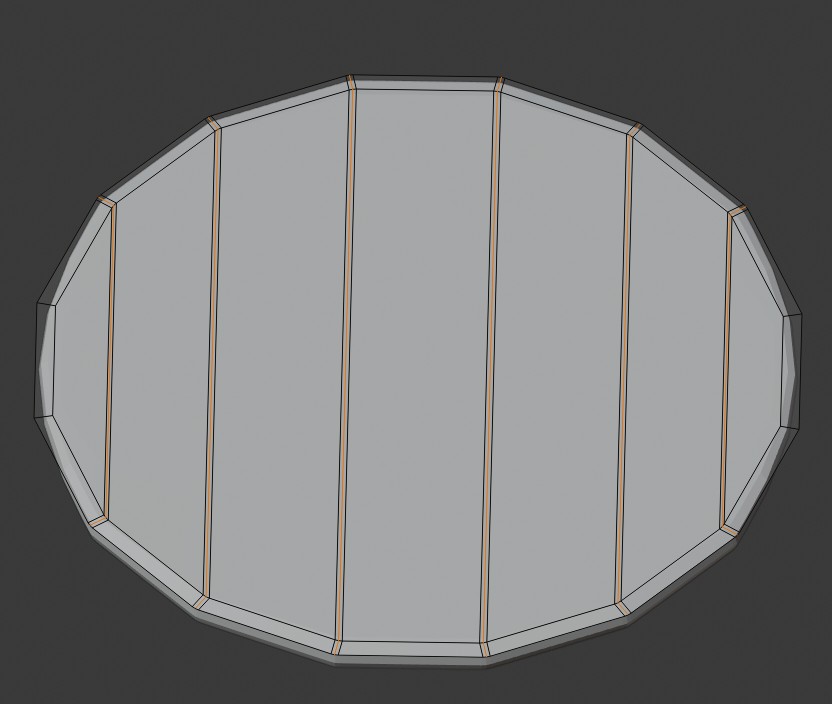
To create the lid, I added a new circle. I had to experiment a bit with the number of vertices (16 proved to be what I was after). First I filled it with a single face and then I inset it – to get nice shading later. I deleted the middle face and used a grid fill tool with span of 1 to create the planks. Then I selected all the loops and bevelled them with 1 extra edge. To select the middle edge only, I found out the quickest way was to press Ctrl -. Then I ripped those edges again.
I also applied the mirror on hoops and rivets and made small adjustments to make the mirror less obvious. This is what the barrel looks like now (with MatCap):
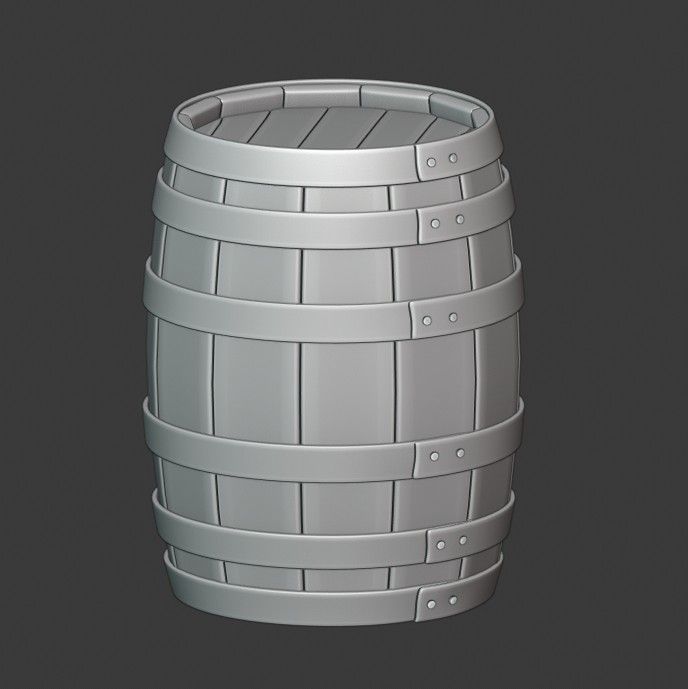
Next I’m going to create a couple more items to put together a simple scene.
August 3, 2019 at 2:03 pm #49690 -
AuthorPosts


- The topic ‘BC1-1908 Homework – Katerina Novakova’ is closed to new replies.