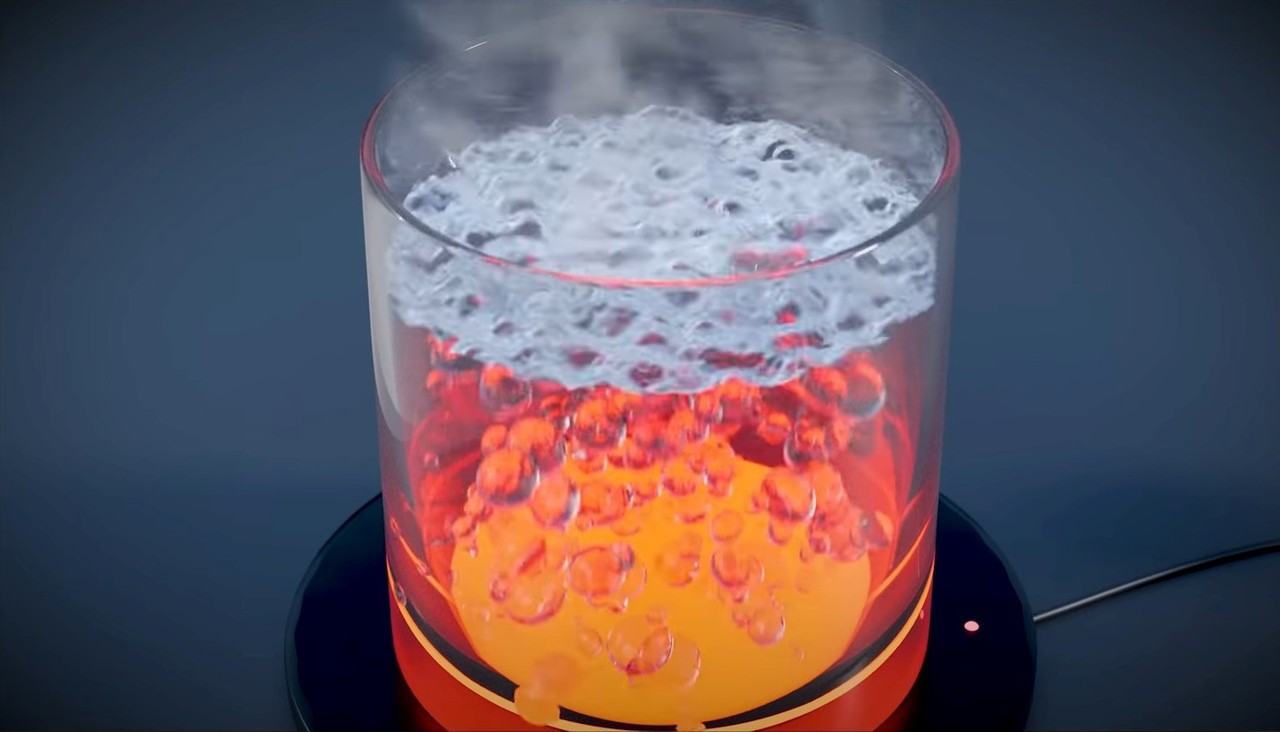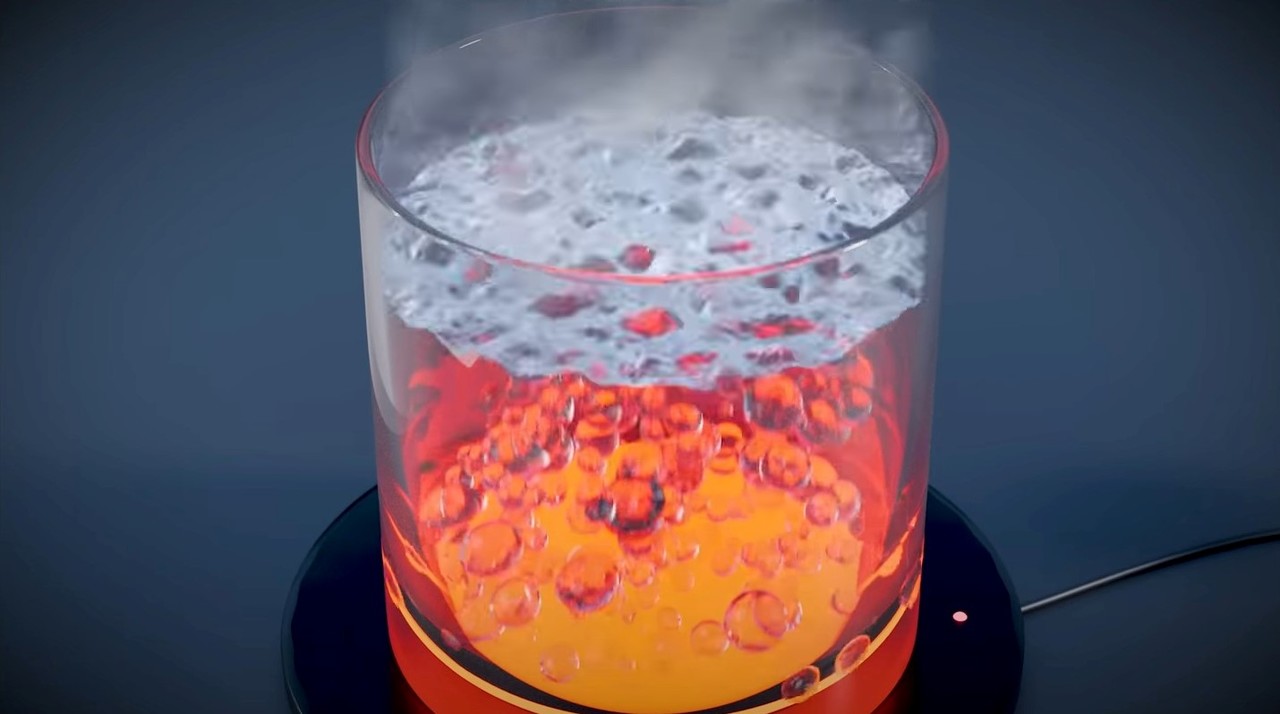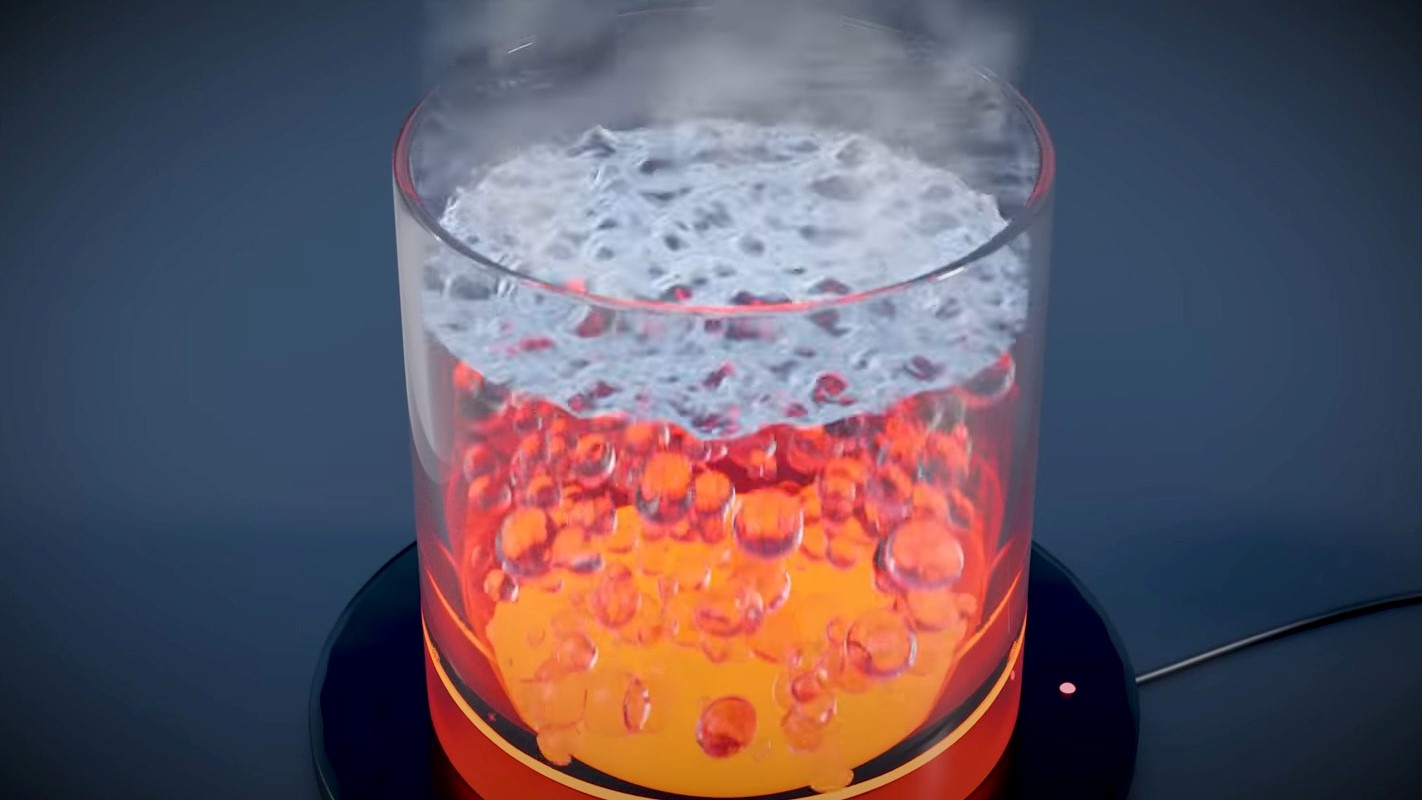
In this Blender Beginner tutorial, we’re going to learn how to animate boiling water in Blender—complete with bubbles, steam, and a red-hot hot plate.
- Create the vessel
- Create the water
- Create the bubbles
- Build a ground plane for our floor
- Add and frame the camera
- The texture of the water and glass
- Create the steam
- Set up lights and environment
- Create the hot plate!
There’s a lot to get done, so let’s get started.
Step 1: Creating the vessel
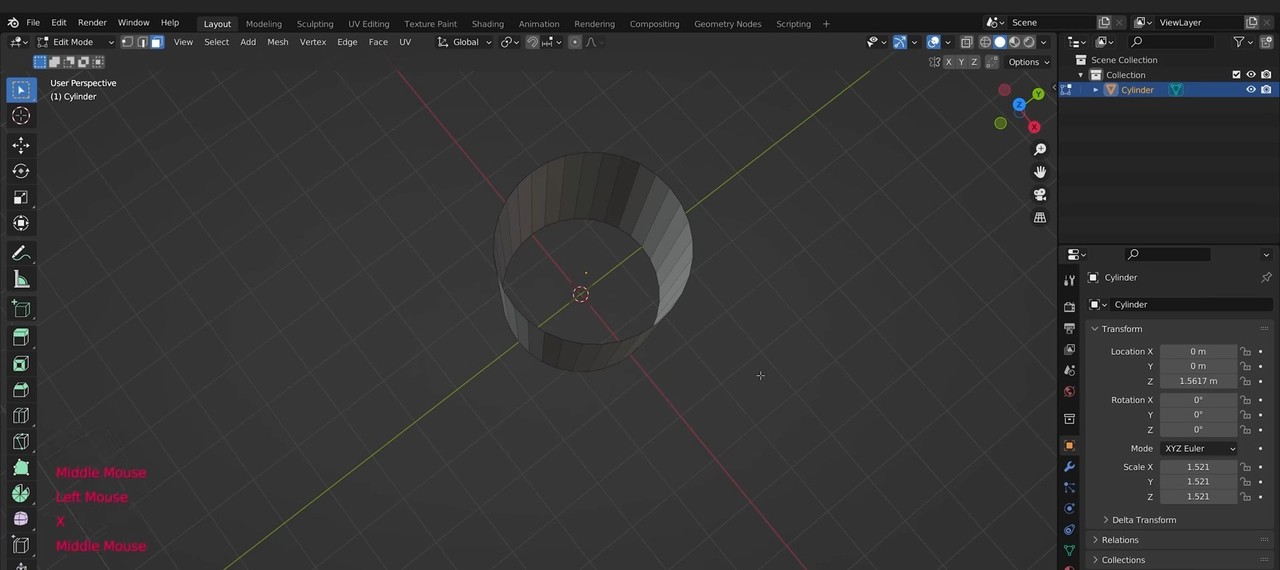
We’ll need something to hold our boiling water, so let’s start by creating a vessel. We going to use glass so we can get the best view of our boiling water. Create a
cylinder, and delete the top and bottom faces, leaving an open-ended tube as shown
below.
Extrude the bottom loop of the glass inwards and then use Grid Fill to create the bottom
of the glass.
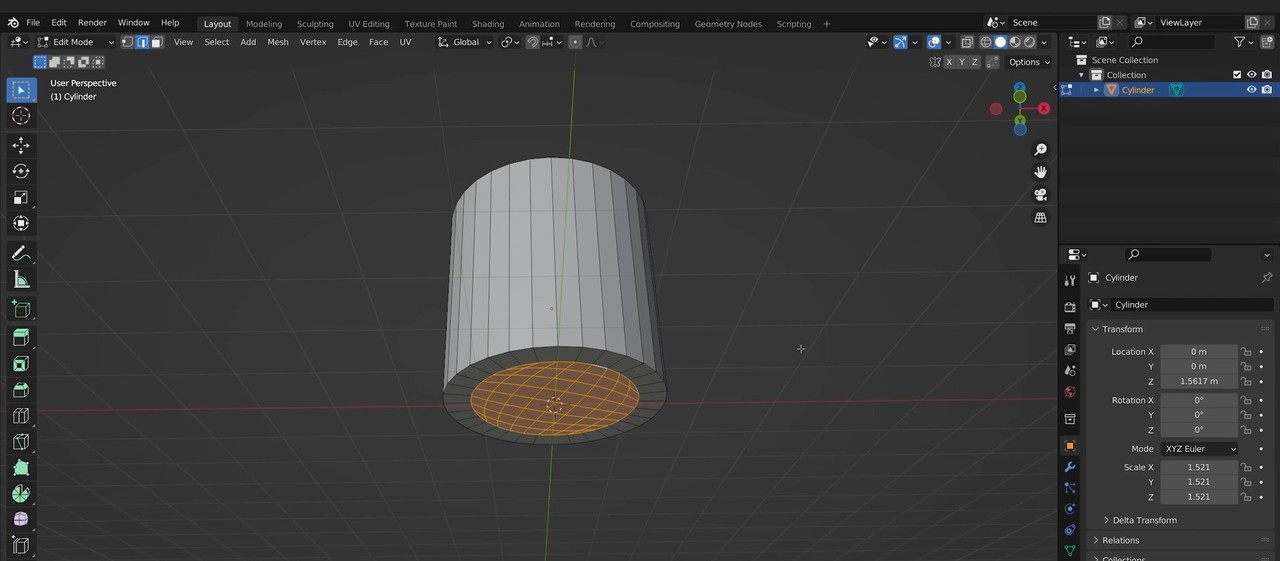
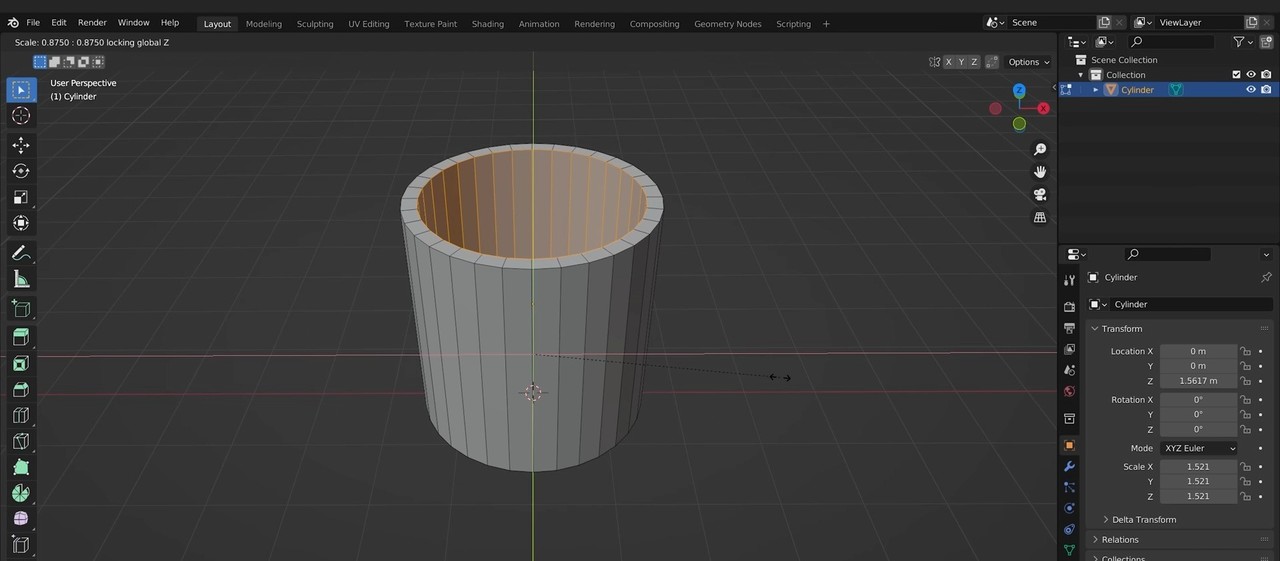
Now select all and extrude and scale inwards to give our glass some thickness. Use
Shift+Z to turn off scaling on the Z-axis; that way the edges of our glass will be level like
they should be.
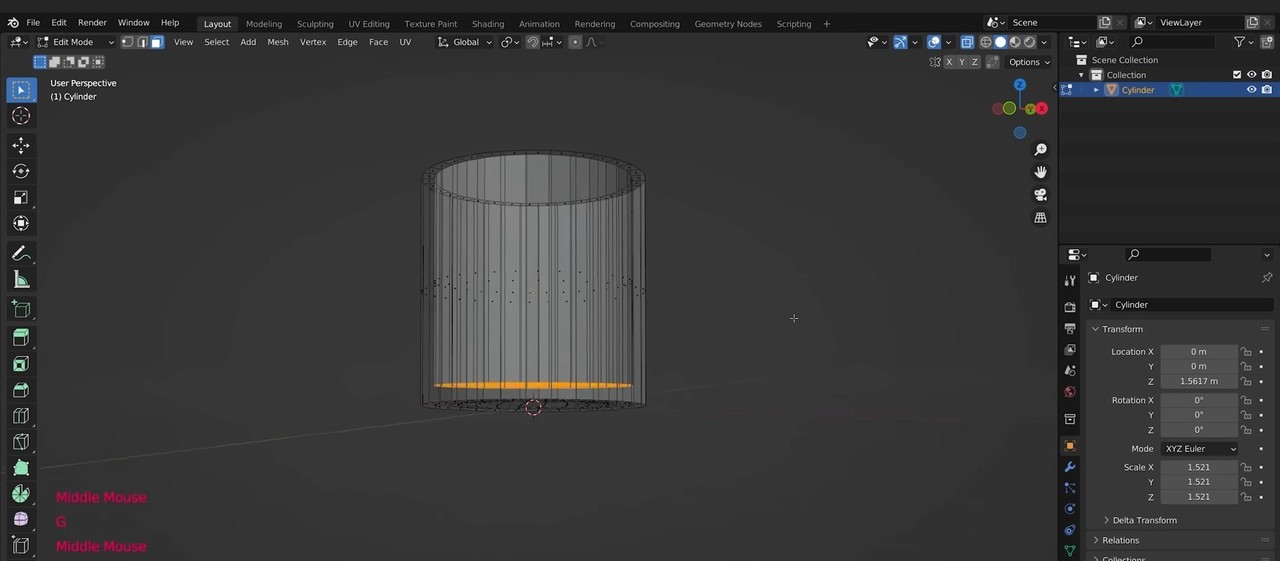
We’ll need to select the bottom of the glass and bring it up separately. To do this, I’ll
switch to X-Ray Mode, use Box Select to deselect the side walls, grab the bottom of the
glass, and move it up the Z-axis.
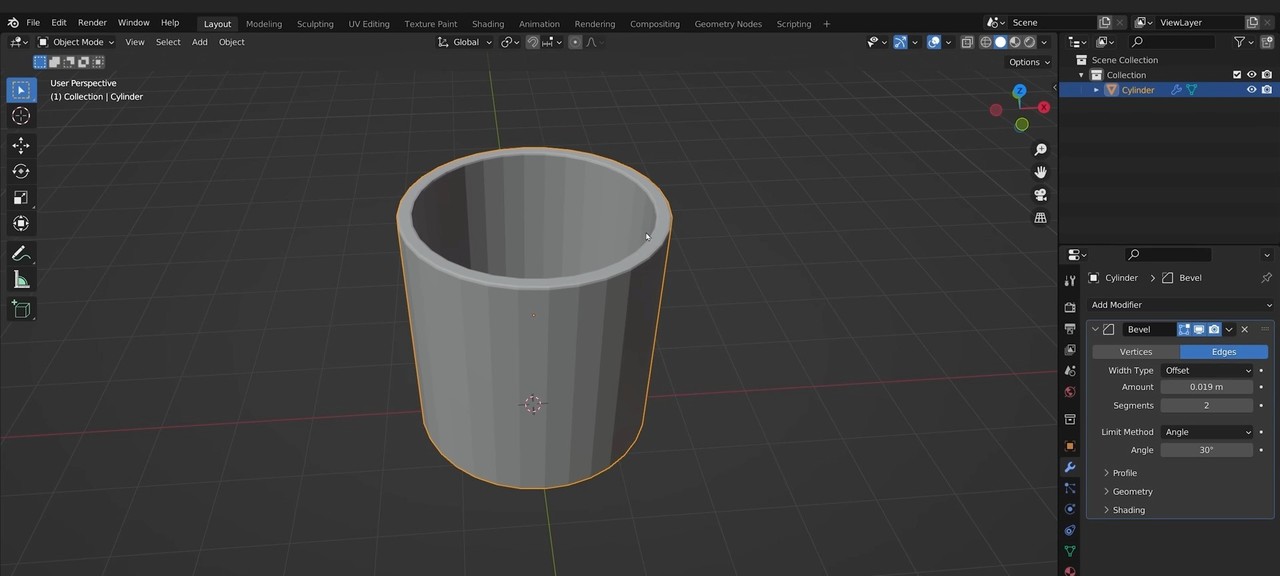
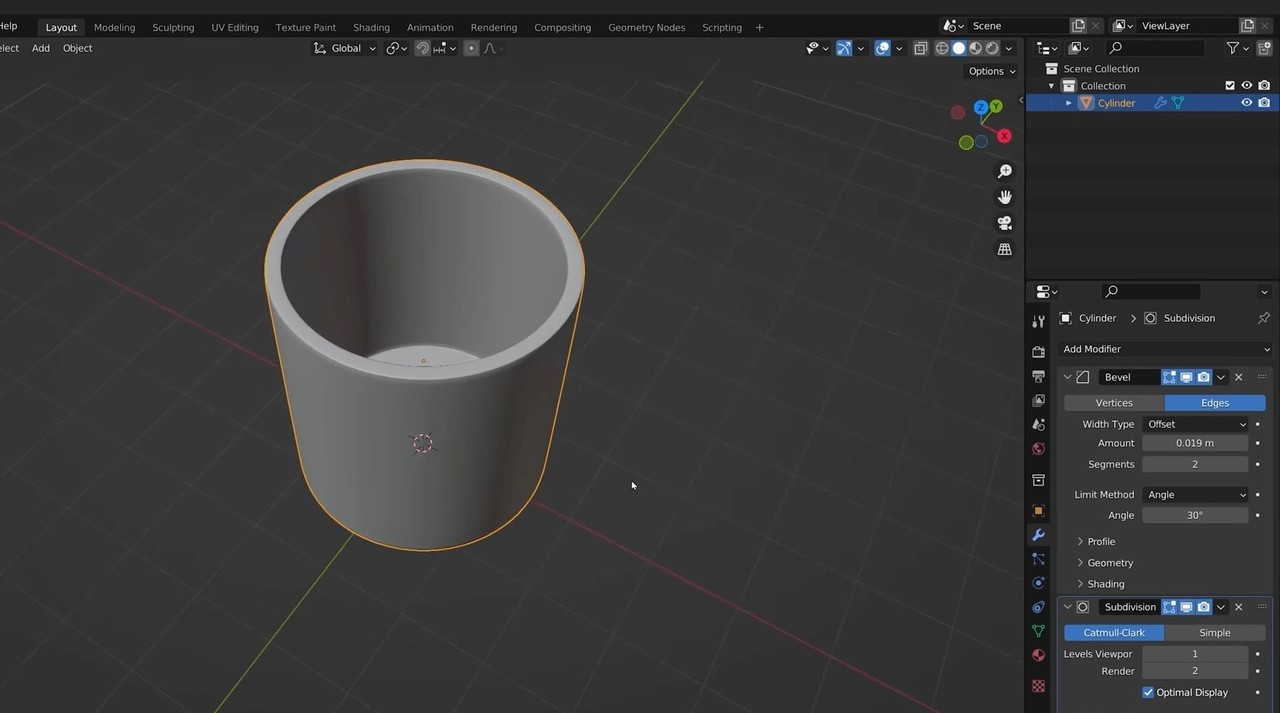
With the thicknesses set as needed, let’s leave X-Ray Mode, add a Bevel modifier, and
tweak the settings a bit so that the glass’s edges are beveled as they would be in real
life.
Finally, let’s add a Subdivision Surface modifier and shade smooth to get the rounded
surface we want from our glass.
Step 2: Let’s create the water
We need to create both the surface of our water and an emitter for our bubbles. We should
still have the base of the glass selected, and that’s the perfect size for both since it
perfectly fills up the glass, so go ahead and duplicate and separate that base. I’ll call this
object “Emitter” (yes, I know it’s spelled wrong in the image; now stop looking).
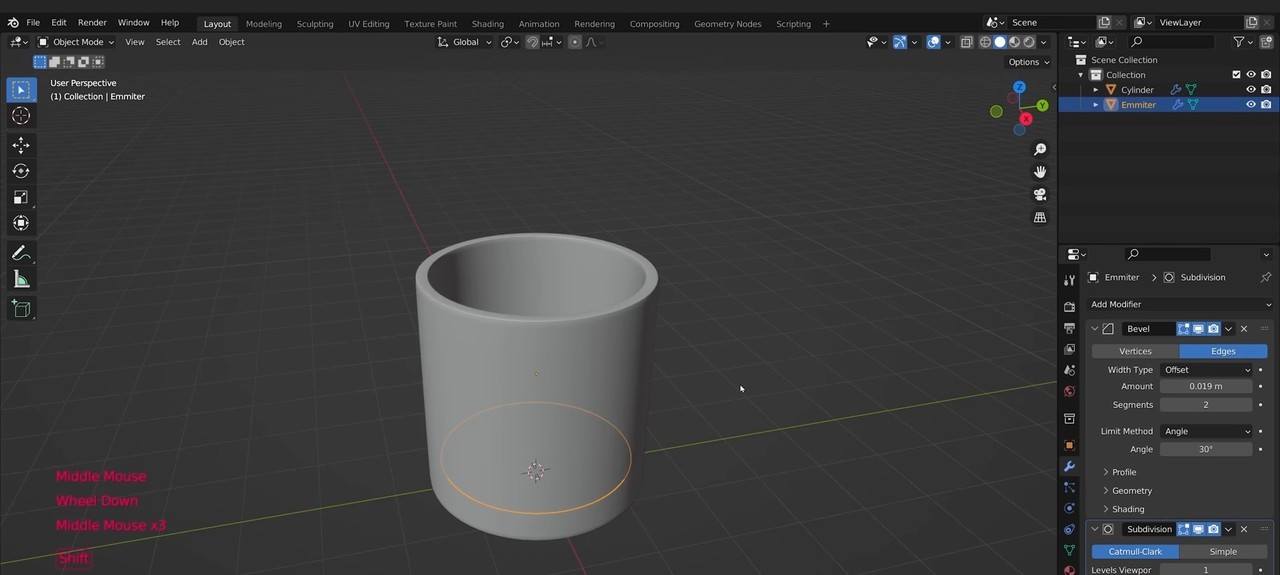
Duplicate that Emitter shape and drag it up, and call that layer Surface.
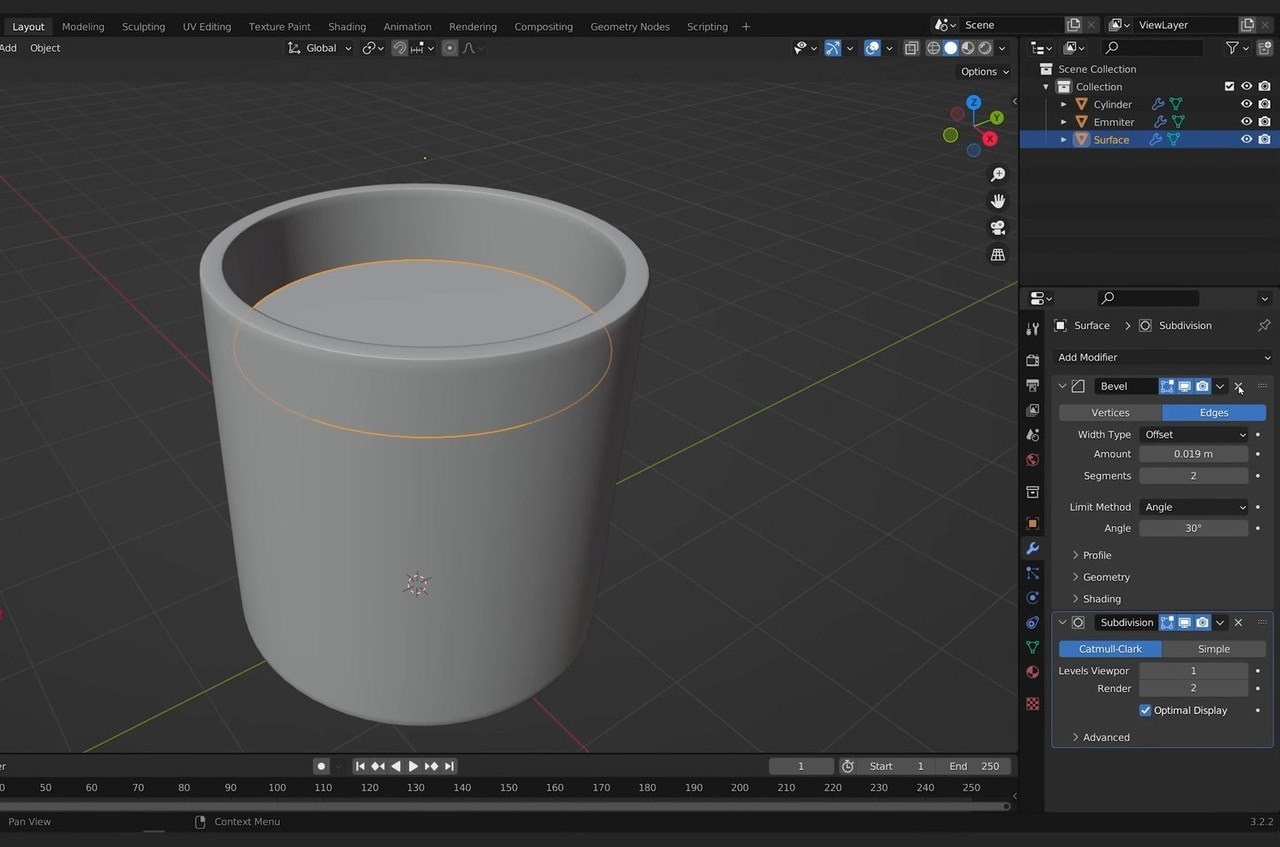
Make sure to get rid of the Bevel modifiers on the Emitter and Surface objects, and the
Subdivision Surface modifier from the Emitter as well. Then, add a Displace modifier to
the Surface object. In this Displace modifier, we’ll create a new Voronoi-type texture,
which will form the basis for our boiling water.
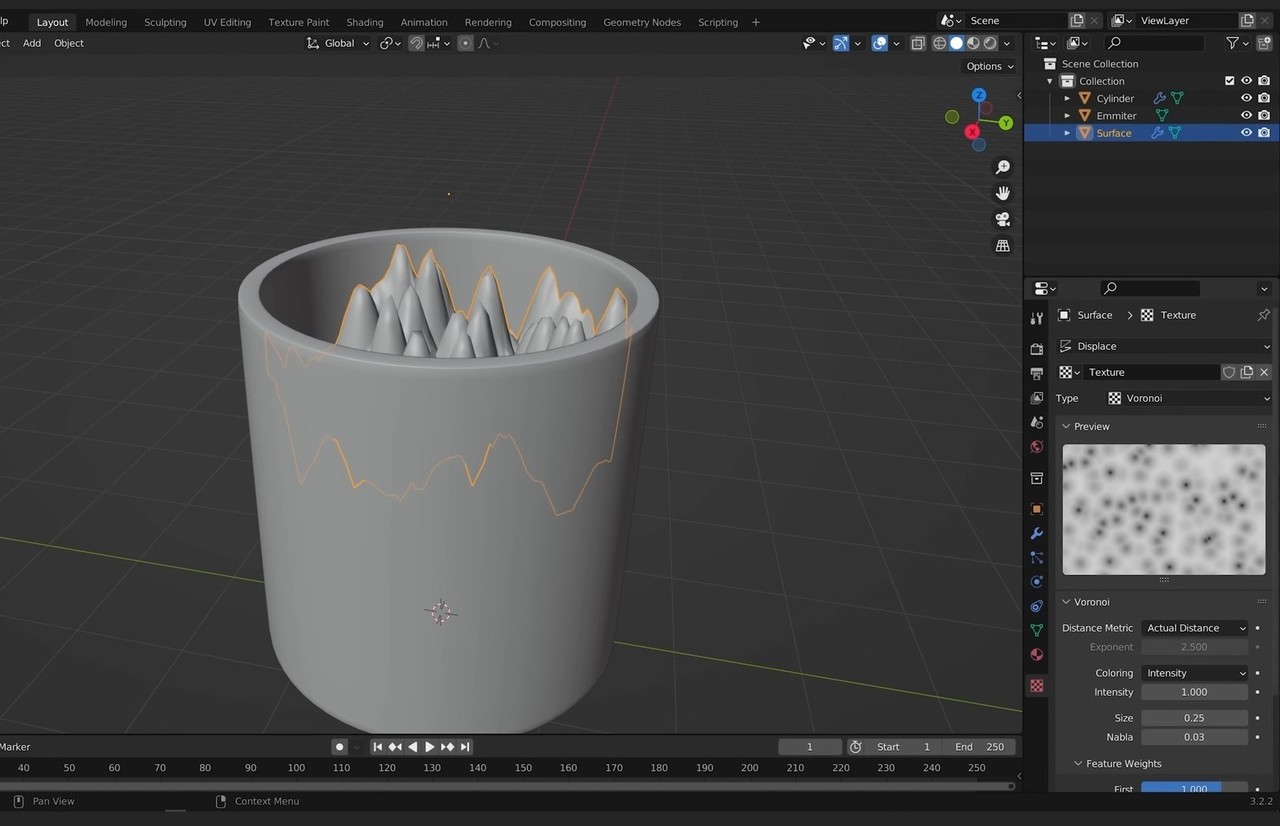
I’ll tweak the feature weights, size, strength, and subdivisions of this Voronoi texture to
get the effect I’m looking for. If you’d like to see the exact final values for each, I encourage you to check out the video version of this tutorial to see these changes in
real-time. Here’s how the surface of our water is looking now.
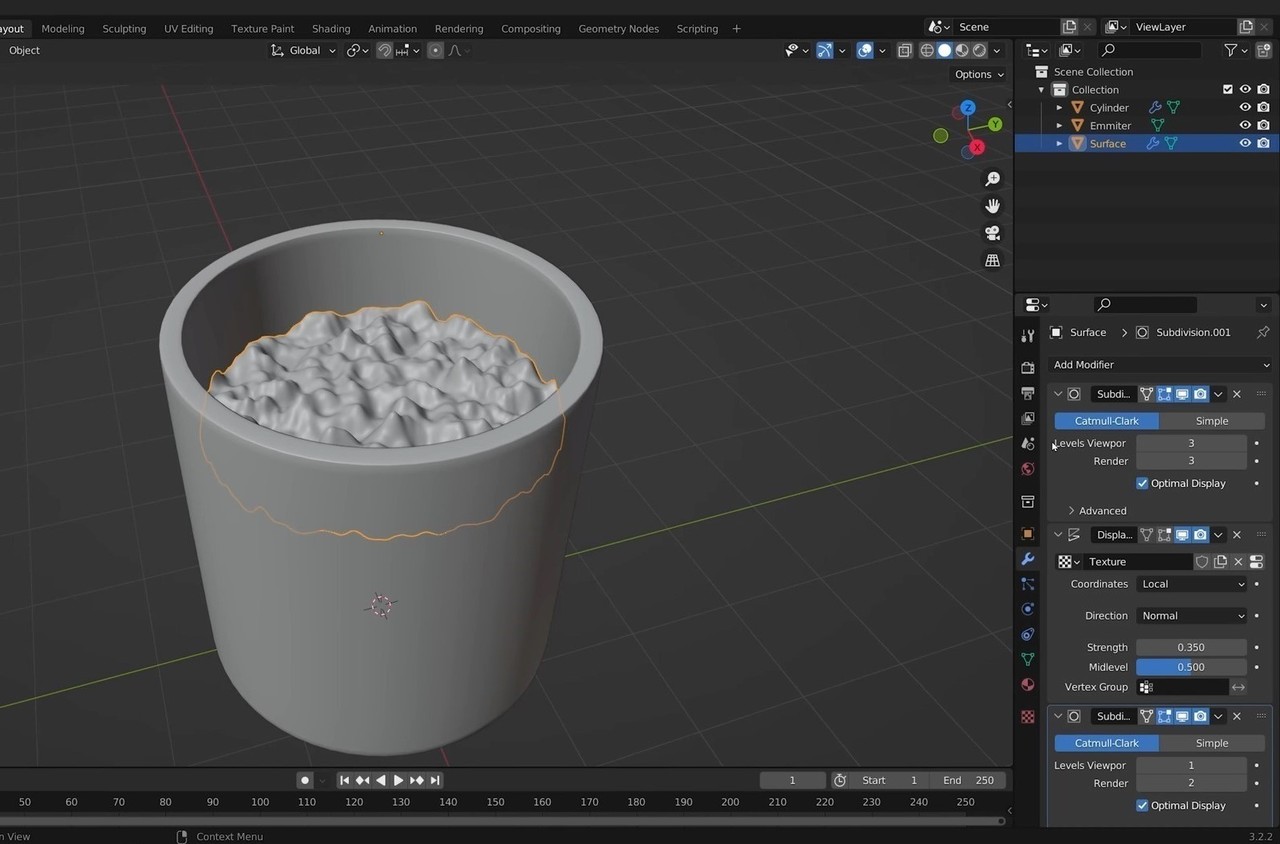
Now it’s time to animate the boiling water texture. We can do this by switching the
Displace modifier to use another object for the coordinates. I’ll then create an Empty
Plain Axes object and select that object for our Displace modifier’s coordinates.
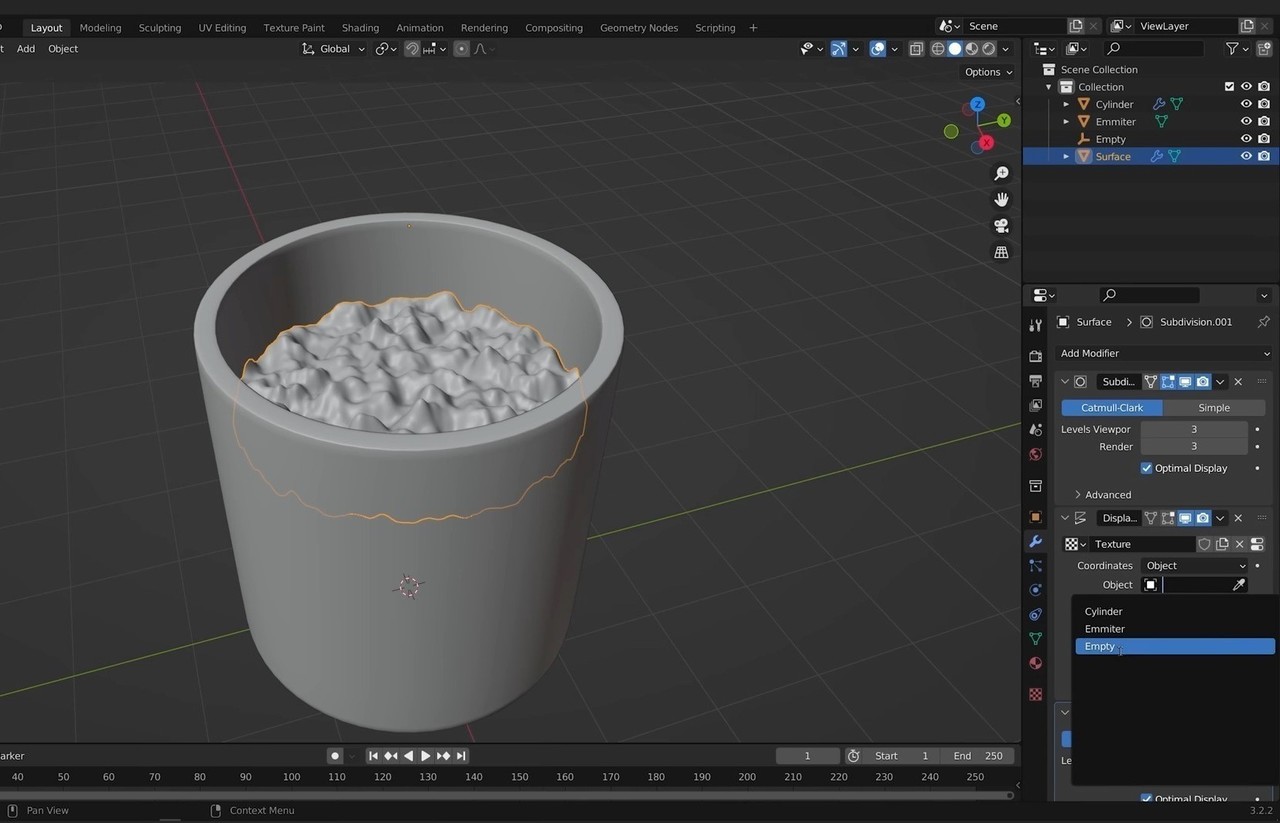
What this will allow us to do is animate the Voronoi noise pattern using the position of
the Empty object, since moving the Empty object will also change the Displace modifier.
To get the Empty object moving continuously so that the boiling animation happens
continuously, we can set the Z-axis of the Empty object to “#frame*.05”. The “#” symbol
here is a shortcut to create a driver, and “frame” here is a special variable in Blender that
refers to the frame number; as such, it continually increments as the frame the animation
is on increases. The “.05” factor slows down the animation to get the effect we’re looking
for.
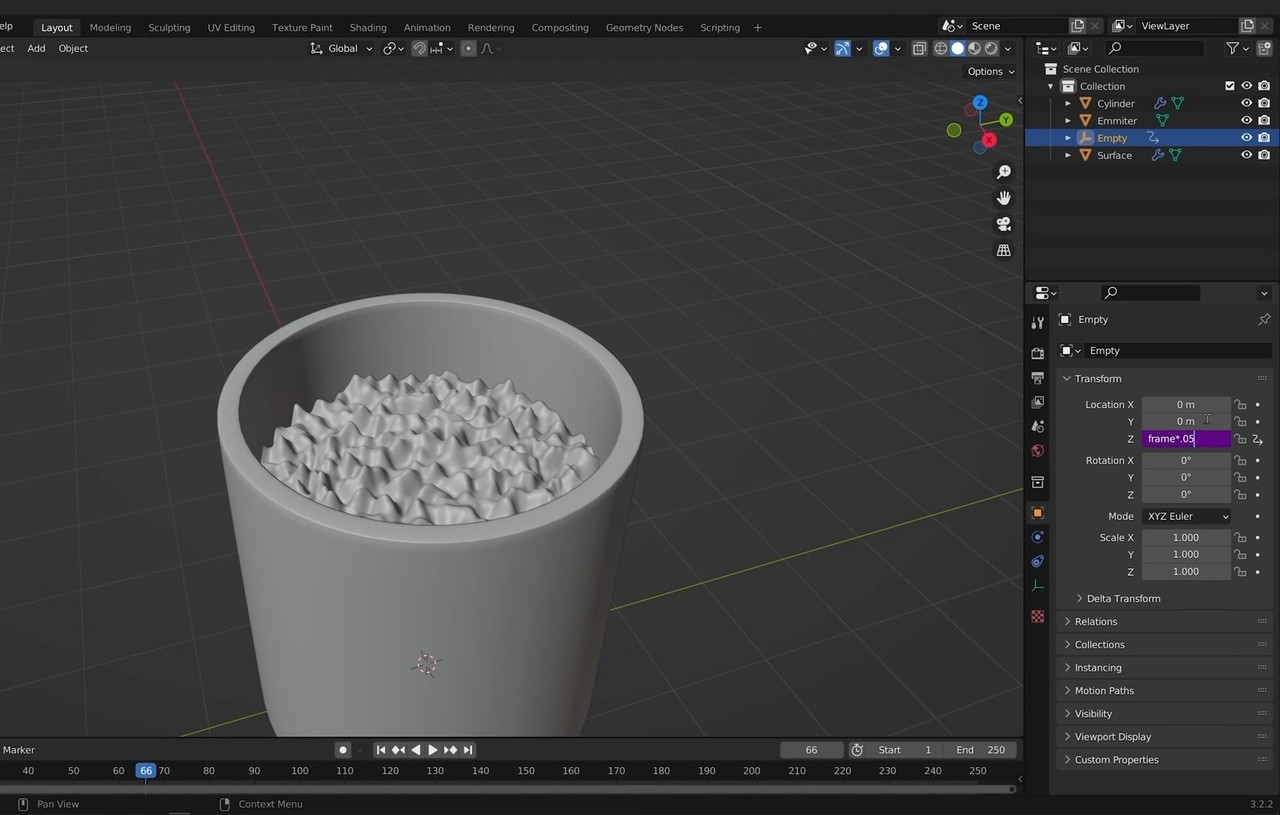
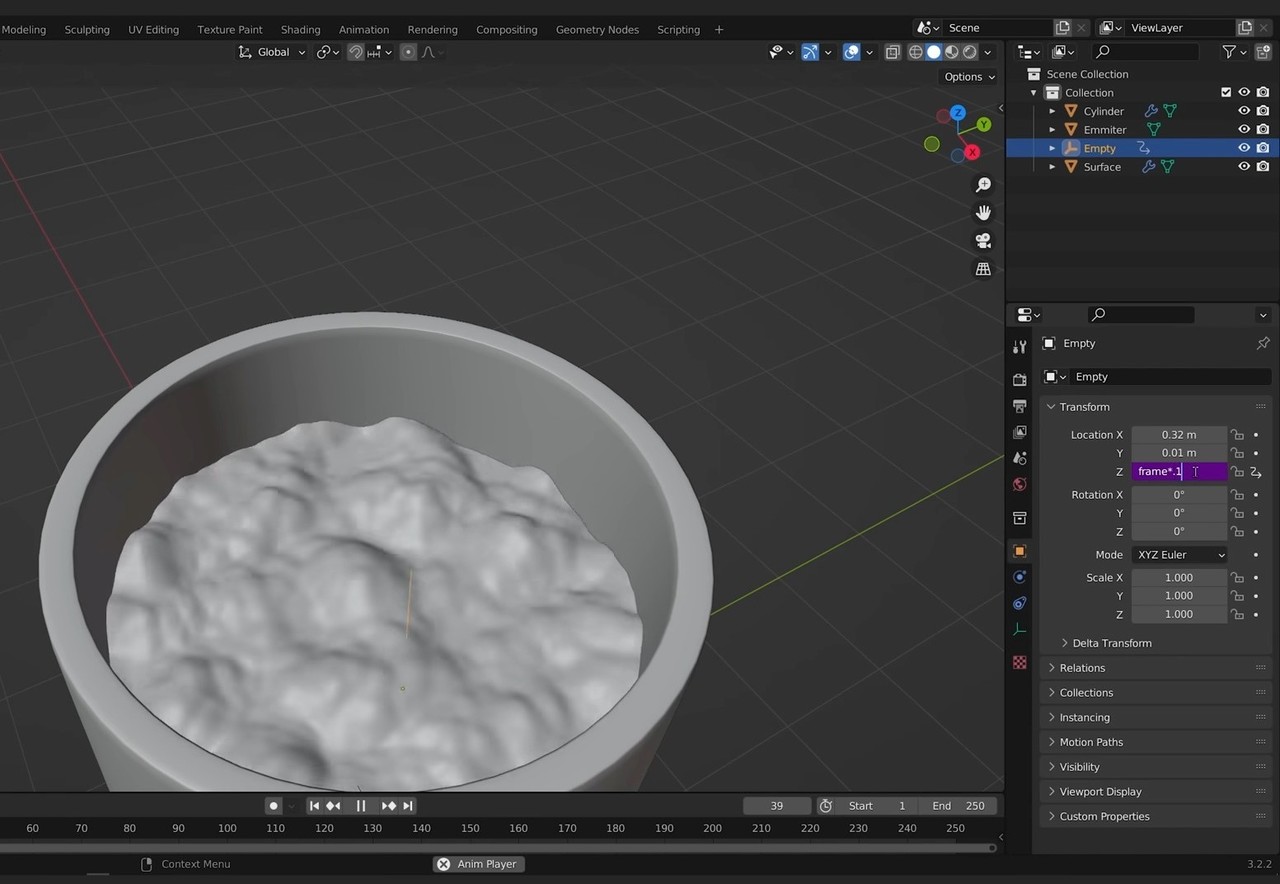
Now that we can see the boiling water in motion, I’ll adjust some of the size and strength
values again to get closer to our desired effect, and I’ll speed up the animation slightly as
well. You can see that the water peaks now have a more rounded look, which looks more
realistic to me.
Step 3: Creating the Bubbles
With our water in good shape, it’s time to create our bubbles. Let’s start by creating a UV
sphere mesh, resizing it to make it a bit more ovular, and shading it smooth.
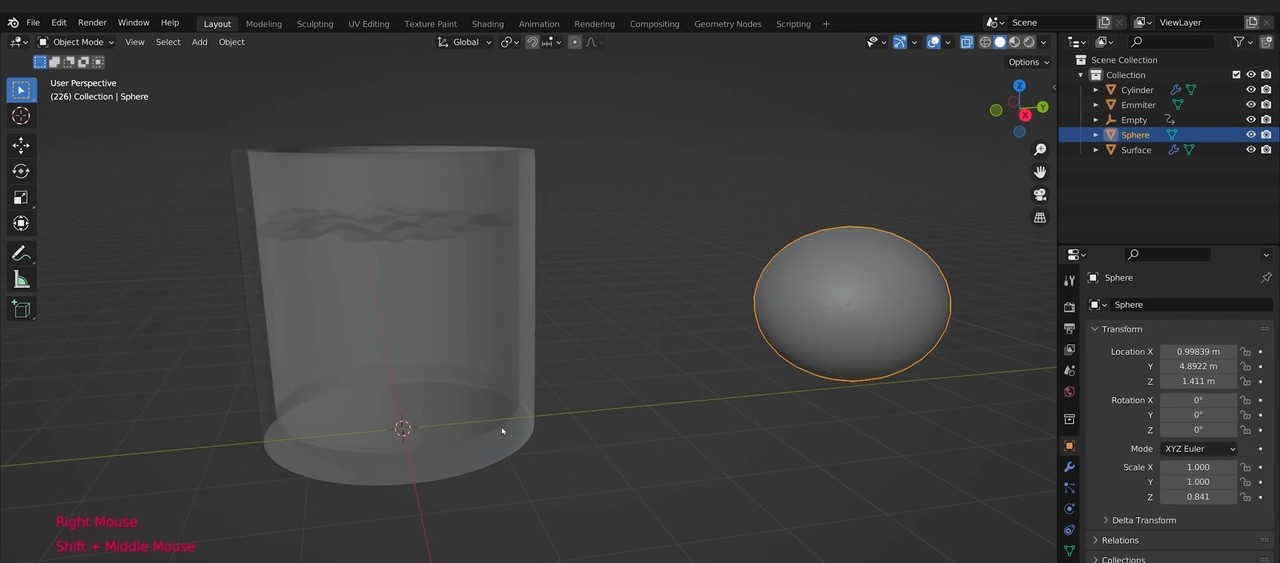
Next, let’s select our emitter, create a new ParticleSystem using the + symbol in the
Particle tab, set “Render As” to Object, and select our Sphere as the Instance Object. This
will allow us to render our bubbles as particles that look like the sphere we created. We
can also change the Scale and Scale Randomness of our particle system so that the
bubbles don’t all look identical.
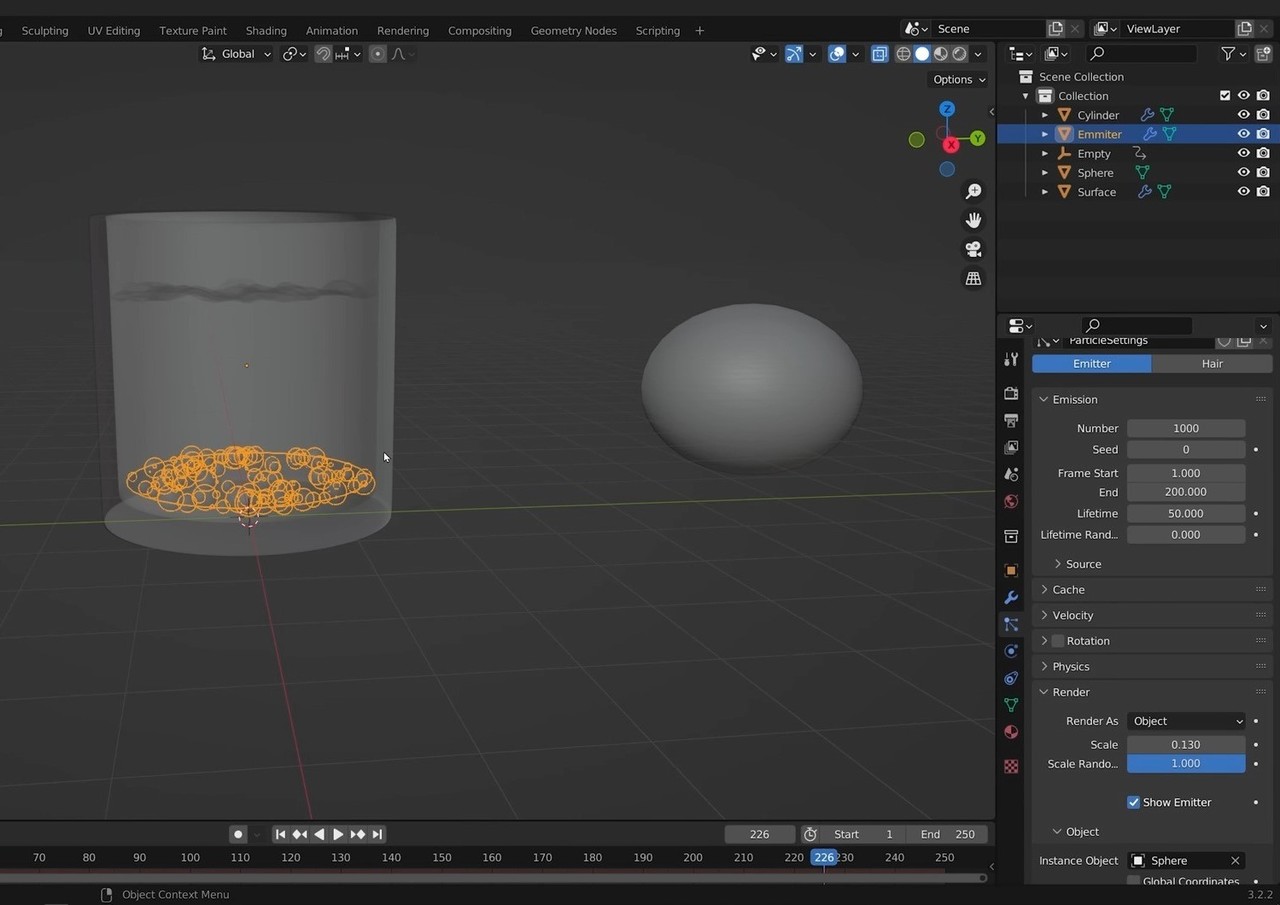
We can also scale our emitter down just a tad and apply that scale so that our bubbles
don’t form within the walls of our glass.
Now, we have an issue: if we hit Play, we’ll see that our bubbles are going in the wrong
direction.
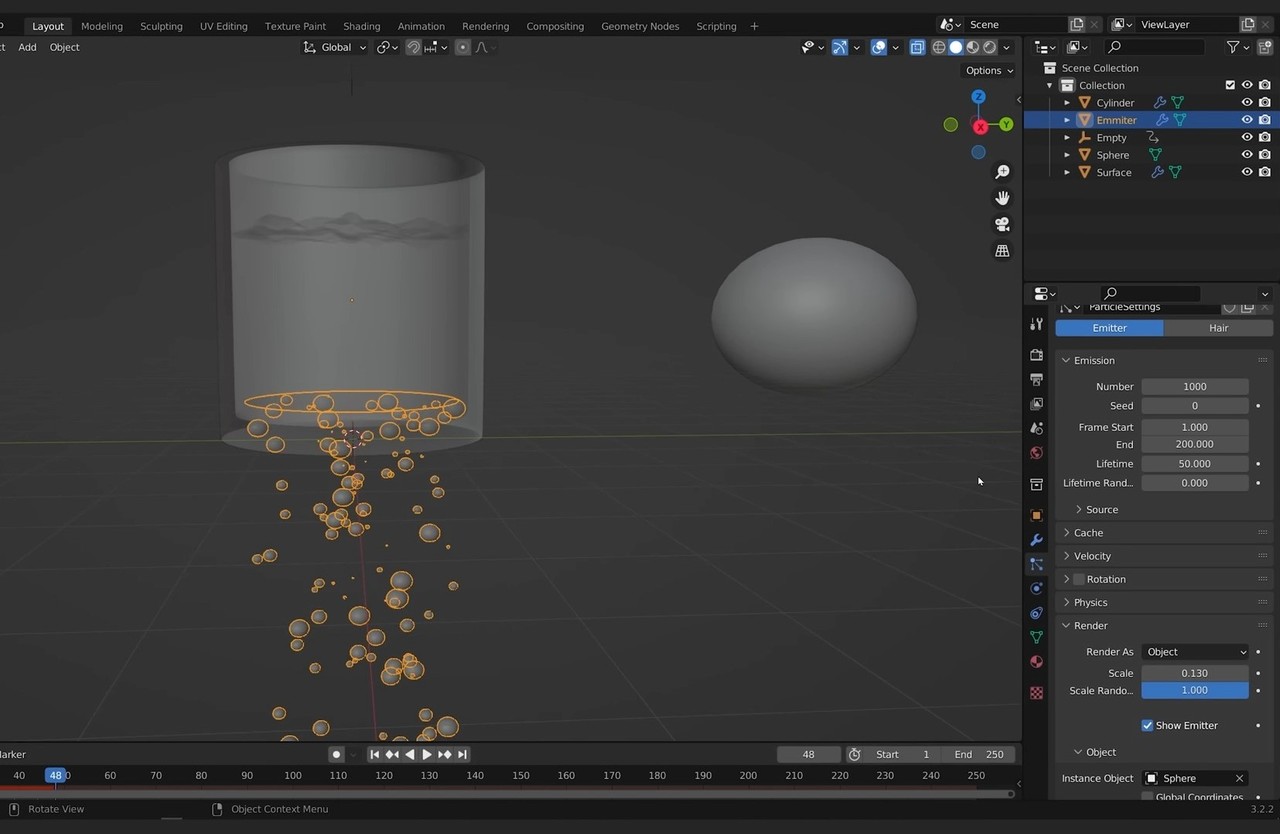
You may be tempted to fix this by reversing the value for gravity in the Scene Properties,
but this will also affect anything else in the scene that’s subject to normal physics.
Instead, let’s solve this by changing the value of gravity within the particle system from 1
to -1.
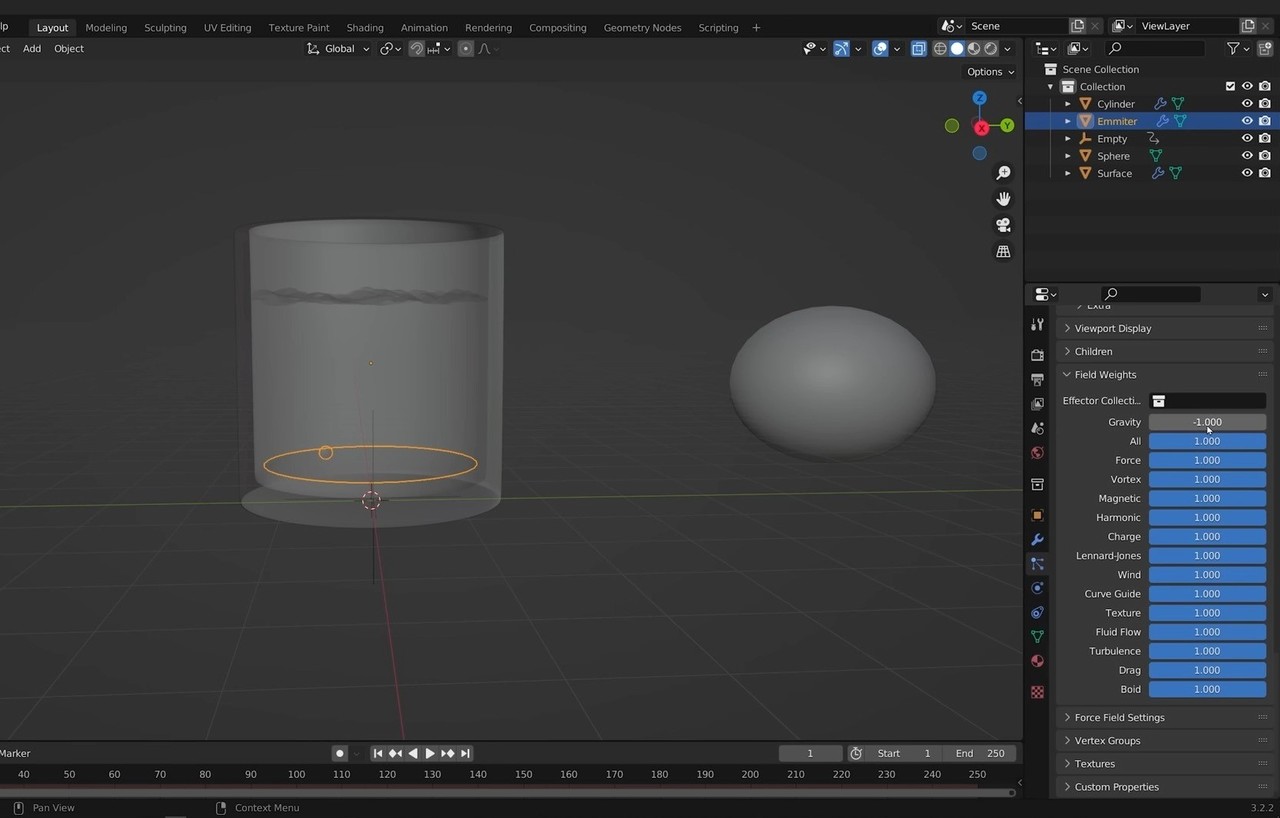
Now if we hit Play, we should see the bubbles going in the right direction.
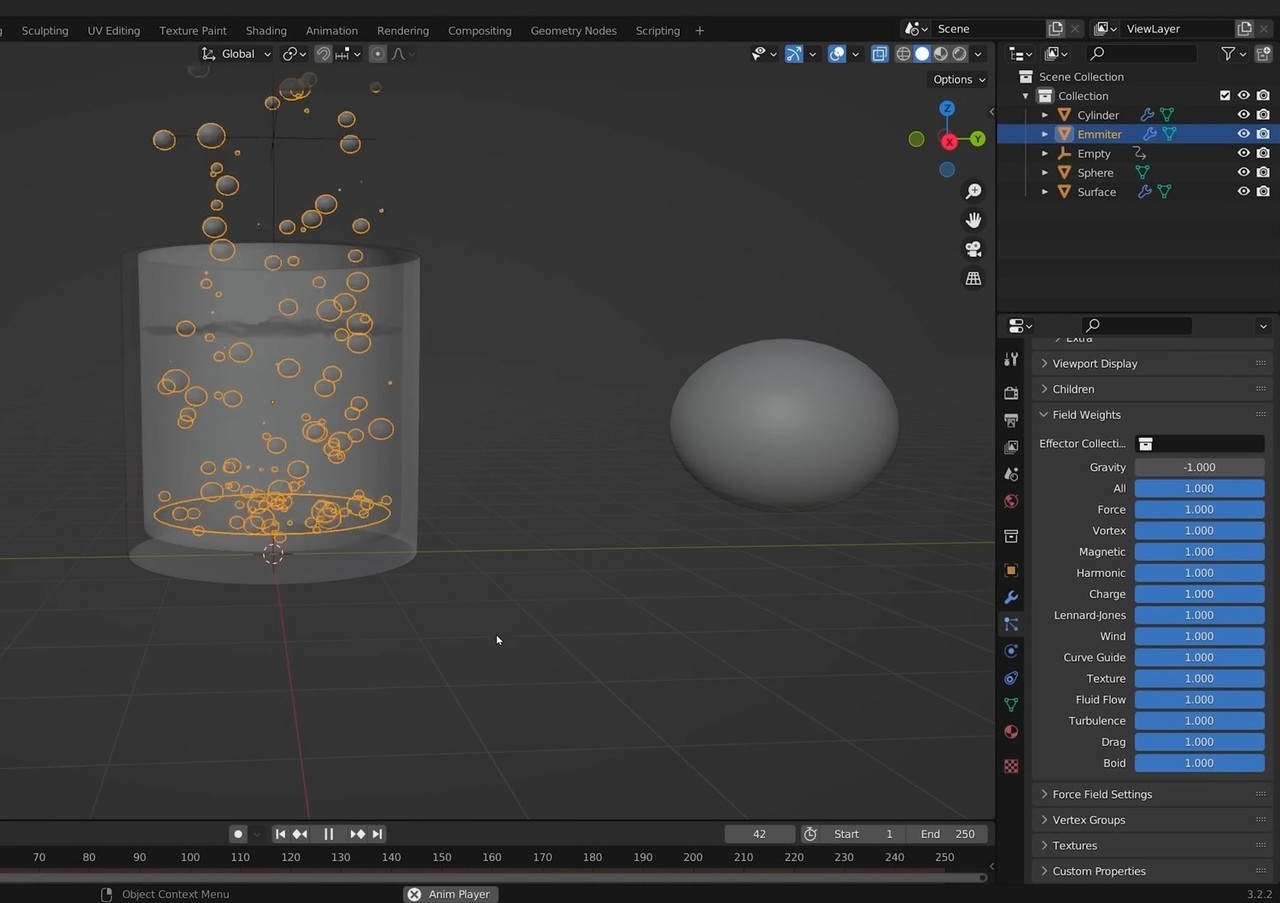
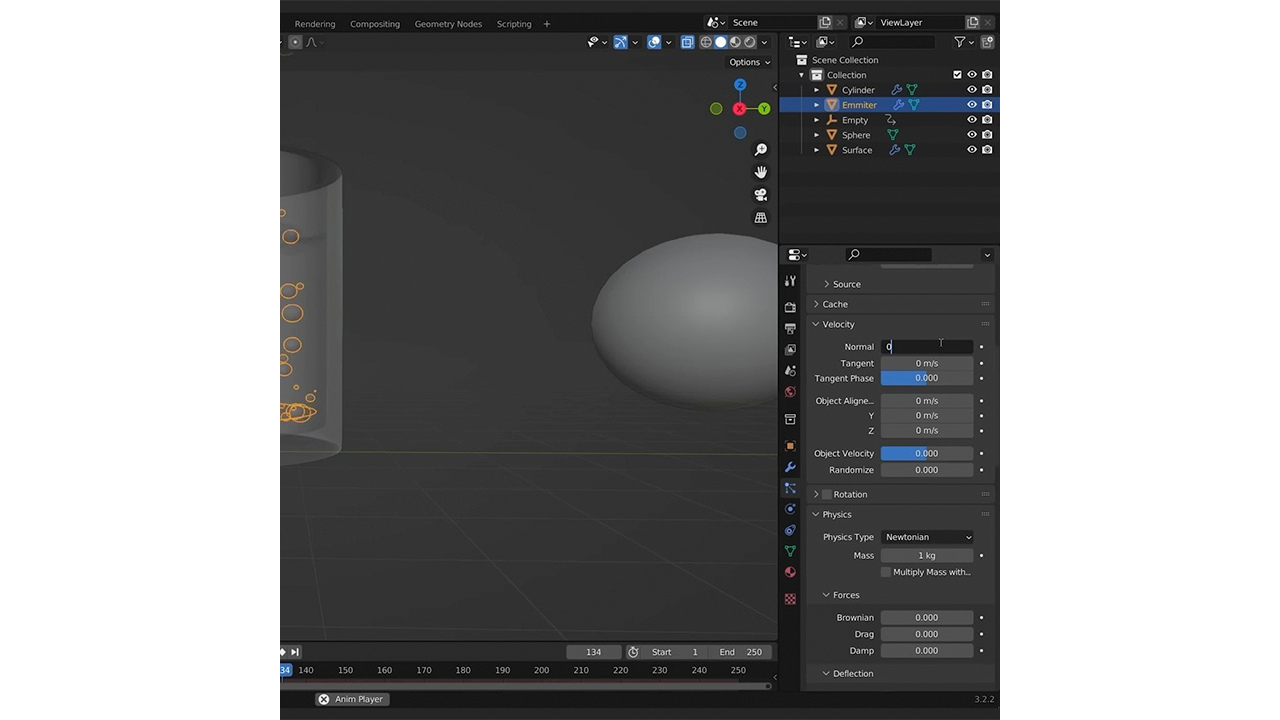
It does look like the bubbles dip below the emitter first before rising up, however; we can
solve that by zeroing out the initial velocity of the particles.
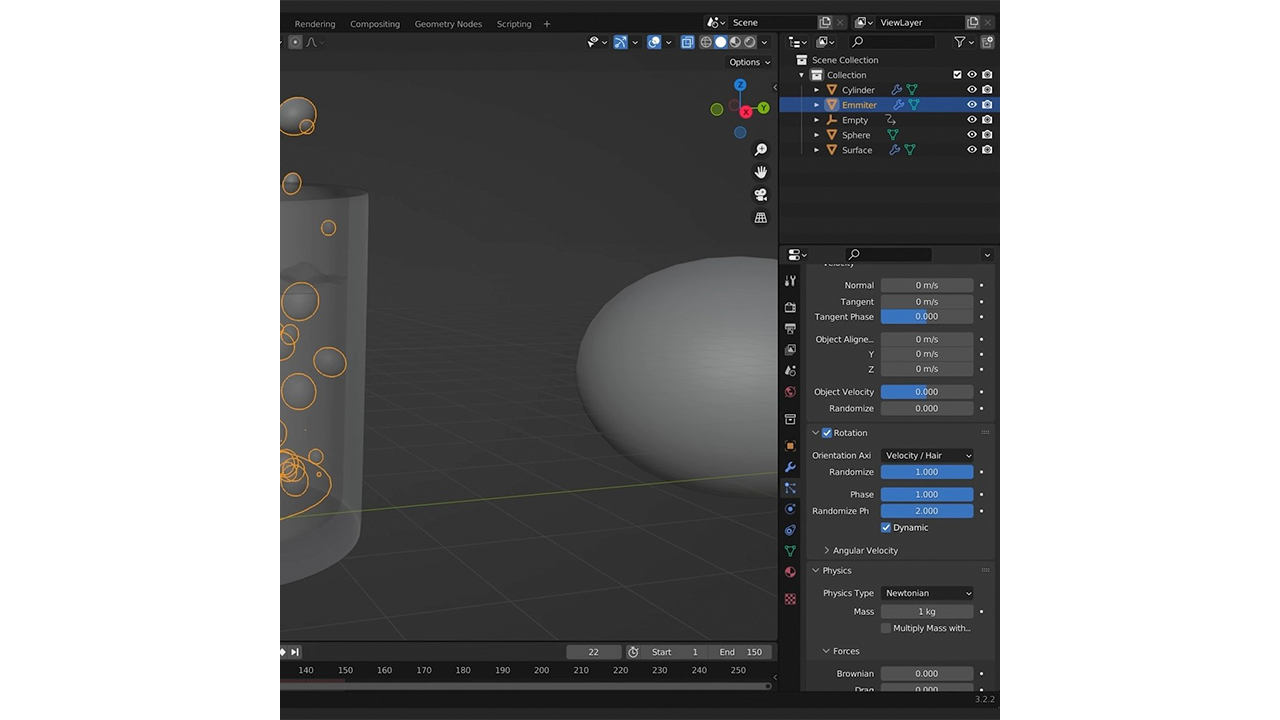
To introduce some natural randomness to the bubble animation, let’s change the Rotation
settings. I’ll increase the Randomize, Phase, and Randomize Phase values and turn on the
“Dynamic” option to accomplish this.
Our bubbles are looking great now, but there’s one more problem that needs solving: our
bubbles never stop rising.
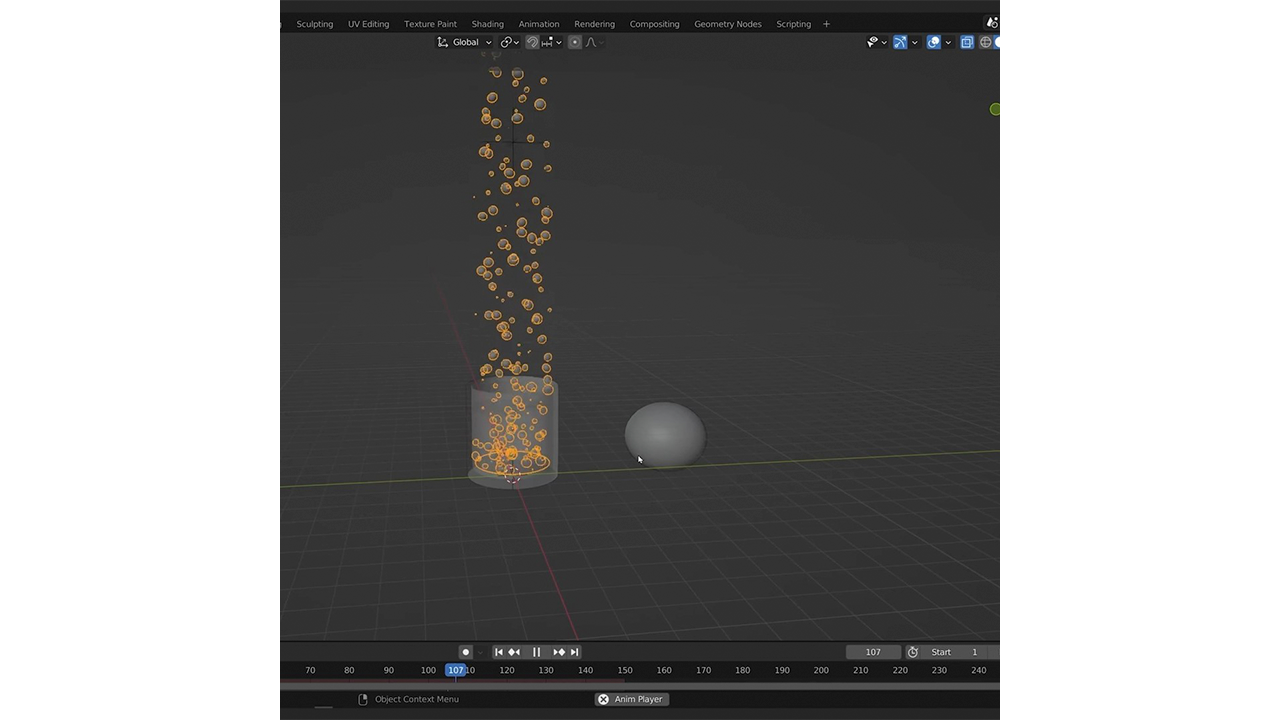
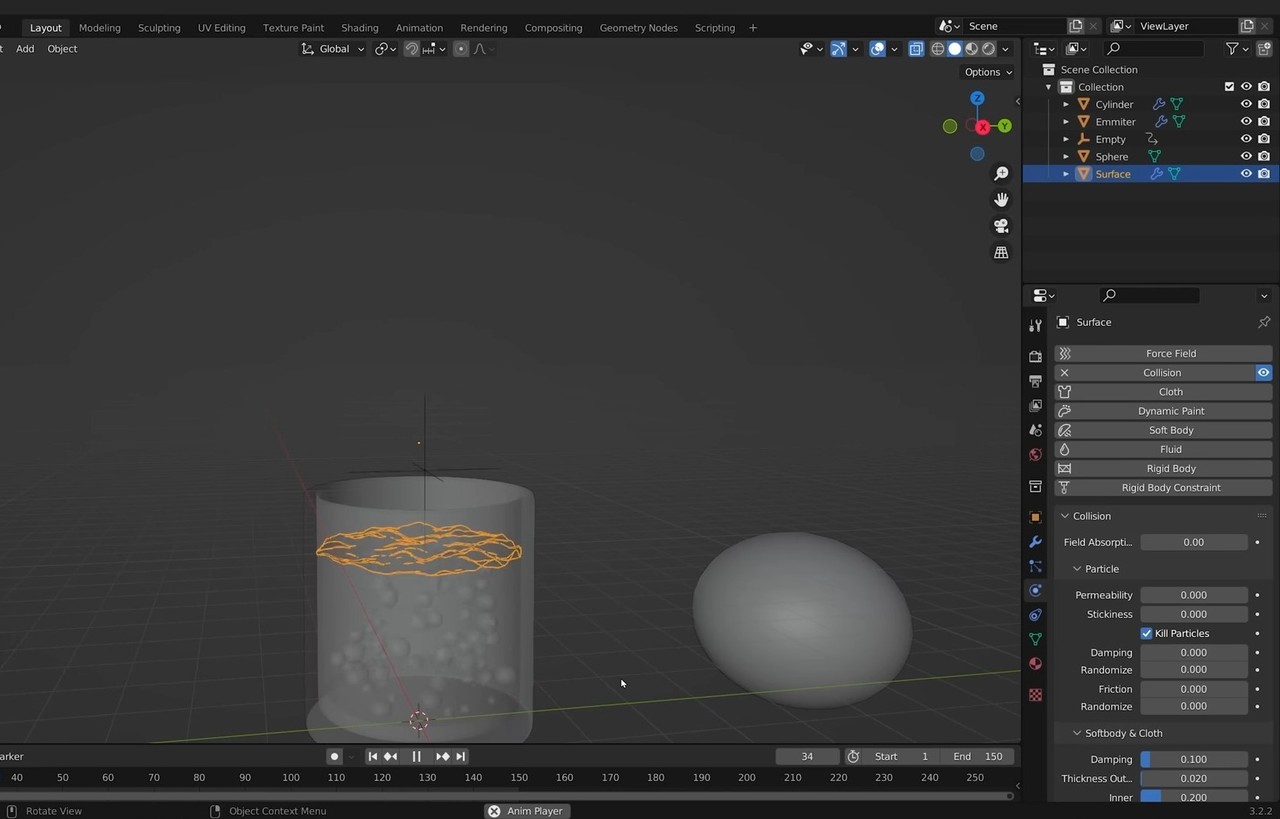
To resolve this, let’s switch to the Surface object and, in the Physics tab, turn on Collision
and enable the “Kill Particles” option. Now when the bubbles collide with the surface of
the water, the particles will be killed.
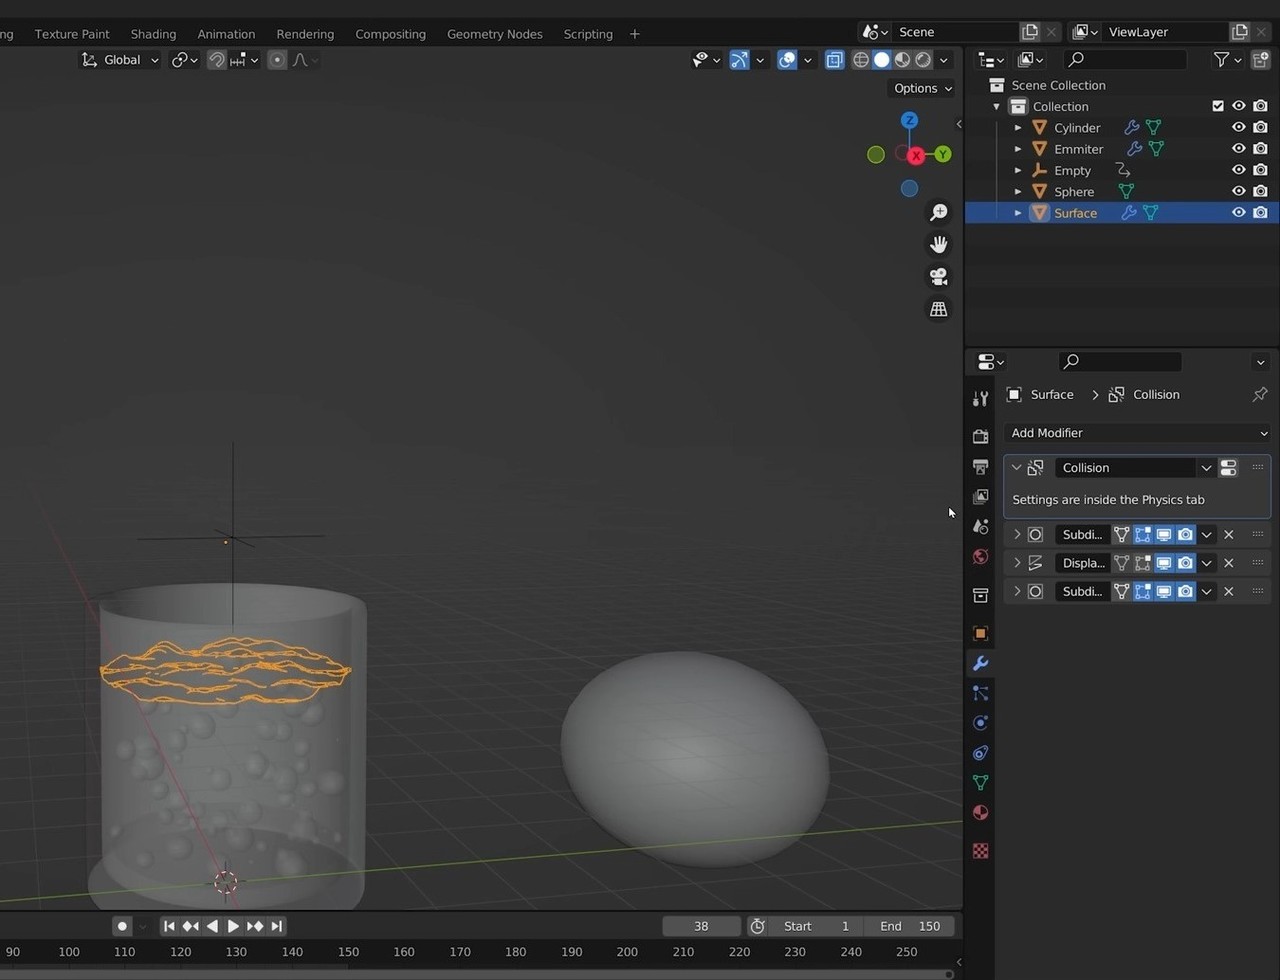
To make sure that there are no breakthrough particles, we’ll also want to make sure this
Collision modifier is first in the modifier chain; that will make sure the calculations are
done based on the flat, unmodified surface.
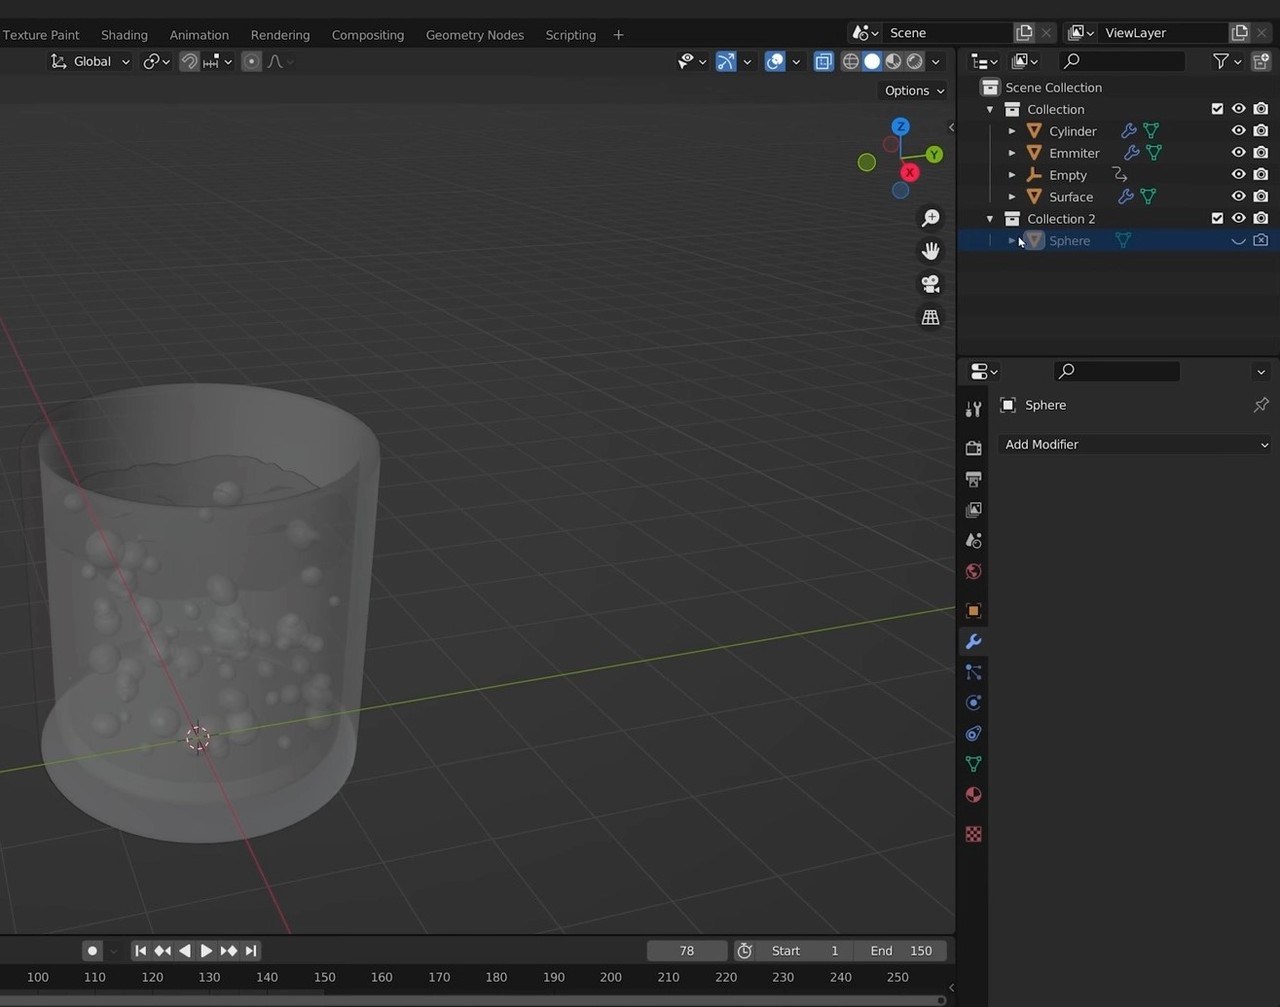
Now that we’re done creating our bubbles, we can turn off the sphere. One trick I like to
use is creating a collection that’s turned off; then I can just place anything I want to turn
off inside that collection.
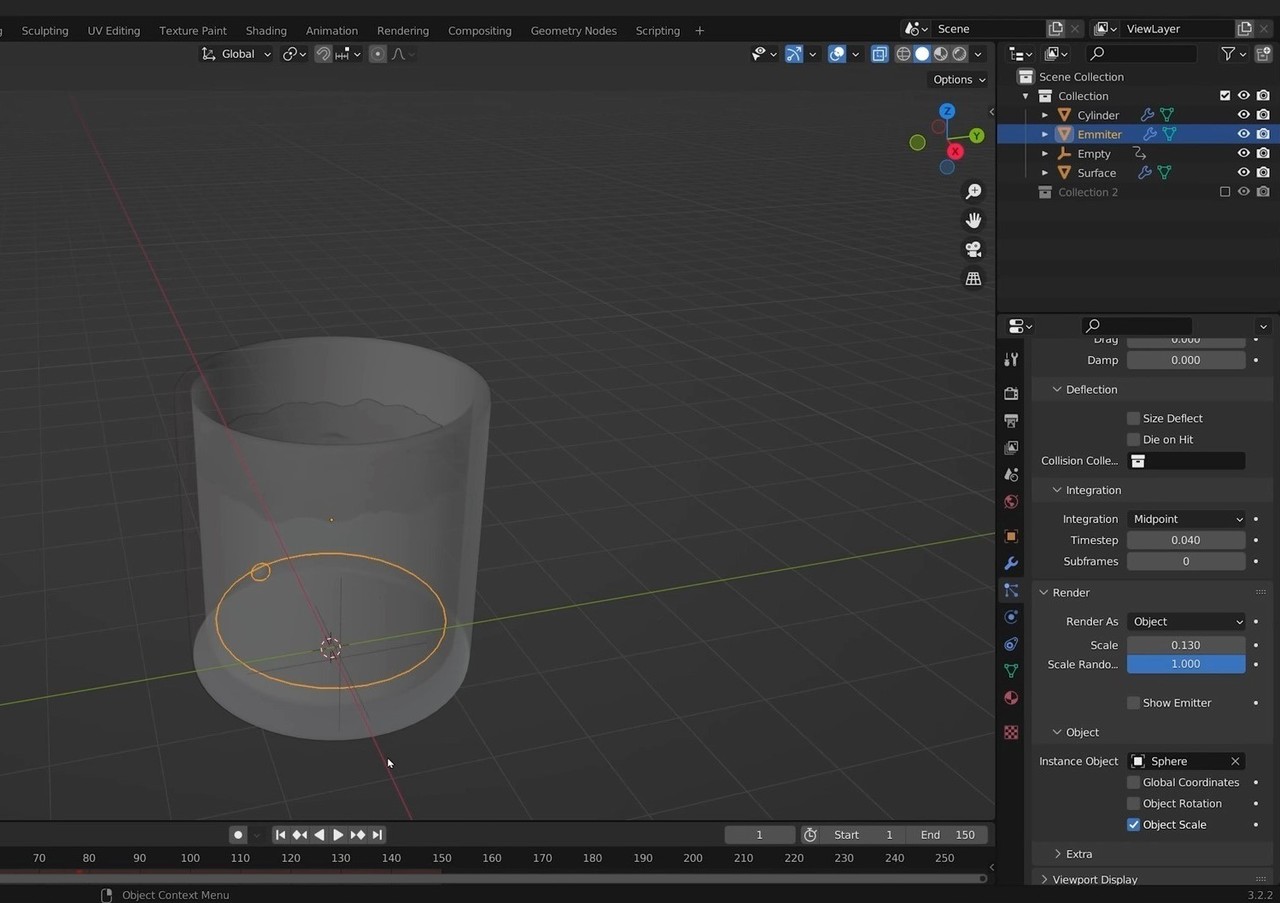
We can similarly go to the Emitter object and, under the Render settings, turn off the
Show Emitter option.
Finally, now that our bubbles look exactly the way we want, let’s cache them so that
they’re locked in and not being dynamically regenerated each time; that will also allow us
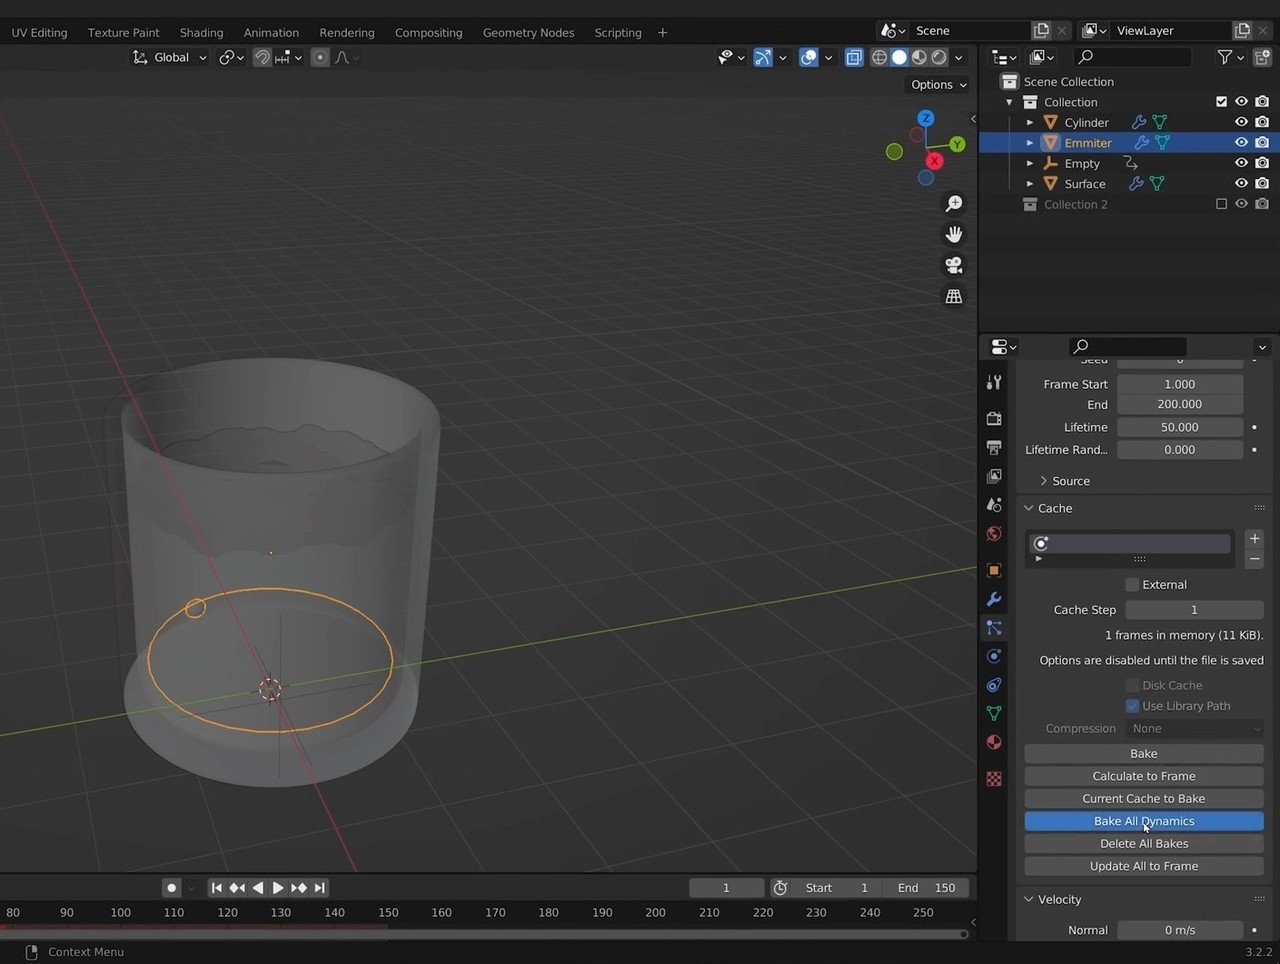
to skip around on the animation timeline. Select “Bake All Dynamics” under the cache
setting.
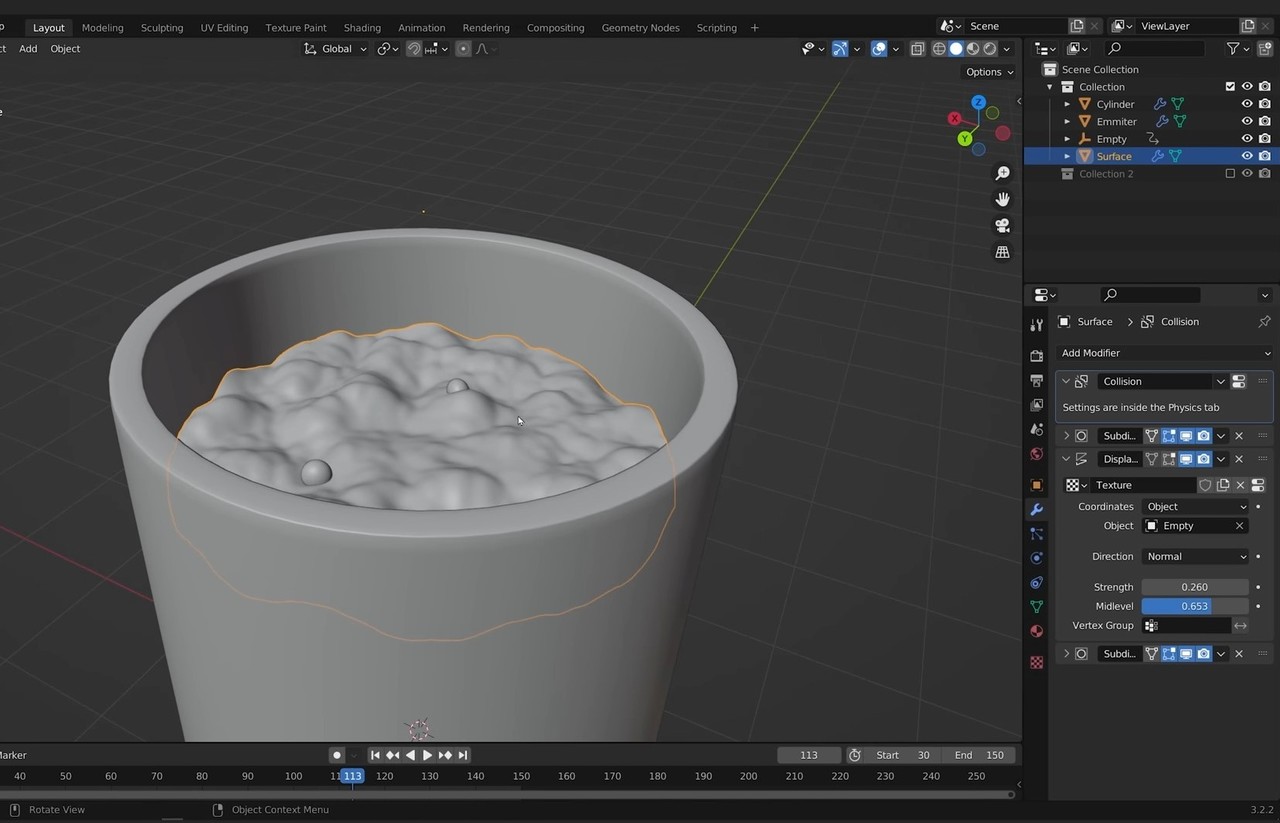
Now that everything is cached, we can set the Midlevel value on the Surface’s Displace
modifier to so that it intersects the bubbles; that’ll give us the most realistic bubbling
effect.
Step 4: Creating the floor plane
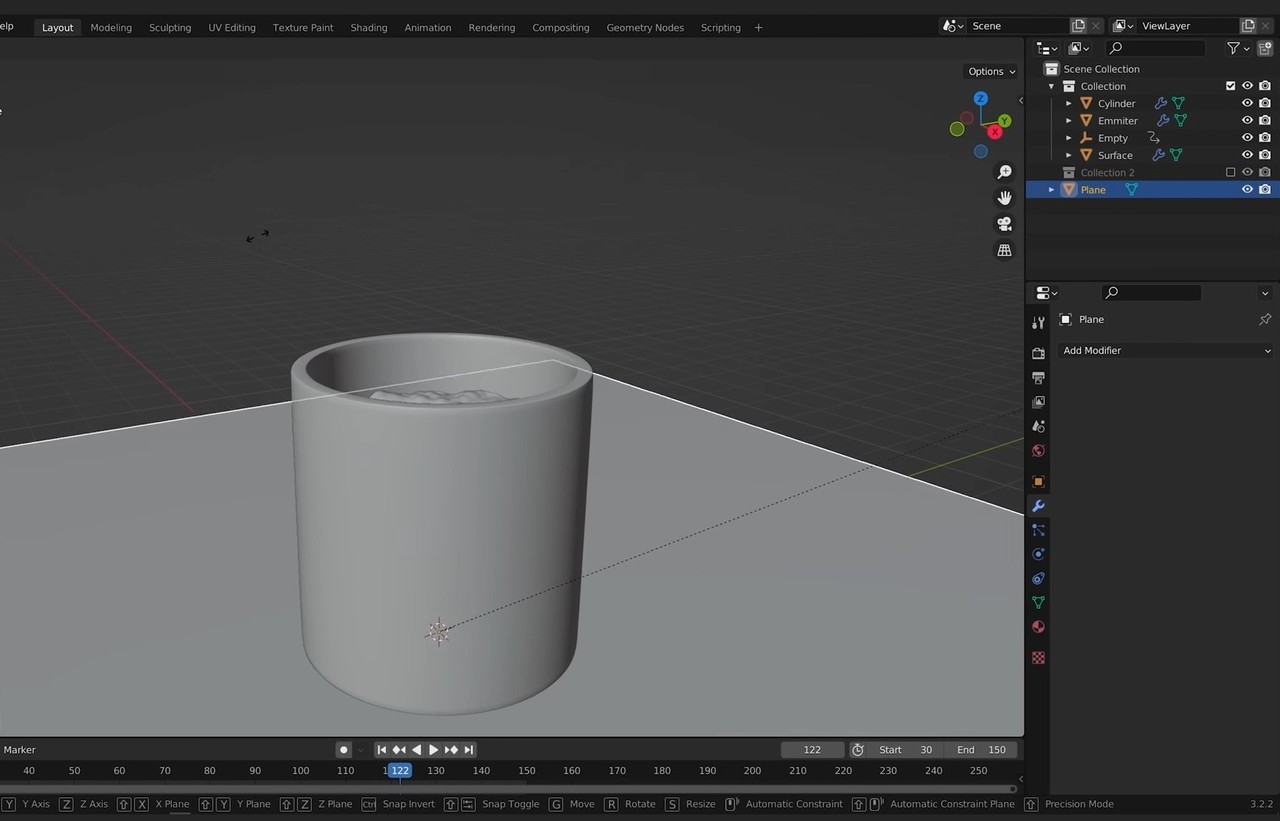
Let’s create a floor plane for our cup to stand on. To do this, create a mesh plane and
scale it so it’s big enough to comfortably fit the cup.
Step 5: Adding and framing the camera
Use Shift+A to create a camera, and enable the “Lock camera to view” settings in the
View settings.
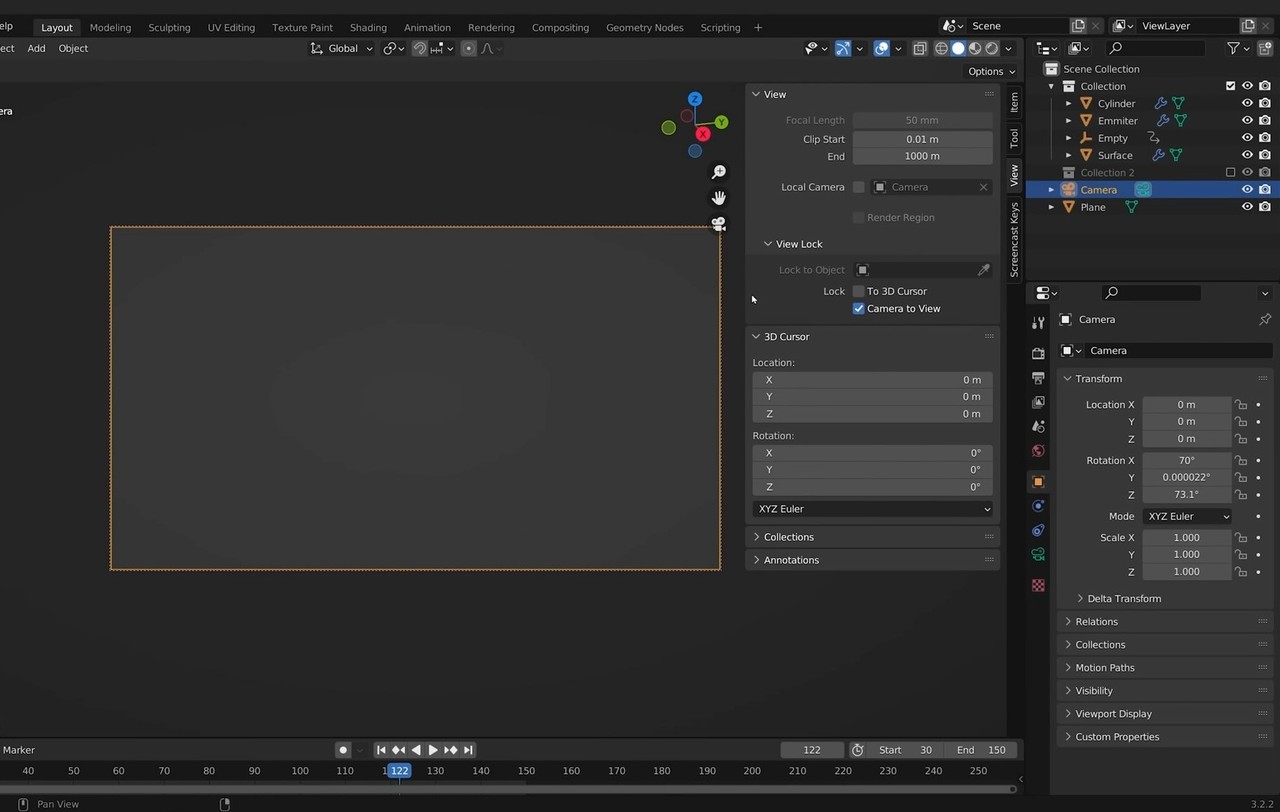
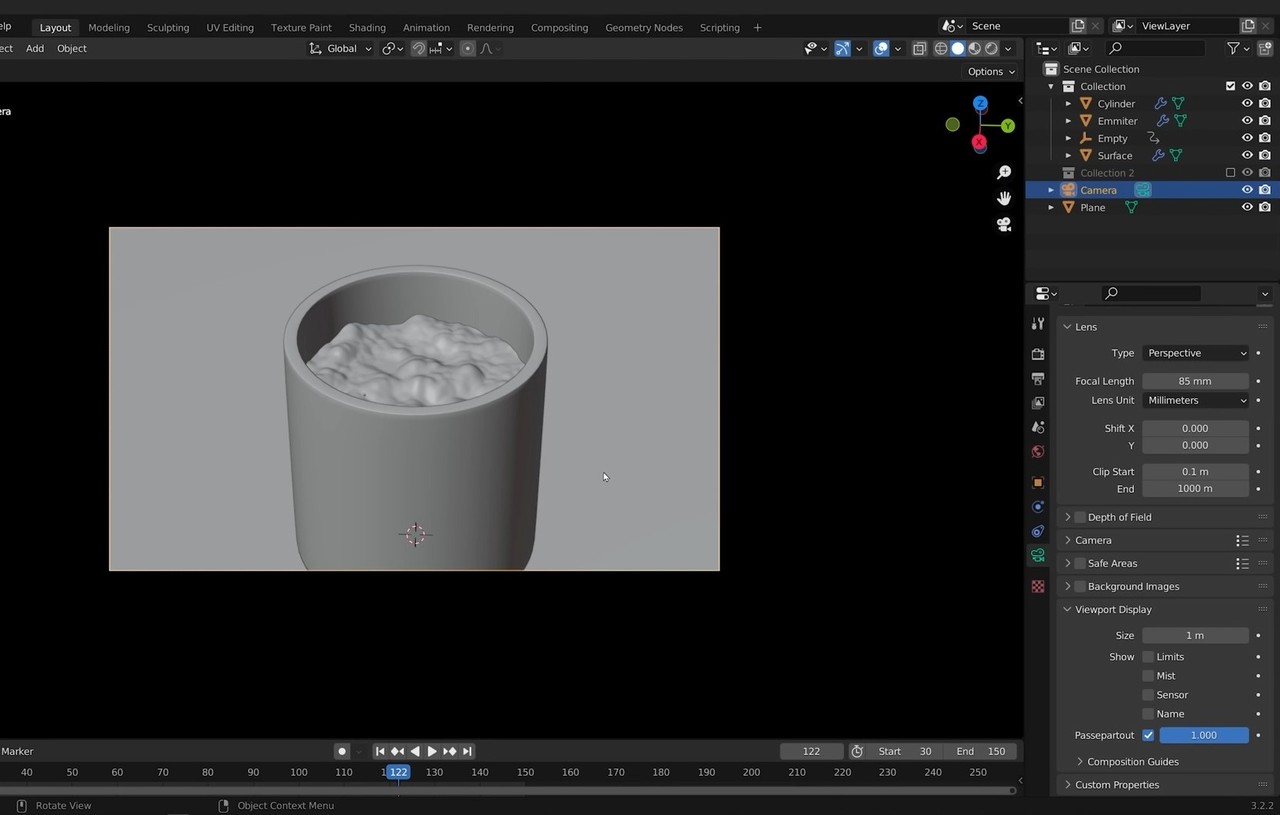
Frame the cup as desired—setting the focal length and zoom to do so—and turn on
Passepartout so that everything outside of the camera frame is blacked out. Once that is
completed, turn off “Lock camera to view”.
Step 6: Texturing the water
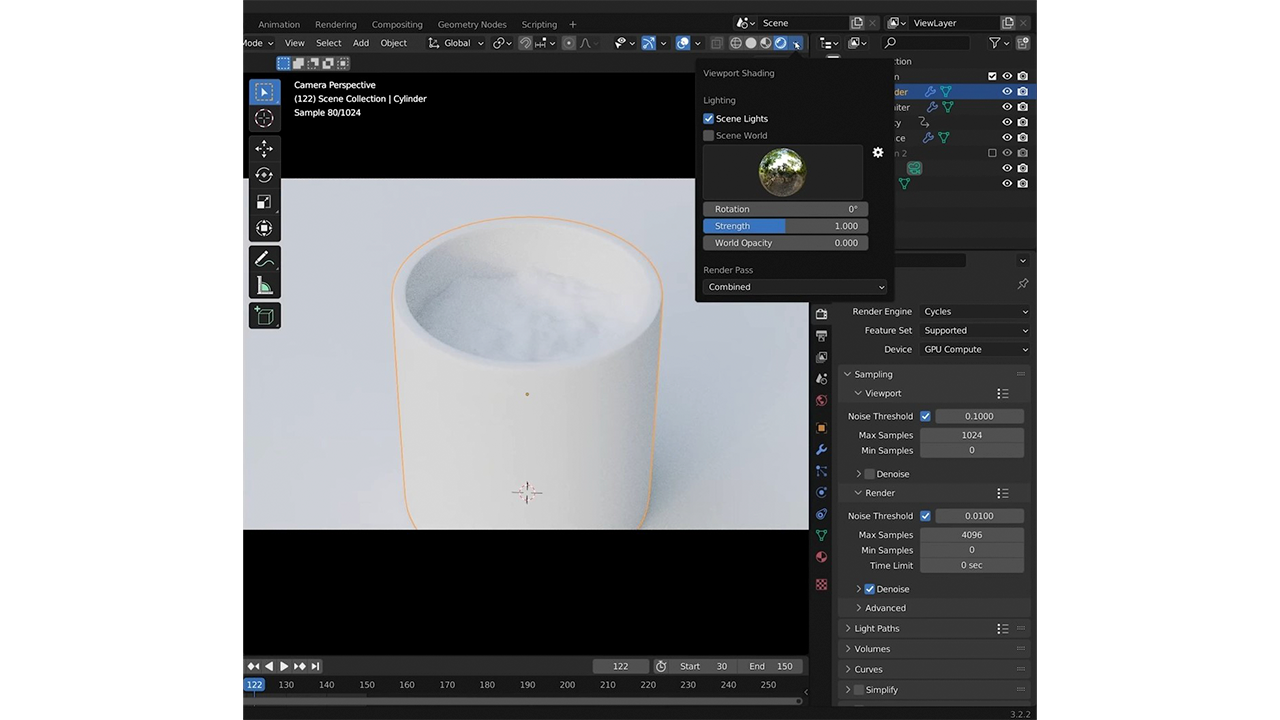
To prepare to work on the water material, switch to the Cycles render engine and switch
the Device to GPU Compute. Then, turn off the Scene World.
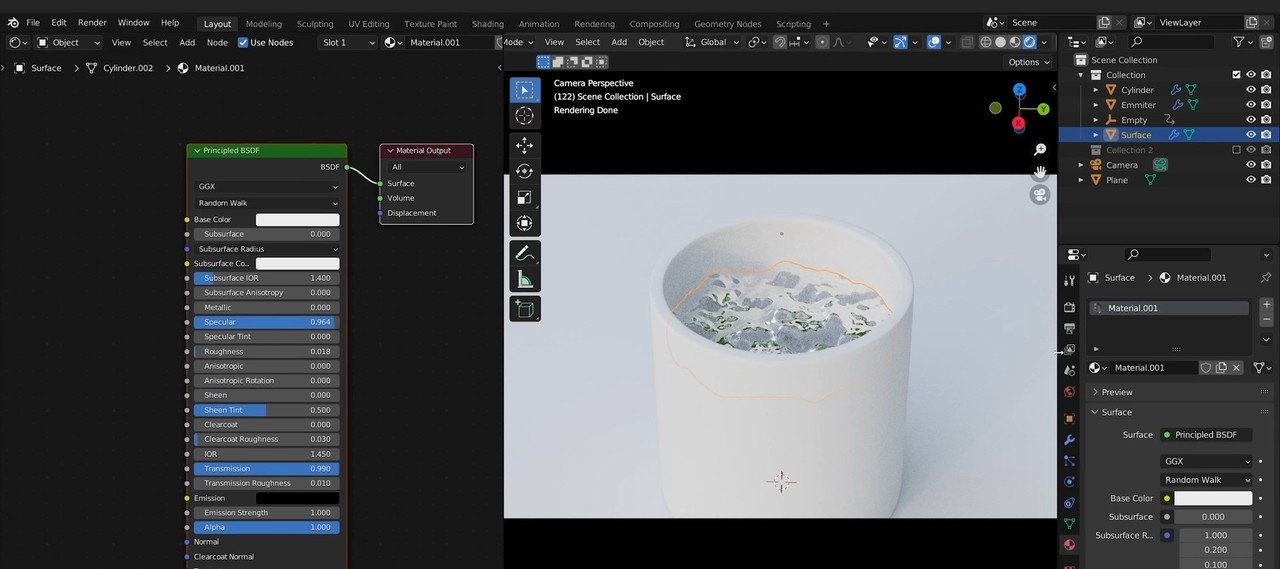
After entering a split view, let’s add a new material to the Surface object. We’ll adjust the
Transmission, Transmission Roughness, Roughness, and Specular values to approximate
water. Generally, I like staying a little short of 1 or 0, because I think it looks more
realistic.
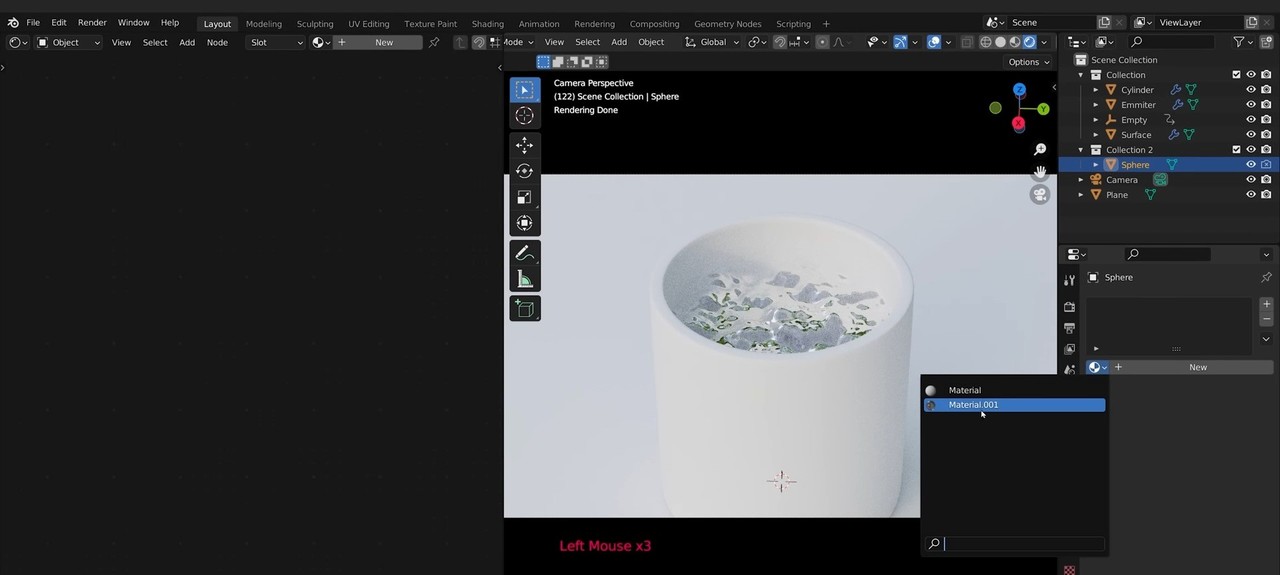
Let’s turn our collection containing the bubble back on for a moment and put the water
material we’ve just created on the bubble as well. We can then turn the collection back
off.
Step 7: Texturing the Glass
To start, let’s add our water texture to the glass as well. We’ll be modifying this a bit, but
this will give us a good baseline for glass.
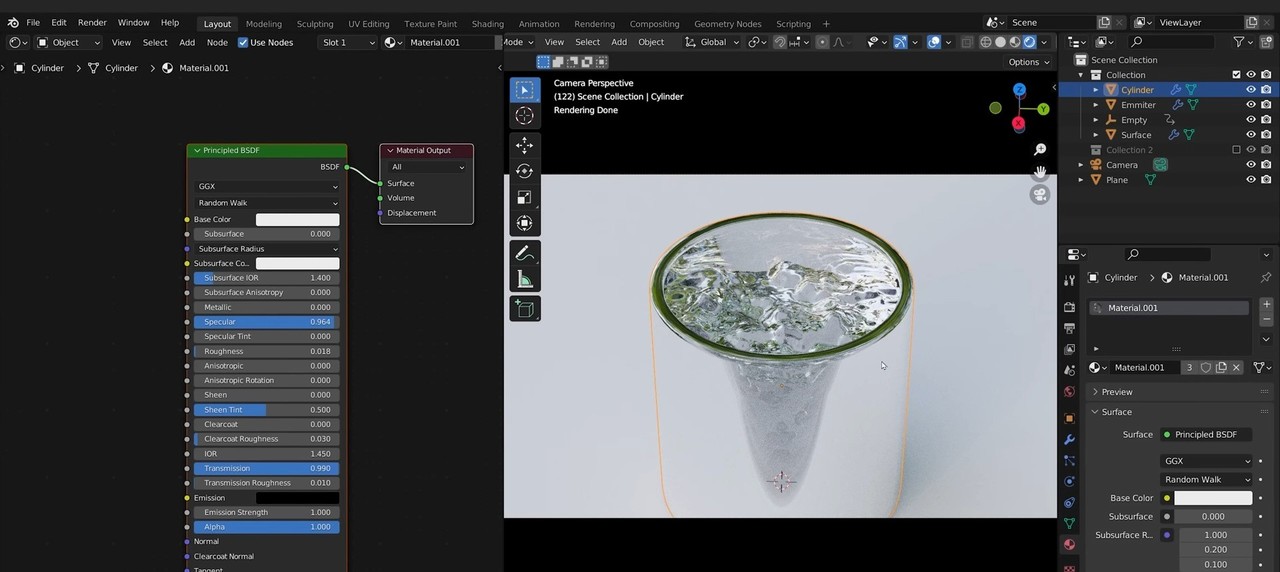
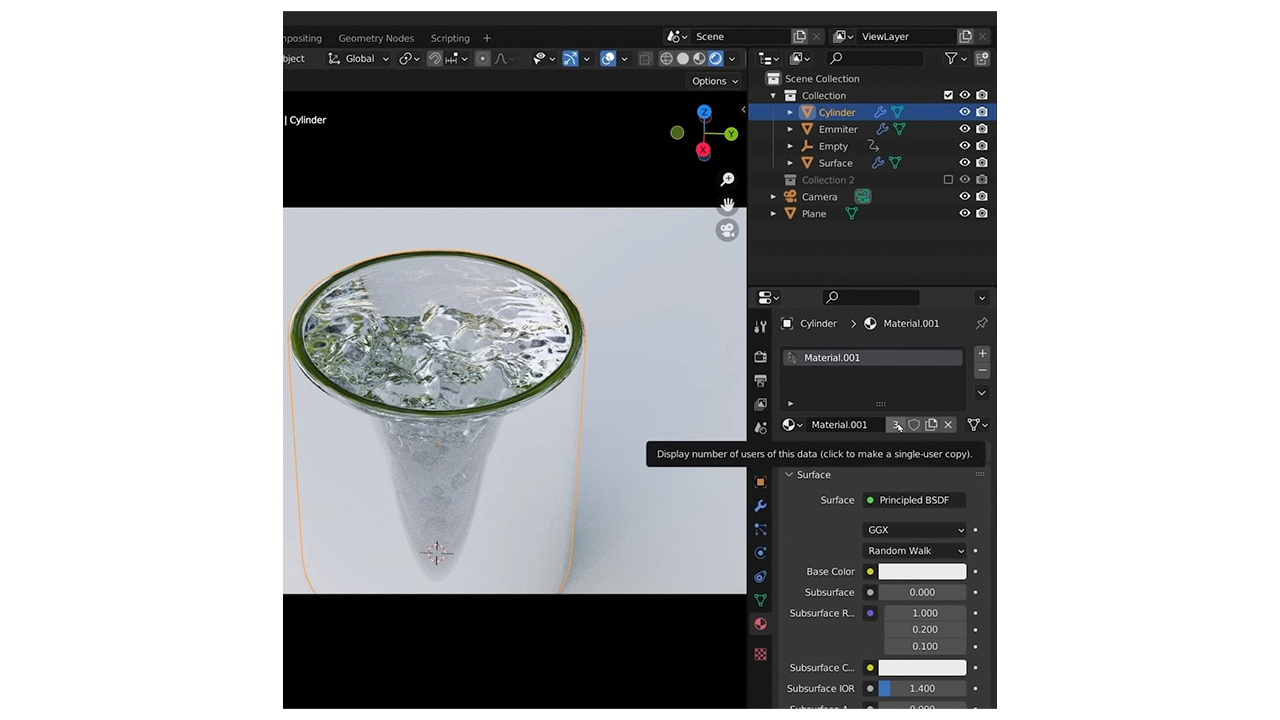
Create a single-user copy of the water material using the button shown below to make the
glass a separate material.
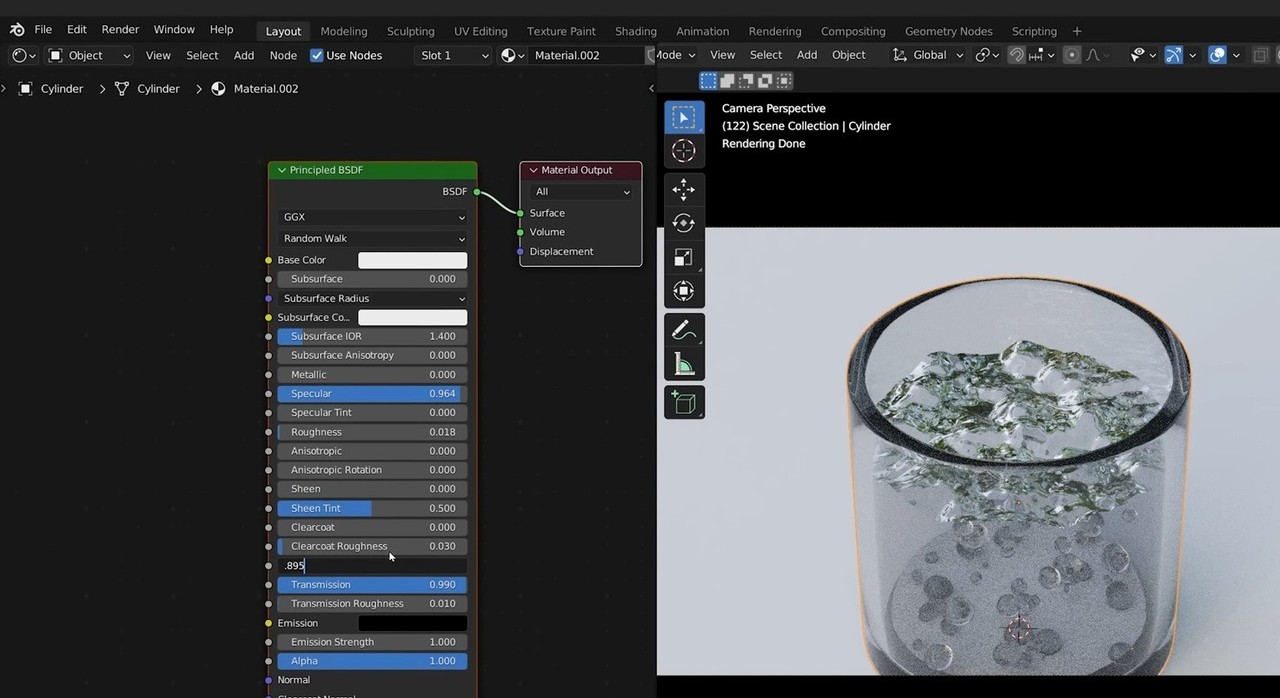
Change the IOR (index of refraction) of the glass material to match the appearance of
glass. I’ve set mine to 0.895.
Step 8: Creating the steam
To start creating the steam, we’ll first create a new mesh cylinder object and resize and
reposition it so that it just barely fits inside the glass and just barely intersects with the
surface of the water.
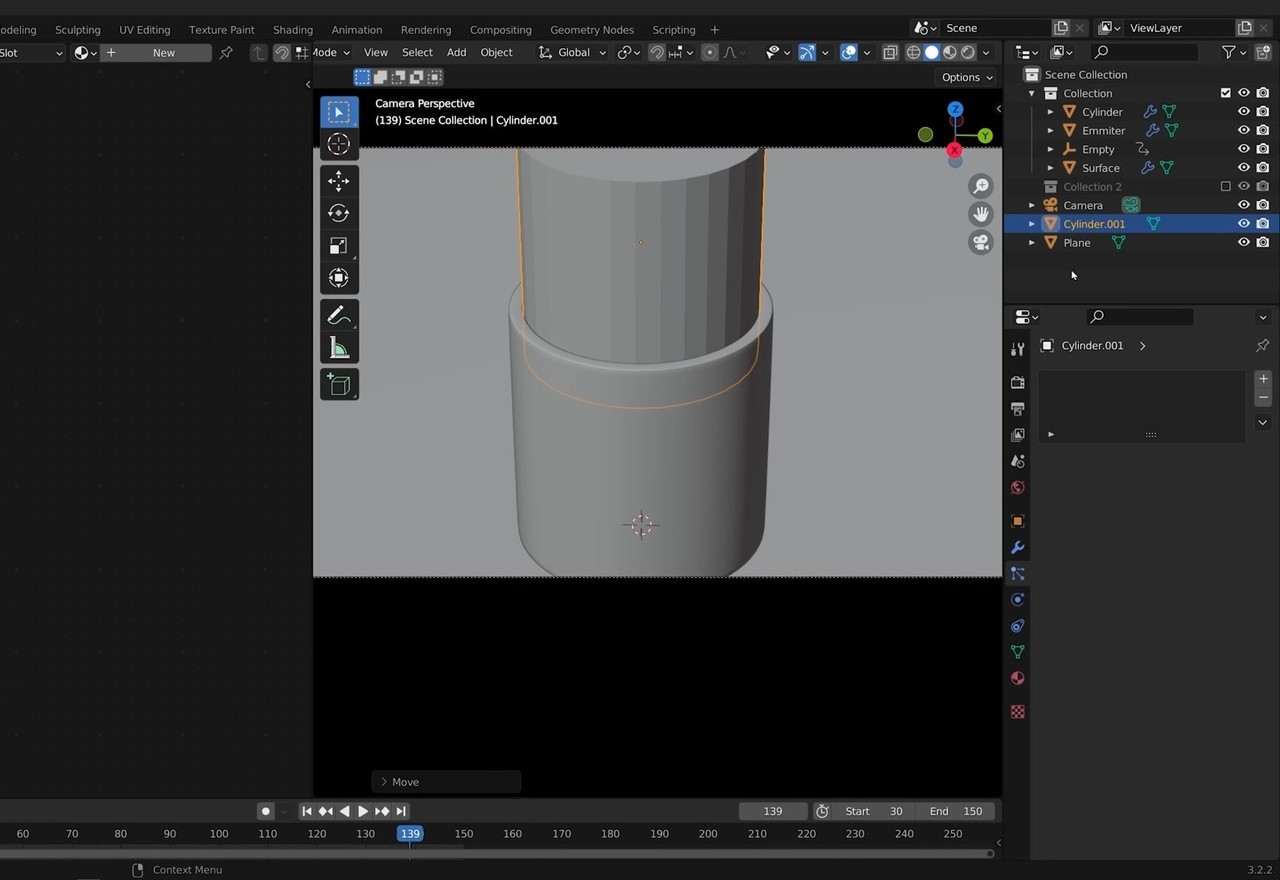
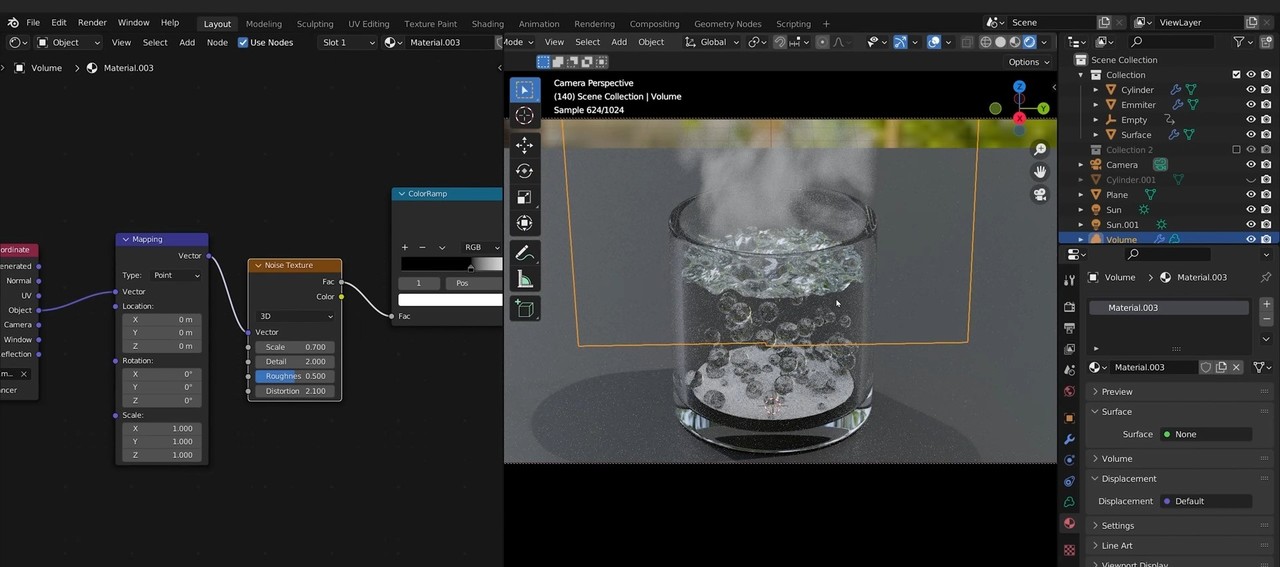
Next, create an empty volume object. Add a Mesh to Volume modifier to it and select the
new cylinder we’ve created as the object.
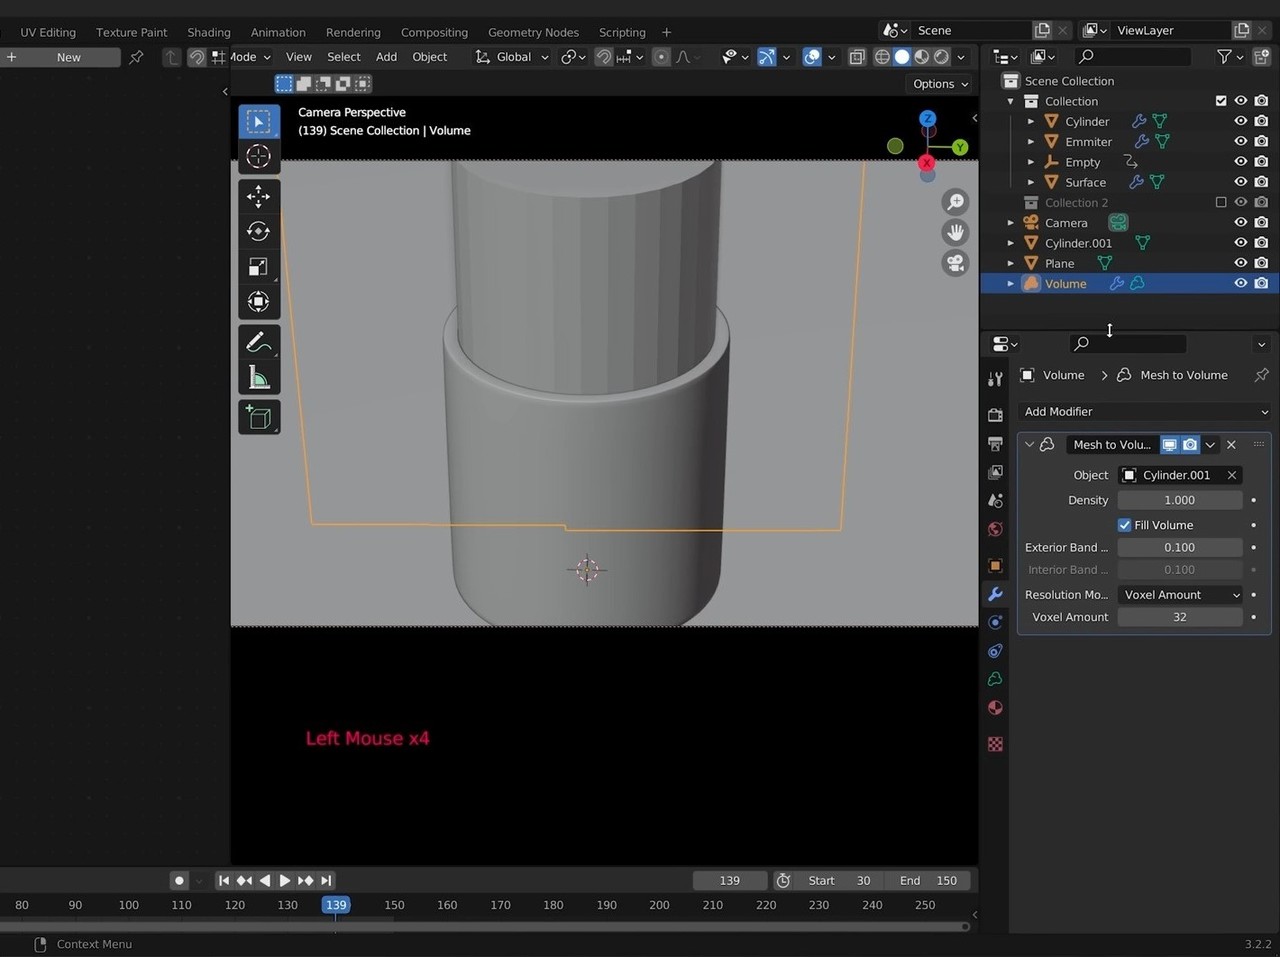
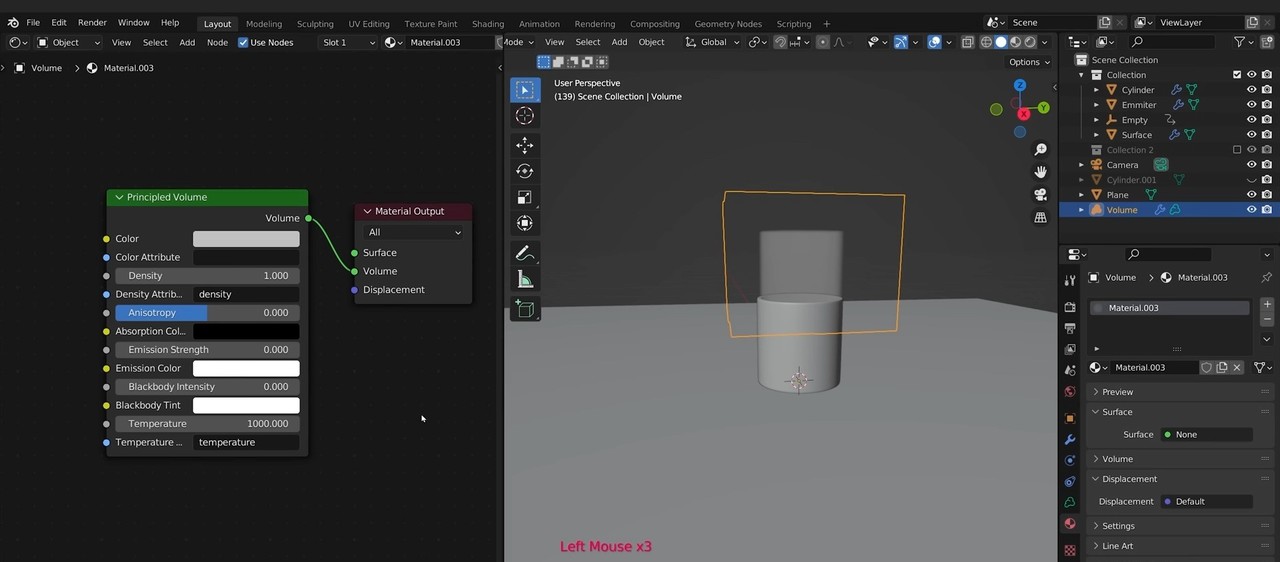
Hide the cylinder we’ve created, and you should see an empty volume rising out of the
glass. Select that volume and add a new material to it. This will automatically create a
Principled Volume node feeding into the Volume of a Material Output node. If Principled
Volume is feeding into Surface instead, correct it to feed into Volume.
We will now add and connect the following series of nodes (with the corresponding
properties of those nodes in parentheses):
A: Texture Coordinate (Generated) > Mapping (Vector)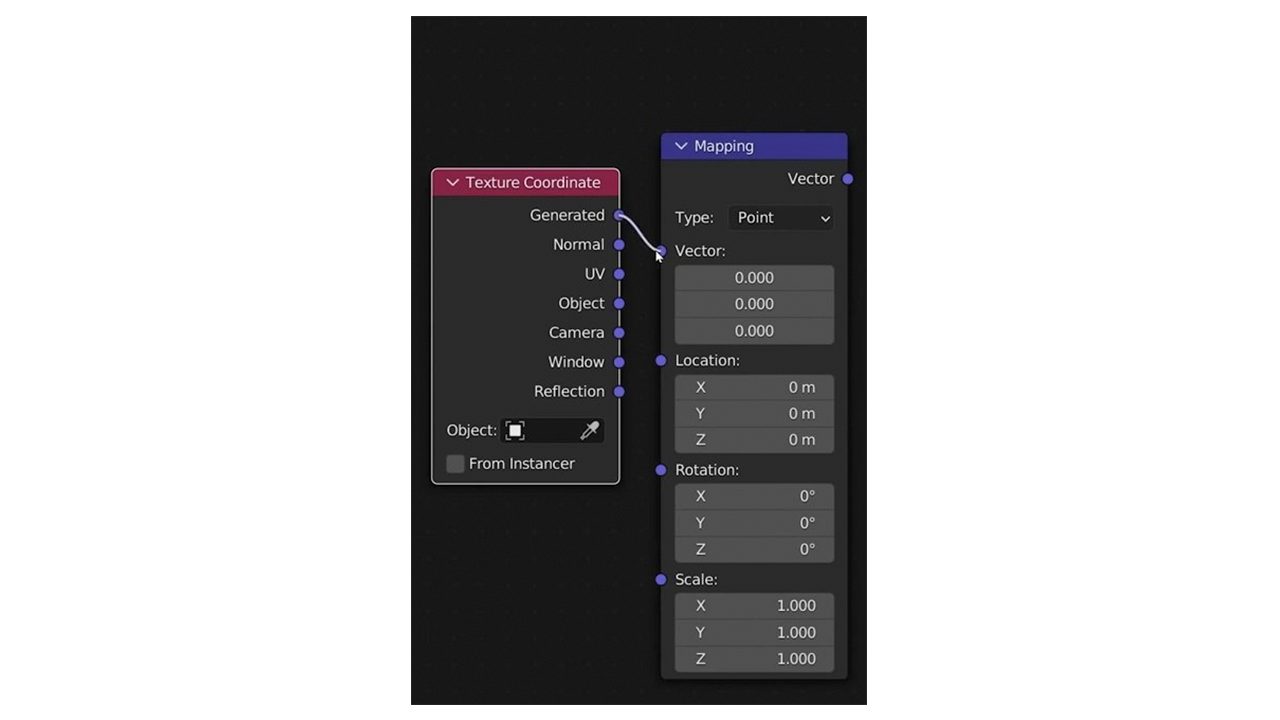
B: Mapping (Vector) > Noise Texture (Vector)
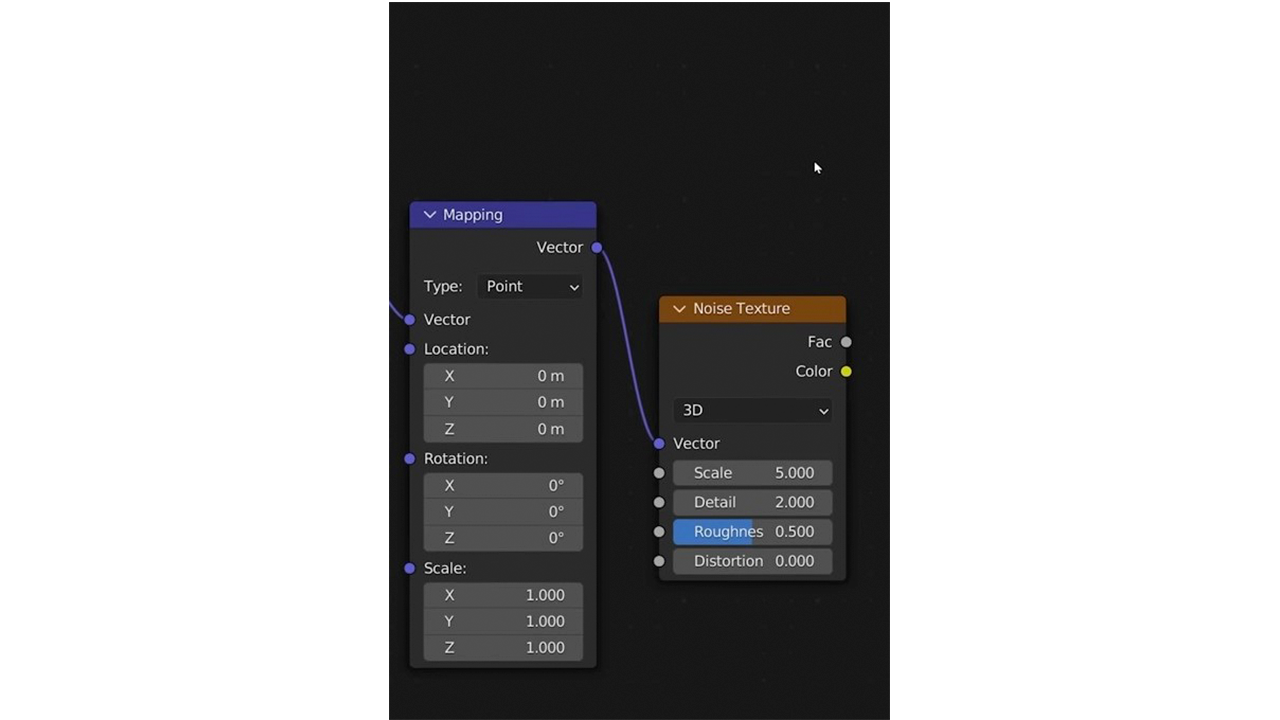
C: Noise Texture (Fac) > ColorRamp (Fac)
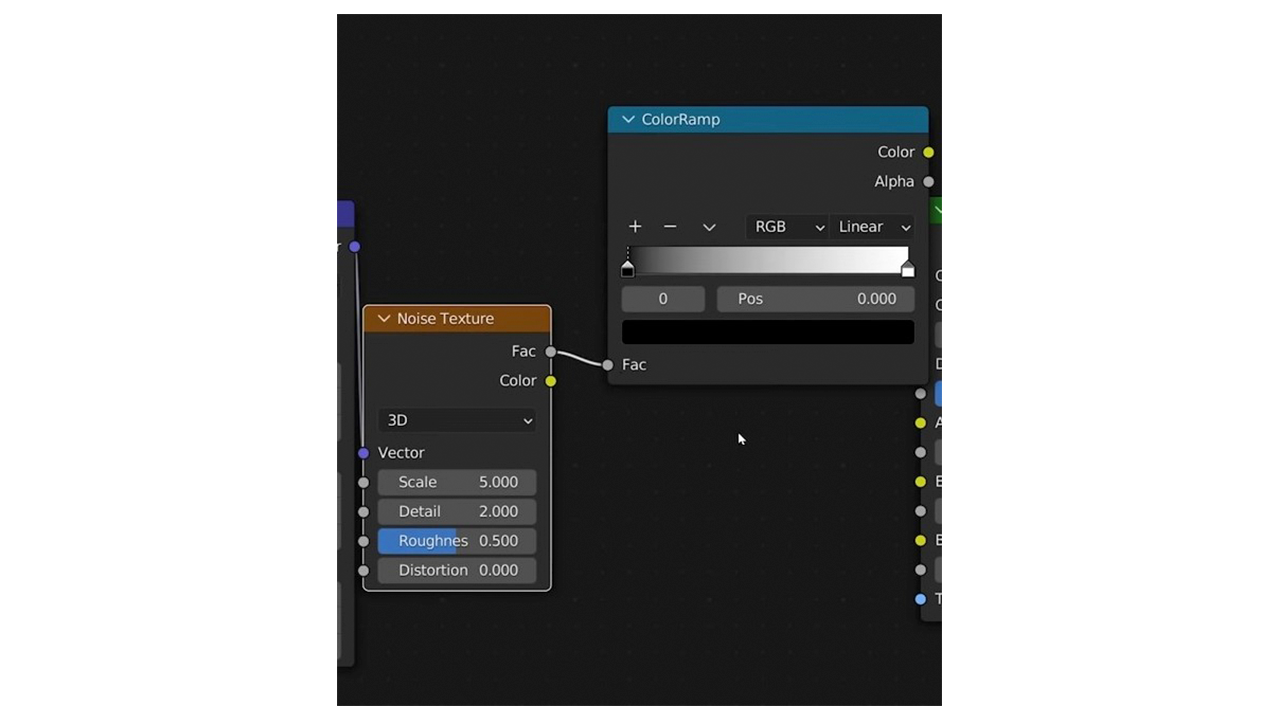
D. Color Ramp (Color) > Principled Volume (Density)
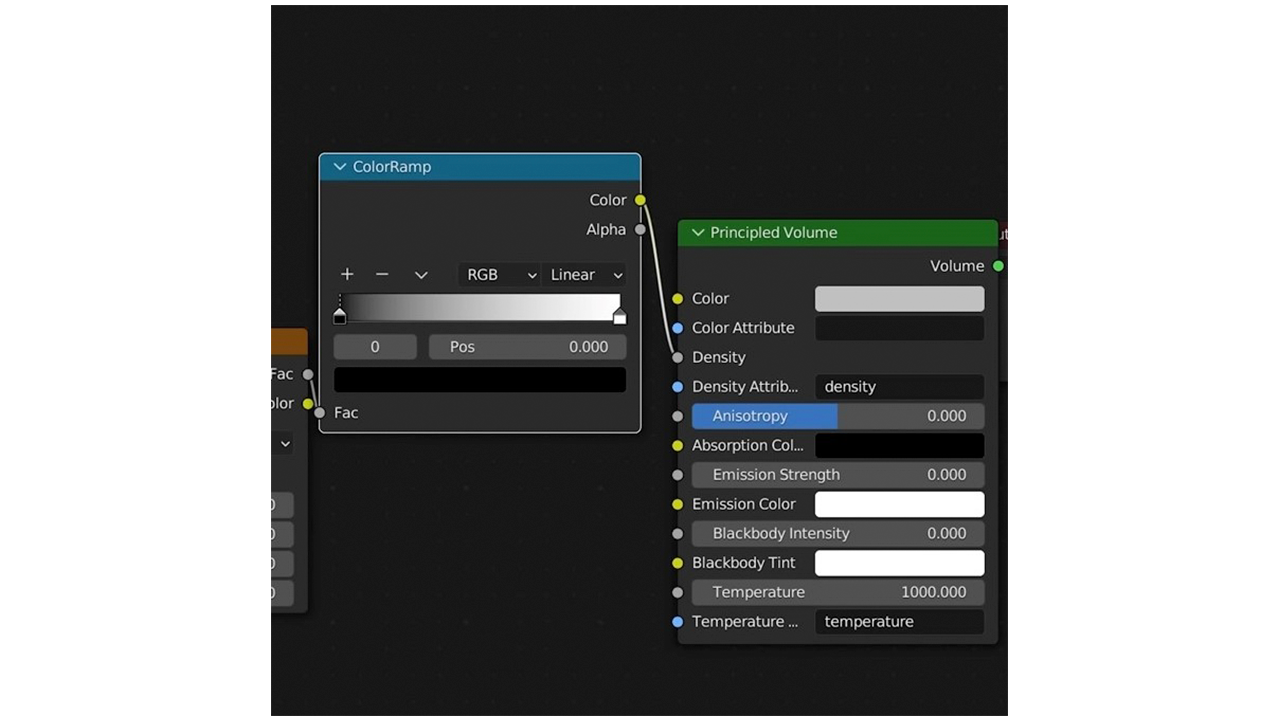
If we switch back to Rendered View and adjust the colors on the ColorRamp node a bit,
we should start to see some noise that approximates steam.
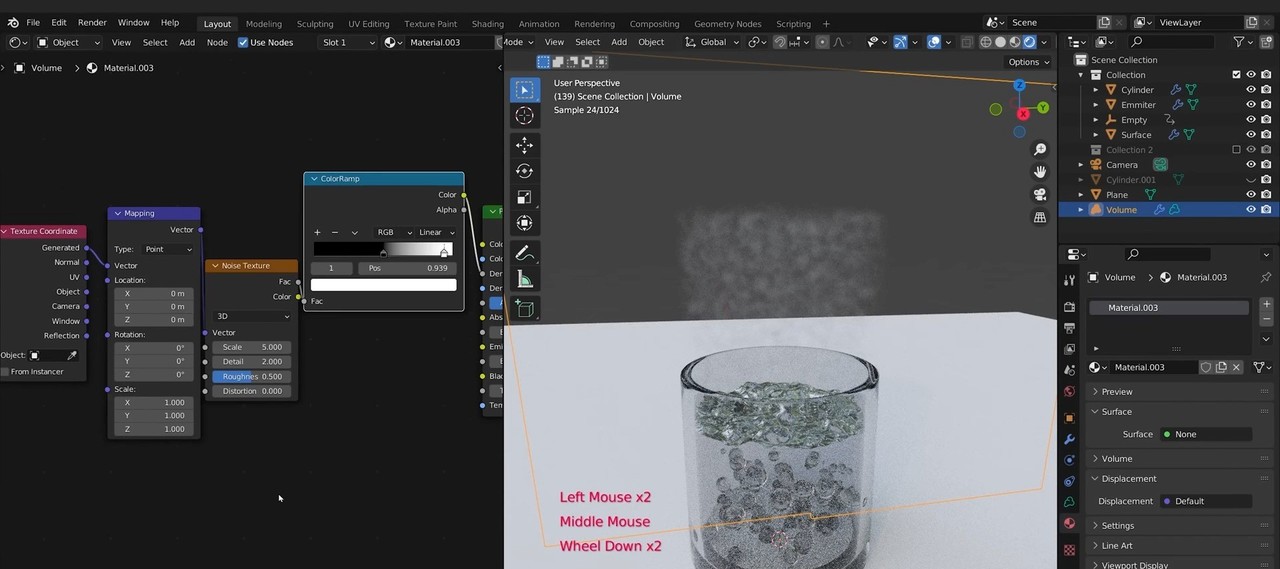
If we change the Texture Coordinate node to the Object property and select the Empty
volume with our steam, the steam will actually be able to rise throughout our animation.
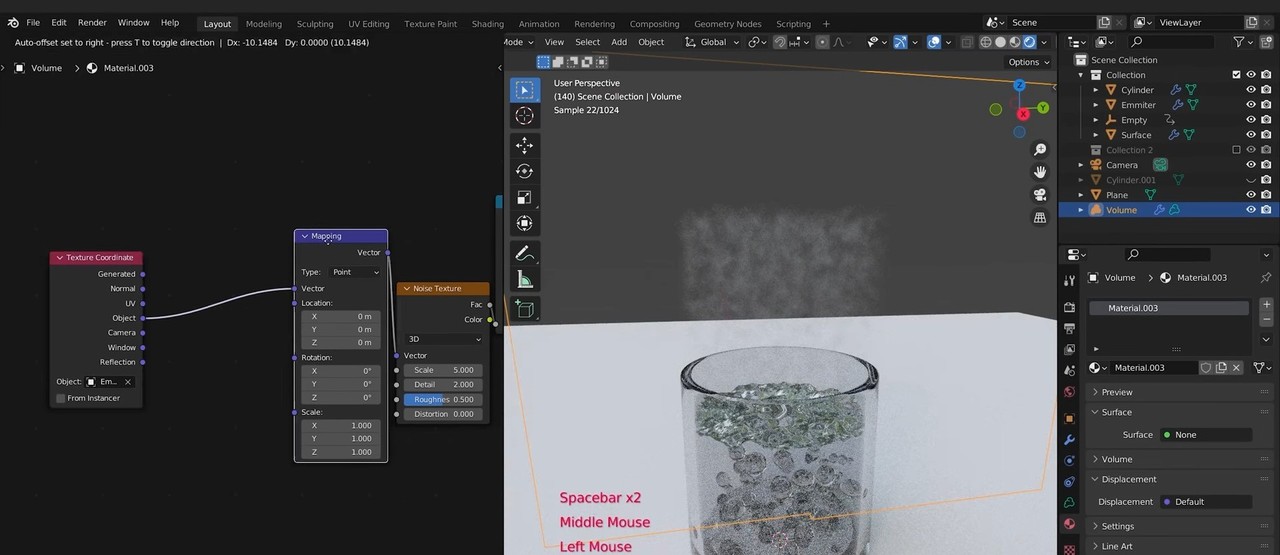
We can further tweak the Scale of the Noise Texture node and the colors of the
ColorRamp node to get our steam looking more realistic.
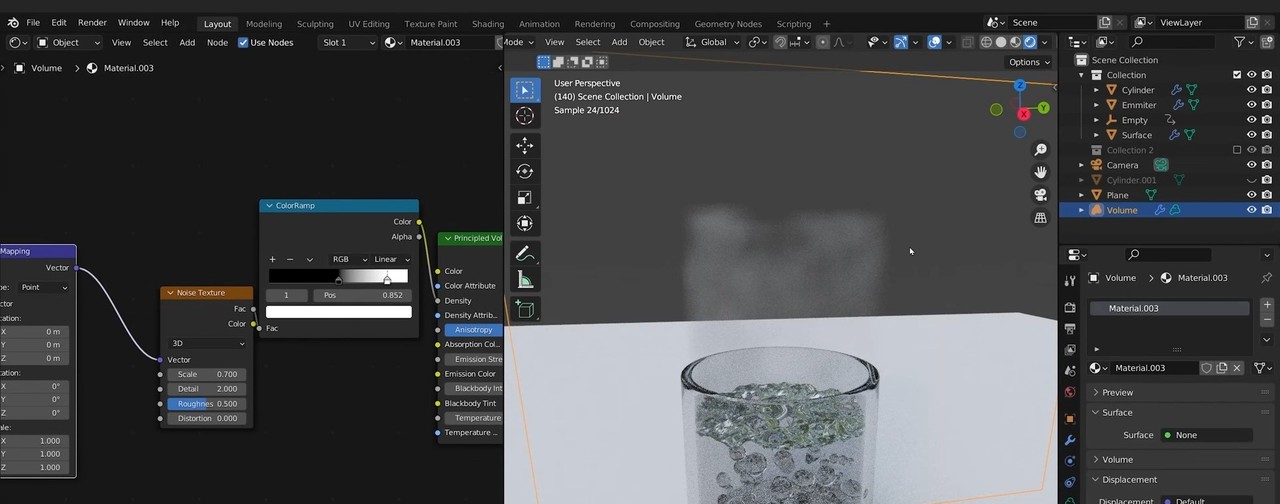
Note that the steam will never look quite right until we add lights, so let’s do that now.
Step 9: Set up the lights and environment
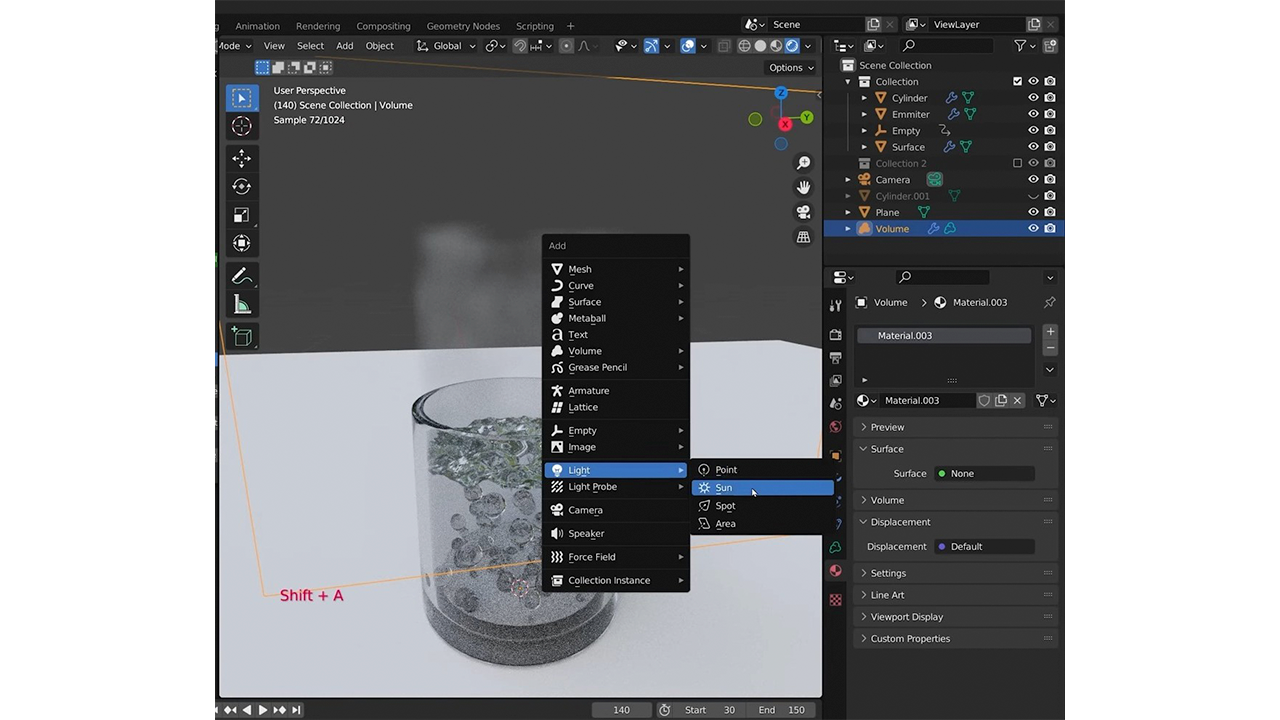
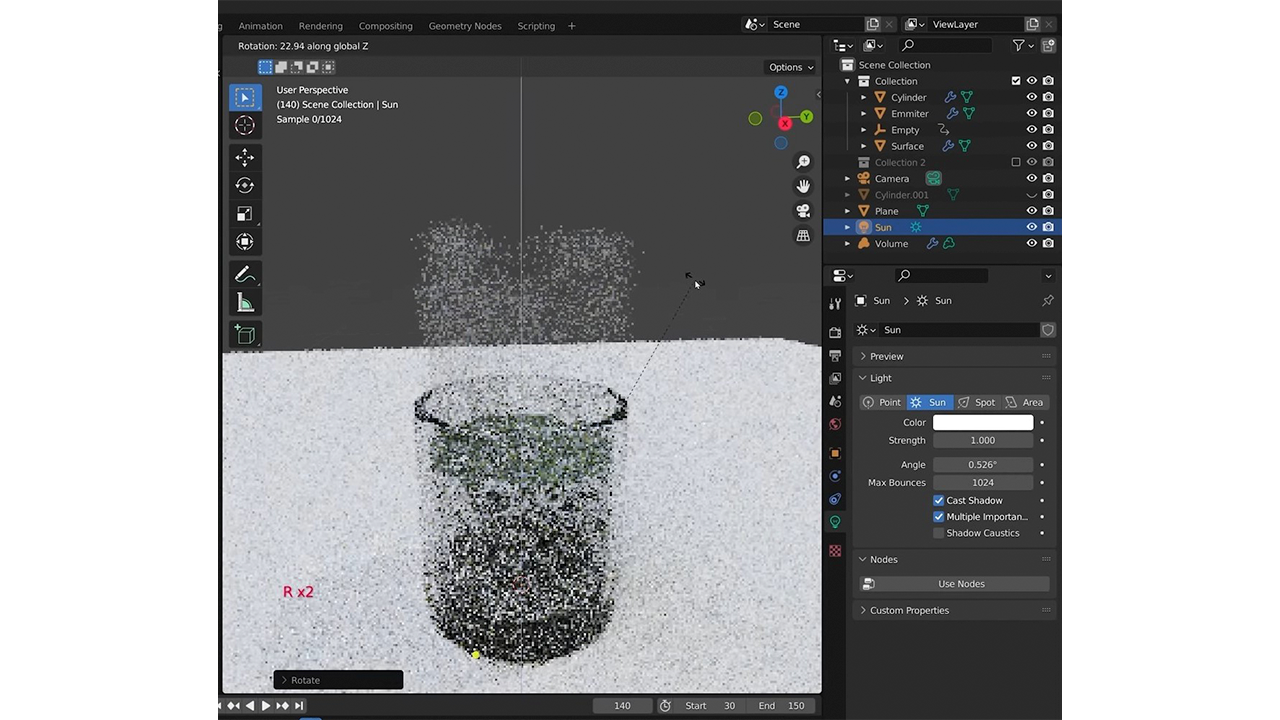
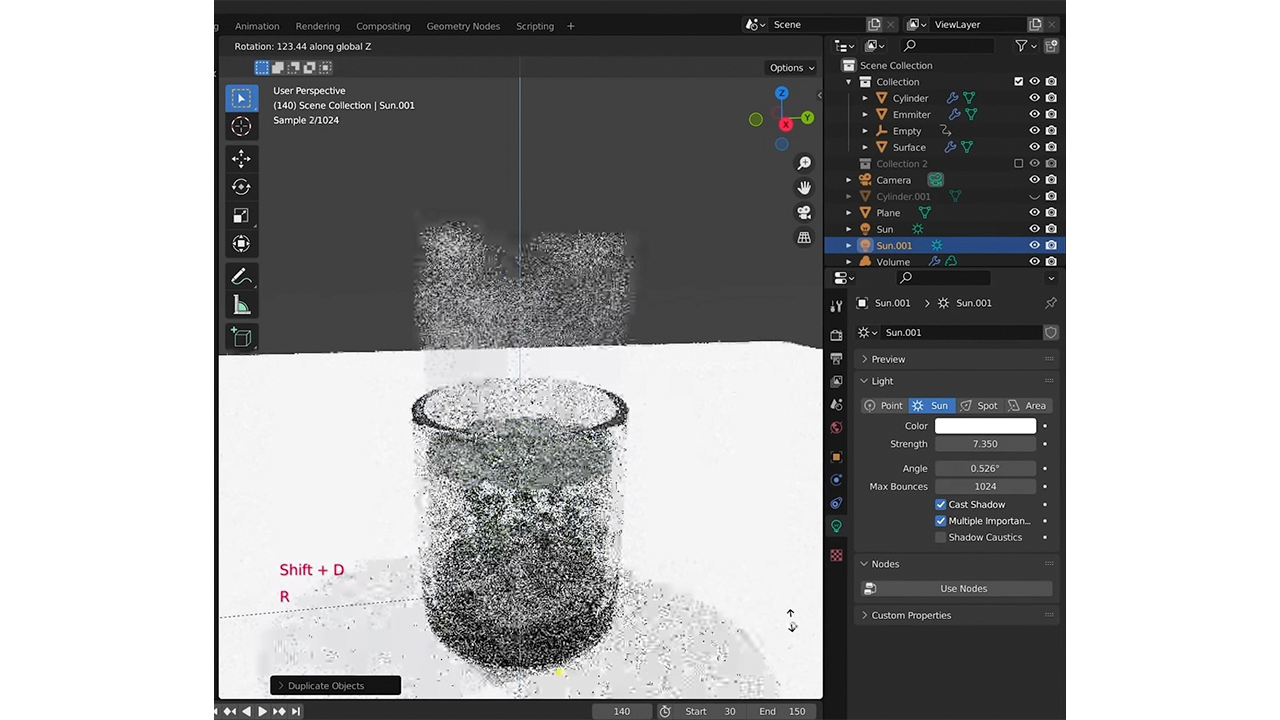
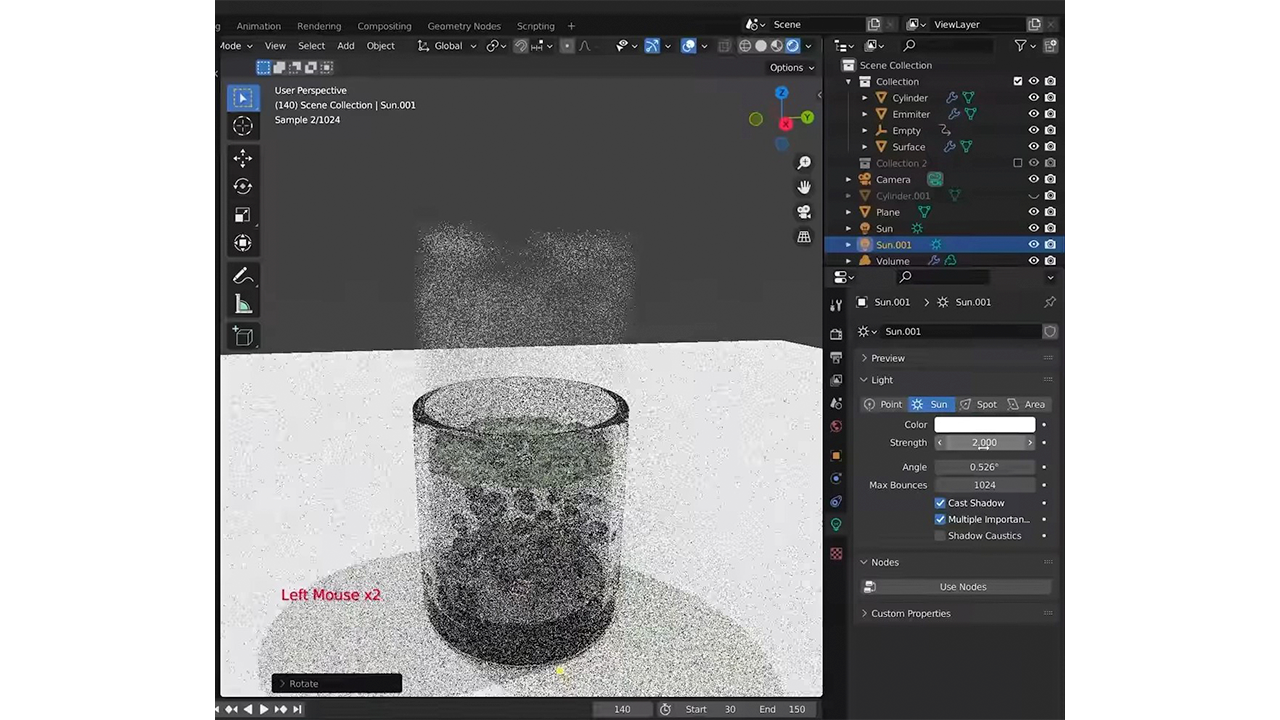
Let’s add a sun light, rotate it off to the side, and turn up the strength.
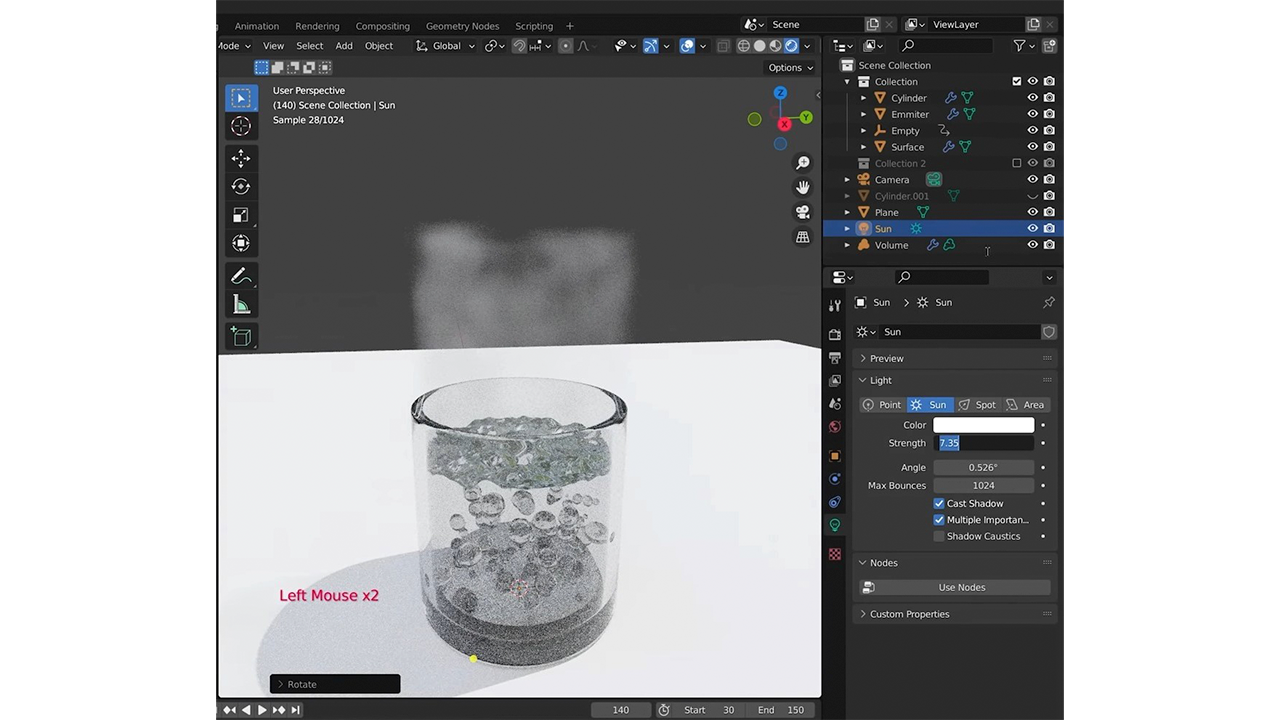
We can add a second light by duplicating the first, rotating the light to face the other
direction, and turning down the strength.
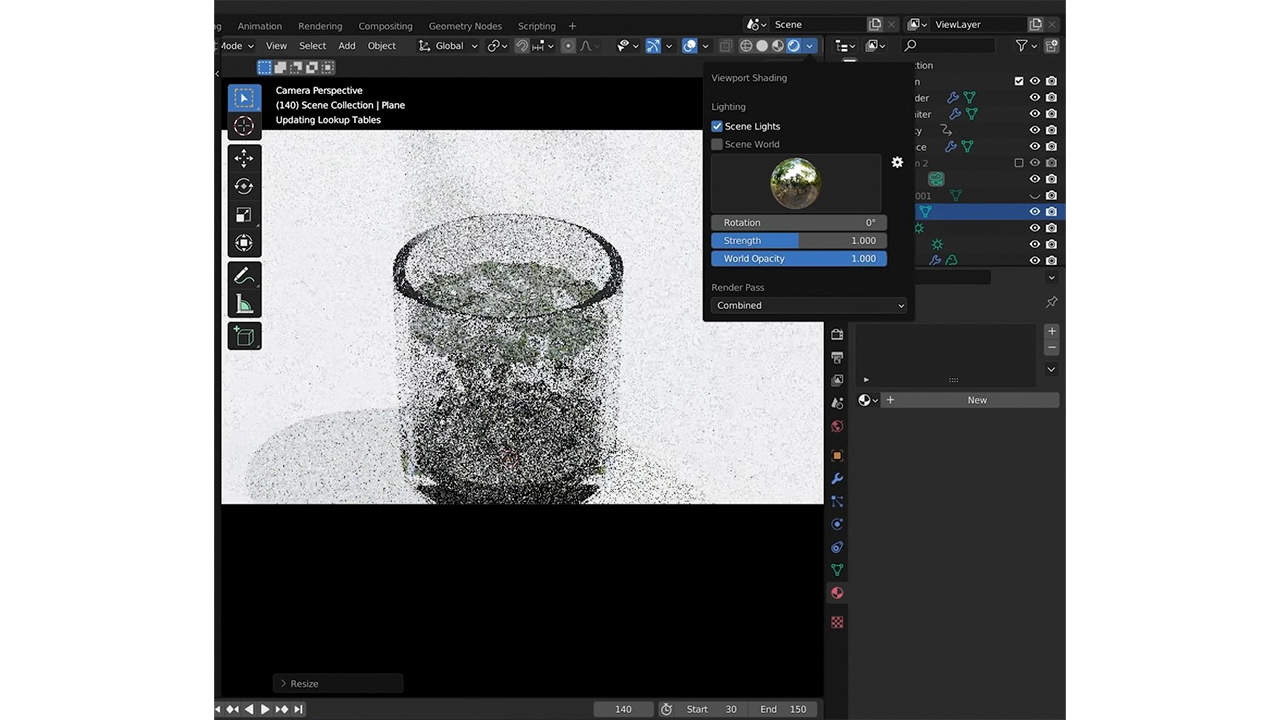
Let’s also turn up our World Opacity so that if the background is caught anywhere in the
camera angle of our render it’ll be visible and presentable.
Next, I will darken the plane surface our glass is resting on for a little more contrast.
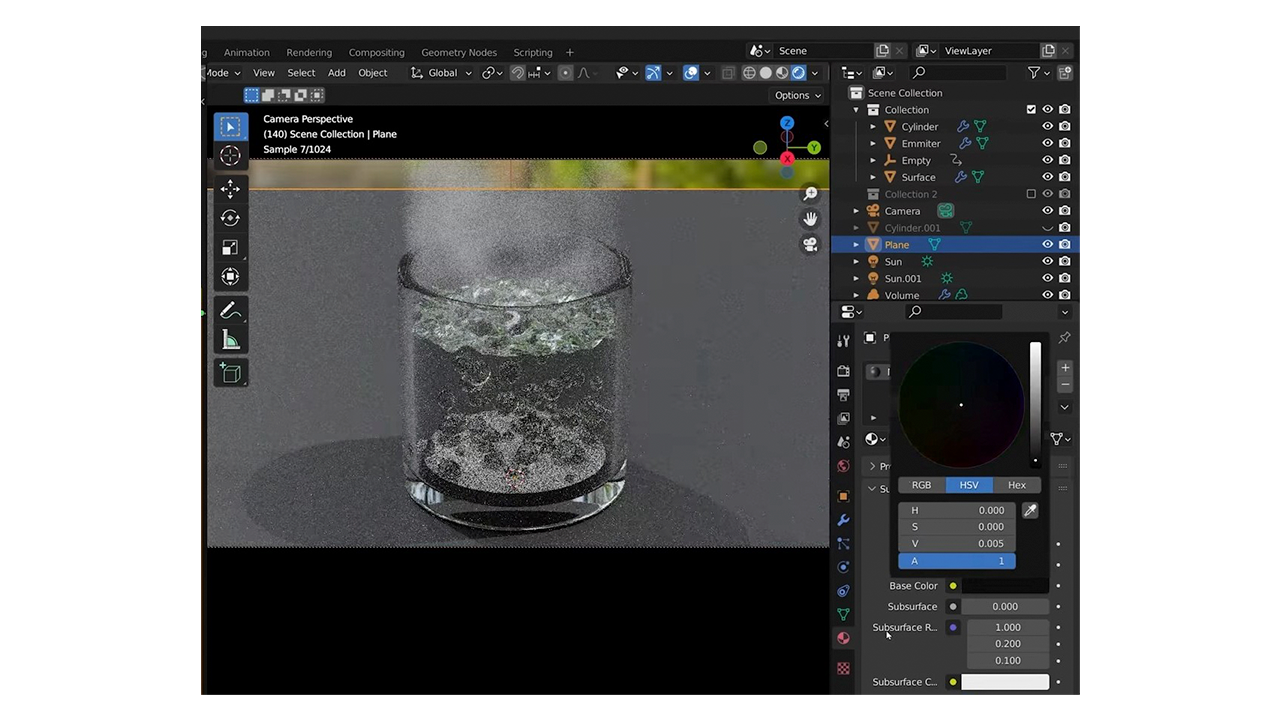
Now that we have a better view of our steam with the lighting and environment in place,
I’ll add some Distortion in the Noise Texture node so that our steam has a bit of a
twisting, billowing effect, which feels appropriate here.
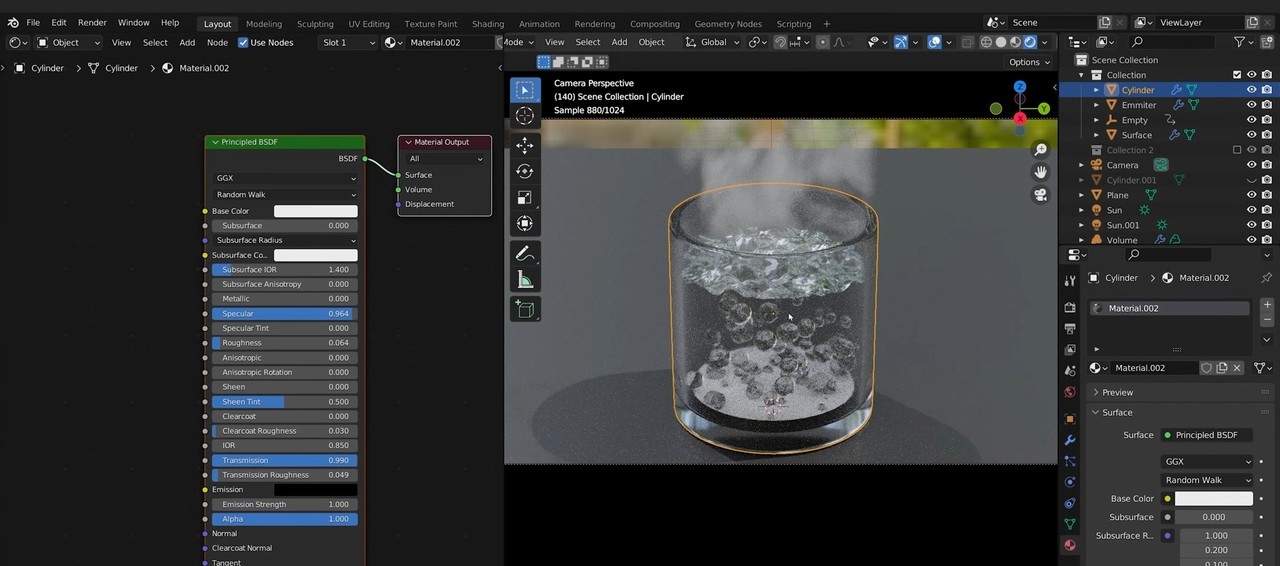
Similarly, I’ll tweak the Roughness and Transmission Roughness of our glass material a
bit.
Step 10 Create the hot plate
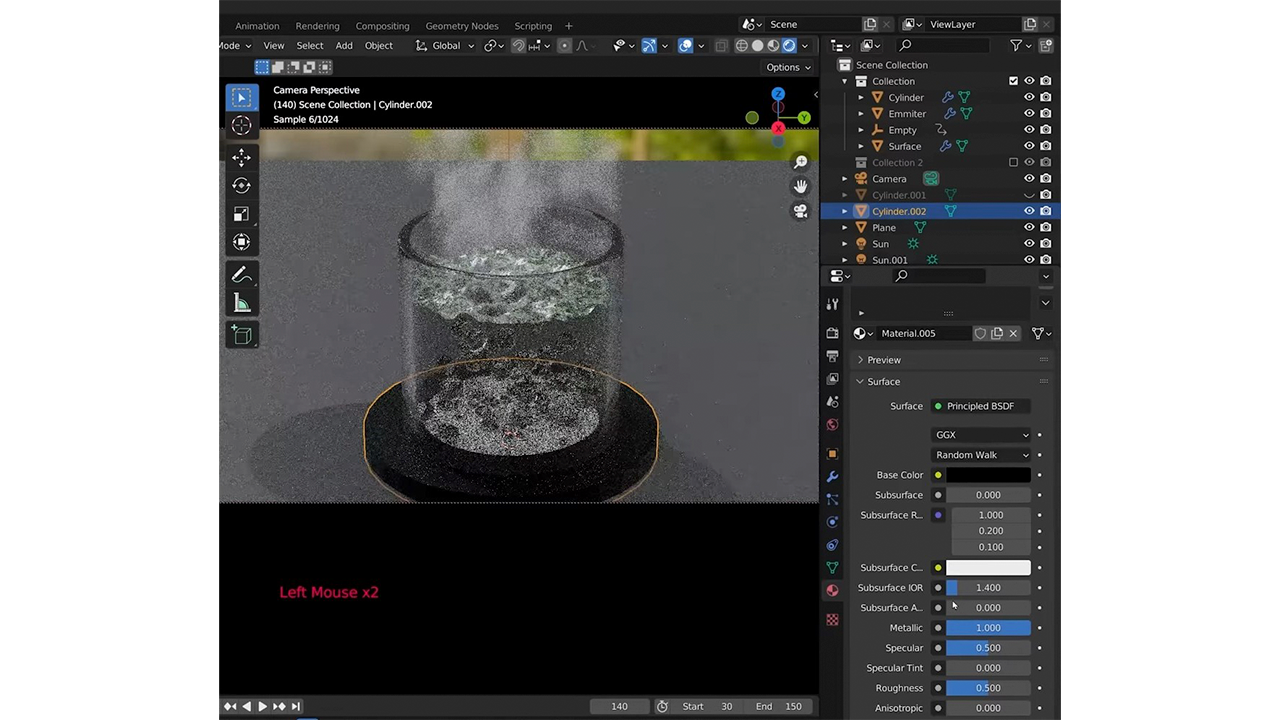
Now that we have our boiling water animated so well, let’s create the hot plate that is
causing all the boiling. I’ll create a mesh cylinder, resize it appropriately, add a new
material, turn the Metallic property all the way up, and turn the base color all the way
down.
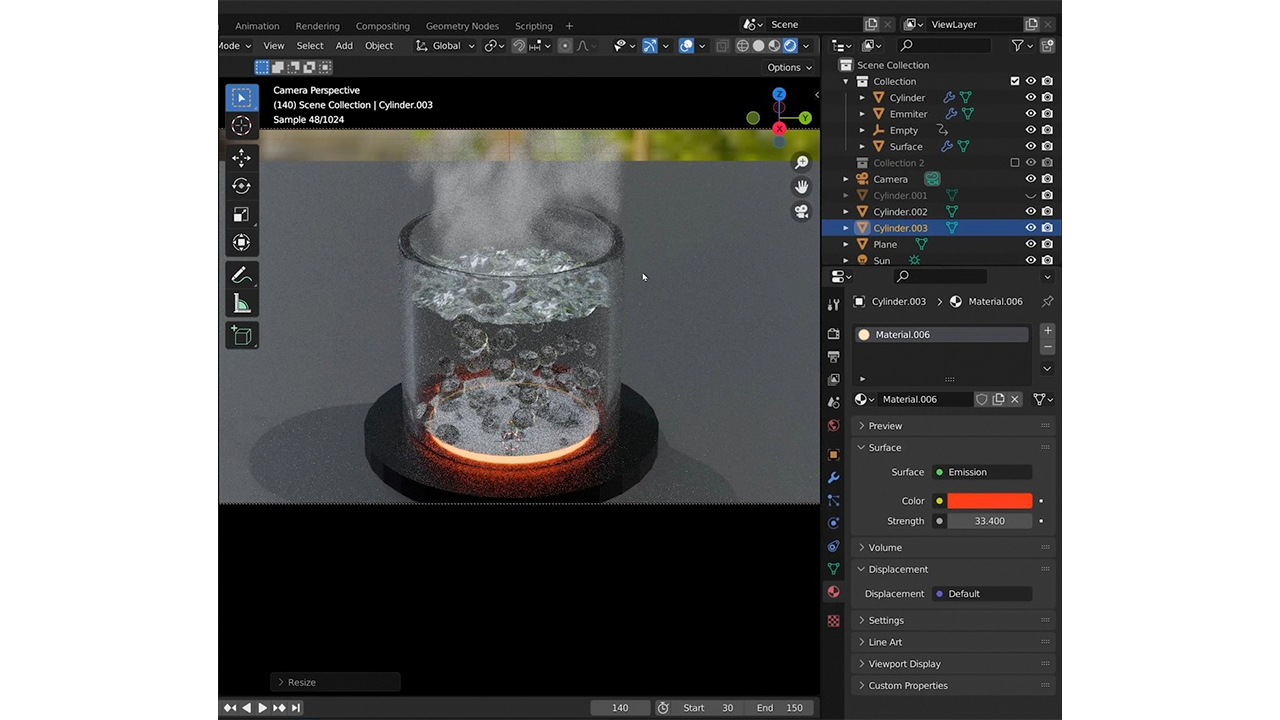
I’ll now create another cylinder to represent the red-hot coils of the hot plate. For this
one, I’ll create another new material, change the material surface type to Emission,
change the color to a reddish-orange, and turn up the strength.
I’m noticing that I can still see my emitter in the shot, so I can go to the emitter’s object
properties and turn off Viewport under the Instancing options.
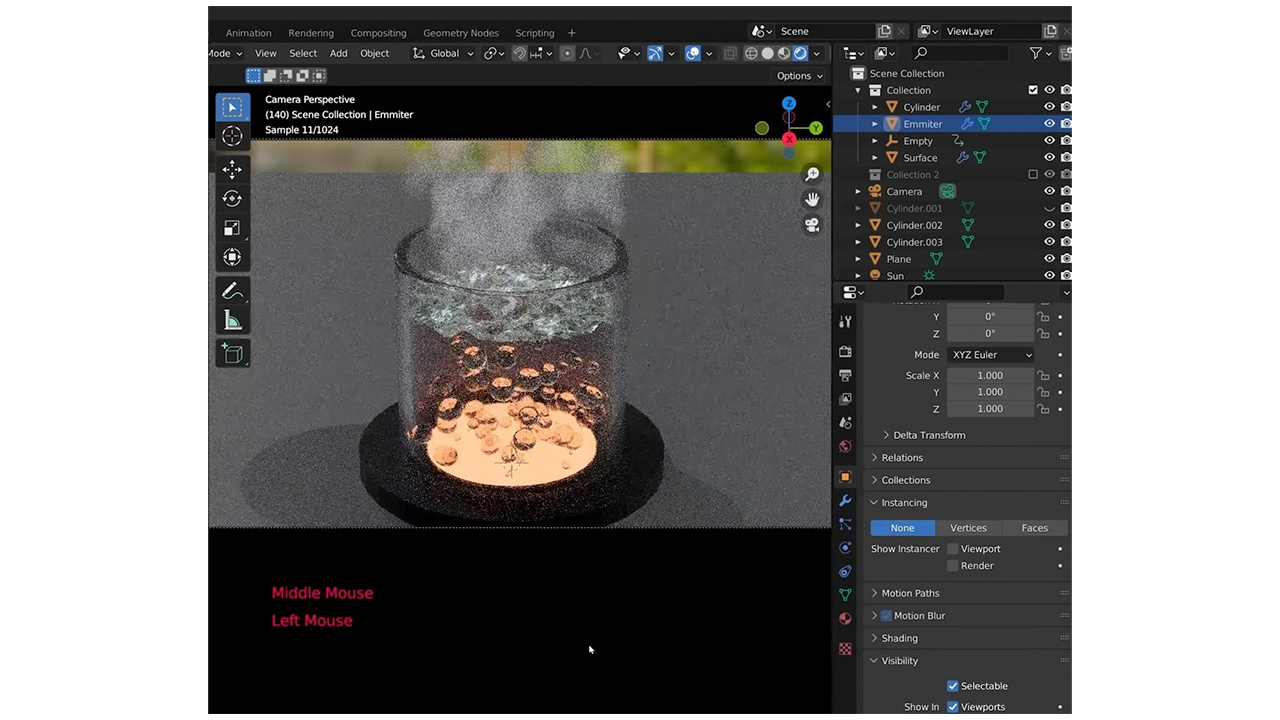
One last tweak: under the render properties, make sure to turn on motion blur to really
sell the animation.
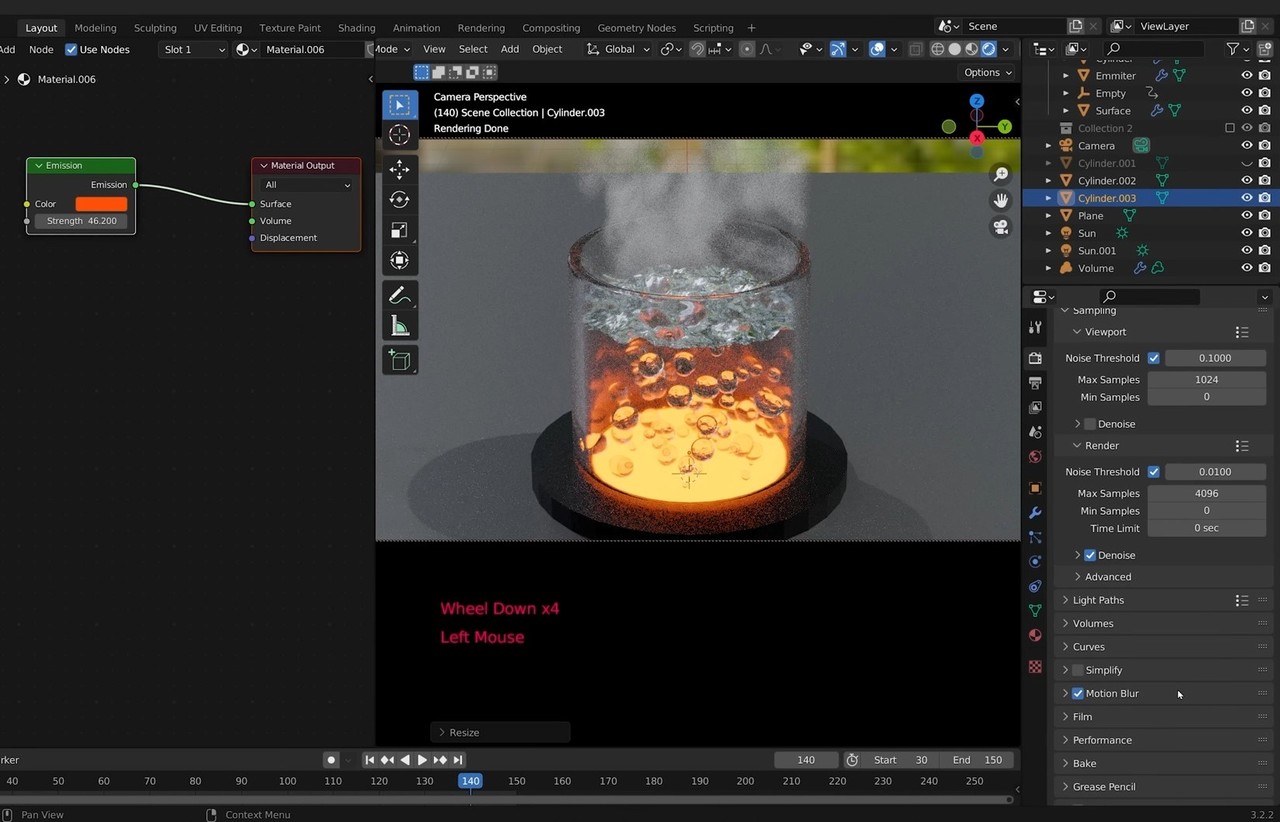
And that’s it; we’ve animated boiling water! Here’s the final result.