
Sean Sexton

Forum Replies Created
-
AuthorPosts
-
Greetings,
I would suggest you pick what you find most exciting to begin with but try not to ignore the courses you find less appealing for too long. I often find myself picking up key skills in the courses and lectures I least expect.
I tend to stick to one long form course at a time but given the streaming nature of course content/e-learning platforms nowadays i often dip my toes into a course I’m curious about when I have some down time or hit a roadblock in a project.
I might watch a couple lectures on 2x speed to see if the course and its content excites me or can teach me something new.
I keep a list of any key skills I want to work on and rotate my primary focus based on where I feel I am most deficient.
When you start to transition from beginner to intermediate its often at this stage that your development may stall if you get trapped watching too much of the same kind of content.
I used to put off learning certain skills or tools as I didnt feel they were necessarily relevant to what I was pursuing but in actual fact I found out the hard way that this can actually stifle your progress.
So I always tend to pick one passion project and one ‘chore’ project and alternate between them as my motivation ebbs and flows.
Where you focus primarily depends largely on what your end goal is, how much time you have to learn and why you are interested in pursusing blender.
It really helps to write down a list of learning objectives, set specific goals, find a way to measure your progress or performance and tick them off one by one. Making sure that your goals are time-bound and realistic.
This will help you stay motivated and focused.
You can add new progress goals and learning milestones as you find courses that interest you, but the more you map out your learning in advance the easier it is to build a rounded skillset.
I am a big proponent of keeping a journal or notepad to wrtie down goals and to do lists – online note taking apps such as Milanote or Google Keep can be great resource for this as well.
More than anything else though – follow the fun.
If you are not enjoying learning you are unlikely to stick with it for the long-haul and I find that managing burnout is actually one of the most important skills for a budding artist or student and is something that does not get covered enough.
I personally really enjoyed the Cubicity course – as it has a nice mixture of things to work on. You get to practice multiple skill sets and you are likely to learn a few new things regardless of your experience level.
Assembly is a bit tougher to digest as it is more technical – so I would suggest completing cubicity first and then moving ahead to the assembly course personally.
Sorry if I rambled a bit – I just thought I’d share a few pointers as I found the transition period from fundamentals to intermediate one of the hardest times in my learning journey.
Stay focused, stay motivated, enjoy what you do and I am sure you will really come along quickly if you commit to what you want to learn and make it a habit.
Best of luck!
Hi @MuhammadKhan
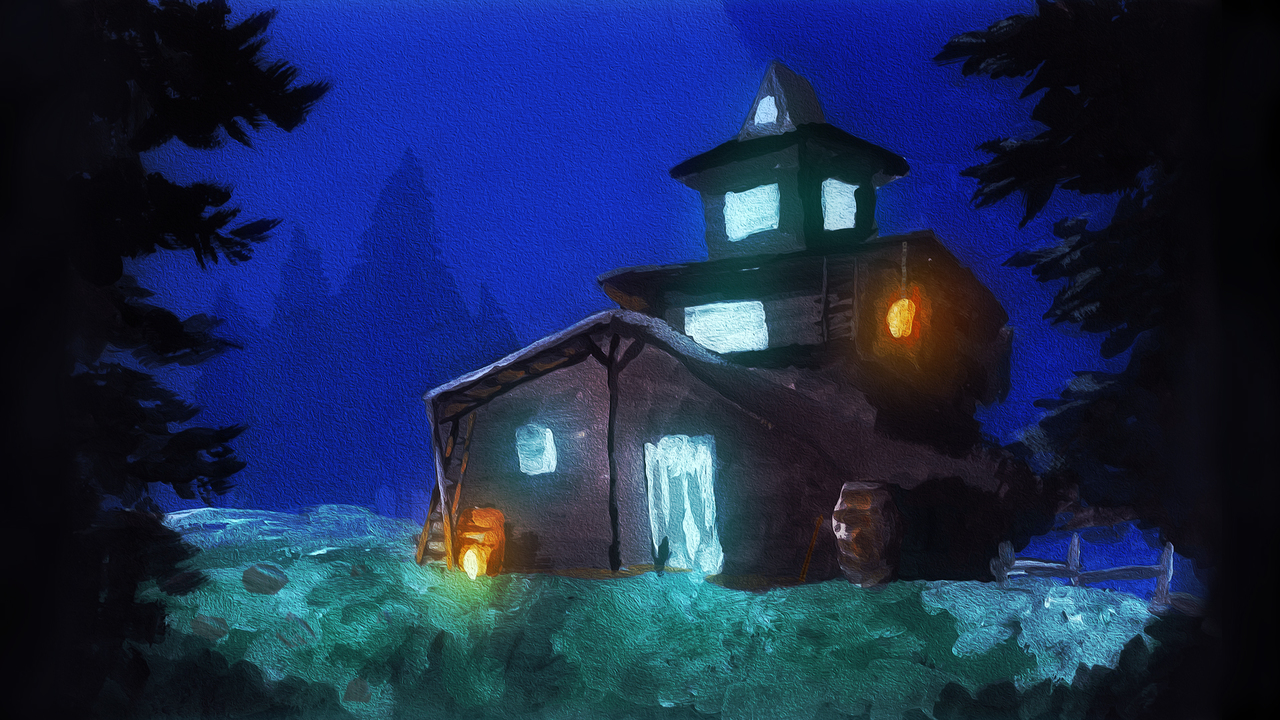
if you mean the image of the hut it is included in the assets.zip under course files for the lecture in question.
You will find two images inside a subfolder called concept art.
@Roxana Moise – the isbn for the book is:
ISBN:978-1-912843-10-7
Good luck with your sculpts!
Hi Kent,
Thanks for replying.
I really like the sound of this format – it allows both the teacher and the student to explore a vast selection of topics as their interest is piqued. I see that you expect the ‘sessions’ themselves to grow organically over time as a direct result of your own curiosity and the requirements of the audience.
Seems like a really sensible format that affords both creative exploration and focused study. What I find appealing is that you are clearly excited by the possibilities that exist and are open to pursuing many different areas of focus.
Framing things within a pre-defined ruleset or list of limitations – means you are free to explore new things without getting trapped down the rabbit hole.
As a beginner having those guiding principles is really helpful. Having different exercises that share a similar format but explore multiple areas of interest should allow students to move organically between projects.
I don’t expect you to reply to my next message as I am sure you are very busy – but I thought I would share some comments on the first theme of Minimalism.
If this is not the right place for this discussion just let me know and I’ll drop it somewhere else!
With regards to MINIMALISM:
When I think of this term – my brain associates this with modern art and the modernism movement in architecture. As well as sterile science fiction environments. Things like medical bays or alien utopian/dystopian designs.
One great example of minimalism in cinema – is the recurring use of symbols in Stanley Kubrick’s 1968 film:
2001: A Space Odyssey
The set decoration, environment design, framing, composition, and general aesthetic really nail that vibe of doing as much as possible with as little as possible.
Of particular note are the Monolith and the Space Station designs.
As well as the iconic HAL.What I find most interesting about these minimalistic designs – is that they show so little but hint at so much.
They offer the suggestion of something much greater, more meaningful, and in some instances, even something sinister but they are open to interpretation on the part of the audience.
It’s a fine line between reducing an idea or image into a readable symbol – whilst affording room for the viewer to engage with it.
Often, the most effective minimalistic designs straddle a fault line between familiarity and the unknown.
I look forward to tackling the planet render and seeing how I can take it a step further by introducing some of the classic science fiction elements introduced in early 60’s cinema.
As an aside, on “Photoshop Tennis” for any curious readers:
“Photoshop tennis (also known as Photoshop Pong or Photoshop battle (similar in its function to a “DJ battle” or “rap battle” in hip hop music) is a game played through sequential alternating photoshopping of an image.”
“..Each match of Photoshop tennis is generally played with two competing players.[2] The players pick a starting image, or one is “served” by a player, then another player makes some sort of alteration to the image in any chosen image editor (matches are not exclusive to Adobe Photoshop). They then send the altered image to the other player or players”
“This process goes back and forth until a predetermined number of rounds have elapsed, or the players otherwise wish to end the game. When the final round is over, there may be an independent judge who determines who has played the best shots, and declares that person the winner, or players may play without a clear winner. Sometimes extra rules can be enforced, such as sticking to one particular software package, or keeping to a particular theme.”
Hi,
I’m pretty pumped for this new format.
I often find myself deep in large/long-form projects and I often find these smaller challenge sessions are a great way to level up skills you would otherwise neglect!
Are the themes for the session topics already set?
When a few of the session lessons go live – can we expect a community challenge project to accompany them?
Have you considered a ‘Photoshop Tennis’ format – where you start a session and pass it on to another instructor?
I sometimes find the ‘rally’ format of those kinds of ‘tennis matches’ super exciting to follow and the output is often very creative.
Can’t wait to see what you have in store.
Count me in for some SESSIONS!
Hi Roxana,
Great work with your head modeling exercise.
I really like the different vibes your second version has.
It’s good to push yourself beyond the confines of the course.
When I was studying head anatomy for sculpting – there were a few resources I used that really helped me out with simplifying the shapes and finding the forms.
I am unsure if I am allowed to post links to other websites – but if you google you will possibly find the same resources.
I purchased a book entitled Anatomy for Artists – that features photo references, as well as pictures, overlayed with ecorche models. The book covers the entire body, not just the face but it is a very strong reference for any human anatomy sculpting you may do – if not a bit pricey.
Separate from this book I also studied Simplified Forms of the head – again there are some nice pocket reference books on how to sketch simple forms available from the big retailers. I am particularly fond of Michel Lauricella and his Morpho books.
Another handy resource to have at hand when sculpting the face – is a resource that breaks down the planes of the face – if you search for ‘planes of the face or study some facial retopology references this can be very insightful.
I also think having a physical model to hand at your desk, that you can pick up, twist, rotate, and ‘play’ with is really super helpful for sculpting but not entirely necessary.
I started out with a few child’s anatomy/science models but I also own one or two 3D Printed anatomy busts for when I do sculpting work.
None of the above is absolutely essential – but I find having a large and diverse collection of references can save you a lot of time and the act of gathering the reference and finding photos to suit your needs makes your brain ‘decrypt’ the puzzle of the ‘simplified forms’ you are searching for.
As one last bonus tip, here are three authors/content creators in the Blender community I recommend learning more about sculpting from:
Grant Abbit
Corazon Bryant
YanSculptsI haven’t had a chance to go through the Human course myself yet – but I would also suggest looking at:
https://cgcookie.com/downloads/anatomic-head-anatomy-3d-cheat-sheet
and…
https://cgcookie.com/courses/human-realistic-portrait-creation-with-blender
There are also the following links you may find useful from cookies expanded library:
https://cgcookie.com/downloads/human-2d-anatomy-reference-pack
https://cgcookie.com/courses/introduction-to-human-anatomy-and-basic-proportions
If none of the above is helpful just drop a reply and I can dig out my personal PureRef board or some scans for you from my last head sculpting session.
Best of luck with your busts!
HI, sorry if I am late to the discussion but I thought I’d share a few things I learned over time incase anybody else stumbles upon this thread.
How is your learning journey going?
just to add to the great tips already suggested, I would also suggest the following steps to action:
Plan your learning journey and practice managing your time.
Be prepared to fail and accept that you will not be satisfied with your first attempt. Remember why you are taking your First steps on the road.
Make sure you are having fun and Don’t be afraid to ask for help!
When first starting to learn a new skill, especially something as wide ranging as CG it is very important to have a clear outline of what you want to learn.
One of the most exciting buf also frustrating aspects of learning as a beginner is that there is just SO MUCH cool stuff to learn. It can be incredibly exciting but also overwhelming and disheartening as you realise just how vast a subject CG art is.
I often struggled with a lack of focus and scope creep whenever I tried to learn something new. This often led to feelings of frustration. I would stop and start on things constantly as a result.
Stick to curated courses and small projects appropriate for your skill level.
As you complete projects, take what you have learned and practice the lessons independently.
Use the down time between projects to reflect on where you feel confident and where you are still uncertain.
Try out a few different course formats and teachers to find a teaching style that suits your needs.
Take notes as you go and get in the habit of generating progress snapshots so you can clearly see your growth over time.
I wish you luck on your learning journey and hope to see you sharing some work with us soon!
-
AuthorPosts
