
ogonzales

Forum Replies Created
-
AuthorPosts
-
Thank you, @spikeyxxx (y)
That option doesn’t make sense to me, but sure it has it uses.
Yes, I had that disabled. Ty!!!!
@spikeyxxx maybe you can help me with this?
I cannot see the masking, and it has no effect also. I cleared the mask, but still same result.
I’ve tried this in a new scene with just an ico sphere, and it worked. I’ve pressed something or do something that is blocking me from using the masking brush.
Thank you.
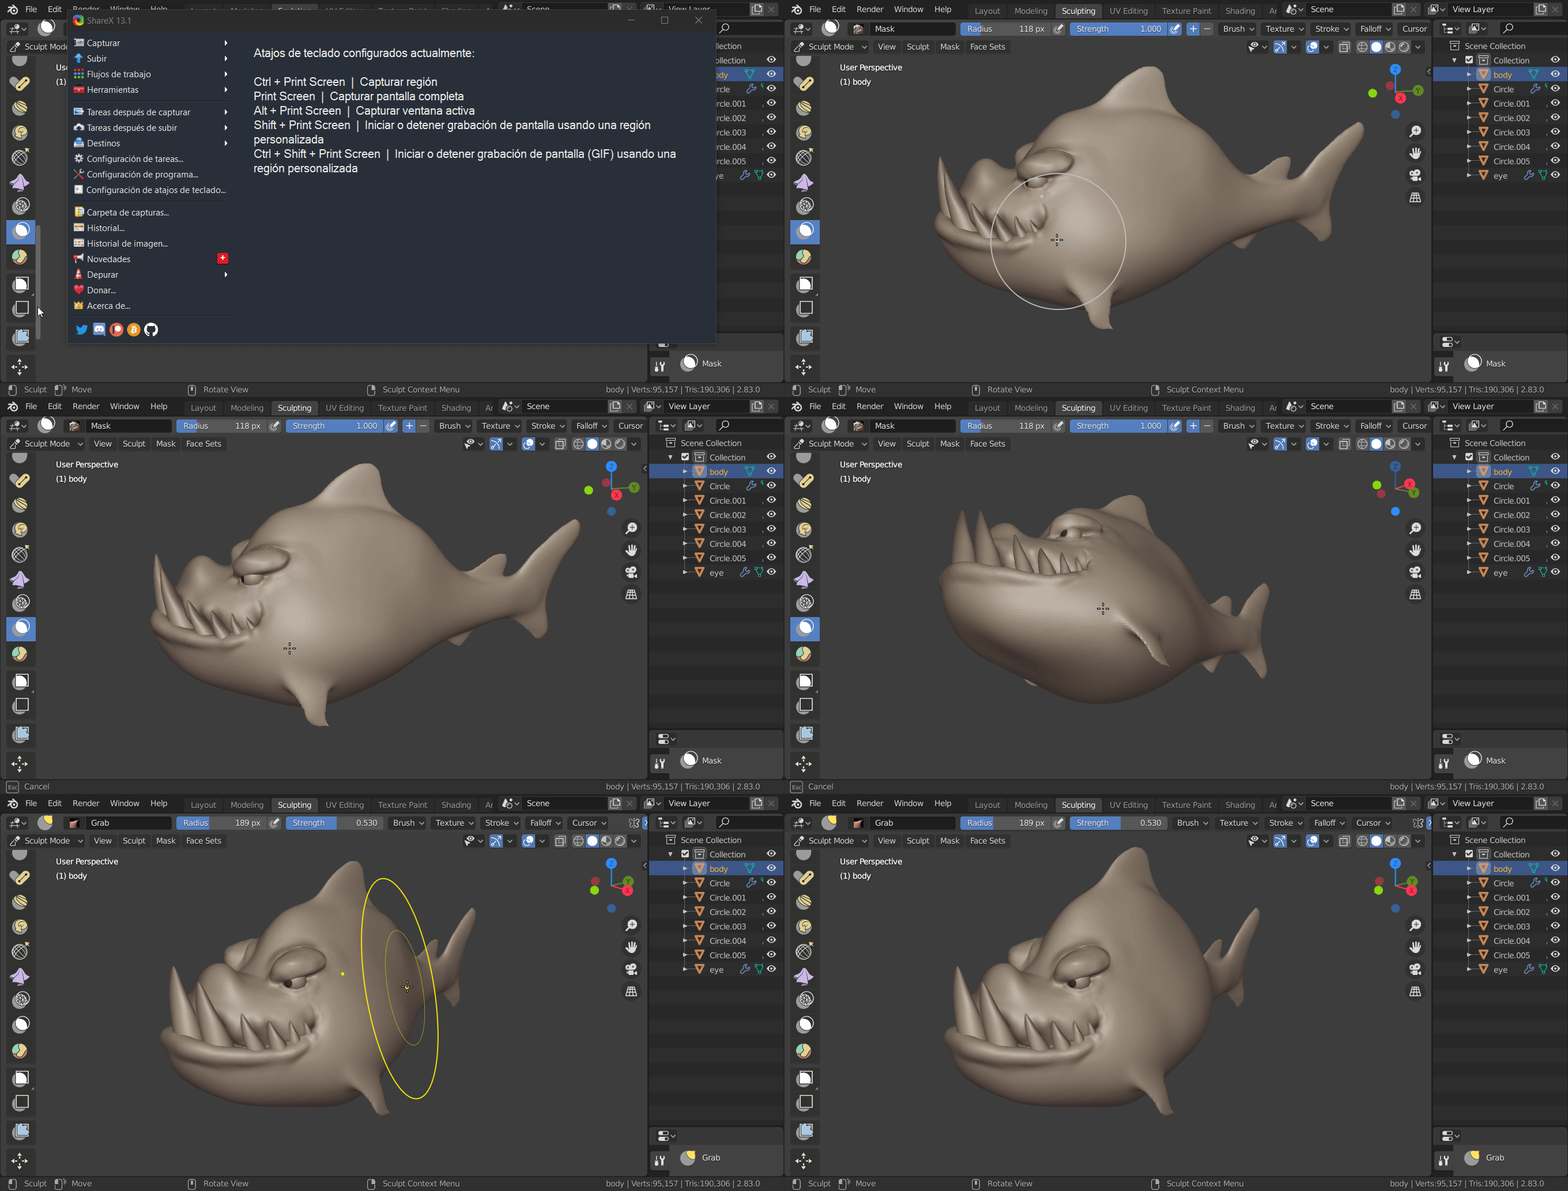
@spikeyxxx thank you, man. I’ll try this later, after finishing some work.
@ketre @spikeyxxx thank you both of you. I love your detail answers!!!
Thank you again!!!
Thank you, @me1958424 ! that was it!
@ketre I know that in order to get the mirror mod. woring the origin of the object must be at the center of the mesh.
That is why I don’t understand why when they move the origin the mesh is still in place. I’ll see it again carefully to understand what’s happening.
Got it, thank you.
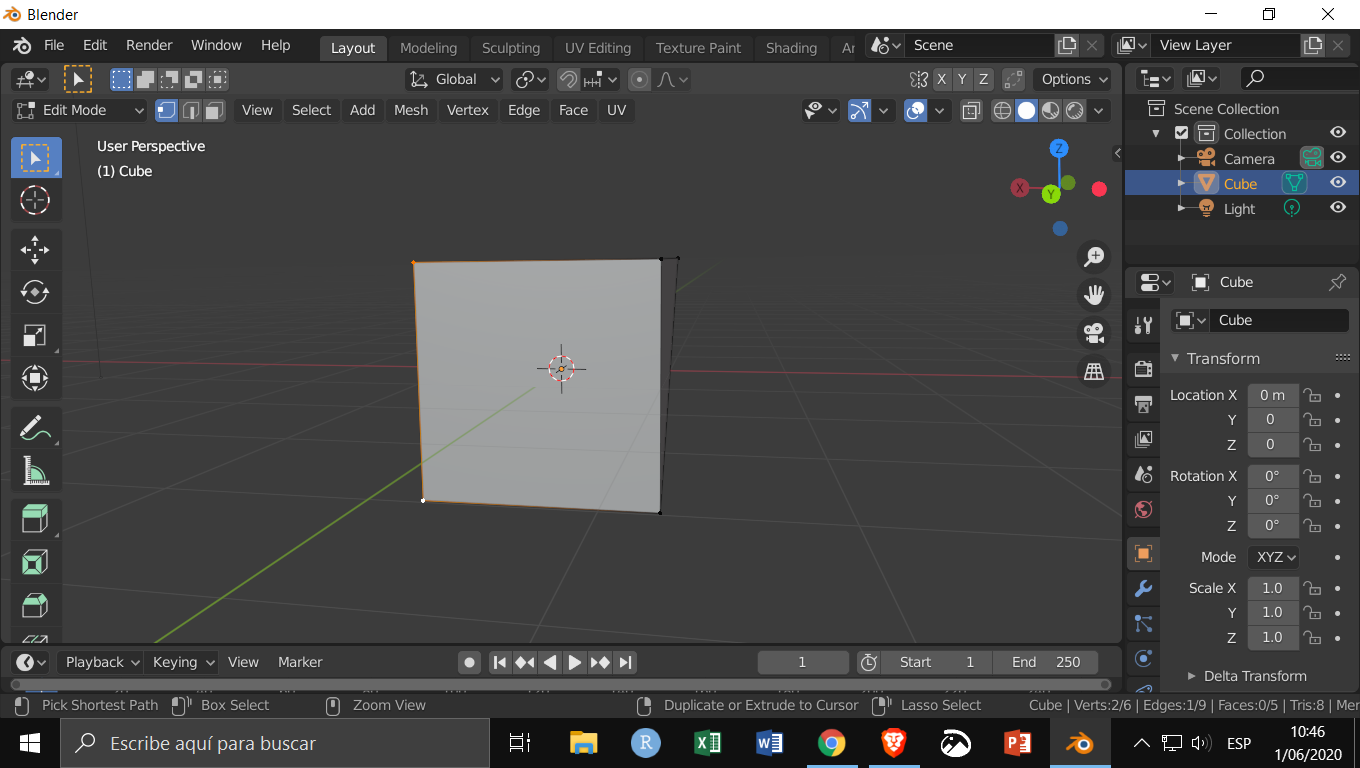
@spikeyxxx no, I’ve selected one then the other. Do you get the option to merge at last or first?
I’m surely doing something wrong, but don’t know what,
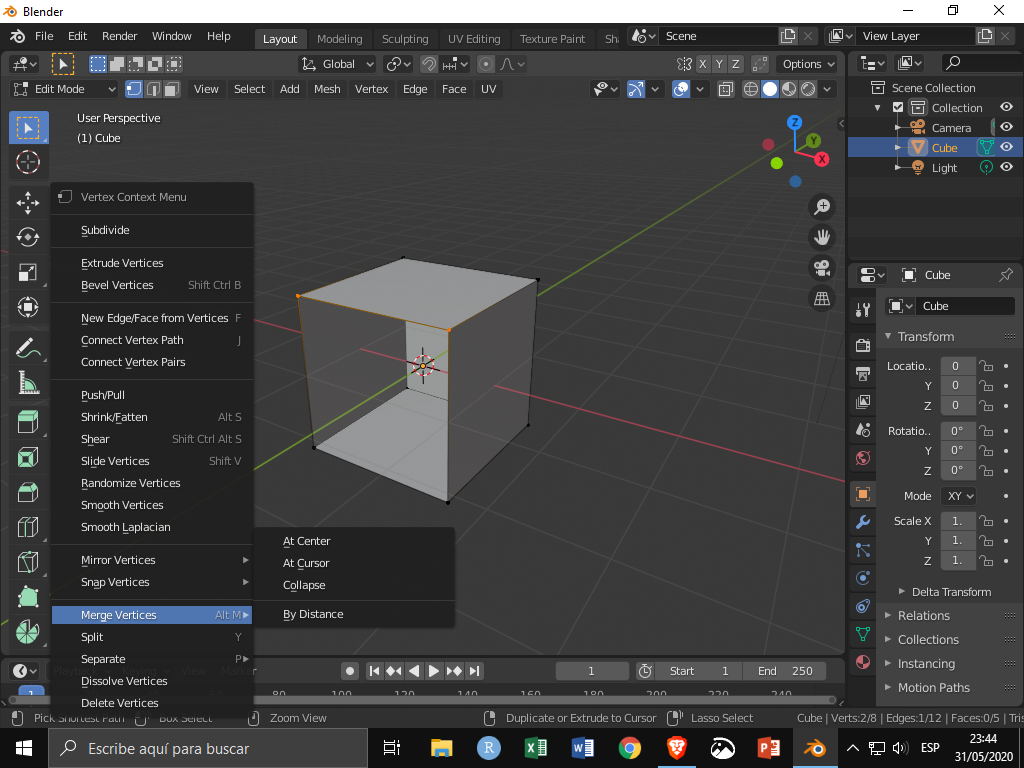
Yes, Chunck, it was the Relative Offset in the Array modifier that was causing that. I turned Merge on, but don’t see this having any effect?
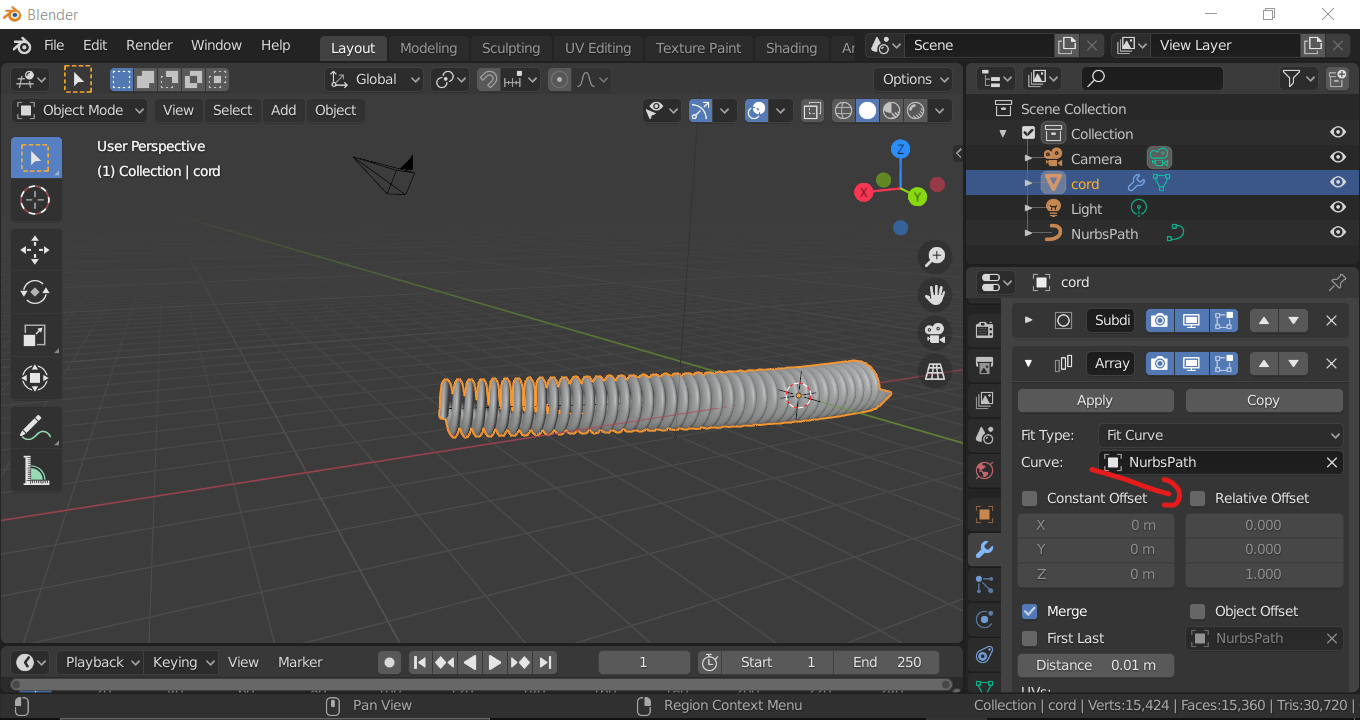
This solves part of the issue. The other one is that when stretching the NurbsPath the width of the rings of the cord get flat, as would happen when in real life you pull out the cord of the phone. This is nice, but, the question remains, how to keep adding “iterations” (from Screw modifier) to match the desired length.
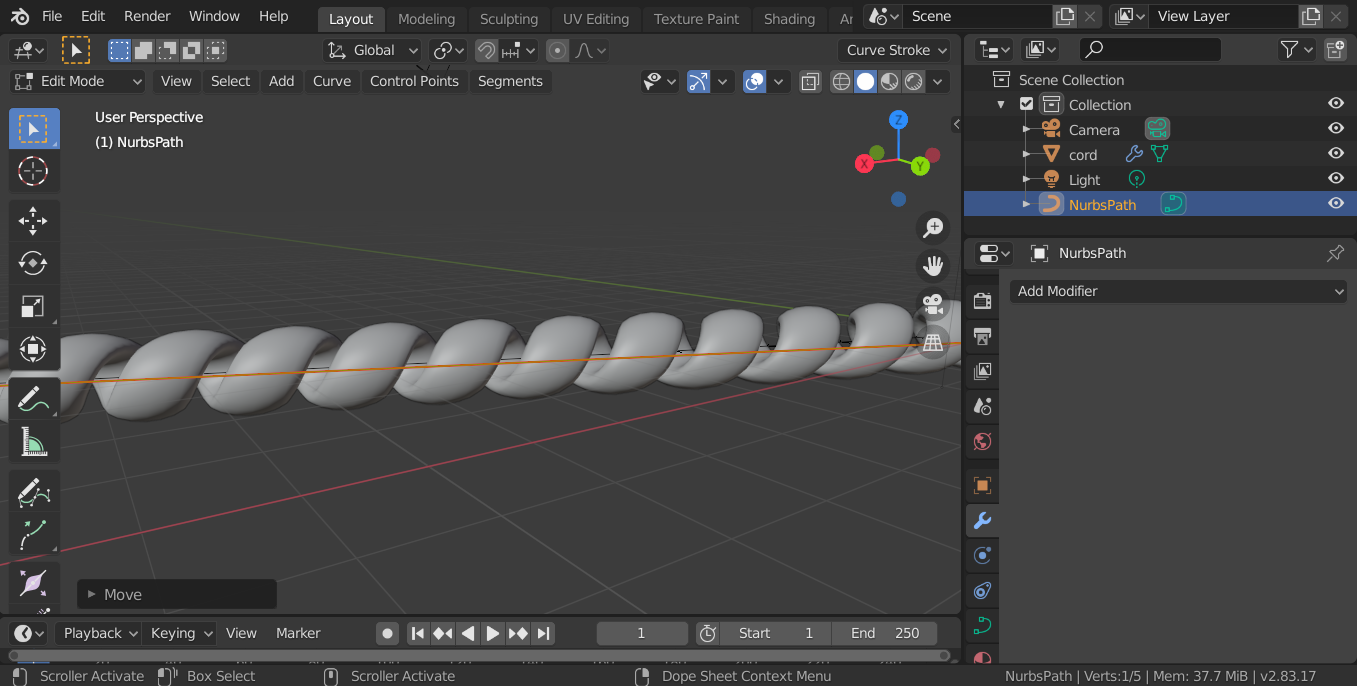
As for the second question, I see what yo mean with the “Recent operator” box. And it shows info related to the last operation. In this screenshot it shows info about extrude and move, but how about the subdivide we see in the tutorial Video.
Selecting a point of the curve and pressing “W” in edit mode, gives me the Box Select o Circle Select. I’m using Blender 2.83. Ty.
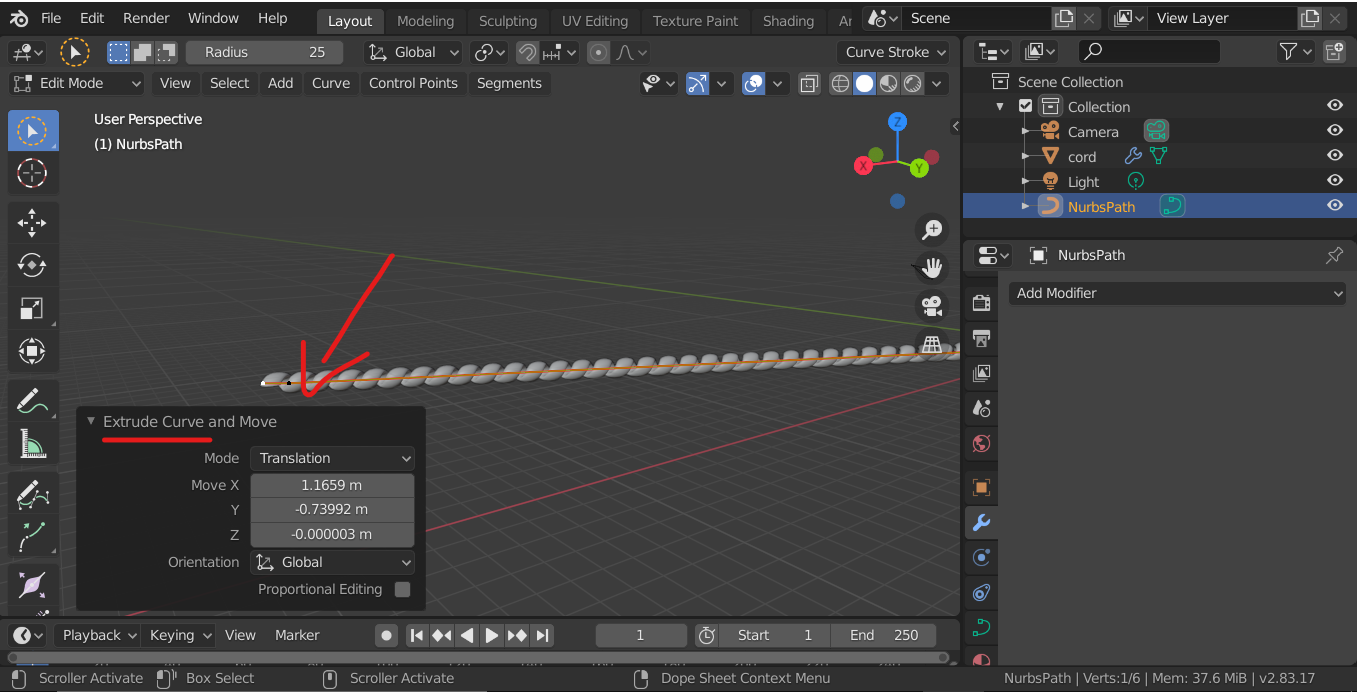
Hey Chunk, The cord tutorial es a bit different. The main difference I found is that you first extend the cord to the desire lenght and then add a curve, and also extend it. So both objects match in length. I didn’t like that approach so I combined both tutorials and I think this is a more procedural method.
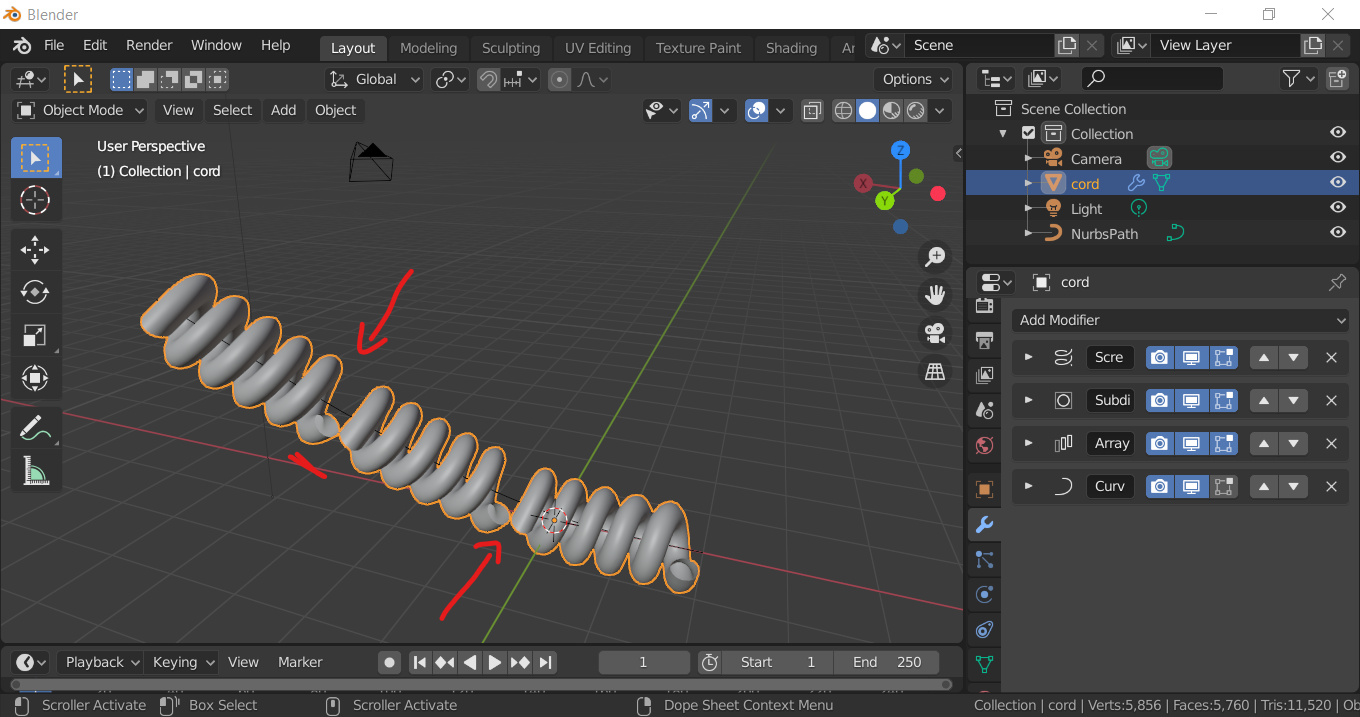
However, if you move one vertex of the curve to make it longer, as said, I get gaps, unless I keep incrementing the Screw iterations.
Even when in the array modifier I’ve set up fit curve and selected the NurbsPath curve.
Is there a way so when I move a point of the NurbsPath to make it longer I don’t get those gaps? (Increasing the number of iterations automatically?)
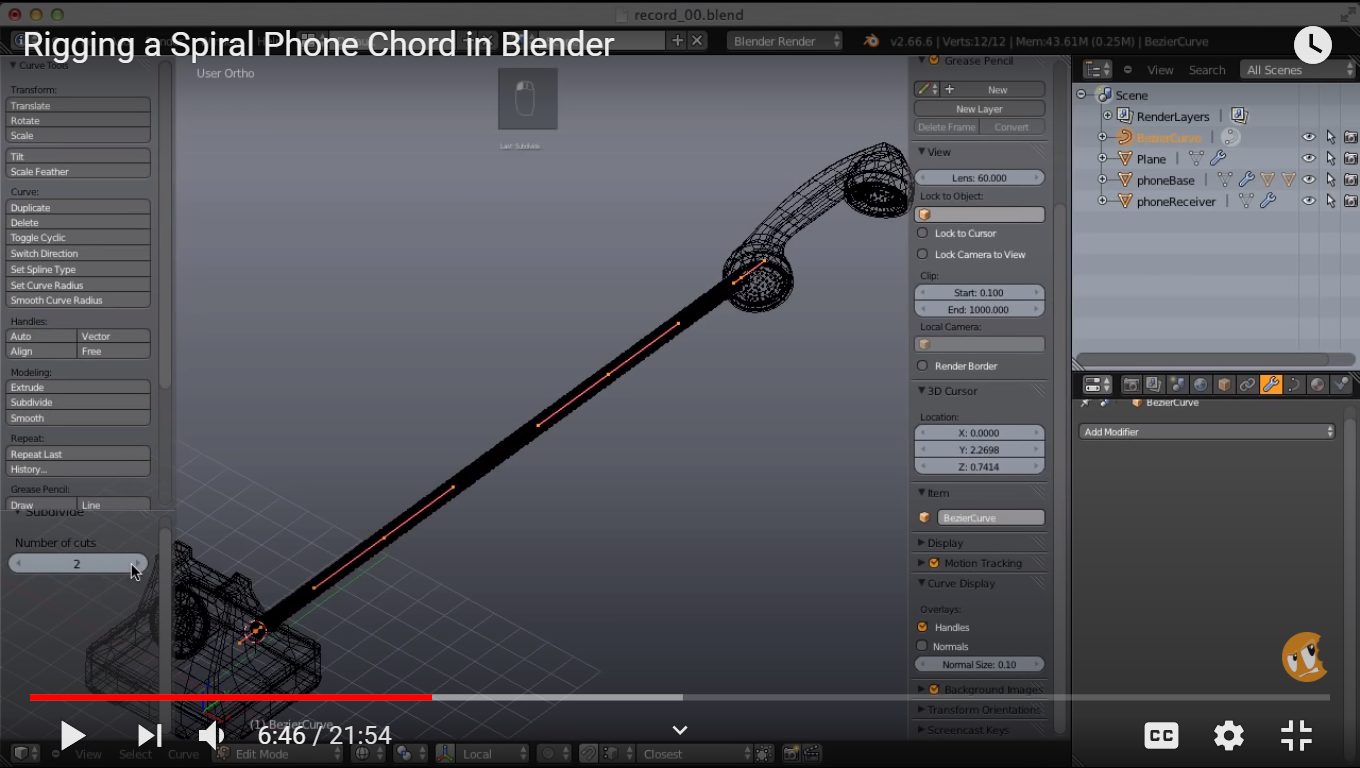
Also, in the Cord tutorial on youtube, I see you sudvide the Curve, using the Curves tool? Where is it located in Blender 2.83 or how do I activate it?
Thank you.May 23, 2020 at 10:01 pm in reply to: Making teeth: ALT + M not working for joining vertices? #57249Yes, you’re right. Thank you!!!
@spikeyxxx thank you! Hope the video is updated accordingly in the near future.
Hi Kent,I’ve read that Pablo Dobarro, Blender Developer, put back Multires on 2.83? Can you confirm this? And if so, would you update this video soon. Cheers.
Congrats!
-
AuthorPosts
