
nick-van-den-broeck

Forum Replies Created
-
AuthorPosts
-
I do have a question:
Can anyone suggest a tutorial on how to best work with multiple scenes, or multiple camera’s of the same objects?
Currently, I just had 2 camera’s, setup everything for both and then first rendered one and then the other, but there must be a better solution. I know Blender has ‘scenes’, but I don’t really know how to use them, so any suggestions where to pick this up is more than welcome.
I published the final result to the gallery. You can find it here: https://cgcookie.com/u/nick-van-den-broeck/projects/space-station-challenge-2021-starlab-p
So after last time, I added animations and even had time to add in some audio (which is a first for me).
I changed my station building blocks, I added a ring of light around it. In the compositor I gave it some glow. Then I got the idea to do the same thing to the pulsar itself which gave it a lot more wow factor:
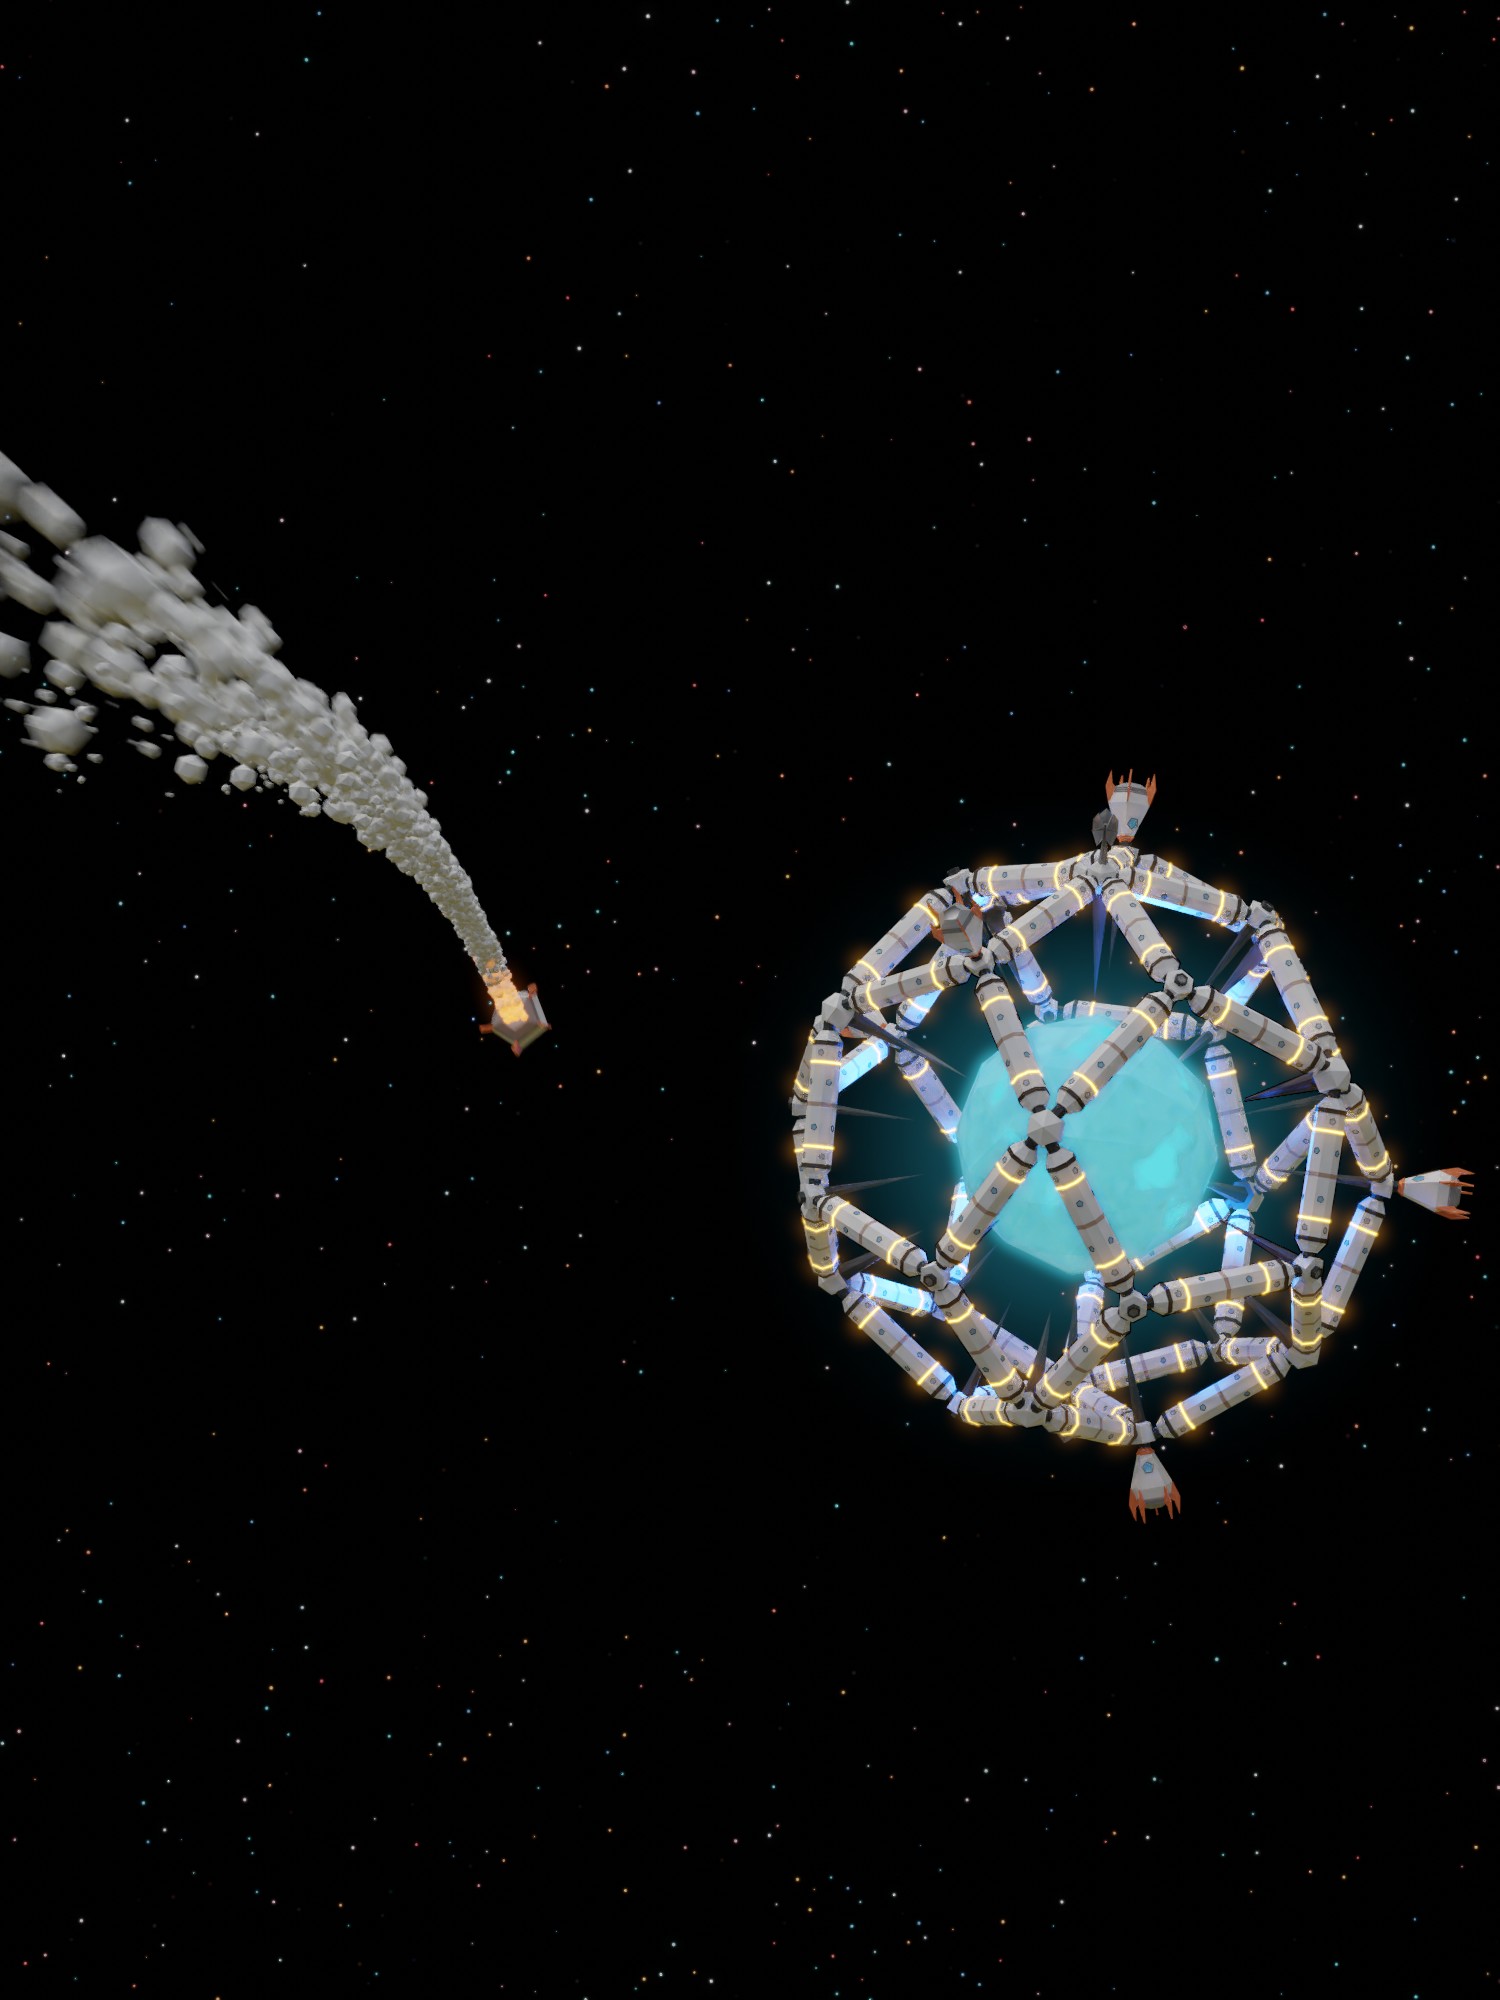
For those of you interested, here is a screenshot of the compositor:
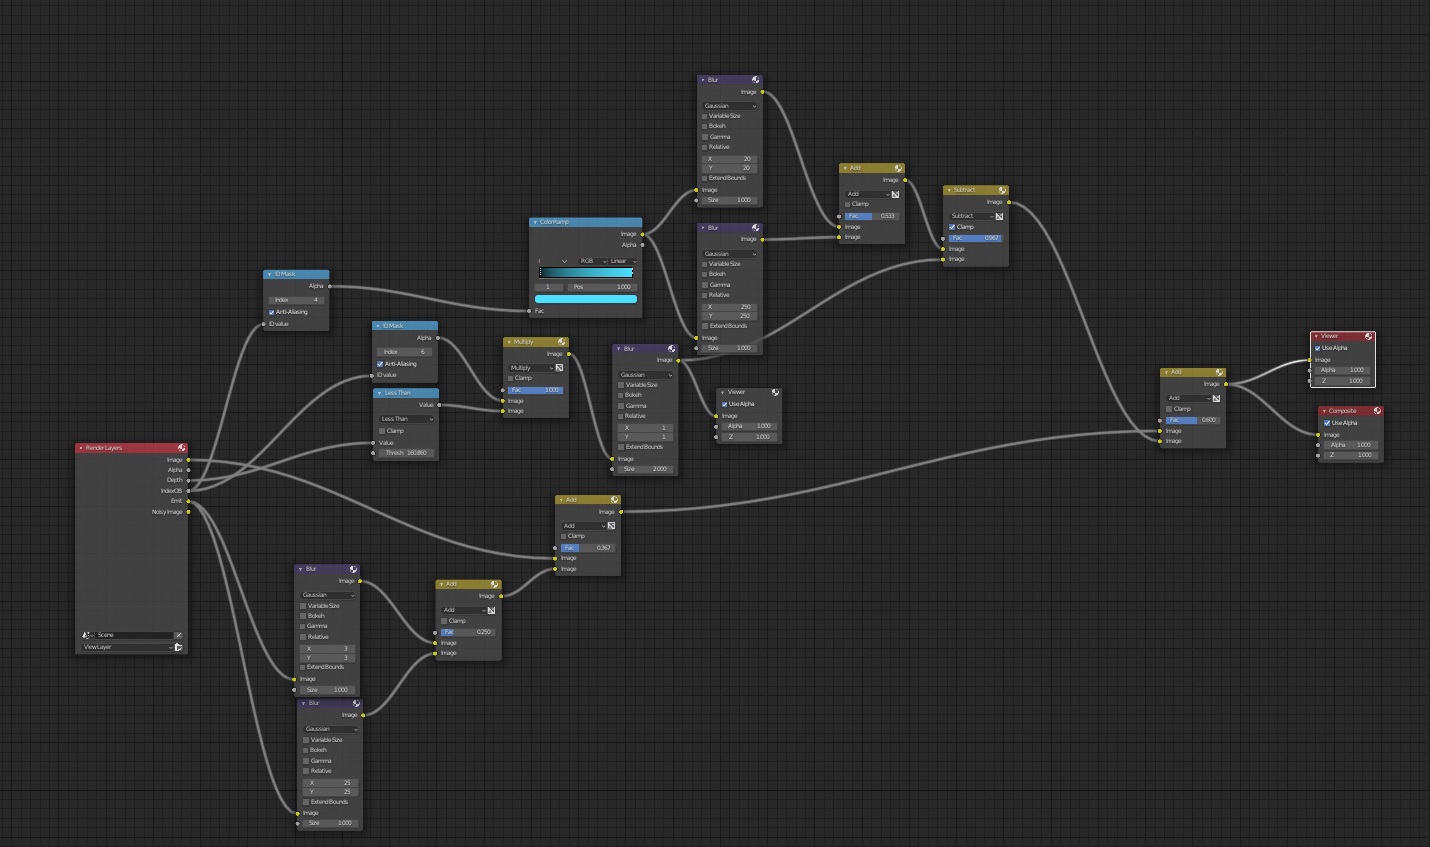
Let me break it down a bit: the top path is for the pulsar itself. The blue nodes are Object ID masks and a depth mask. Using and object ID mask, I get the pulsar separated. Then I give it a blue collor and apply a double blur to it (I always do a double blur, one harder one with a small radius and then a larger one but less strong). From this blured image, I again subtract all the objects in front of the sphere. If you don’t do that, then the glow will come over objects in front. That is not completely unrealistic (I think it is called bleeding), but not what I was going for here.
On the bottom, you can also see two blur nodes being applied, these work on the emission layer and will thus single out the orange rings of the station and the fiery glow of the rocket’s exhausts.
Here is the sequencer
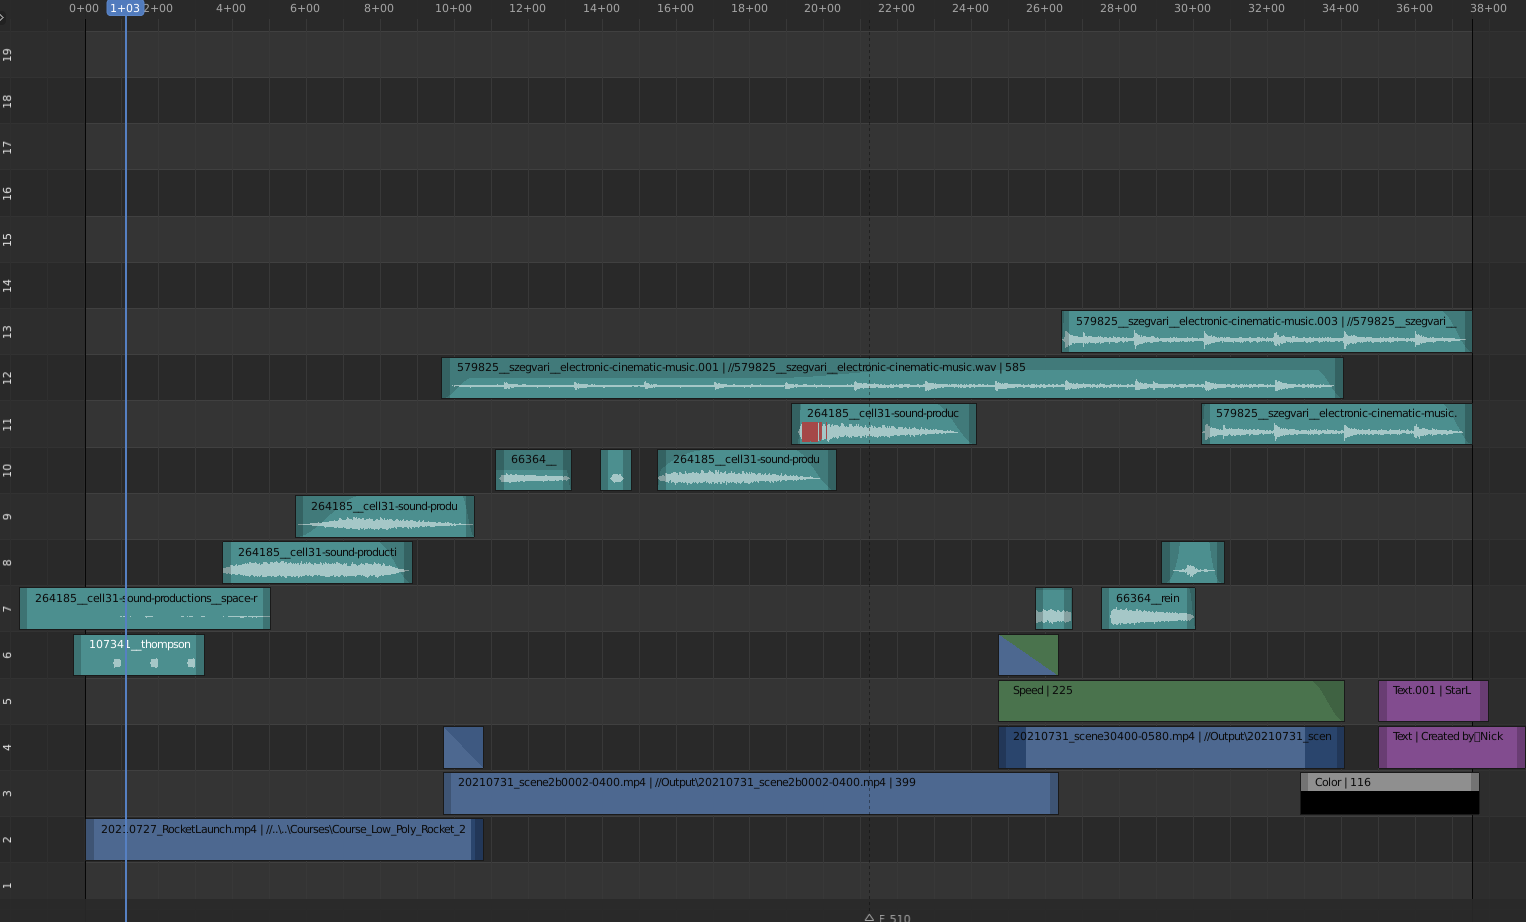
you can se the 3 scenes which I use in the animation. On the right hand side, in green, there is a time node because I was not pleased with the speed of that third scene. There is only so much you can do, but with limited time, I could not rerender.. I got all the sounds from freesound.org
An now, let me finish by sharing the link to the final animation (remember, play with sound):
Personally I really like what I got. This is for me the first multi-scene animation that I have created as far as i can remember. I like the fact that the low poly facet allows you to not stay in the modelling phase to long, which is something that always hindered me in the past.
Today, I added a backdrop with stars. I took a lazy route here: I added a plane and use the same technique as for the smoke: just a particle emitter with super low speed, long living ico spheres. I did throw some collor randomization into the material to mimic red, orange and blue stars.
The volumetric part is just not going to work, I don’t have any time for it, but I like the way it turns out even without it.
Here is a render with quality close to he final output:
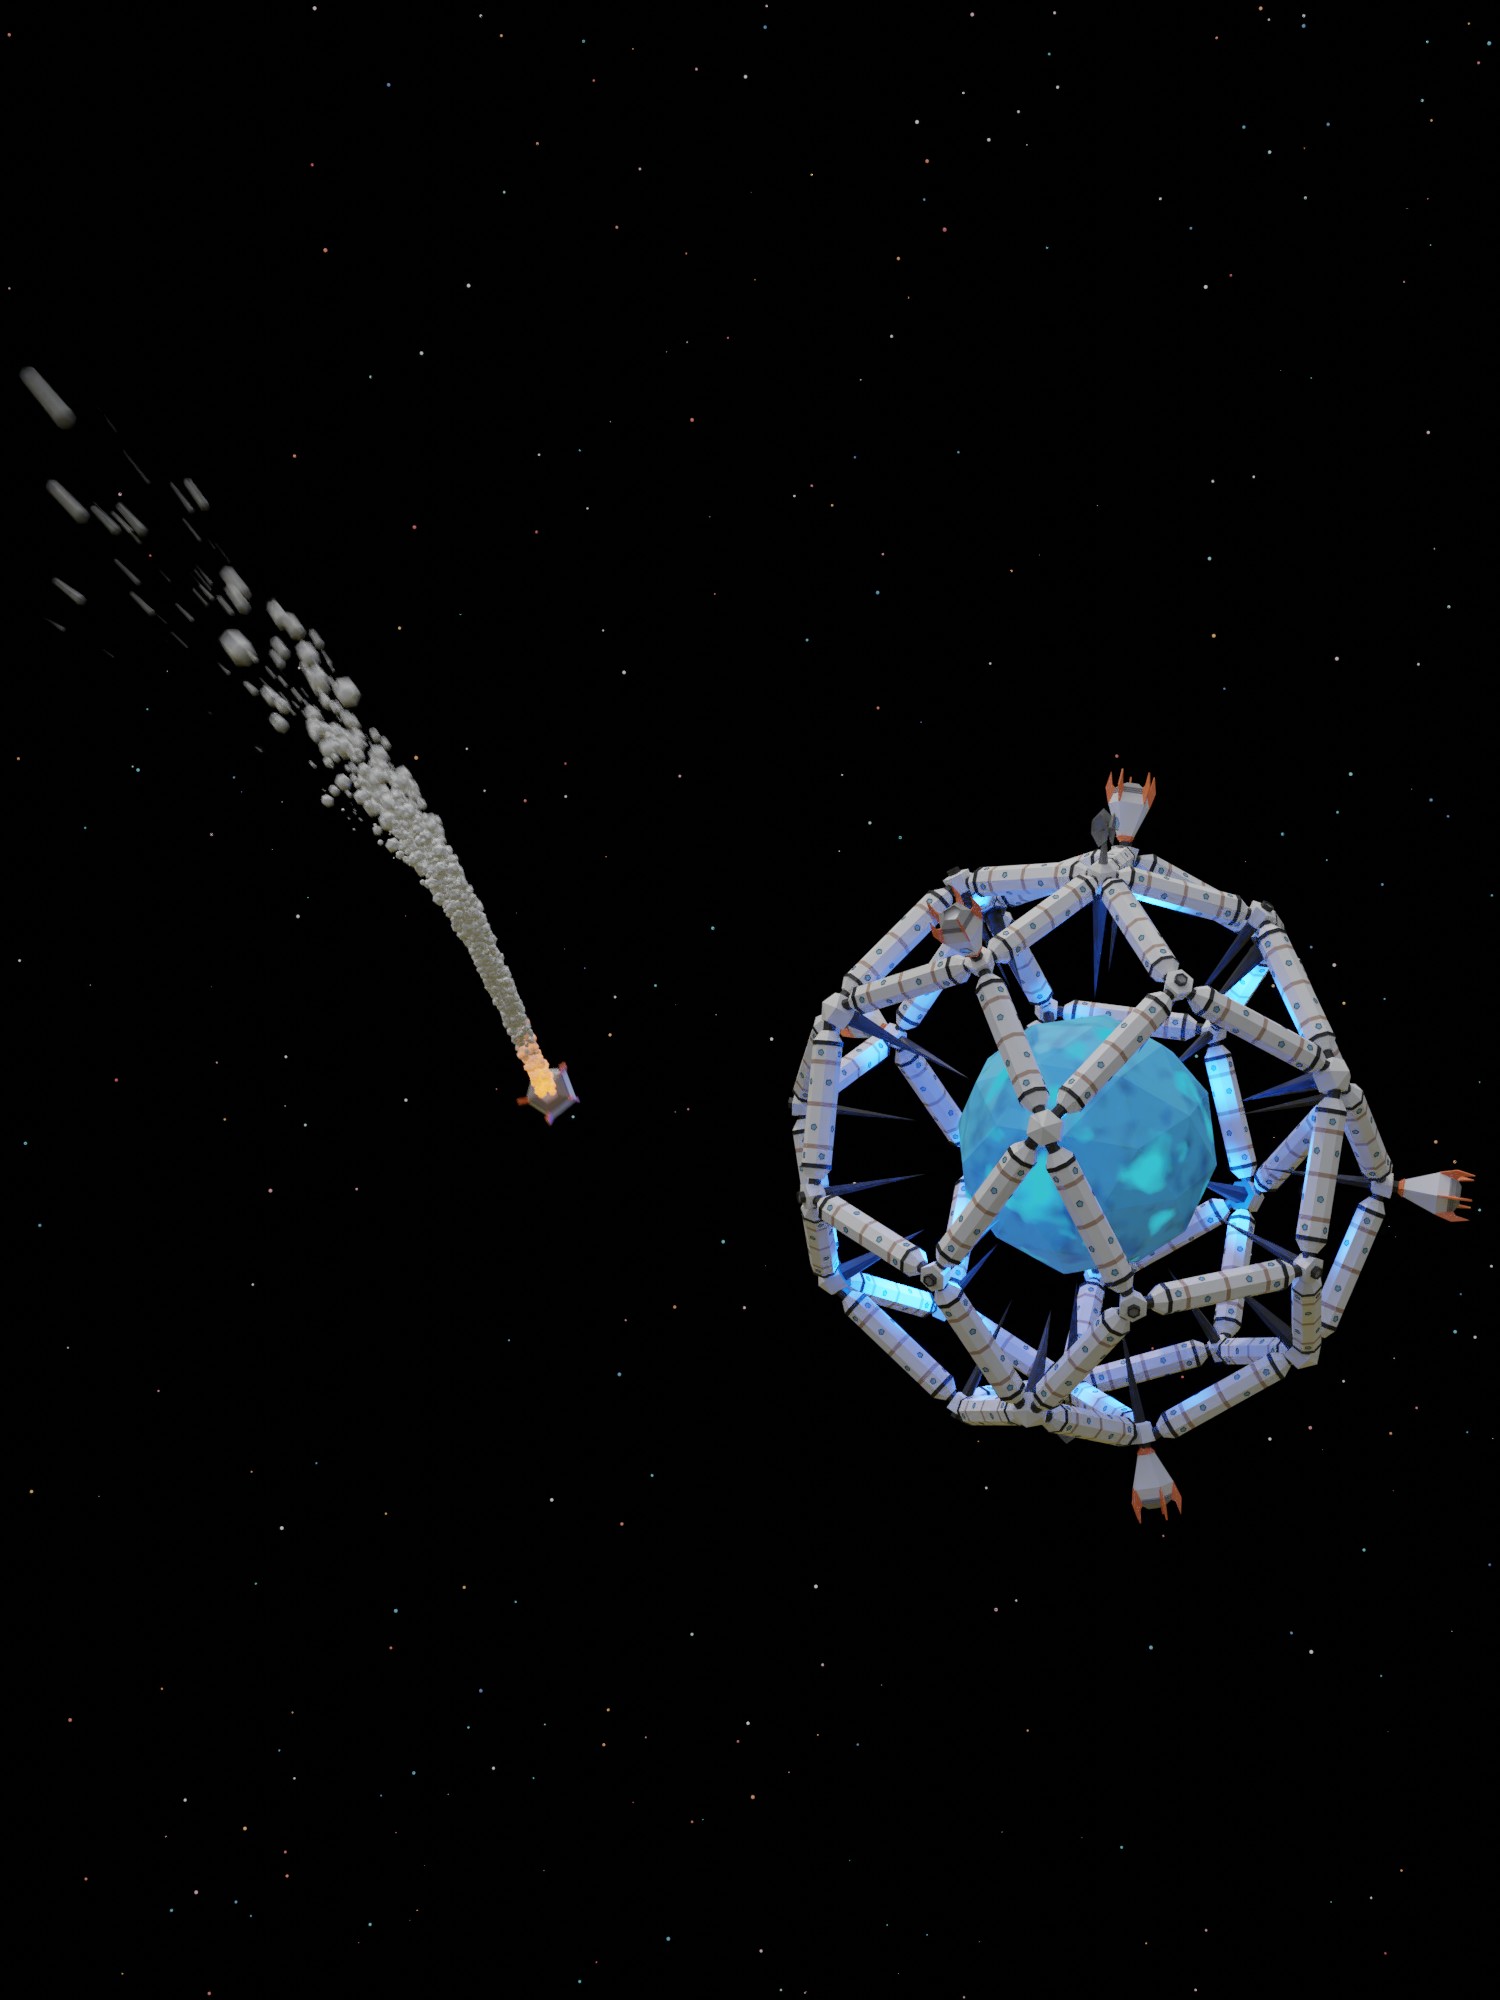
The animation is now rendering, so I hope to publish the final result tomorrow.
If I understand correctly, I have to put the final results in the gallery and refer to this thread, right? Or do I need to mention my entry for this challenge somewhere else as well?
Day 2: I added the pulsar in the middle of the station and gave it some materials. It was quite a buit of playing around to find something that I liked.
For the lighting, I used the same background as for the low poly rocket tutorial. The light of the pulsar comes from a point source inside of the pulsar. There is a texture on the pulsar and the light only comes out of certain regions. I achieved this using a mix node with the texture as factor. On one end there is another mix of colors. On the other end, there is a mix node between and emission material and a transparent material. The factor of this second group is controlled by ‘is camera light path’. So this means that the camera will see the emission, giving the bright spots. All the other objects will see the much brighter point source inside. In nodes this looks something like:
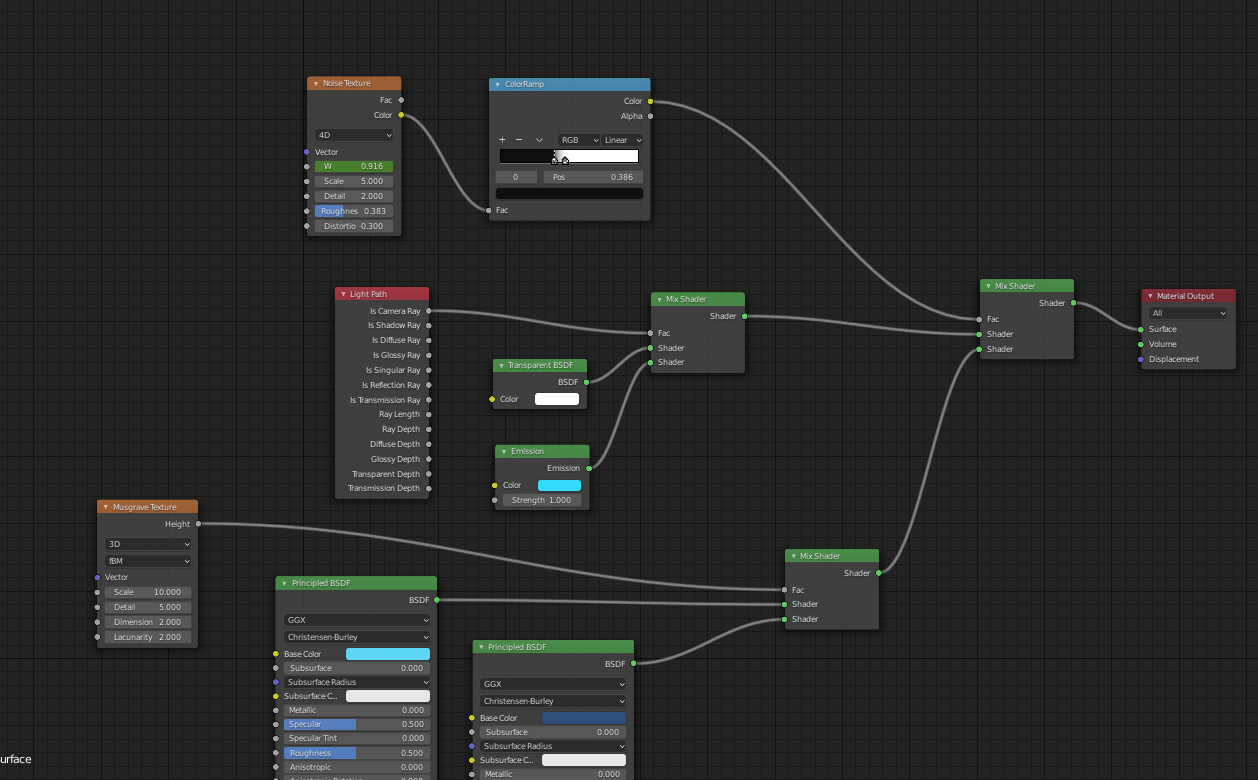
I also added some smoke animations like in the tutorial. So @adrian2301 , don’t worry, I am putting the tutorial to good use.
So, with cycles this is a single frame:
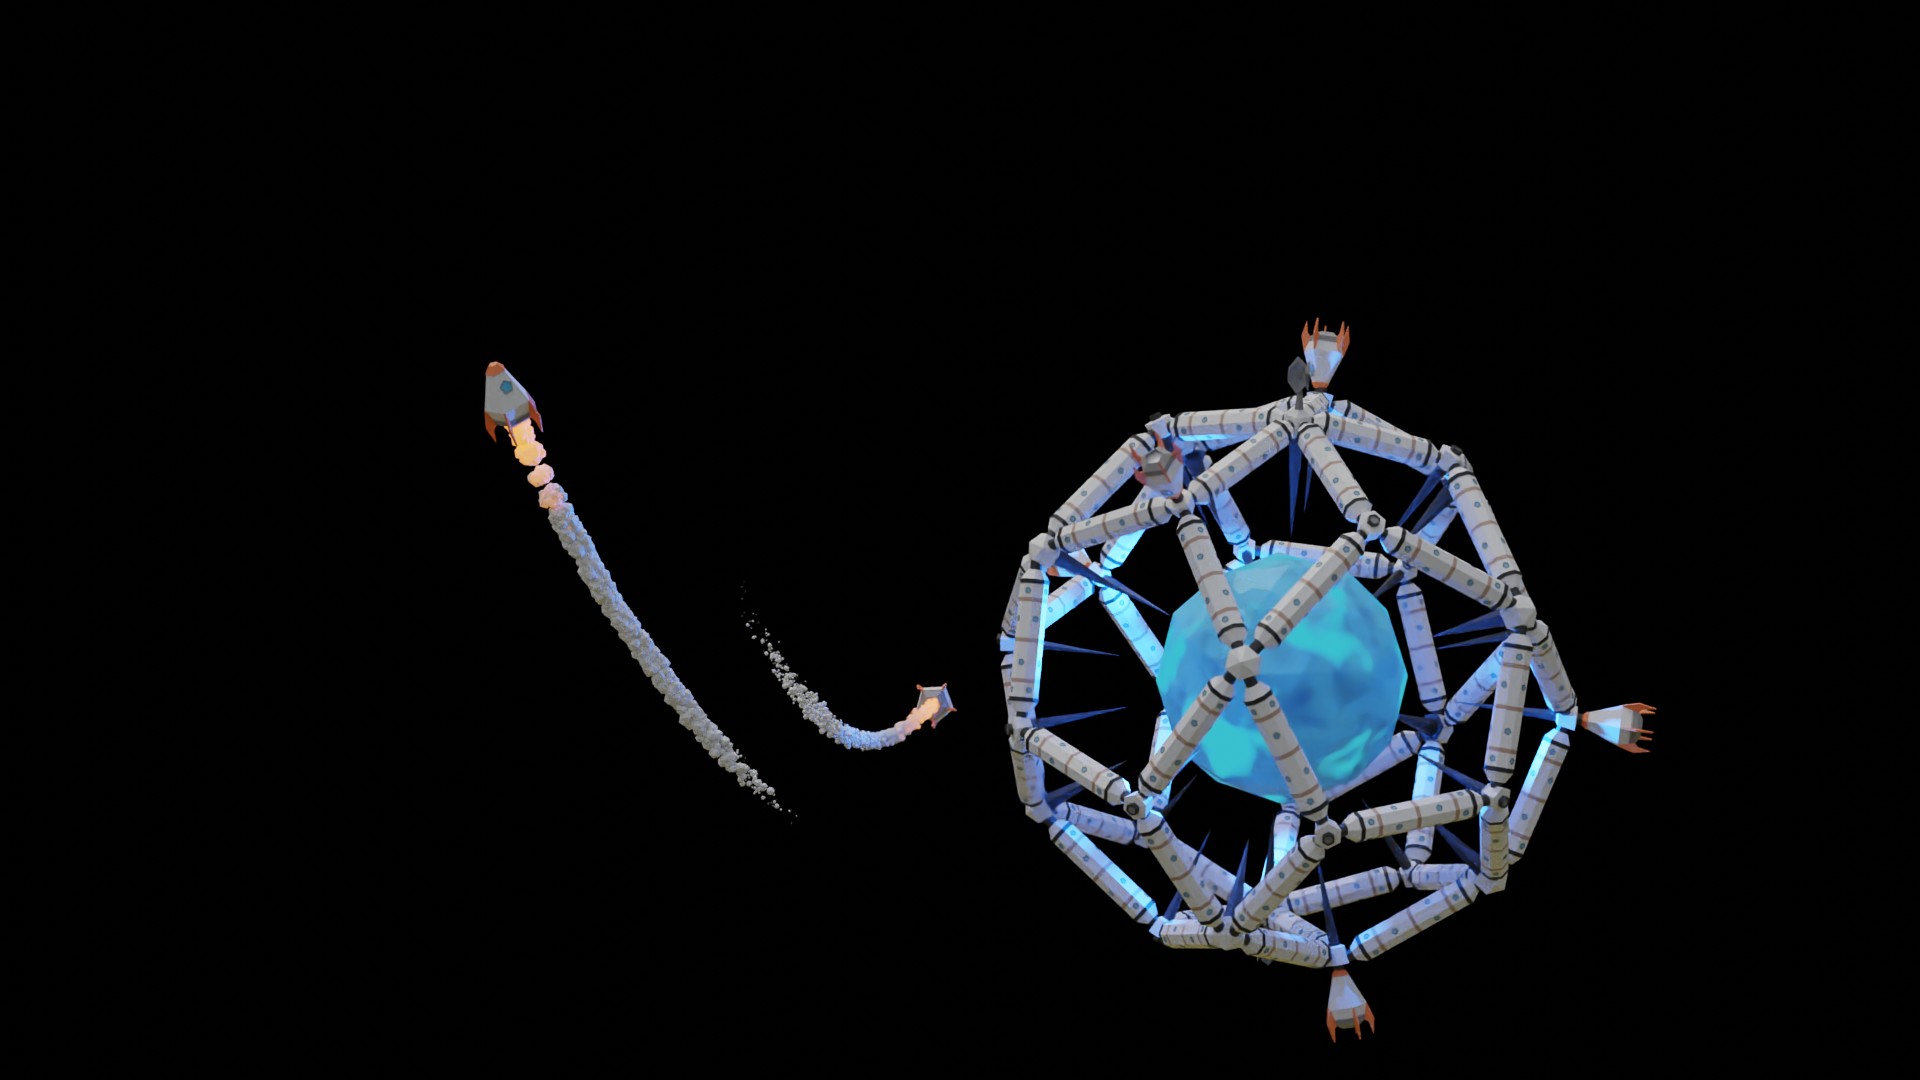
This is definitly missing some stars in the background.
I am also thinking of adding some volumetrics to give the lighting of the pulsar a bit more awsomeness, but that will depend on time (the difficult part is that due to the environment lighting, I will have to work with render layers or something to prevent the background from filling up the volumetrics, but that system has changed so much since 2.7 that I have to lear it all over again.)The ‘story’ now also has a bit more filling. StarLab is a space station which acts as a laboratory. In this case it is StarLab P for Pulsar. Pulsars are small stars that died and were just not heavy enough to become a black hole. Pulsars are a form of neutron stars that emit very regular pulses of electromagnetic waves. I can only imagine that some advanced race could harvest that energy.
@spikeyxxx , Wauw, great. Thanks for the (indeed detailed) instructions. It is quite a procedure. Just to make sure that I get it:
what you are doing is replacing the geometry of the individual lines with the (linked) geometry of our model. Right? That is the basics. The origin is because we created the individual edges by splitting the iso sphere, which leaves the origin of each edge at the same position of the original sphere. I see that indeed snap origing to geometry only works on the position and leaves the orientation. And the entire procedure is to align that origin easily using the snapping. That is indeed a nice move, albeit tedious. Thanks!
And I did not know about the V shortcut.
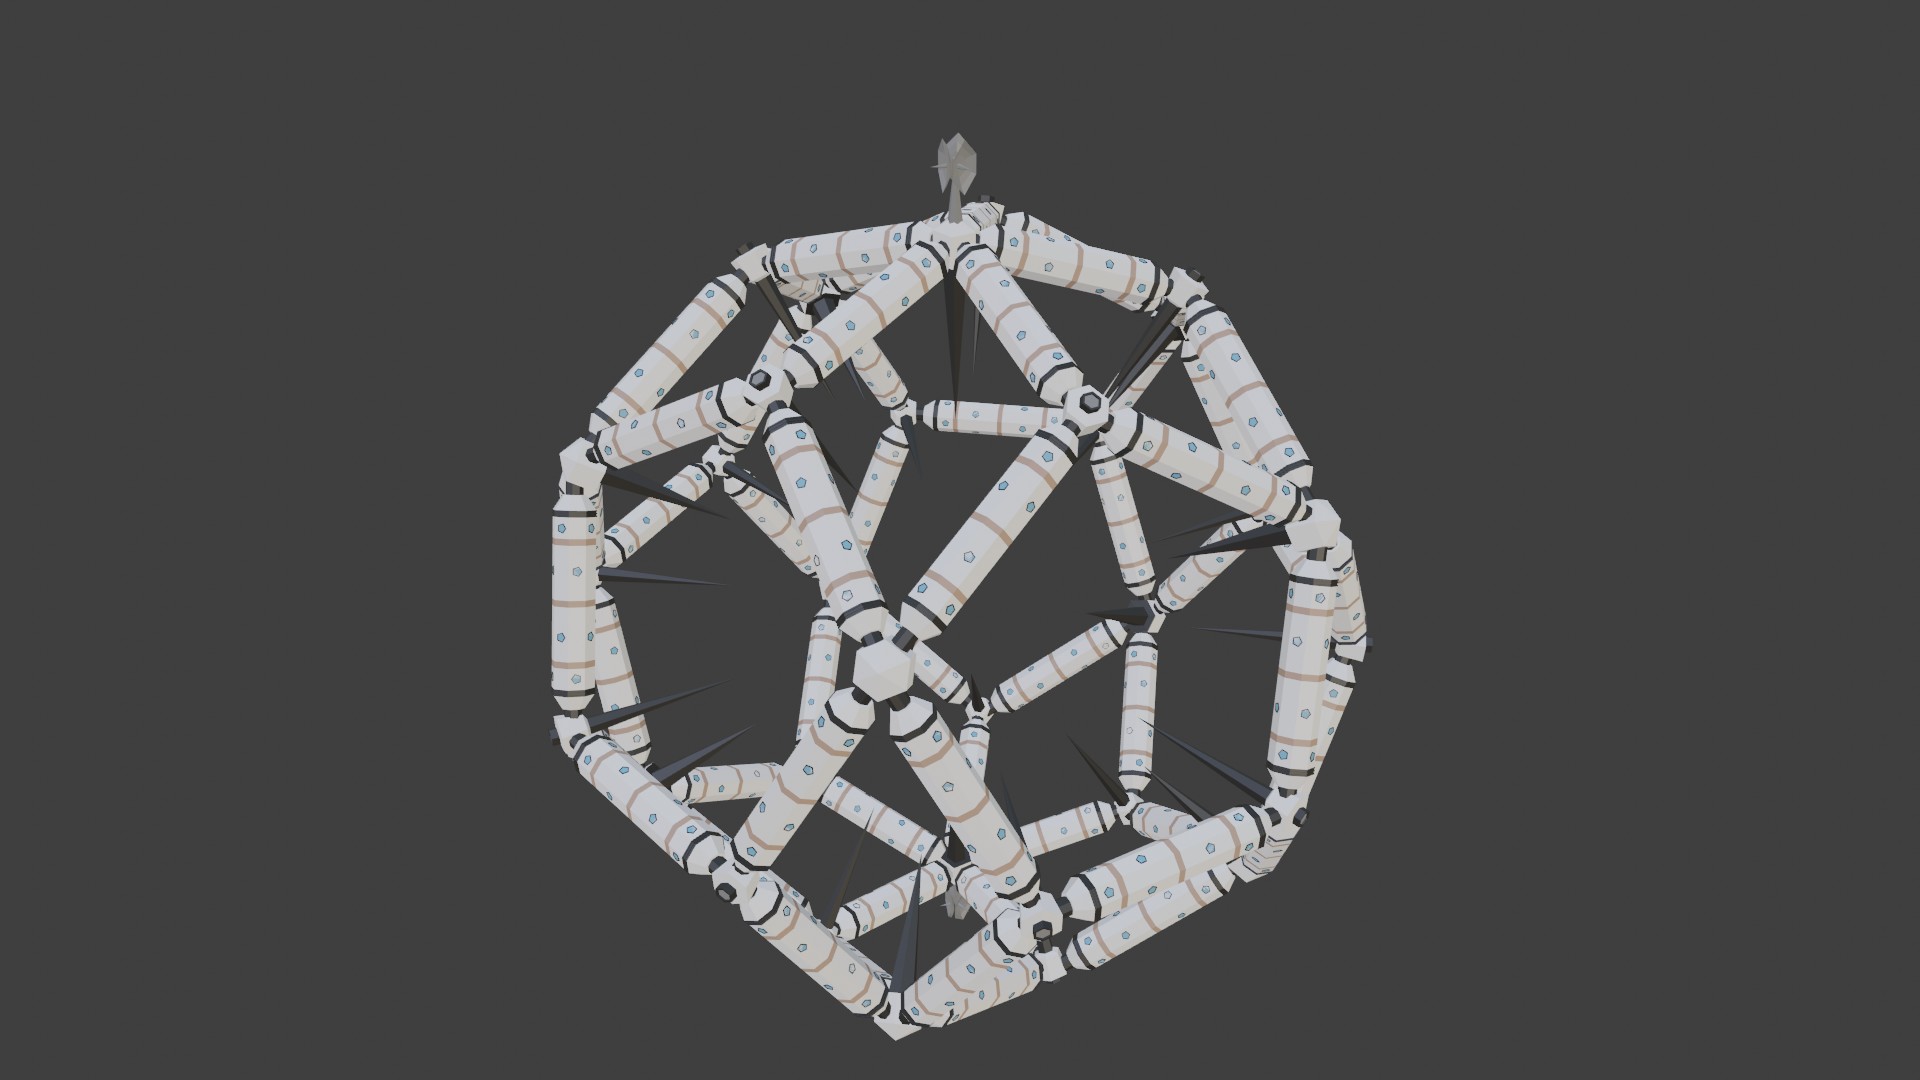
Then I needed to combine multiple instances of these to create some sort of space station. A plan formed in my head to make the station into a sphere and make it surround something. My head imagined some kind of space anomaly in the center.
In the spirit of geometric shapes, I decided to use the ico sphere as a guide (it has equal edges). My first idea was to just let Blender replace each of the edges with the module, but I found only vertex or face instantiating. Neither of this provided my desired result and thus I placed all the modules manually.
It took some time. I placed the first module on easy location (along one of the axes). Then I could duplicate and rotate that one to get one ring going. The next trick I used was to keep the 3D cursor in the center and used trackball rotation (double R). This allows me to move the modules around the surface of my station sphere. Place one with care and rotate again to place others. Once the top half is done, use the miror to get the bottom half.
This leads to: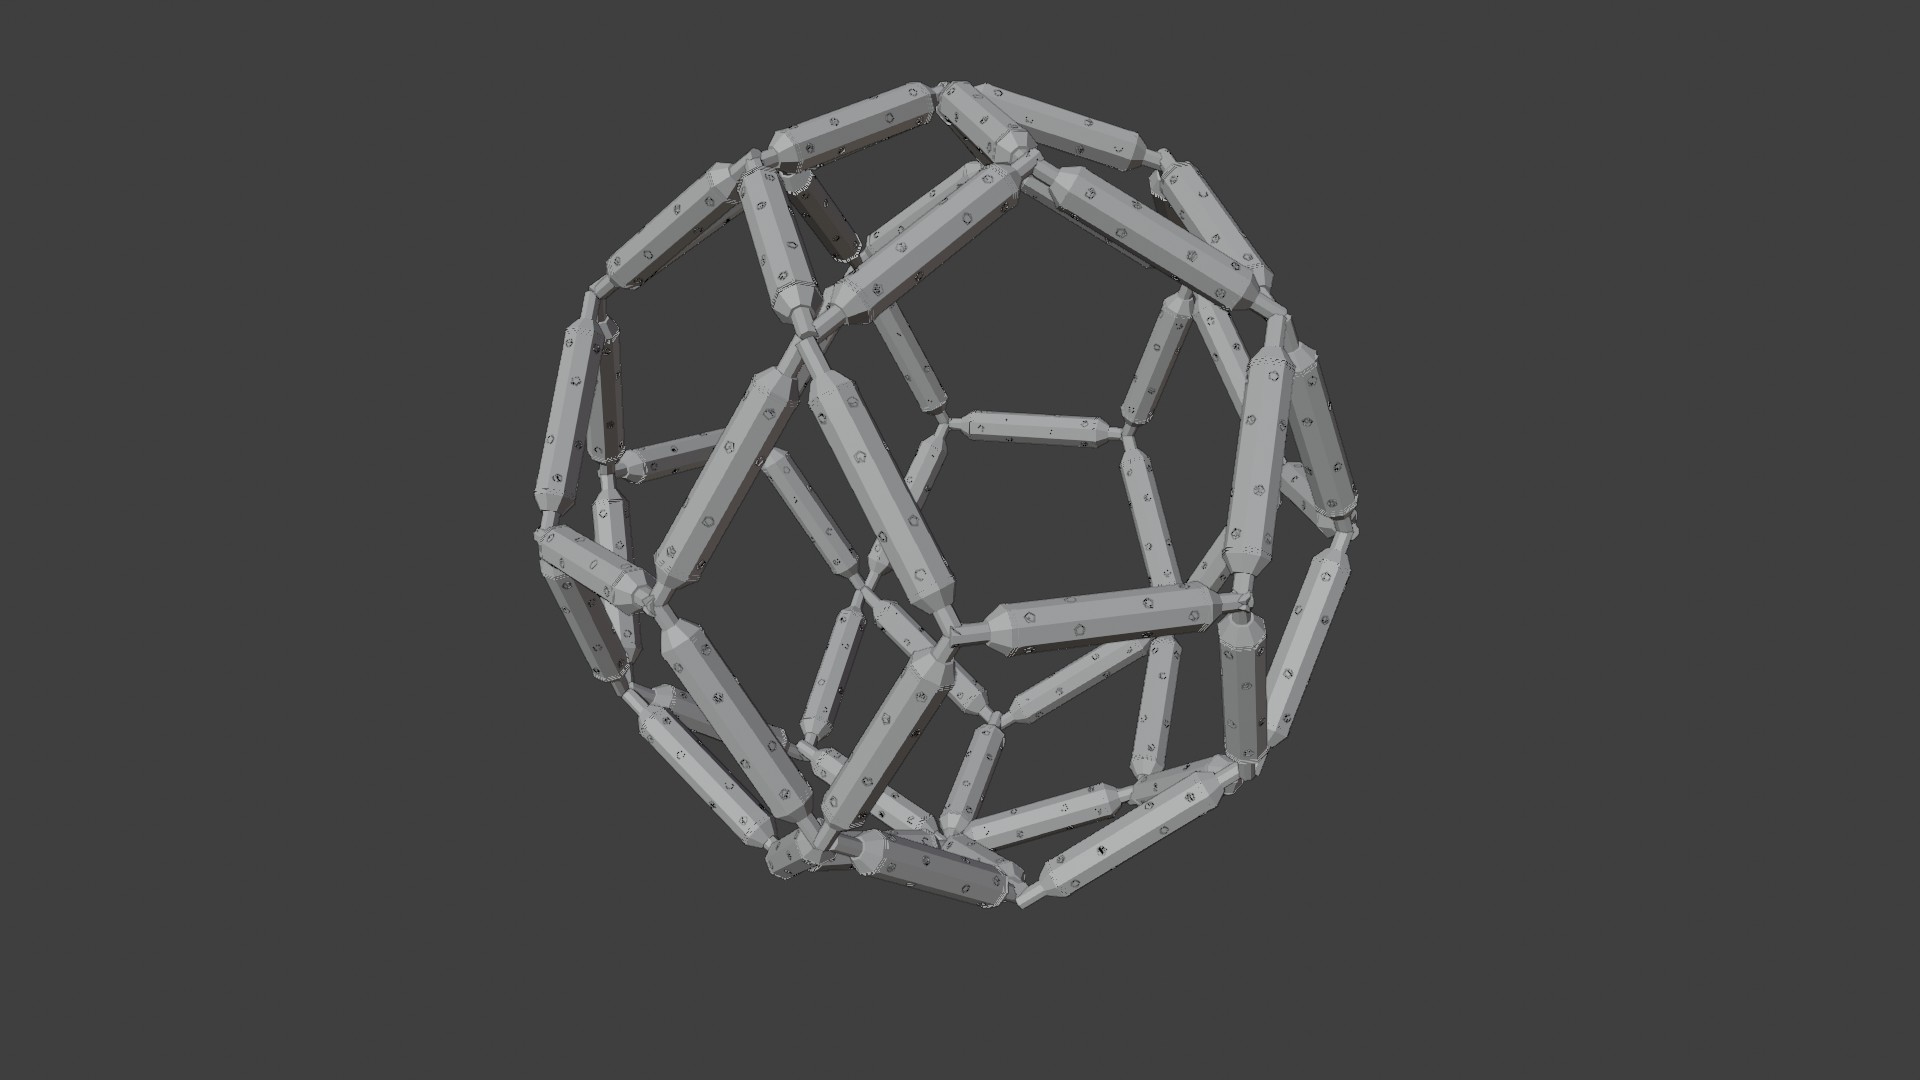
As you can see, I did not use all edges of the ico sphere, that was just to much.
Once that was done, I needed to connect the modules. There are places where 3, 4 or 5 modules come together, so I had to create 3 kinds of connectors:
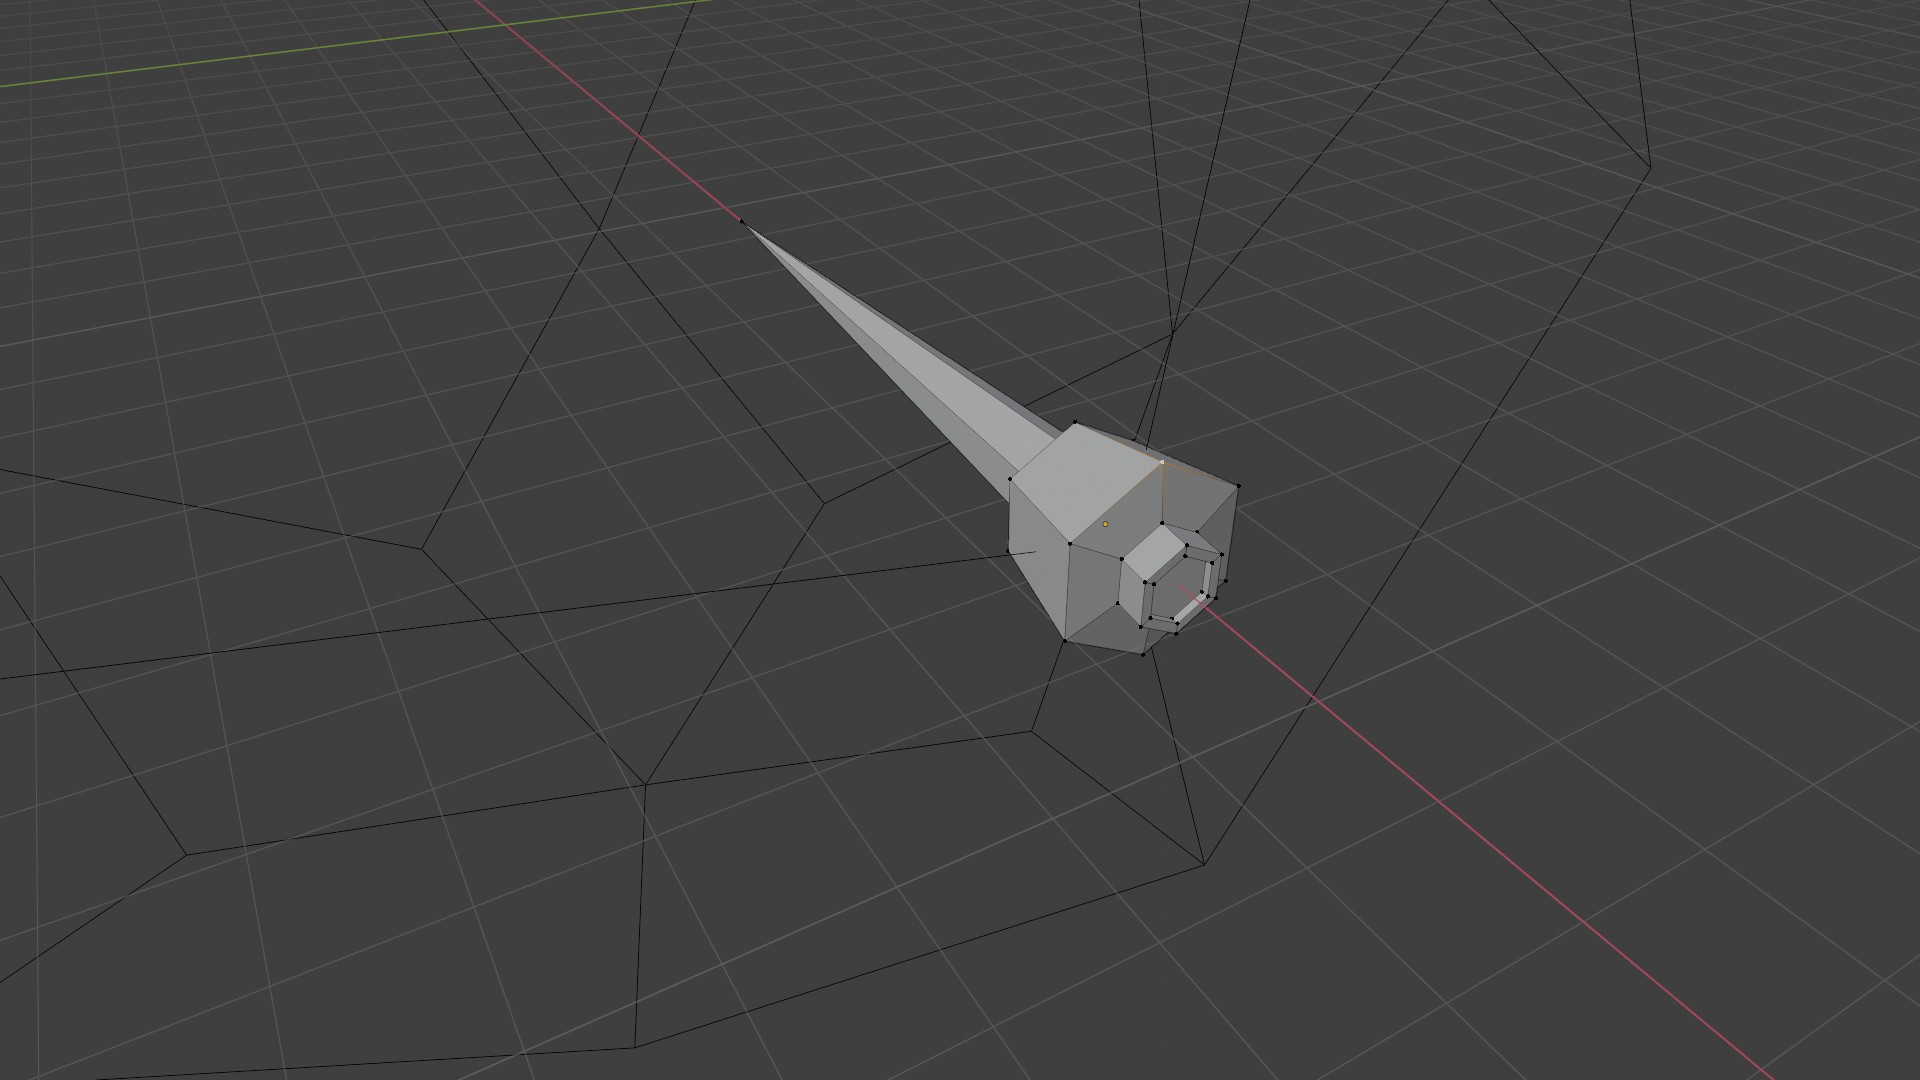
On the outside, the connectors have a docking port. On the inside, I decided to give the a form of spikes. Like something to probe the anomaly inside with. In the above picture, you can also see the edges of the ico sphere that I used as a guide for the station.
Then I added some details like an antenna and the final stations looks like:
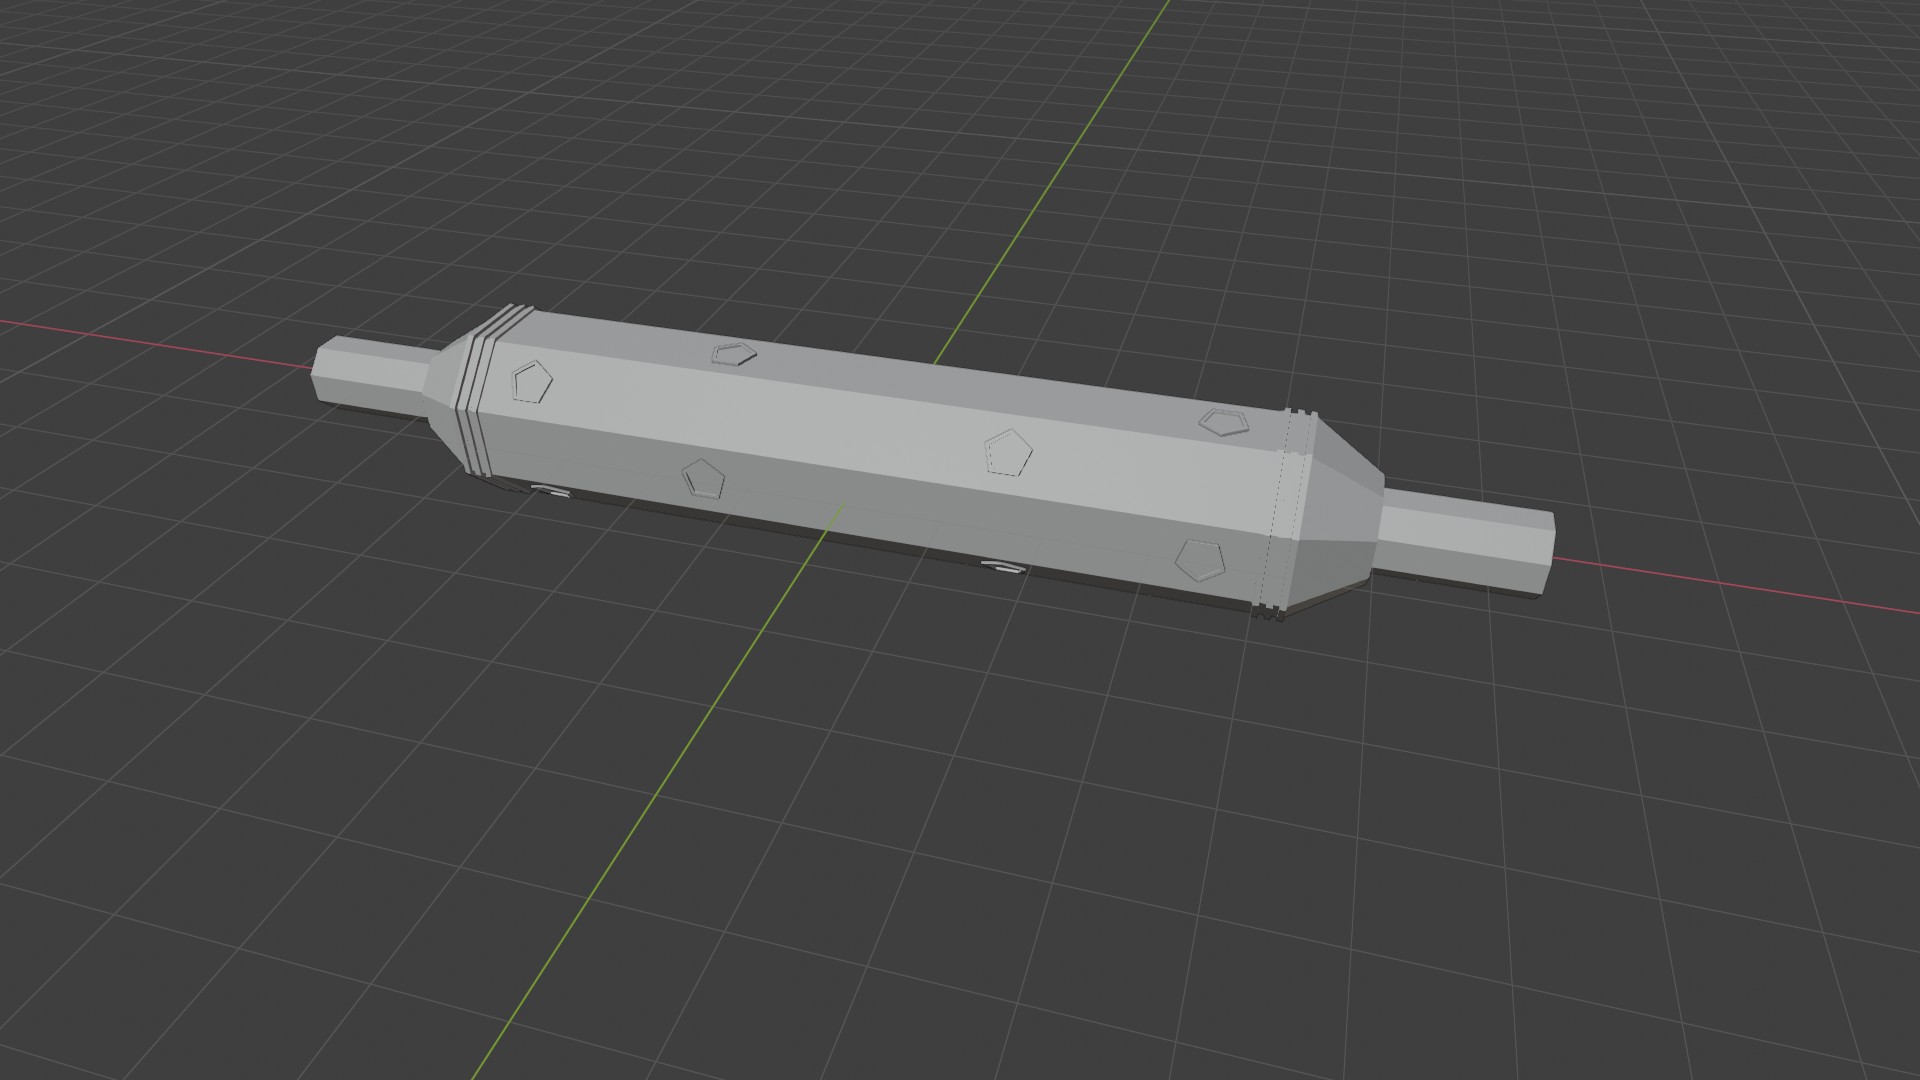
The basis module:
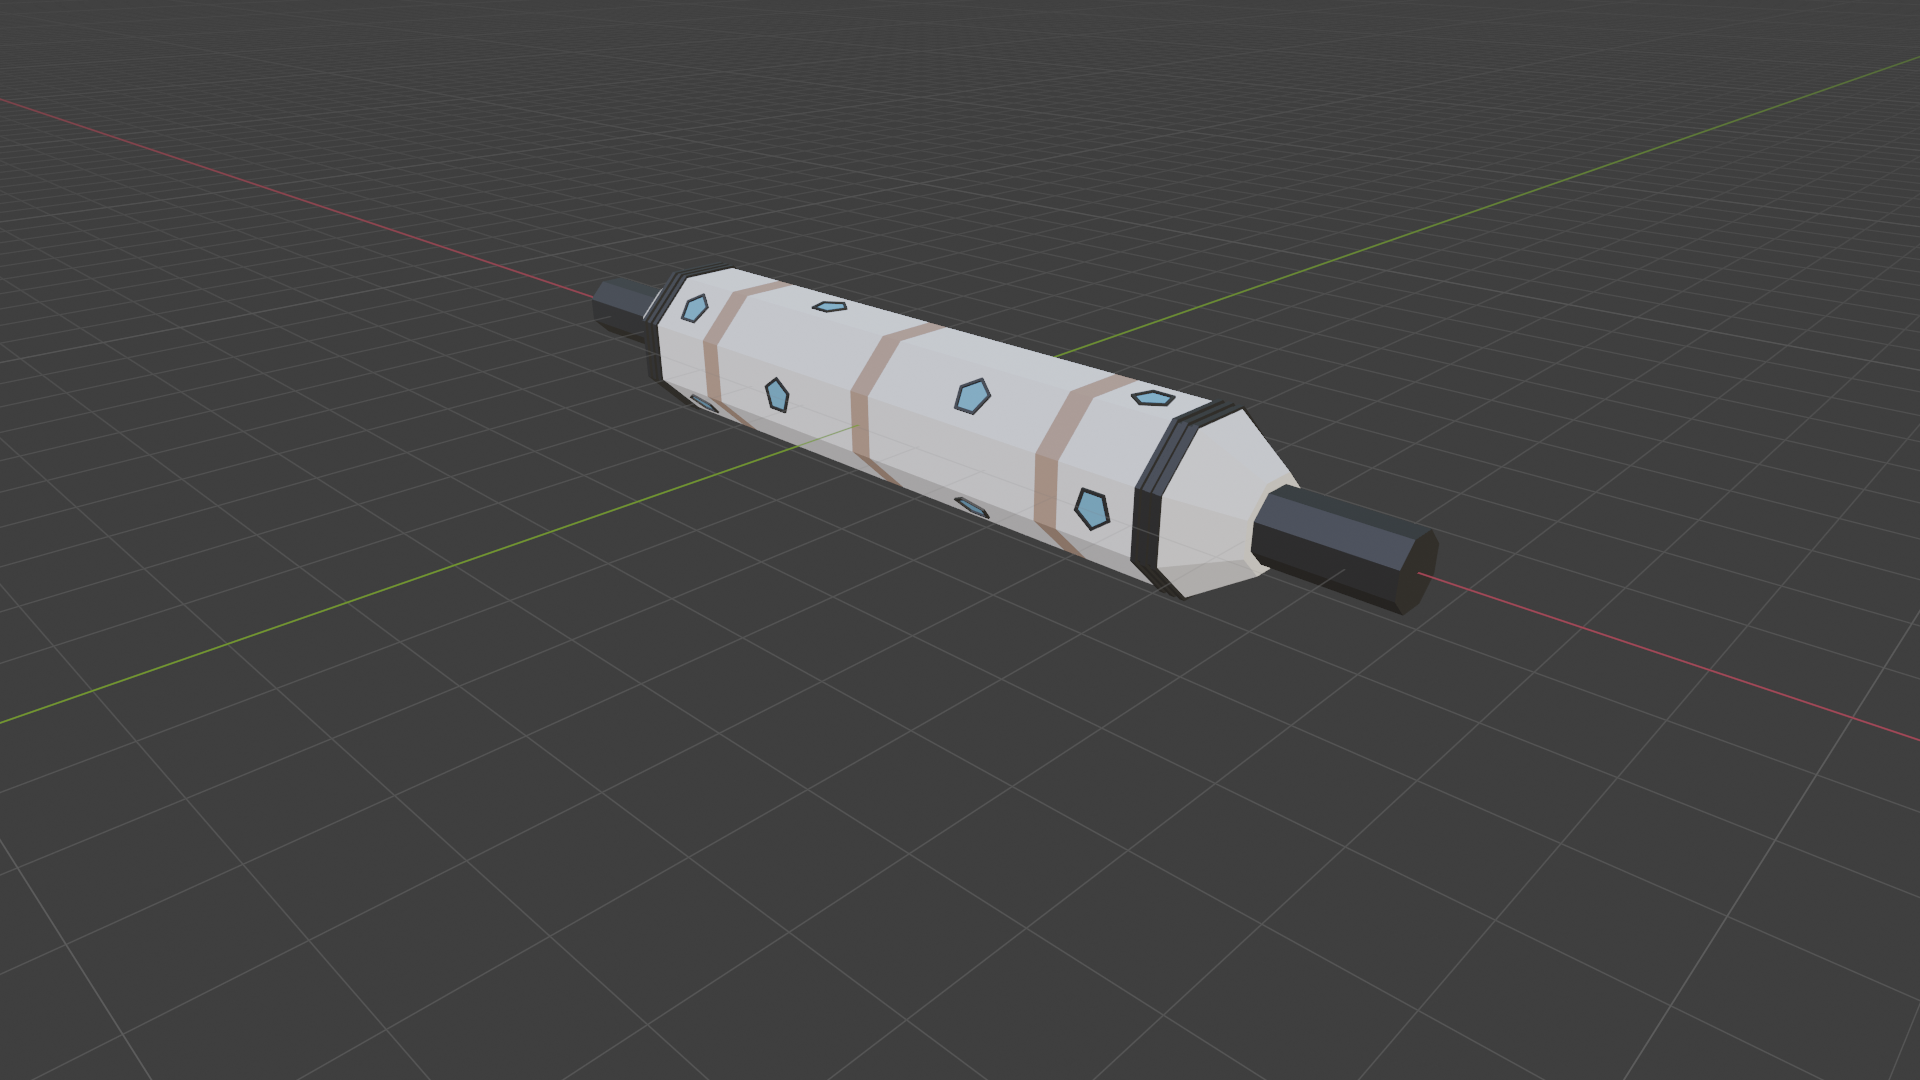
And with simple coloring. Just like the rocket, I have only 3 colors. The basis, which is quite white. The accent orange color and some dark gray for certain details.
-
AuthorPosts
