
Zack’s Archviz Polybook
Forum Archive › Zack’s Archviz Polybook
- This topic has 21 replies, 5 voices, and was last updated 2 months, 3 weeks ago by
Zackary Shumate.
-
AuthorPosts
-
May 19, 2026 at 5:41 pm #21586
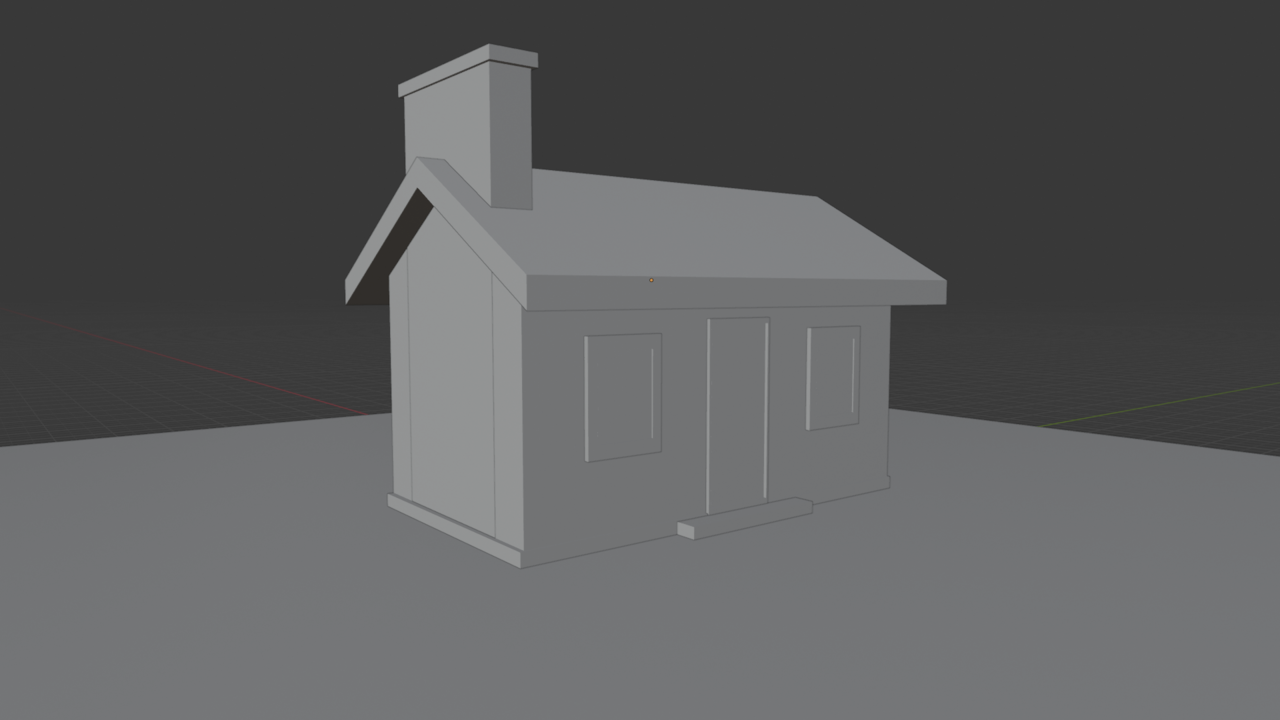
Going through CG Cookie courses I got a while back (again), this time with the intent to work through the exercises. Starting with modeling. I’m focusing on archviz because of my work, and I’m going to try my darnest to bring real-world scale/measurements into my models (for better or worse).
 May 20, 2026 at 12:14 am #100341
Looking good, Zackary.
Is this a Modeling from Primitives excercise? And if so, did you use only Object Mode, as you should? Because that can be done, but is not straightforward, especially not with what has been taught sofar.
May 20, 2026 at 9:05 pm #100342Hi Martin! Yes, this is from the primitives exercise, but this isn’t my first time watching the videos. Not everything done here was in object mode, so I’m guilty of not following along with the course strictly.
I did some extrude along normals, inset, mirror modifier, and scale commands while in the edit mode for a few of these primitives just to give them some depth for when I come back to materials and lighting later. My overall plan is to get better at modeling with real-world measurements. For now I’m trying to just model with numbers that are easy stand-ins.
Looking forward to re-watching these videos and fixing my model. Right now the chimney is hiding a gaping hold between the roof & the exterior walls, and the camera is hiding the other side with its position.
Thanks for dropping by and commenting!
May 21, 2026 at 1:14 am #100343Cool!
If you want, you can try it again (maybe later), in Object Mode only. Tip: make use of the Boolean Modifier.
May 21, 2026 at 12:59 pm #100344With the courses available here you’ll get better in no time. Just have to practice consistently and most importantly, have fun. Improvement is real, only that it happens slow and you don’t even realize it.
May 21, 2026 at 10:47 pm #100345Martin, I probably will try again with modifiers. Right now I know they exist but they’re not as intuitive to me. I am very interested in less destructive workflows. I’ll check back in when I’ve done some more of the modeling course. Almost done with part 1.
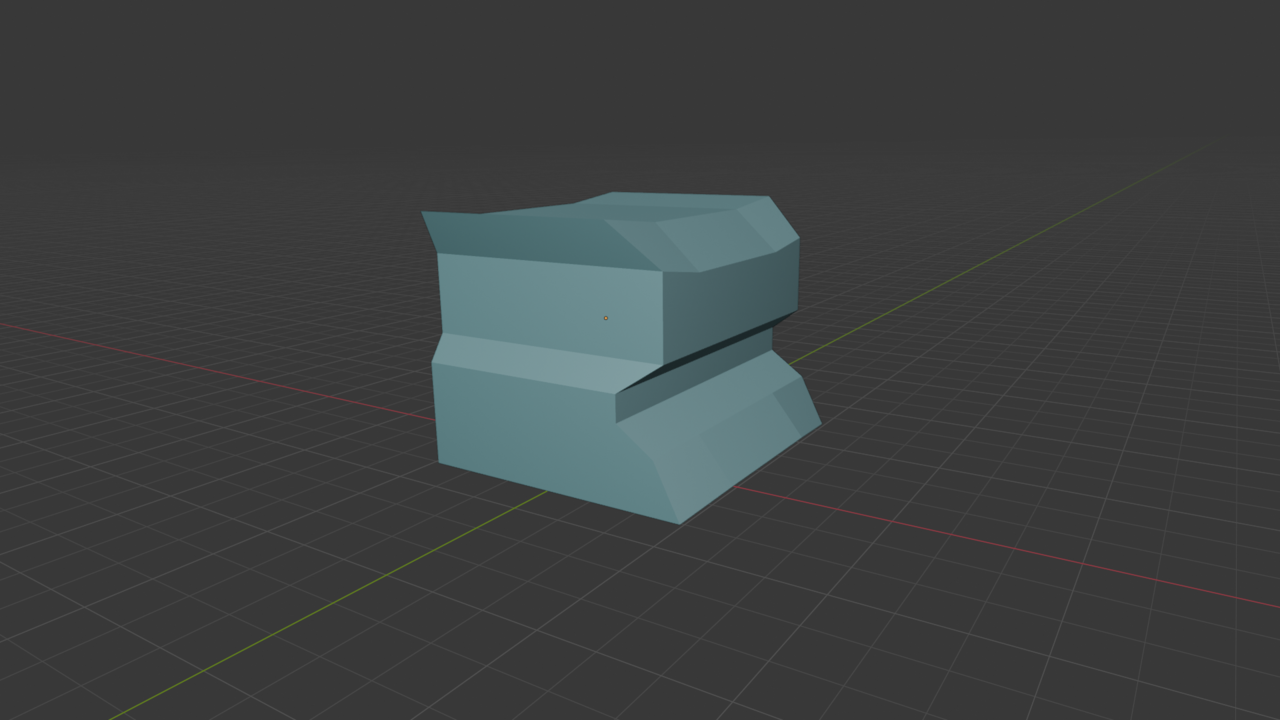
May 26, 2026 at 6:02 am #100346Subdivision surfaces practice. This is one of the tools I struggle with a lot, conceptually. Fundamentally, I think I understand how this works and I’ve done similar actions in other programs that require more effort to do this same function. Looking at a primitive and trying to figure out how to divide it so I can move/extrude/bevel or whatever to get the result I want takes me a lot of mental power. I might come back to this later today and see if I can’t make a simple door or window with it.
 May 26, 2026 at 7:17 am #100347
It has something to do with averages. I remember Martin explained it with graphics once and I was like ooohhh ok. I have always known what it does and how to use it, but see the math behind it was cool. There was once an super old video by now that also explained why things softens, how it was averaging middle points, but it would be impossible to find it on YouTube by now. The thing is, subdivision is great.
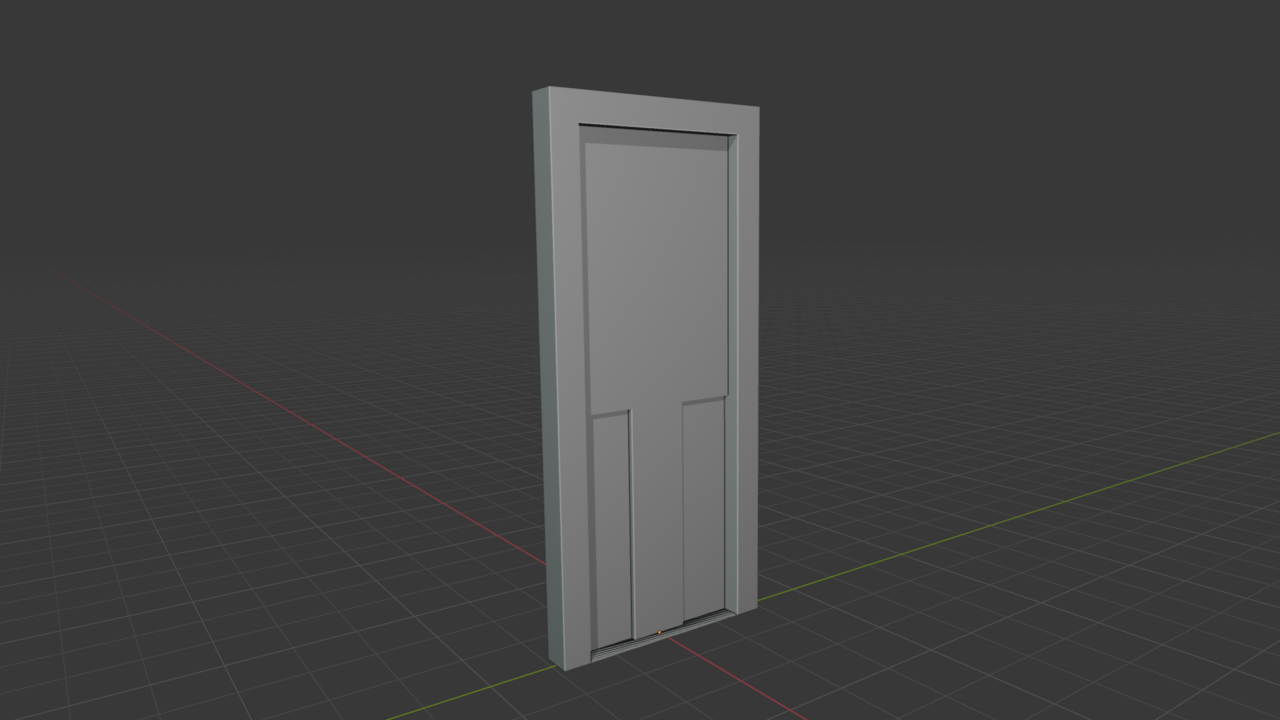
May 27, 2026 at 10:36 pm #100348Very rudimentary door, as promised. I was initially worried I wouldn’t be able to do some of these things with a single primitive, but with some loop cuts I was able to take the cube and rough out a 2 panel, half-lite door. And as an extra bonus practice, I got to use the MeasureIt add-on to make sure my door trim was 5-1/2″. The next step on this would be to add in the appropriate size stile & rails, then try to figure out the best way of handling the paneling depending on if I wanted it raised or flat. After that would to figure out the half-lite window.
 May 28, 2026 at 6:34 pm #100349
Looking good.
Little tip: When you intend to do a stiles & rails construction it’s easiest to work your way from the outside in, doing them first and then the paneling and other details.May 28, 2026 at 10:50 pm #100350Sascha, thank you for the tip. It makes sense to do it that way, but if you hadn’t said anything I might have tried to do panels first… and that would have been funky.
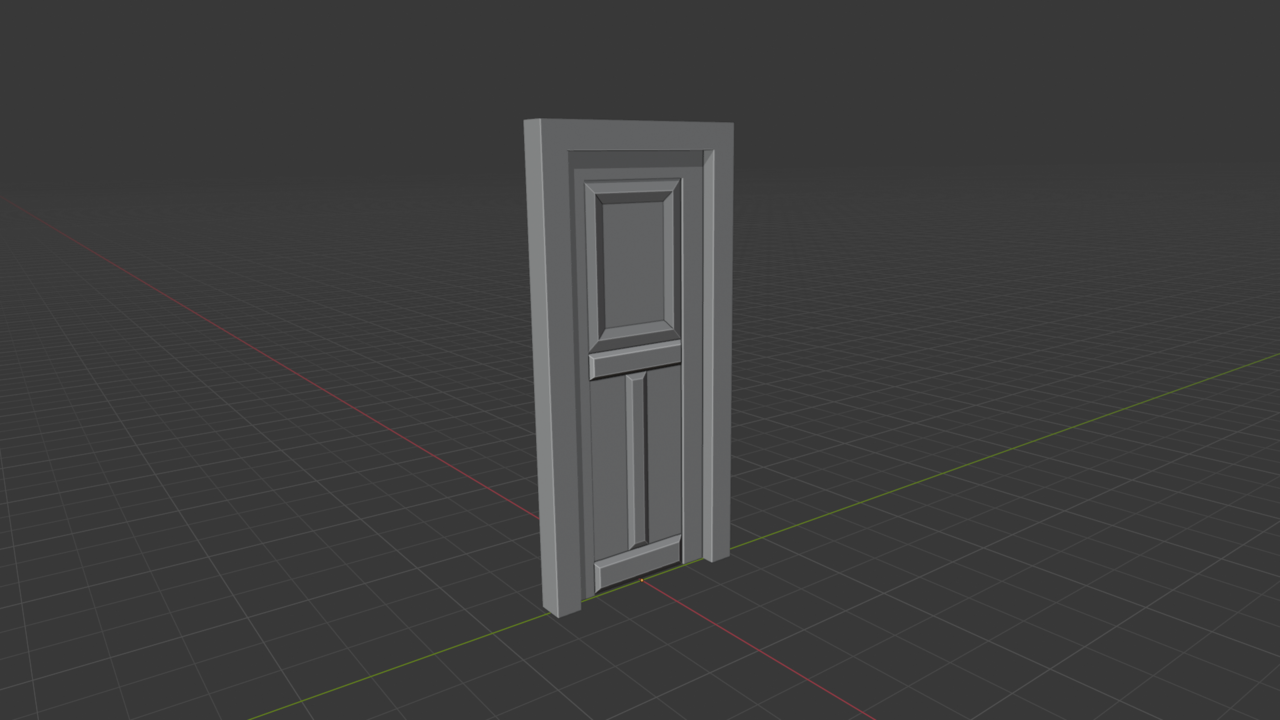
Below is my practice using the inset tool. I re-created my door without loop cuts and only a few extrusions. I’m looking forward to when I can give the stiles and rails a bit more detail so they look handcrafted instead of a solid slab, but the middle and bottom rail look nice raised like this as a start.
 May 29, 2026 at 12:29 am #100351
Nicely done.
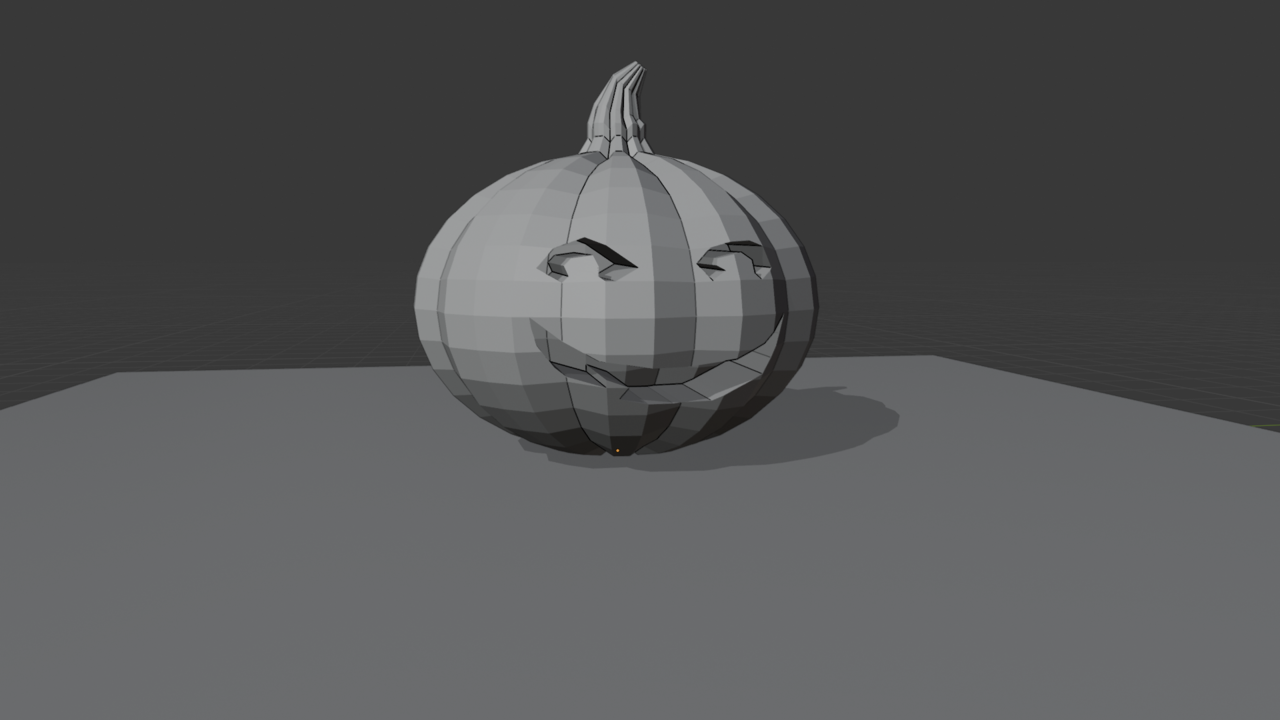
When it comes to making everything look more detailed bevels will be your friend but also consider that not everything needs to be geometry. Eventually you’ll have textures and with a proper UV-unwrap you can make it look very detailed and like it’s constructed.May 29, 2026 at 10:15 pm #100352Knife tool practice. Gave the little guy some pupils and a toothy grin for flair. Squished the sphere in the Z-axis to give it a not-so-perfectly-circle look. Good practice for the extrude, scale, and rotate tools too. Wonder if I should have done shade auto-smooth, but too late now. Half tempted to go back in and carve out a timber bracket from cube.
 May 31, 2026 at 6:00 am #100353
If you really want to push it, you could use proportional editing with connected only to go in and select verts at random to pull in any direction. Not a lot, but just enough to pull it away from “perfect”. or even take the stem and rotate it around some, pulling the top around. Look at some references of actual pumpkins and you’ll see just how much variation there can be. And if you do this, make sure you do it without symmetry. Simply doing this to even as few as 4 or 5 verts can really change the look of a pumpkin.
May 31, 2026 at 6:03 am #100354(or, alternatively, you could do the same idea, but with a lattice modifier, deforming the lattice while keeping the pumpkin mesh unchanged)
-
AuthorPosts


- The topic ‘Zack’s Archviz Polybook’ is closed to new replies.