Texturing Piero: Duerer’s Progress

Forum Archive Texturing Piero: Duerer’s Progress

Viewing 15 posts - 1 through 15 (of 21 total)
  • Author
    Posts
  • #12786
    Ingmar Franz
    Participant

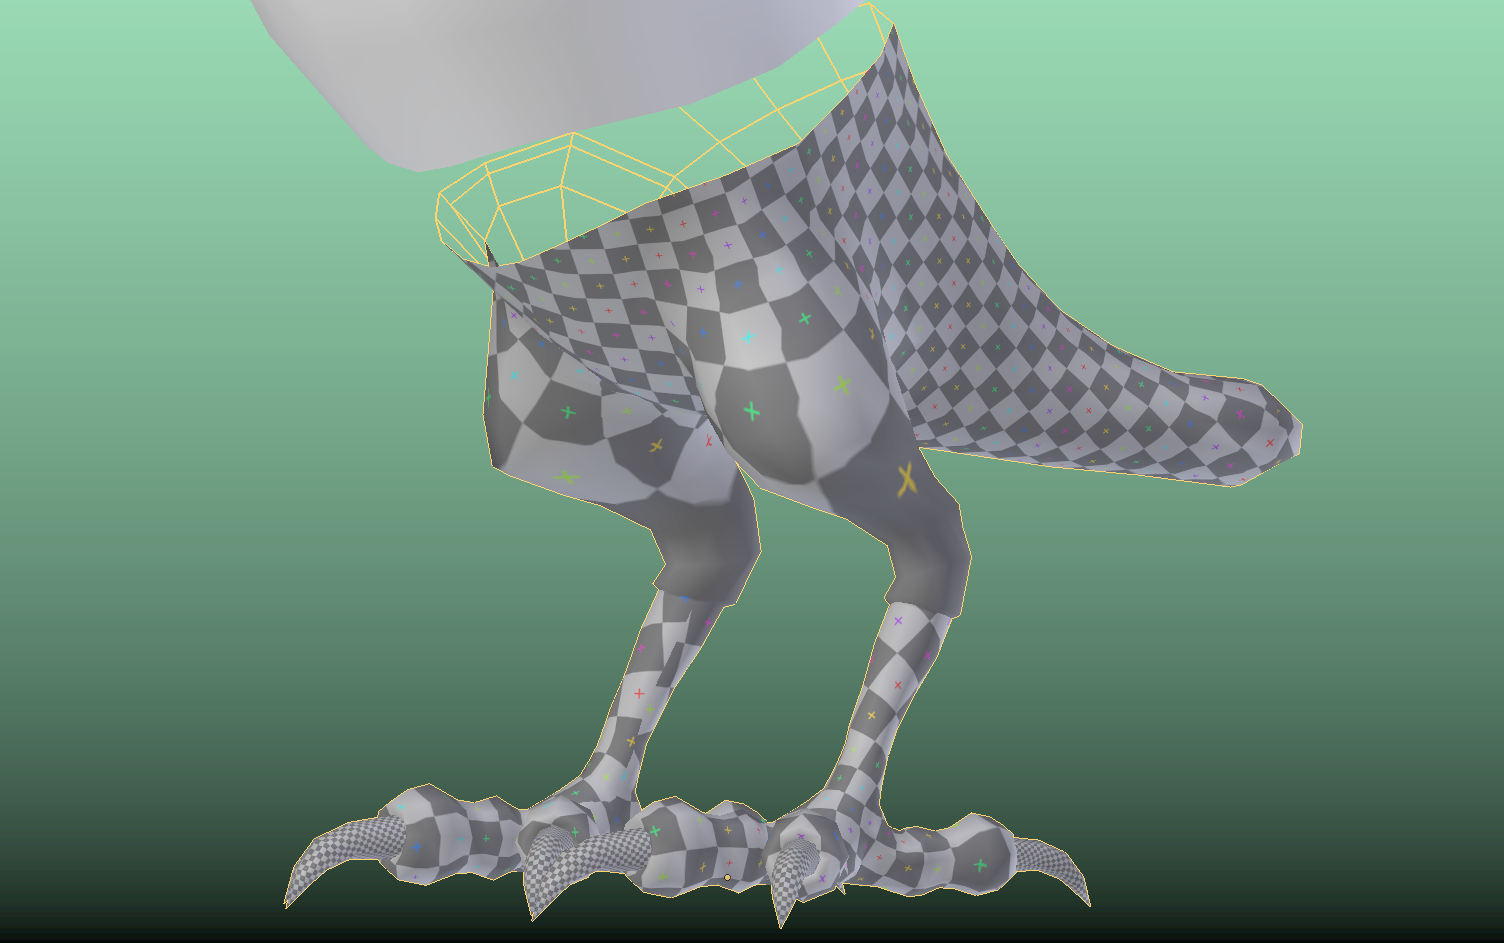
      UV unwrapping the toes and the legs separately and then joining them gives me this result:

      #60472
      Shawn Blanch
      Participant

        Is there a normalize UV islands that would fix that?

        P.S. Your Pierro is coming along awesome Ingmar @duerer 

        #60473
        Ingmar Franz
        Participant

          The newly created bridging “Edge Loop” creates a very distorted “UV Map Island”:

          #60474
          Ingmar Franz
          Participant

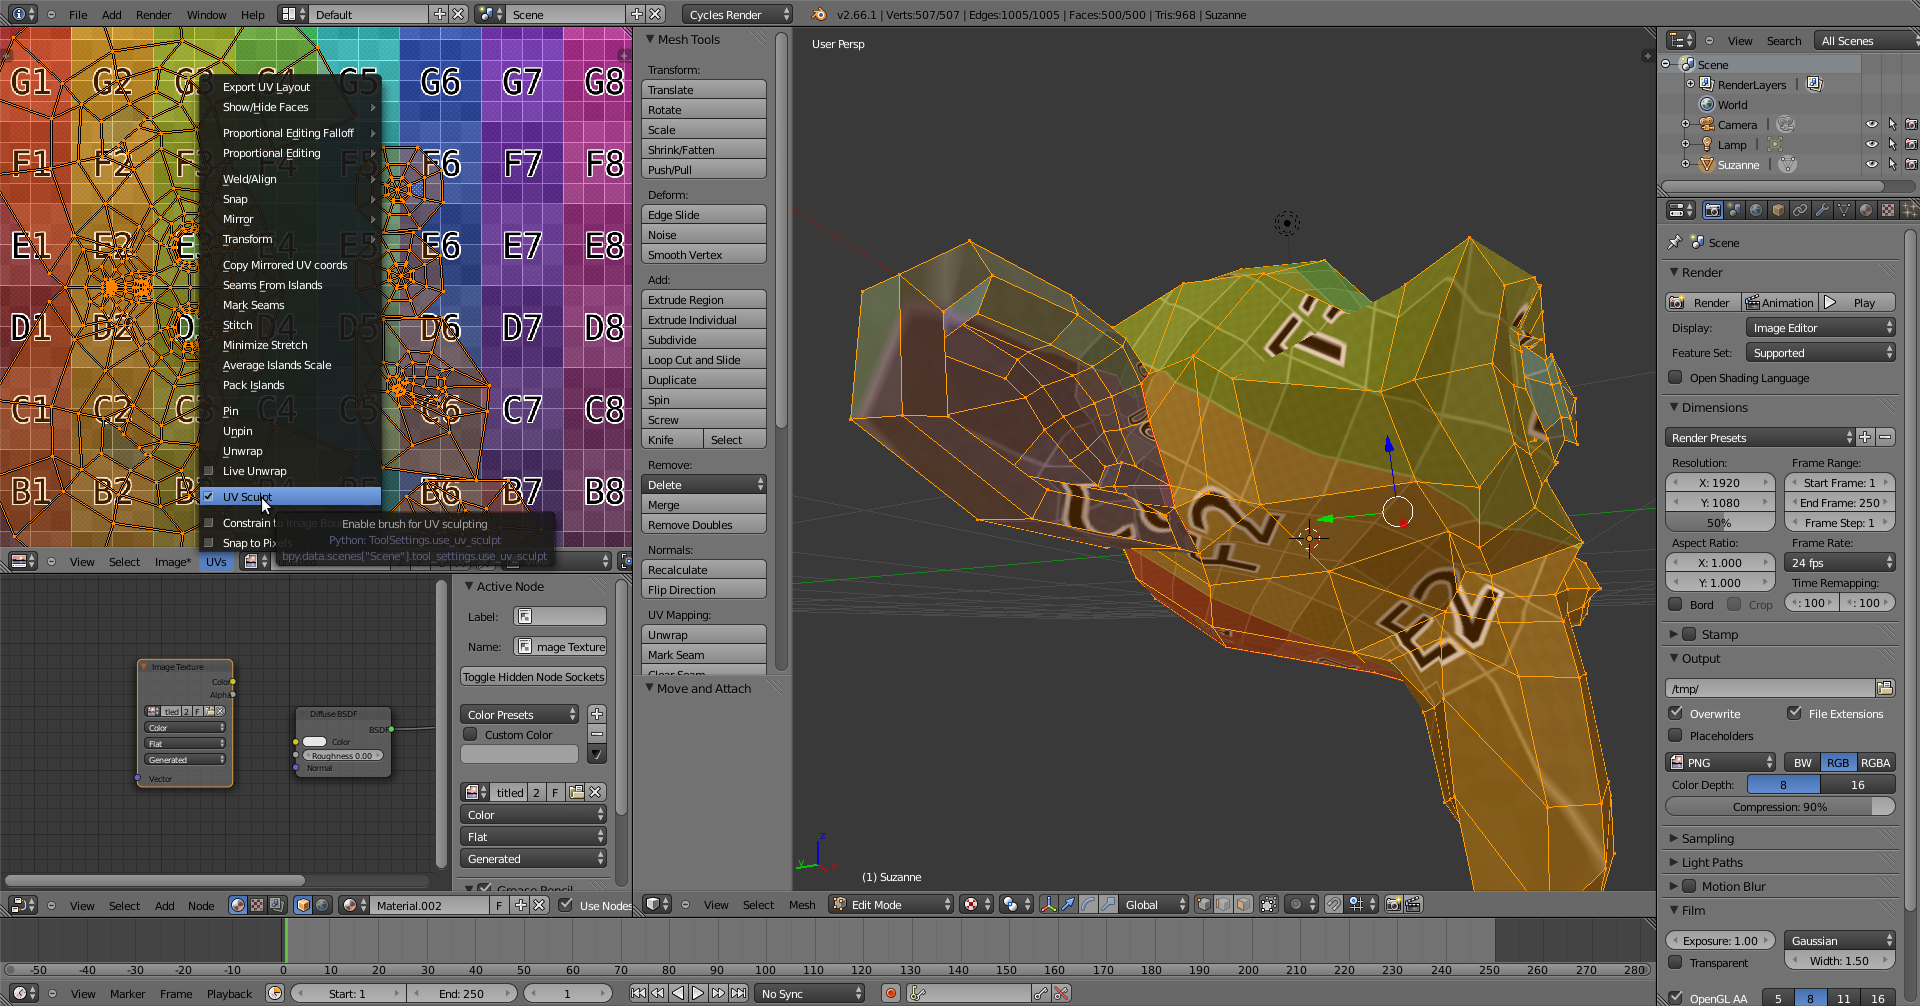
            Thanks, @blanchsb  😀! The part from the thighs upwards will be covered with feathers so that the stretching at the thighs shouldn’t matter, but I don’t know what Master Kent will say 😉😁. Isn’t there something called “UV Sculpting” so that you can smoothe the “UV Map” in order to relax areas with strong stretching? But I haven’t checked whether this is already a part of Blender 2.66.1 that I’m using since Kent uses it for this course

            #60475
            Ingmar Franz
            Participant

              Doesn’t Piero look now a little bit like a Scotsman 😉?

              #60476
              Ingmar Franz
              Participant

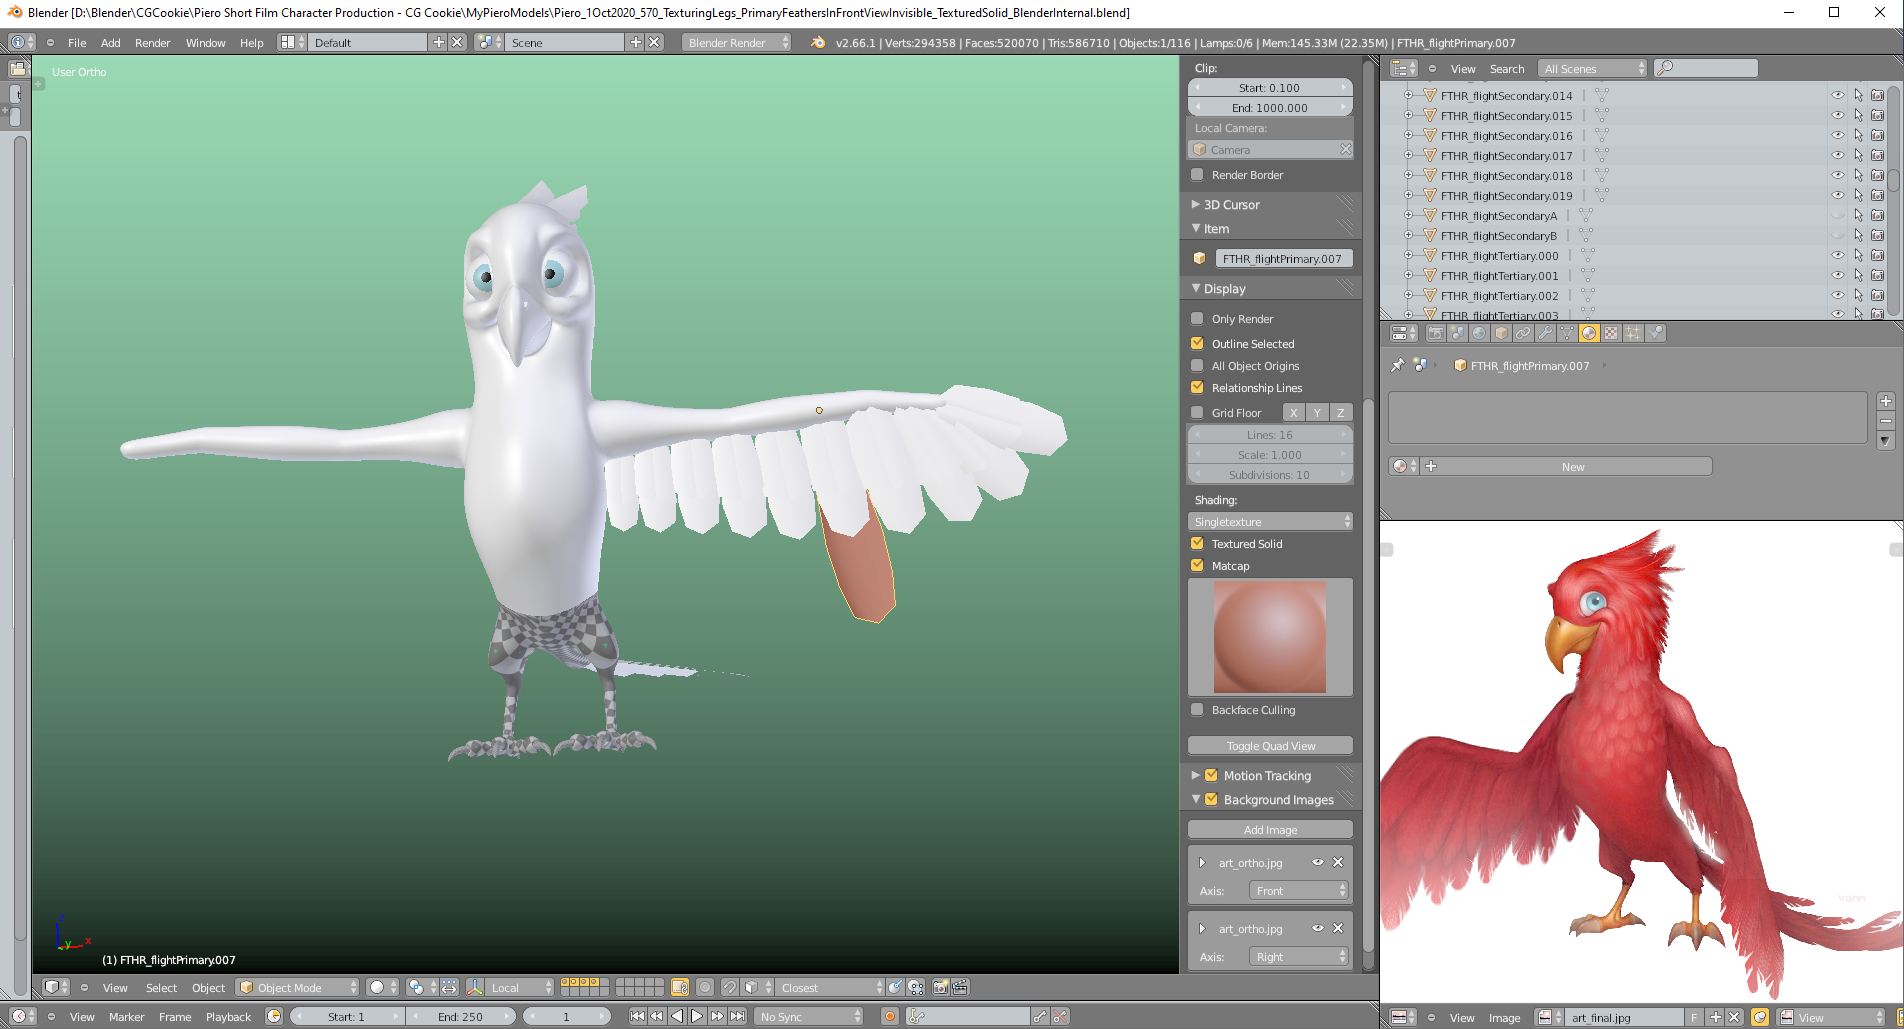
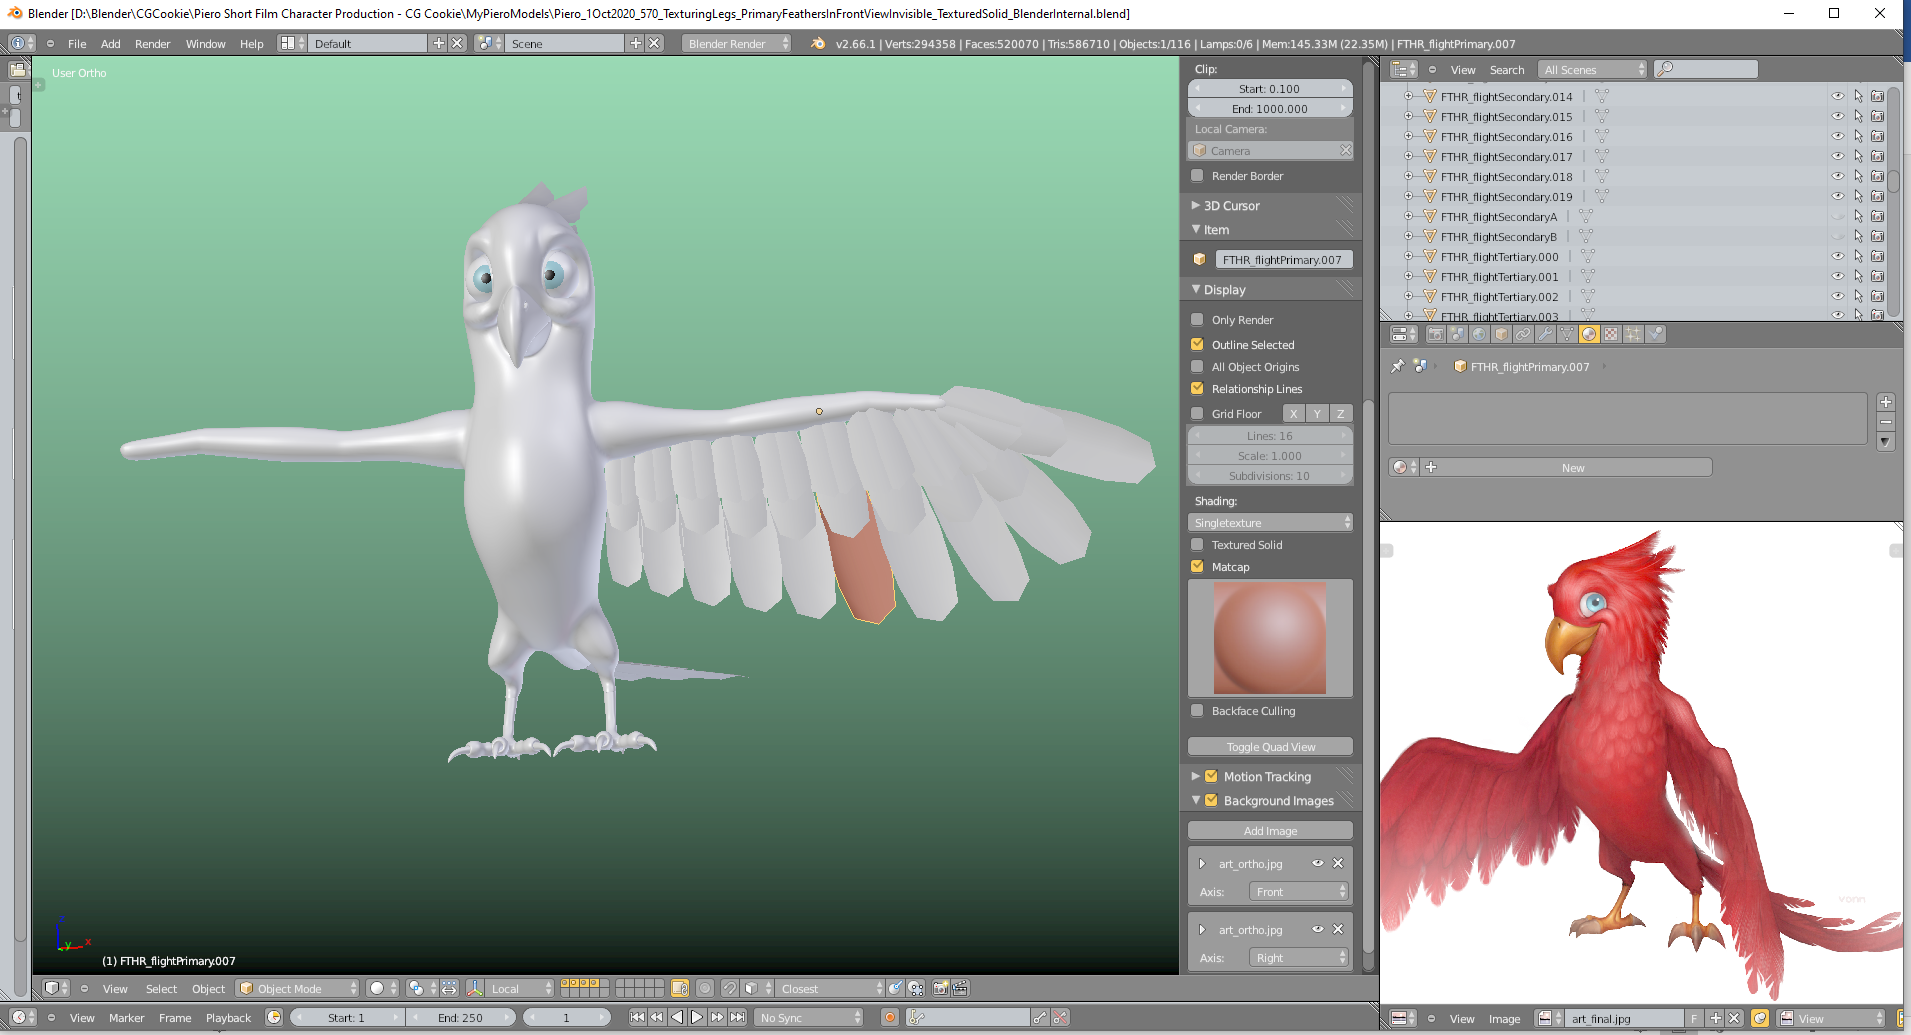
                Just had a magical moment 🧙‍♂️! Turning on “Textured Solid” in “Blender Internal” for displaying face-assigned textures in “Solid View Mode” makes Piero’s “Primary Feathers” invisible in front view (only!) as long as you don’t have “Matcaps” turned on:

                And without “Textured Solid”:

                #60477
                spikeyxxx
                Participant

                  @duerer UV Sculpting is possible in 2.66:

                  #60478
                  Ingmar Franz
                  Participant

                    Thanks, @spikeyxxx, for this information! It makes a lot of fun to work with earlier versions of Blender and to see what they already could or not. And it’s a little bit nostalgic, too 😉.

                    #60479
                    spikeyxxx
                    Participant

                      I agree! 

                      It also makes you appreciate certain features more, in stead of just taking everything for granted and only complain about what is still missing 😉

                      #60480
                      Ingmar Franz
                      Participant

                        Just found out that “Mirror Select” works in Blender 2.66.1 only in “Vertex Select Mode”. Nevertheless you can call this function in “Edge Select Mode” and “Face Select Mode” too, but the result only becomes visible if you switch to “Vertex Select Mode”. In version 2.71 it is displayed directly in “Edge Select Mode” and in “Face Select Mode”. I didn’t test the versions in between but suppose that this could have happened with the transition to Blender 2.70.

                        #60481
                        Ingmar Franz
                        Participant

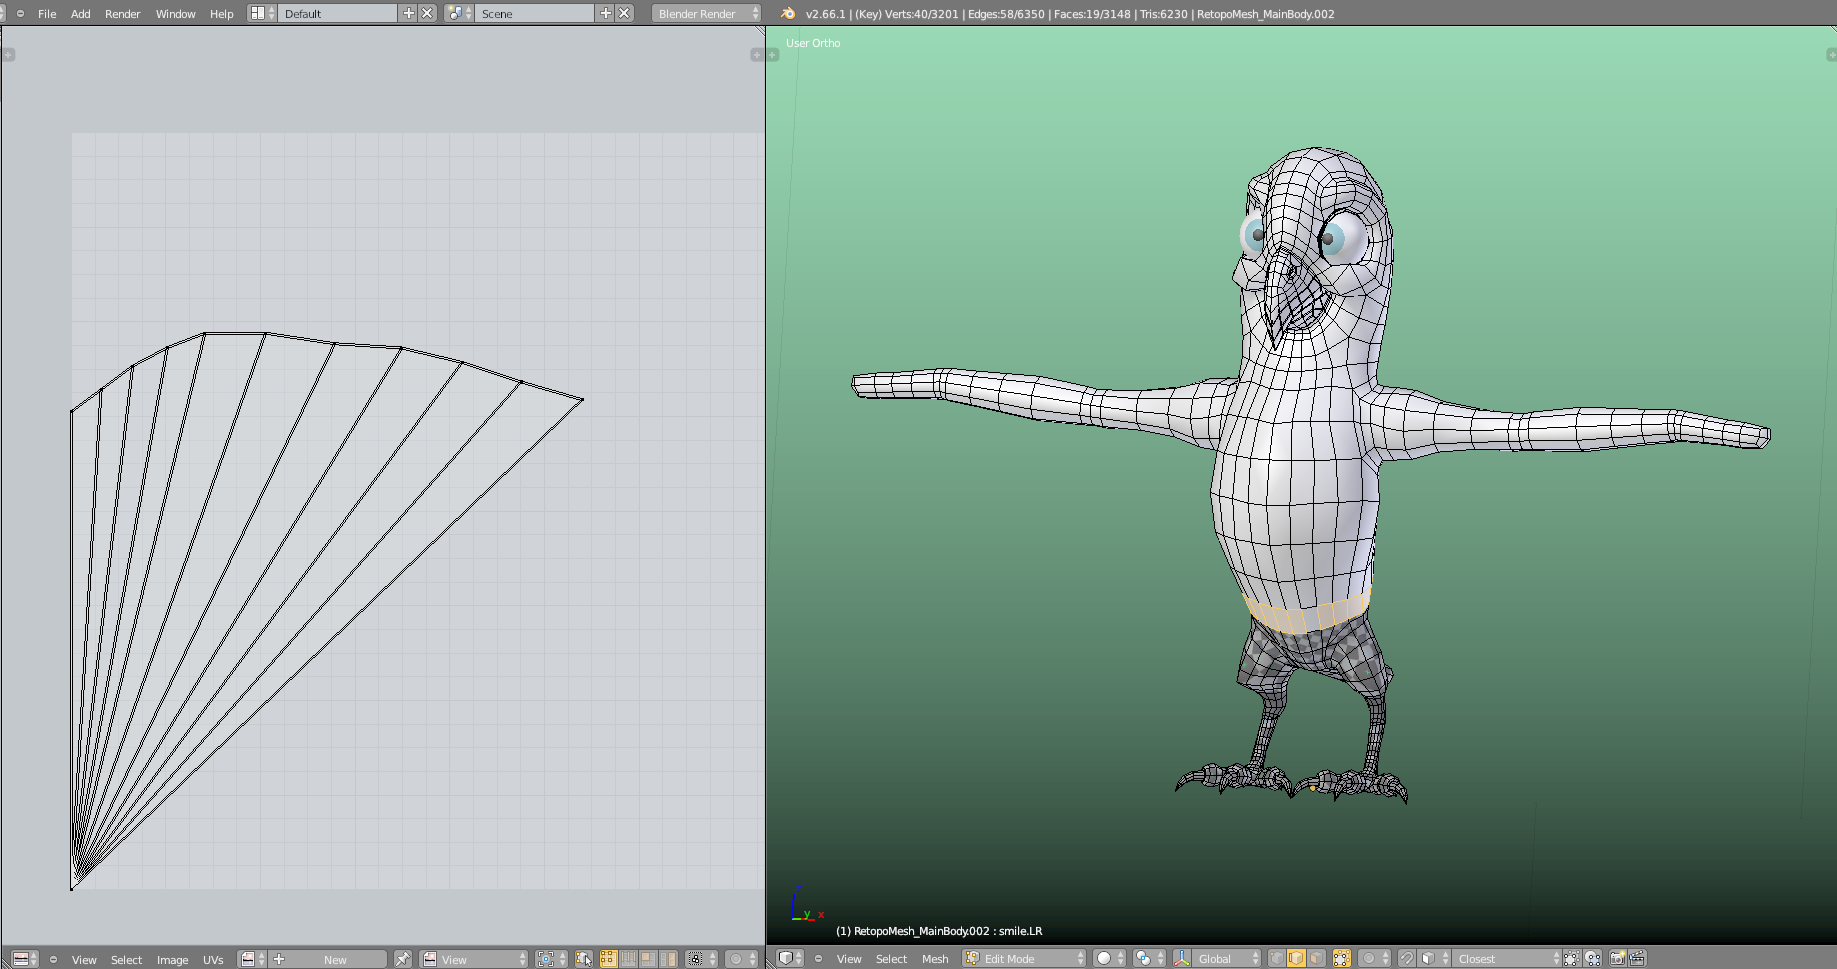
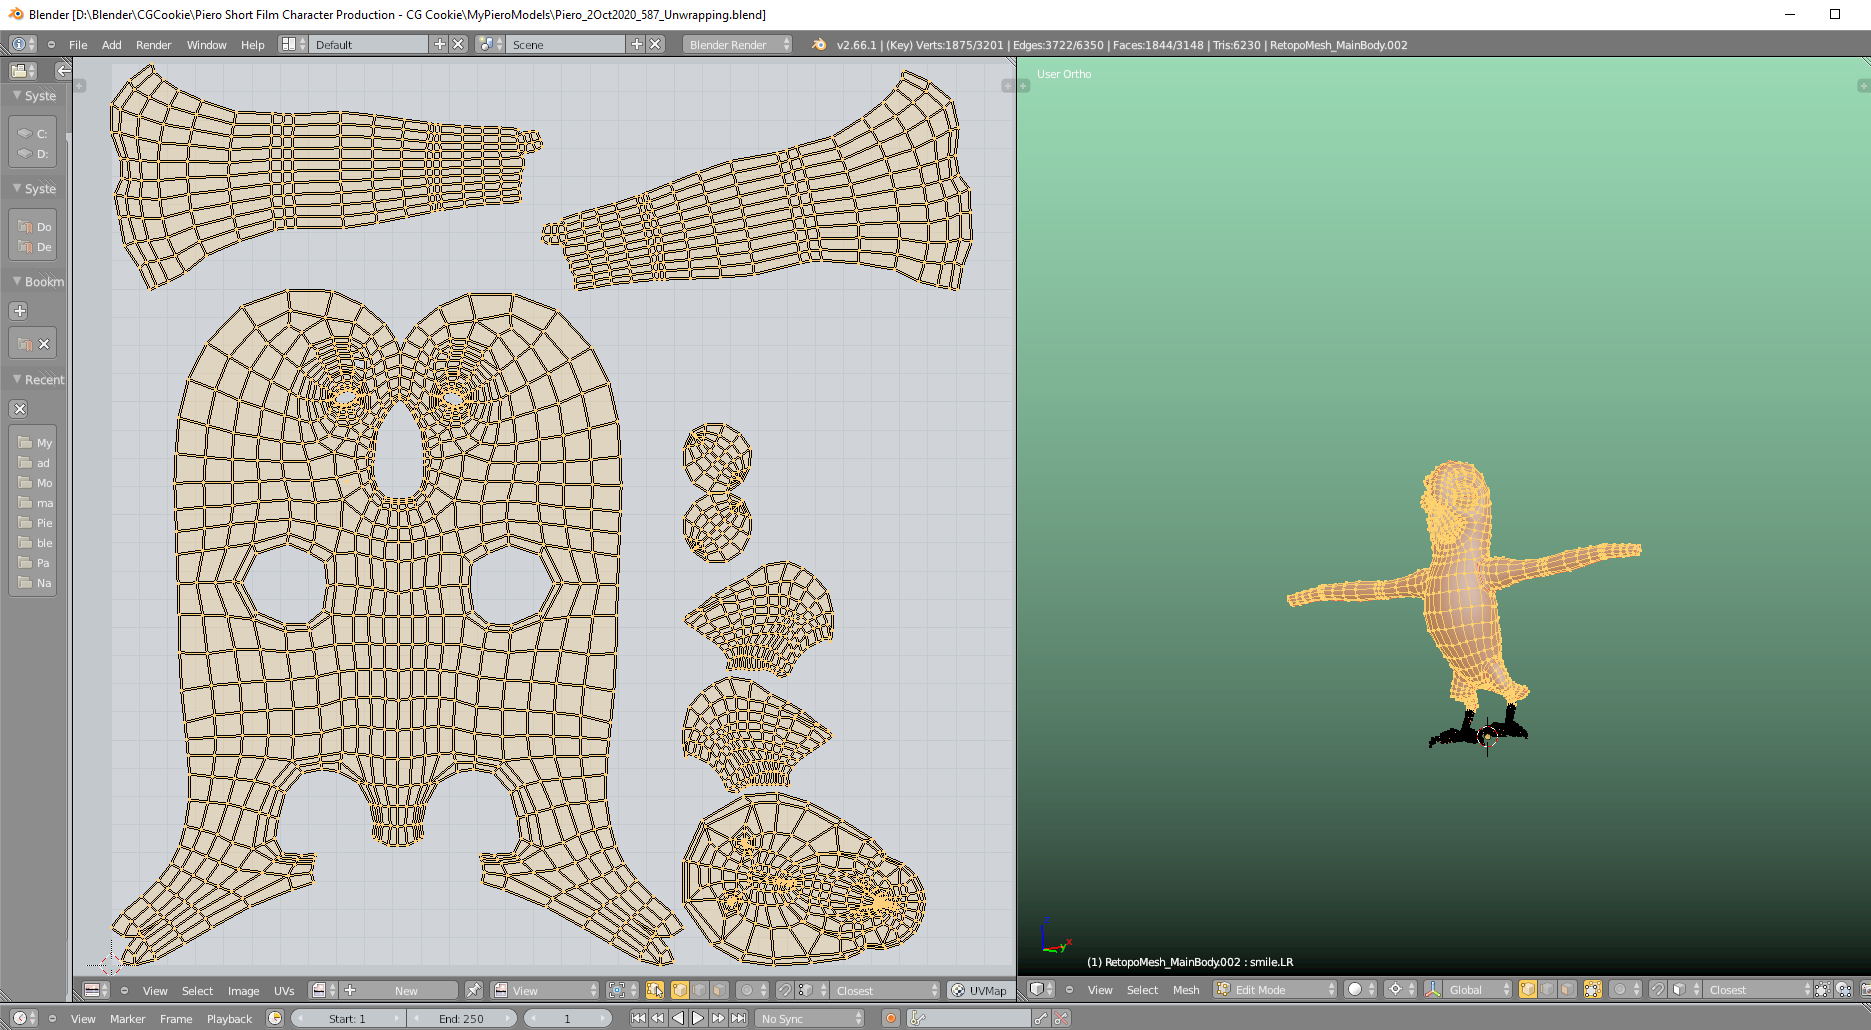
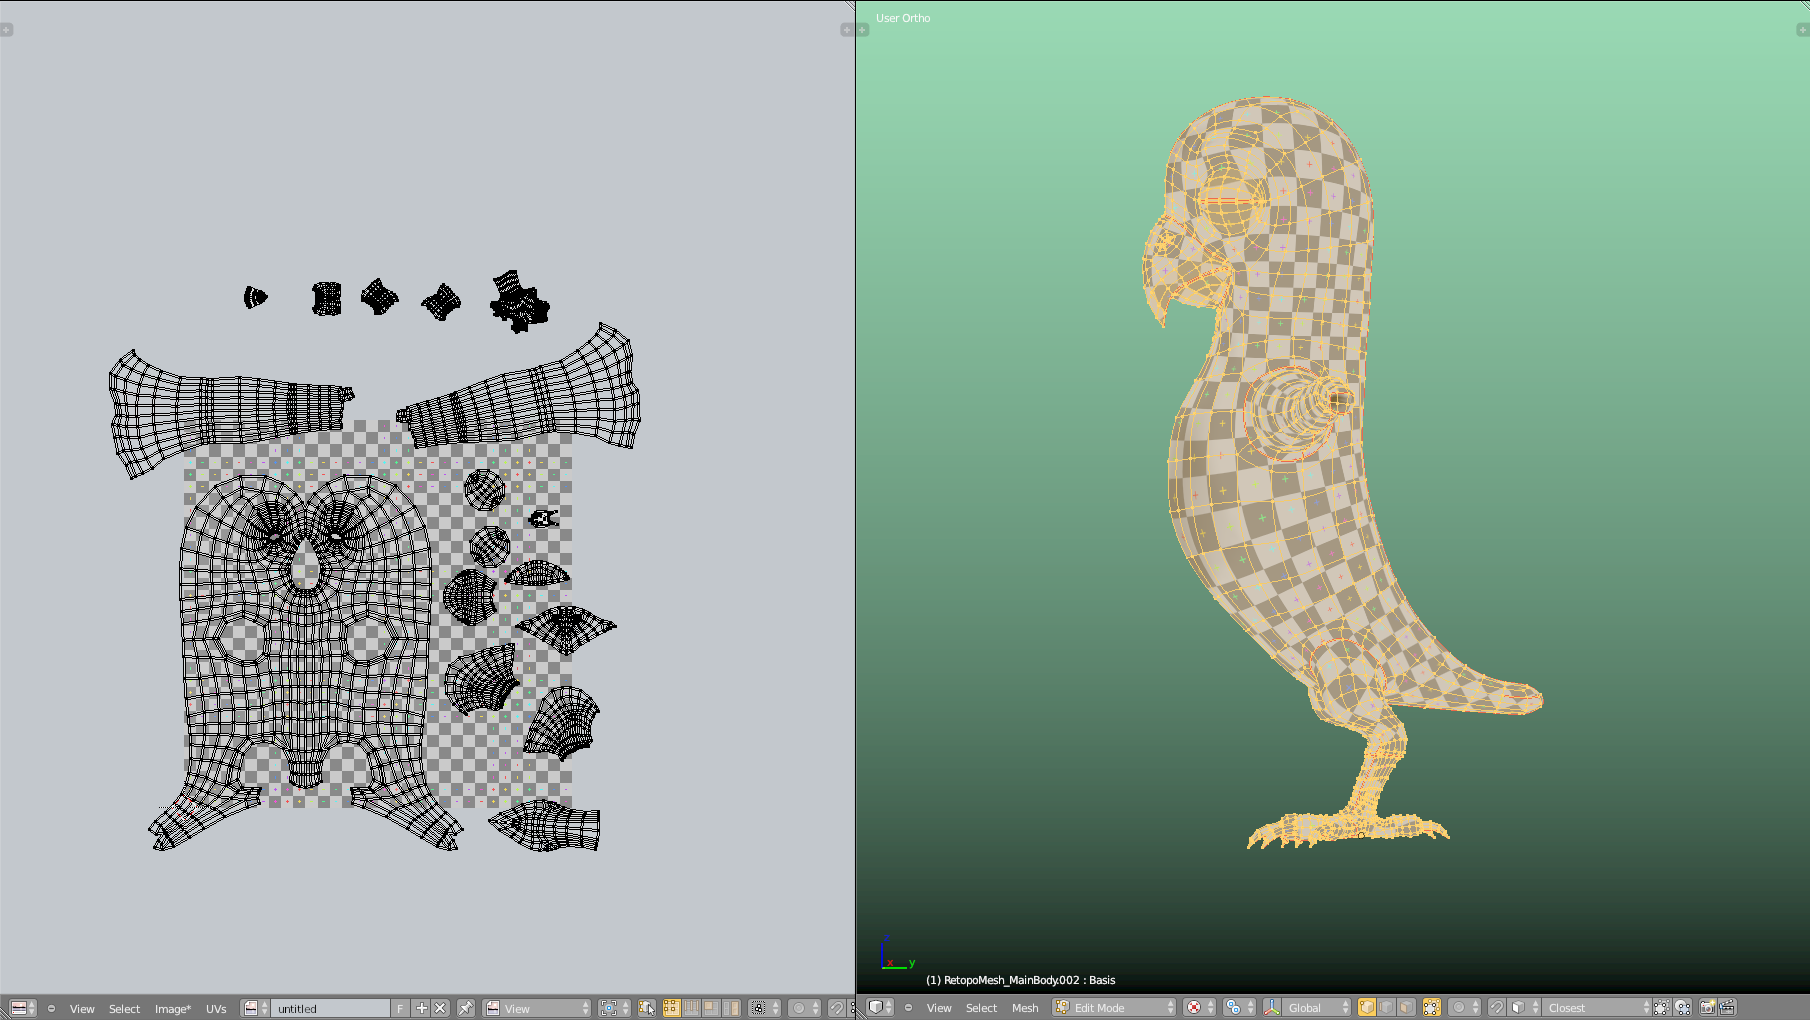
                          Piero unwrapped:

                          #60482
                          Ingmar Franz
                          Participant

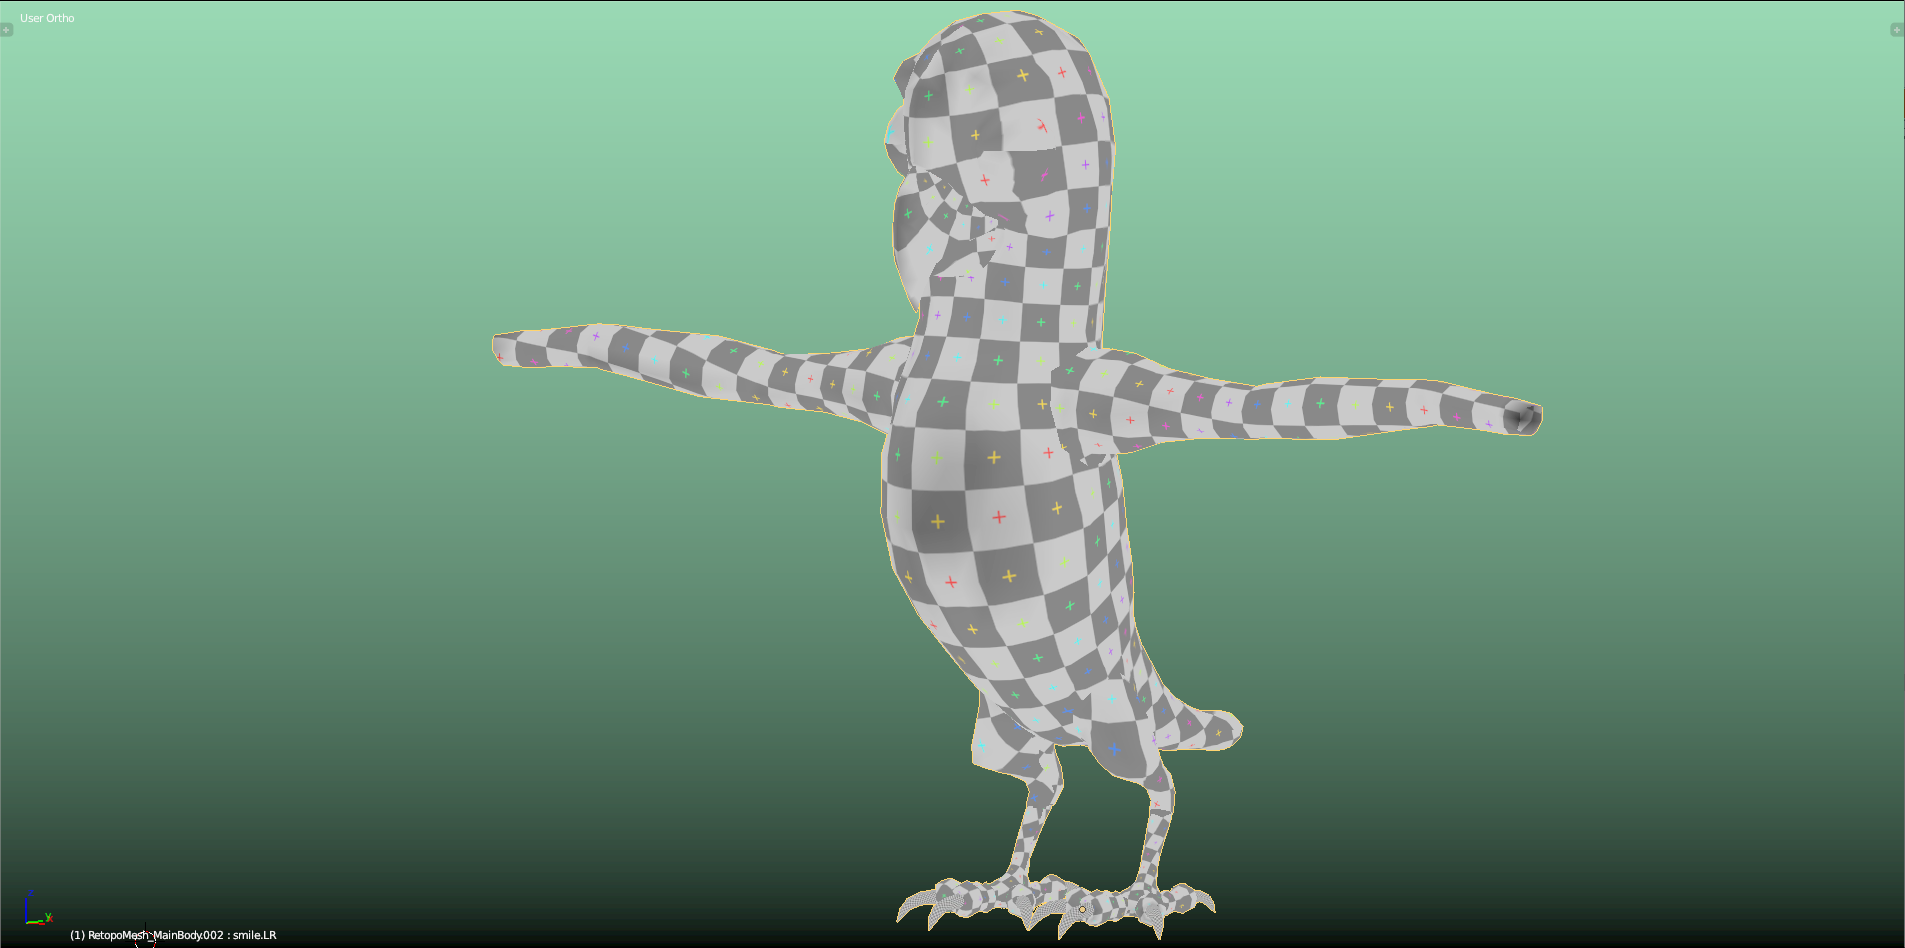
                            The “UV Grid” test texture shows the claw toes with an extremely high “Texel Density” compared to the main body:

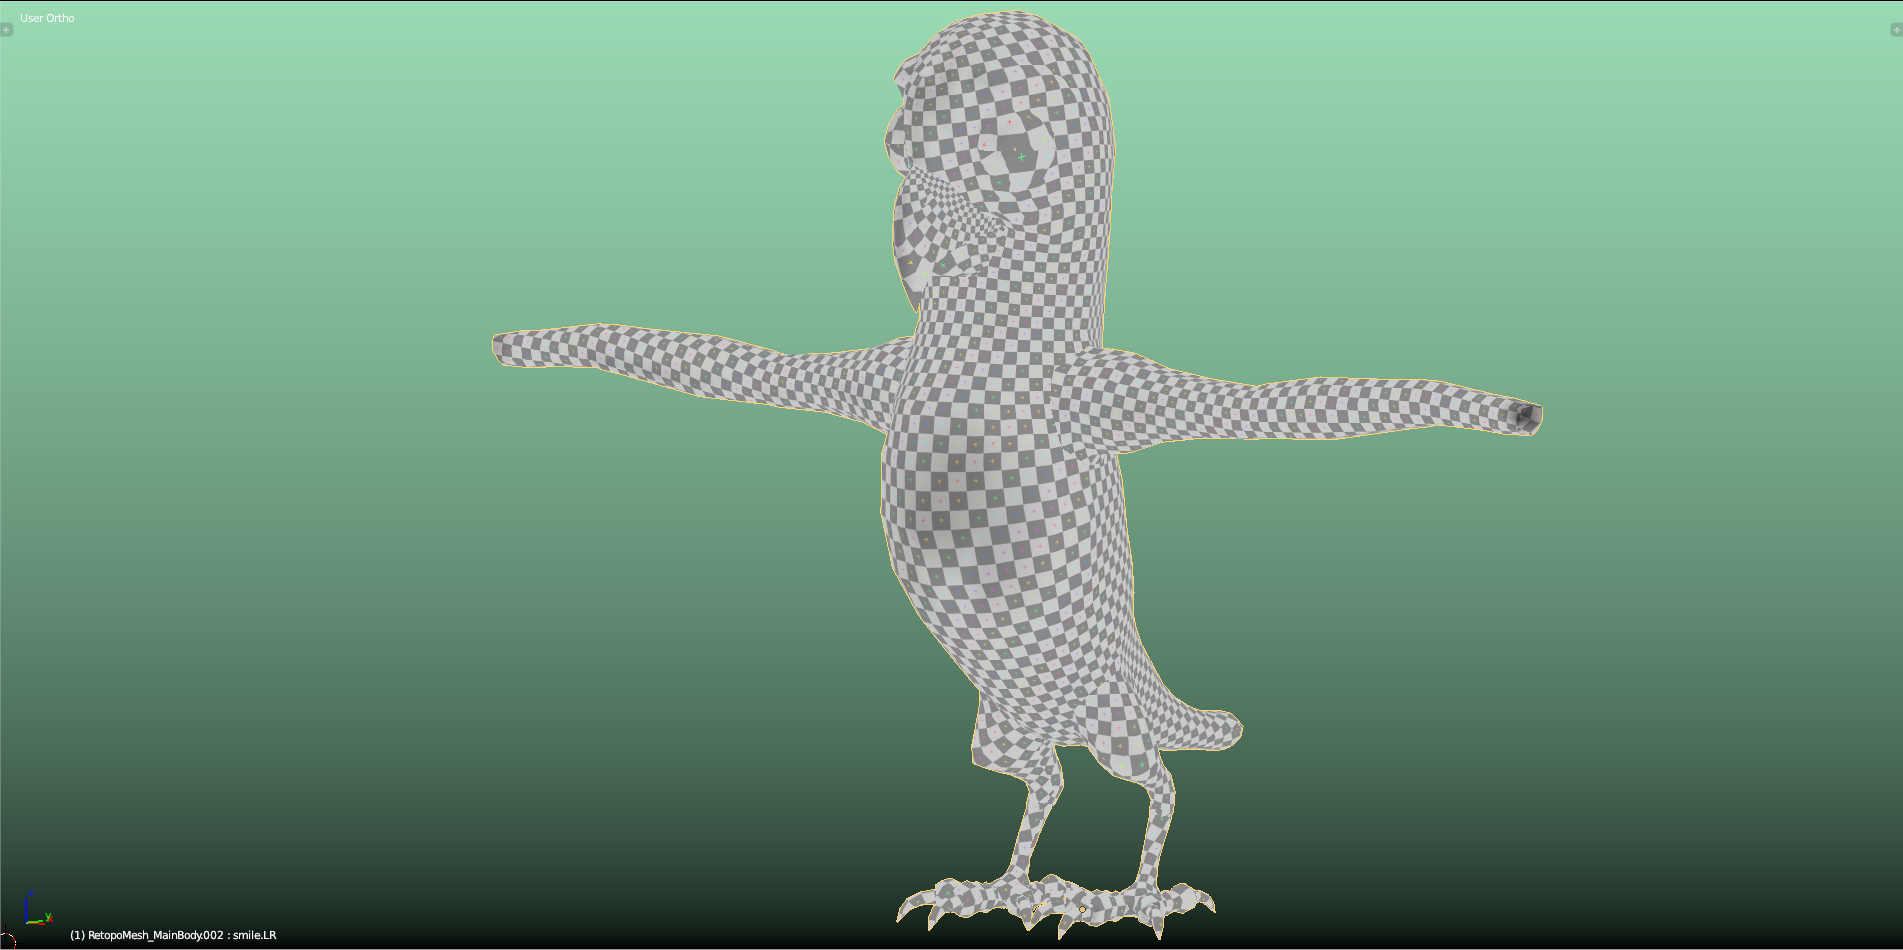
                            “Average Islands Scale” in the “UV/Image Editor” spreads the “Texel Density” more evenly across Piero’s body:

                            #60483
                            Ingmar Franz
                            Participant

                              And with some more seams at the beak, the “UV Map” looks like this (with “Average Islands Sclale” applied):

                              #60484
                              Shawn Blanch
                              Participant

                                Very nice. I am not sure if you do have this, but if you have perfect symmetry on the left and right side of Pierro you could technically mirror the UV’s to make more use of the texture resolution on your texture map. It comes at a price though. You lose the ability to make unique texture differences easily between the right and left side.

                                I’m sure there are ways to overcome that but just wanted to point that out. 

                                #60485
                                Ingmar Franz
                                Participant

                                  @blanchsb In this chapter @theluthier already used “UV mirroring” for the claws. I don’t know why @theluthier didn’t make use of that technique when unwrapping the main body since it will be covered with feathers that would hide any visual hints for mirrored “UV Maps”.

                                  Mirroring UVs can save a lot of time when painting textures.  Isn’t it possible to bake that symmetrical texture to a new “UV Map” that shows both halfs of the model separately so that you can paint details asymmetrically onto it?

                                Viewing 15 posts - 1 through 15 (of 21 total)
                                • The topic ‘Texturing Piero: Duerer’s Progress’ is closed to new replies.