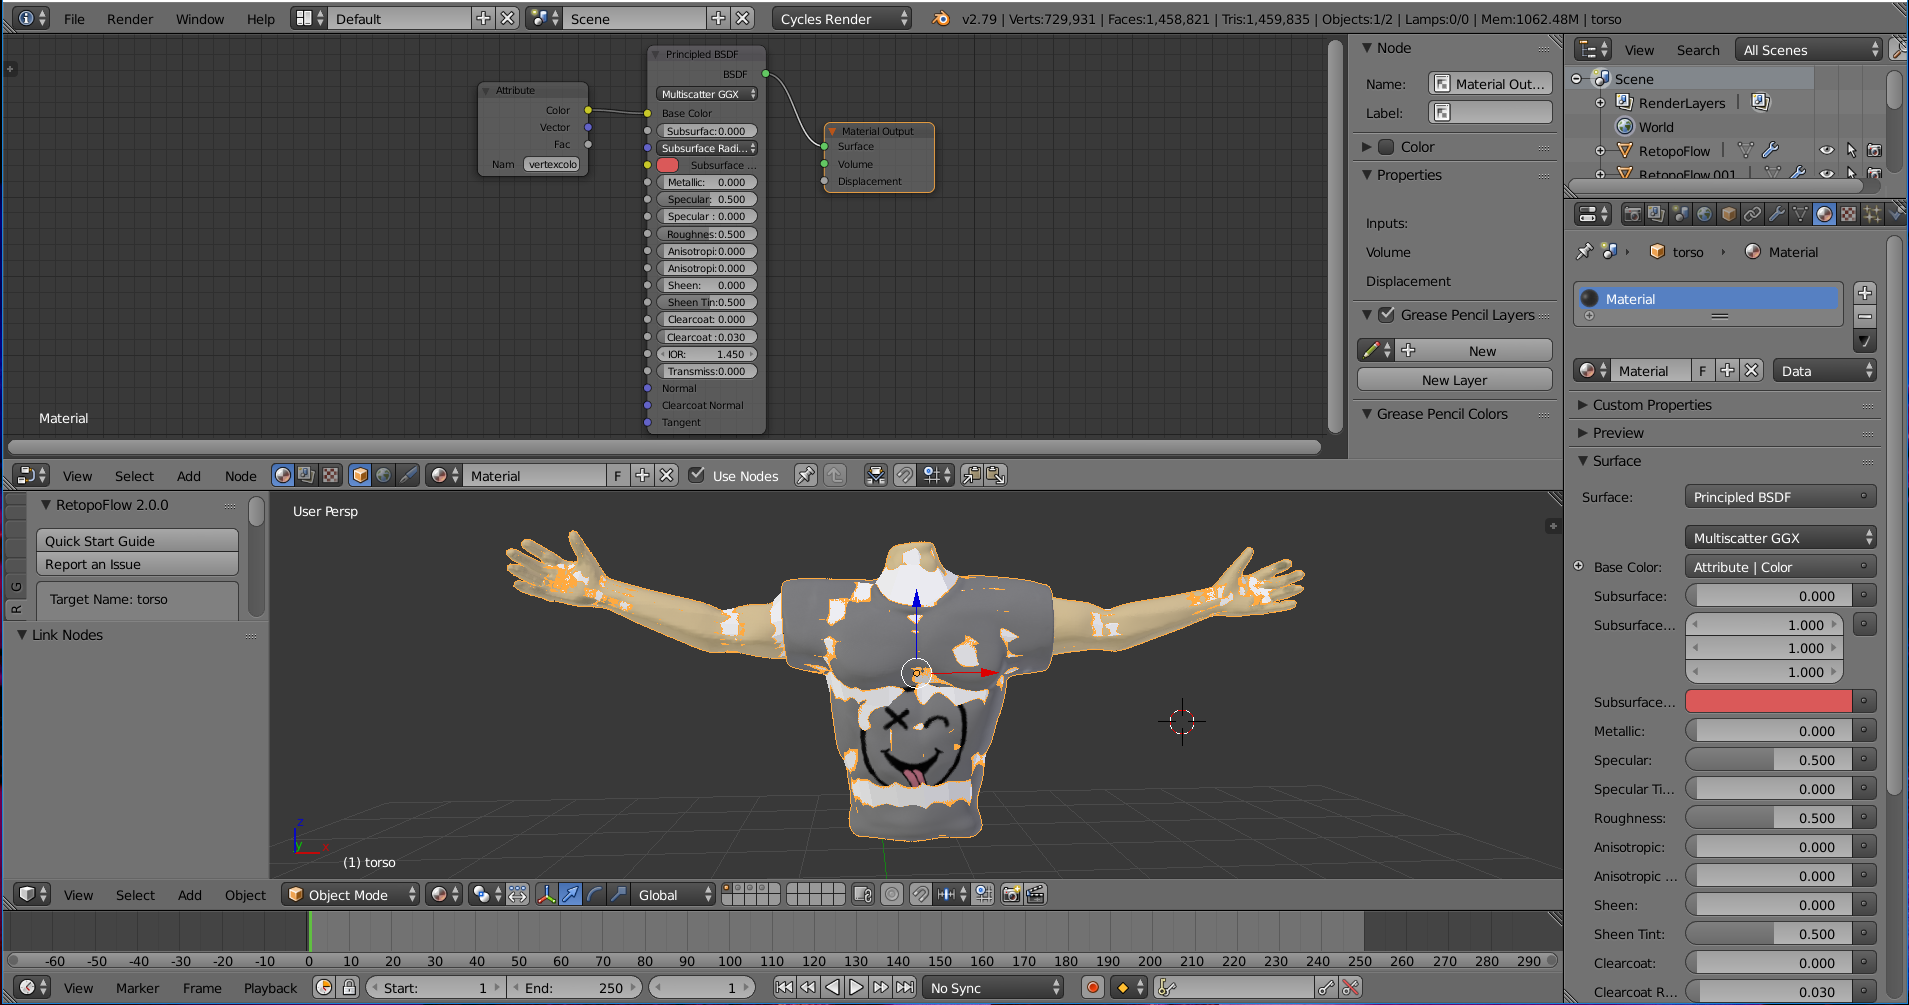
Hi @eithman, here’s how to do it:
Ideally place your highpoly mesh in one layer and the retopo’d one in another one, makes things easier to control (I think).
1- Unwrap the low-poly mesh
2- Create a new image from the UV/Image editor (chose the size you desire according to your needs).
3- Create a new material for the low-poly mesh (a diffuse or a principled will be enough) and add an image texture, using the image you created at step 2. Have that input selected.
4- Select the two layers with the high-poly and the low-poly models. MAKE SURE THEY HAVE THE SAME ORIGIN AND THEY ARE OVERLAPPING.
5- Select the high-poly first, then the low-poly (you can use the outliner menu). The order is important!
6- In the render settings, go to the Bake menu, and select Diffuse. Unselect Direct and Indirect: you should only have Color left. Otherwise this would also bake shadows and lights if a lamp is present.
7- Check the “Selected to Active” box
8- Ray distance: this may need some trial and error. I usually start with a high value (1 or higher ) and go down if the results is not nice. If the value is too high it might cast colors from a wrong part of the high-poly mesh into the image, and vice-versa.
9- Press BAKE and check your result.
10- For Glossy, Normal, AO maps, repeat from step 2 with new image and make sure you change the image on the node editor!
I hope that helps, let me know if anything’s unclear. As you see there’s many step and it’s easy to forget one and have bad results.
Happy baking!
/Thibaut

.