Grooming Body Feathers III: Duerer’s Progress

Forum Archive Grooming Body Feathers III: Duerer’s Progress

Viewing 9 posts - 1 through 9 (of 9 total)
  • Author
    Posts
  • #12940
    Ingmar Franz
    Participant

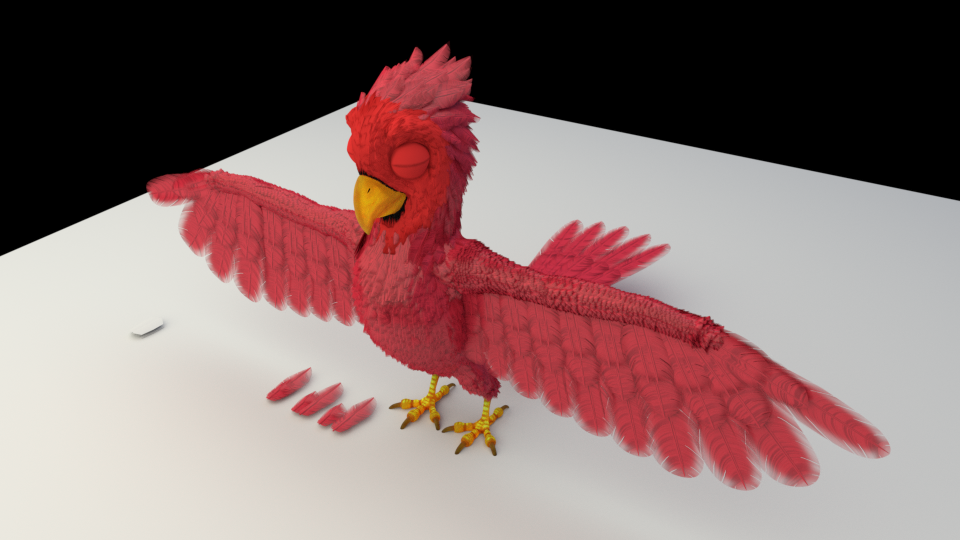
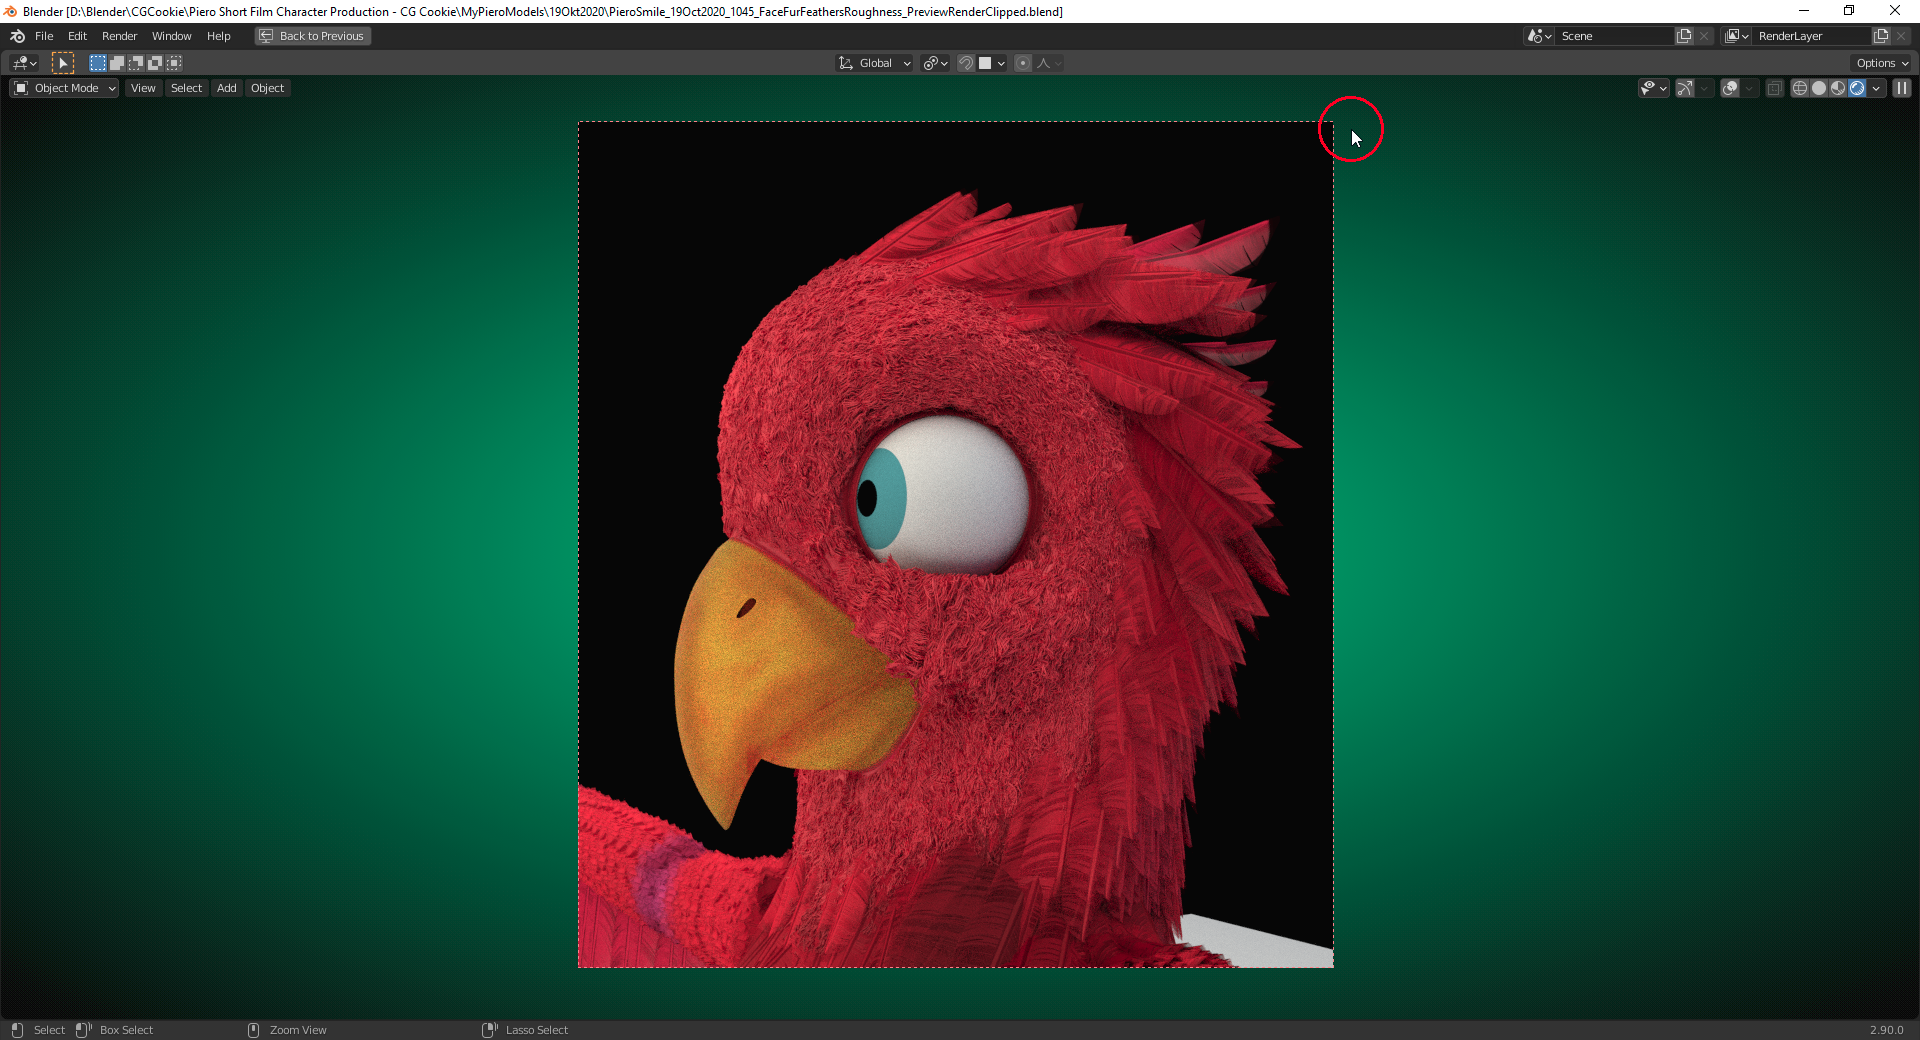
      A first Cycles test rendering of Piero with its third “Body Feather Layer” covering his face:

      Render time: 7 Minutes  0.59 Seconds

      The dark seam around Piero’s beak is one problem that has to be solved.

      #61012
      Ingmar Franz
      Participant

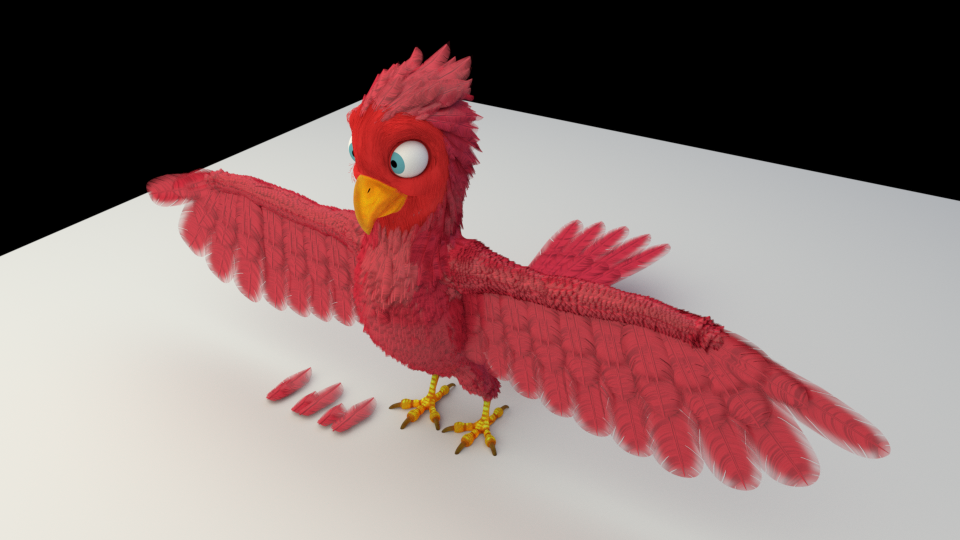
        I’ve regrown the face hairs with 16.000 “Simulated Hairs” and no “Children Hairs” instead of previously 2.000 “Simulated Hairs” with 8 “Children Hairs”  for each of them:

        Hairs rendered as “3DCurves” with a “Root Diameter” of 0.2.

        Cycles Render Time:   6 Minutes   44.33 Seconds.

        #61013
        spikeyxxx
        Participant

          When using ‘positioned’ hair, like on faces for instance, it is usually better to avoid interpolated children; one hair left of an eye and one to the right gives interpolated hairs in the eye! Simple children can be ok! 

          Interpolated children can be used for something  like a continuous field of grass or a carpet…

          When used for eyebrows or so, use a separate particle system for each one, when you want to use interpolated children.

          #61014
          Ingmar Franz
          Participant

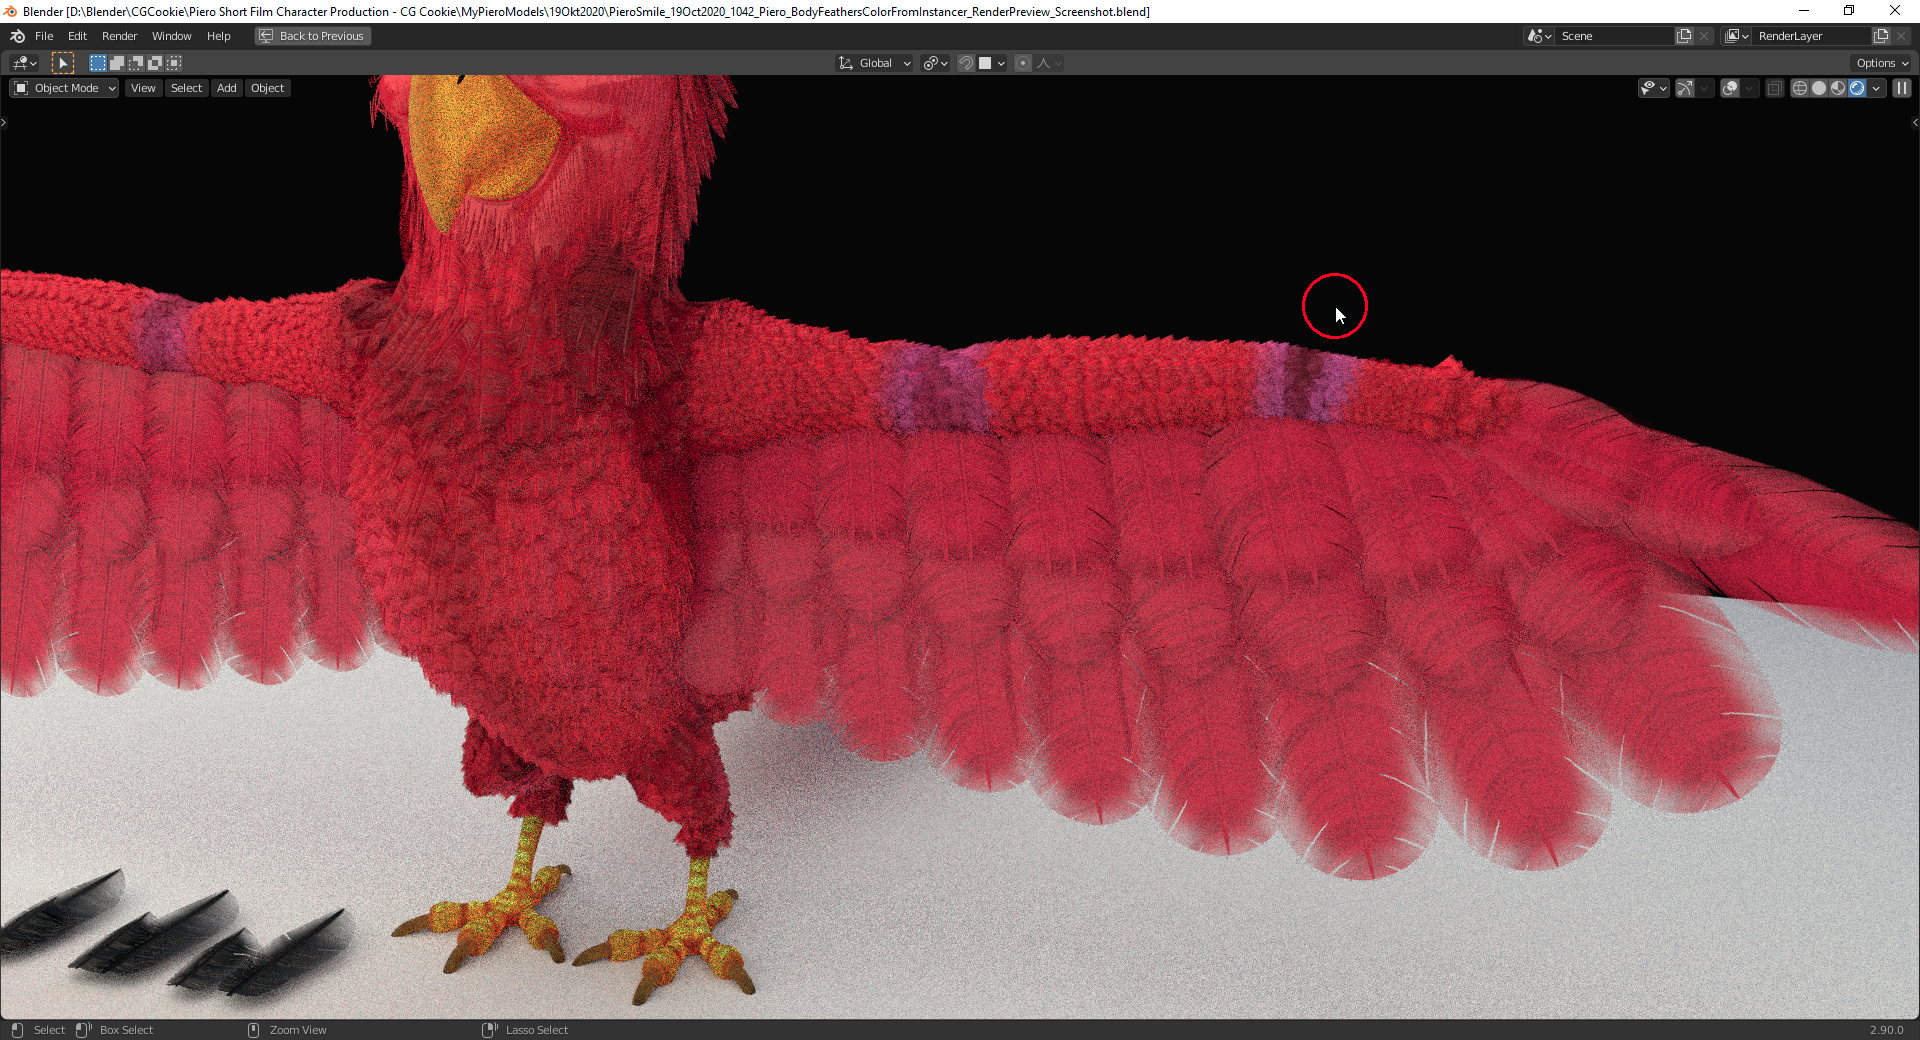
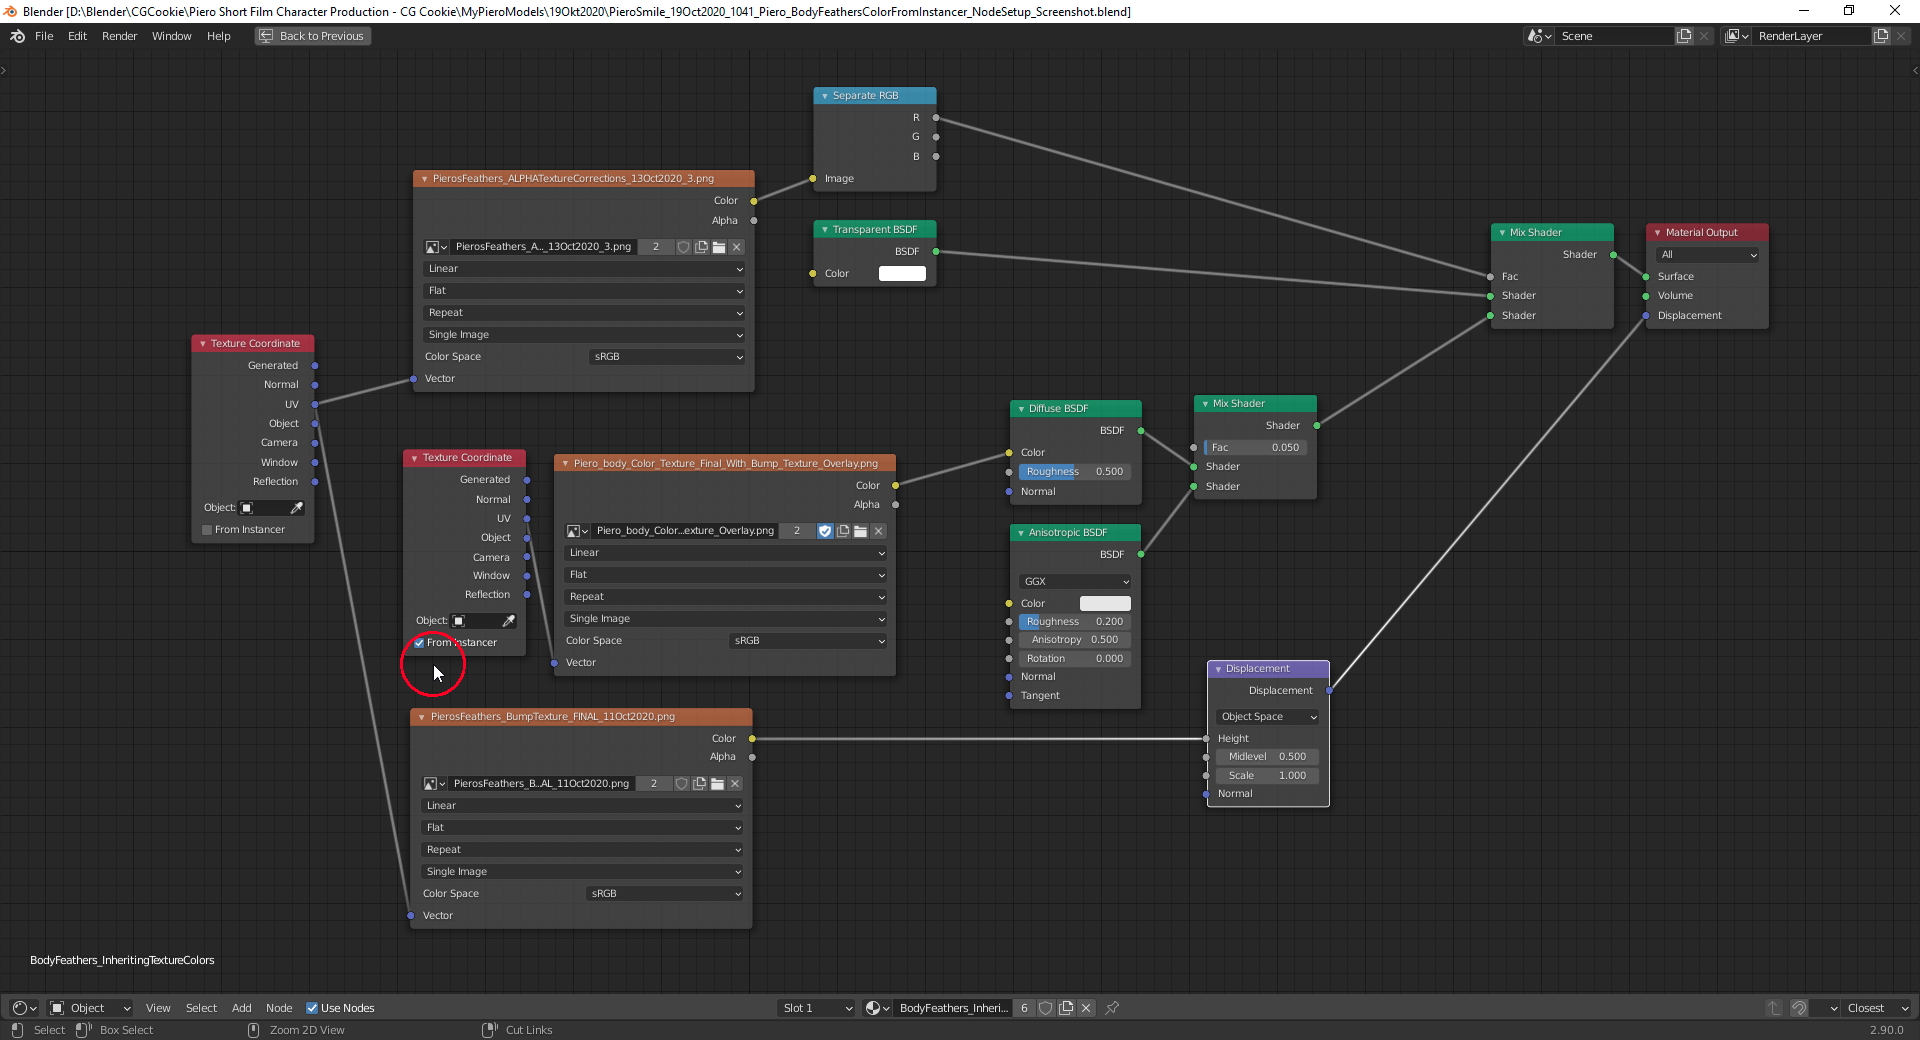
            “Body Feathers”  inheriting the color of the underlying “Body Texture” (especially at the “arms” and the neck):

            1) Render Preview

            2) Node Setup:

            #61015
            Ingmar Franz
            Participant

              Roughness added to the “Interpolated Children Hairs” in Piero’s face (“Preview Render Mode”):

              #61016
              Ingmar Franz
              Participant

                And my final Cycles rendering for this lesson:

                Render Time:   6 Minutes   43.74 Seconds.

                #61017
                Ingmar Franz
                Participant

                  Just two questions that came up in this lesson:

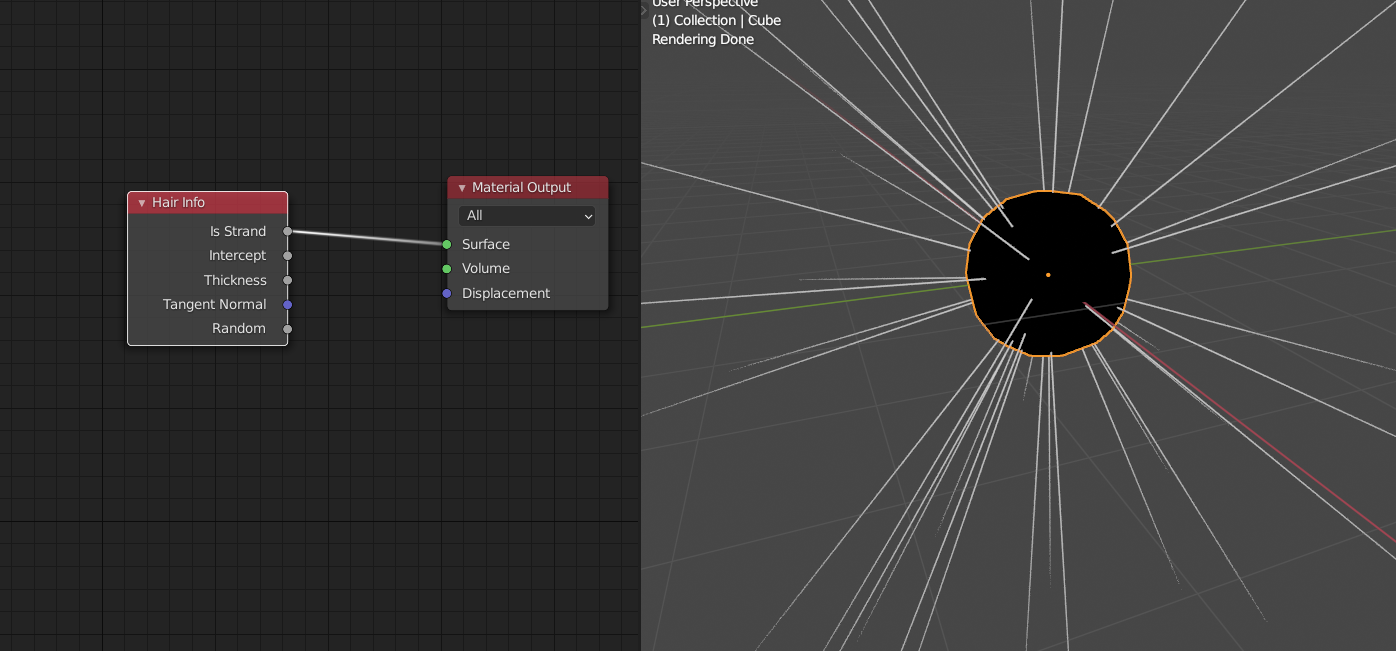
                  1) What output value is given by the “Hair Info Node” in places without a hair since this node is part of the material definition of Piero’s main body. It sounds to me logic that this must be “0” so that the “Hair Info Node” doesn’t change Piero’s body shading in these areas since the “0” would be mapped to the left black end of the “Color Ramp” and black equals “0” (more preciscely: all three RGB channels are “0”). This would select the non-transparent part of Piero’s main body material definition.

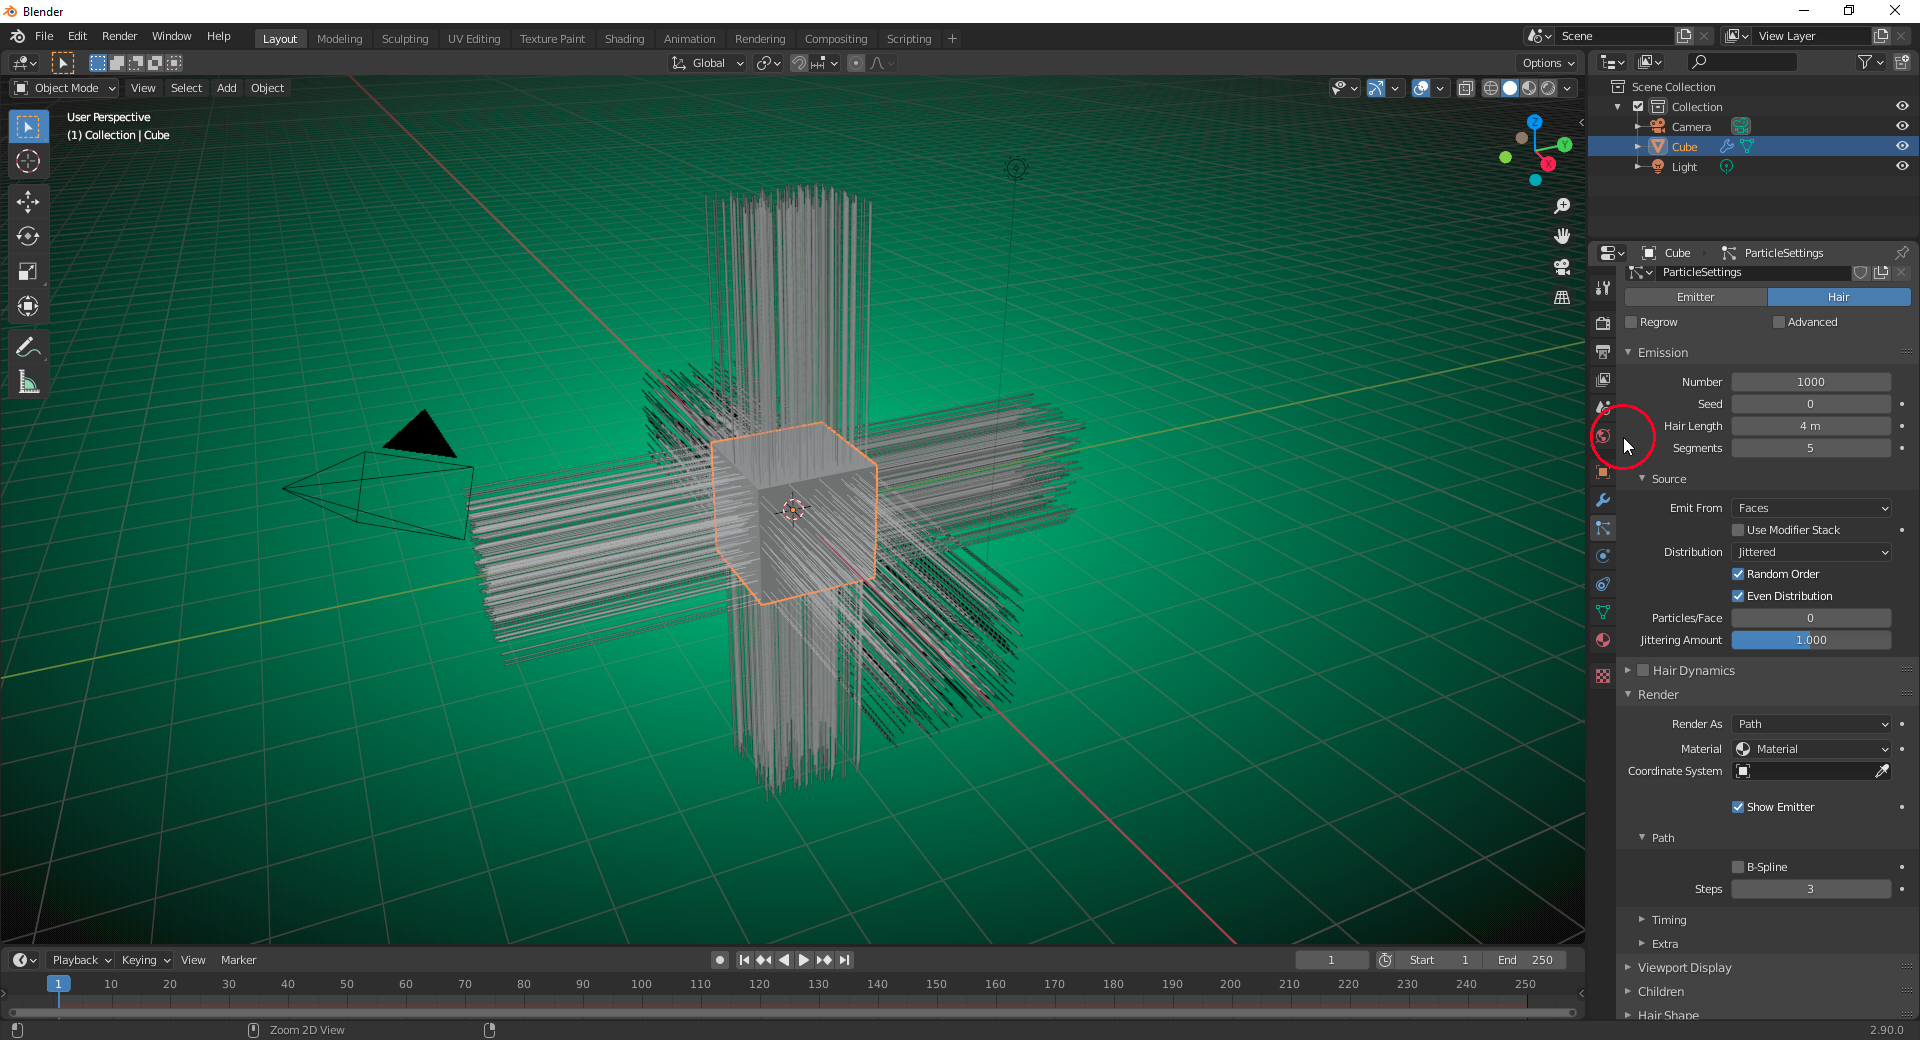
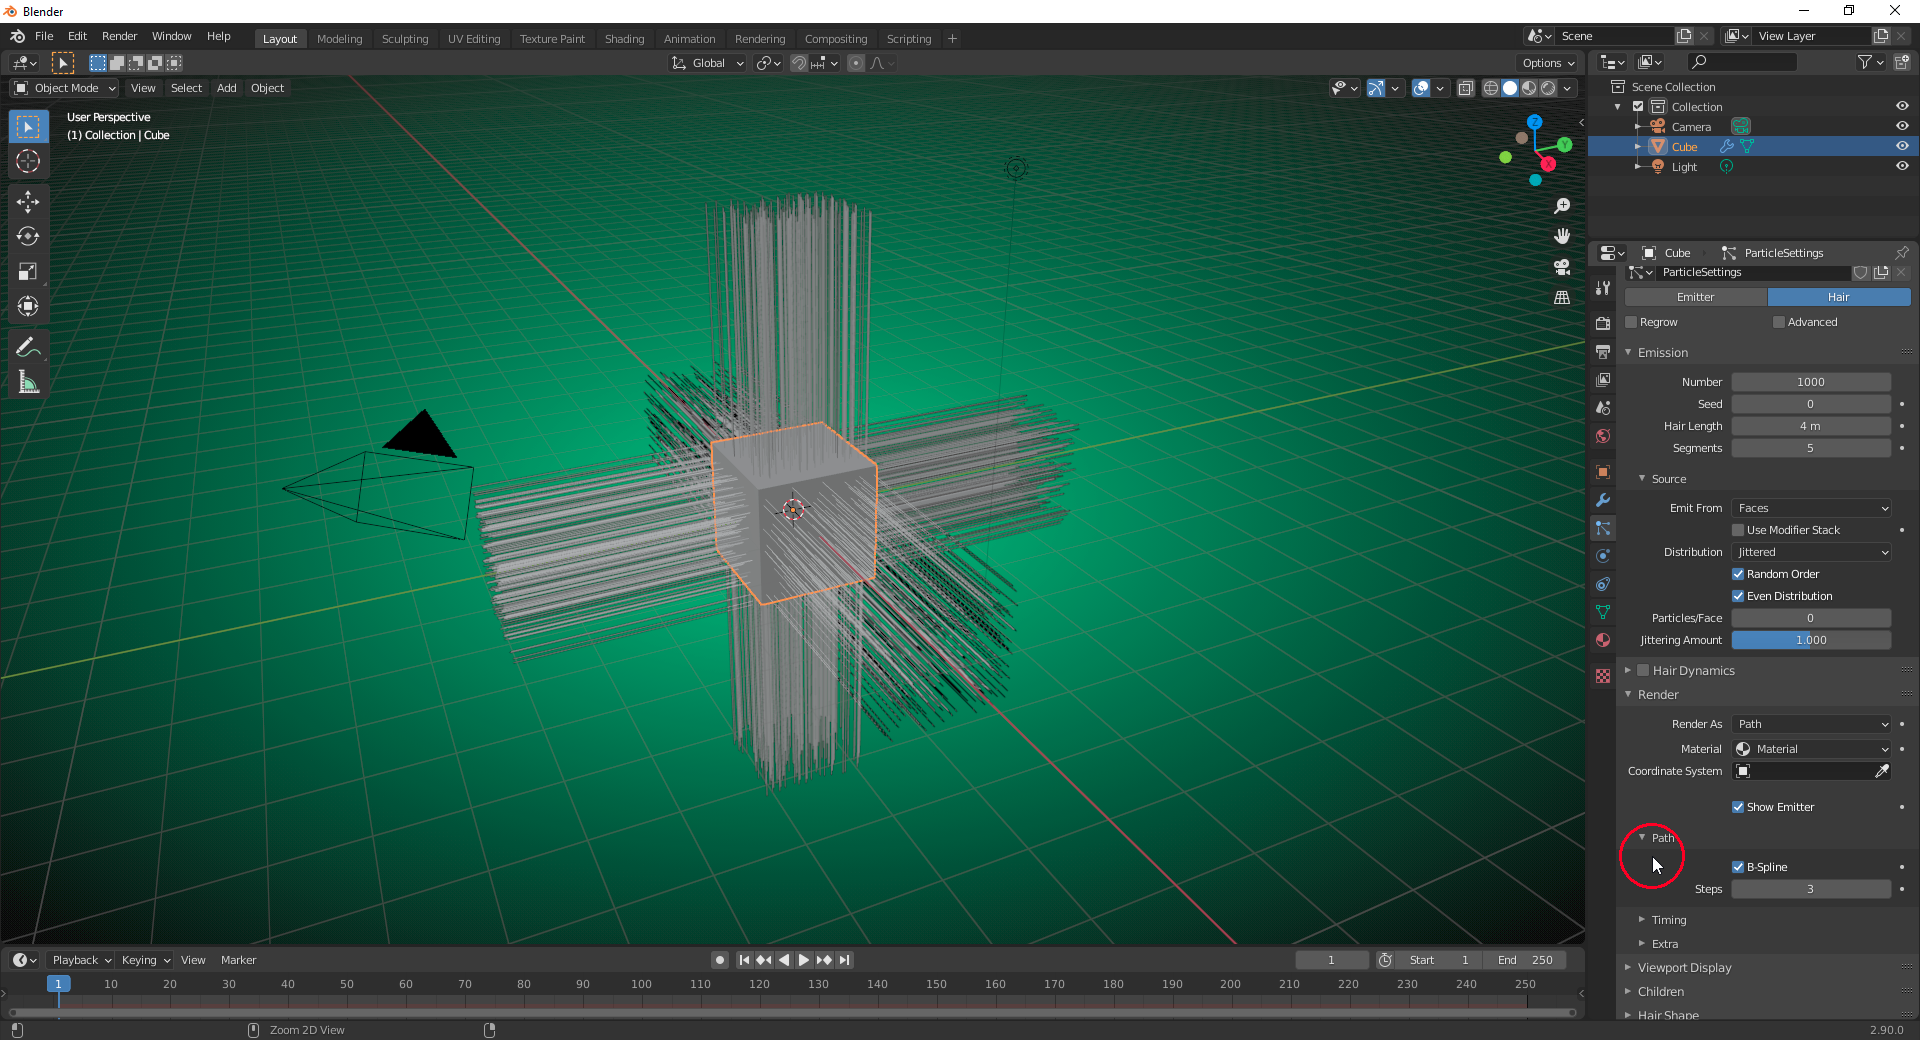
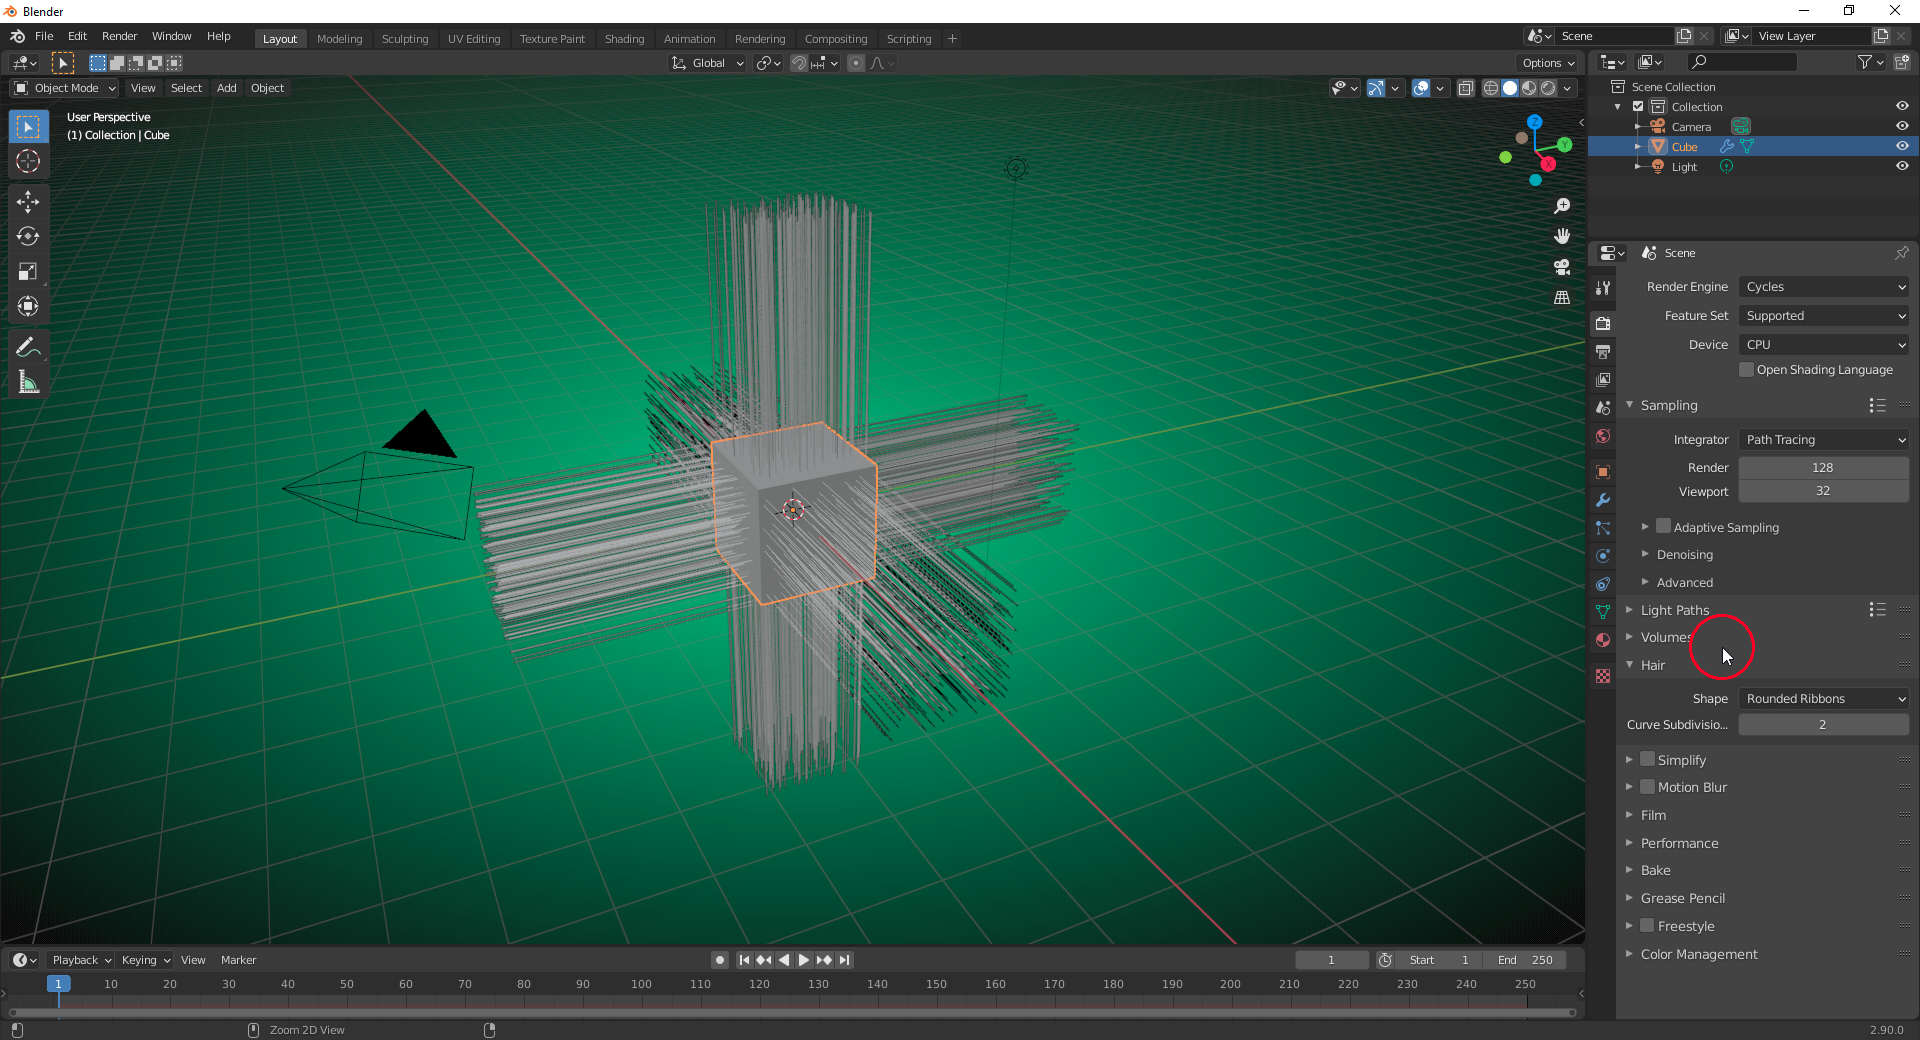
                  2) How are the “Segments” setting in the “Emission Panel” of the “Hair Particle System”, the “B-Spline” setting for “Path Rendering” in the “Render Panel” of the “Hair Particle System” and the “Steps” setting for “Ribbons” in the “Hair Panel” of the “Render Properties Tab” related to each other?

                  a) Emission Panel (red circle)
                  b) Render Panel (red circle)
                  c) Hair Panel (red circle)
                  #61018
                  spikeyxxx
                  Participant

                    Ad 1)    indeed, the grey sockets give zero where there are no hairs, only gives a value > 0 to the hairs:

                    Ad 2)   Still  too complicated for me…will look into that tomorrow 😉

                    #61019
                    Ingmar Franz
                    Participant

                      Thanks, @spikeyxxx 🙂! Good to have you here 👍😀!

                    Viewing 9 posts - 1 through 9 (of 9 total)
                    • The topic ‘Grooming Body Feathers III: Duerer’s Progress’ is closed to new replies.