Freshly Baked Modeling Challenge 19 – EGO Battery

Forum Archive Freshly Baked Modeling Challenge 19 – EGO Battery

Viewing 10 posts - 1 through 10 (of 10 total)
  • Author
    Posts
  • #18978

    If you’ve been following along, we’re approaching the end of this modeling challenge series. This is the 19th challenge of 20; thanks for hanging in there with me! 

    This week’s challenge aligns well with the Fundamentals of Mesh Modeling CORE course. 

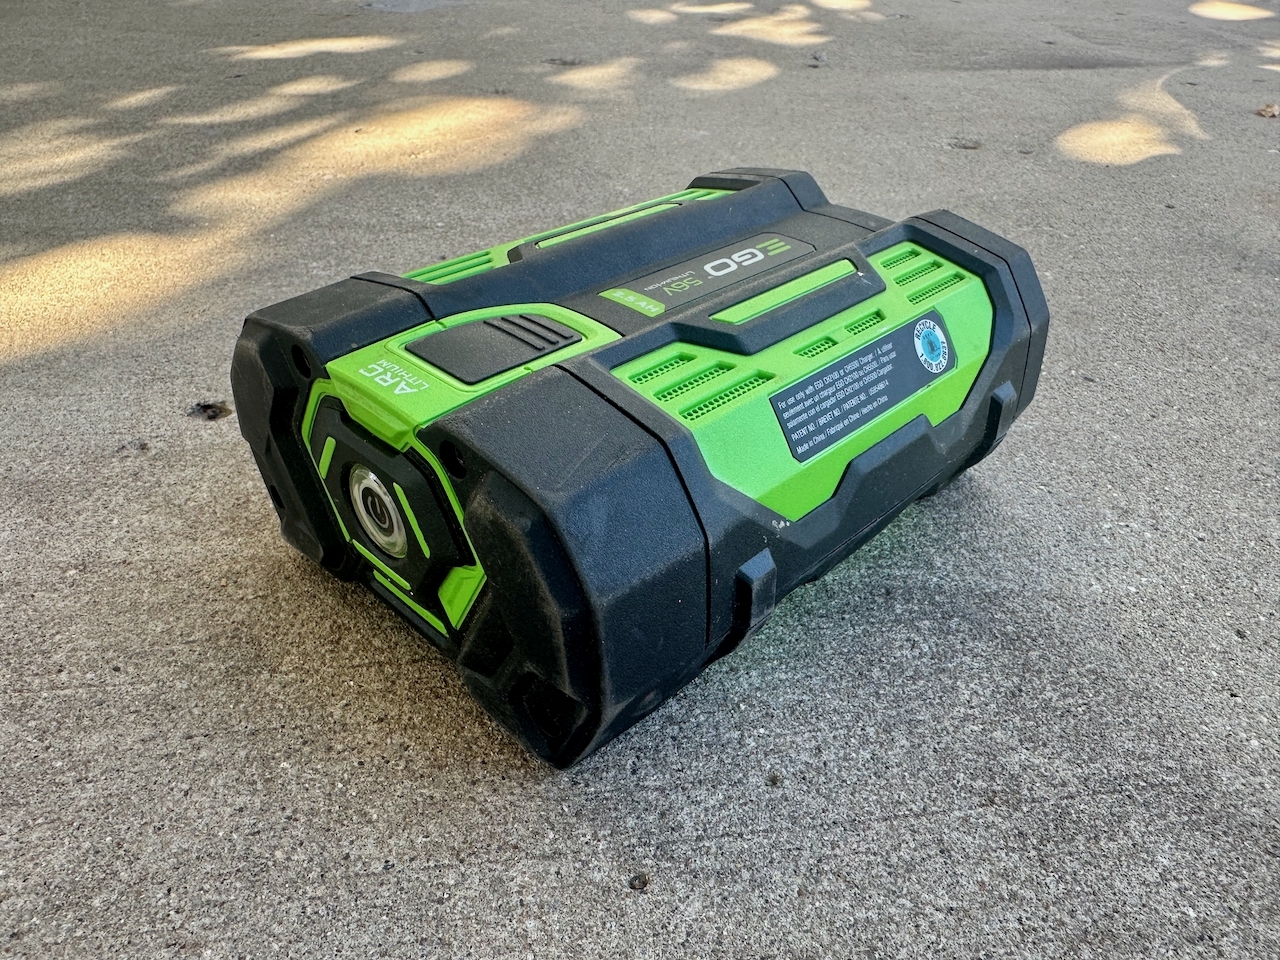
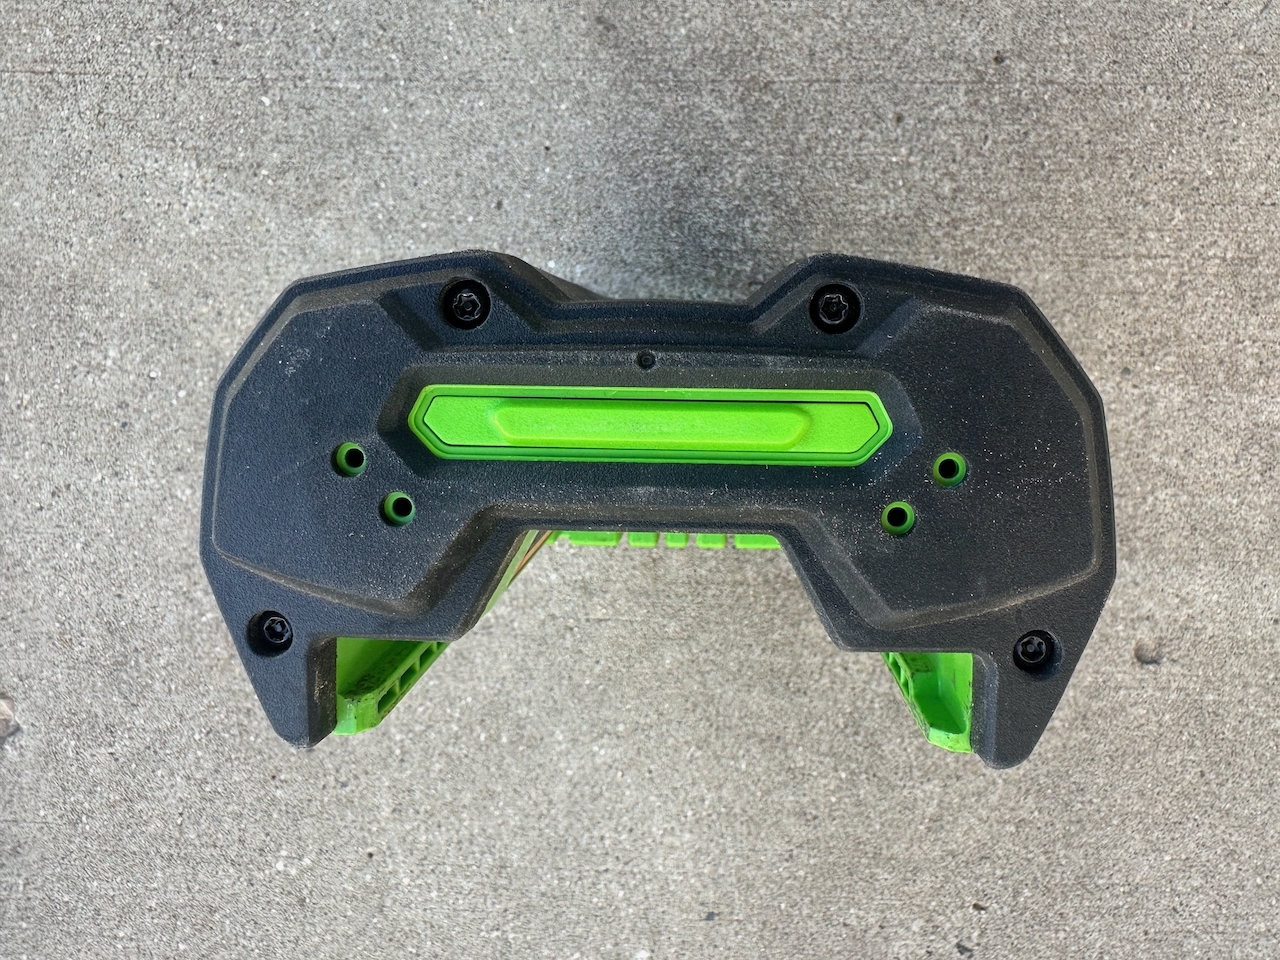
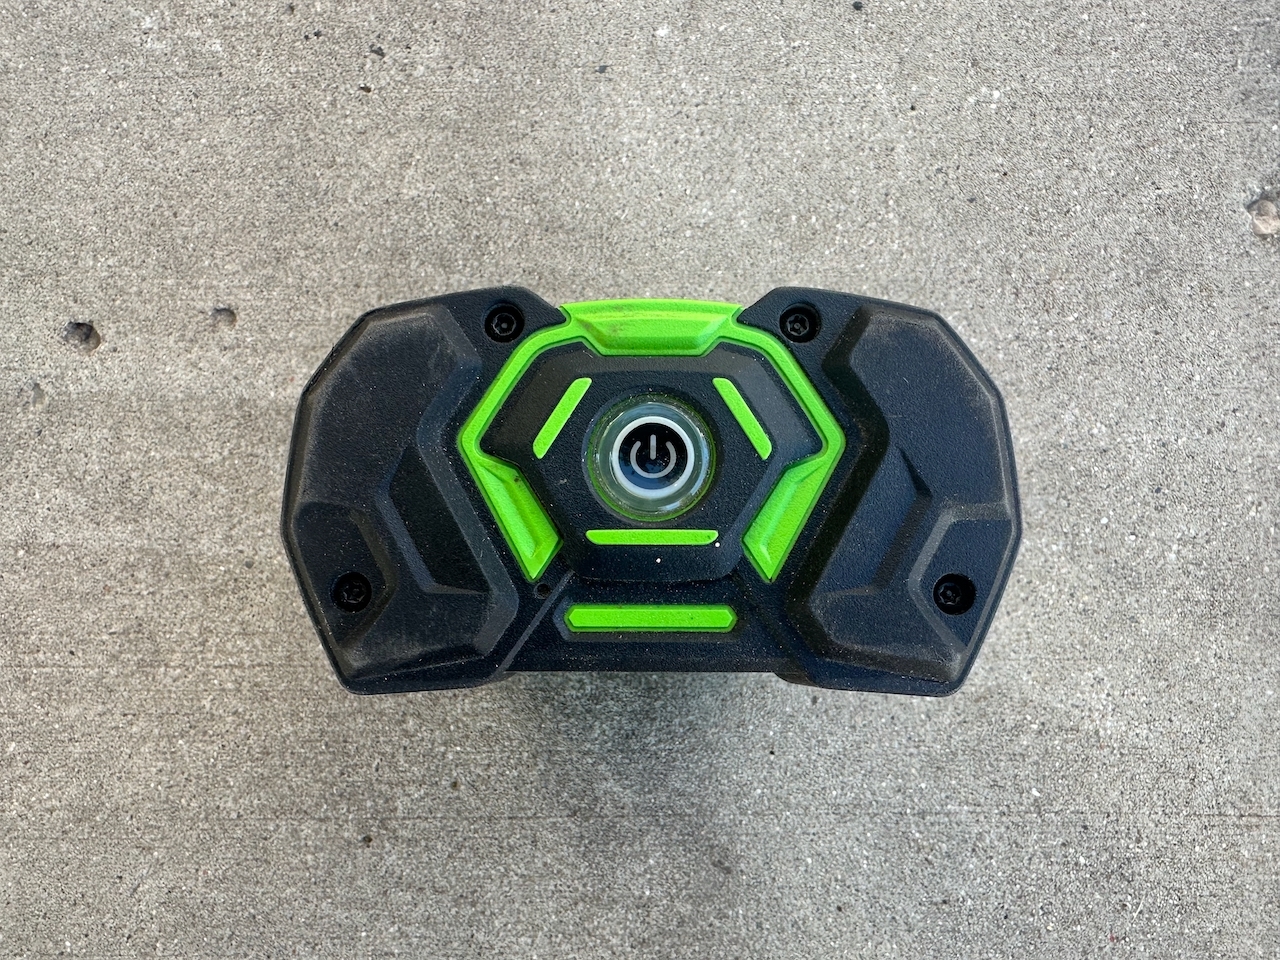
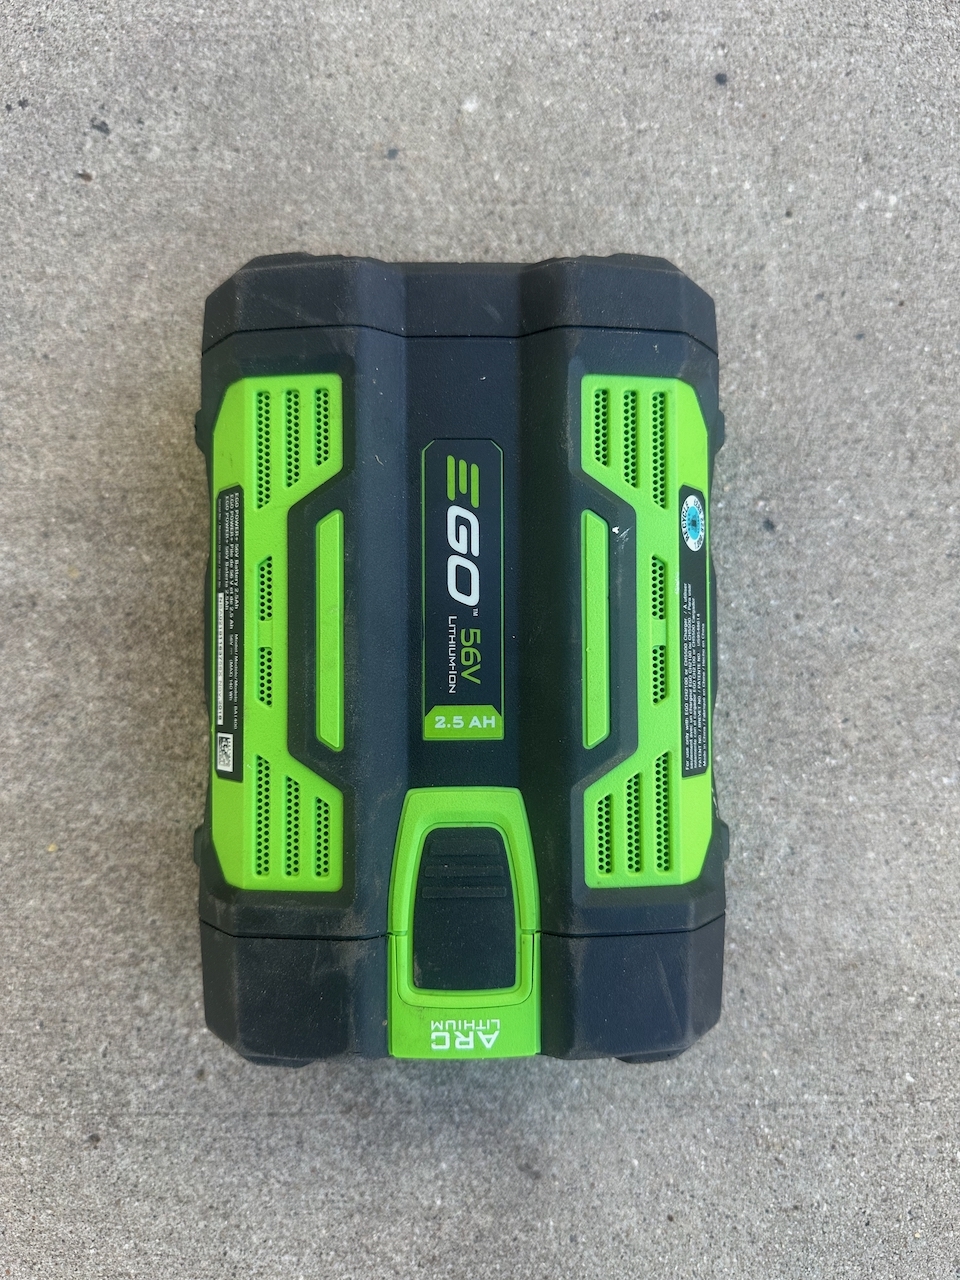
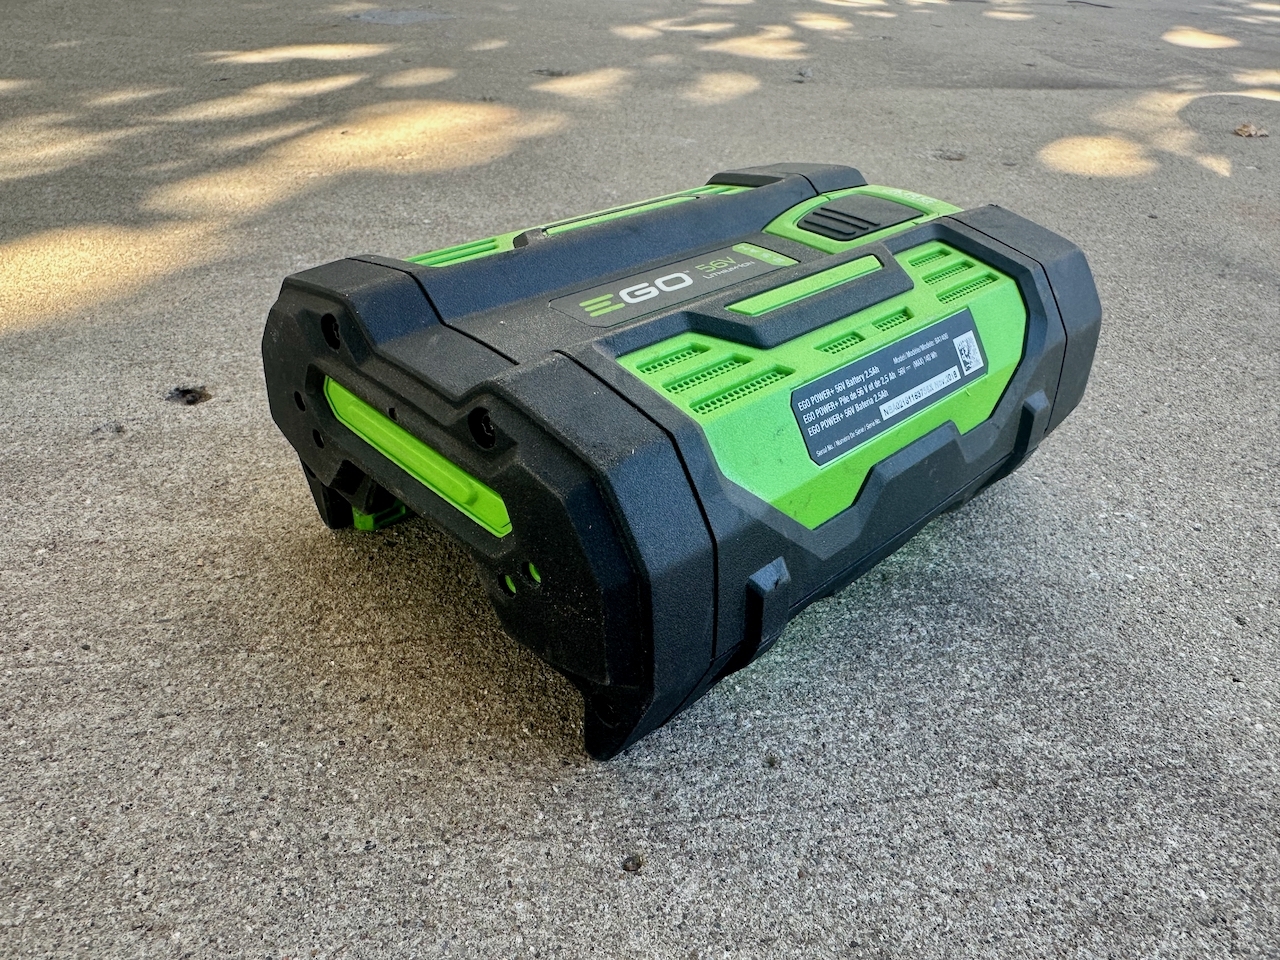
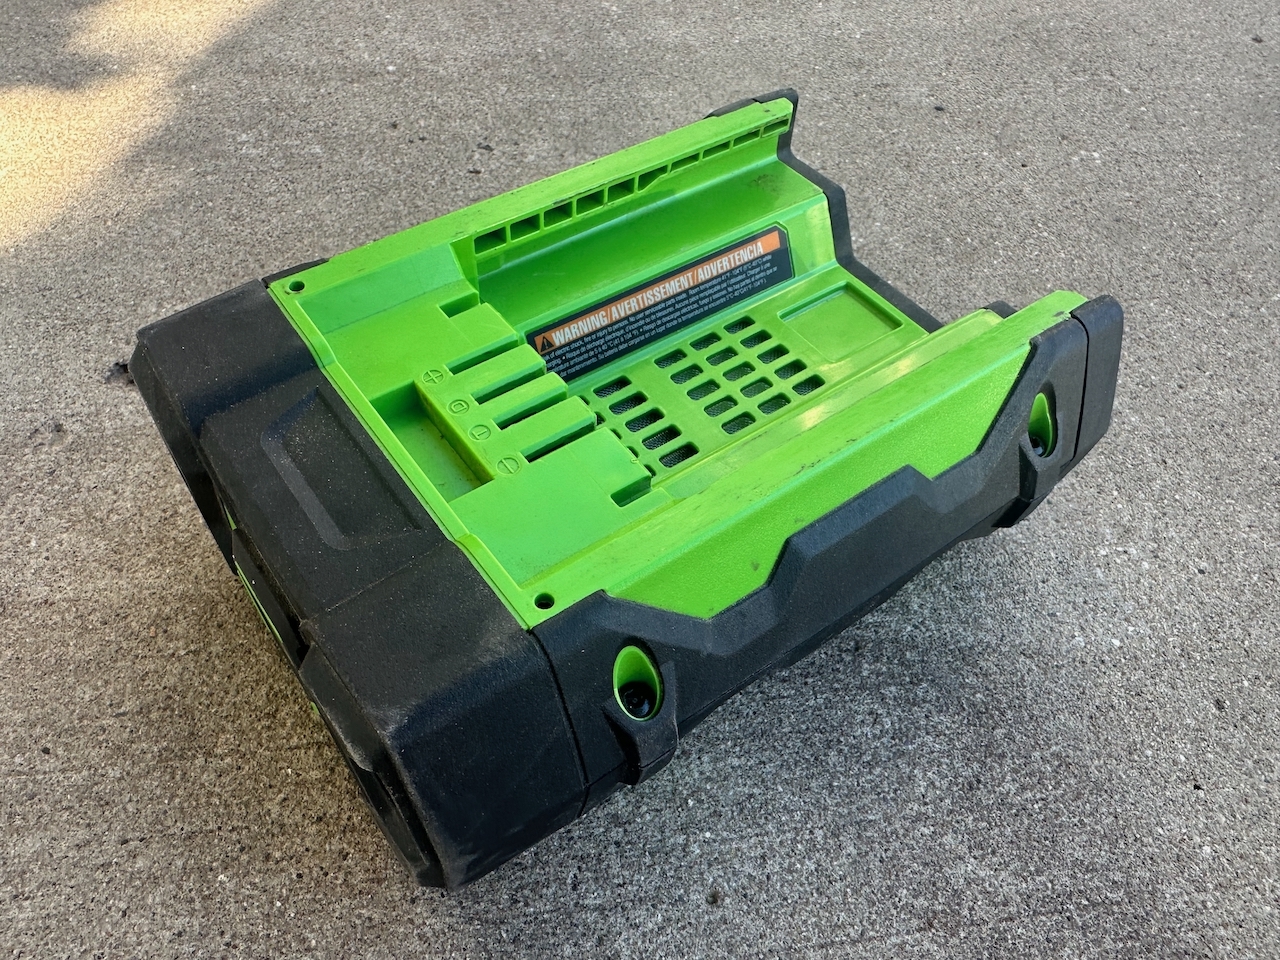
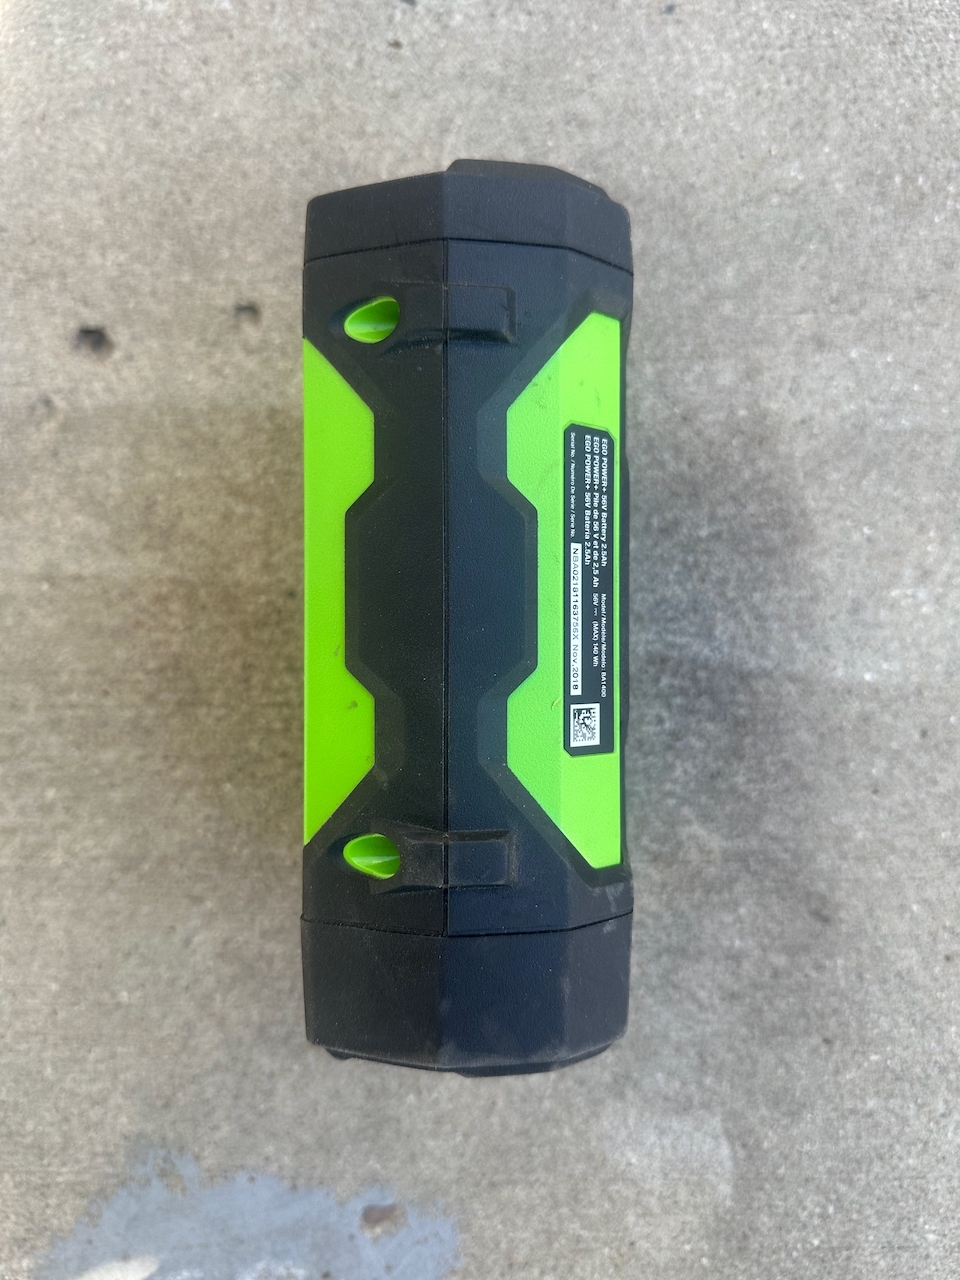
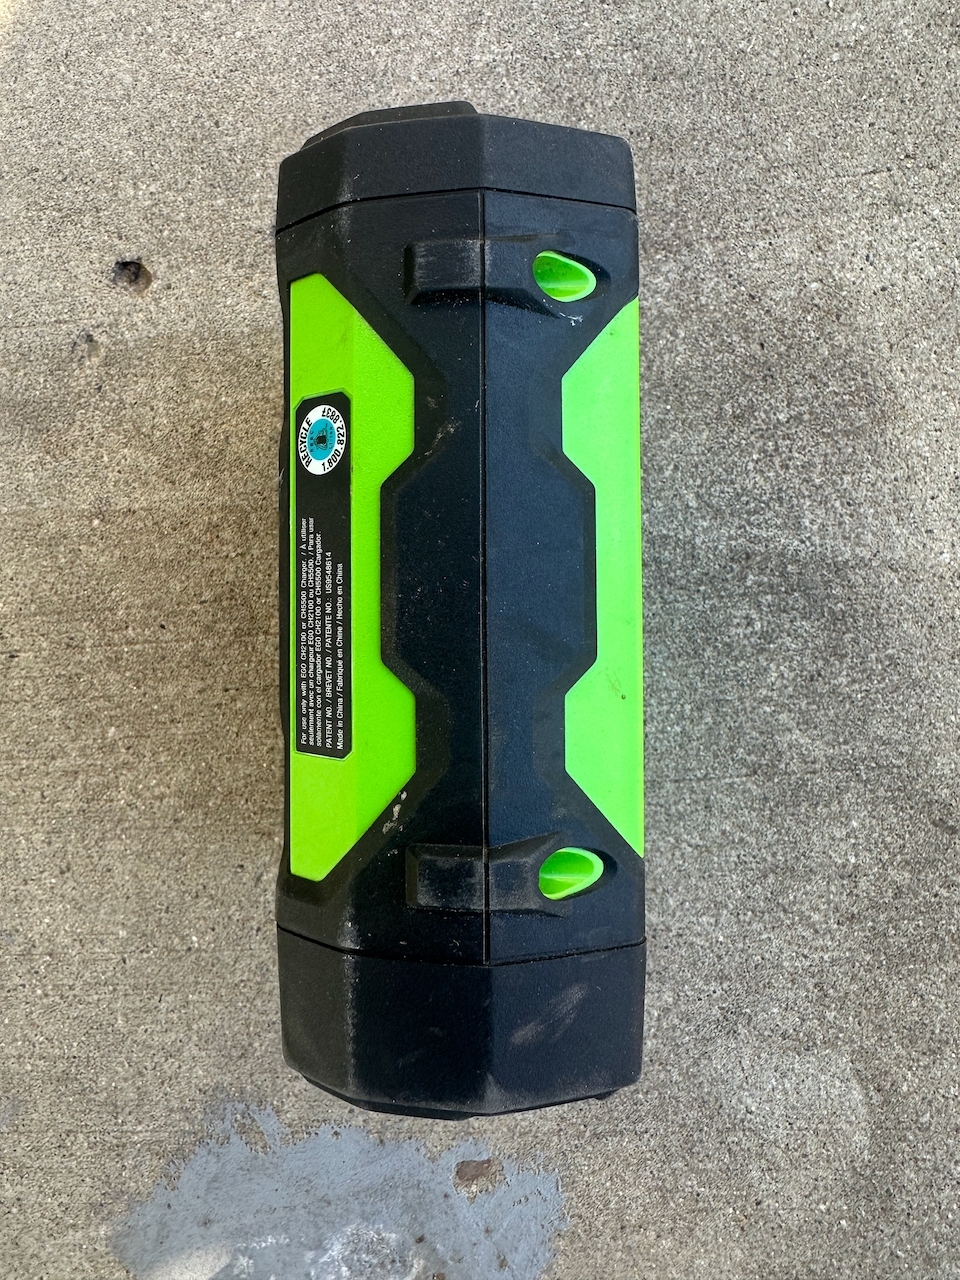
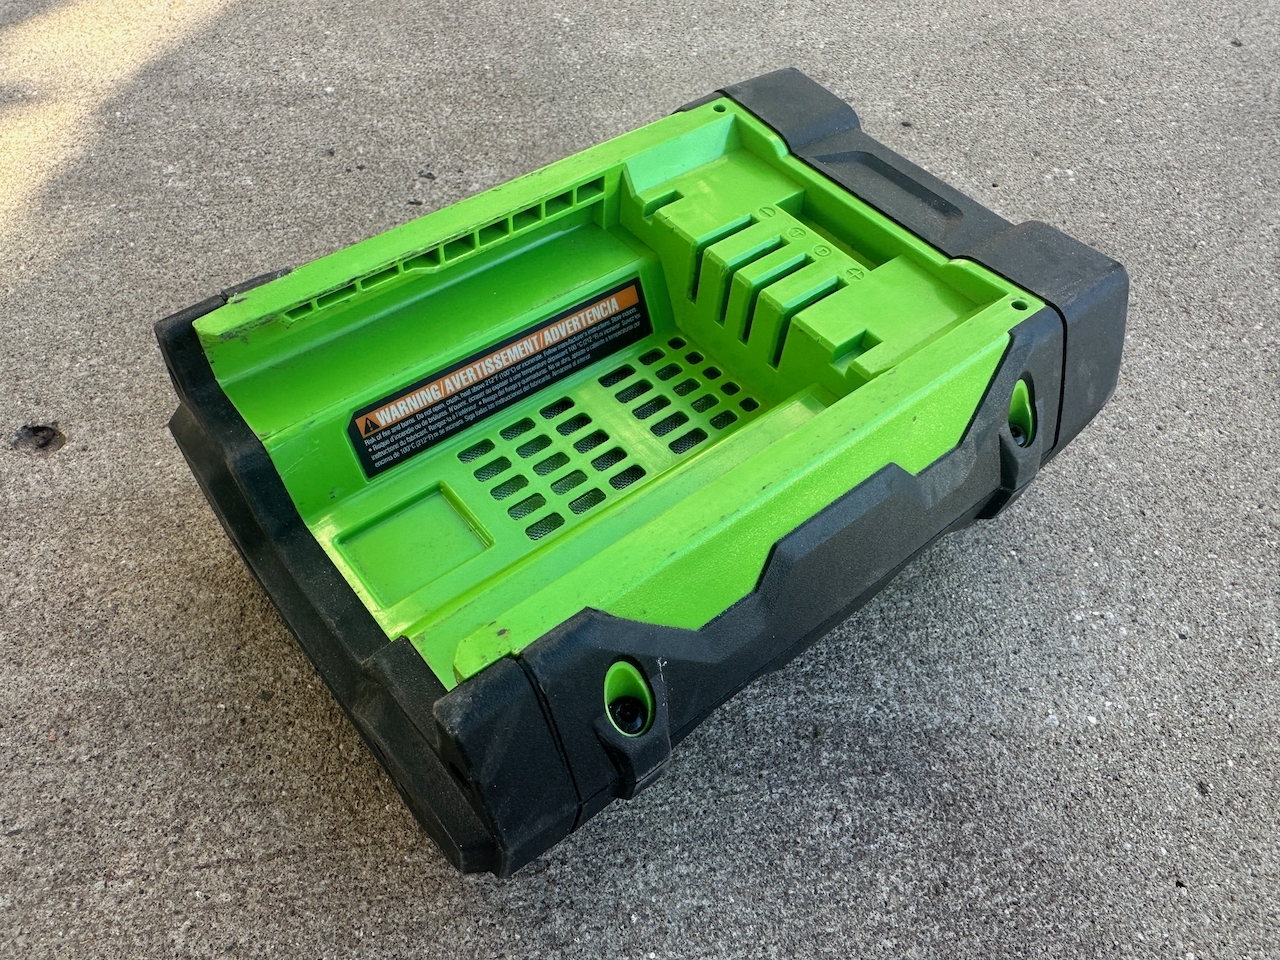
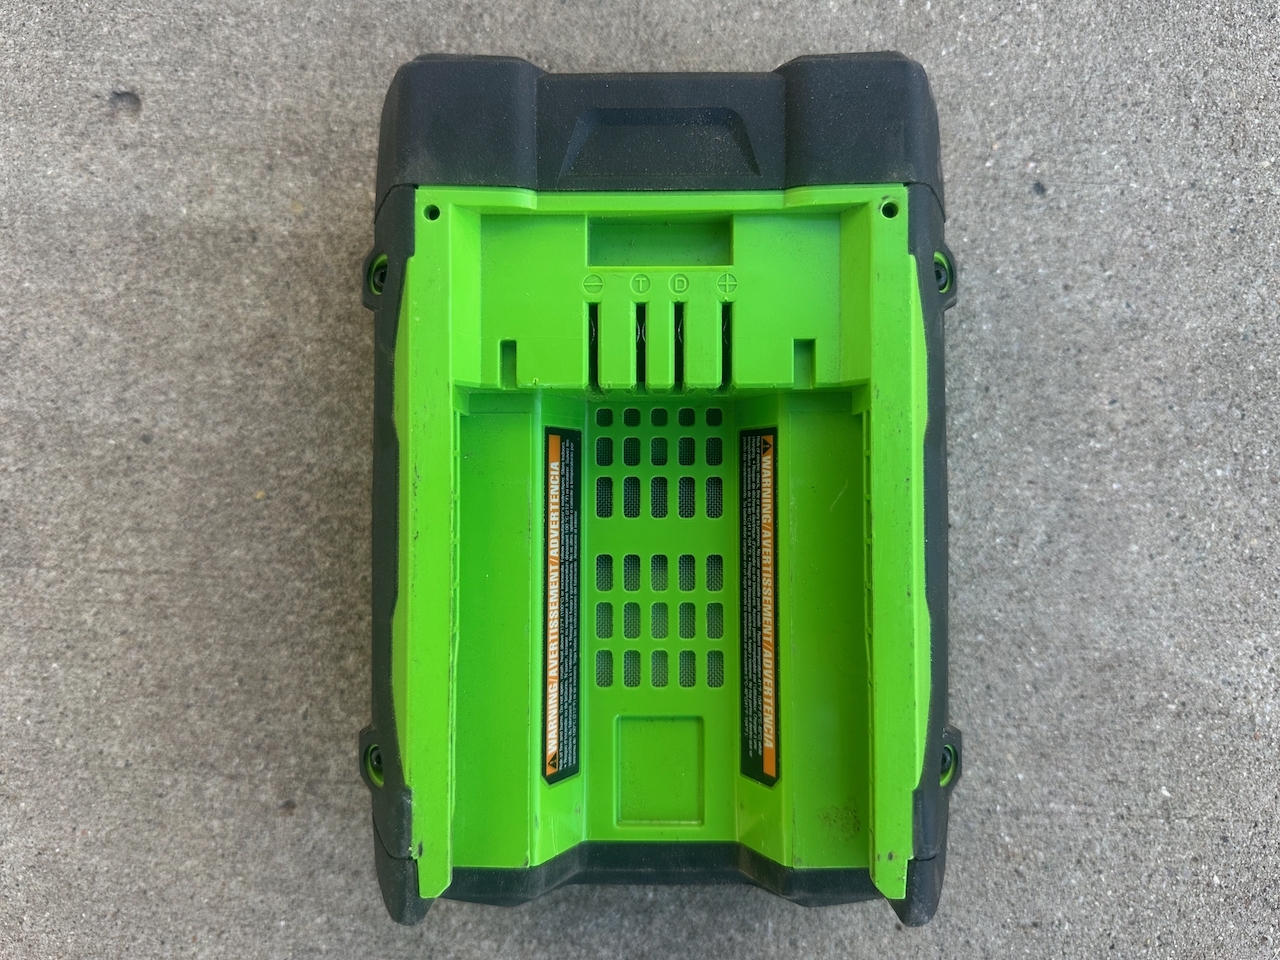
    Batteries take all sizes and shapes, but I think this one looks like something out of a sci-fi movie—a chunky style, with the classic 45-degree sci-fi angles. It should be super fun to model! 
    IMG_9468.jpeg

    IMG_9463.jpeg

    IMG_9461.jpeg

    IMG_9460.jpeg

    IMG_9467.jpeg

    IMG_9469.jpeg

    IMG_9464.jpeg

    IMG_9465.jpeg

    IMG_9470.jpeg

    IMG_9462.jpeg

    #90436
    Omar Domenech
    Participant

      Exactly the type of object the Hard Ops addon was made for. With that addon a 1 week modeling session turn into a 3 hour one.

      #90437
      Leo
      Participant

        OHHH YES.

        Thats something for me. I’m in

        #90438
        Leo
        Participant

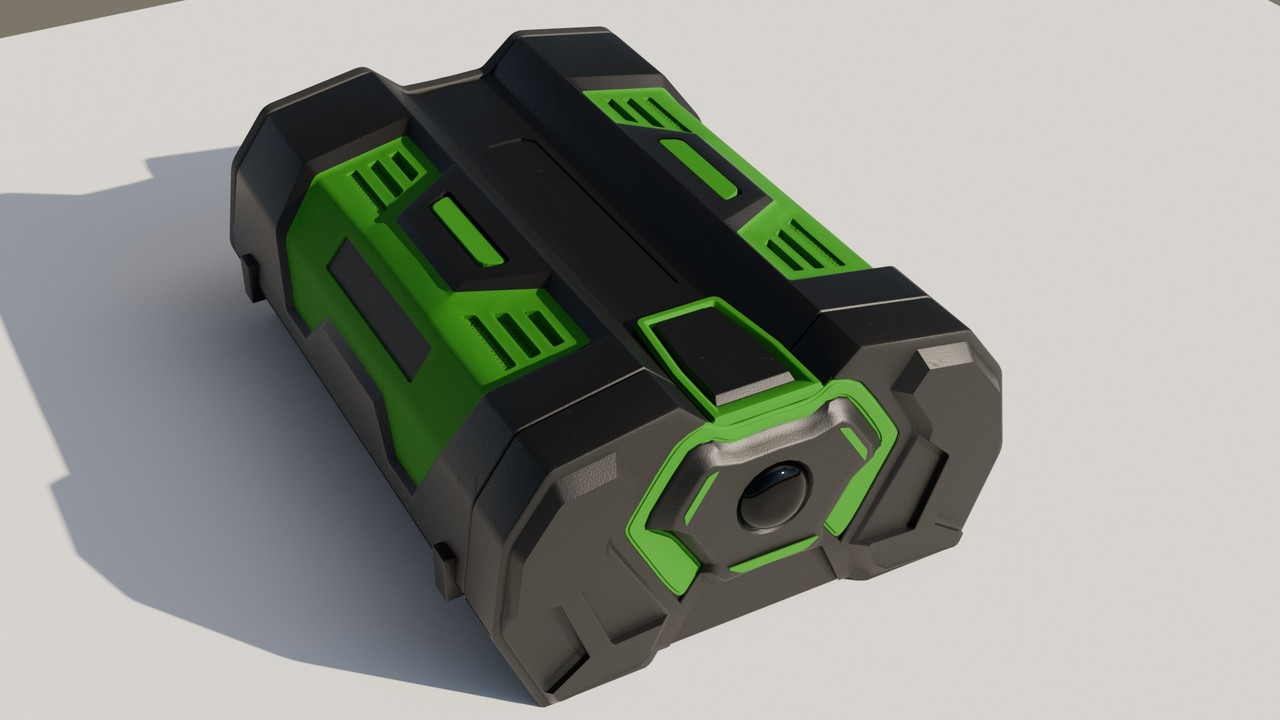
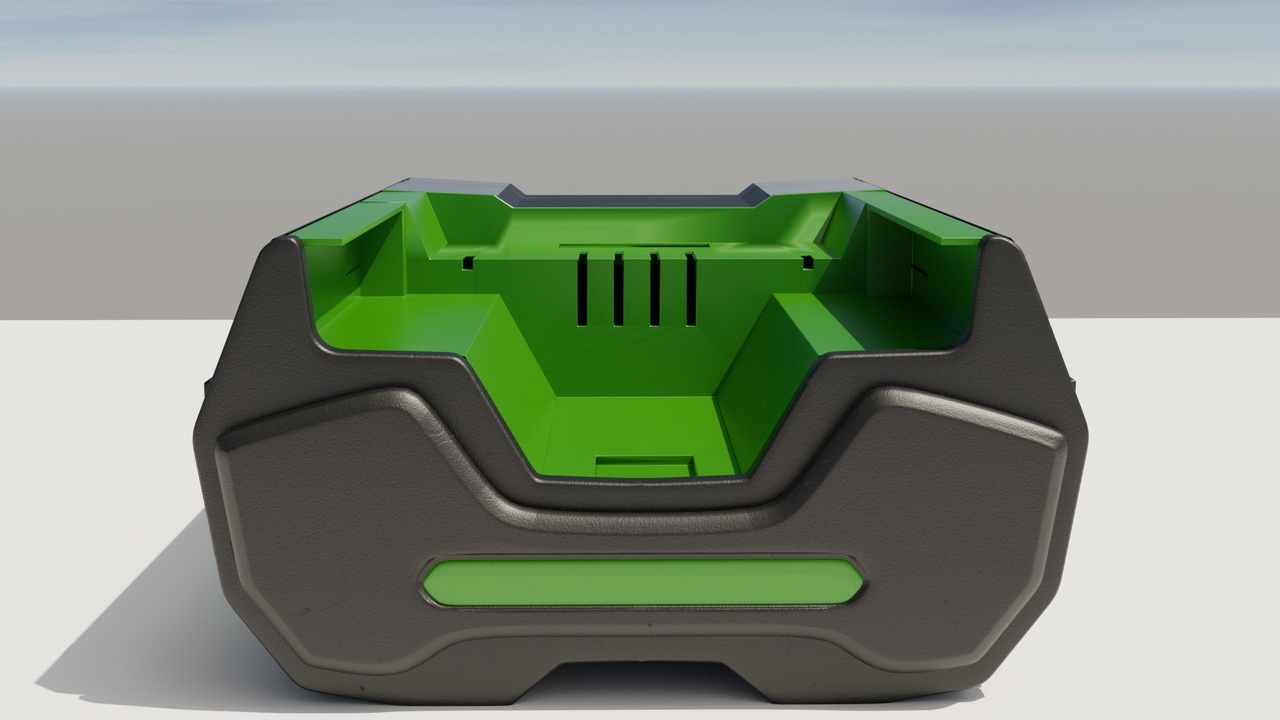
          I don’t think it will get any better with my current skill level. Some parts are not well developed or are missing but I have certainly invested over 20 hours but topology is still a big issue for me. Practice practice practice is the motto. That’s why it’s good that I did this here.

          I’ve been looking at this battery for the last 5 days. I need to get it out of my head 🙂

          But it’s good that it was “harder” (for me). After all, you only learn in these moments 

          battery.jpg

          battery1.jpg

          battery2.jpg

          #90439
          Omar Domenech
          Participant

            It’s quite good Leo, that’s a hard piece to model. You surely leveled up a bunch tackling this.

            #90440
            Derek Chestnut
            Participant

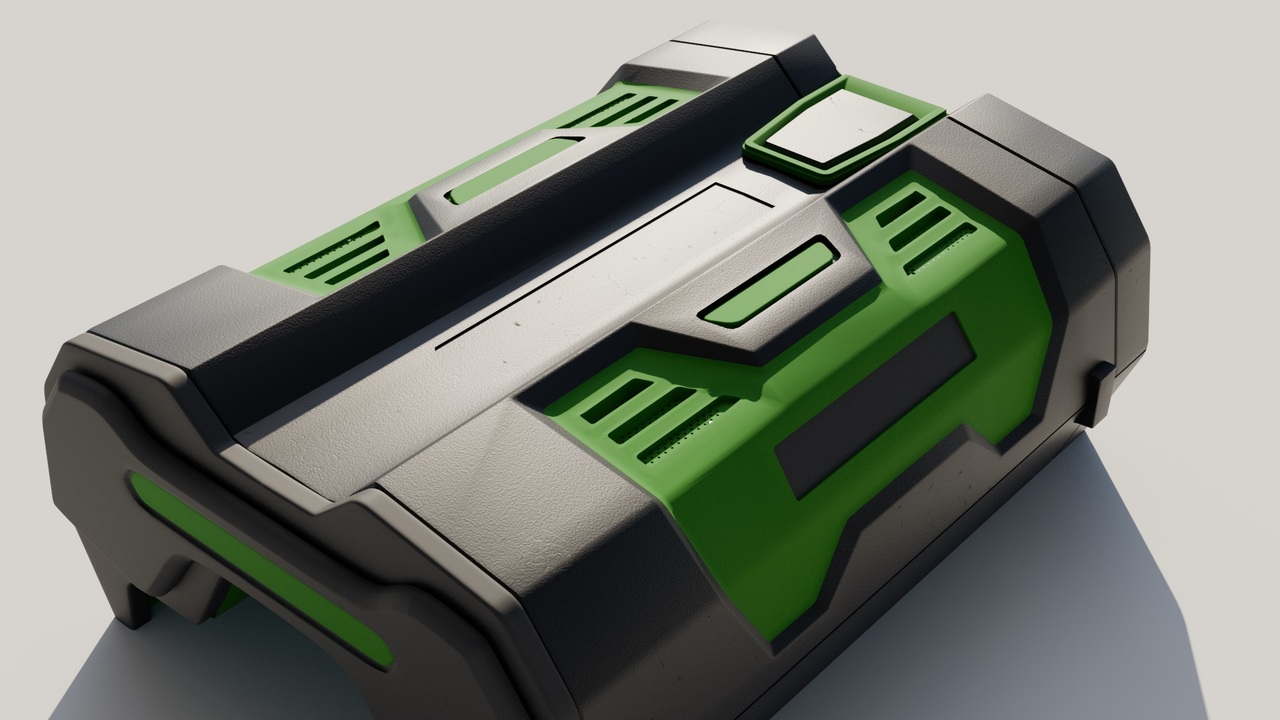
              I agree. This is a noteworthy piece. I particularly like the matte black material you used; it looks like you implemented a bump map node to give it some texture? Also, did you make use of a mirror modifier to get some of the work for free?

              #90441
              Leo
              Participant

                yes i used a mirror modifier and hardops. That helps a lot but I added a lot of vertices and cut the mesh manually. And as I said, I still don’t know how to build the mesh when I have so many outer curves and cuts BUT I have now bought an external course for it. I hope that I will know better soon. What I also find by far the most difficult is to estimate the proportions correctly. I look at the picture from the front, build the model and when I look at the picture from the side, the parts look a bit different in shape or longer.

                but thanks for the kind words, though.

                #90442
                Derek Chestnut
                Participant

                  how did you approach the overall design? did you try to model the entire thing as a single object, or did you model the body and shell components as separate pieces?

                  #90443
                  Leo
                  Participant

                    yes, I always try to make it as single object but here there are 3 objects (the main object, the back and the green underside)
                    I created the basic shape and then made the big cuts on the sides. I had mirrored the back with the front, I applied it, which was not very smart because I later saw that the back part is a bit narrower than the front. That’s why the back became an extra obect.
                    But that’s what I mean. Have a look at picture 1 and then picture 4, picture 5 because of the back. It looks very narrow in picture 1 but not in the others. So pictures can deceive you

                    #90444
                    John McMahon
                    Participant

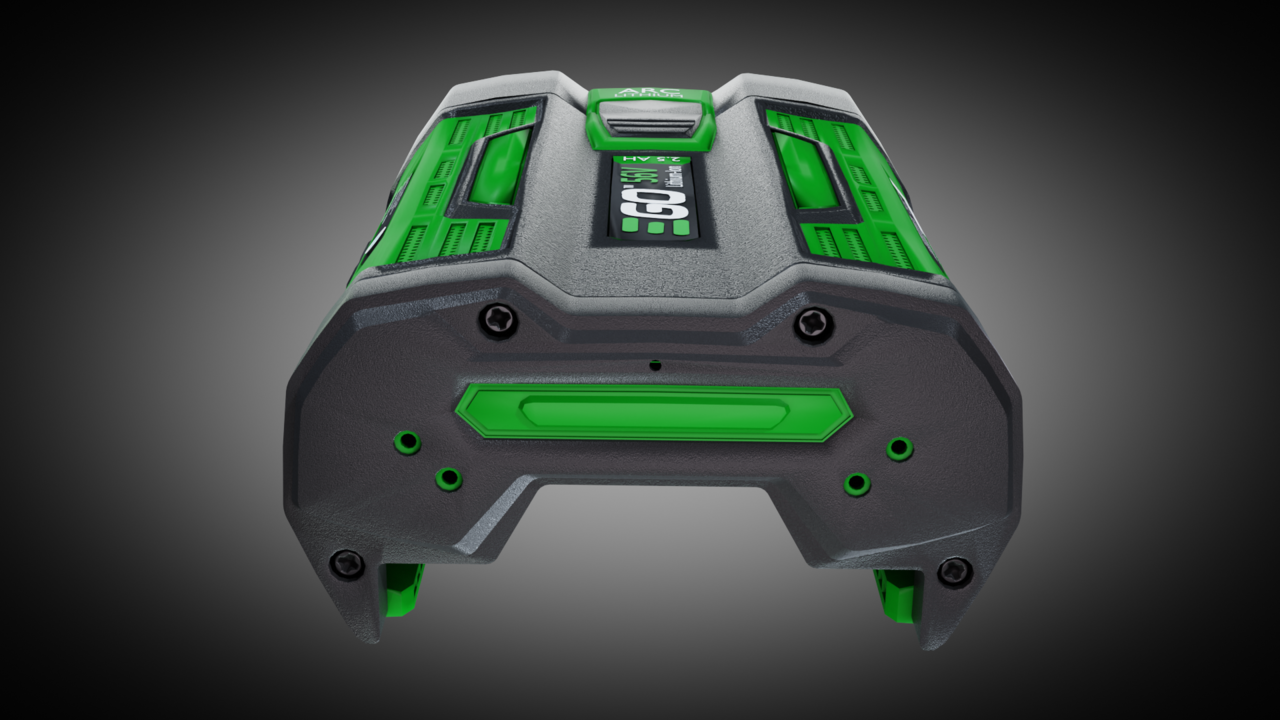
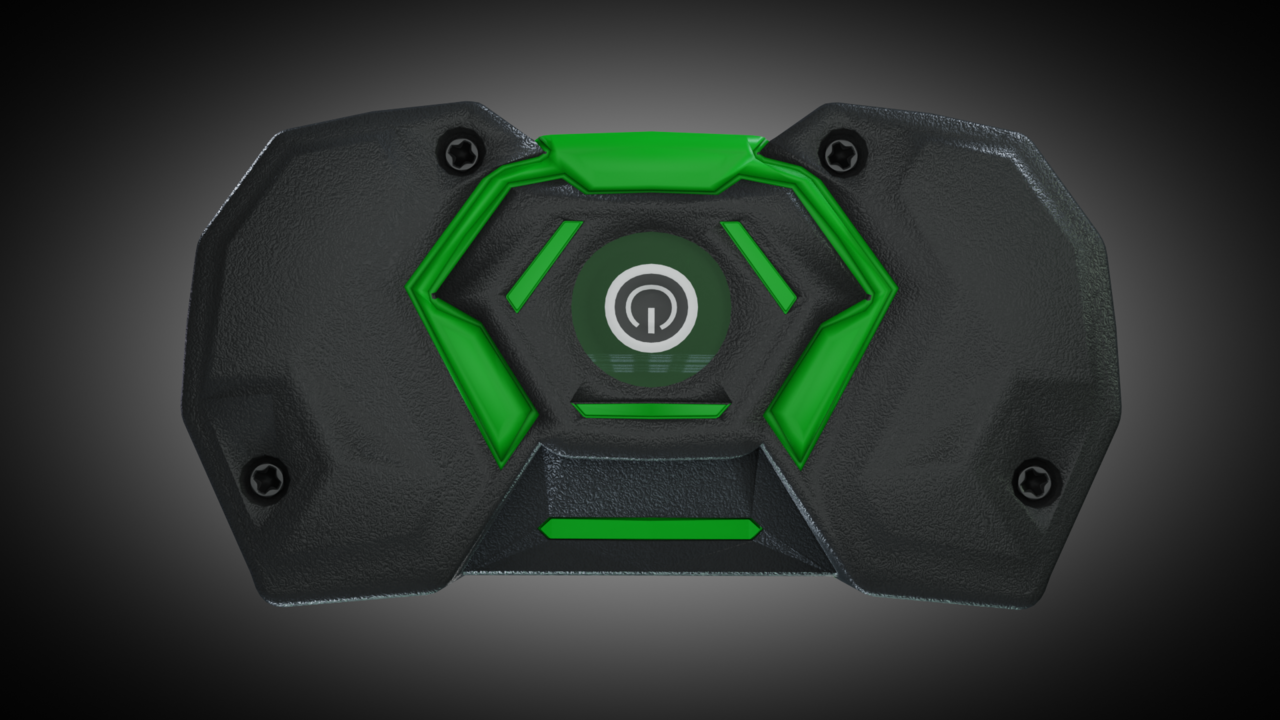
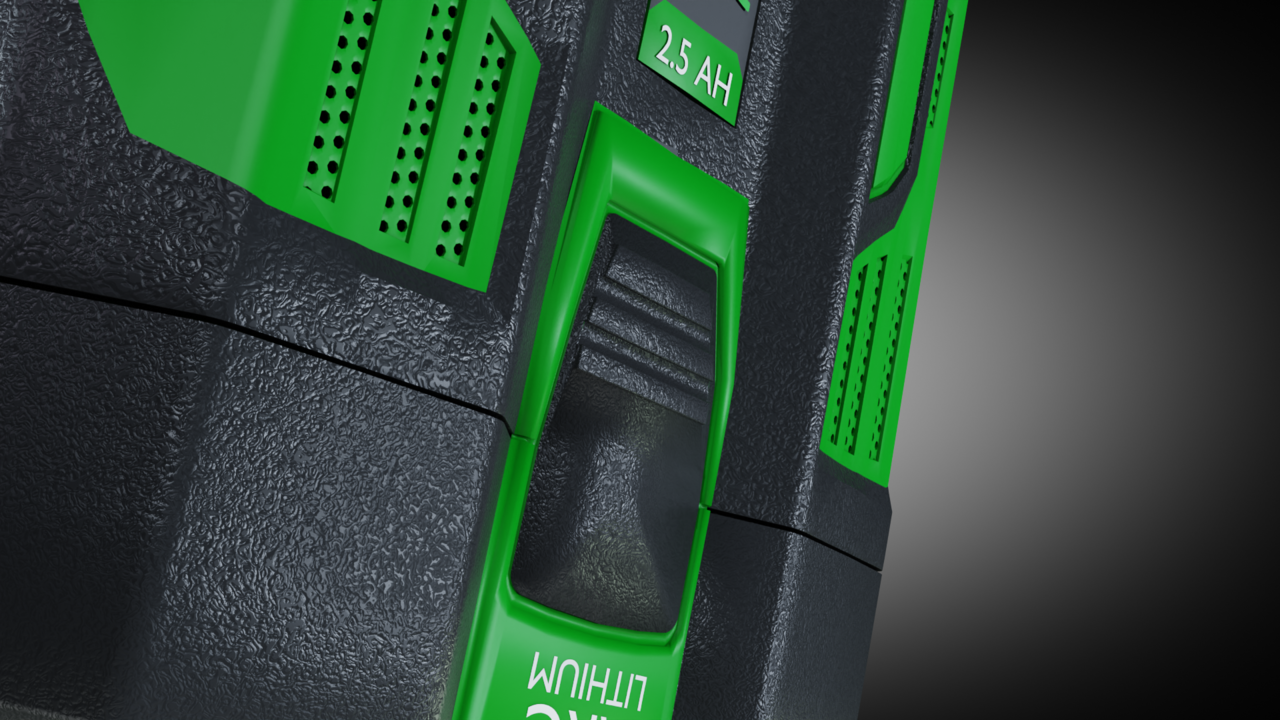
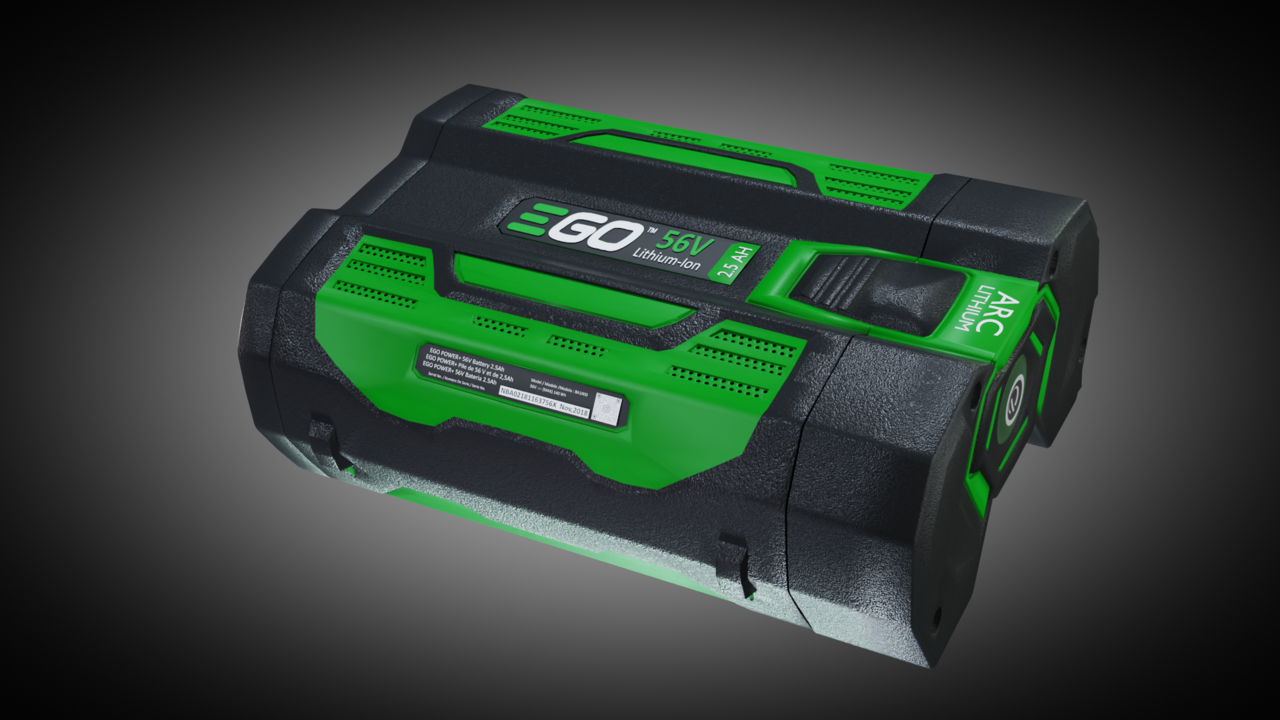
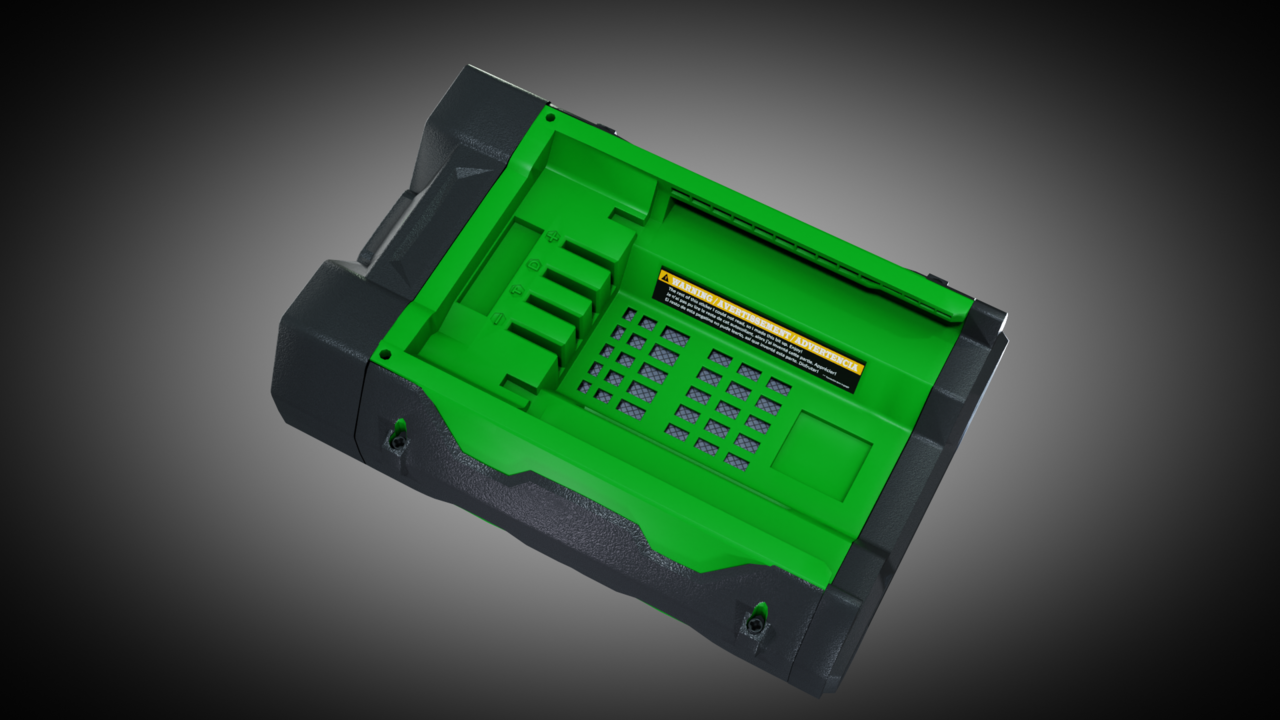
                      When I first saw this challenge, I thought it would be too hard and take way longer than the weekend. Then I got inspired by Leo having a go, so I gave it a go. I was right that it was way hard and challenged me lots. Also took way longer than 1 weekend, lol. Having said all that I am very pleased with the result and that I did not have to google ‘How to’ anything!

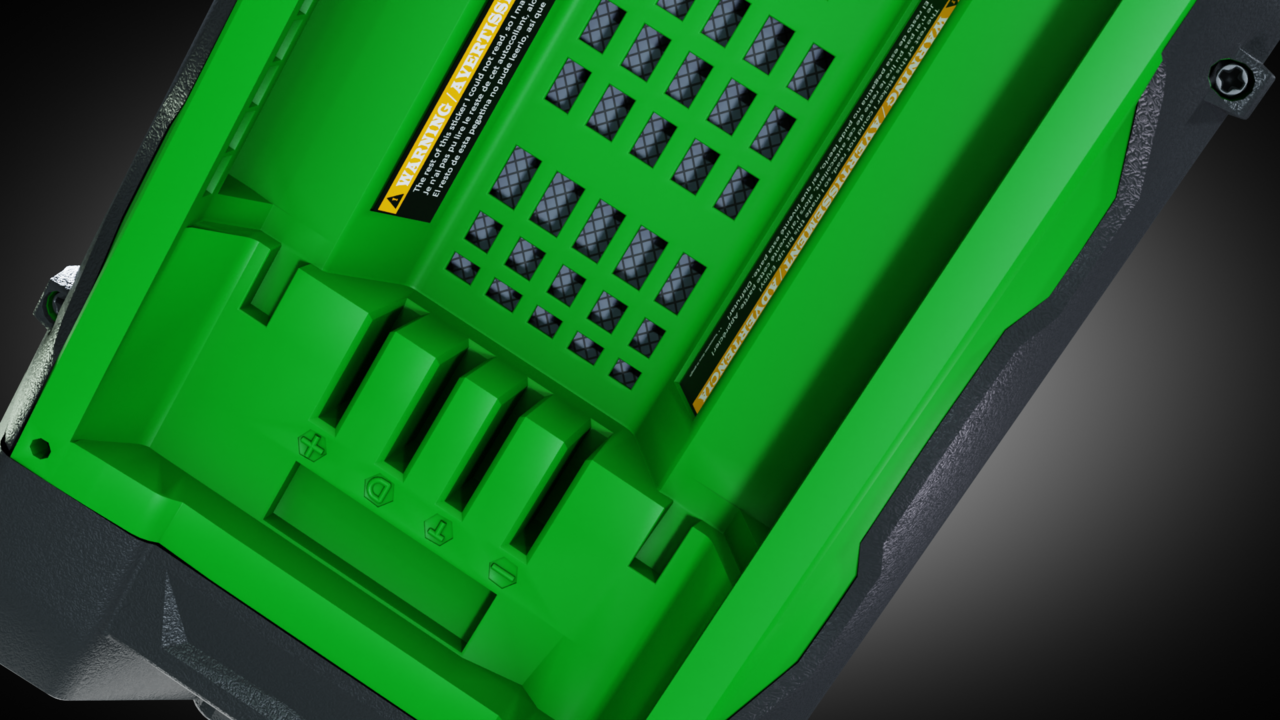
                      I started with a single vertex, extruded and traced the outlines of an end. This defined the main shape to build the other main parts. Both Ends are single objects. The inside green bit is a single object. The little labels on the connection slots are made from 6 cylinders and 1 torus. The front piece is mostly 1 object. Other parts include 12 screw heads, 5 stickers, and 3 text objects.

                      I could read the 2 side stickers but could not read the inside pair. They have text in English, French and Spanish.
                      Final Battery_1.png

                      Final Battery_4a.png

                      Final Battery_2.png

                      Final Battery_3.png

                      Final Battery_7.png

                      xFinal Battery_9.png

                    Viewing 10 posts - 1 through 10 (of 10 total)
                    • The topic ‘Freshly Baked Modeling Challenge 19 – EGO Battery’ is closed to new replies.