
Derek’s Polybook | CORE | Fundamentals of 3D Mesh Modeling in Blender
Forum Archive › Derek’s Polybook | CORE | Fundamentals of 3D Mesh Modeling in Blender
- This topic has 29 replies, 3 voices, and was last updated 1 year, 10 months ago by
Martin Bergwerf.
-
AuthorPosts
-
October 10, 2024 at 12:20 pm #18934
I’ll be using this thread to share the content I produce while attending CORE | Fundamentals of 3D Mesh Modeling in Blender.
The project is here; use that link to visit the project’s web page here at CG Cookie to see the content rendered in Full HD and to inspect the models for critique. I’d appreciate help identifying any weakness(es) in my skill set, if you find them.
Following along with the course as instructed, here is the content produced during the first lesson:
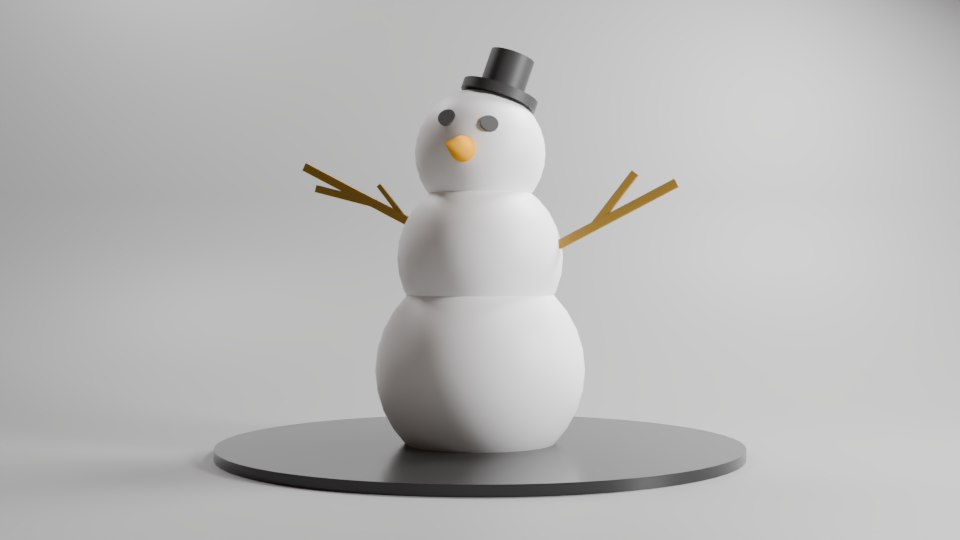
03 | Modeling a Snowman with Primitives
 October 10, 2024 at 12:35 pm #90213
Wow great render. Not only a cute snowman but the presentation is very artistic. Nice job Derek 🤘🏻
October 10, 2024 at 1:50 pm #90214I had the benefit of attending PRESS START | Your Simple First Blender Project before beginning this course; it’s recommended as a direct follow up to Blender Basics.
I was introduced to rendering in that course, so I did have a basic idea of how to arrange this scene for rendering.
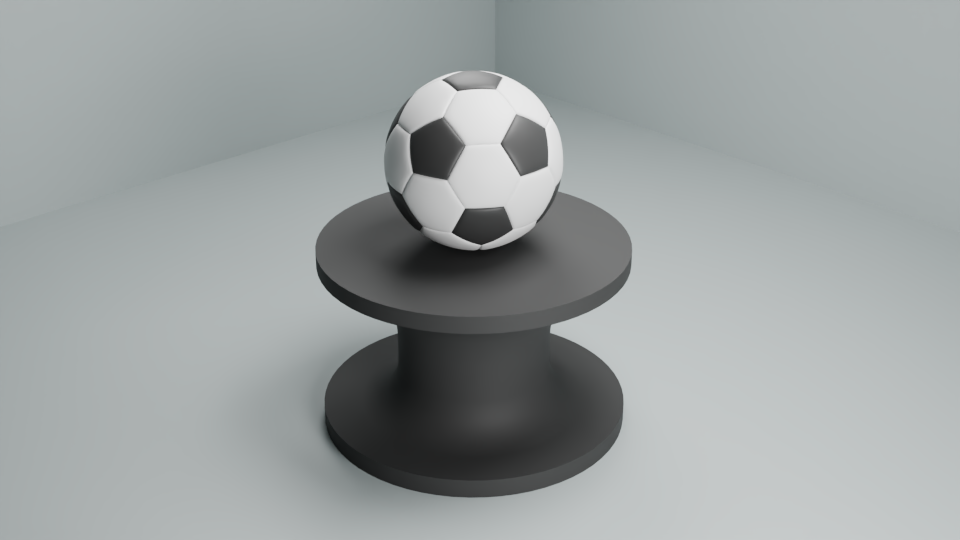
October 10, 2024 at 6:09 pm #90215Wrapping up the next lesson, here are the results for:
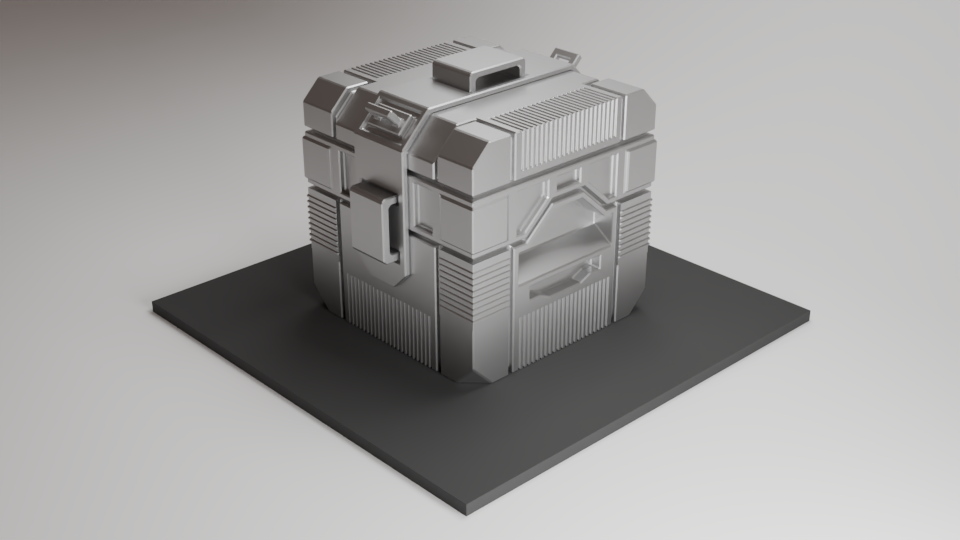
** Once again, use the link provided in the opening thread if you’d like to inspect the model.
October 10, 2024 at 9:34 pm #90216October 11, 2024 at 1:39 am #90217Excellent Crate Derek! And a great presentation as well👍🏼
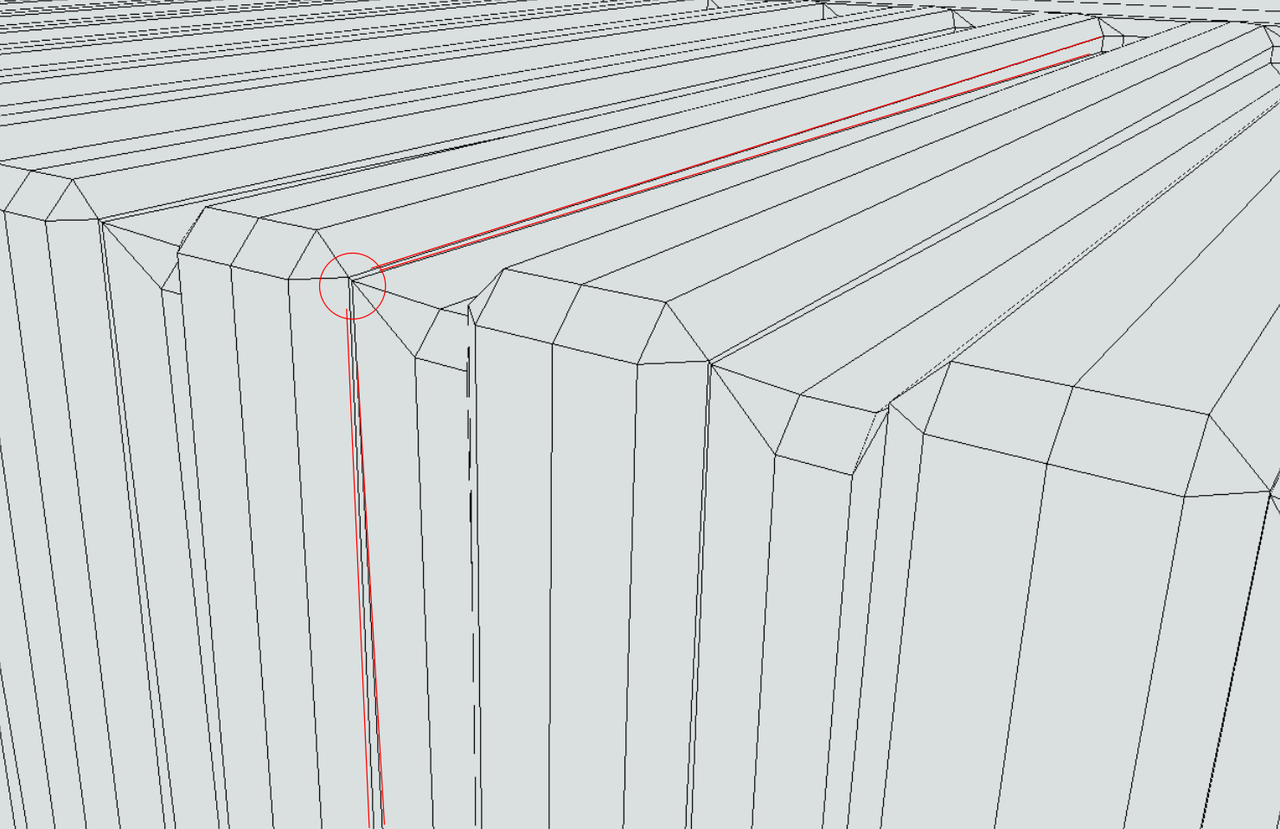
The only thing I noticed, and this is really nitpicking and absolutely nothing that would need to be changed, is that this seems to be unintentional (I’d expect parallel Edges there, not converging):
The Ball is perfect and again, a great presentation!
October 11, 2024 at 6:33 am #90218So that must have happened then during the bumper extrusion, maybe? what type of action(s) result in this type of error?
edit:
So I just inspected the wireframe to get a better look at what is going on, and I don’t think it’s an actual topology error, because all of the bevels have the same number of edges; I think the operation just smushed the edges close enough together that it looks a little off to the human eye; a little bit of manual cleanup via edge spacing and I think this problem can be resolved?
October 11, 2024 at 7:04 am #90219It could be cleaned up manually, but I wouldn’t be bothered if I were you; it’s not really an error or a problem, just something to keep an eye out for in the future (doesn’t mean, that this will happen again, of course, I don’t remember having seen it before…)
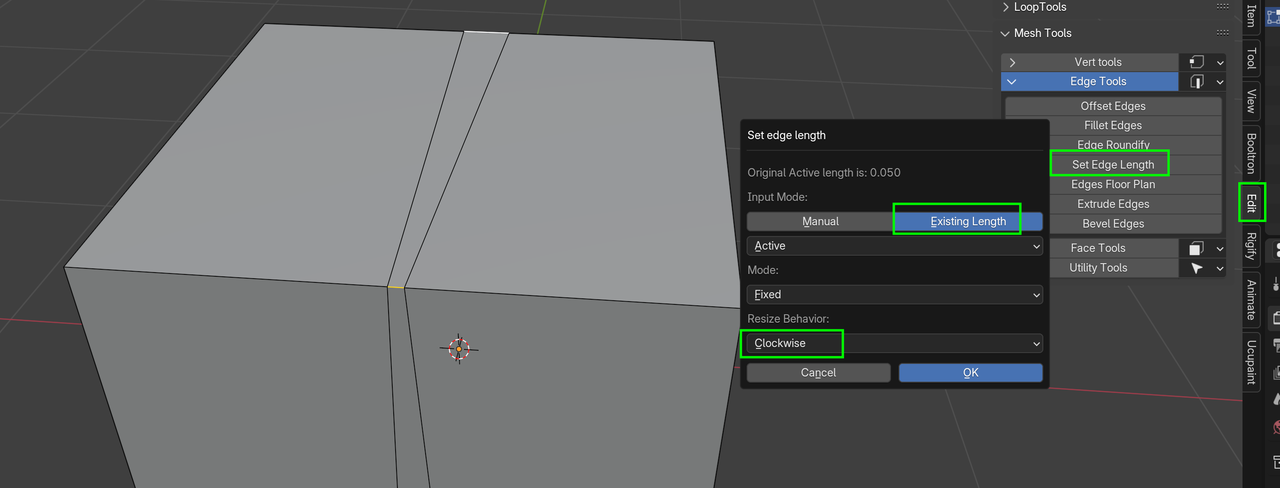
For a ‘fix’:
If you enable (install?) the Edit Mesh Tools Addon, you can set the Edge Length of the smaller Edges to be the same as (one of) those longer ones, for instance…something like this, maybe:
 October 11, 2024 at 8:17 am #90220
I haven’t gotten into using add-ons quite yet, but I’ll jot the name of that one down in my notes as one to experiment with when I do.
I appreciate your taking the time to provide input!
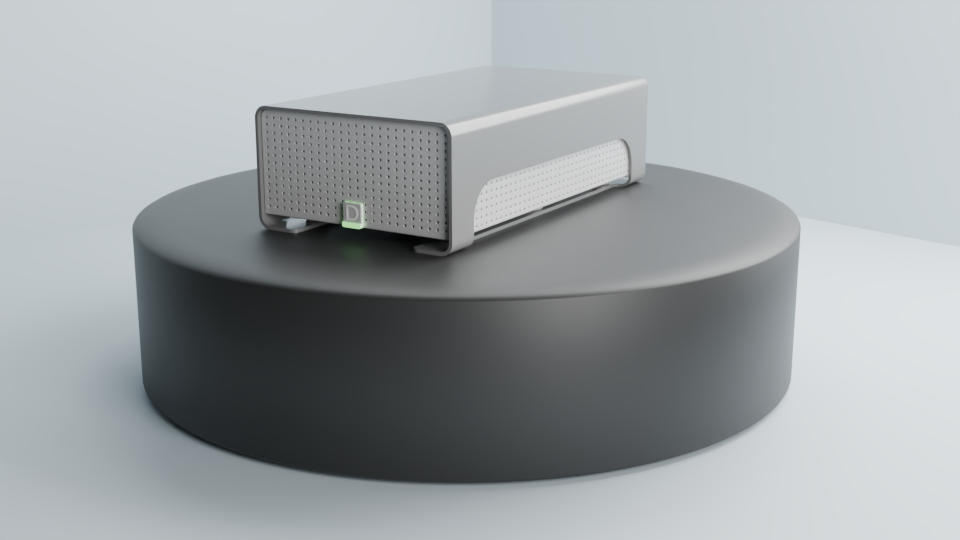
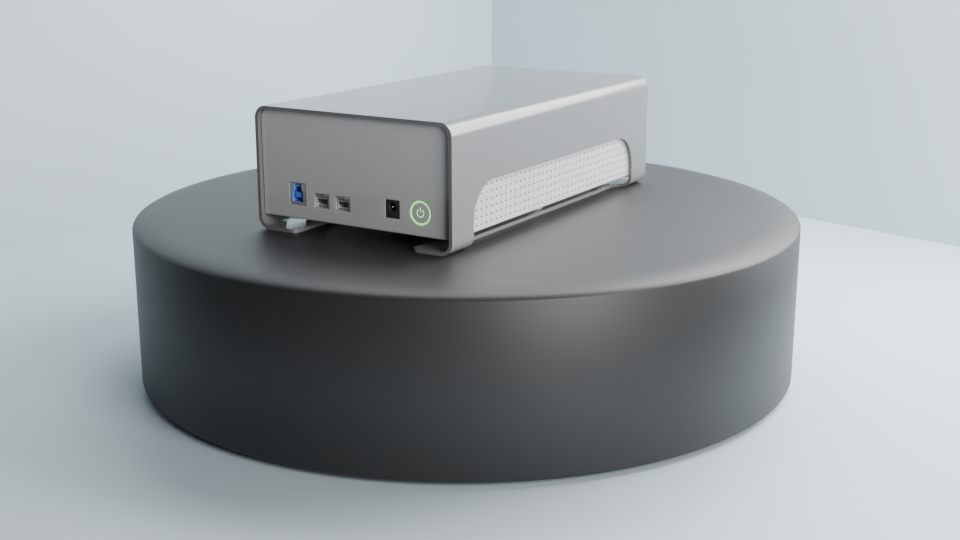
October 13, 2024 at 11:40 am #90221October 13, 2024 at 2:34 pm #90222Daaaangs, great presentation. Love the white balanced lighting here. Super good job Derek 🤘
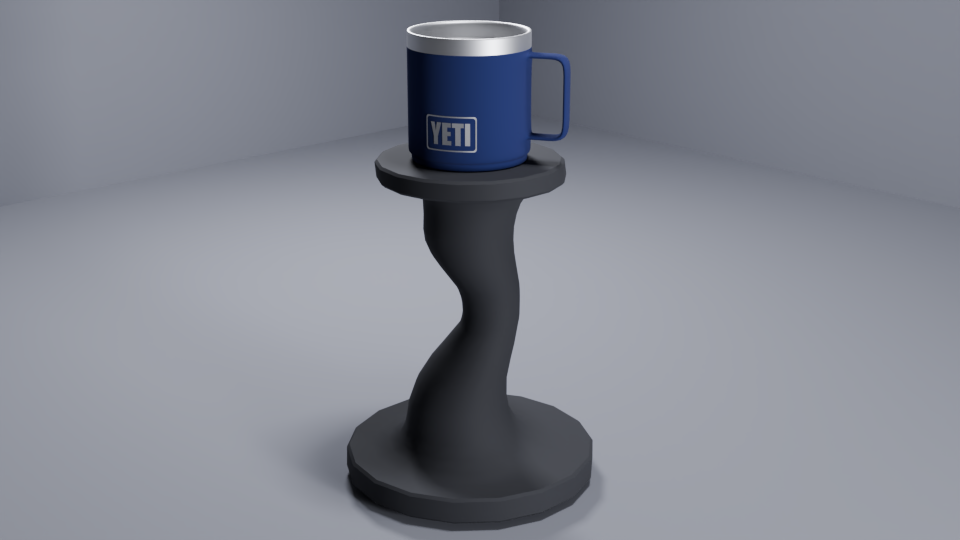
October 14, 2024 at 1:52 am #90223October 14, 2024 at 3:08 am #90224Love the pedestal!
But wait…the logo is geometry??? That would explain why you had so much trouble to get it wrapped correctly; super impressive!
October 14, 2024 at 9:49 am #90225Yeah, the logo is geometry; it is made of a text object converted into a mesh and joined with the frame.
I kept running into problems though when it was time to wrap it around the coffee cup, and I wasted so much time making tiny mistakes on things that I either have a knowledge gap on, or operations I haven’t cemented in my skill set yet; I began to get very frustrated, because I had the right idea from the start, but I was missing something each time I tried the operation, until finally, I learned all of the little tricks.
It took hours and I started to get disgusted with how much time I was wasting just failing and failing and failing…
In the end, I succeeded by:
- converting the text into a mesh object.
- converting the surface of each letter into an n-gon (this was necessary to prevent lighting concerns)
- model the frame from a plane (paying careful attention to ensure it had enough geometry to distort)
- joined the two meshes into a single object
- creating a lattice object (taking care to ensure it had the proper resolution for distorting)
- parenting the logo to the lattice (the logo was a child of the lattice, not the other way around)
- adding the lattice modifier to the logo object and assigning the parent lattice object as the deformer
- utilizing a shrink-wrap modifier on the lattice object (shrink-wrapped the lattice, not the logo)
- set the logo’s shading to smooth
The whole thing was a big heaping pile of frustrating, but I’m glad to have stuck with it and learned how to utilize the lattice modifier in tandem with the shrink-wrap modifier, because this combination allows you to wrap any object around any surface, granted you’ve modeled them with enough supporting geometry.
October 14, 2024 at 11:04 am #90226Yeah, you can learn sooo much from sticking with it this way!
But for the future, in situations like this, people usually just use a Texture, either in the Cup Material itself (needs an Unwrap of the cup), or just on a Plane (with transparency), that can be Subdivided and ‘Shrinkwrapped’ (Shrunkwrapped?) on the cup.
-
AuthorPosts



- The topic ‘Derek’s Polybook | CORE | Fundamentals of 3D Mesh Modeling in Blender’ is closed to new replies.