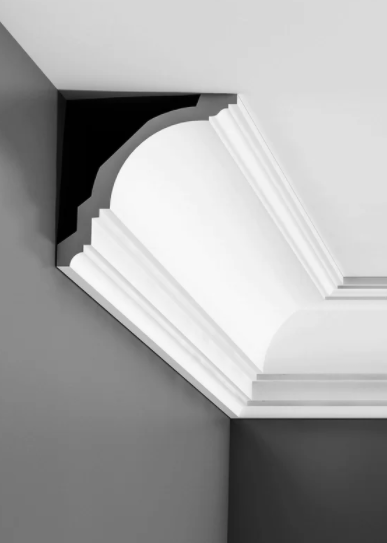
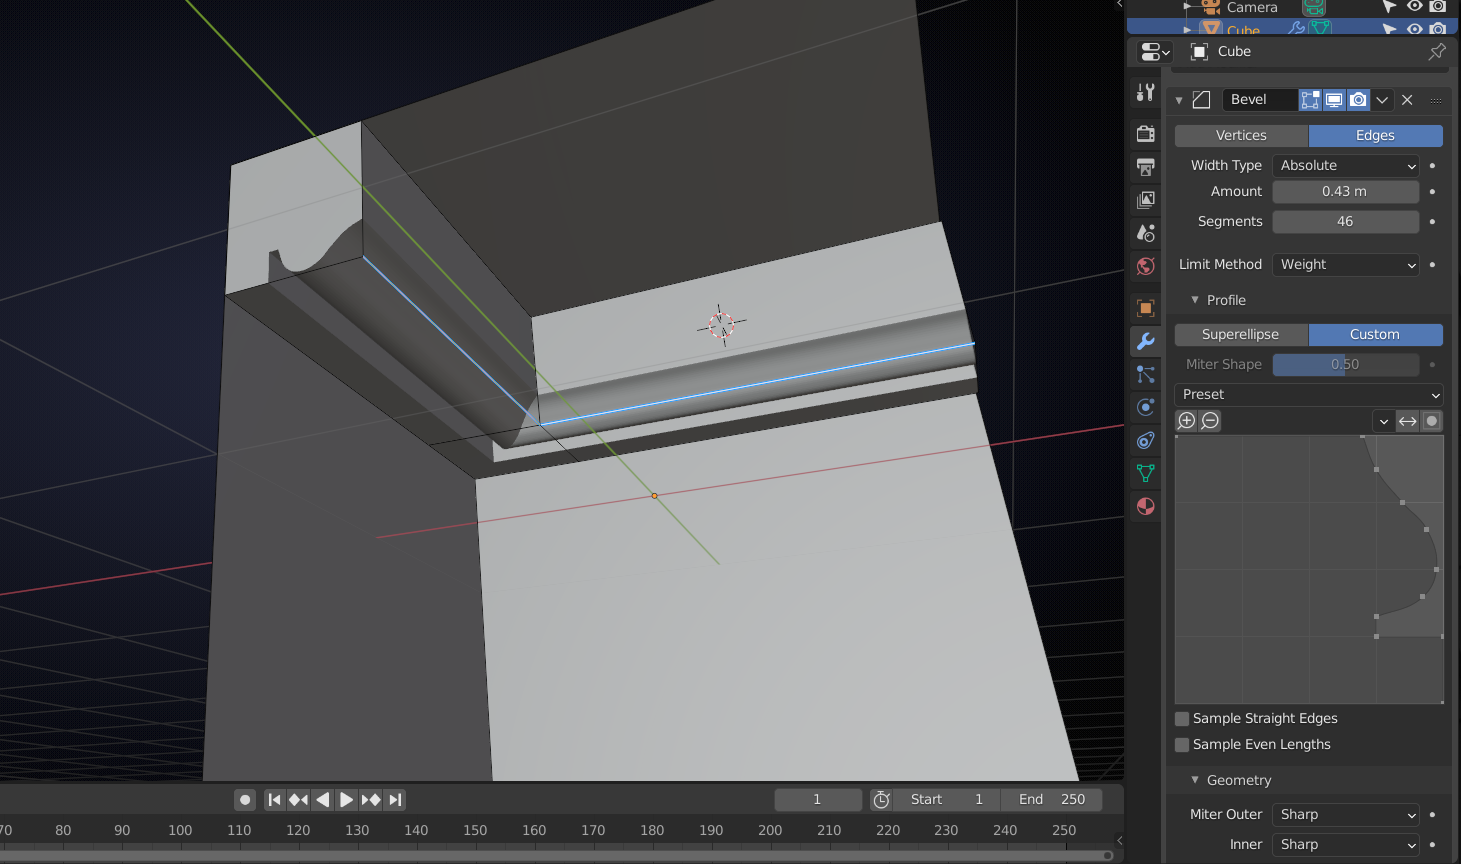
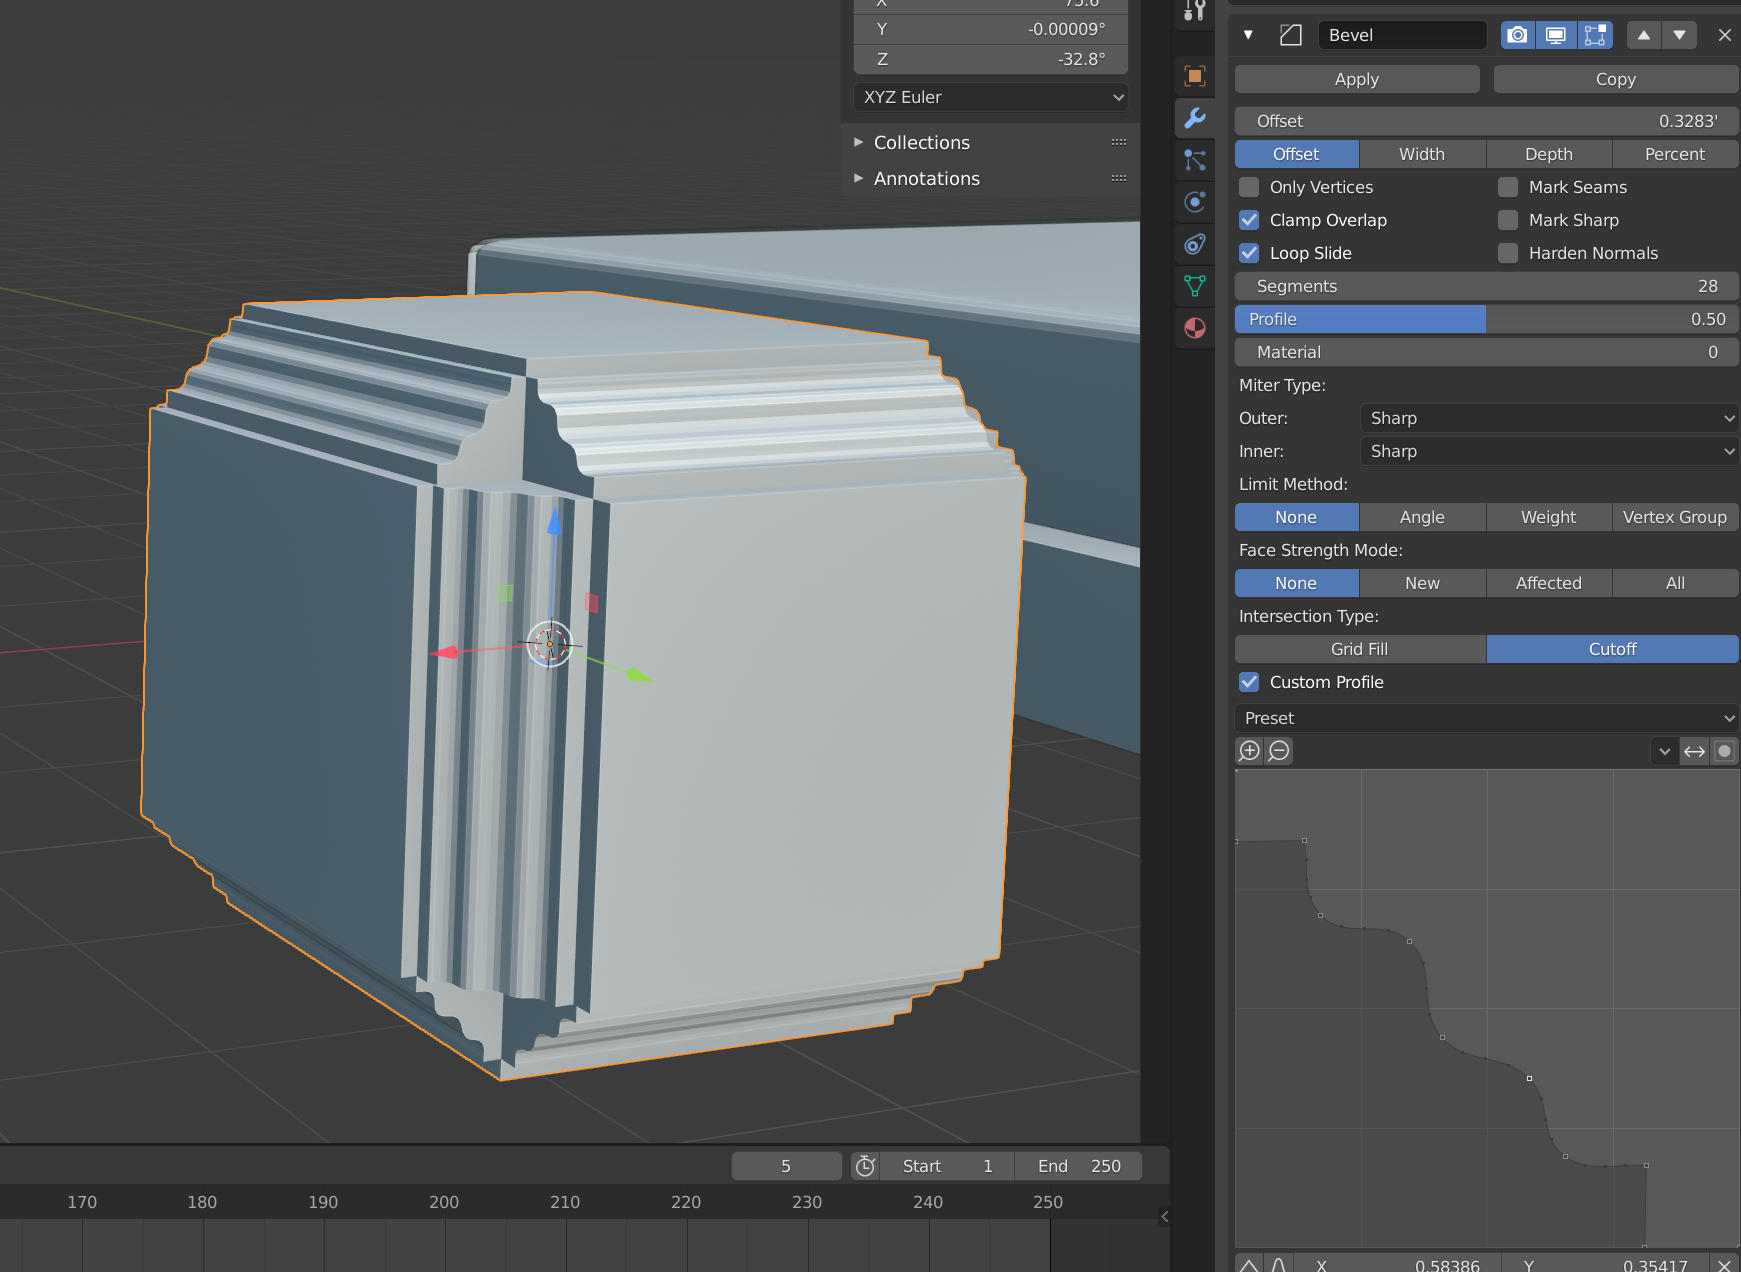
Hi (j0)²,
I do not quite understand what you were doing or what exactly you want to achieve, but:
2. to merge different Objects into one: press CTRL+J. (In Object Mode with all Objects that you want to merge selected. Make sure one of them is Active (orange outline)).
3. There are many ways to make a crown. For instance:
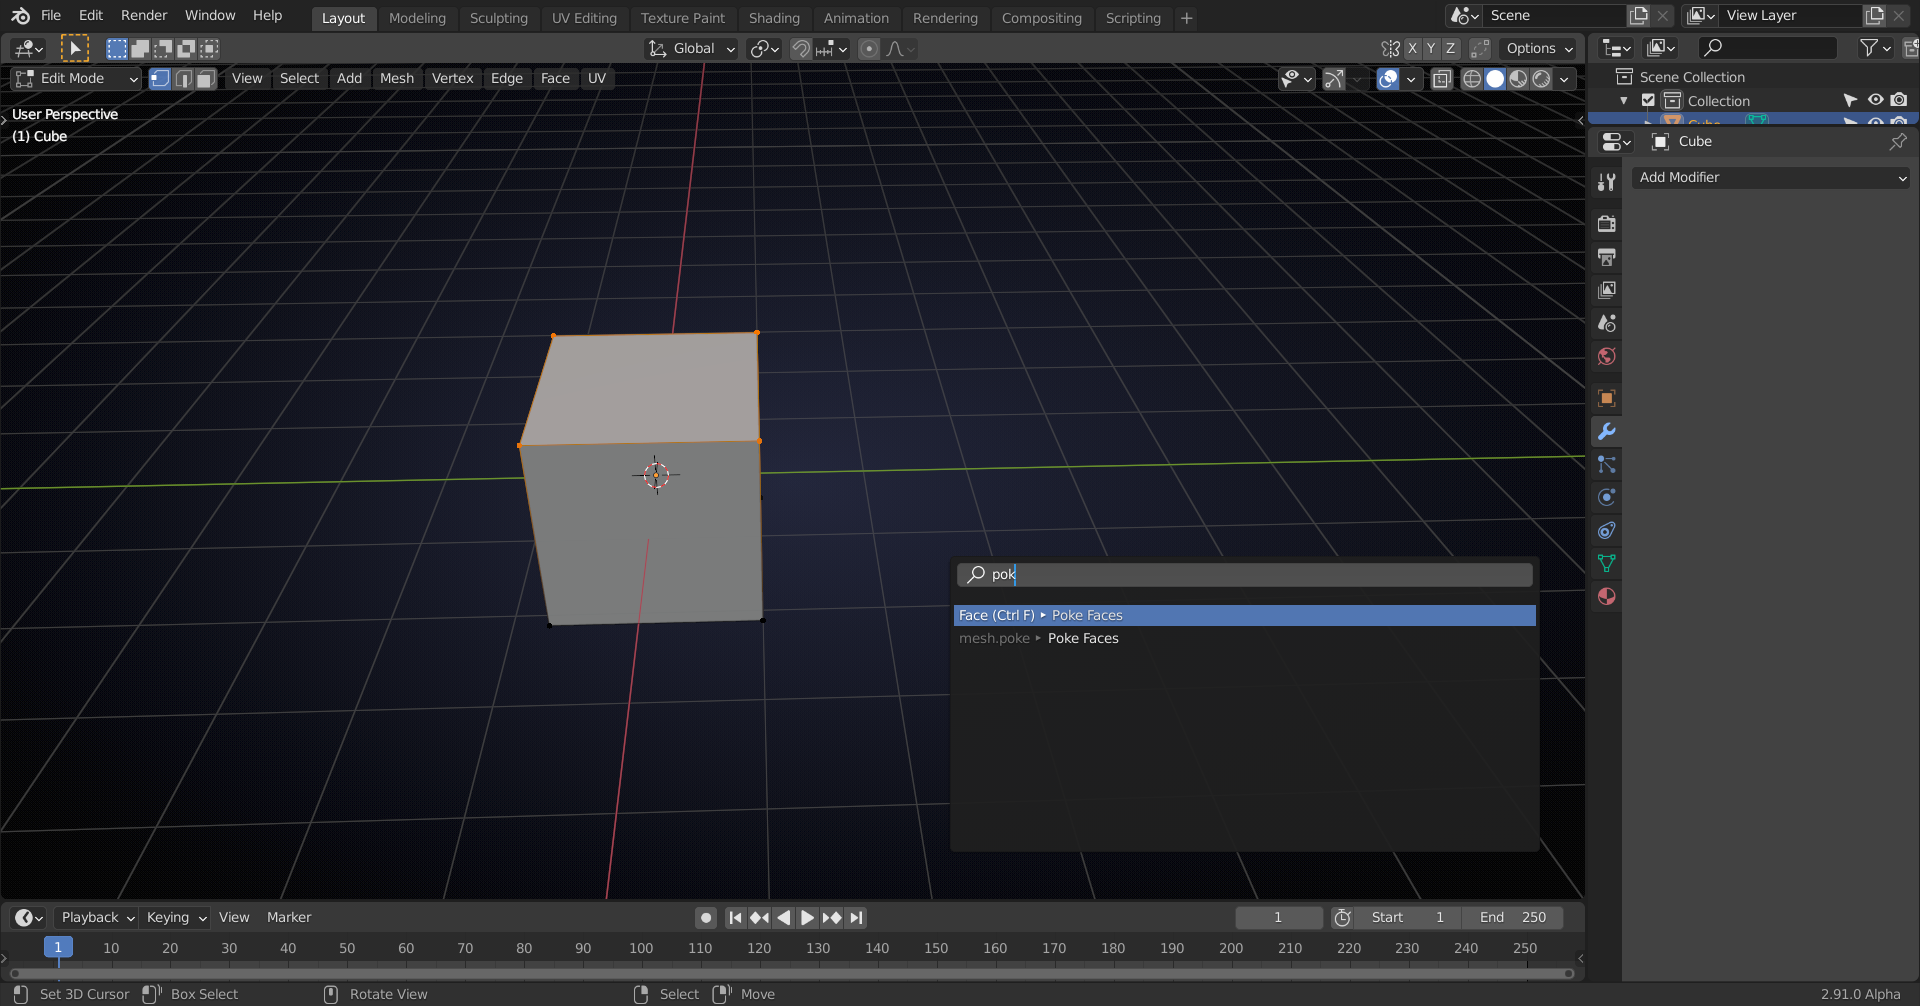
Do not delete the Default Cube! In Edit Mode select the top face and search for Poke Faces:
select the middle vertex and, with G, Z (or any other method you prefer) move it up:
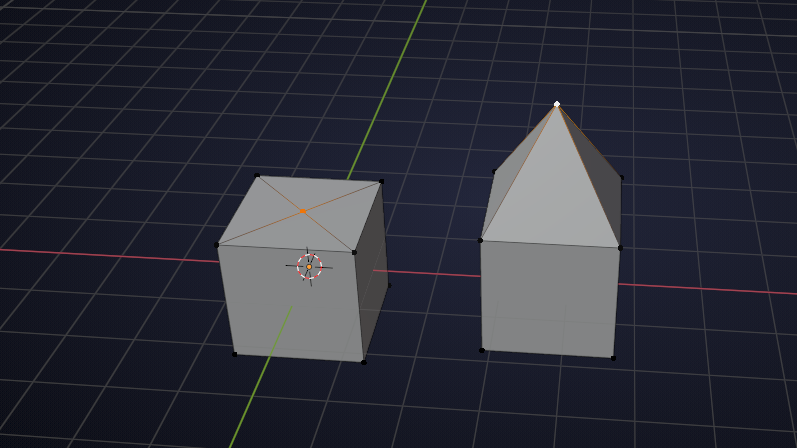
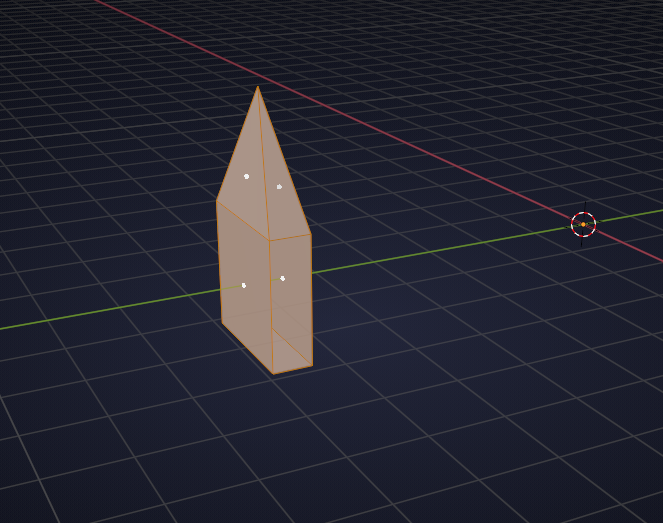
select all vertices and move them away from the center (along X-, or Y- axis, I assume Y from here on) and delete the two side faces like this:

scale in Y:
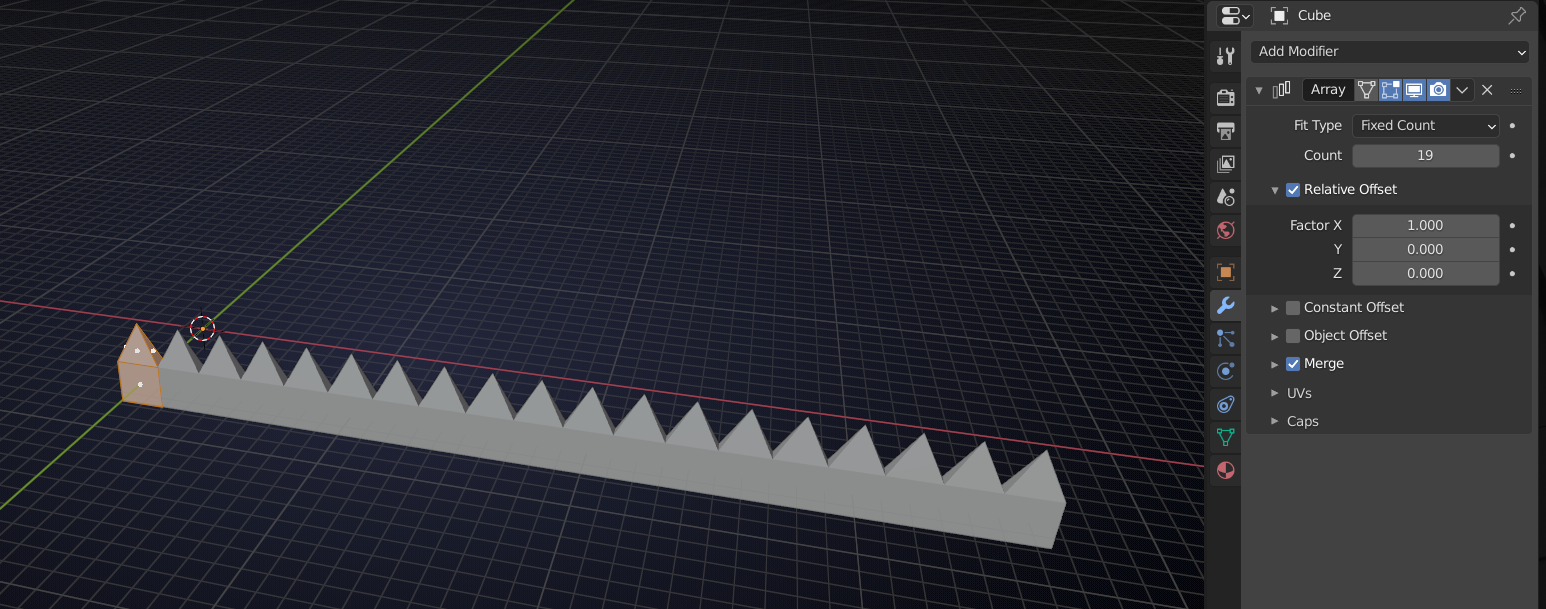
add an Array Modifier, set it to a number you like (you can still change this later…) and enable Merge:
add a Simple Deform Modifier, set it to Bend, 360° Angle and using Z-Axis: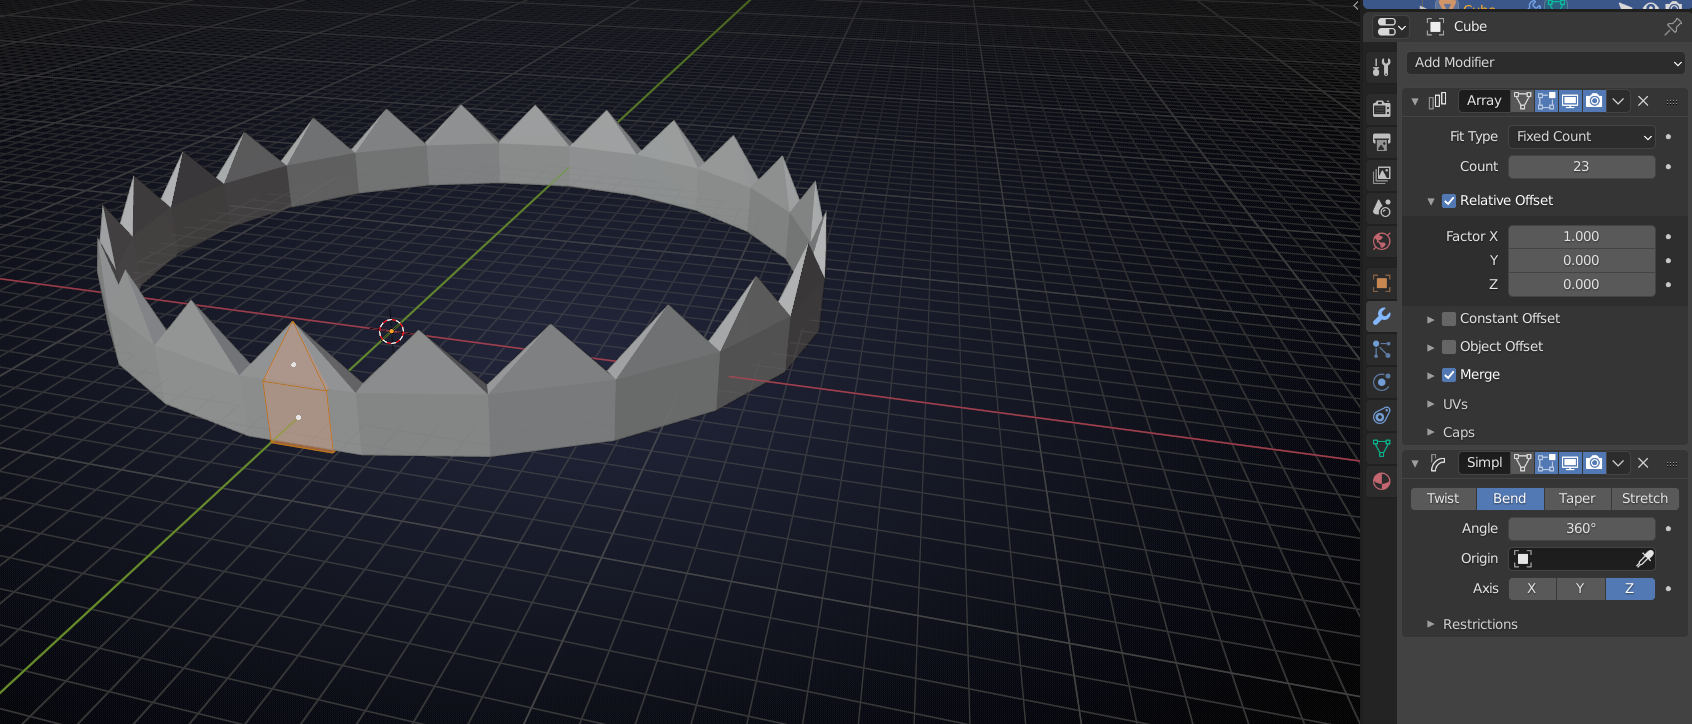
you can change the number in the Array Modifier and change the radius by moving everything in Y:
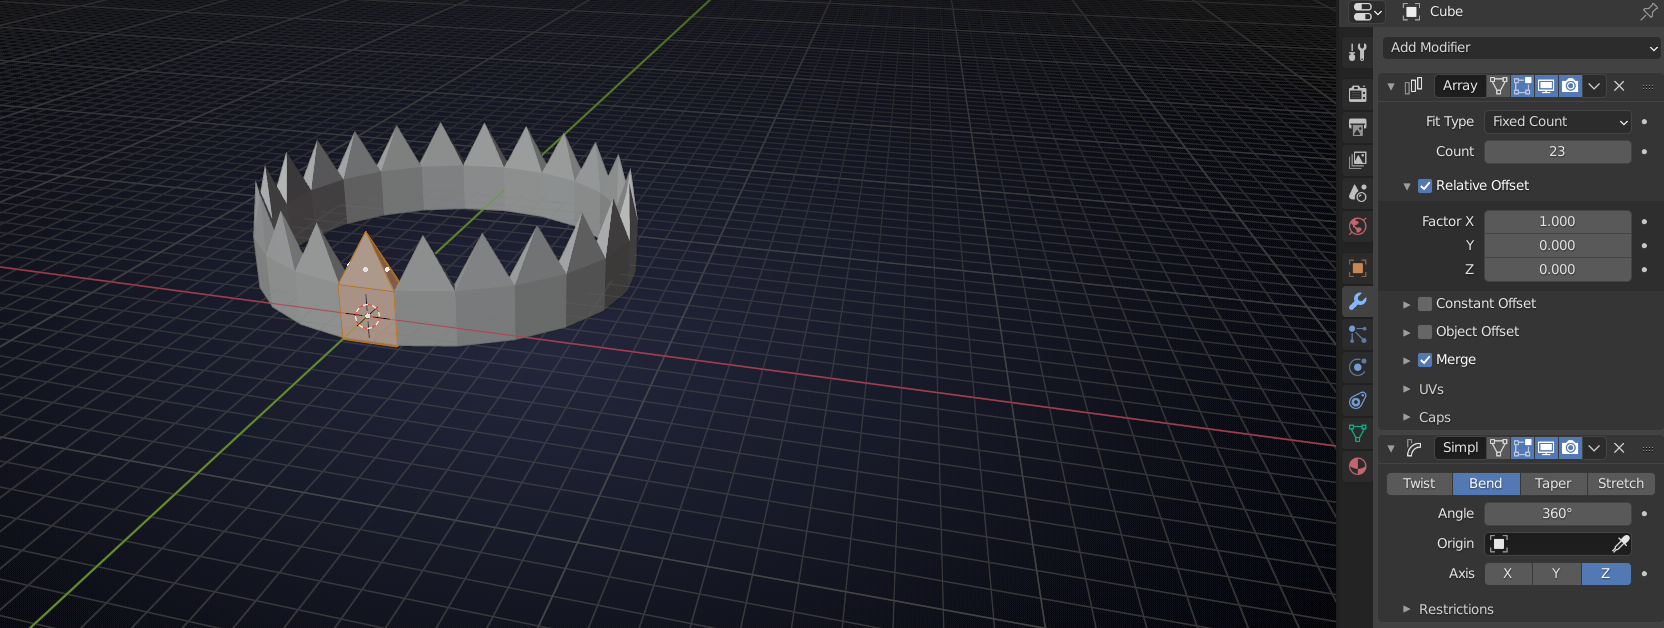
add a Weld Modifier, Shade Smooth, and give it a nice material:
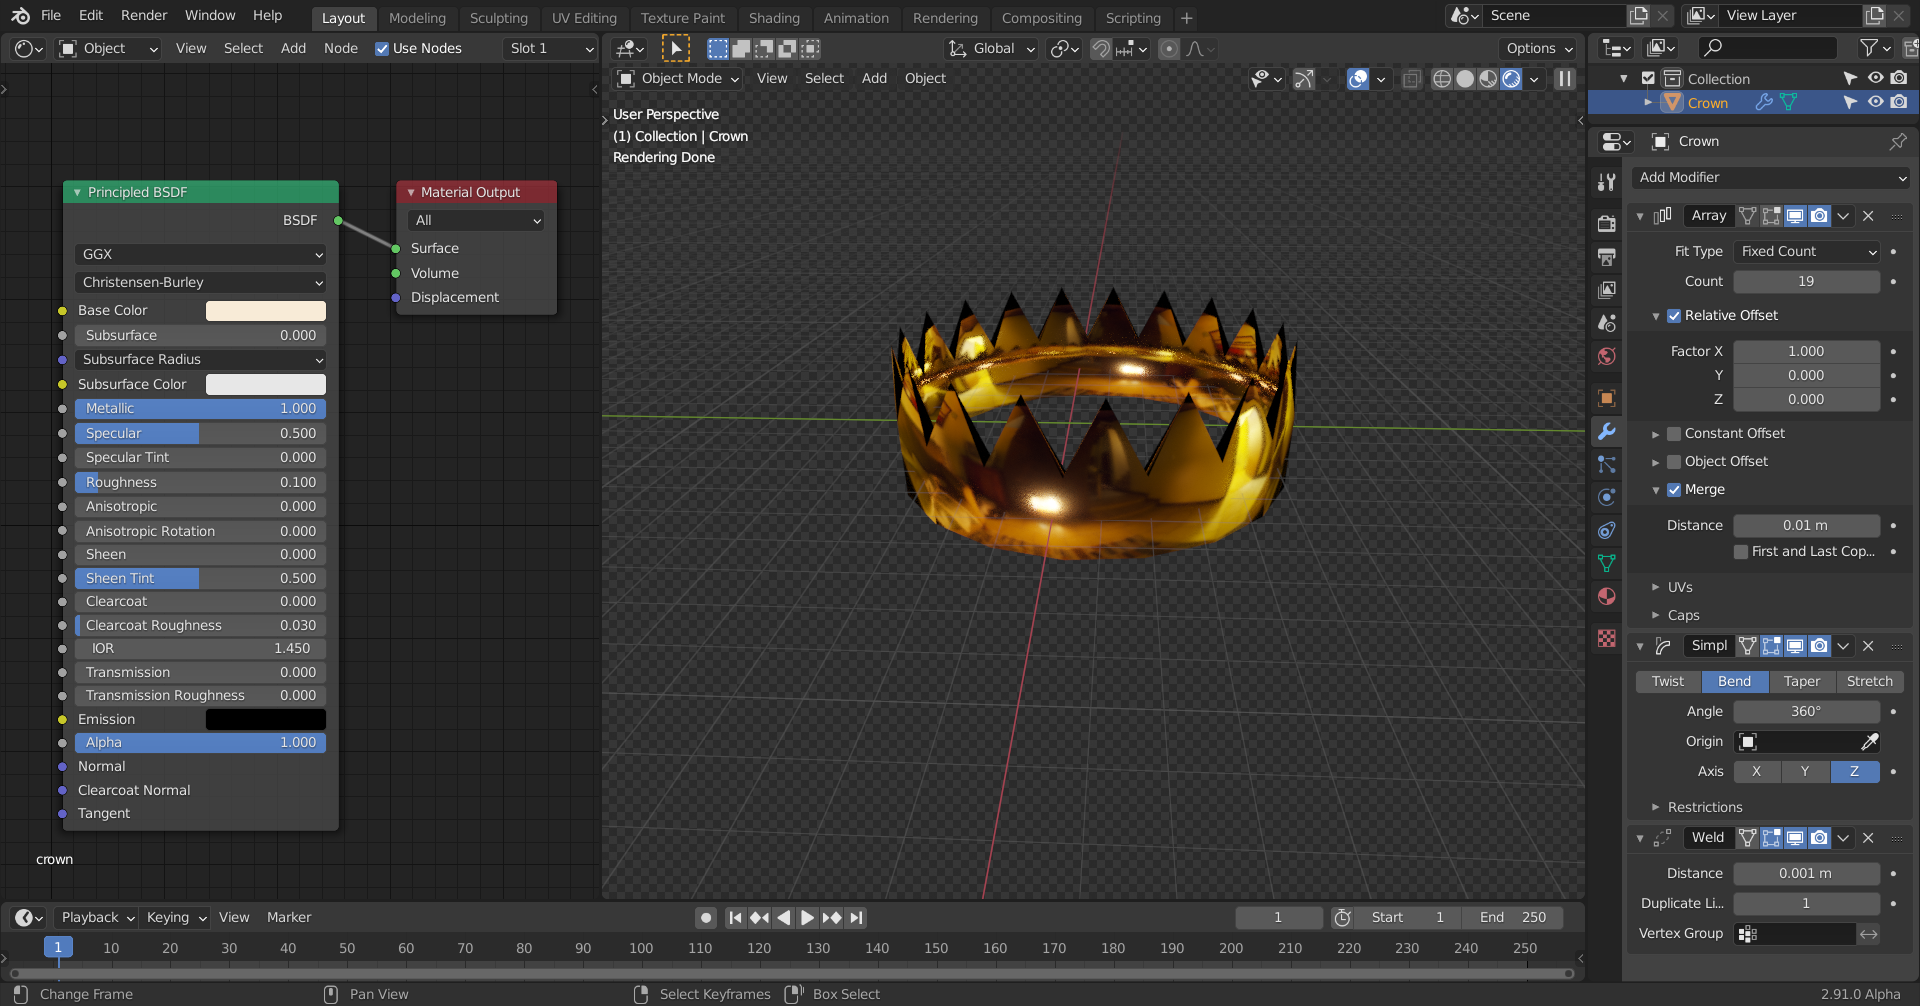
Many things can be done now, for instance:
add two edge loops at the bottom part and select the top vertex, SHIFT+S > Cursor to selected:
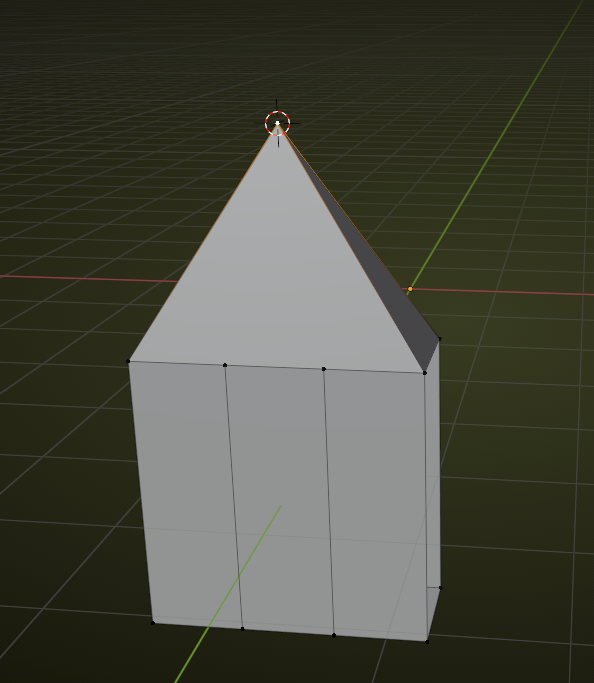
add a UV Sphere and set the Segments to 8 and Rings to 4 (if you want a higher resolution Sphere, you would need to make more edge loops in the previous phase, do the math):
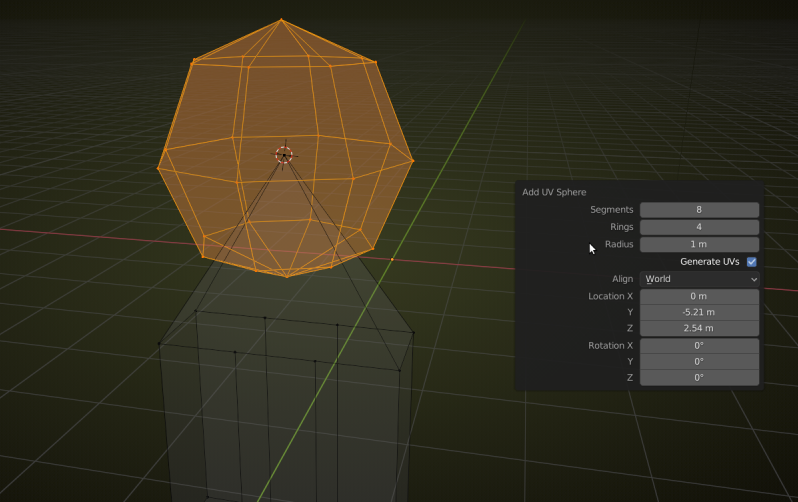
now select these two verts and delete them:
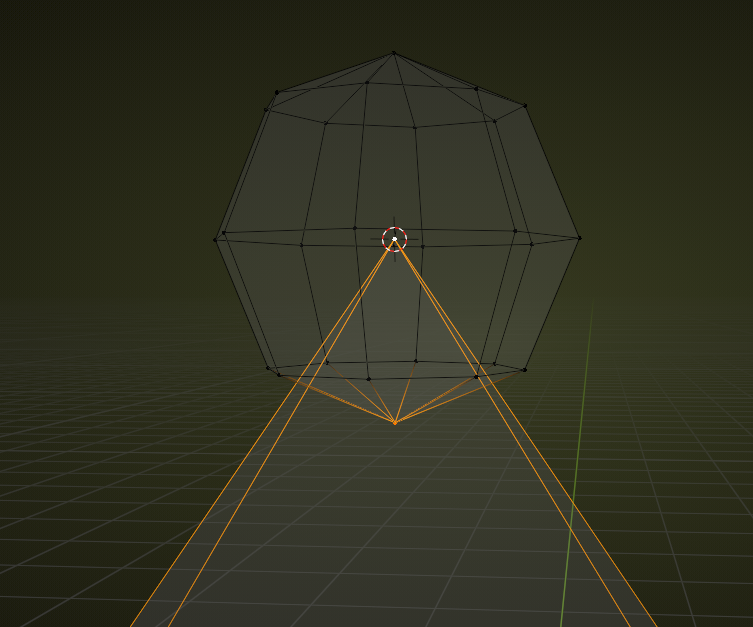
select the bottom vertices of the top and the top vertices of the bottom like so:
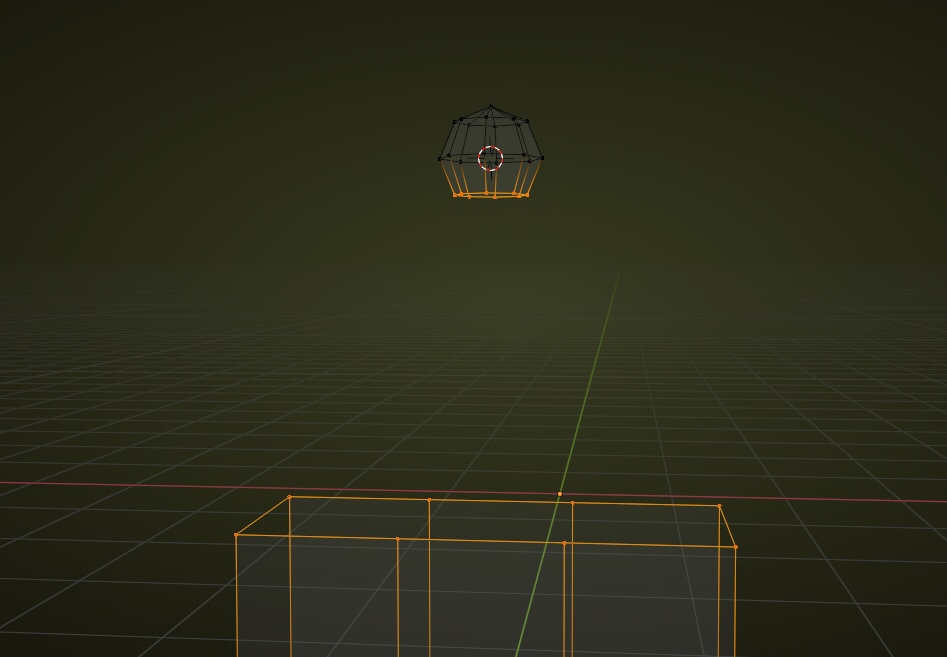
Context Menu > Bridge Edge Loops, may need to rotate the top ball around the Z- axis to align the verts:
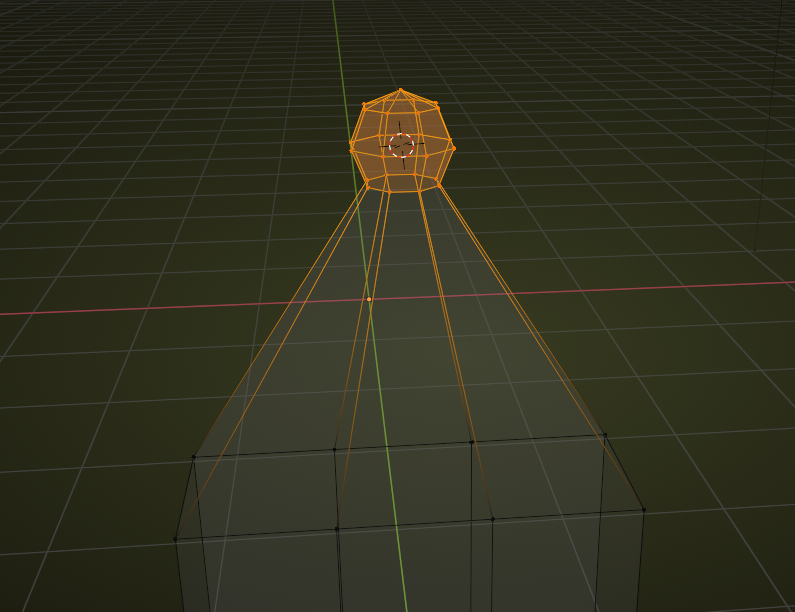
the rest you already know:
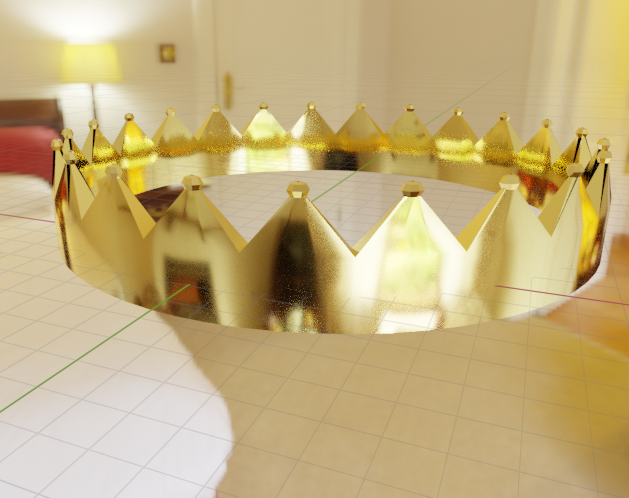
Of course there are many other ways of making a crown!
Have fun Modelling!

.