
BC4-1810 HOMEWORK, DiggnDeeper
Forum Archive › BC4-1810 HOMEWORK, DiggnDeeper
- This topic has 21 replies, 6 voices, and was last updated 7 years, 10 months ago by
Scott Gregory.
-
AuthorPosts
-
October 6, 2018 at 8:30 pm #10068
*** Week 4 ***
I am about half way through this render on a Monday am (over 40 hours) on a Zeon with a P3000 card… 640 samples Path Tracing and Limited Global Illumination and of course, as you can see in the image, caustics are on.
I’m reasonably dissapointed, as ArchViz is one of the things I need out of Blender. I guess I have some work to do.
Anyway, too late, but I figured I would al least show the one image I have been messing with in Cycles all week.
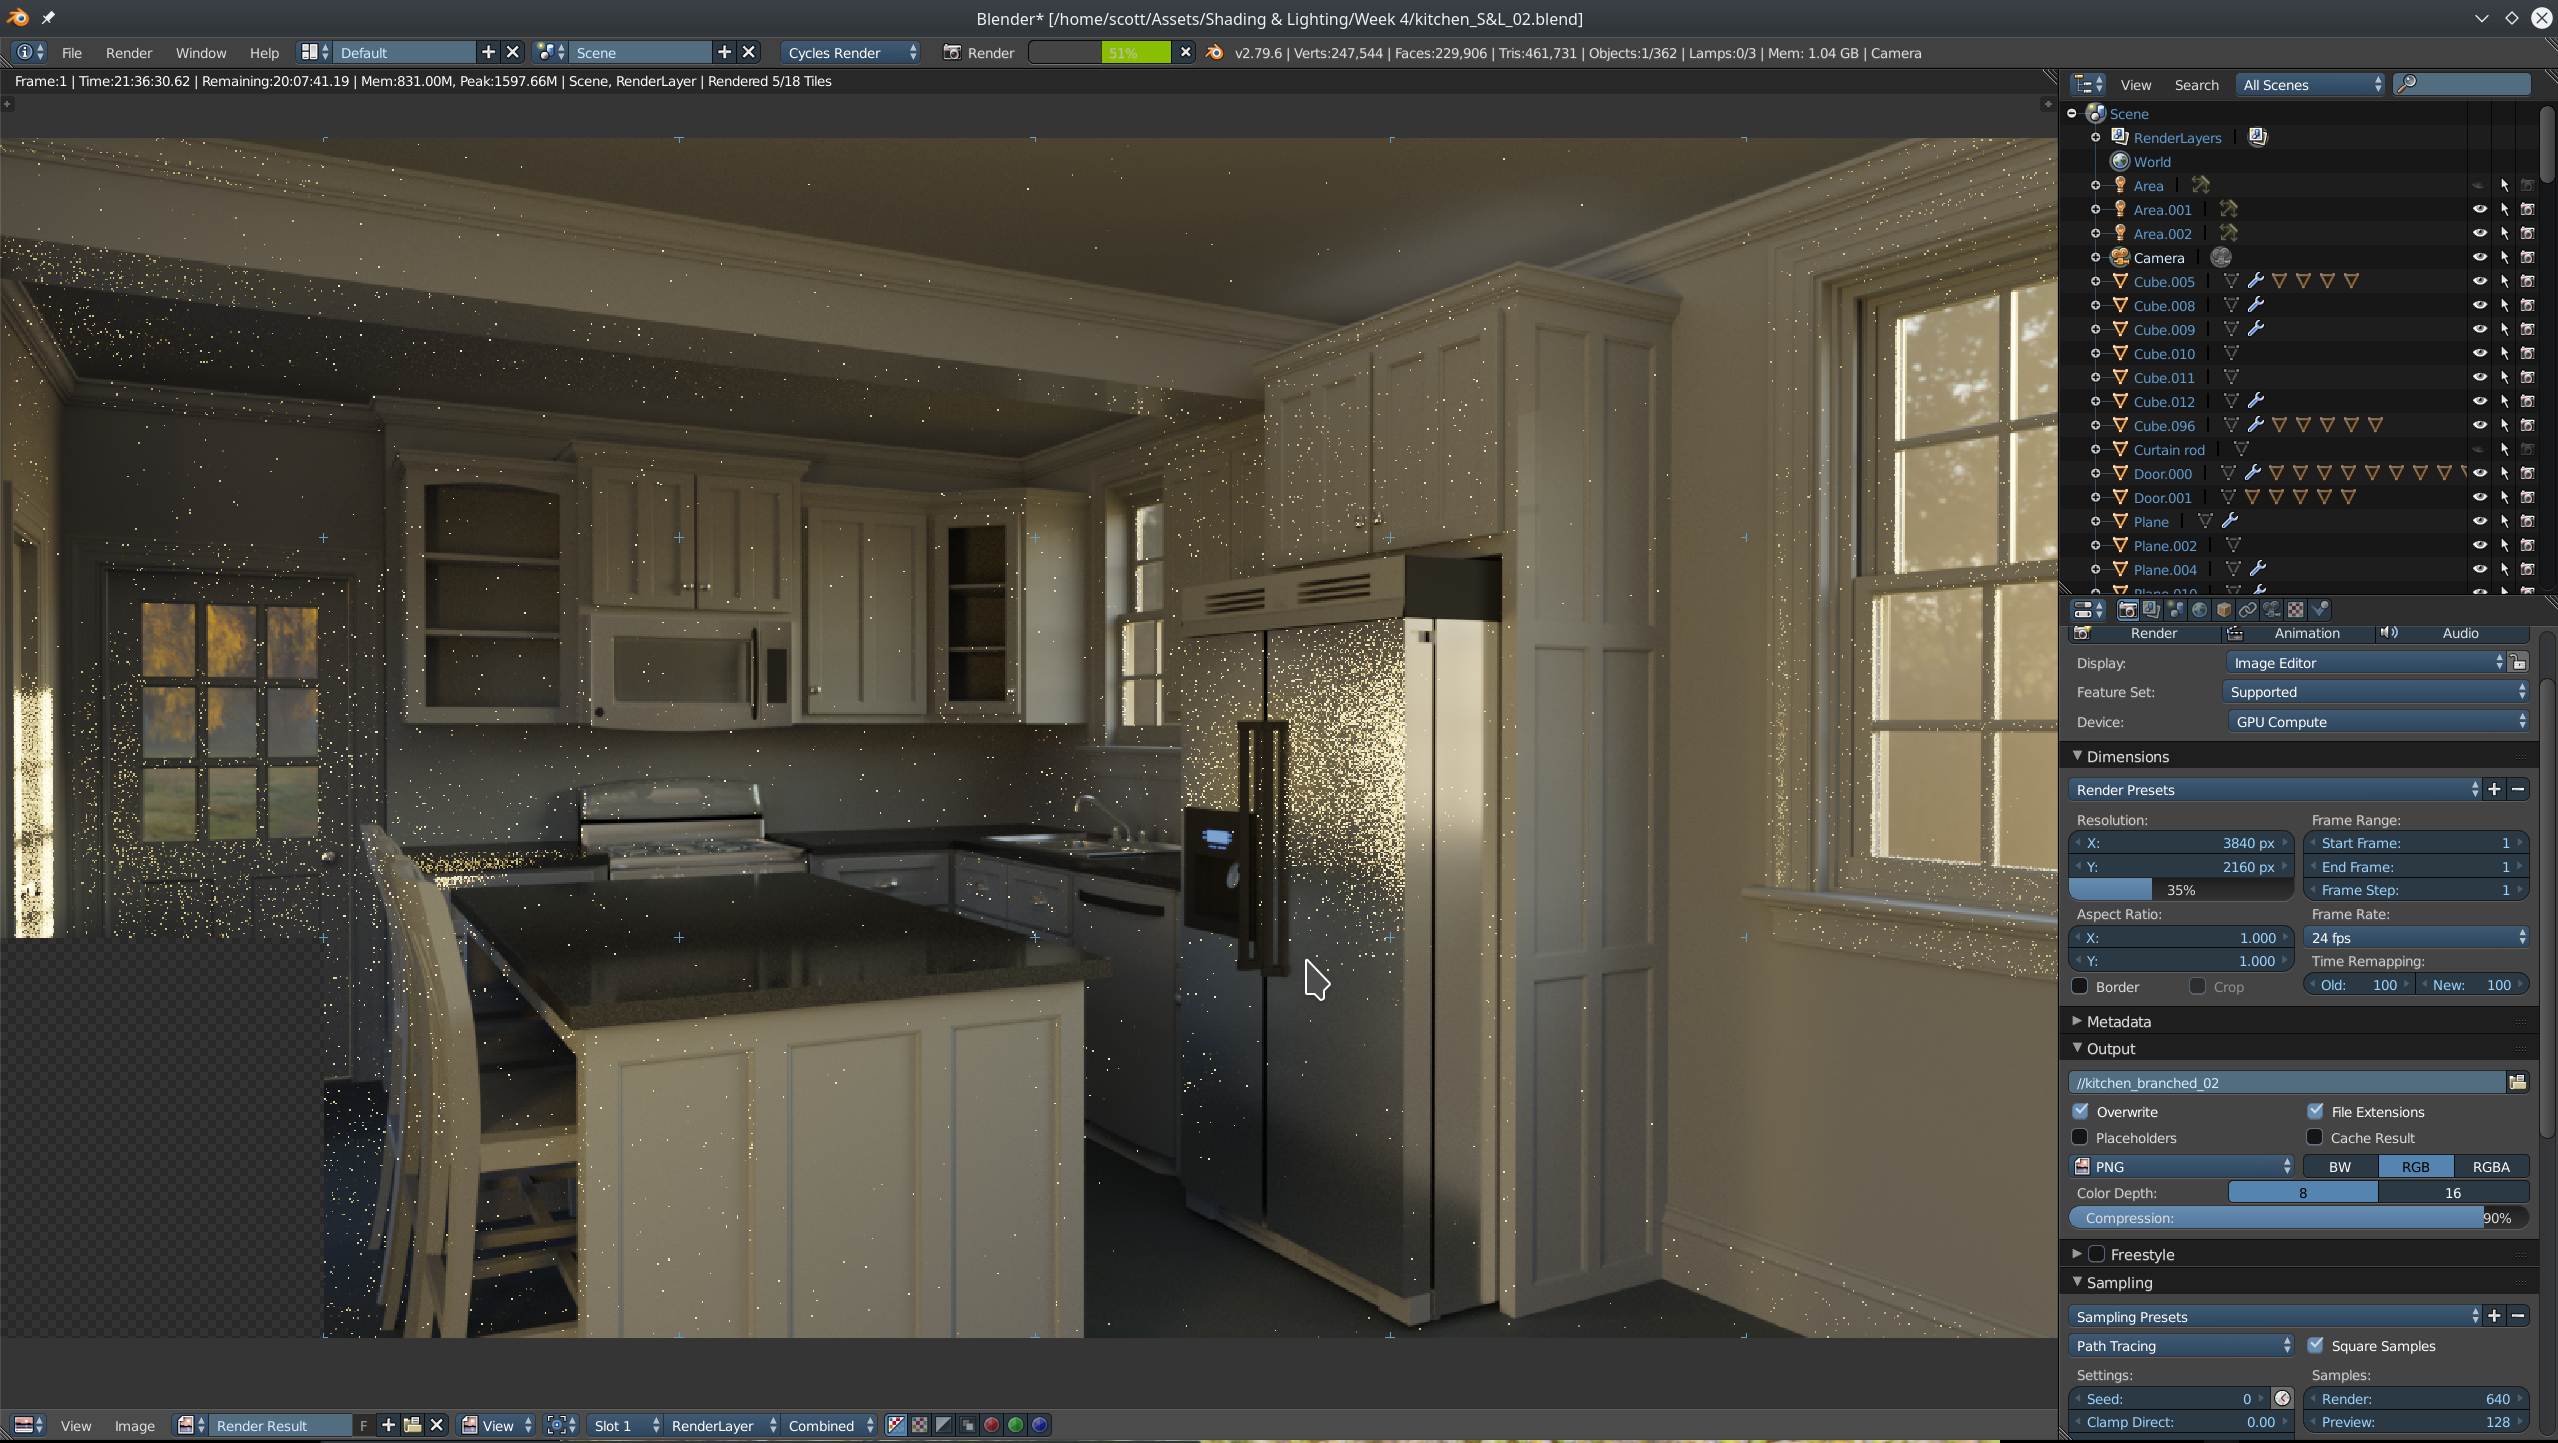
I didn’t get to accomplish a match lighting again this week.
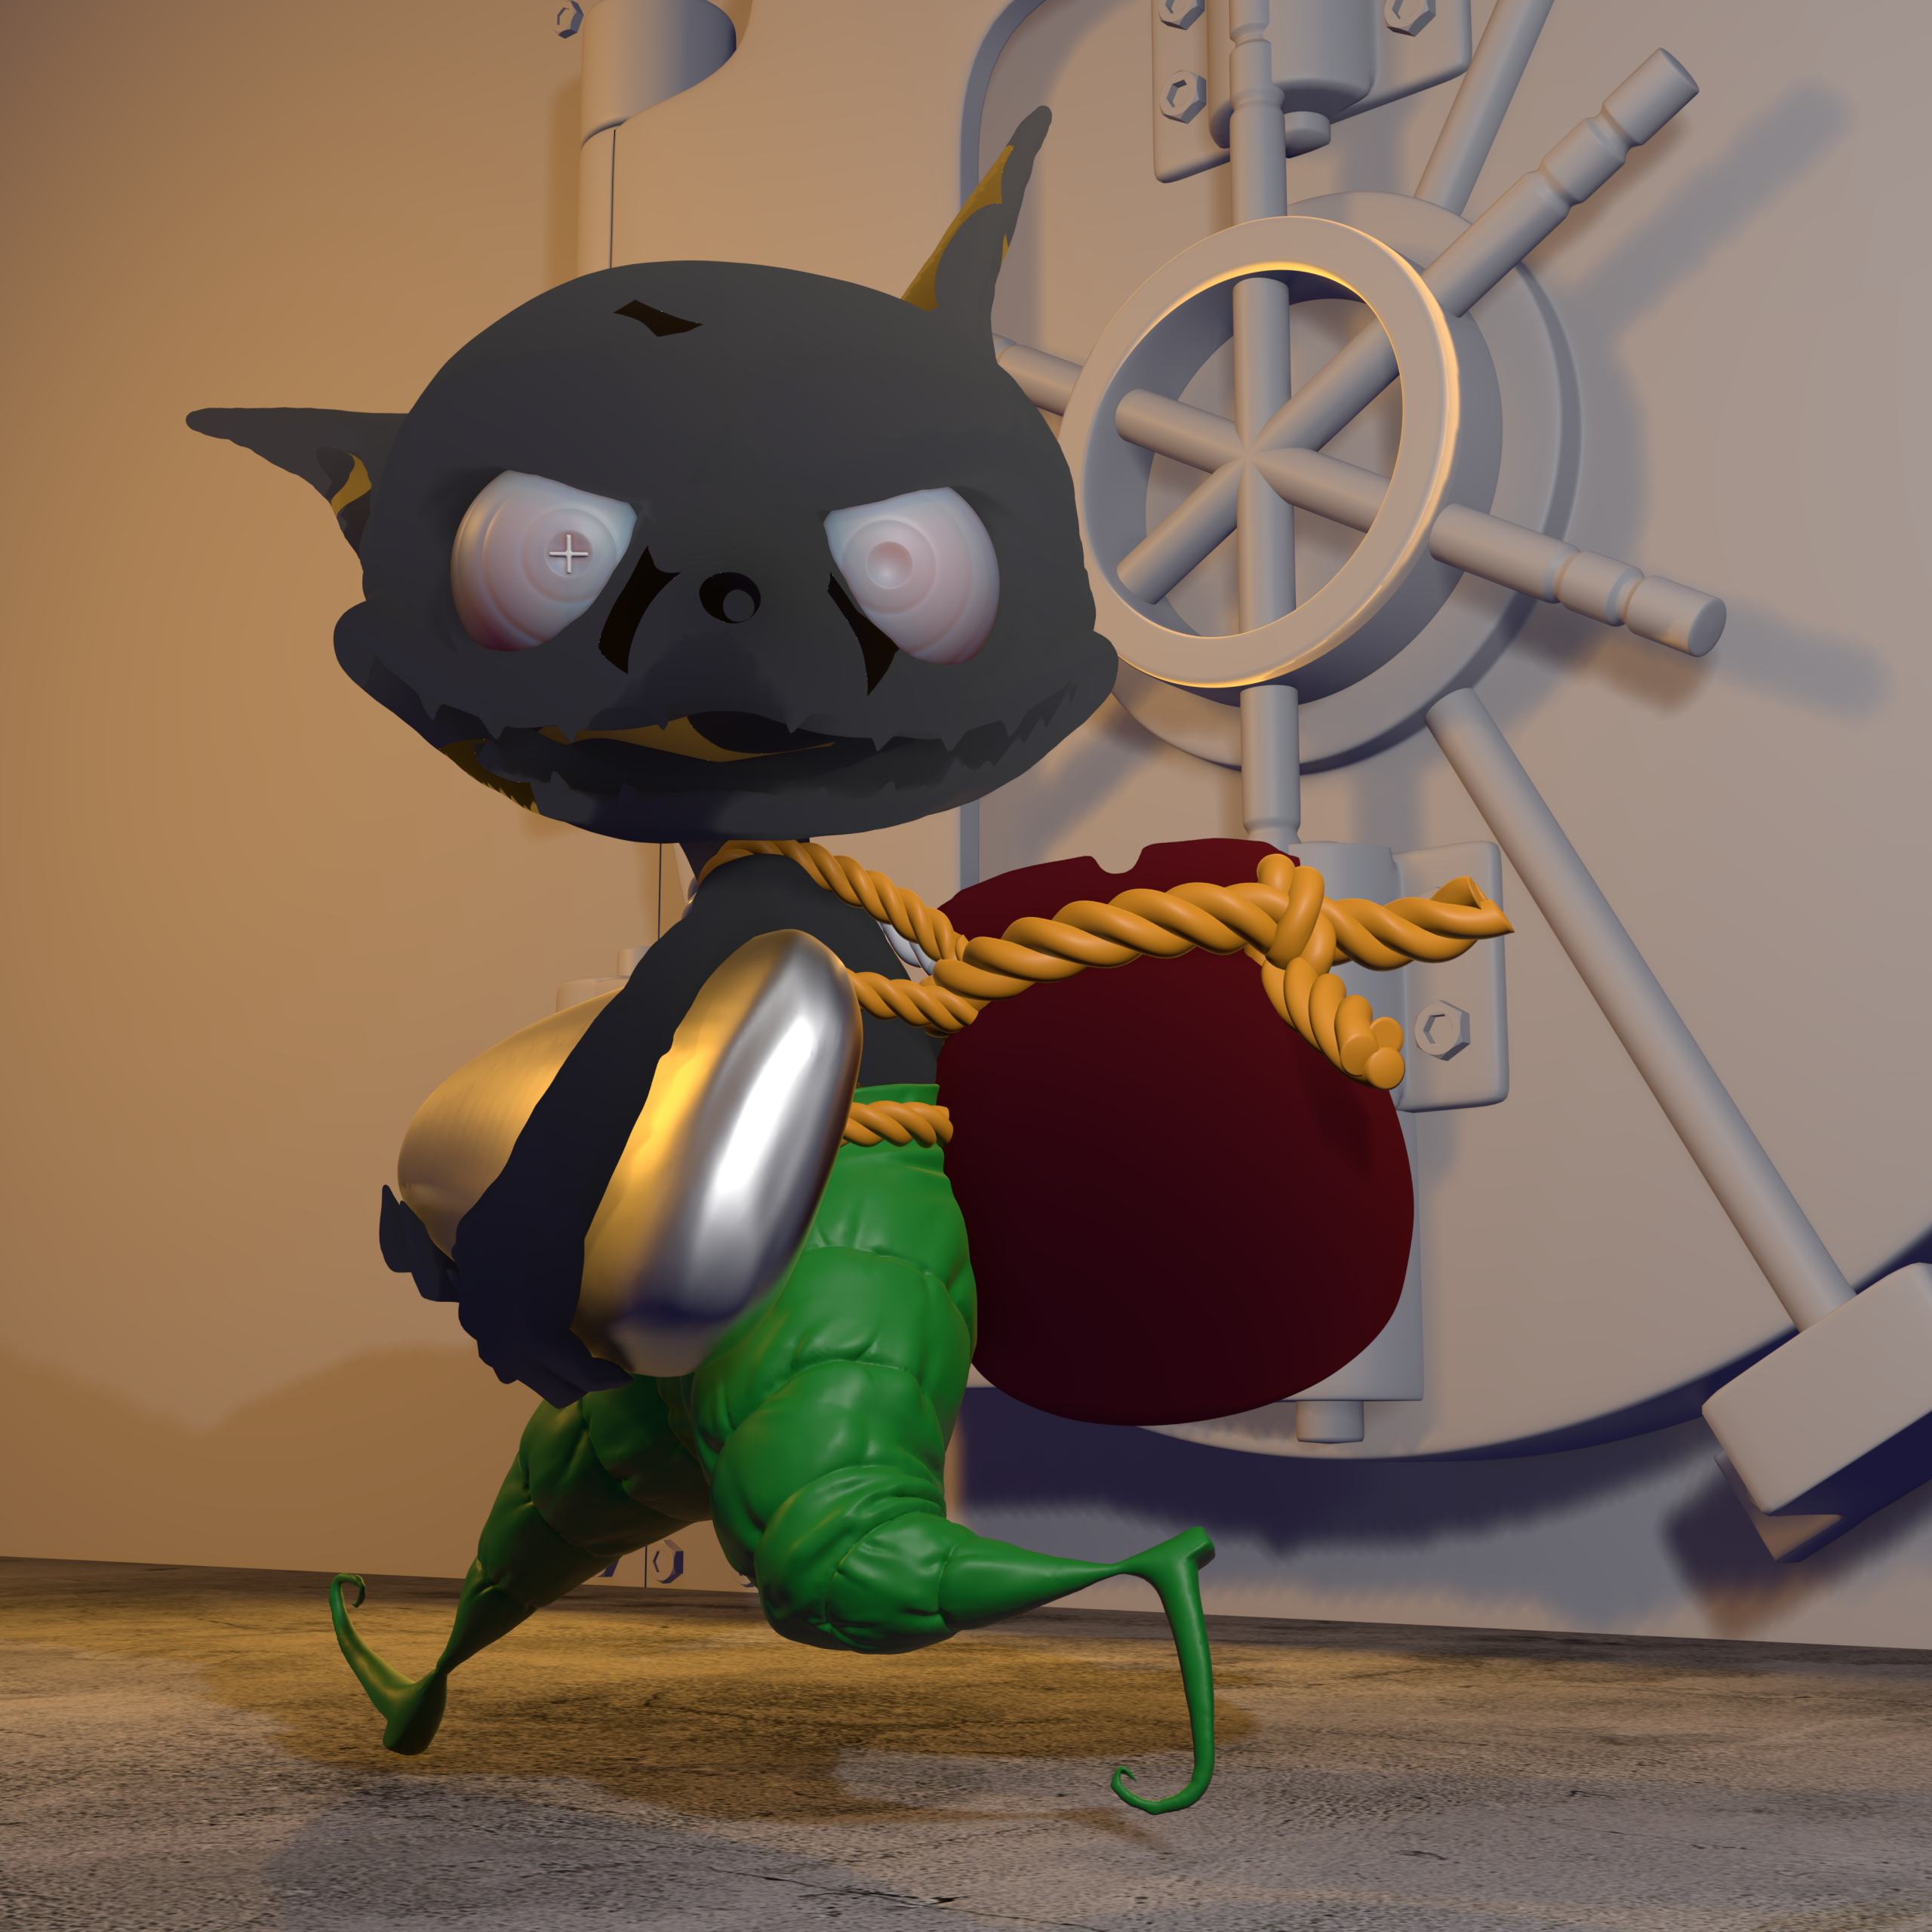
*** Week 3 *** WIP
I am re-watching all the videos so far in this course to try to shade this stuff reasonably. This is absolutely a weakness…
Eevee
*** Week 2 ***
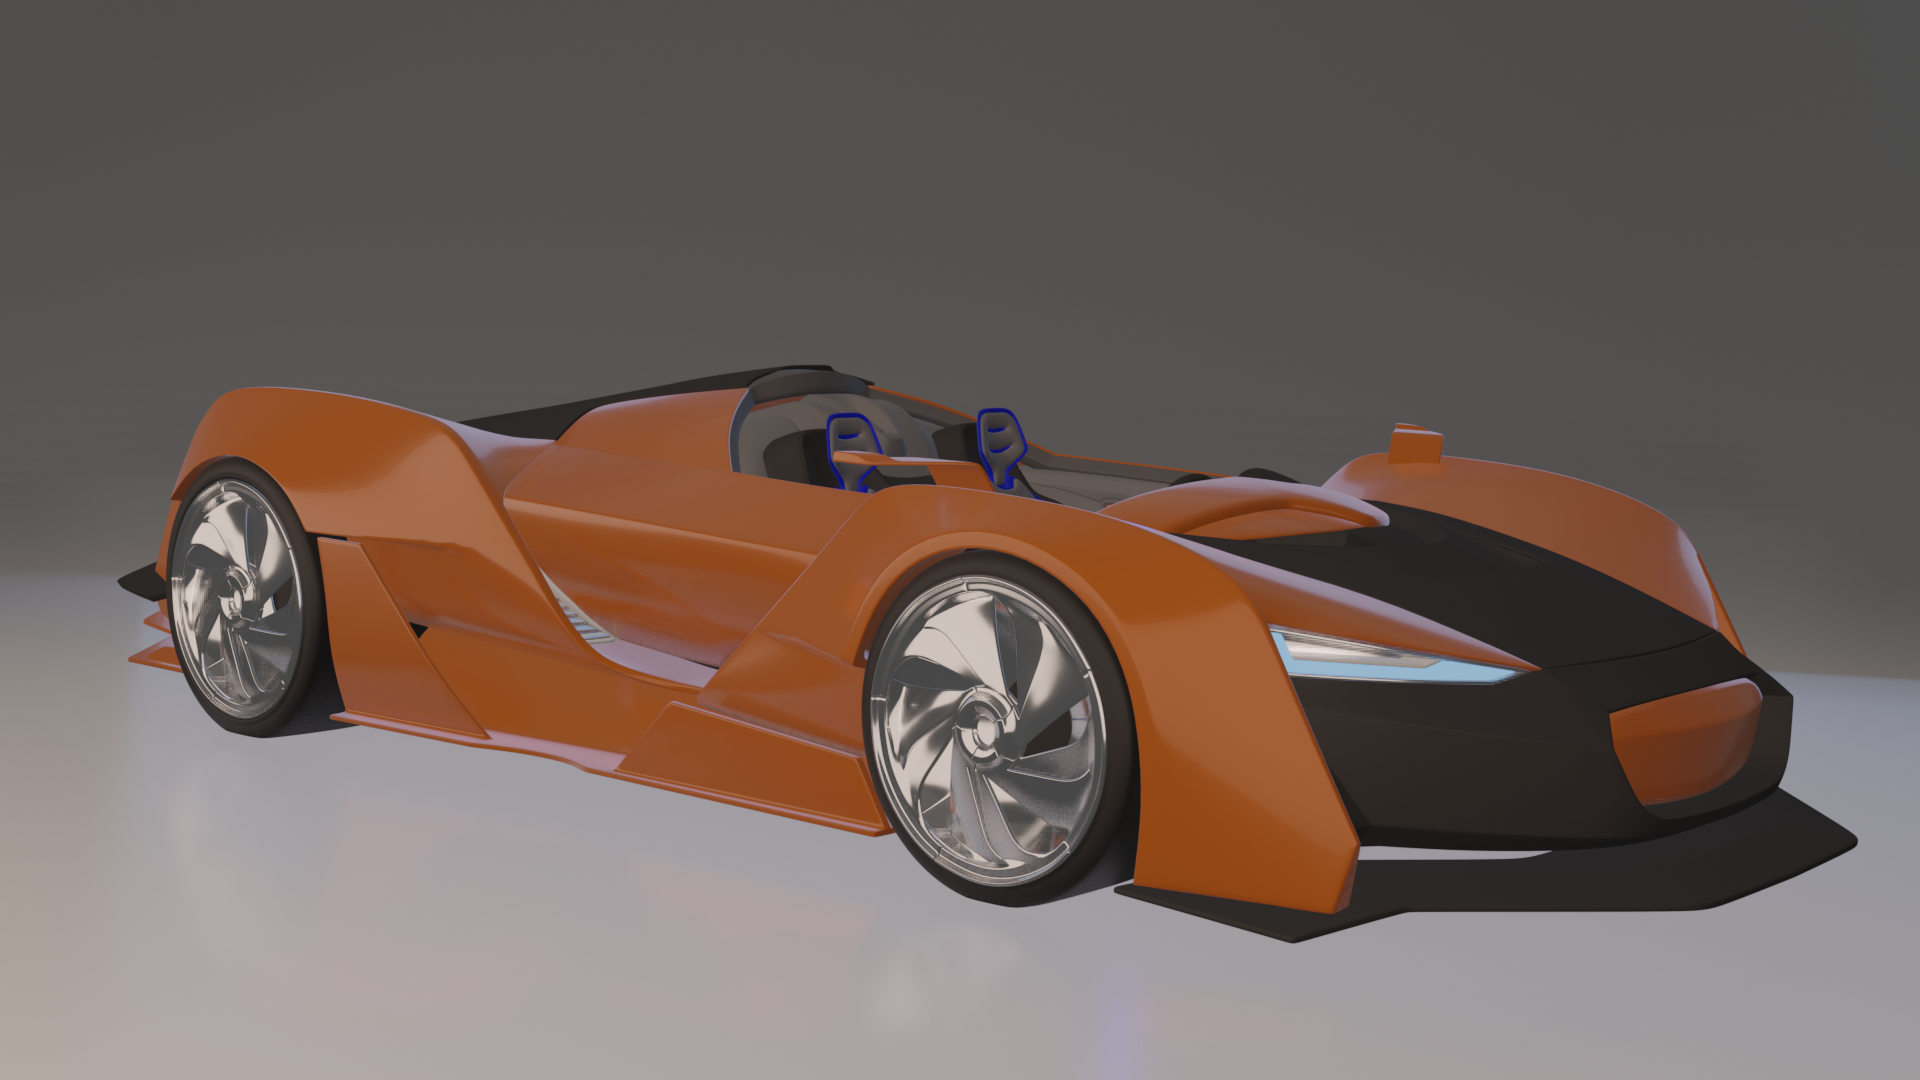
Vehicle shading and lighting.
In my opinion, this shading looks rather cartoonish.
I’ve learned a lot, but I have put a lot of time into it and it isn’t really getting better than this, so I’m going to move on the next homework assignment and maybe I can come back to this. I can’t figure out how to use the HDRi – just a little stuck on some of that. I don’t understand what LookDev is. I googled it and found basically nothing. I feel like I’m missing a section of knowledge?
Car:
Light matching:
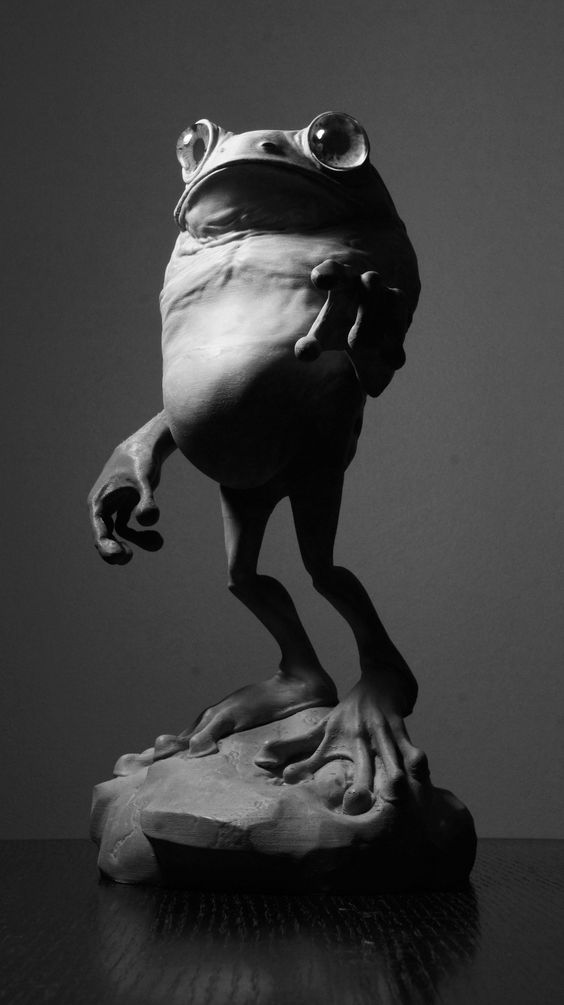
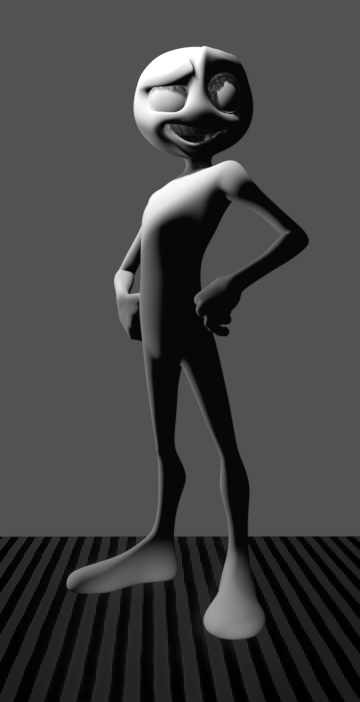
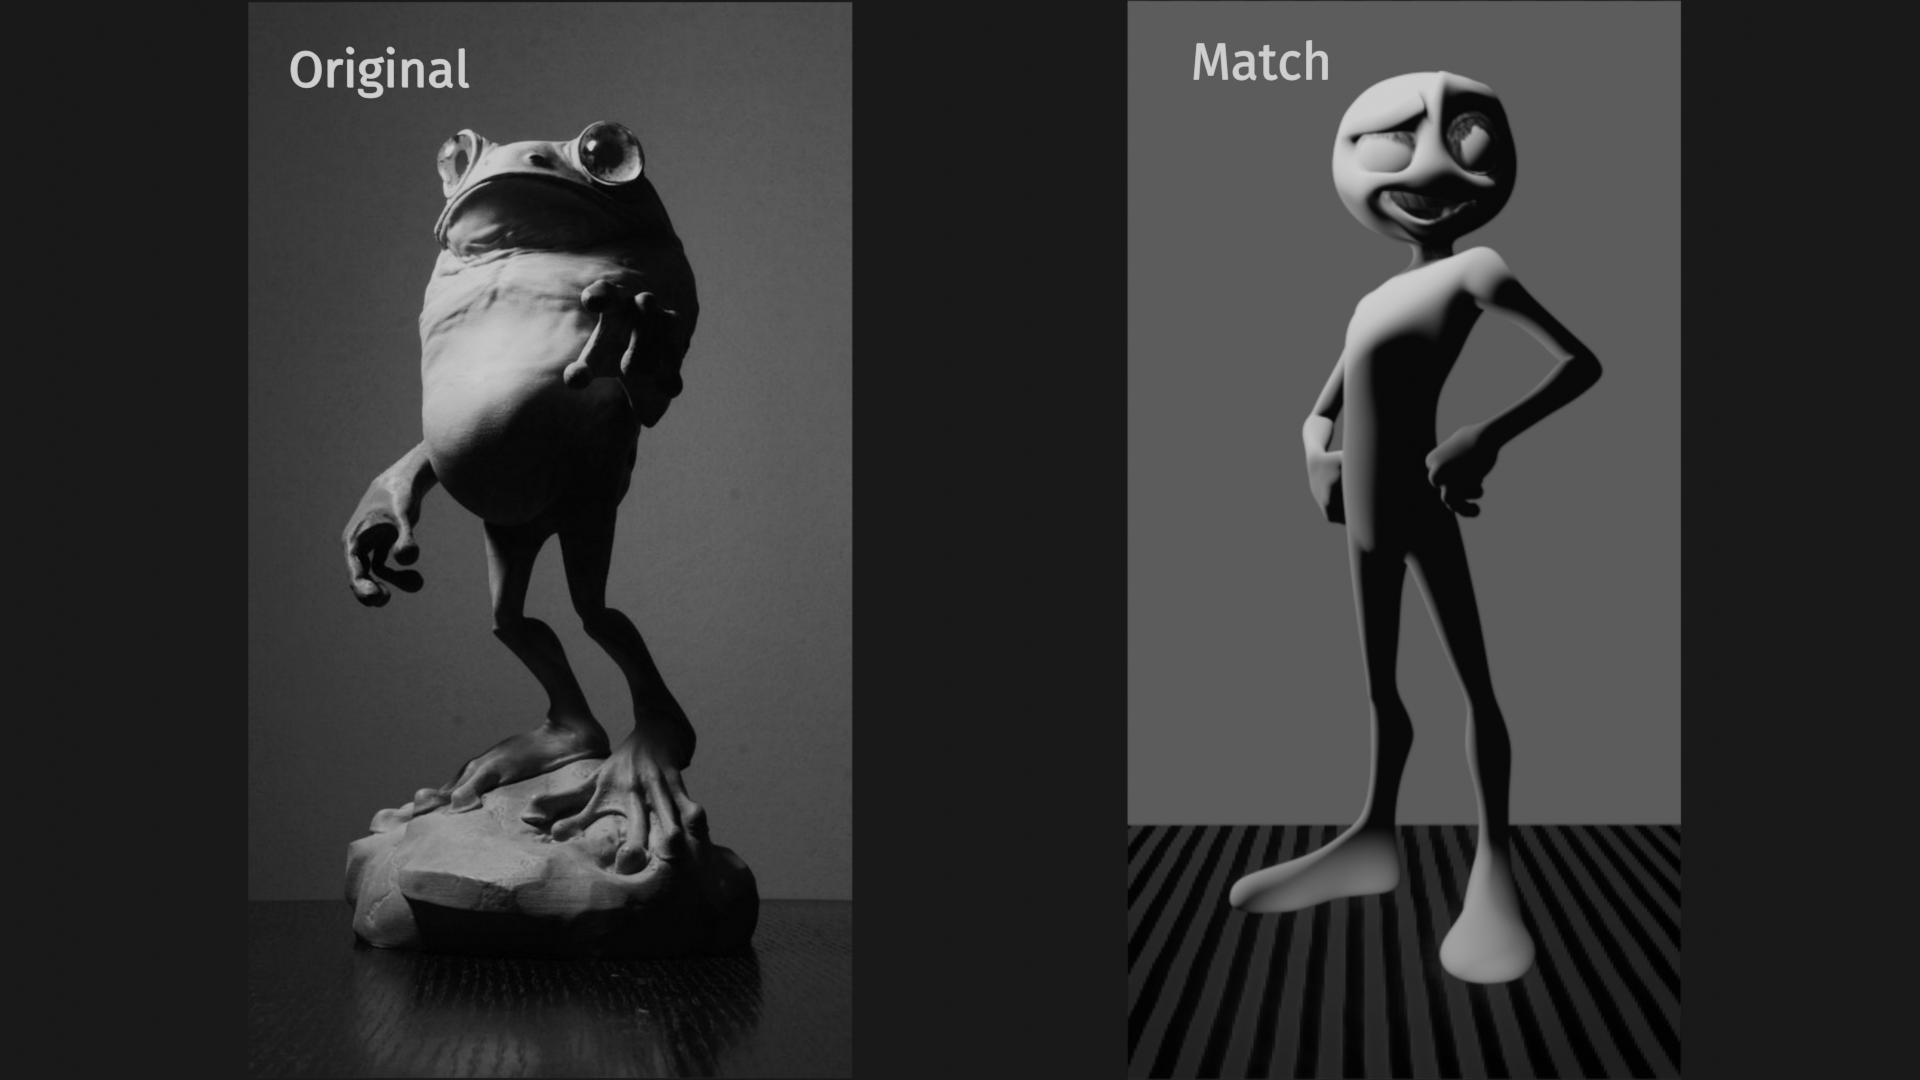
I was able to start the matching of light color, intensity and position of the top lighting as well as blackness of the shadows. It wasn’t what I thought at first. I had to drop the world intensity to .1 and then add an emissive grey background to match that the best I could. This one was fun and I found myself having to think out of the box a bit to come even this close.
The shading on the Baker model was matched the best I could to the original. To my eyes, and without the same textures, I think its close. I have no idea how to composite the background texture. Acturally, I don’t don’t know how to do textures. That is evident in the ground plain. I tried to create the wood with a wave and noise network – as I’m writing this, I realize I never subdivided the plane – that needs done, right?
*** Week 1 ***
Toy truck:
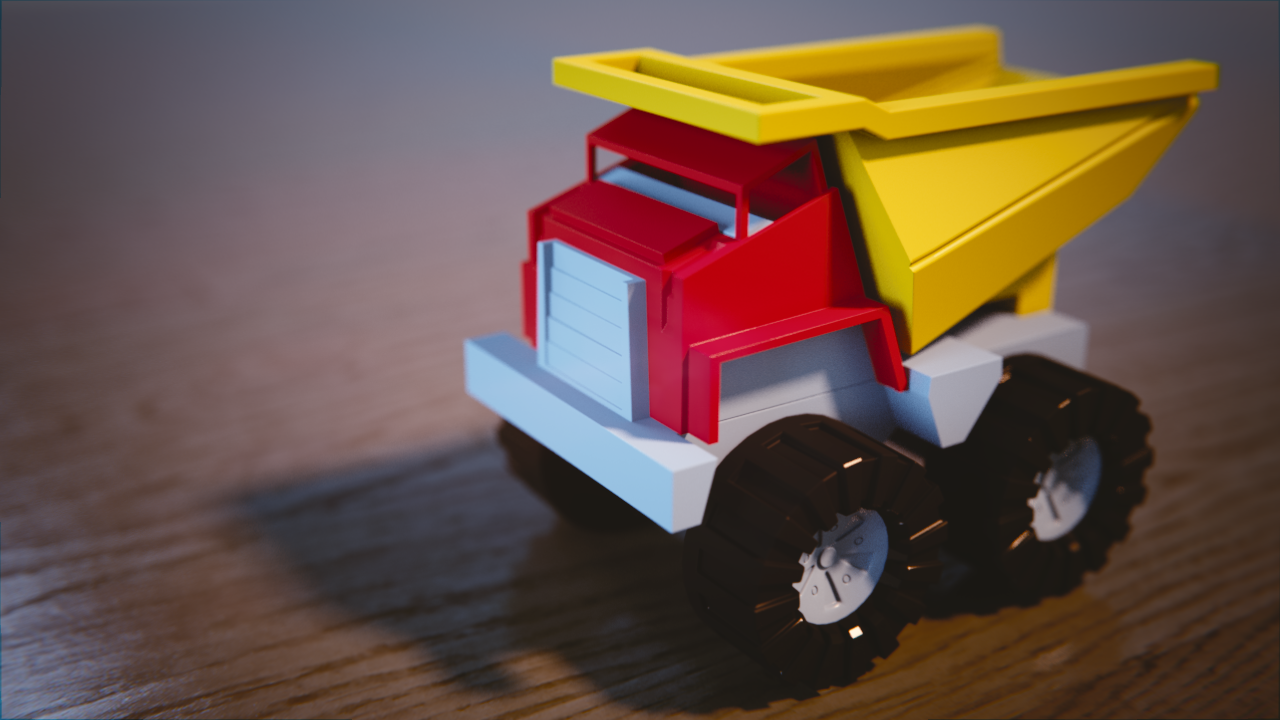
I thought this was a fun exploration of making plastic. I like the materials other than the black on the wheels seem odd to me even though it is the same node network. I used the color picker and took the colors from the model provided.
Day and night bedroom scene:
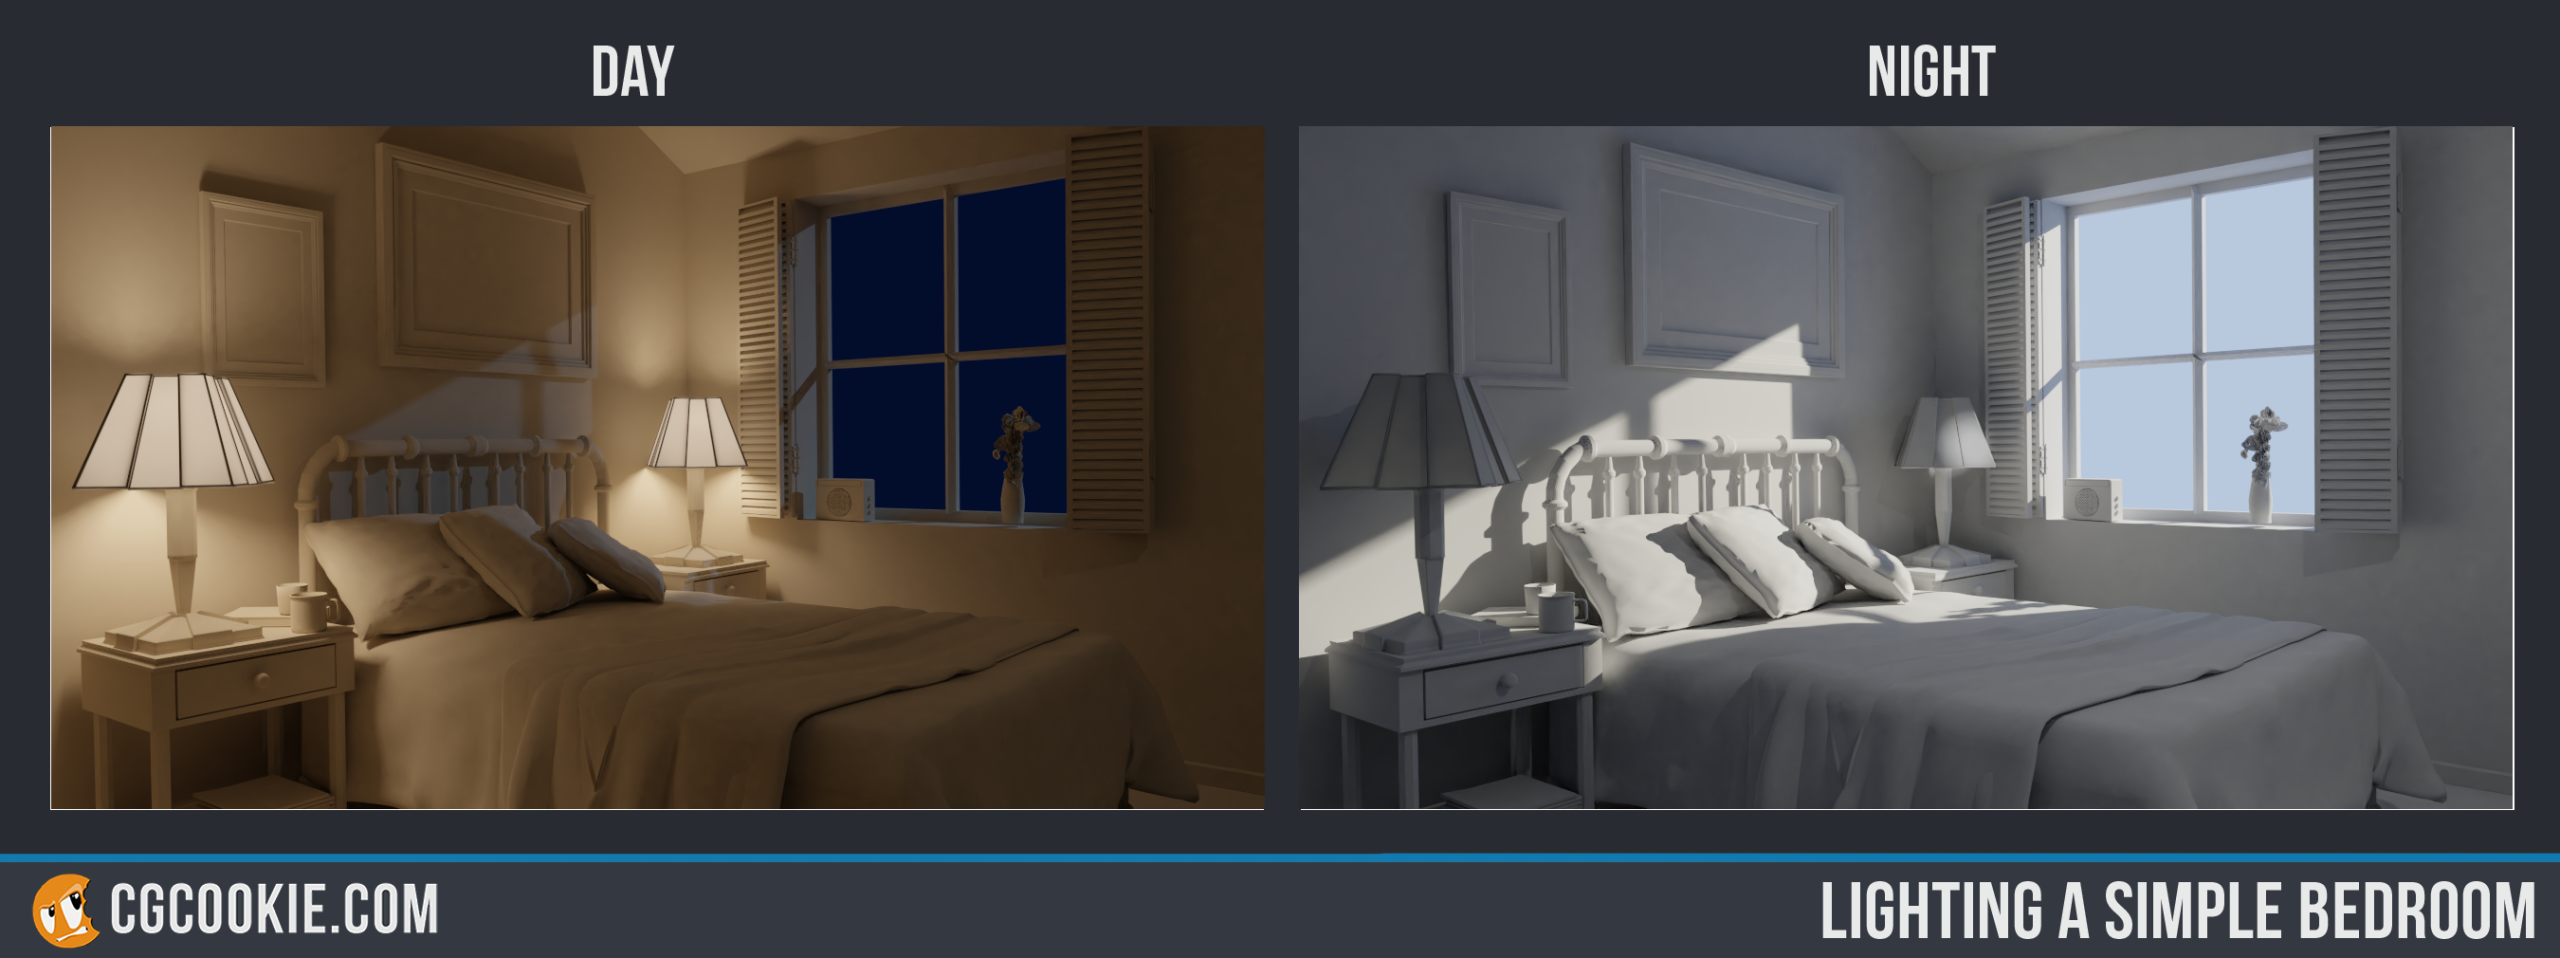
This was a ton of fun. I tried to match the pictures provided down to angles and of light and colors.
I didn’t figure out how to match the softness of the light on the wall.
I also tried to match the light on the lampshade near the window in the day scene.
October 6, 2018 at 10:15 pm #43247Welcome to the class @diggndeeper. Seems your username means you were meant to do this toy truck exercise 🙂
The plastic looks like there’s possibly not enough reflection; a bit too subtle and too clear (too low of a roughness value). Also pure black rarely produces the desired “black” feel, just like pure white rarely produces the desired “white” feel. I’d recommend a very dark grey instead.
Overall though it’s a solid submission. And your day and night scenes are great. The way you soften shadows is by increasing the size of your lamp (in your lamp data properties). Smaller lights = sharper shadows, larger lights = softer shadows.
It’s an A for the week from me 👍
October 7, 2018 at 4:57 am #43248@theluthier I see. Thank you for the pointers! The soft lights is a facepalm as I should have known that.
October 7, 2018 at 2:59 pm #43249@diggndeeper I agree with Kent’s feedback. If you want to copy colors around, hover over the color, Ctrl+C to copy, then hover over where you want to paste it and Ctrl+V to paste it in, if that makes sense. It’s a good start.
October 7, 2018 at 3:13 pm #43250Scott Gregory: Good work, looking forward to seing next weeks homework.
October 7, 2018 at 9:51 pm #43251@diggndeeper Nah not a facepalm. I remember when I learned that size effected softeness. We all learn it at some point 🙂
October 8, 2018 at 2:35 pm #43252@diggndeeper I forgot to mention, I noticed you have “Week 1” as part of your title. It would help us a lot if you post all your weeks in 1 thread so we can see your progress and to help keep the post turnover low until the official class system is implemented. Plus it’s easier to keep track. Thanks!
October 8, 2018 at 5:55 pm #43253@silentheart00 Ok, that makes sense. Will do. Thanks!
October 8, 2018 at 5:57 pm #43254@silentheart00 I used the color picker from the color node on the car which was loaded into the UV editor. Pretty cool.
October 8, 2018 at 5:59 pm #43255@arev Thank you!
October 12, 2018 at 7:25 am #43256Hey Bud,
Killer colours. Wheels have made good progress too. I tried to fiddle through the Glass too, but no luck either, may need a guru to help out. Good Luck
October 13, 2018 at 7:55 pm #43257@sparkes983 Thanks. I appreciate that. Luckily, I can just leave the glass out, but I want to figure that out.
October 13, 2018 at 8:39 pm #43258I can’t figure out how to use the HDRi
@diggndeeper Sorry to hear that. I think HDRi would make a significant difference. “Look Dev” is like a preset-heavy viewport shading mode. It has HDRi’s quickly accessible and should have a few to choose from out of the box. In contrast to rendered mode which is strictly whatever you set up as the World of your scene.
Do you not have preset HDRi’s in Look Dev mode?
October 13, 2018 at 9:32 pm #43259This is what I have. I’m in LookDev and the only thing that appears as an option is what I have here under Shading. If I press the settings wheel there, it brings me to a User Preference tab that I don’t really understand either. I don’t want to waste your time, but I admit I’m not seeing something here.
 October 14, 2018 at 5:18 am #43260
I think some of the confusion is that the LookDev HDRI and the World HDRI are set in two different places. The LookDev is just a preview for what your materials will look like and the preview HDRIs are just there to help you see what your model would look like under different lighting conditions. For a render, you want to make sure you have an HDRI as the Environment Texture connected to the Background of the World Properties settings.
(In the LookDev with the night HDRI that come preinstalled)
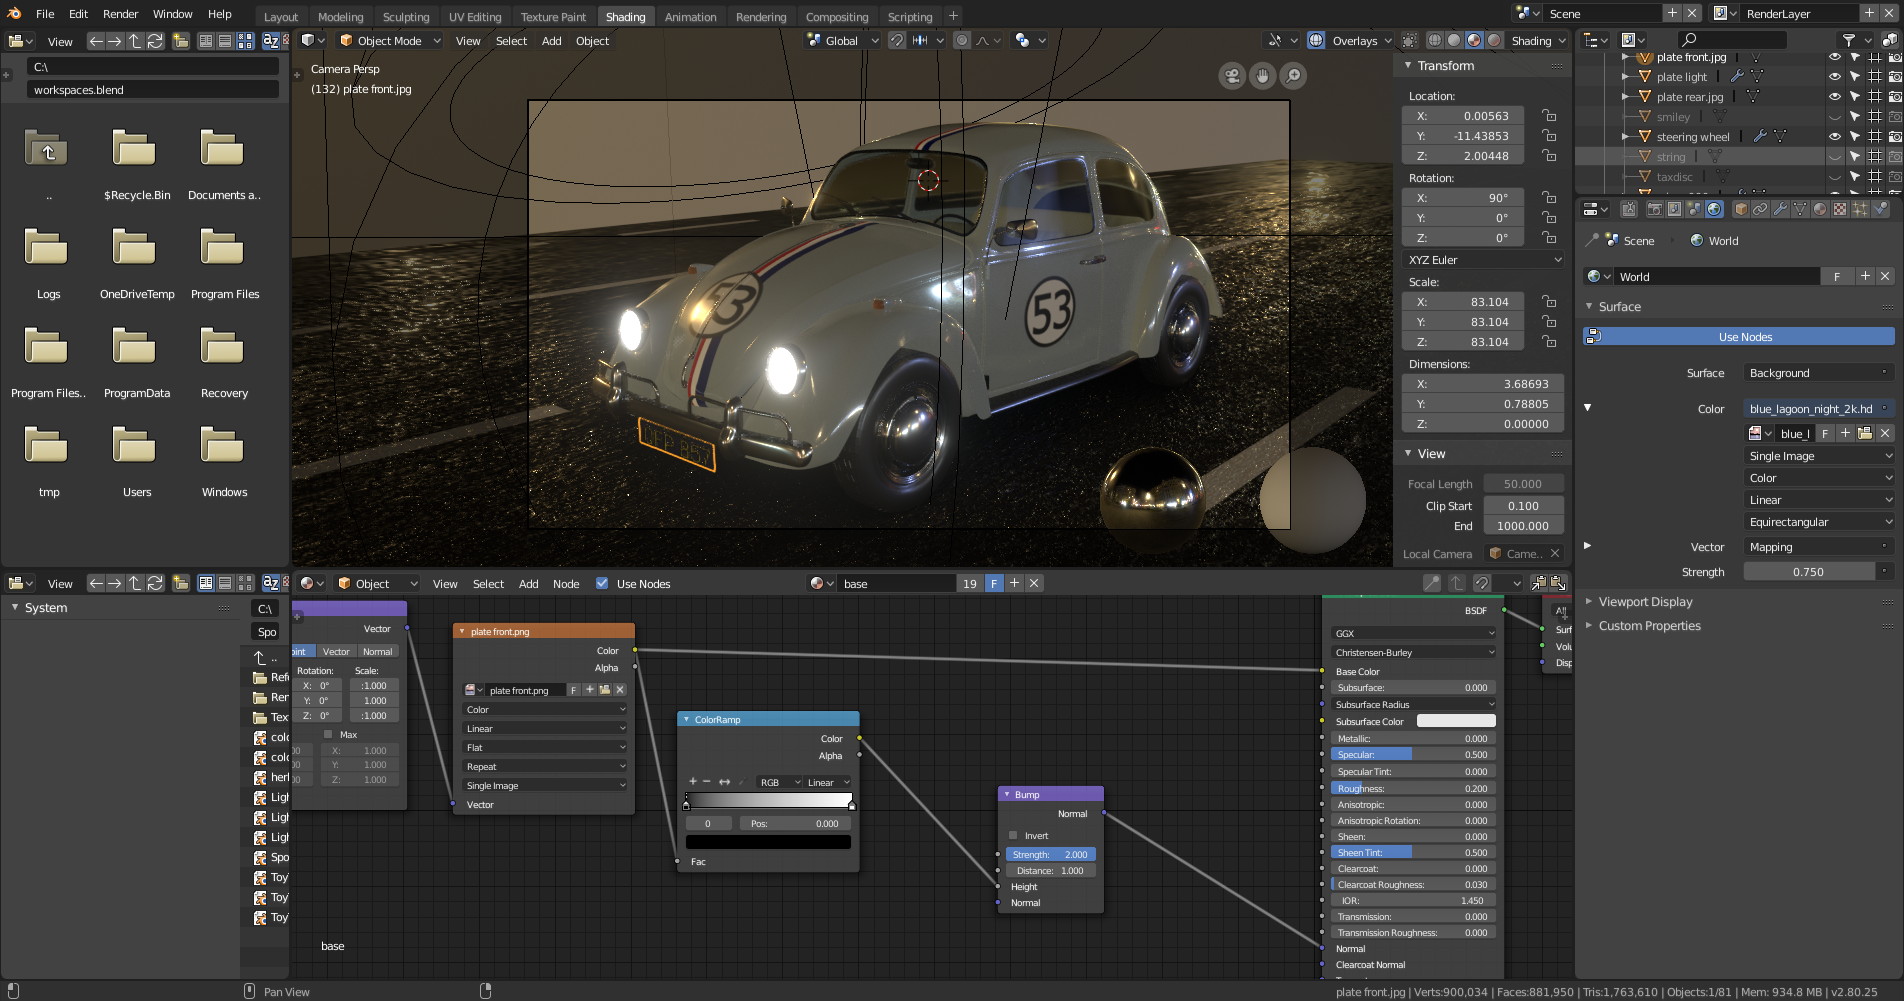
(In the Render mode with an HDRI in the Environment Image connected to the Background in the World Properties)
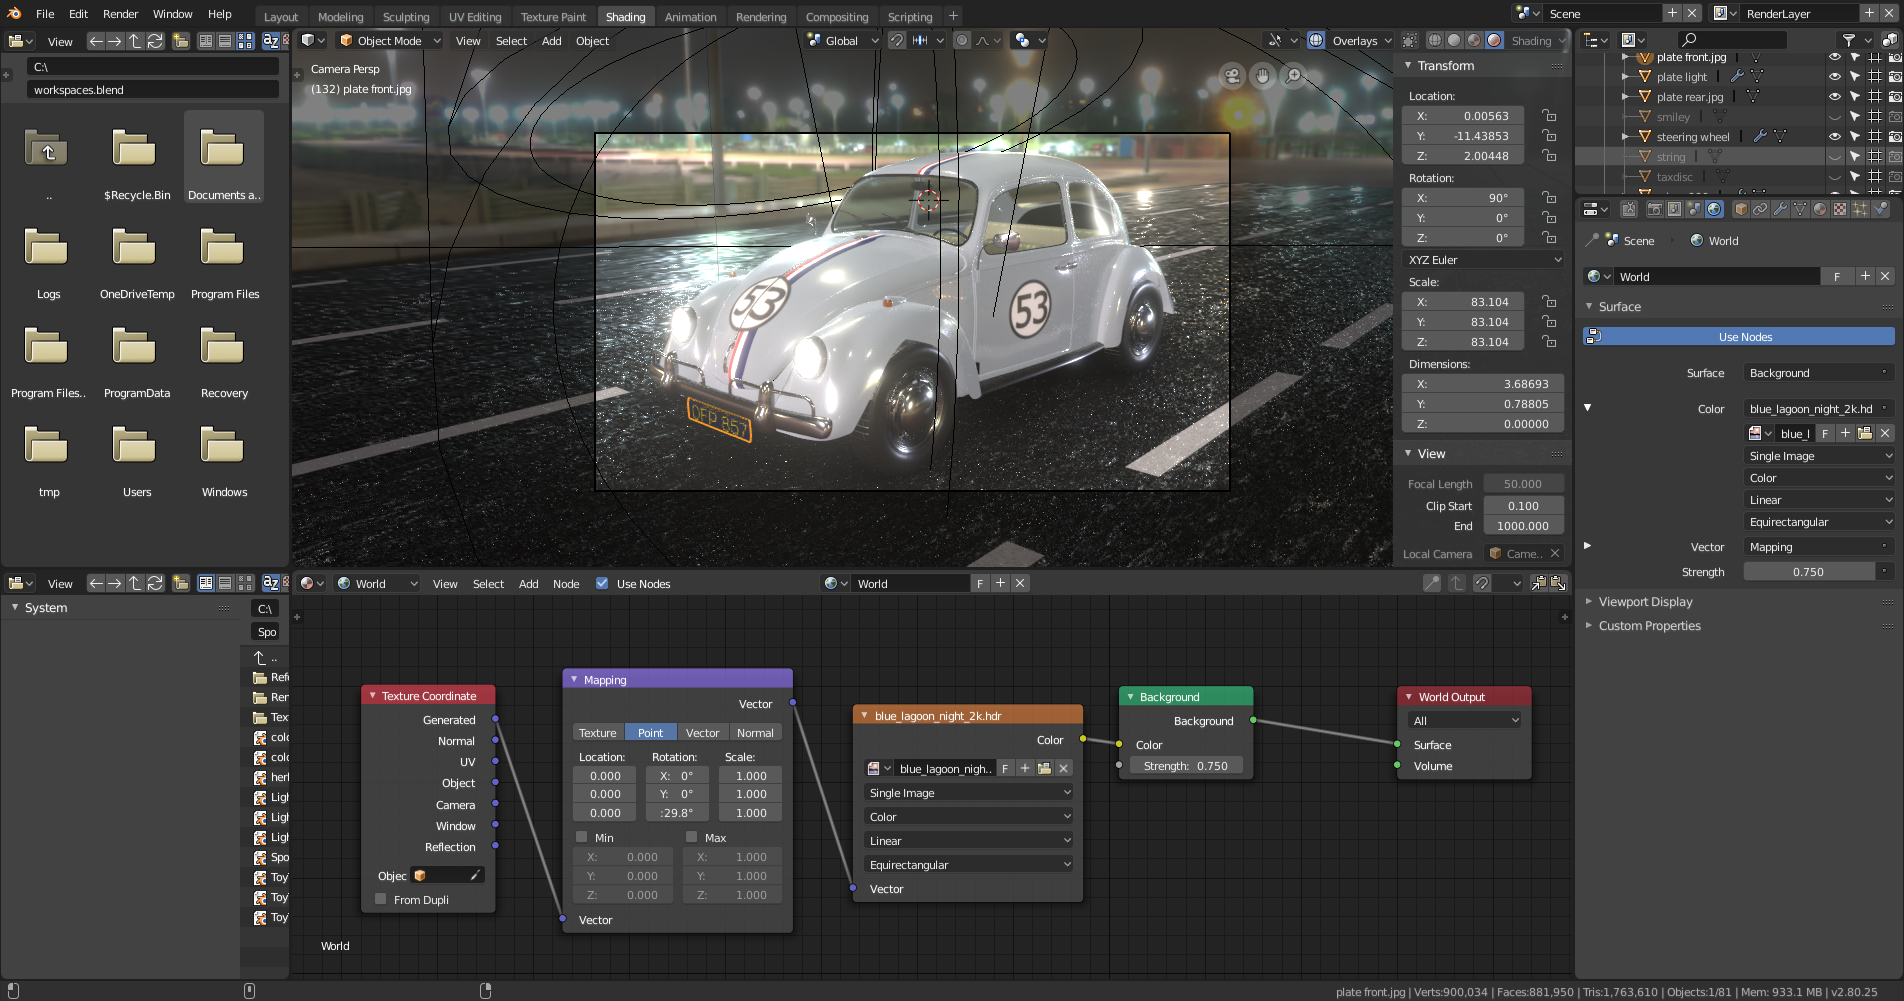
-
AuthorPosts


- The topic ‘BC4-1810 HOMEWORK, DiggnDeeper’ is closed to new replies.