BC1-1808 Homework, Curtis Rhoads

Forum Archive BC1-1808 Homework, Curtis Rhoads

Viewing 9 posts - 16 through 24 (of 24 total)
  • Author
    Posts
  • #40511
    smurfmier1985
    Participant

      @curtisrhoads You got some nice details in there, well done 👍🏻

      #40512
      Kent Trammell
      Participant

        @curtisrhoads Looking good, Curtis! Makes me think of a UFO with a star trek aesthetic. I dig it. Nice work – an A in my book 👍

        #40513
        silentheart00
        Participant

          Hey, you got something done.  Good job!  Maybe not everything you wanted, but you got something done.  You can always work on it after the class, too.

          #40514
          Curtis Rhoads
          Participant

            LOOK!!!!! I’m doing something early!!!!   😀
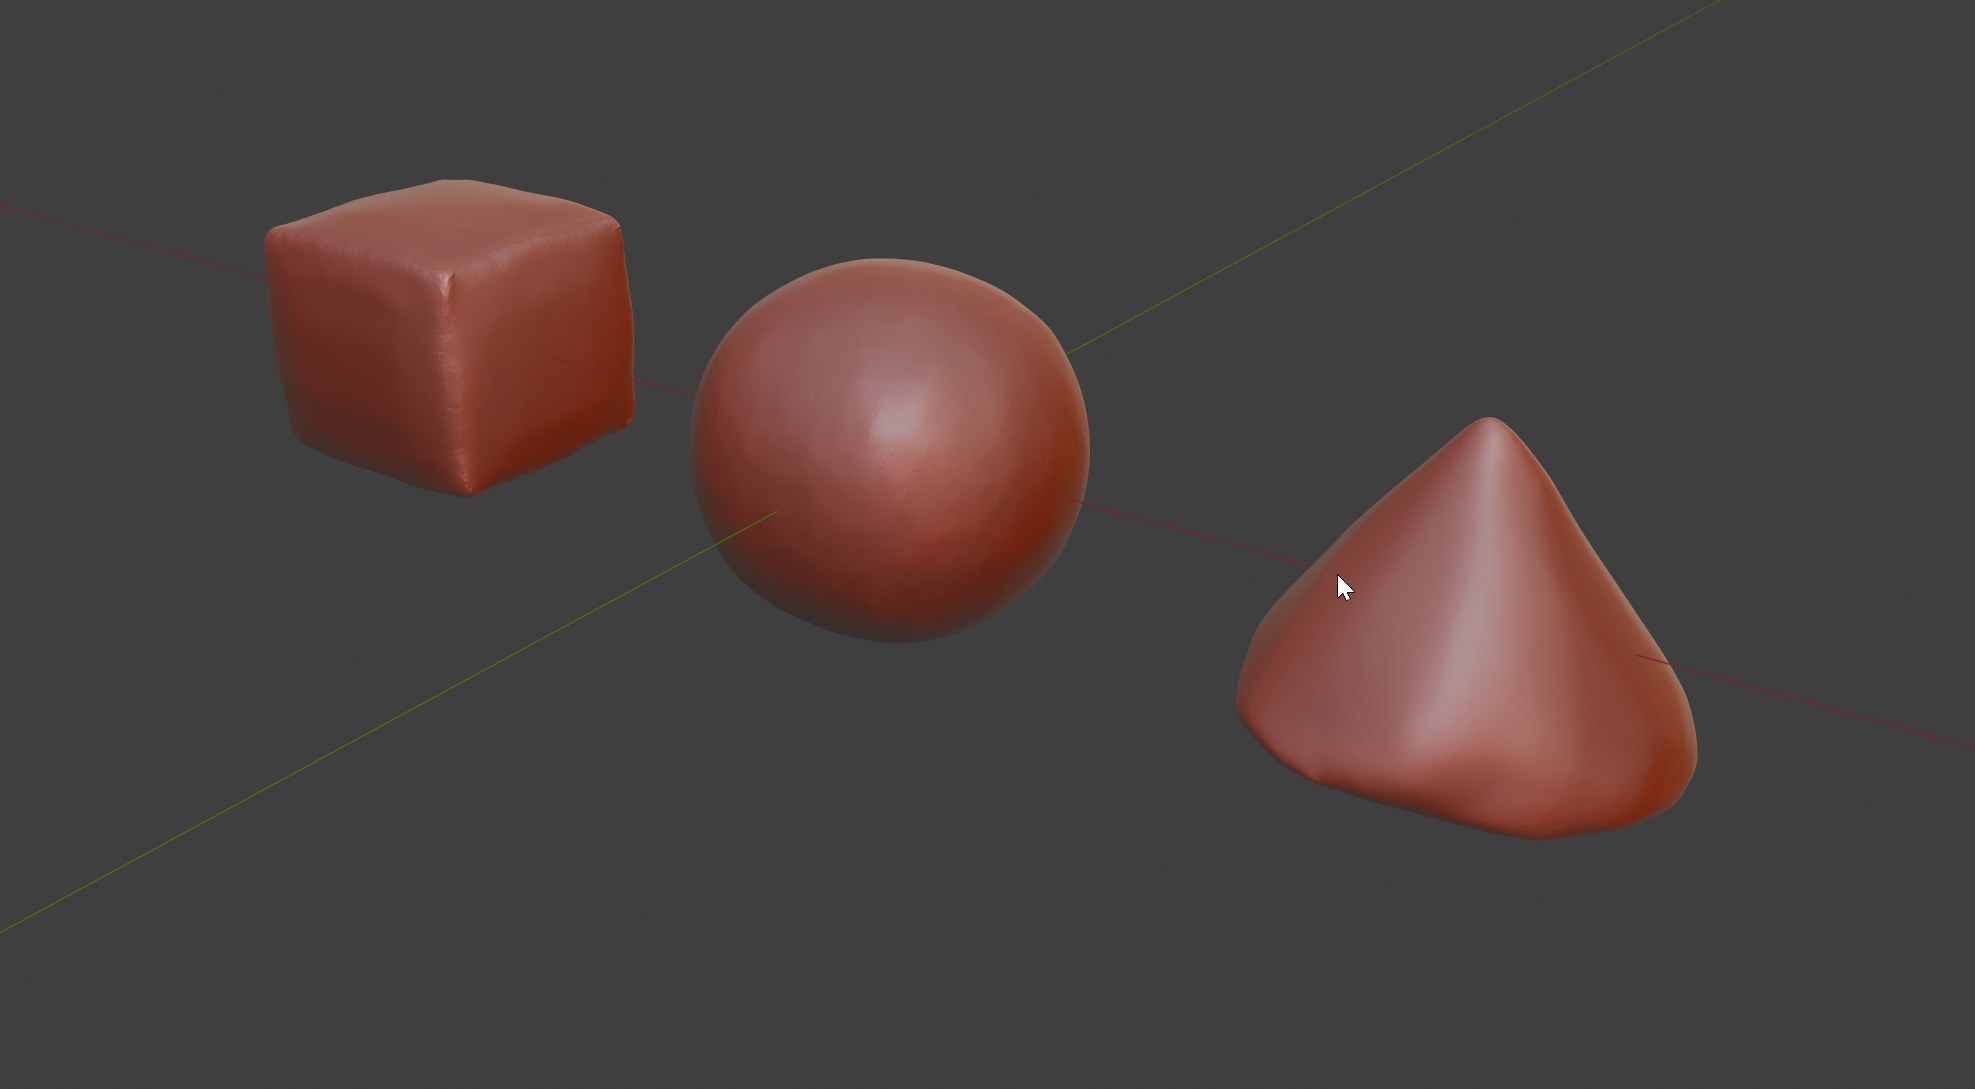
            So, for the first time actually using sculpt for something other than just messing around, I don’t think they came out too bad. The cone does look like a Hersey’s Kiss, which I was munching on while working on this exercise. Perhaps some subliminal message?!?

            I couldn’t seem to get things to sharpen up like I wanted, but I’m sure that will come with practice or it won’t… If anyone has any tips for sharpening up things like edges, let me know.

            Now, forward onto Melvin!!! Let’s see how badly I can mangle him!   🙂

            #40515
            Tishard Nathaniel
            Participant

              @curtisrhoads looks like one of those altered carbon space car 

              #40516
              Ken Claassen
              Participant

                @curtisrhoads Nice Start. Sharpening edges is done mostly with an inverted crease brush or the pinch tool. I would recommend the pinch tool for the point of the cone, drag it a bit higher and pinch pinch pinch. Keep doing that until its sharp as you want it. For the bottom of the cone you first need to use the crease brush while holding ctrl (inverted) until you get the edge in the place you want. However, once the edge is in place use the pinch brush and brush along the edge until its sharper.

                The difference between the two brushes is that the crease brush pushes or pulls (inverted) the vertices in and out in addition to pulling them closer together. The pinch brush simply pulls all vertices under the brush closer together without affecting the surface level. 

                #40517
                silentheart00
                Participant

                  @curtisrhoads Hey, good work!  I agree with Kenneth’s suggestions.  The sphere looks a little blocky, not quite spherical, but hey, you did the exercise.  Go get Melvin!

                  #40518
                  Kent Trammell
                  Participant

                    @curtisrhoads Looking good, Curtis. Polishing edges to be sharper and straight mostly comes from simply spending more time on the shapes. But what you have is more than fine to earn an A.

                    And thanks for the craving….now where can I get hershey kisses in the next 4 minutes…

                    #40519
                    Wilco Wilbrink
                    Participant

                      @curtisrhoads Hey, nice work! I’m curious how the Melvin is going.

                      Like Kent said in the video: To get crisp edges you use a combination of the Crease-tool and the Pinch-tool. And don’t forget to set the Dyntopo Refine method (in the top right corner) to Subdivide Edges. You will not get a crisp edge if you use Subdivide Collapse.

                    Viewing 9 posts - 16 through 24 (of 24 total)
                    • The topic ‘BC1-1808 Homework, Curtis Rhoads’ is closed to new replies.