
Reply To: [ENDED] BC1-1808 – August 2018 Class Homepage – Getting Started with 3D Modeling & Blender 2.8
Forum Archive › [ENDED] BC1-1808 – August 2018 Class Homepage – Getting Started with 3D Modeling & Blender 2.8 › Reply To: [ENDED] BC1-1808 – August 2018 Class Homepage – Getting Started with 3D Modeling & Blender 2.8

@yukinoh1989 Glad to hear it! To add a material to an object simply head over to the material panel on the right and you’ll be able to edit it there. If the object doesn’t have a material already (it appears only the default cube starts with one) there’ll be a big “New” button, so hit that.
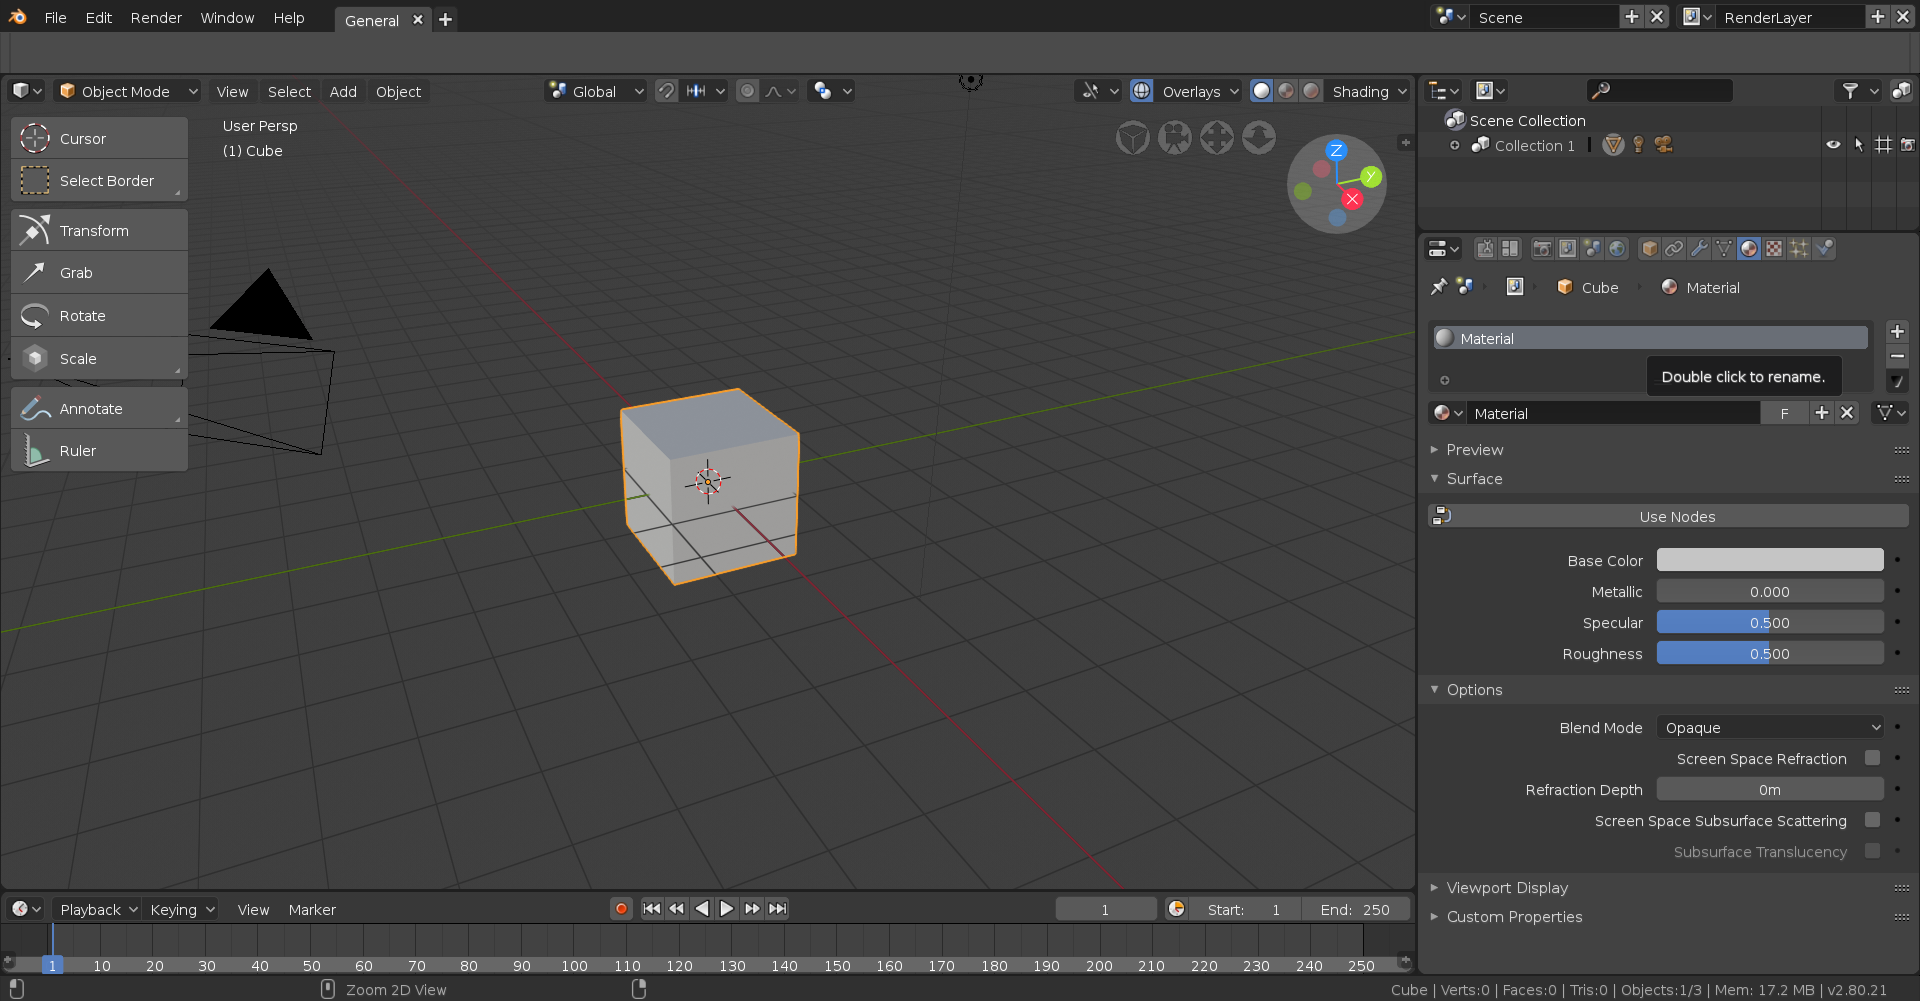
Now there is something called the Node Editor (renamed the Shader Editor in 2.8) but that’s quite advanced and for what we’re doing here unnecessary so lets look at what’s in front of us.
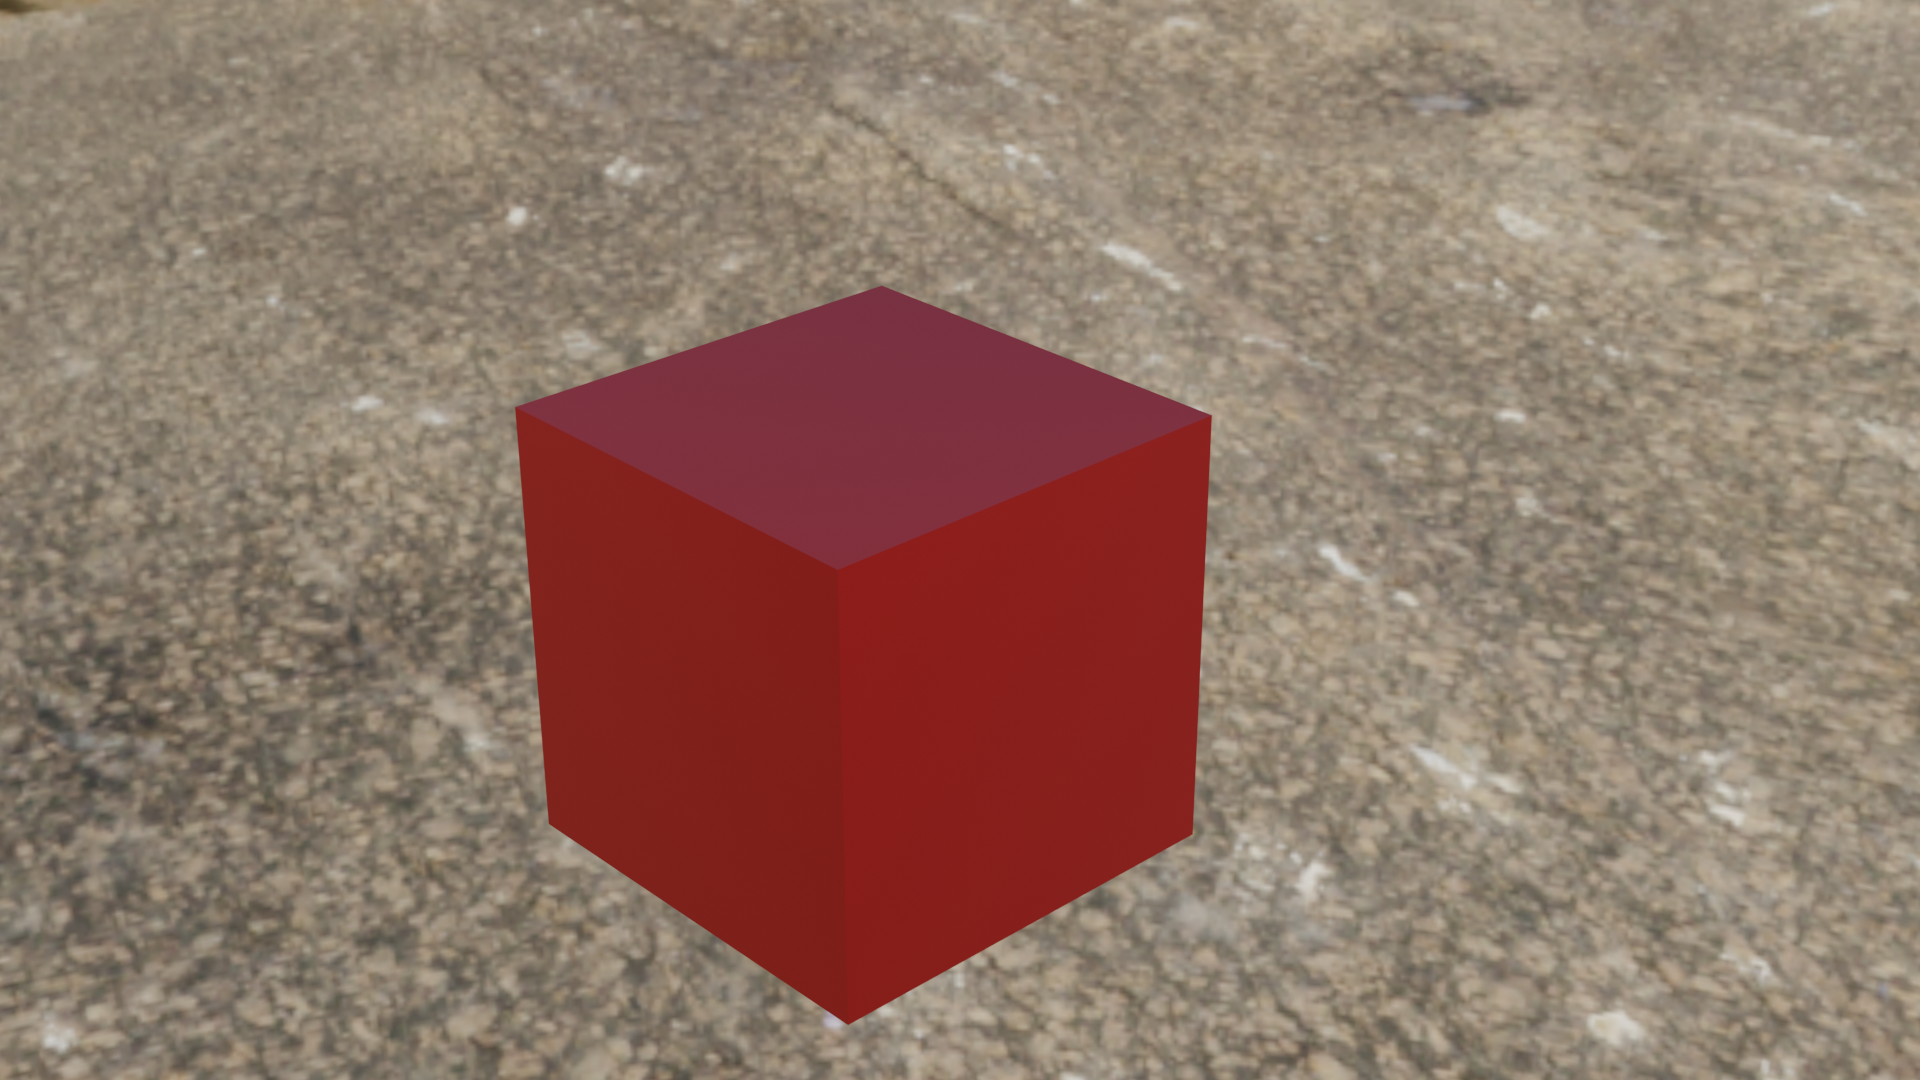
The only options we need to concern ourselves with now are under the Surface tab: Base Colour, Metallic and Roughness. Base Colour is fairly self explanatory, and determines the colour of the mesh. Metallic determines if the material is metal or not, you’re going to want to set this to either 1 for metal, or 0 for non-metal, inbetweens typically look rather funky and unrealistic.
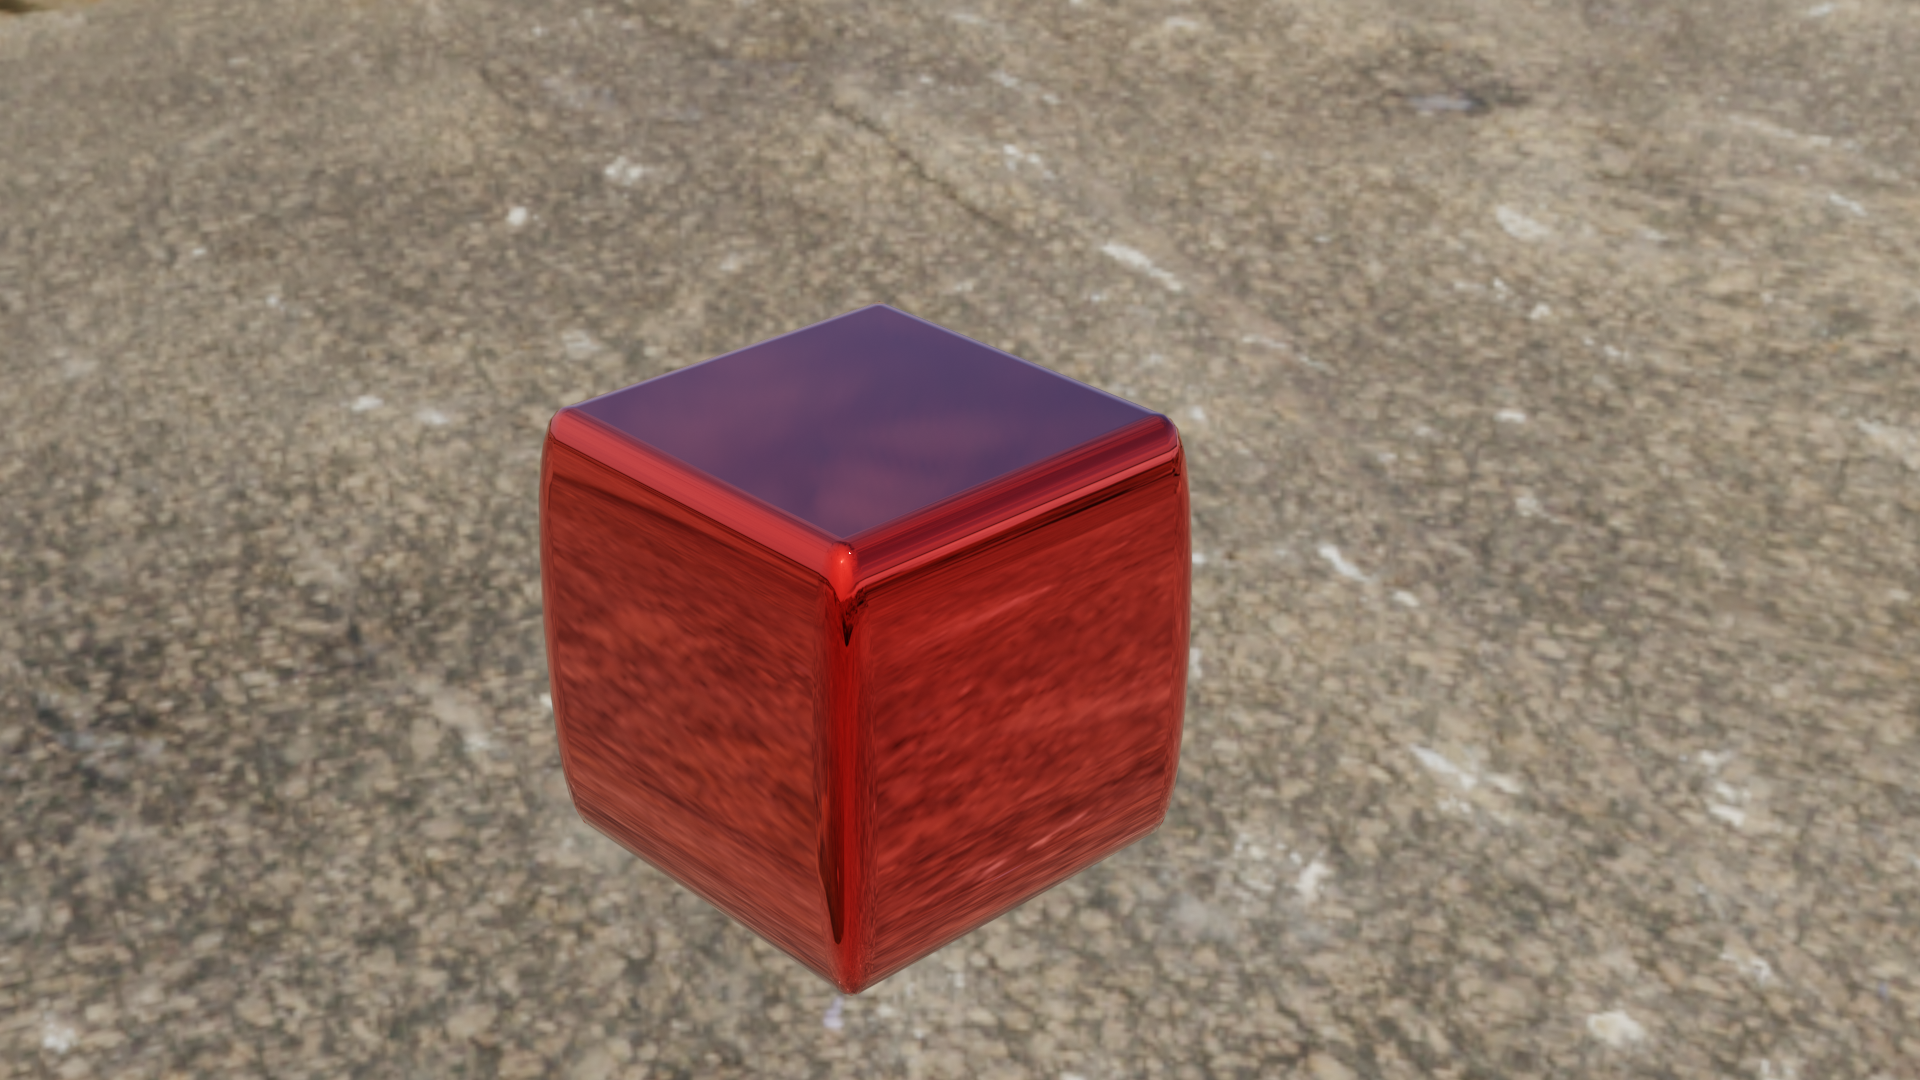
Here’s a cube with Metallic at 1:
And here’s a cube with Metallic at 0:
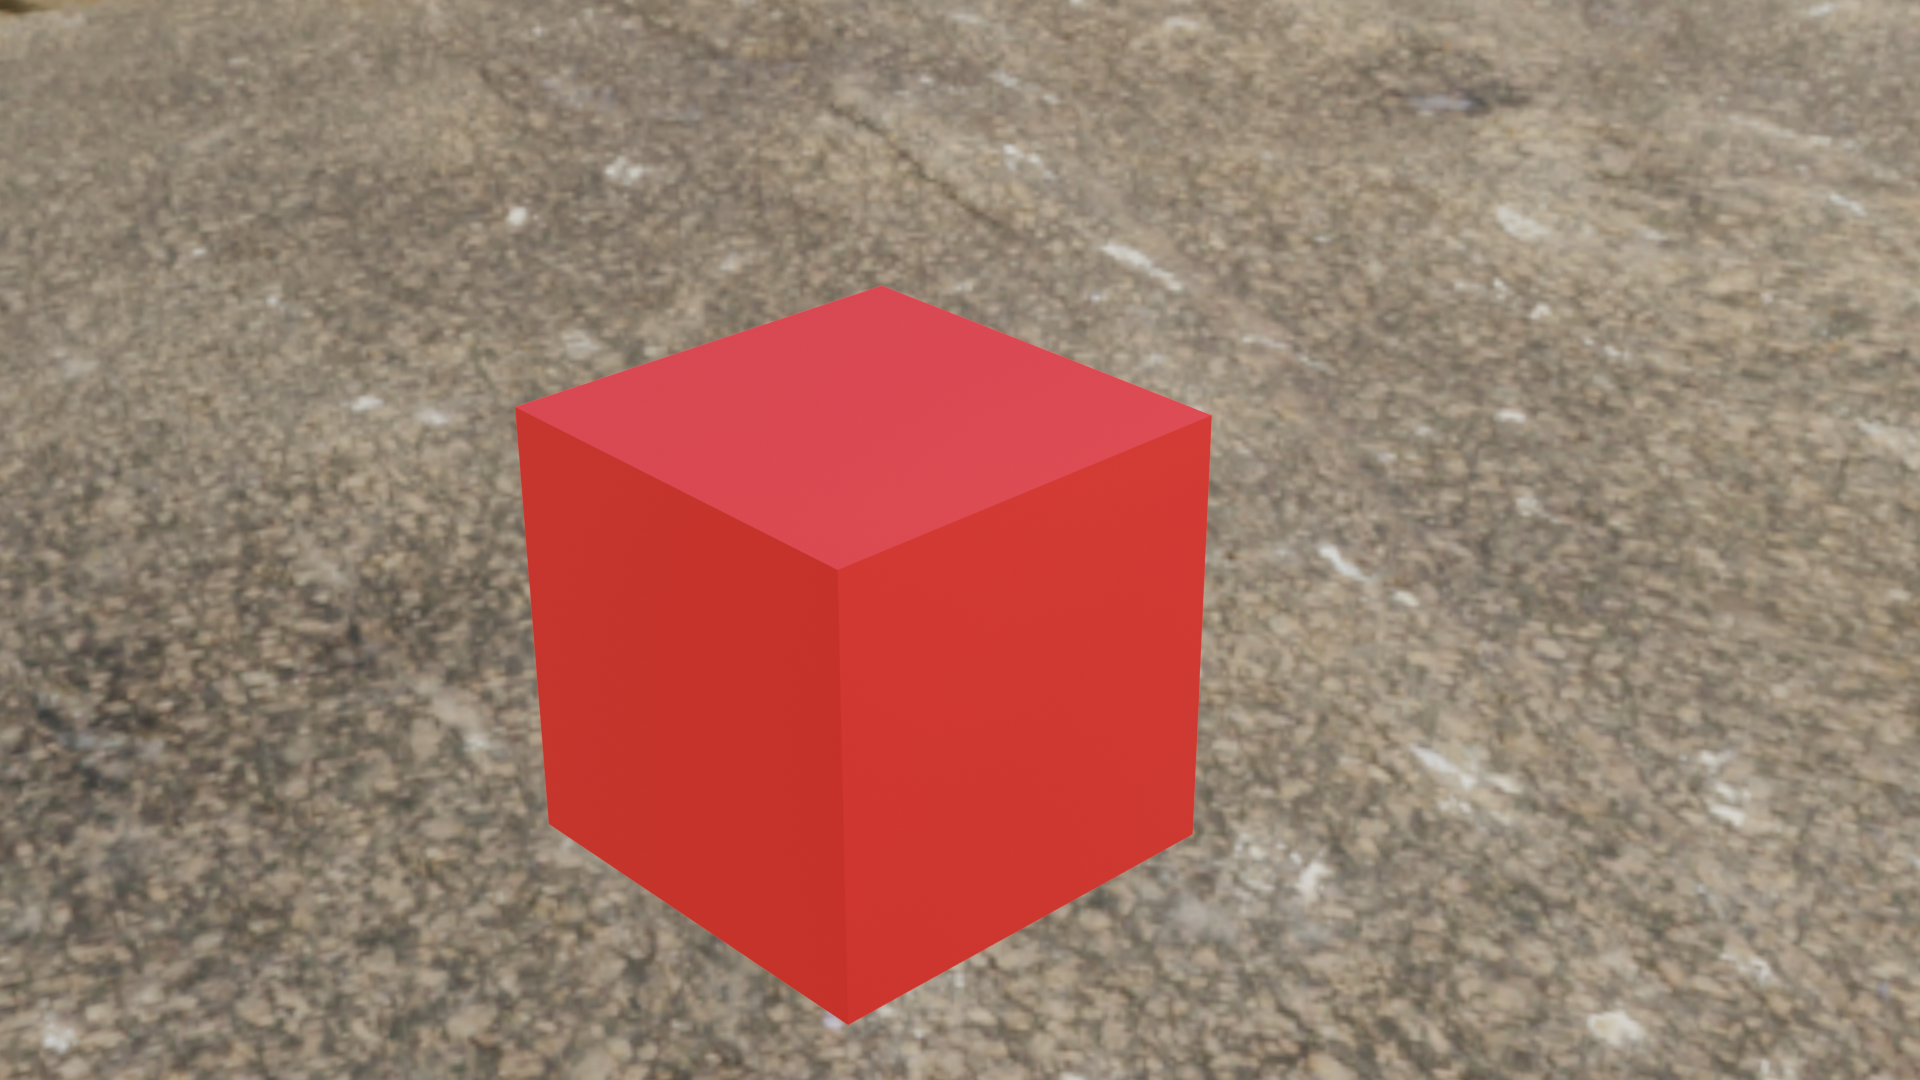
As you can see the difference is rather large. Obviously it’d be easier to showcase if I had a more complex/realistic mesh but this shall do. The final option you need to concern yourself with is Roughness, this determines how “shiny” the material is (both of these renders were at a roughness of 0.5). Unlike Metallic feel free to fiddle about with this.
Here’s a cube with Metallic at 1 and Roughness at 1:
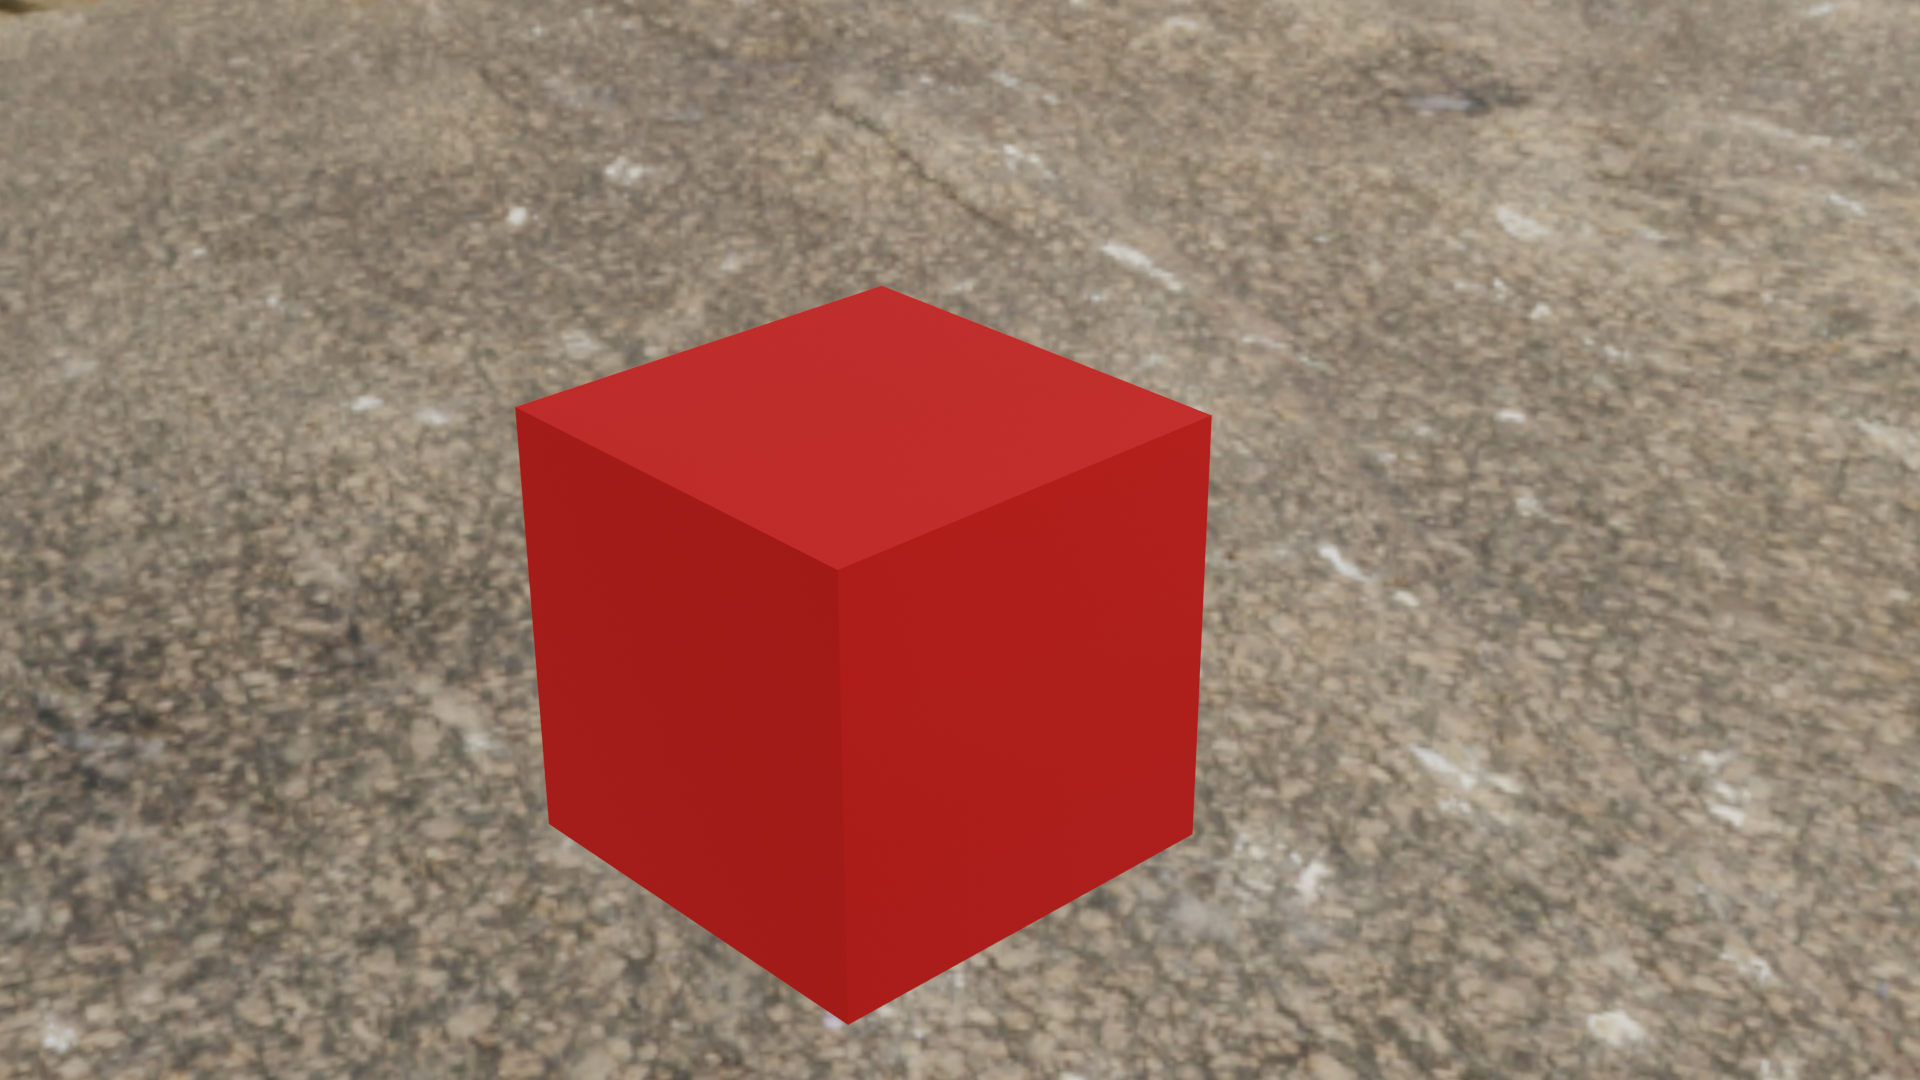
And here’s a cube with Metallic at 1 and Roughness at 0 (which makes it completely reflective, so I added more geometry to the cube and made it smoother to make it reflect better):
Hope this clears a bunch of things up!