Now, I’ve manually snapped the “UV vertices” for the two mesh faces hightlighted in the image below and the texture on the right toe in the highlighted face looks normal. It has to be taken into account, that the two side toes at the front of each claw have been scaled down slightly before attaching them to the claw during the modeling phase of Piero so that the same texture area has to be stretched to a bigger face on the center toe seen at the right side of the image below:
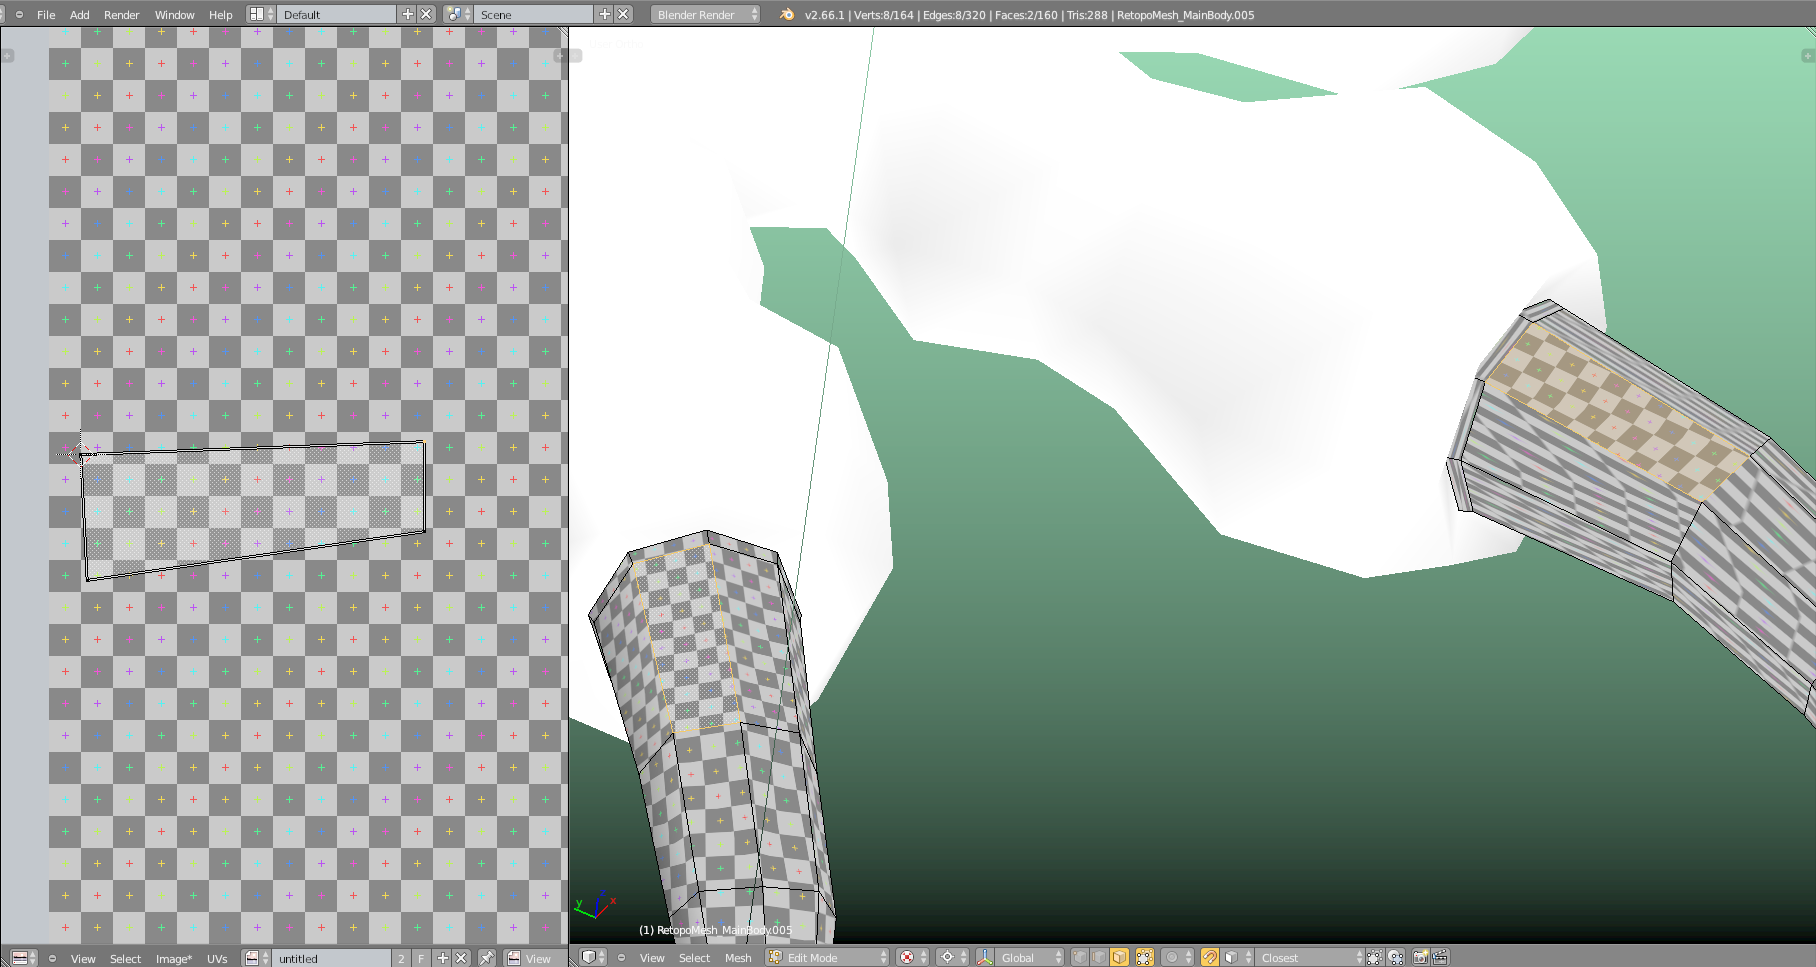
How can I prepare the mesh so that the “Join as UVs” command not only creates perfectly overlapping “UV Map Islands” but also makes sure that corresponding “Mesh Vertices” from all four toes of each claw share the same position in the “UV Map”?

