
Collab2021 – WIP – tiborbleuel
Forum Archive › Collab2021 – WIP – tiborbleuel
- This topic has 34 replies, 4 voices, and was last updated 5 years, 4 months ago by
Spirit.
-
AuthorPosts
-
April 6, 2021 at 3:00 pm #13740
this will be my homework submission forum thread
April 10, 2021 at 1:23 pm #65587Homework Submission – Week 1 – Mountain N
I tried out some different techniques for blocking out Mountains. I hope that is what you wanted for week one ^^ .
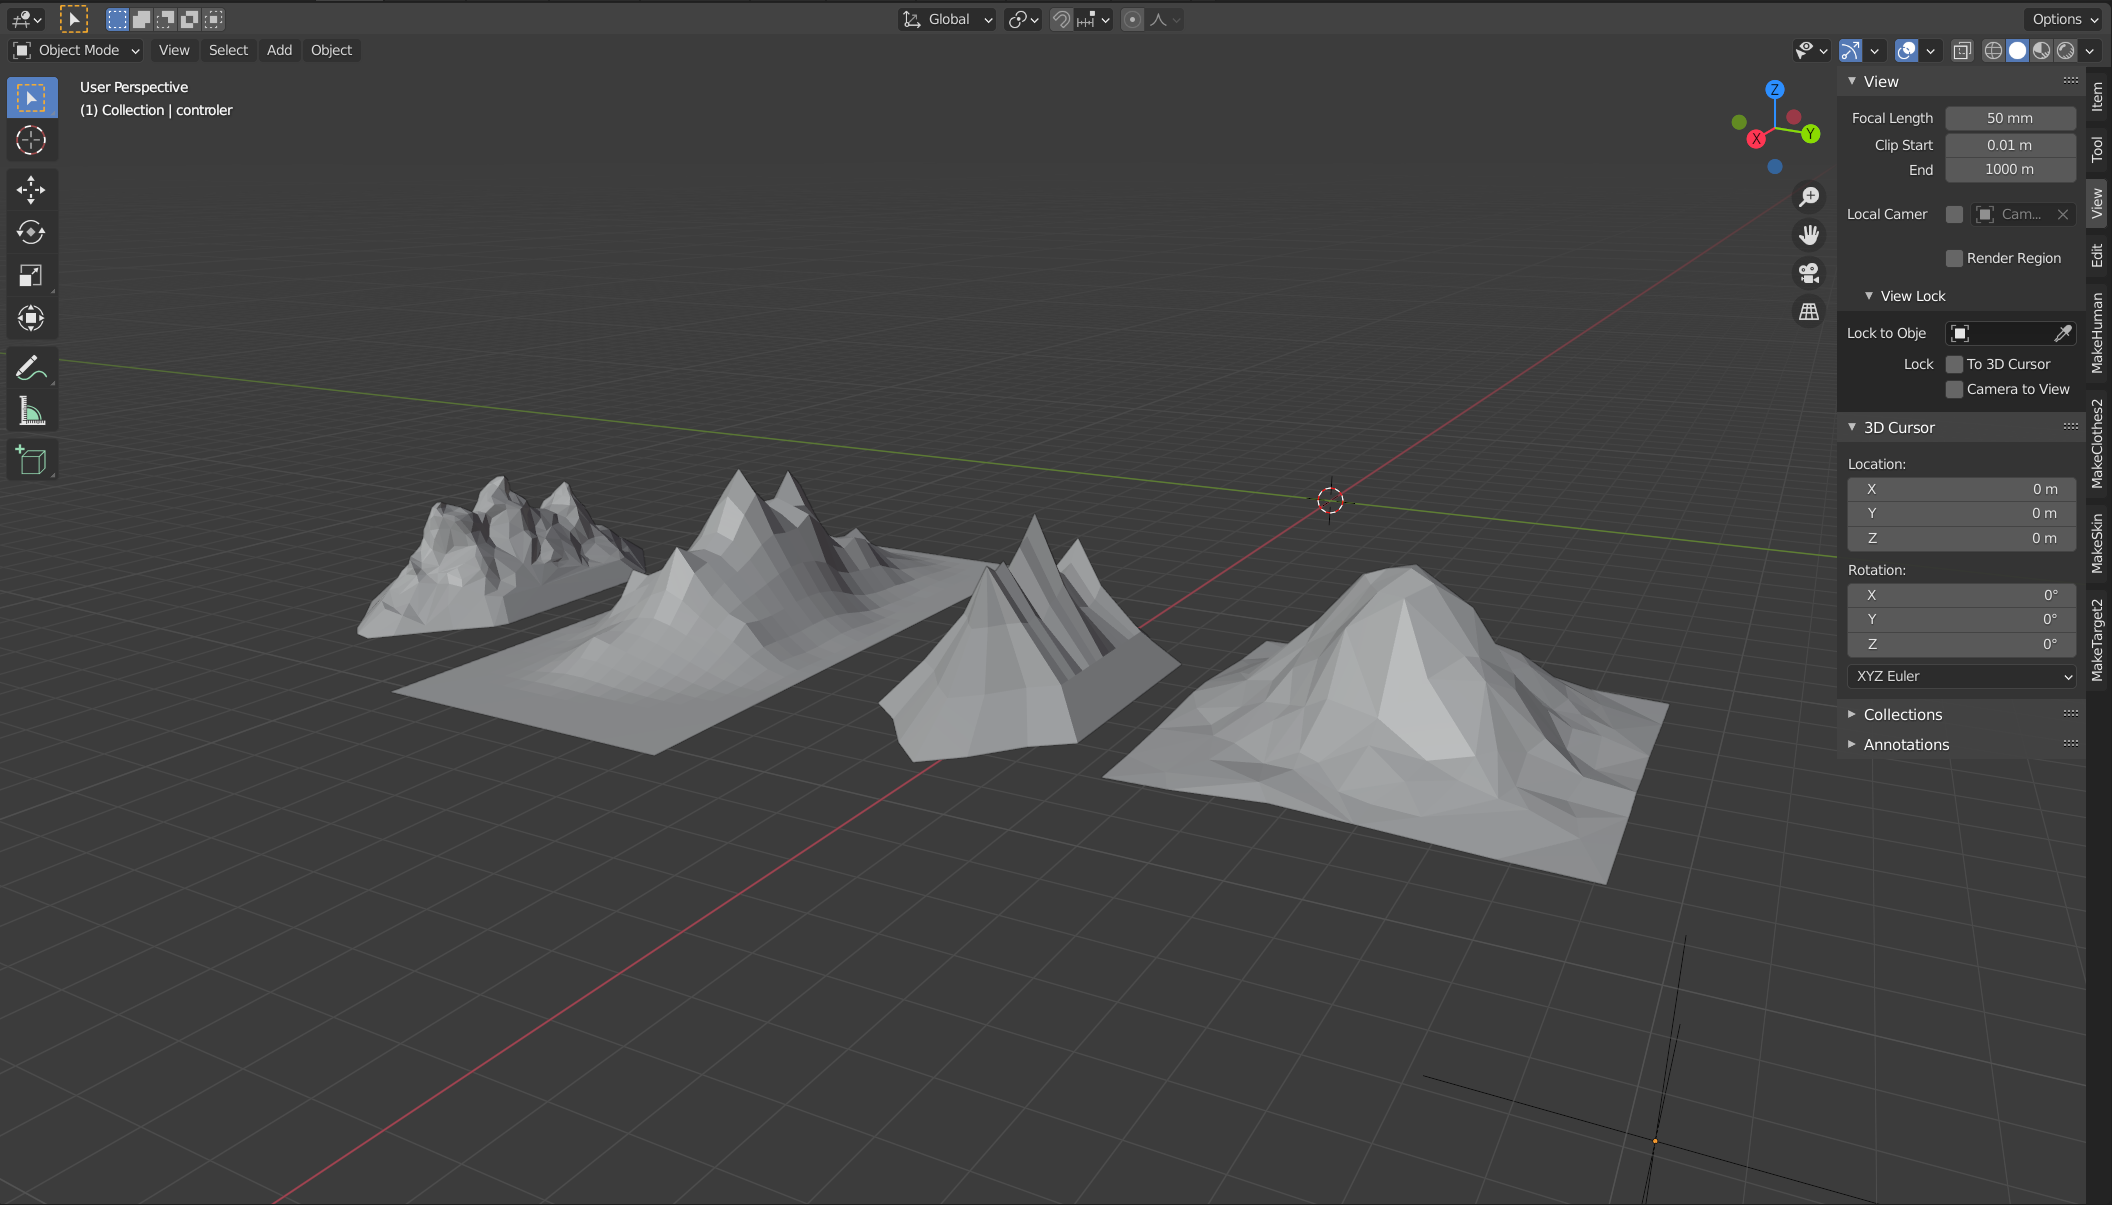
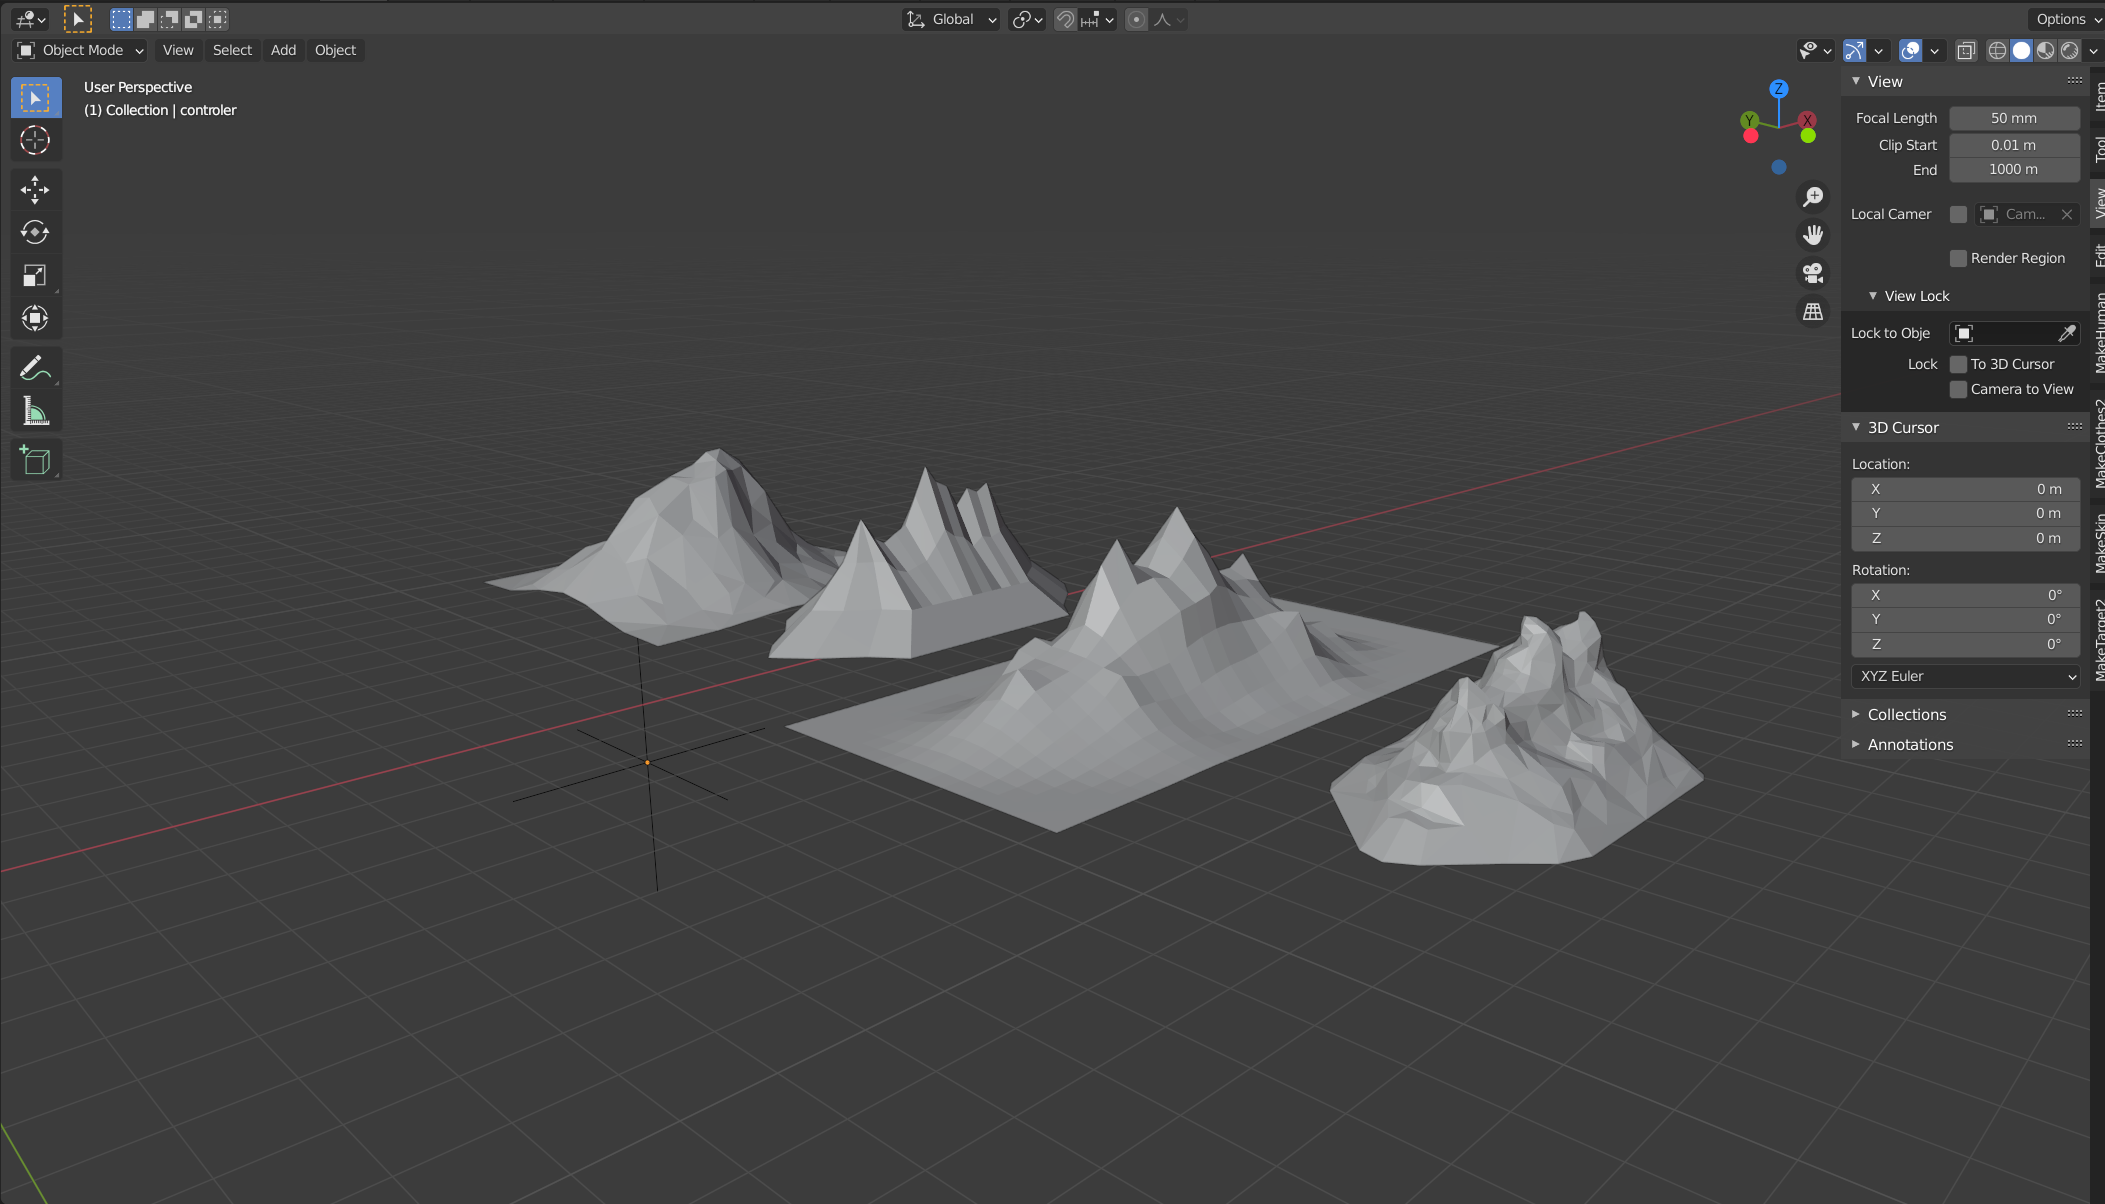
I also made a Low Poly Mountain generator to quickly get base meshes for sculpting 🙂
April 12, 2021 at 3:08 am #65588Like this mountain generator. As I understand it, we are to try and match the artwork with our models. Will your mountain generator give you a mountain closer to the artwork to save you to much effort in sculpting. I’m not very good at sculpting , but when I have to, I like to have a base mesh as close as possible to the silhouette of the reference and limit my sculpting to the details. Things start looking a bit ‘lumpy’ if I have to adjust the base shape. Do you have much experience with sculpting? Are you looking forward to the next stage?
April 12, 2021 at 6:04 am #65589Thank you for your feedback. I dont have lots of experience with sculpting but for the specific mountain N I will go with a polymodeled base mesh. I created this generator more for fun and maybe we will need som more mountains in the further background who knows 🙂 Im really looking forward to week 2 its going to be a challenge, a good one. And as Swiss I have to know how to model propper mountains ^^
April 12, 2021 at 6:19 am #65590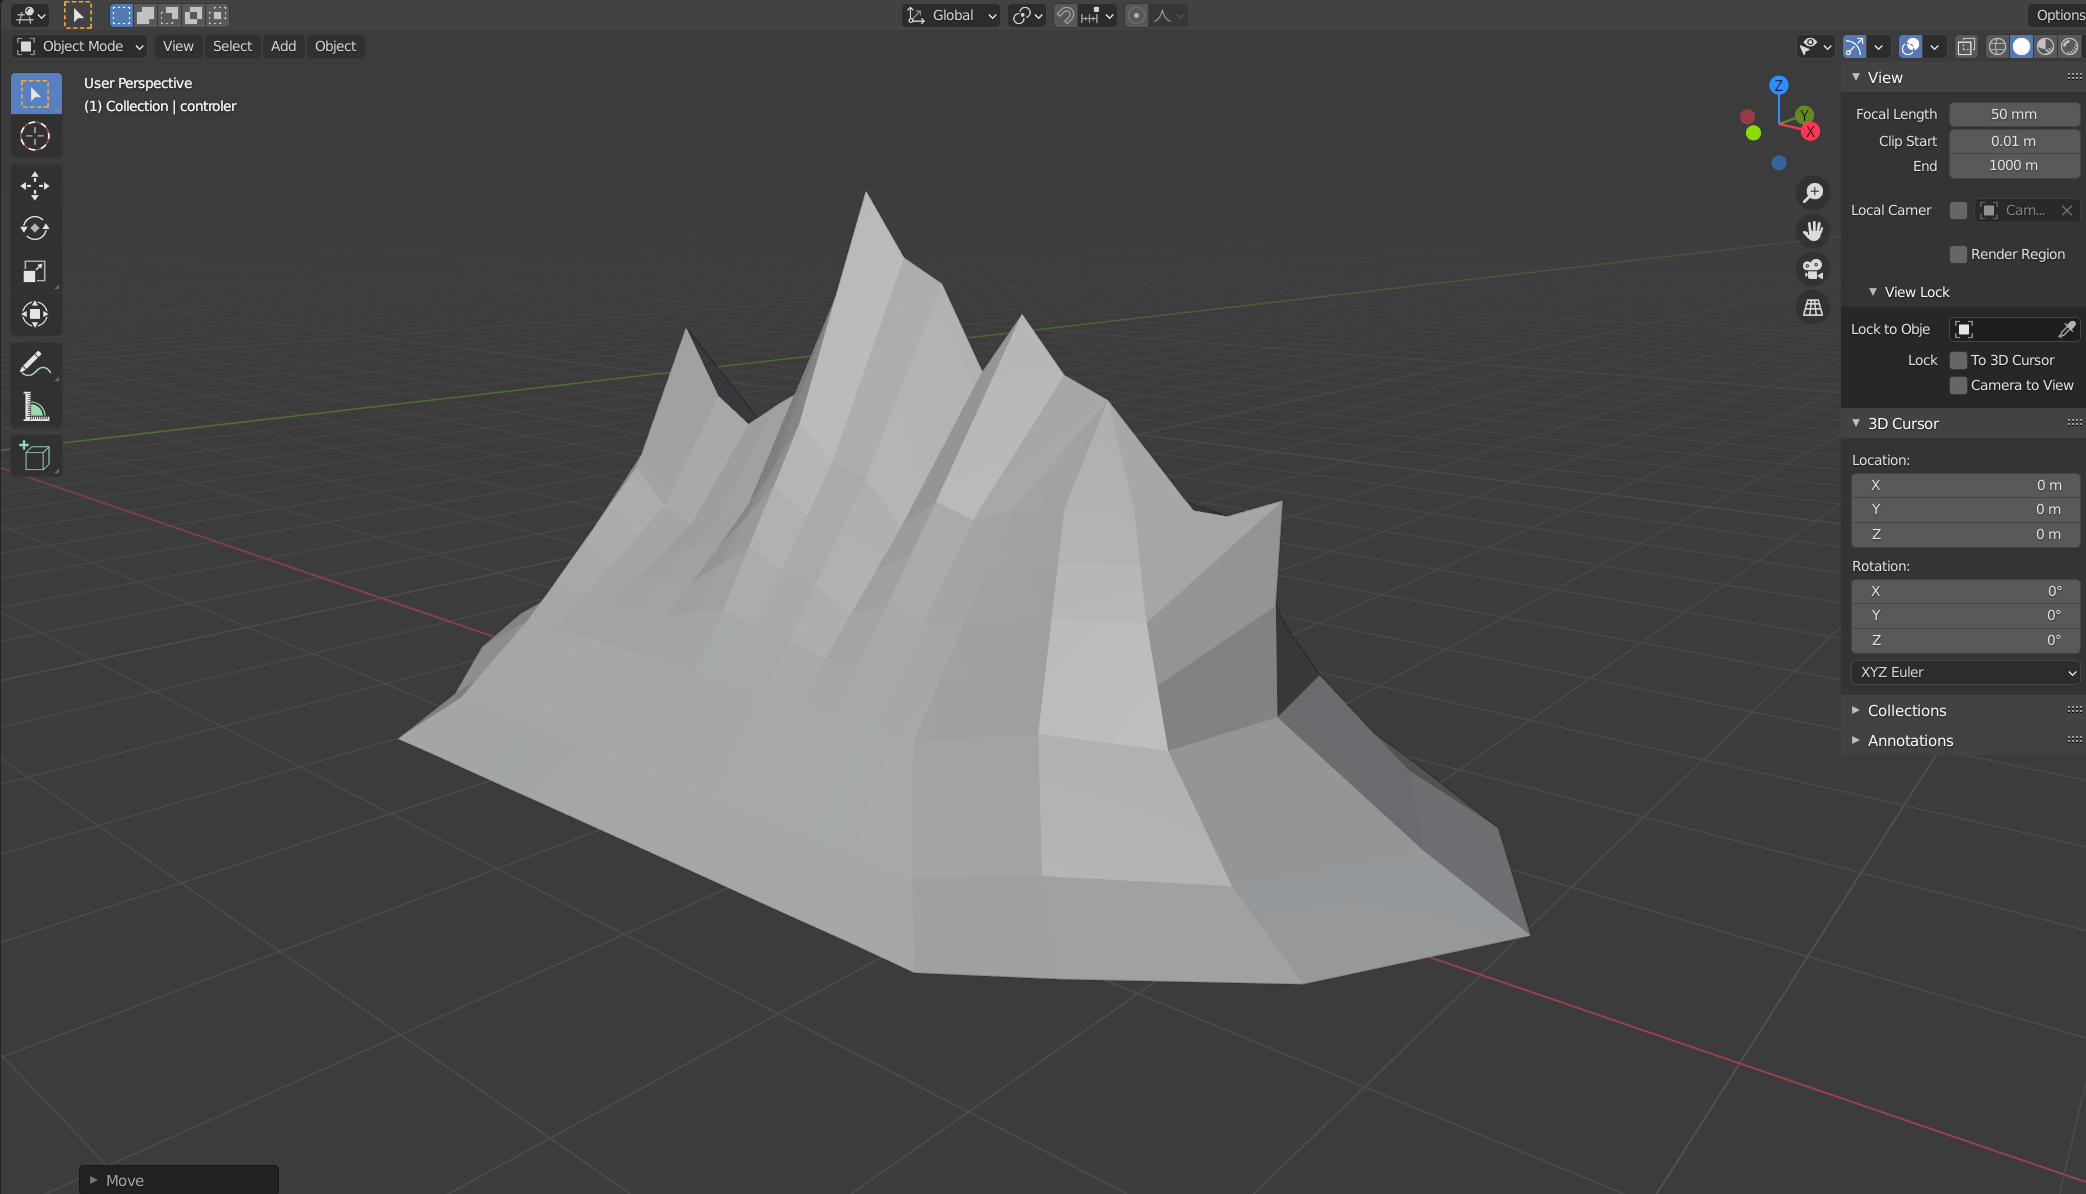
This is my current base mesh for mountain N
April 12, 2021 at 7:07 am #65591Ok you live in Switzerland. You know what a mountain looks like then. I live in the UK, I’m modelling the clouds, I know what they look like.
April 12, 2021 at 2:56 pm #65592WOW you made a mountain generator tool! I love seeing such resourcefulness from this community. Awesome job @tiborbleuel! You get full points plus some extra for the effort 👏
And yes, this is all I expected for week 1. Honestly I was envisioning each mountain asset to be a singular peak, but I’m interested to see how a multi-peak mountain could work out. For week 2 if you could sculpt a singular peak and then a multi-peak version if you have the time?
One small note: I think a circular mountain base will be better than a square base. Those pesky corners are harder to hide ambiguously in such situations.
April 12, 2021 at 3:54 pm #65593I am on it! 😀
April 13, 2021 at 5:20 pm #65594Ok so quick status report:
I found an awesome CC-0 Rock Brush set on Blendswap that lets me sculpt insane amount of detail really quickly.

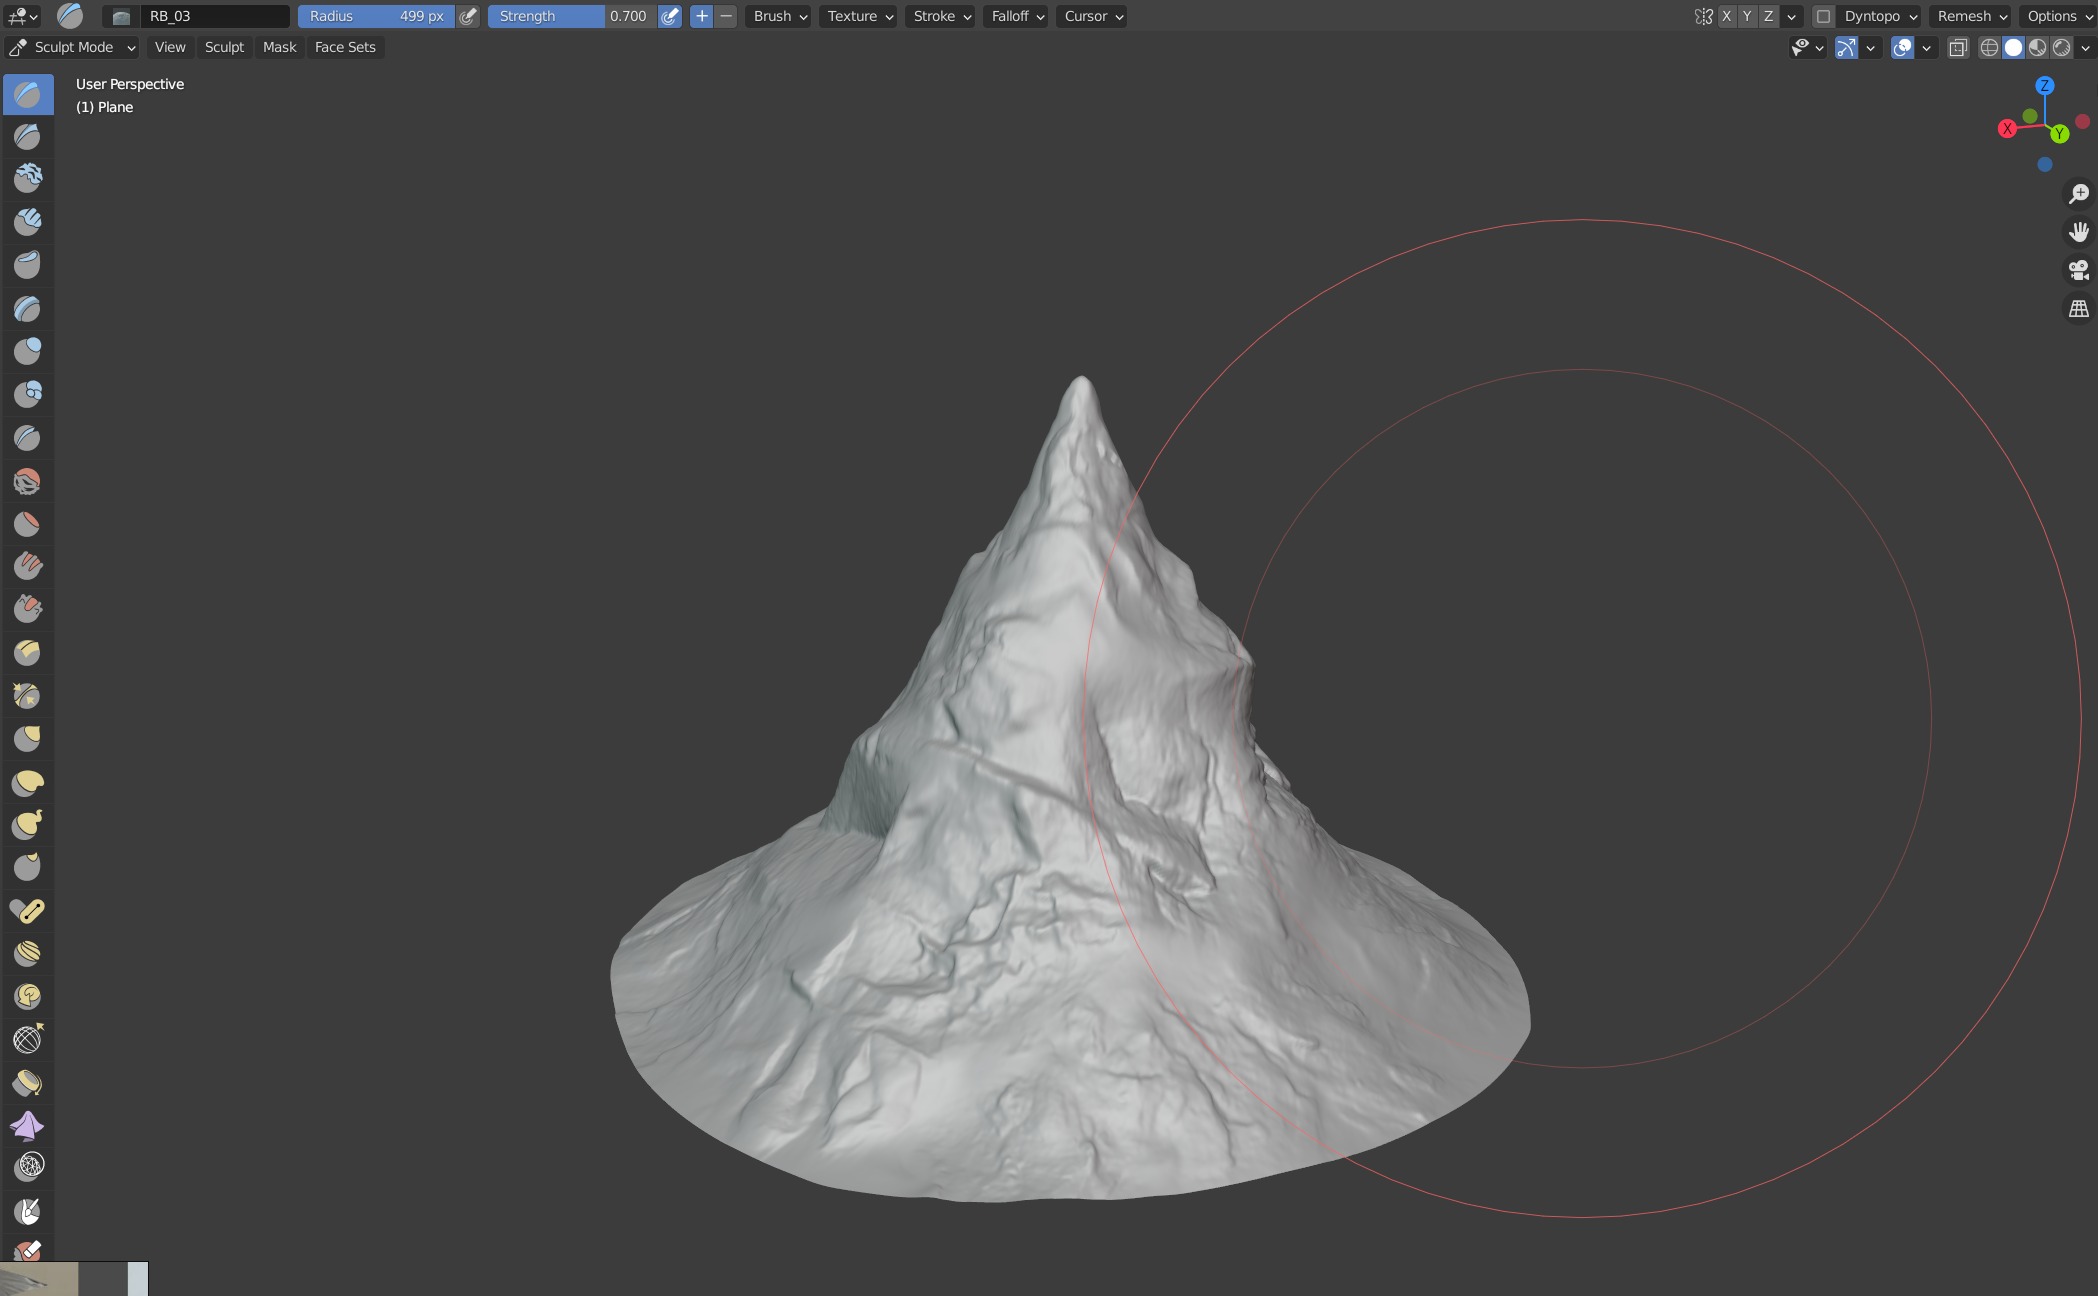
But I thought it almost looks to photoreal for the artstyle we try to achieve. So I also started sculpting the same mountain using the “Stack o Rocks” techniques and trying to get a more stylized mountain.

It is not finished yet but I am learning so much it´s awesome!
So what do you guys think with which technique should I continue?
@theluthier @adrian2301
April 14, 2021 at 10:04 pm #65595You’re doing awesome for your first sculpt! Getting used to the tools is a big first step.
The second 2 examples look the most promising to me. I’d even try blending the methods together: Roughing out the shape first (like the 3rd pic, red mountain) then adding finer texture detail (like the grey mountains).
I’d like spend some time sculpting a mountain tomorrow during the casual stream. If you watch please remind me!
April 15, 2021 at 4:57 am #65596You got this @tiborbleuel , Full points plus bonus for week 1. Forget the house, I see HERO mountains being made.
April 18, 2021 at 2:04 pm #65597Homework Submission – Week 2 – Mountain N
Ok so I sculpted Mountain N with Multi-res mainly using the scrape brush techique and then adding some detail with the rock brushes I found. I hope I got a style that matches the rest of our artwork.
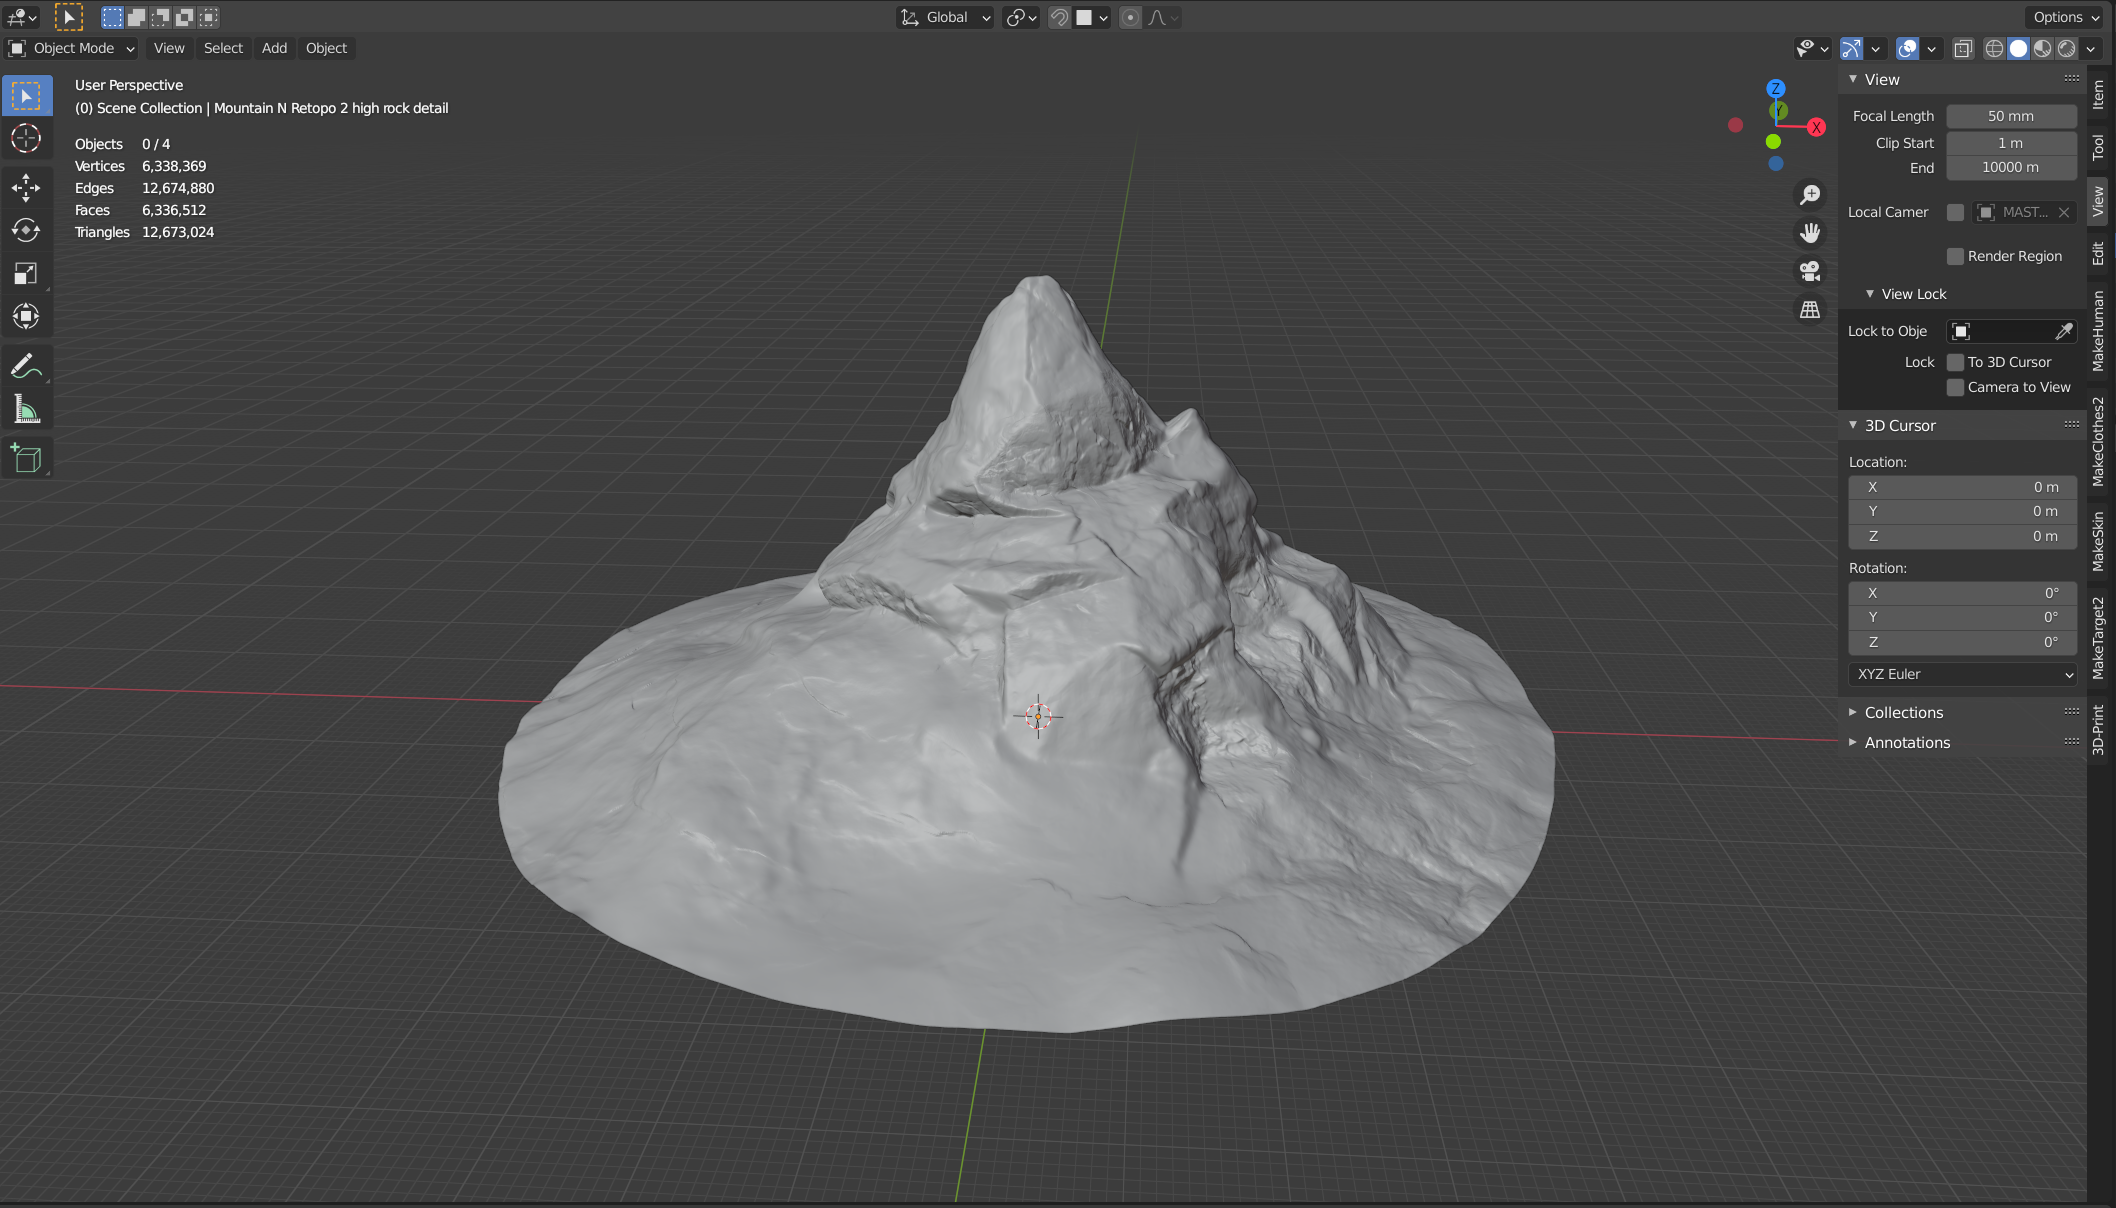
I then also did the retopology and tried baking the normal map which worked just fine I think.
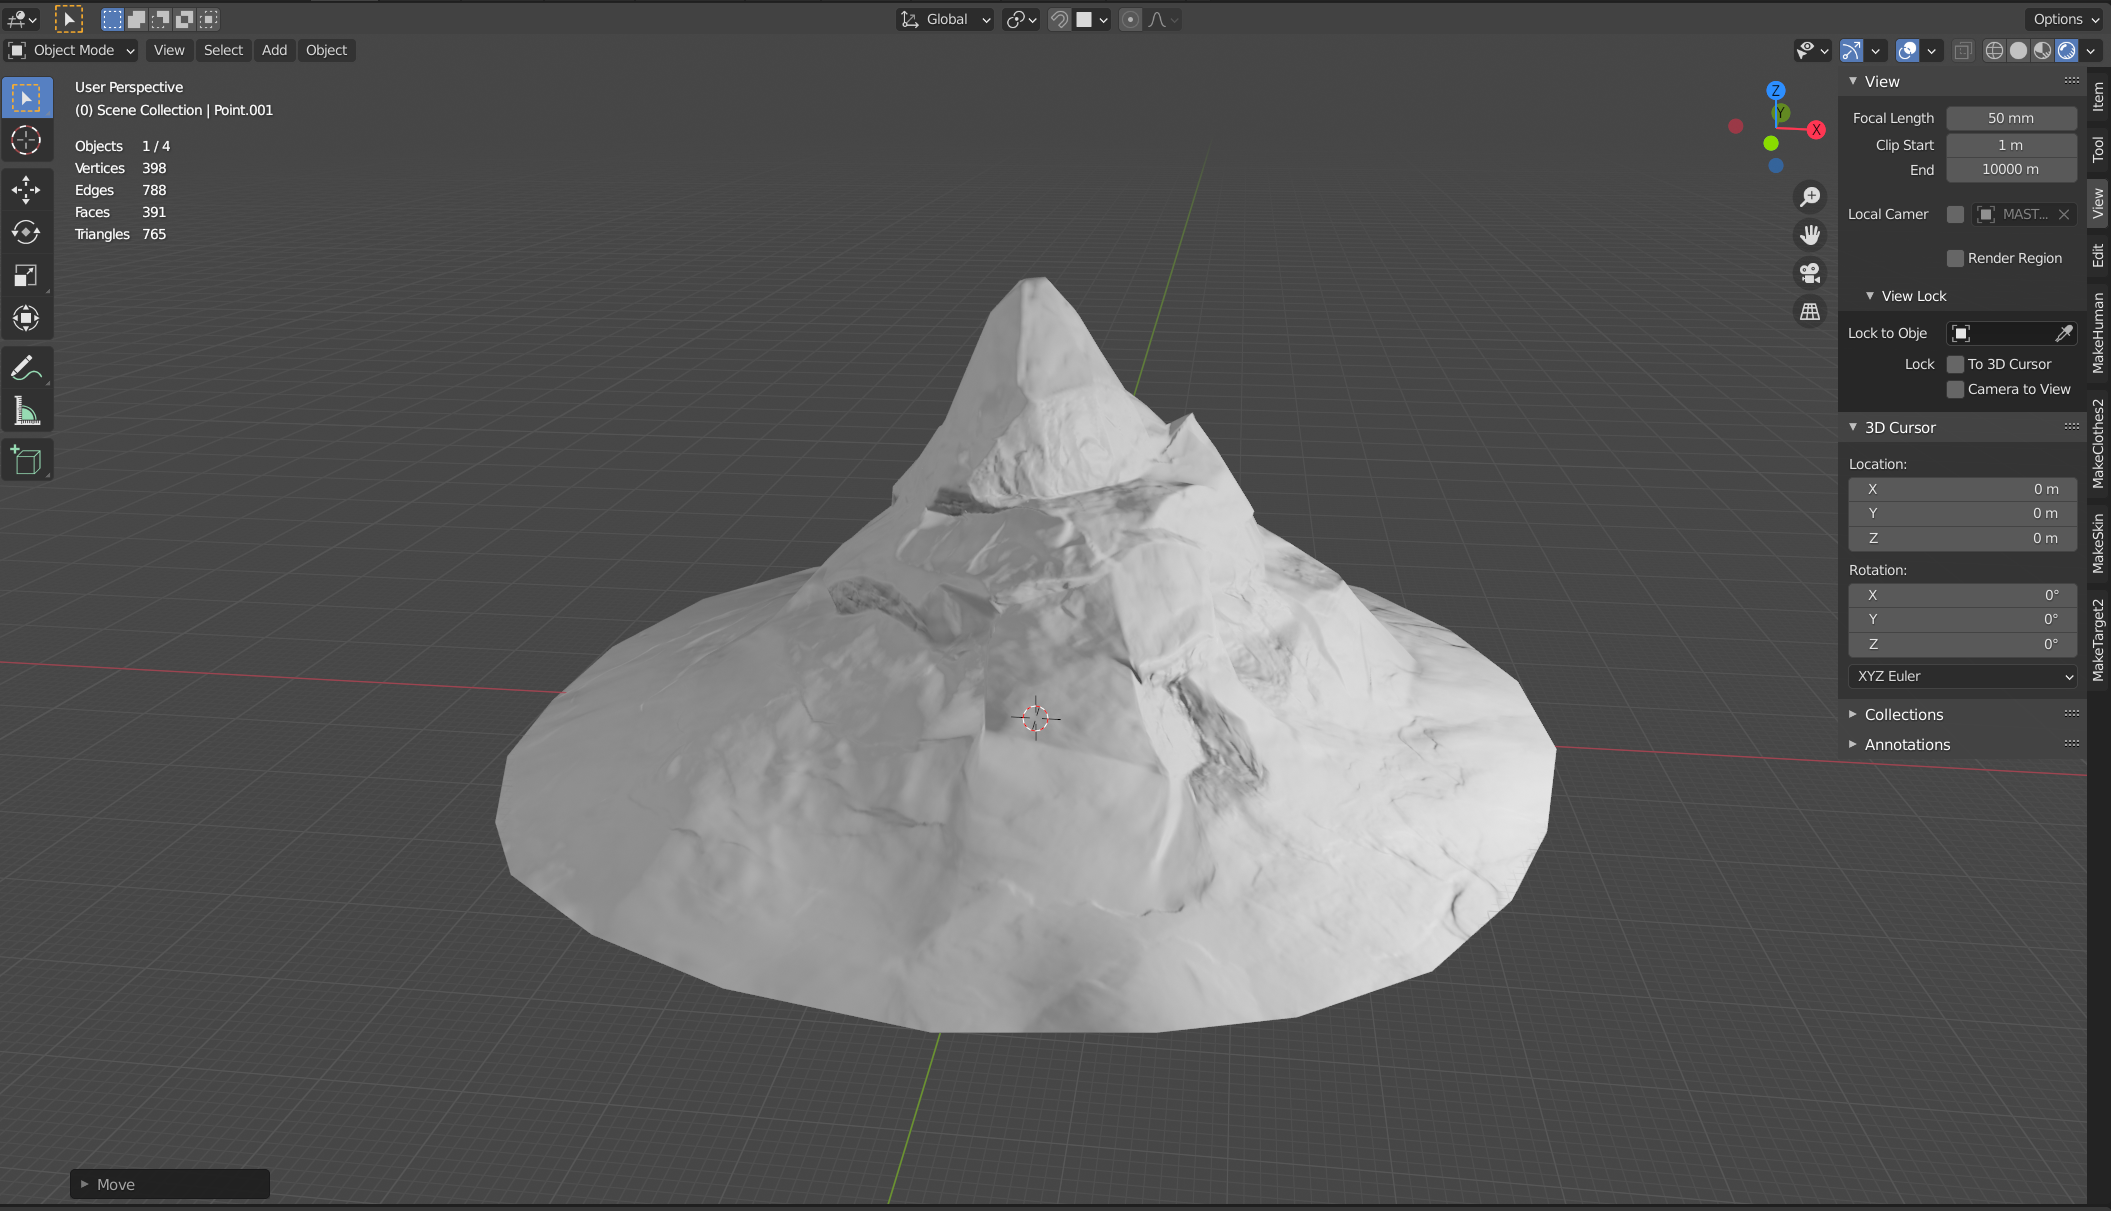
It is a really quick lighting setup nothing professional just to take a screenshot and there is no material yet so for a better impression you should be able to check my WIP file on google drive it should be synced.
Currently the baked low-poly mountain is at 391 faces. Is this to much or is it ok?
Thanks to everyone who took the time to give me feedback I have alredy learned so much!
I hope we can work with this 😀
April 18, 2021 at 2:50 pm #65598Nice work, wait for Kent’s critic to see what he says about poly count.
April 23, 2021 at 1:57 pm #65599Wonderful mountain sculpting @tiborbleuel! I think it will look great in the assembly file. My only note is that the LO poly looks a little too lo poly to me. Very straight-edged silhouette which isn’t good since the silhouette will be key for mountains shrouded in atmospheric fog.
Would you mind subdividing one level, shrink-wrapping to the sculpt, and baking maps again?
I’m very keen to link your mountain into the assembly file. But your current file is missing the Normal texture. Can you make sure to upload your texture(s) to the proper directory within SPICE-VENDORS-HOUSE/TEXTURES?
April 23, 2021 at 2:03 pm #65600CORRECTION: I see now that your lo-res is the base level of a multires modifier. So instead you just need to set the viewport and render level to 1 in the multires and bake to that instead of level 0.
I went ahead and did this to confirm the suggestion and saved as version 3. Looks good!
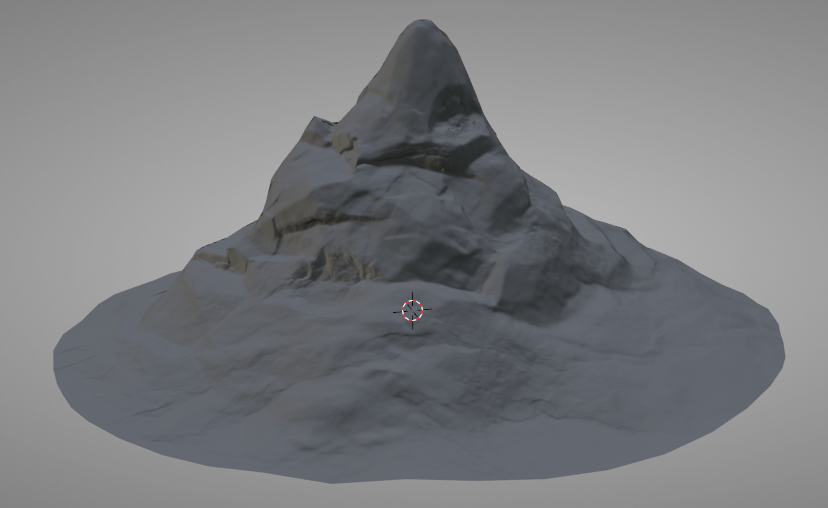
Onward to texturing!
-
AuthorPosts


- The topic ‘Collab2021 – WIP – tiborbleuel’ is closed to new replies.