
Painting Piero’s Feather Textures in GIMP: Duerer’s Progress
Forum Archive › Painting Piero’s Feather Textures in GIMP: Duerer’s Progress
- This topic has 21 replies, 3 voices, and was last updated 5 years, 11 months ago by
Ingmar Franz.
-
AuthorPosts
-
October 7, 2020 at 11:30 am #12848
I tried to render the fibres for Piero’s feathers in GIMP and found “Solid Noise”:
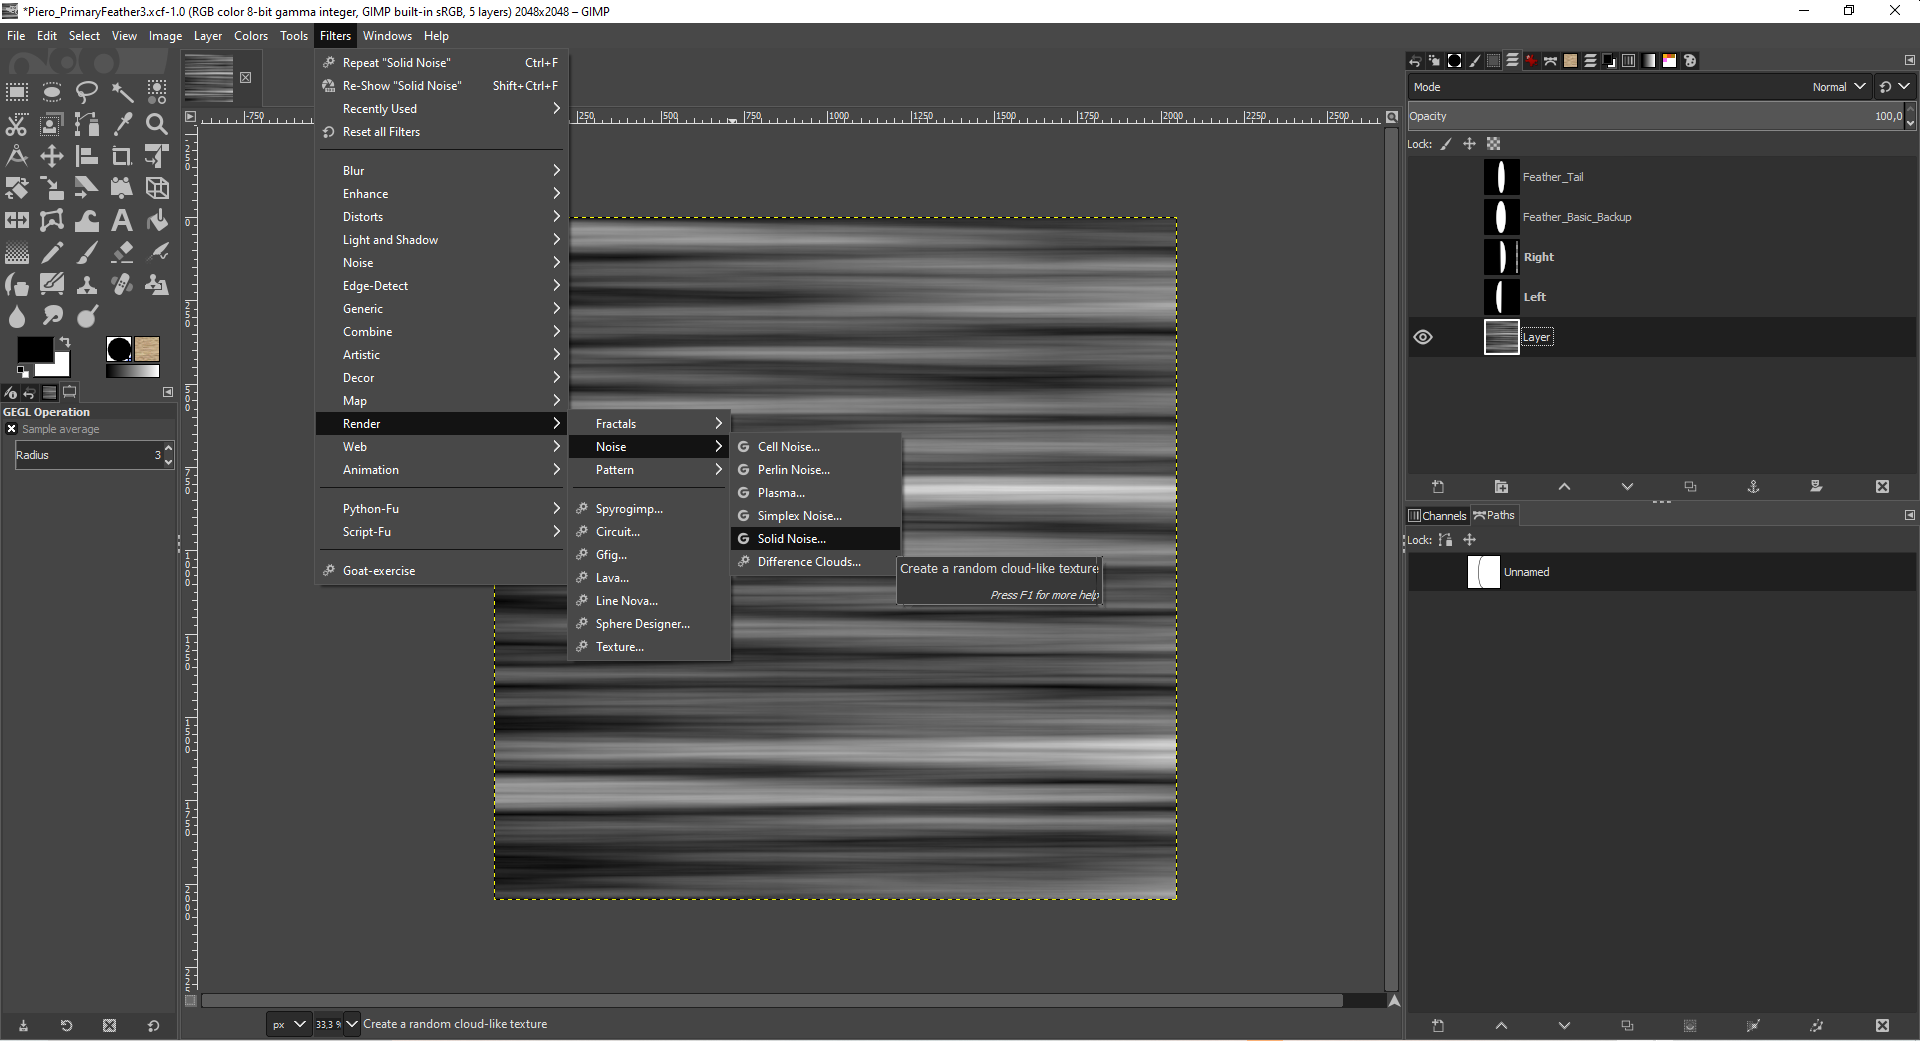
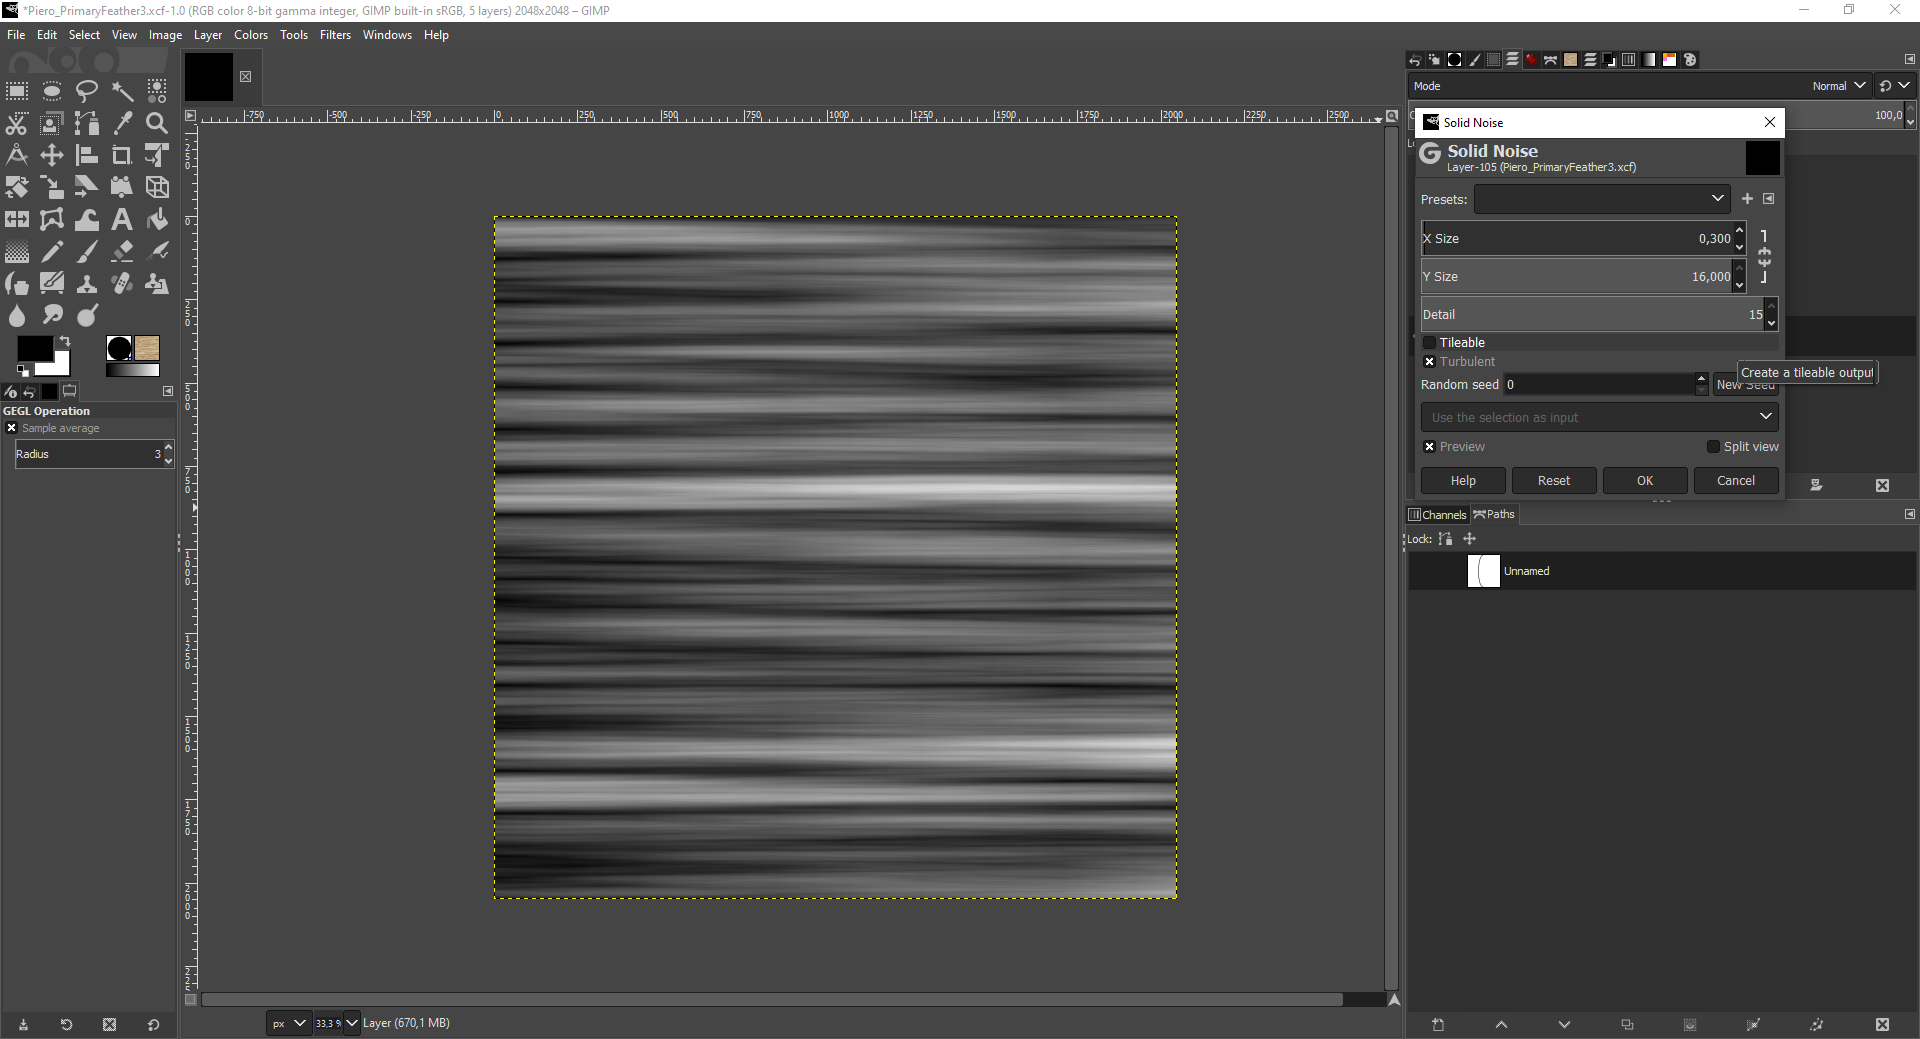
The settings are in the upper right of the bottom image.
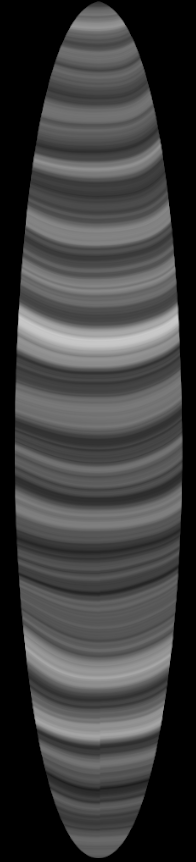
October 7, 2020 at 1:43 pm #60690Using the “Warp Transform Brush” (yellow frame in the first image below), I created a basic feather texture:
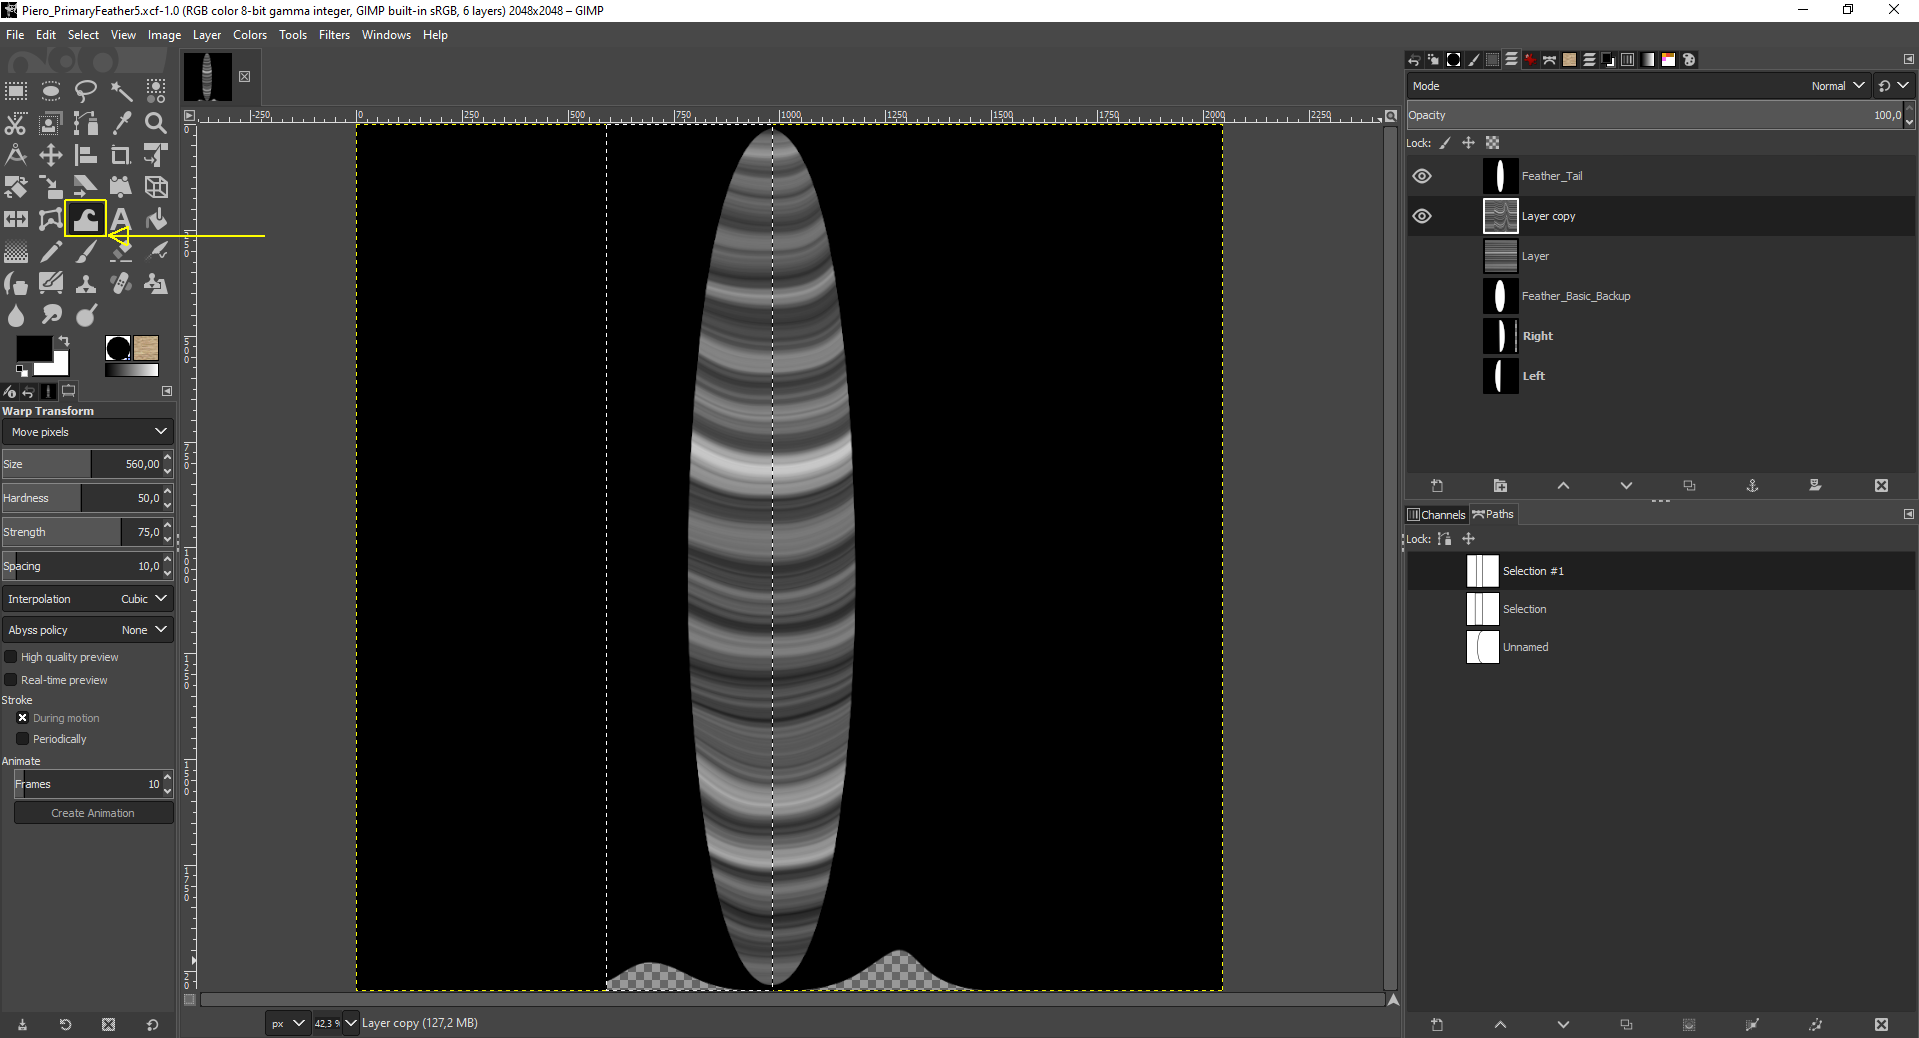
 October 7, 2020 at 2:58 pm #60691
A more detailed feather based on “Solid Noise”
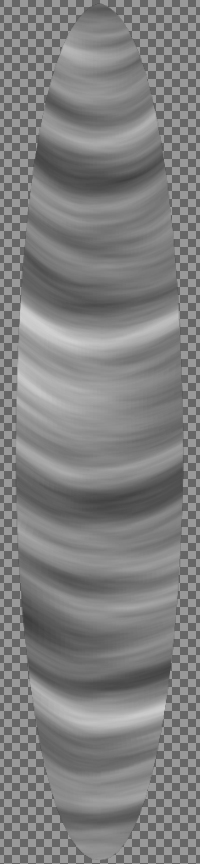
Settings:
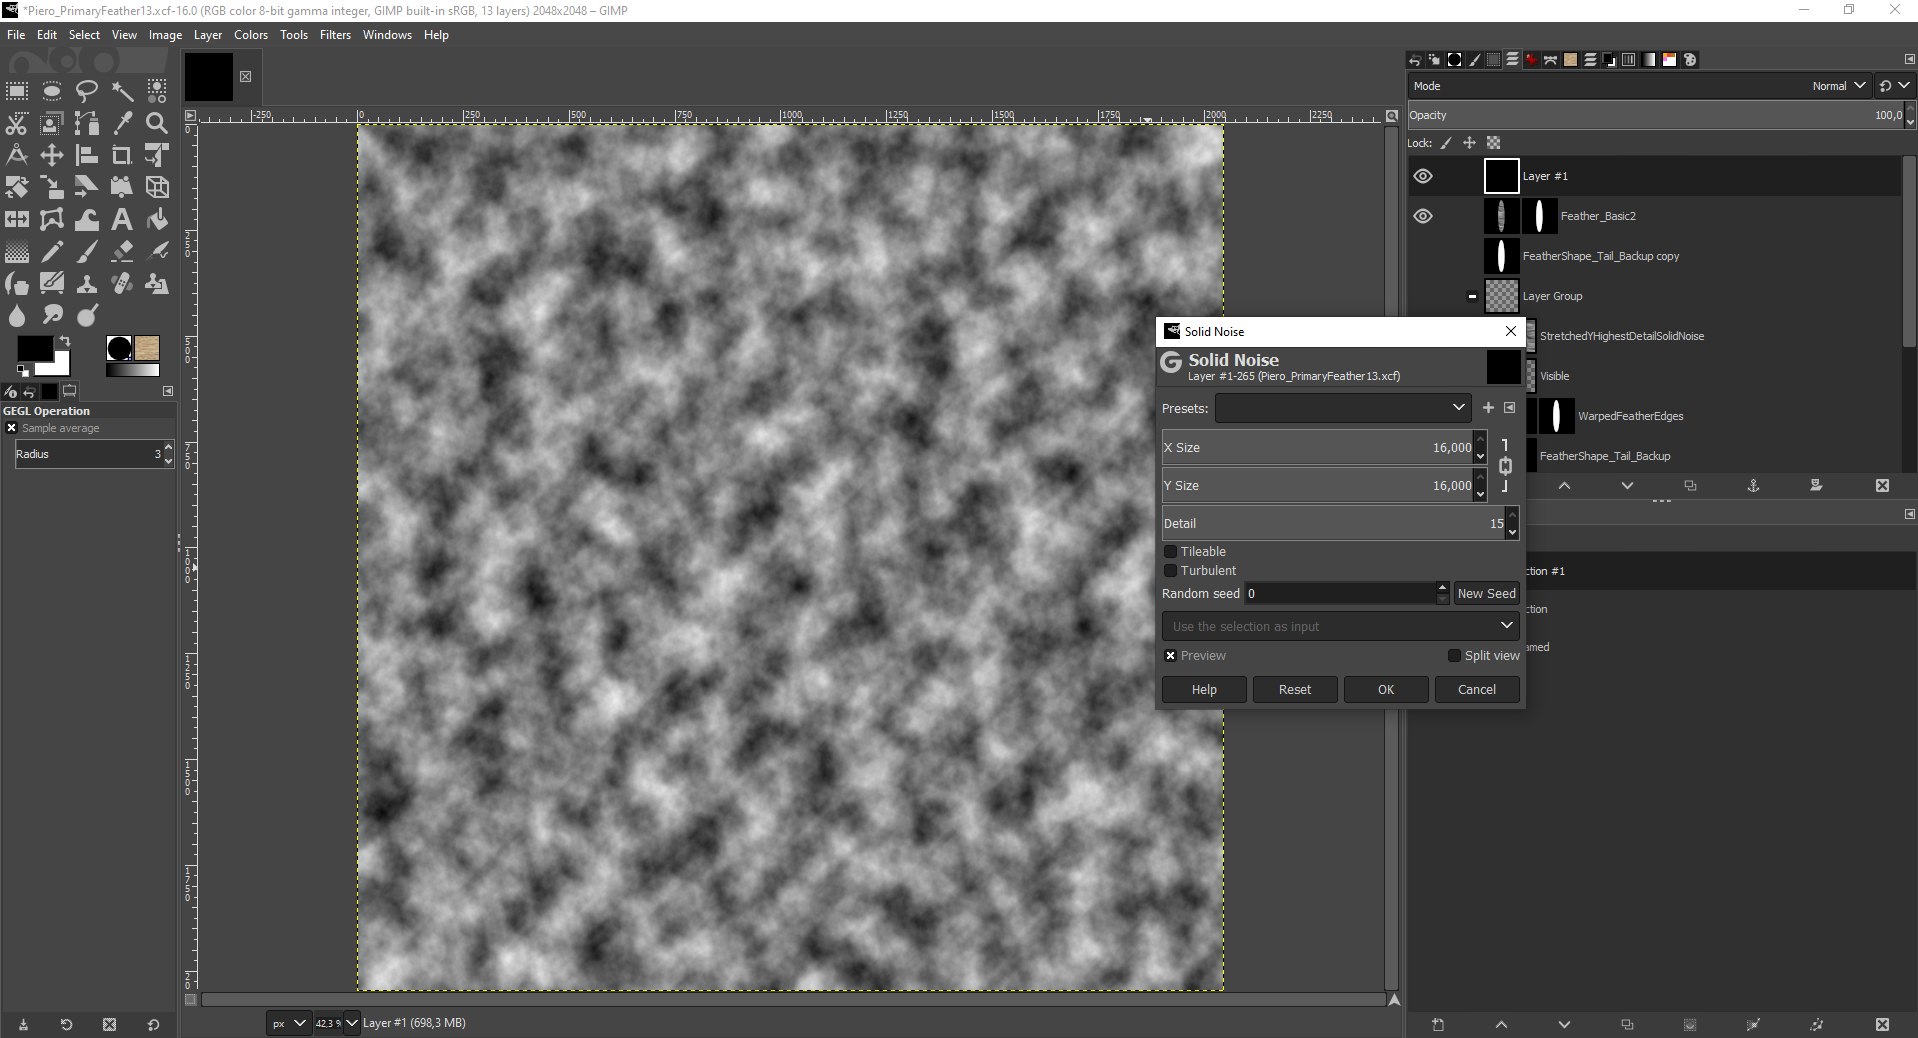
I stretches this texture horizontally and multiplied it with the black-and-white image of my feather’s silhouette. After this I created a “New Layer from Visible”, box-selected the left half of that feather and did some strokes with the “Warp Transform Brush” on that selected in order to bend the fibres upwards. After inverting the selection, I repeated this on the right half of the feather.
October 7, 2020 at 3:21 pm #60692Nice work recreating this texture in GIMP! I tried converting to GIMP a handful of times over the years, trying to get out of Photoshop. But it never stuck…lots of tools but a bit too sluggish for me. Krita however has converted me 100% over this past year.
Regardless of Krita or GIMP, I’m happy to be off Photoshop 🙂
October 7, 2020 at 4:15 pm #60693I already thought at creating this texture in Blender based on “Procedural Textures” and/or “Grease Pencil Painting”. Don’t know whether this would work, but Blender’s 2D features have made a big leap forward with version 2.8. I’ve already heard of Krita in the context of “Concept Art” and “Storyboards”, I think, but I’m not familiar with it.
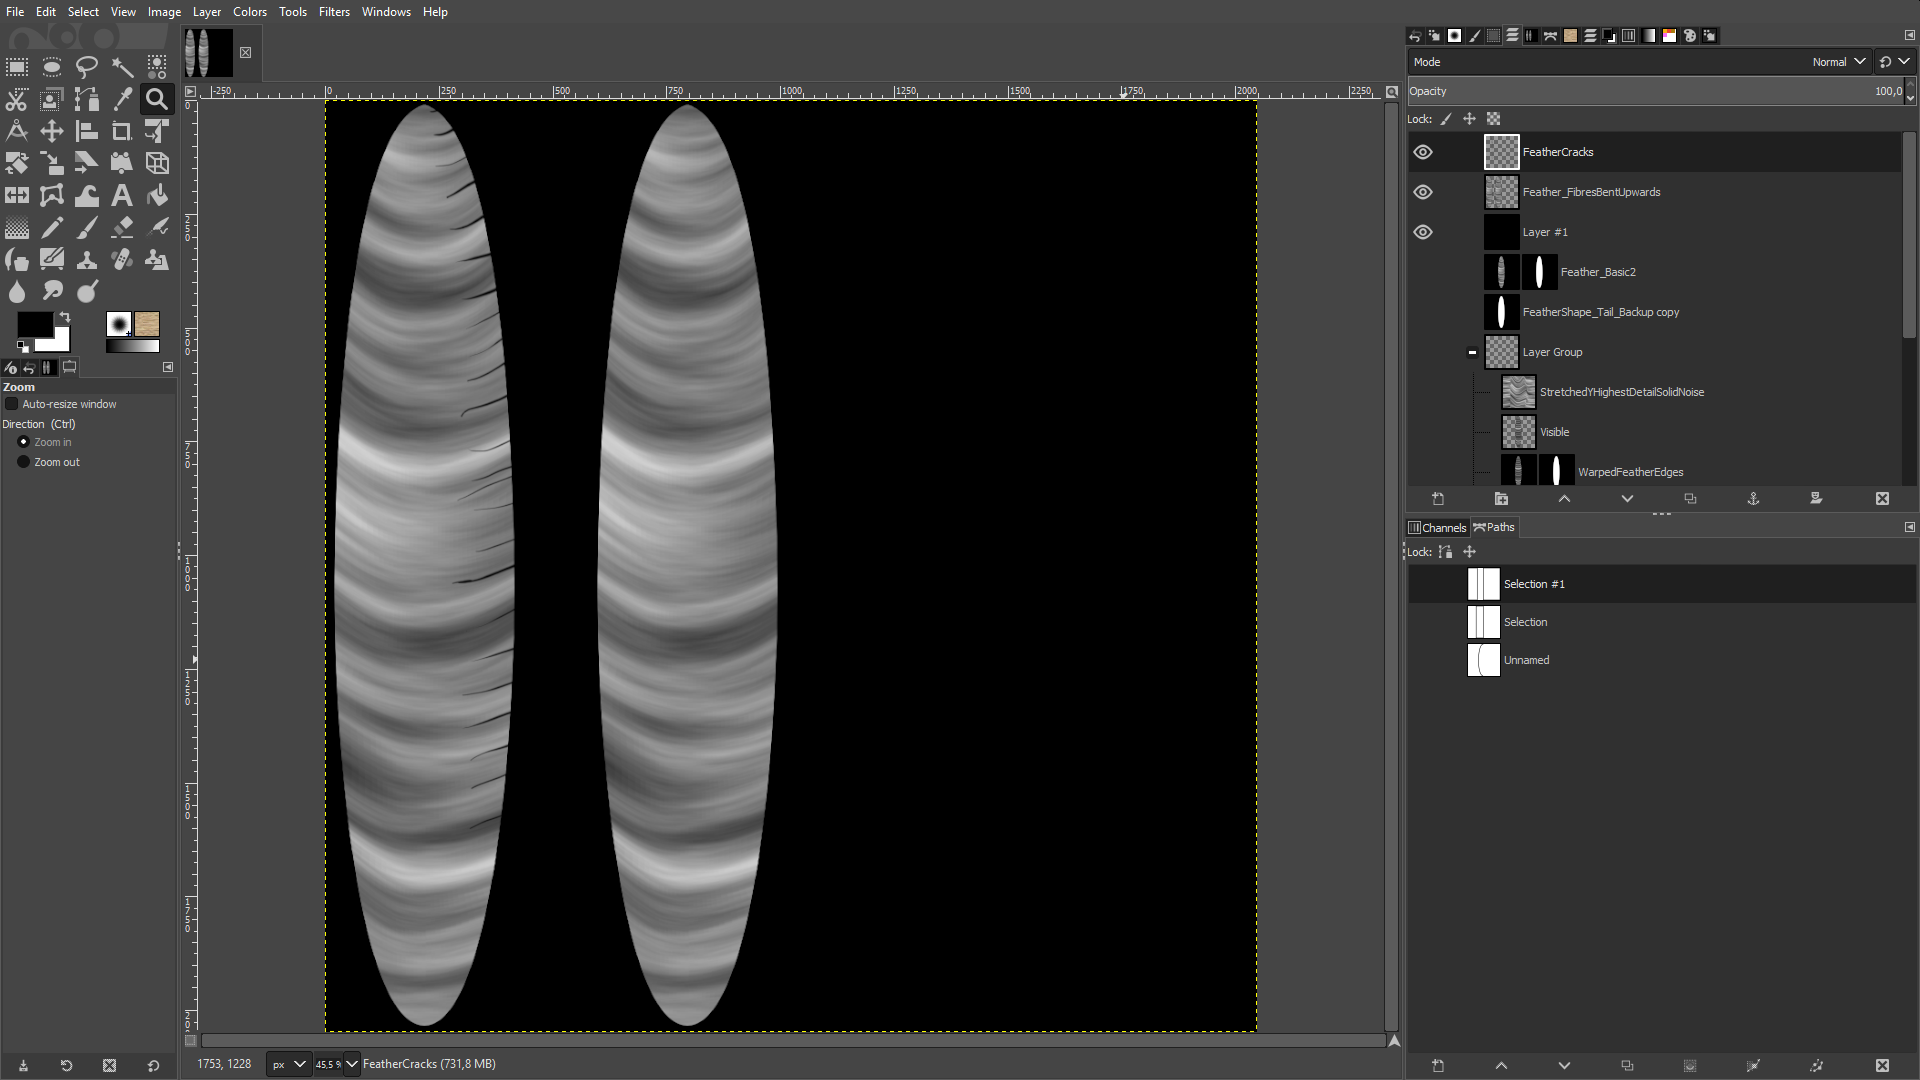
October 7, 2020 at 4:17 pm #60694Piero’s feathers with some cracks added (WIP):
 October 8, 2020 at 8:20 am #60695
Great point. I would 100% try creating these feathers first with Blender procedural textures. 10 seconds of thinking about that and I’m already convinced it could be done very well.
In fact one thing I love about procedurals is that it keeps me out of Photoshop/Krita and more inside Blender. In other words: Staying in Blender is faster than jumping back and forth between other programs.
At the time I recorded this, maybe Blender was capable of the procedural tools to accomplish feathers textures like this. It’s likely that I was lacking the knowledge to execute and stuck with what I knew best at the time (photoshop)
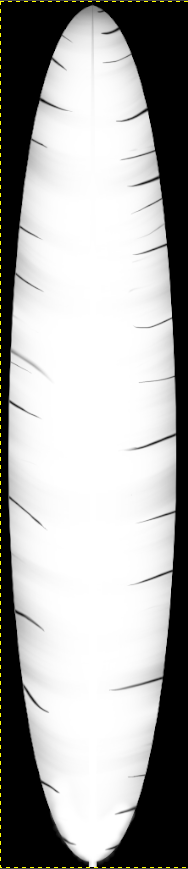
October 8, 2020 at 10:49 am #60696The tail feather with a quill:
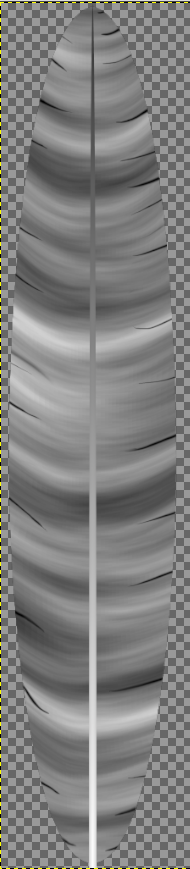
The “Alpha Texture” for Piero’s tail feathers:
 October 8, 2020 at 2:41 pm #60697
When I think at Bartek Skorupa’s awesome (and mindblowing!) method for creating a procedural wood material or at what Simon Thommes achieved with procedural (and as well mindblowing!) materials, then this should be feasible. Maybe another reason for a challenge here at CG Cookie 😉?
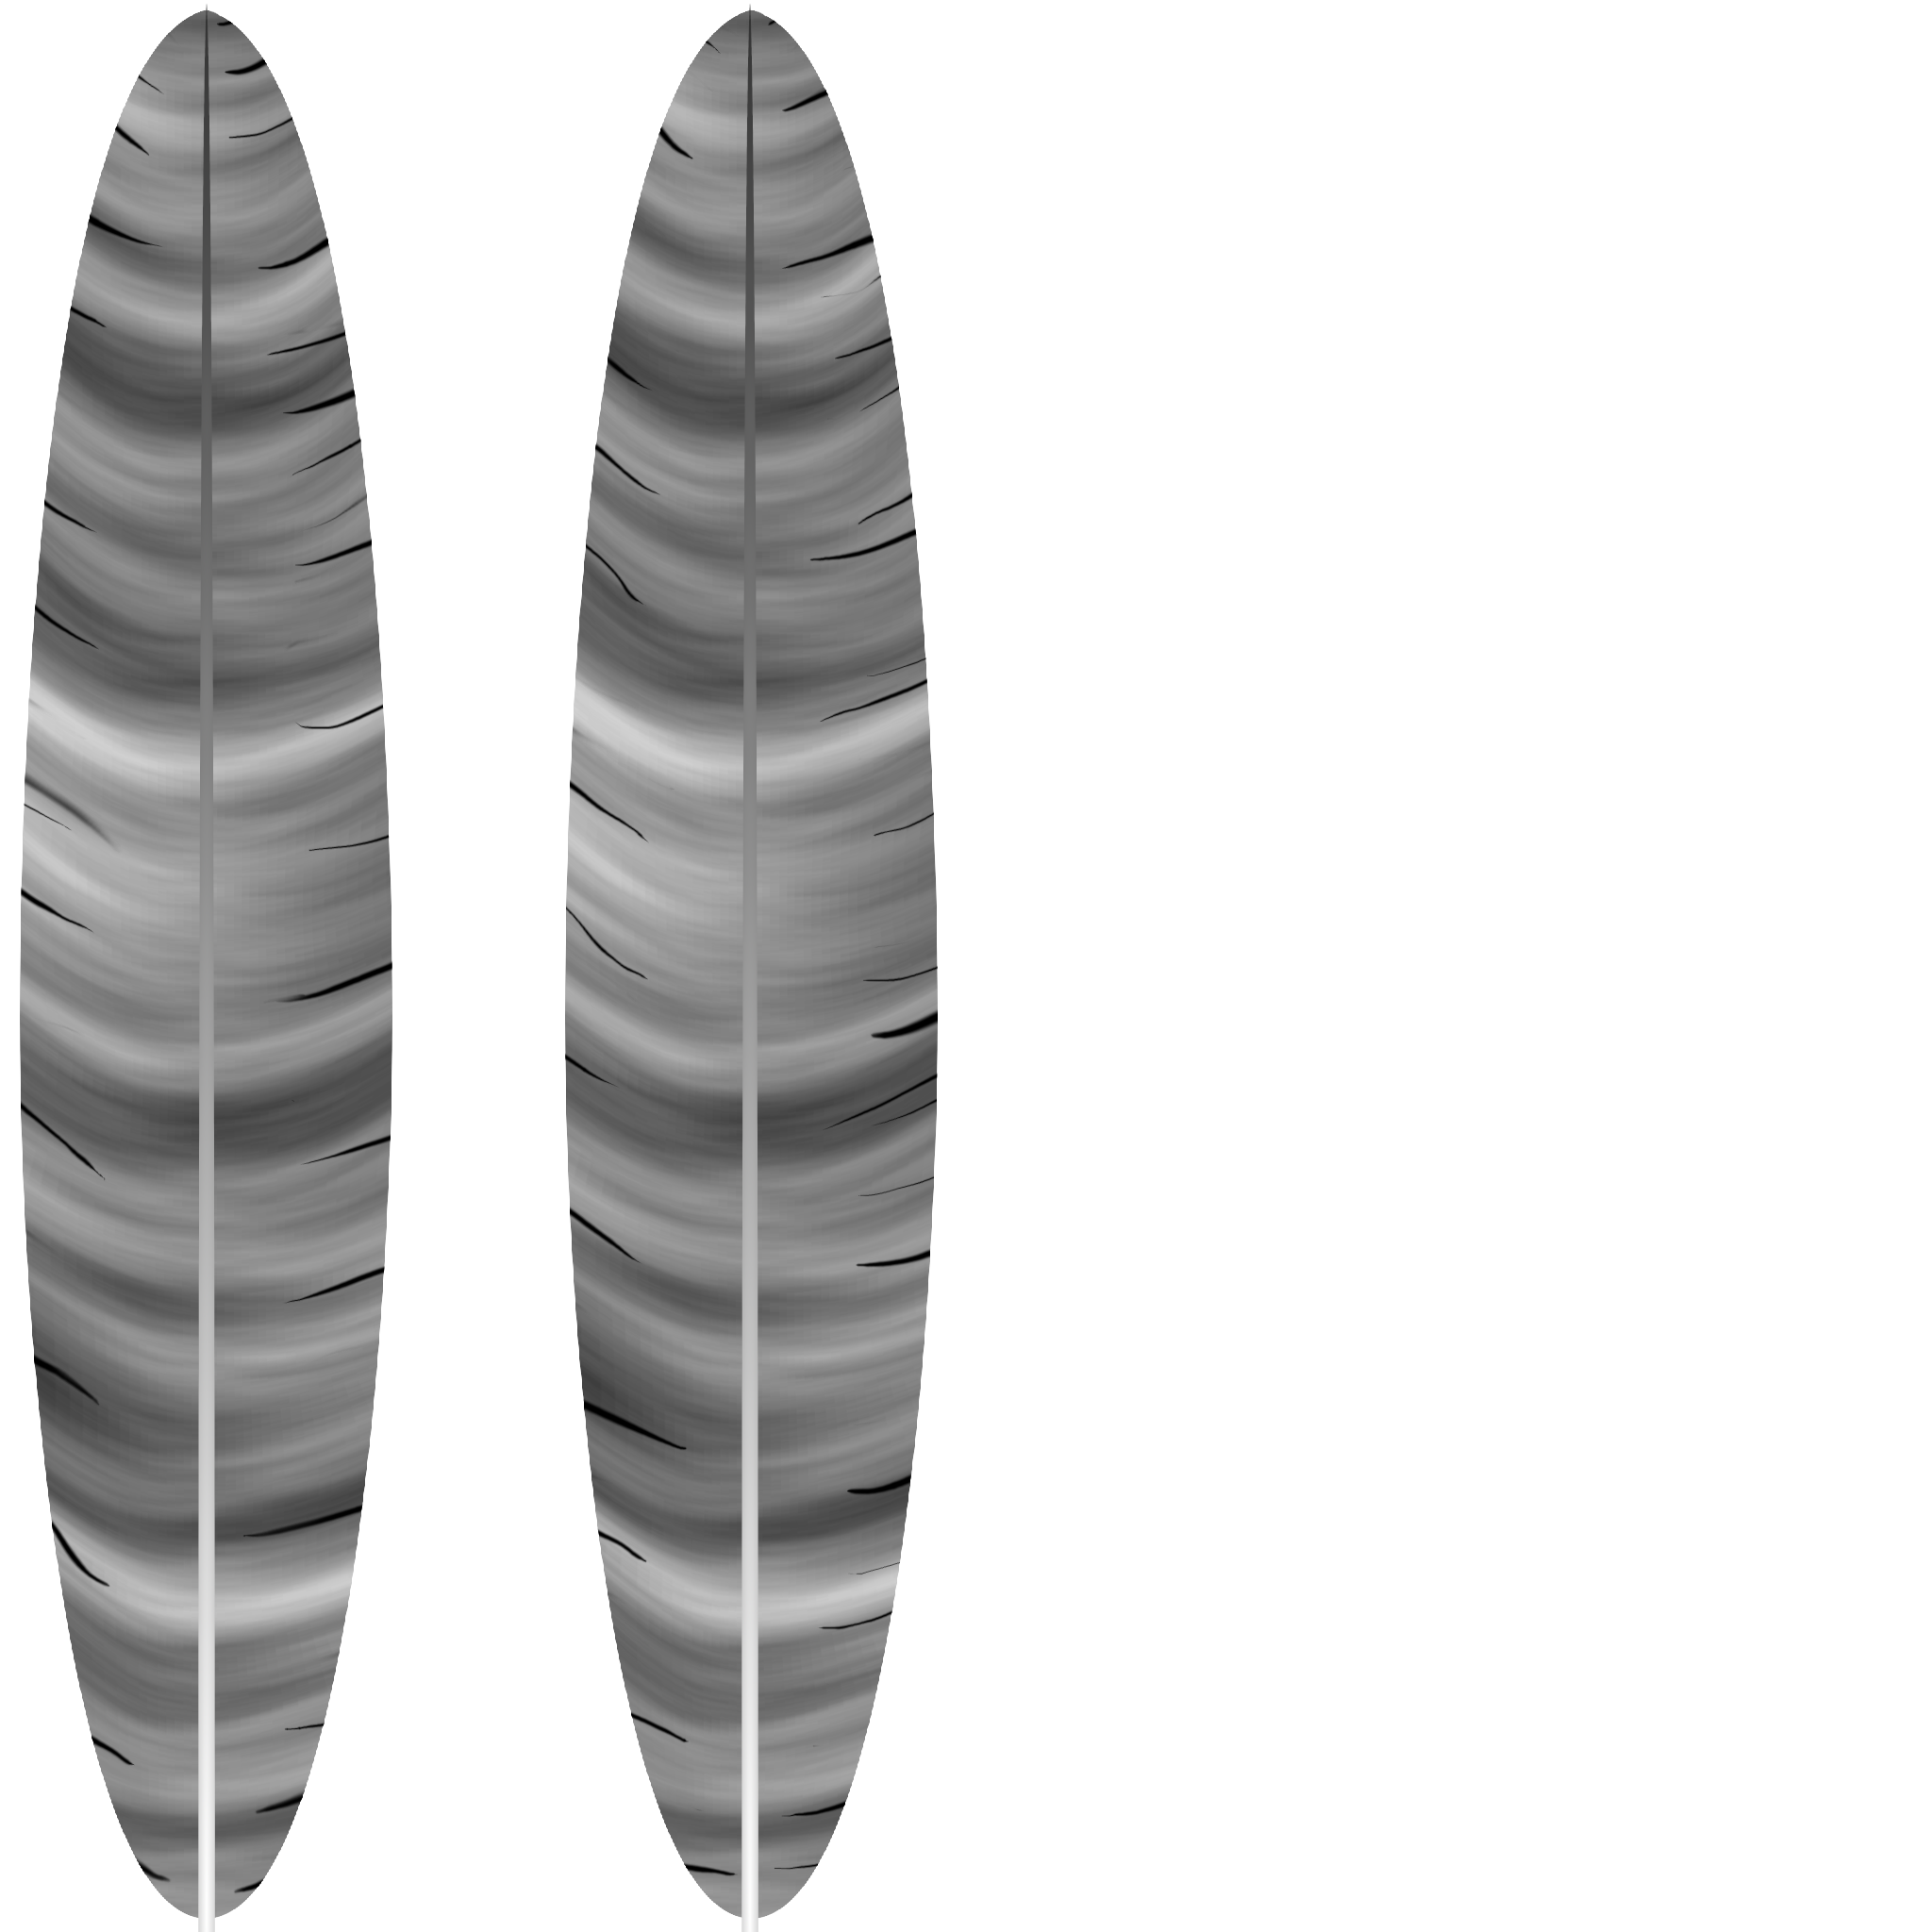
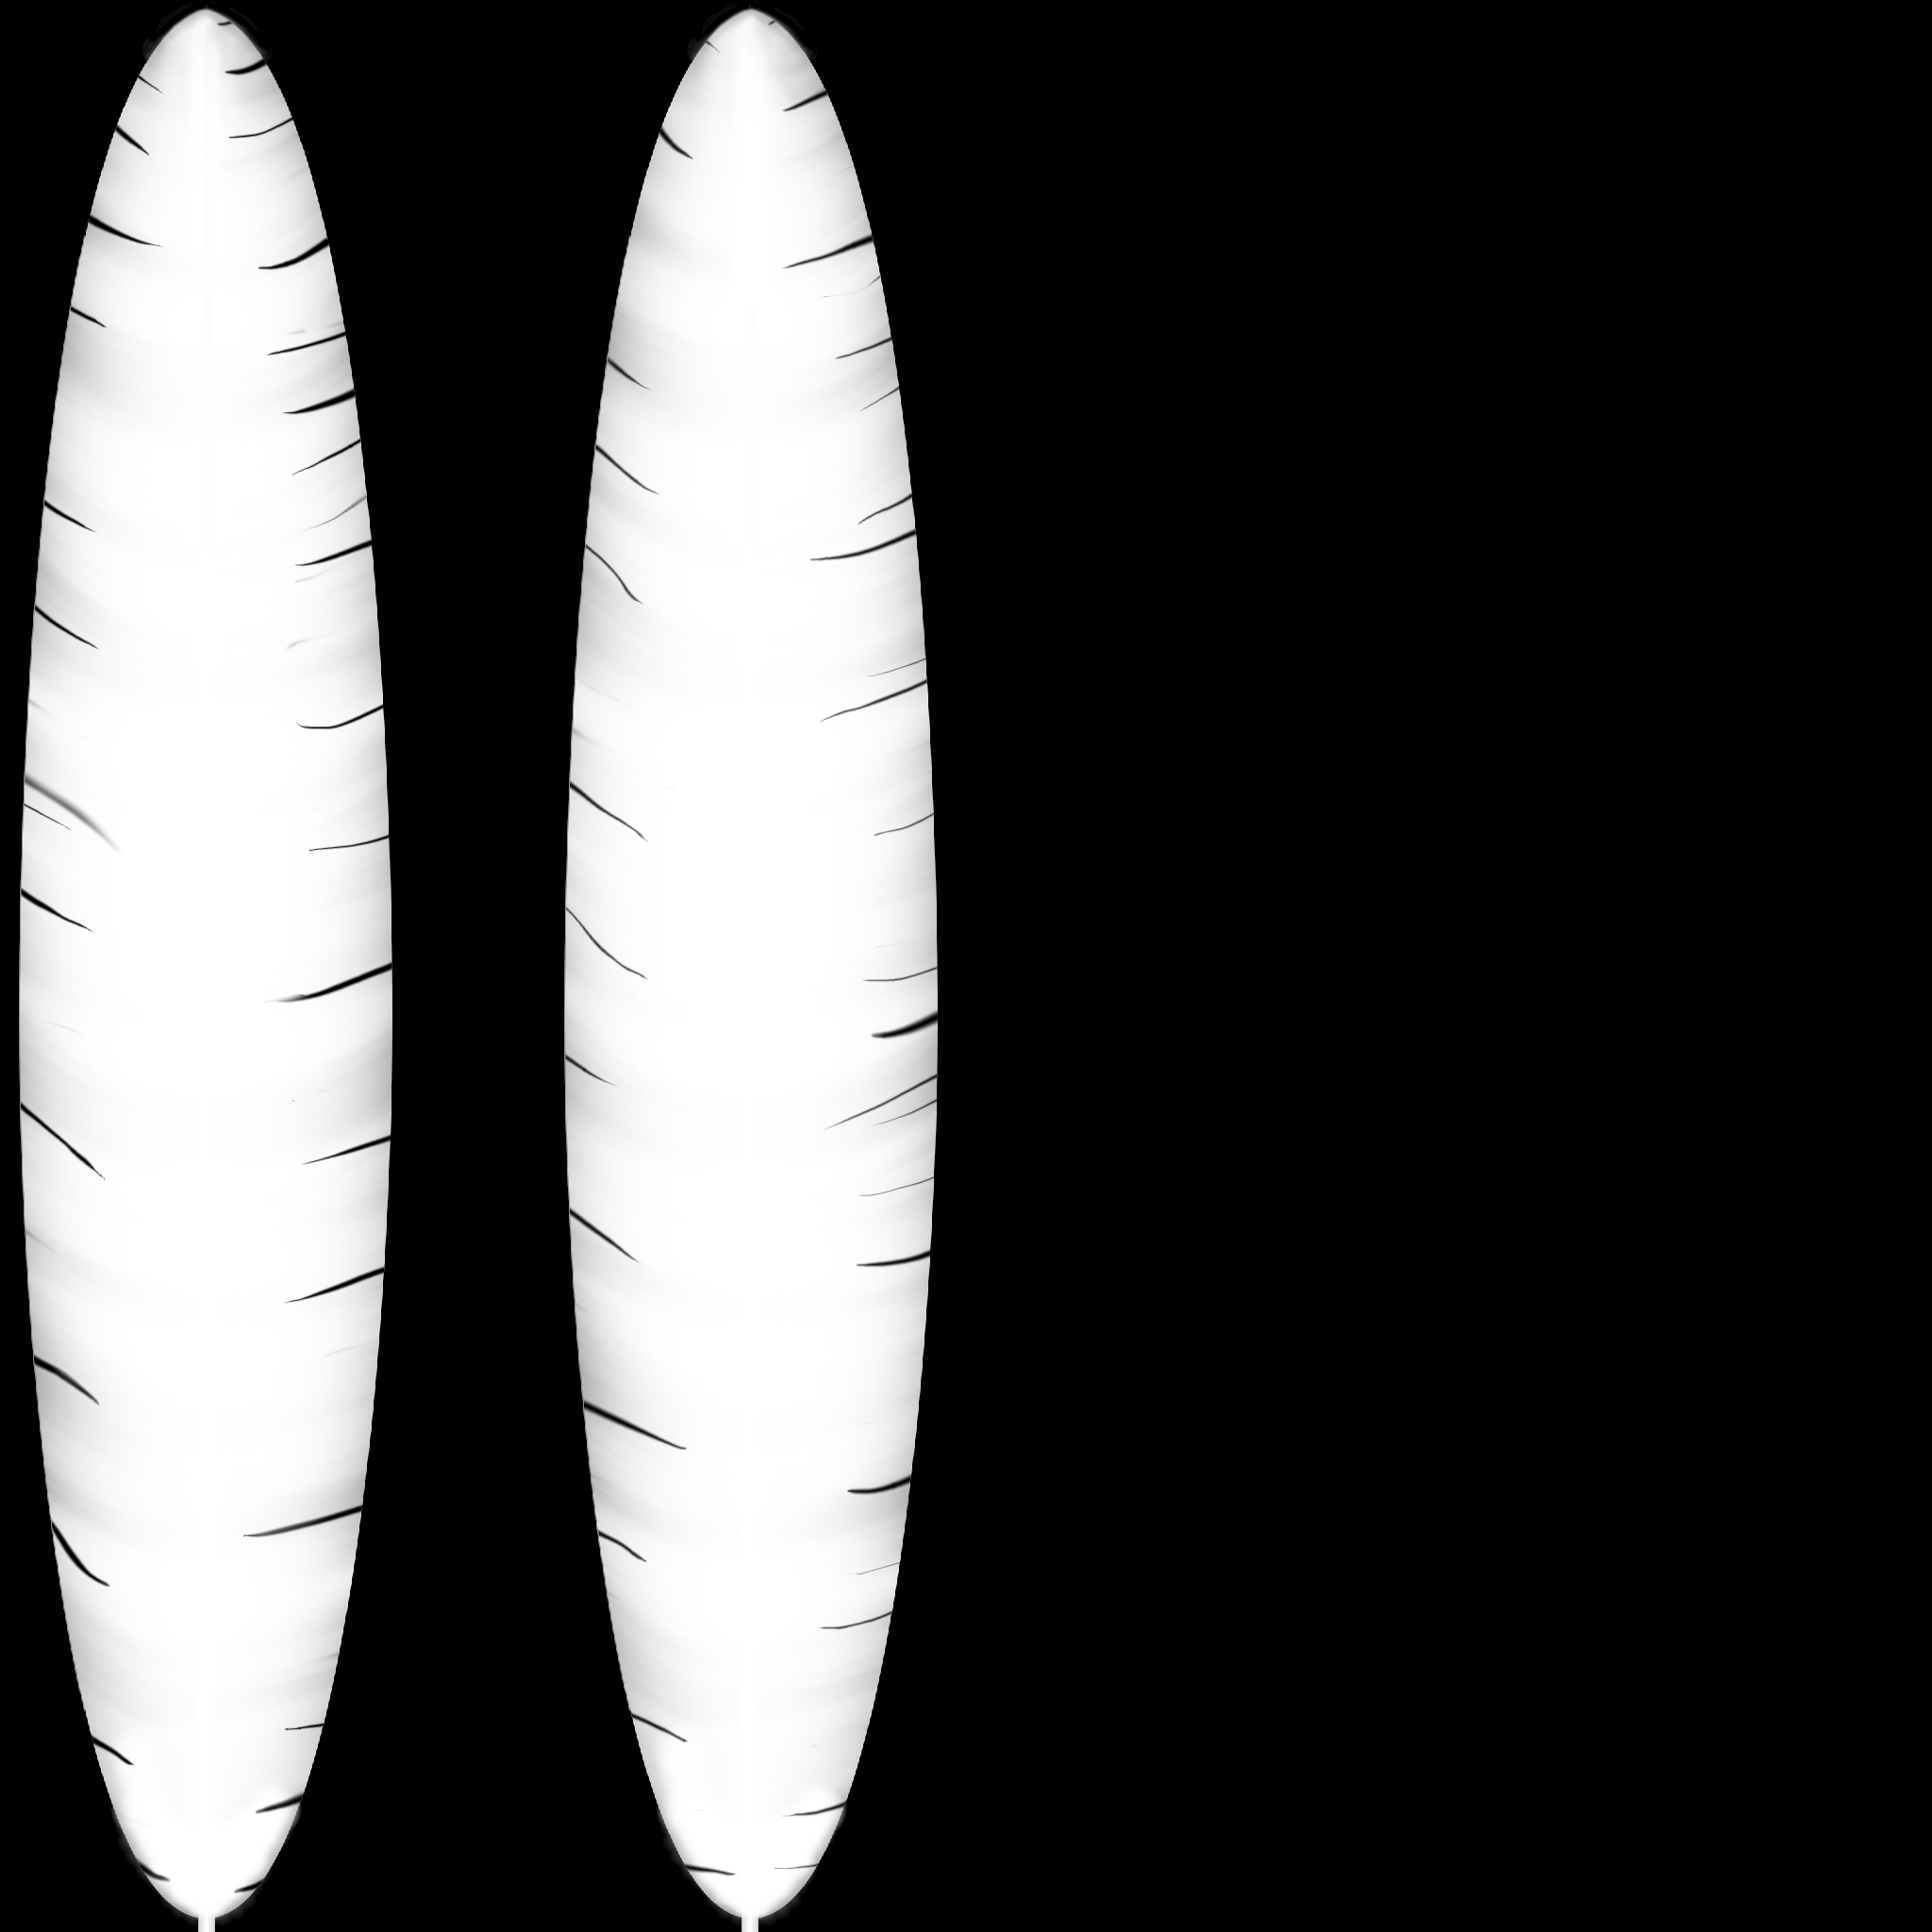
October 8, 2020 at 2:42 pm #60698So, these are my final “Bump” and “Alpha Textures” for Piero’s tail feathers:
 October 8, 2020 at 4:12 pm #60699
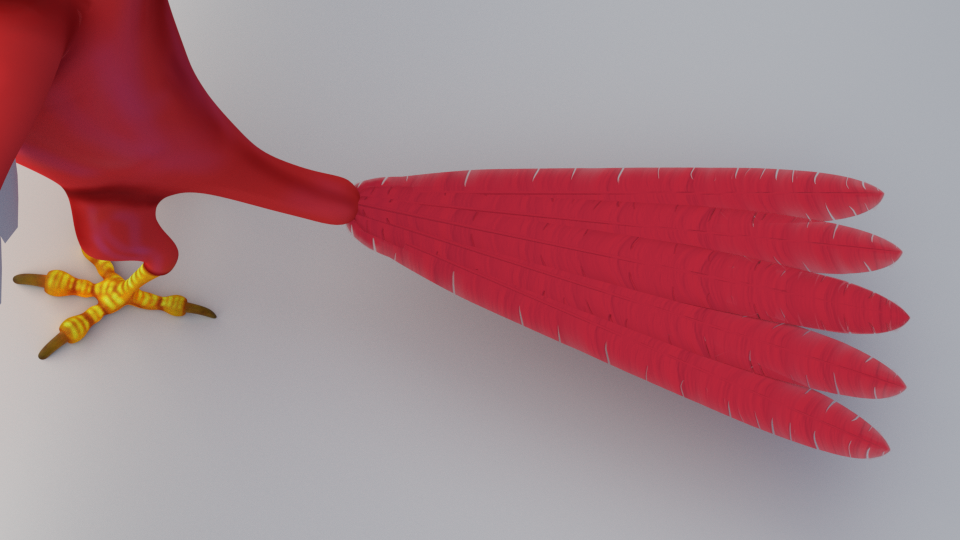
And here’s my first Cycles rendering showing Piero’s primary tail feathers:
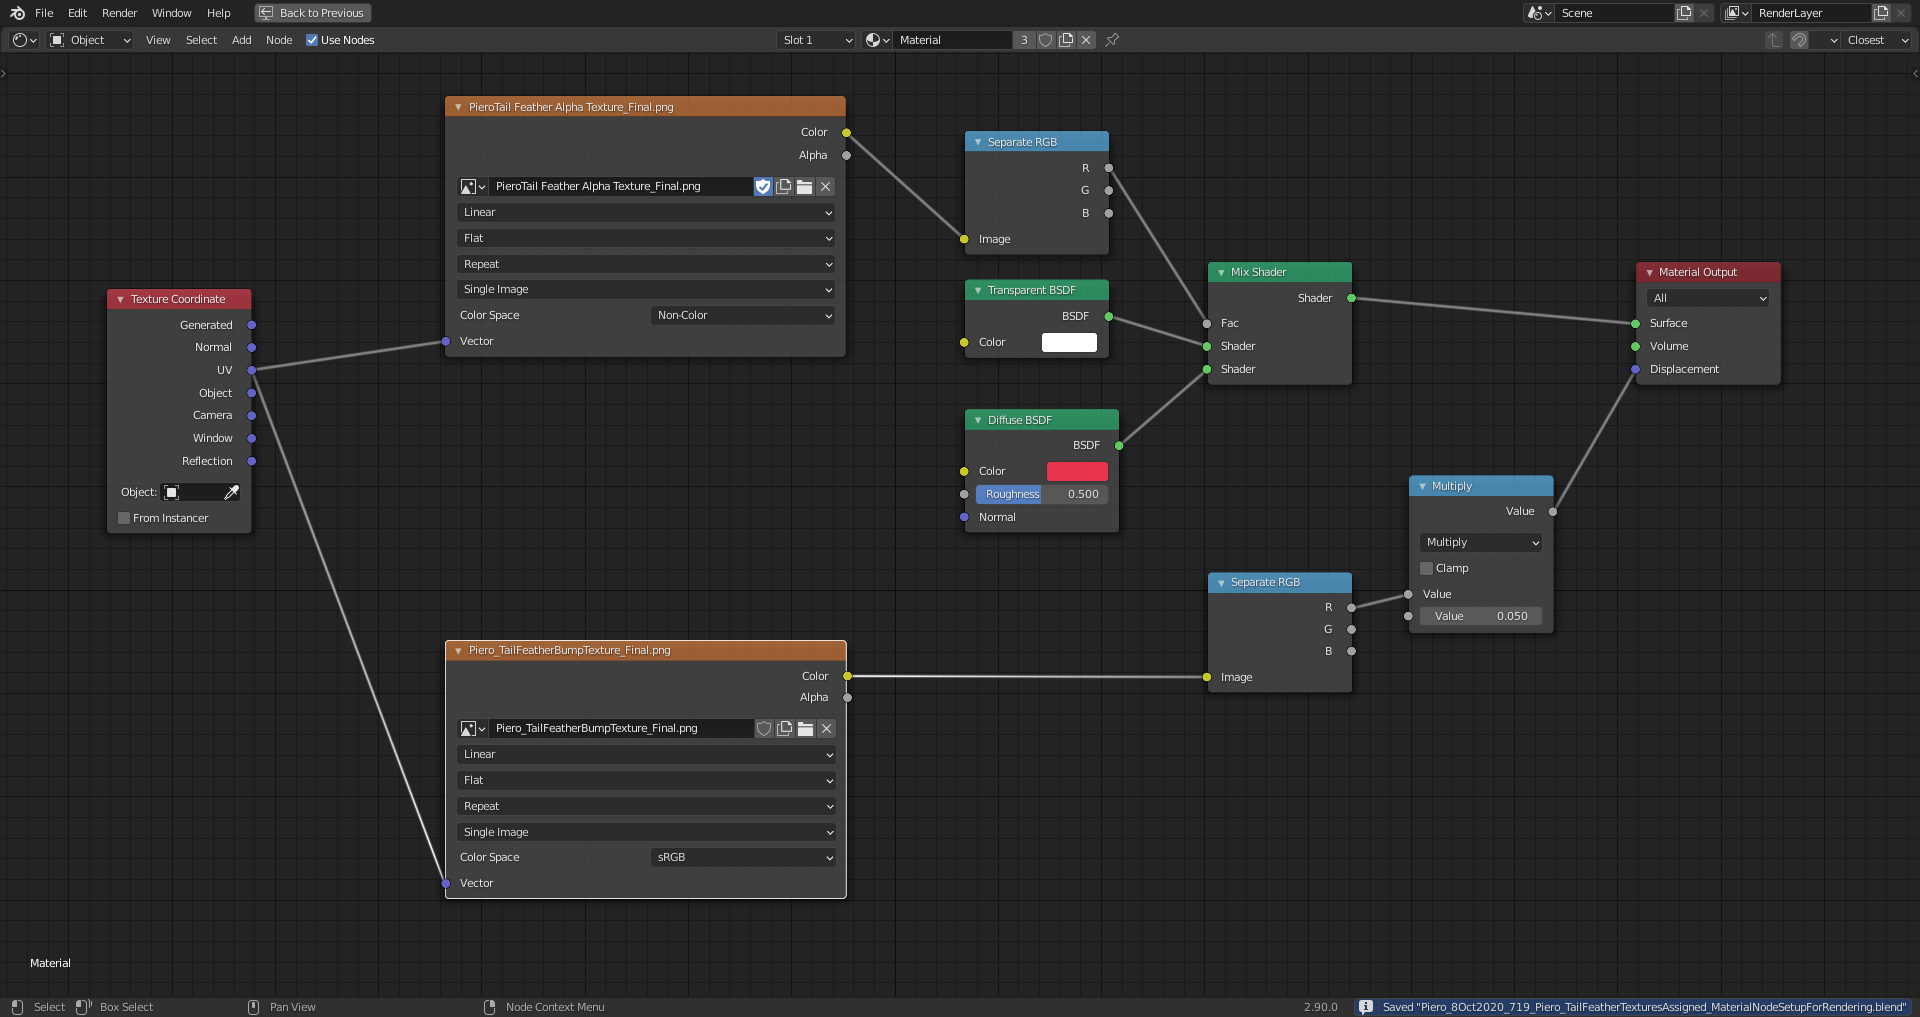
And the node setup for this rendering:
 October 8, 2020 at 5:14 pm #60700
OMG what are you doing? You are plugging a single value into a Vector?
Ingmar, when you connect a value (grey socket) into a Color (yellow), that value is returned into each Color channel: a value of 0.5 gives a color of RGB (0.5, 0.5, 0.5) .
A purple Vector socket uses X, Y, Z coordinates and when you plug in a single value, it uses that value for X, Y and Z.
Basically you are doing something like this:
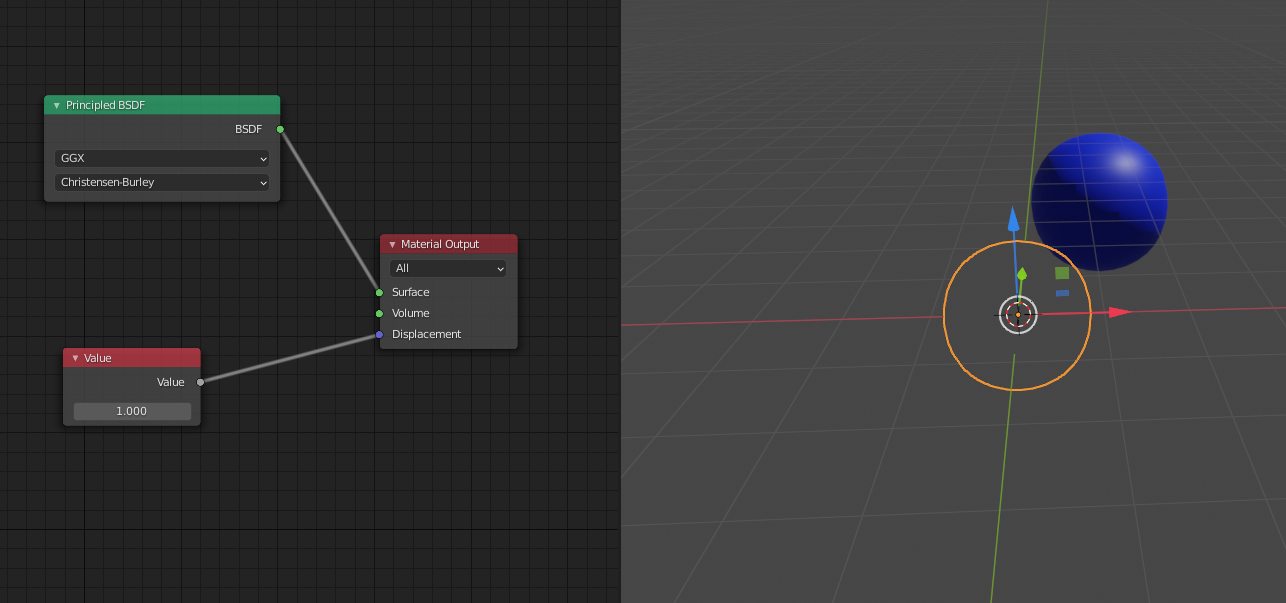
Displacing something in X, Y and Z in equal amounts.
Instead of the Math.> Multiply Node use a Vector > Displacement Node.
October 9, 2020 at 4:56 am #60701@spikeyxxx It’s essentially the same what @theluthier did at the end of this lesson when he placed a “Math Node” between the “Bump Texture” and the “Displacement Socket” of the “Material Output Node” in order to reduce the bump effect:
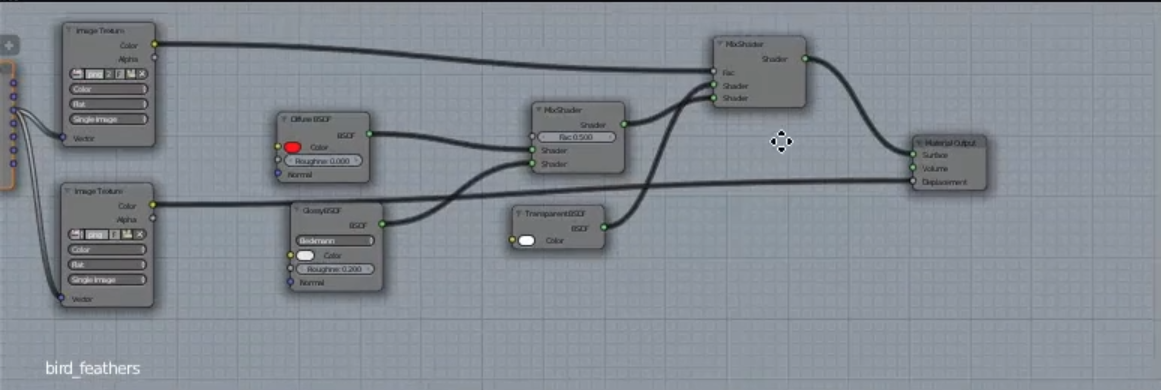
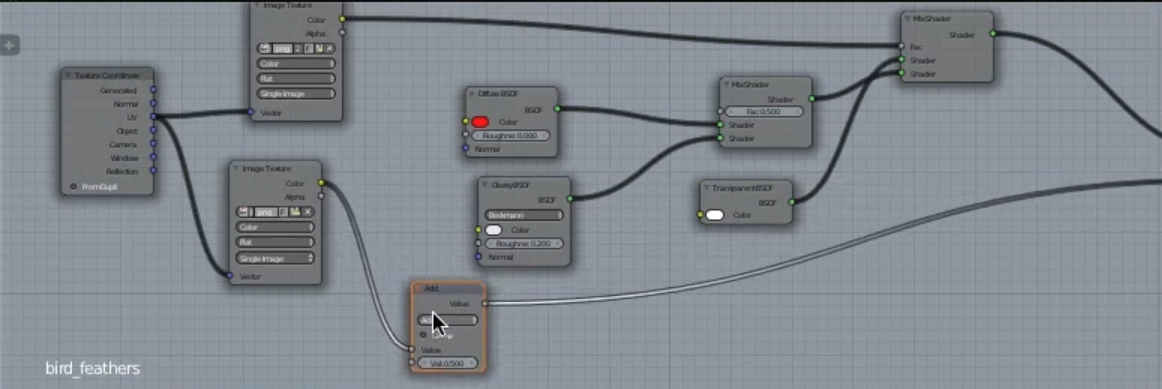
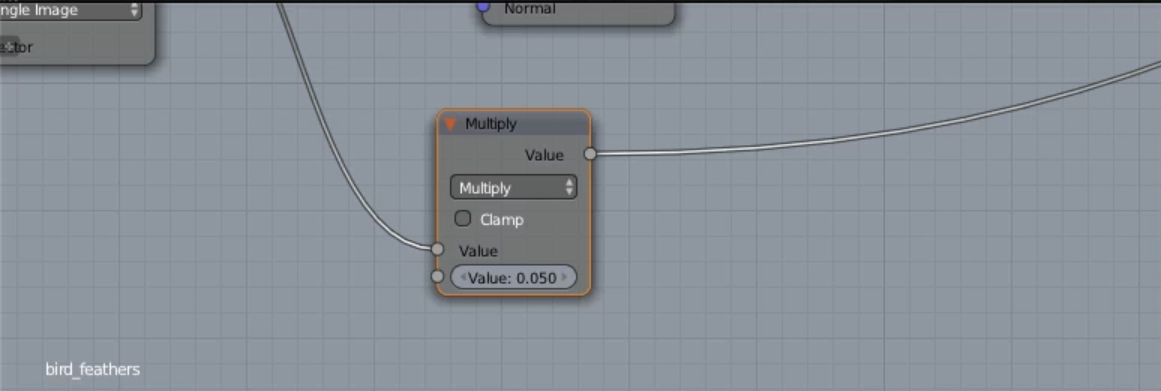
Combined in one image:
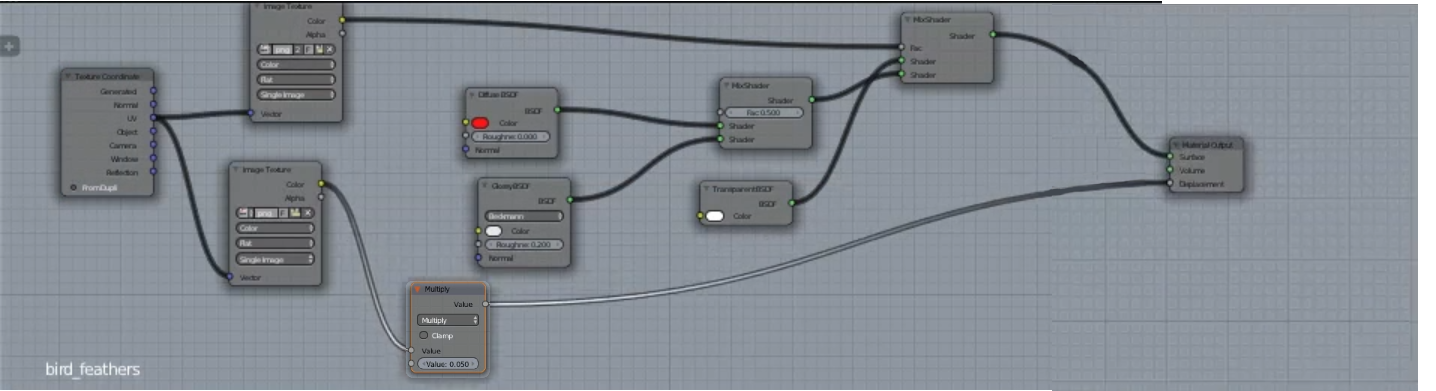
I just added the “Separate RGB Nodes” just to show that I want to put a single value into the “Multiply Node” although Blender would do that same conversion in the case of a greyscale value as color input.
The best solution would certainly be to use a “Bump Node” and plug it into the “Shader Nodes” as the “Blender Manual” shows it here:
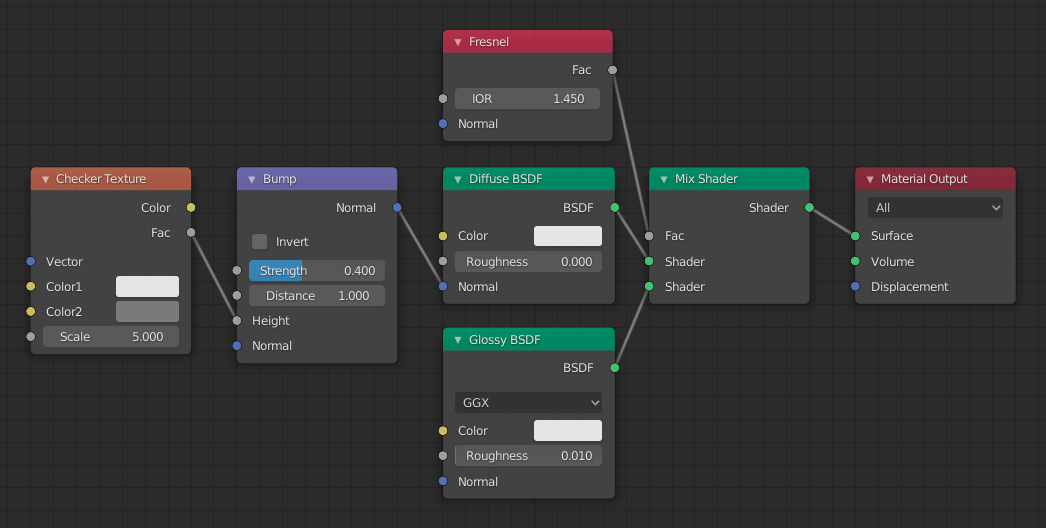
Inputs
- (…)
- Height
-
Scalar value giving the height offset from the surface at the shading point; this is where you plug in textures.
- (…)
Blender obviously does the correct conversion when plugging in a “Color Value” from a “Texture Node” directly into the “Height Socket”. (What conversion is this compared to the “RGB to BW Node”?)
Plugging the “Bump Node” directly into the “Material Output Node” doesn’t work.
October 9, 2020 at 4:56 am #60702Finally, this is my new node setup:
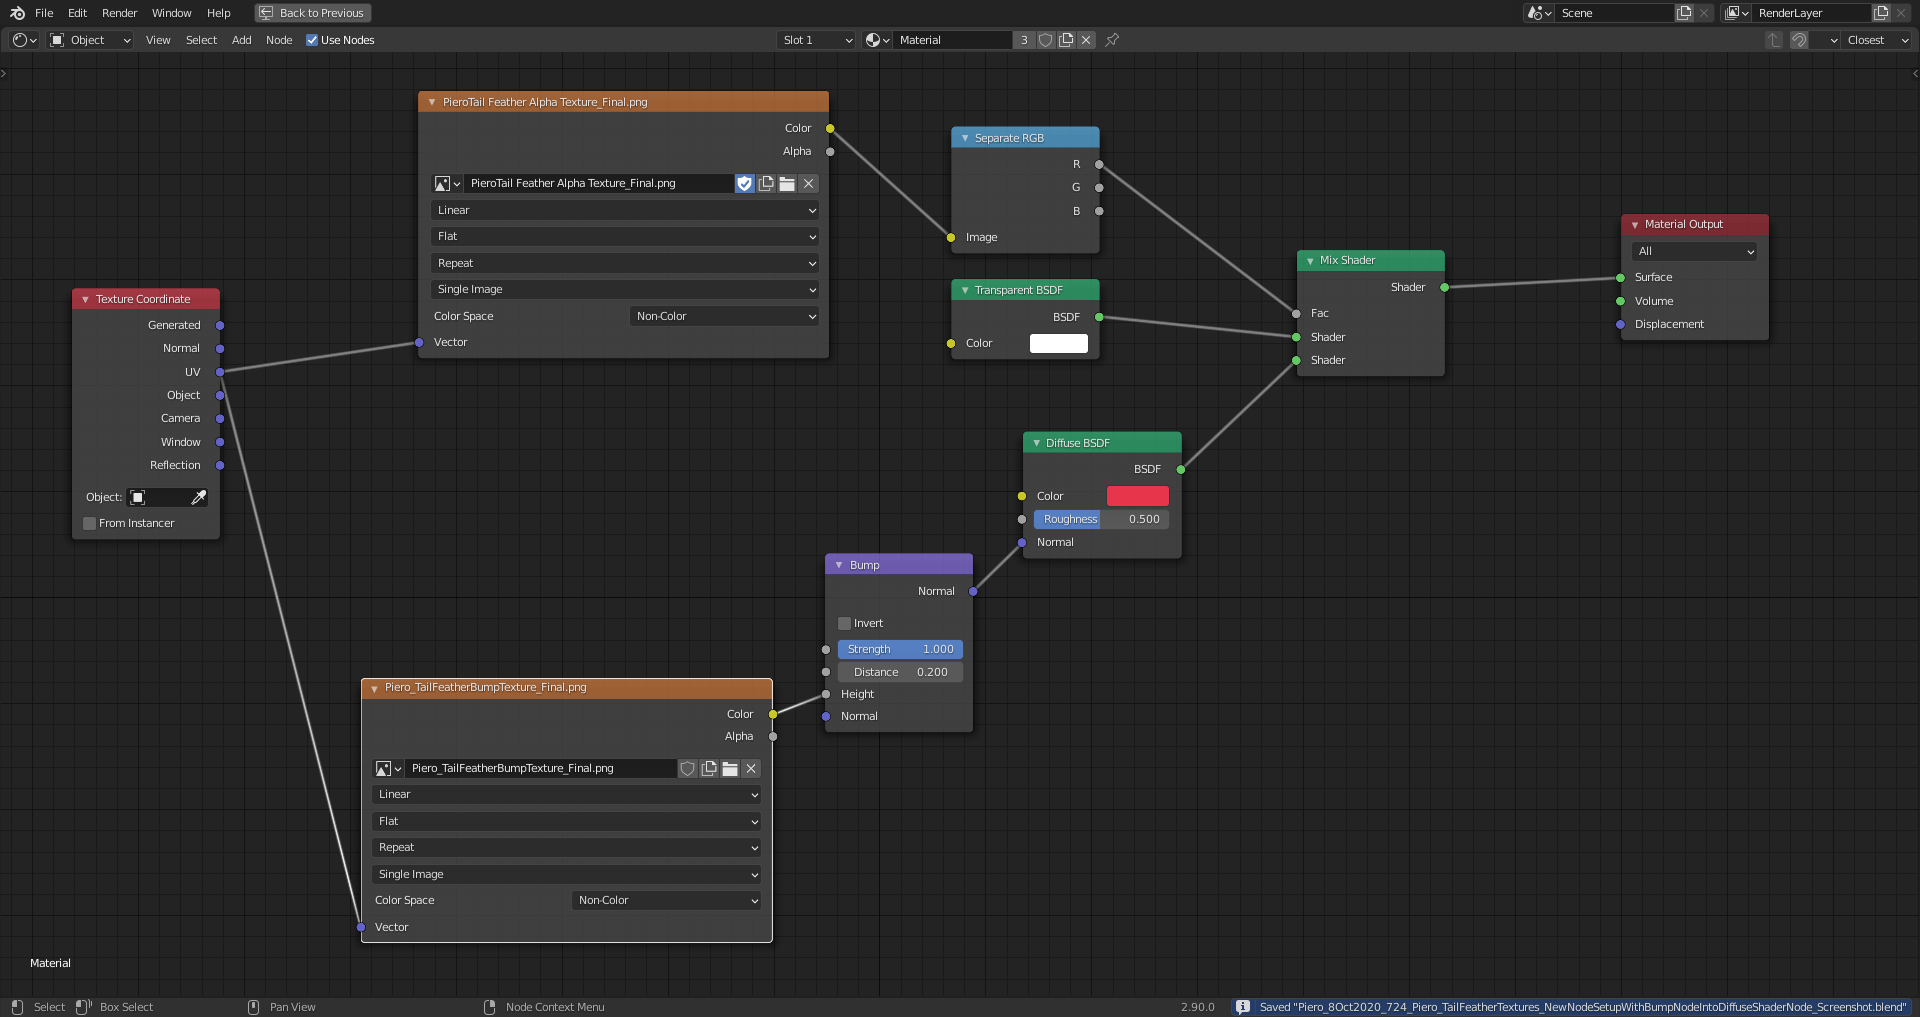
The “Distance” value of the “Bump Node” controls how deep or heigh the visual unevenness of the surface appears to be and the “Strength” setting deterines how strongly this effect is blended into the surface shading.
And the rendering (without a “Glossy Node”):
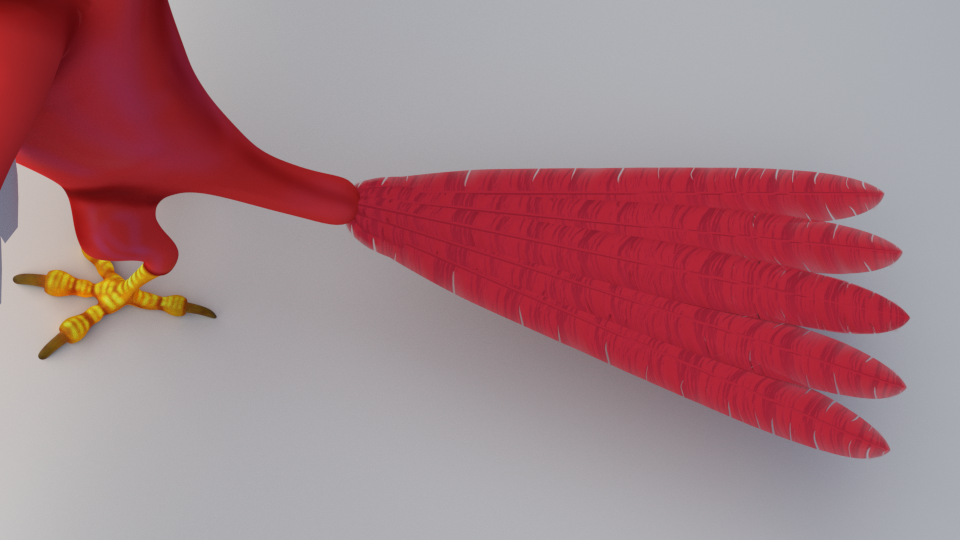
Render Time: 4 Minutes and 54.67 Seconds.
With EEVEE:

Render Time: 0.56 Seconds
The “Blend Mode for Transparent Faces” for this EEVEE rendering had been set to “Alpha Hashed” in the “Settings Panel” of Piero’s material. The “Power” of the “Area Lamps” had to be set to 10000 (a thousand times more than for Cycles) in order to light Piero well since EEVEE has no node setup for “Area Lamps” and therefore no “Strength” setting as in Cycles.
With half the “Power”:
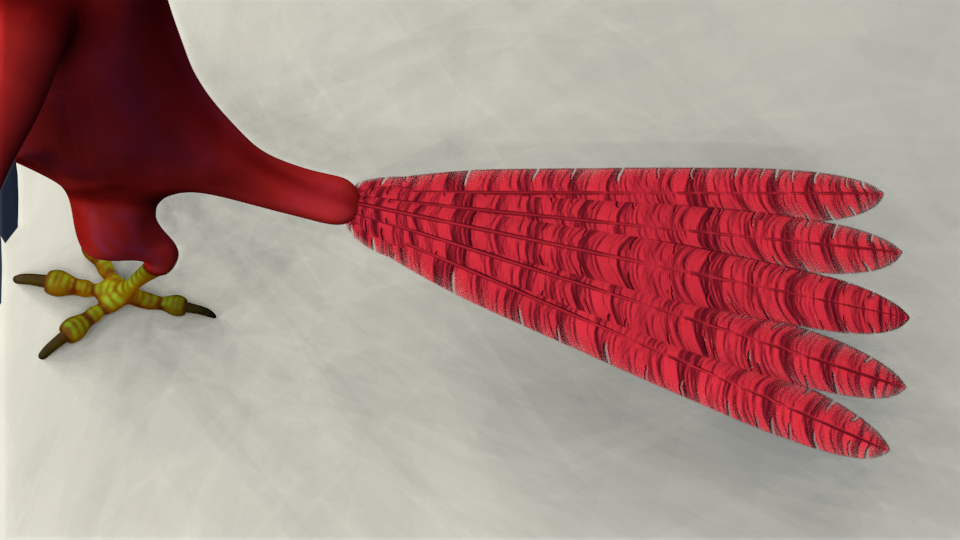
Using the same light settings in EEVEE as for the Cycles rendering in this post would result in a totally black scene.
The “Displacement Node” isn’t plugged into a “Shader Node” but directly into the “Material Output Node” and can be, depending on the settings, for “Bump” effects as for “Mesh Displacement”. It only has a “Strength” setting for controling the influence of the “Bump Texture”:
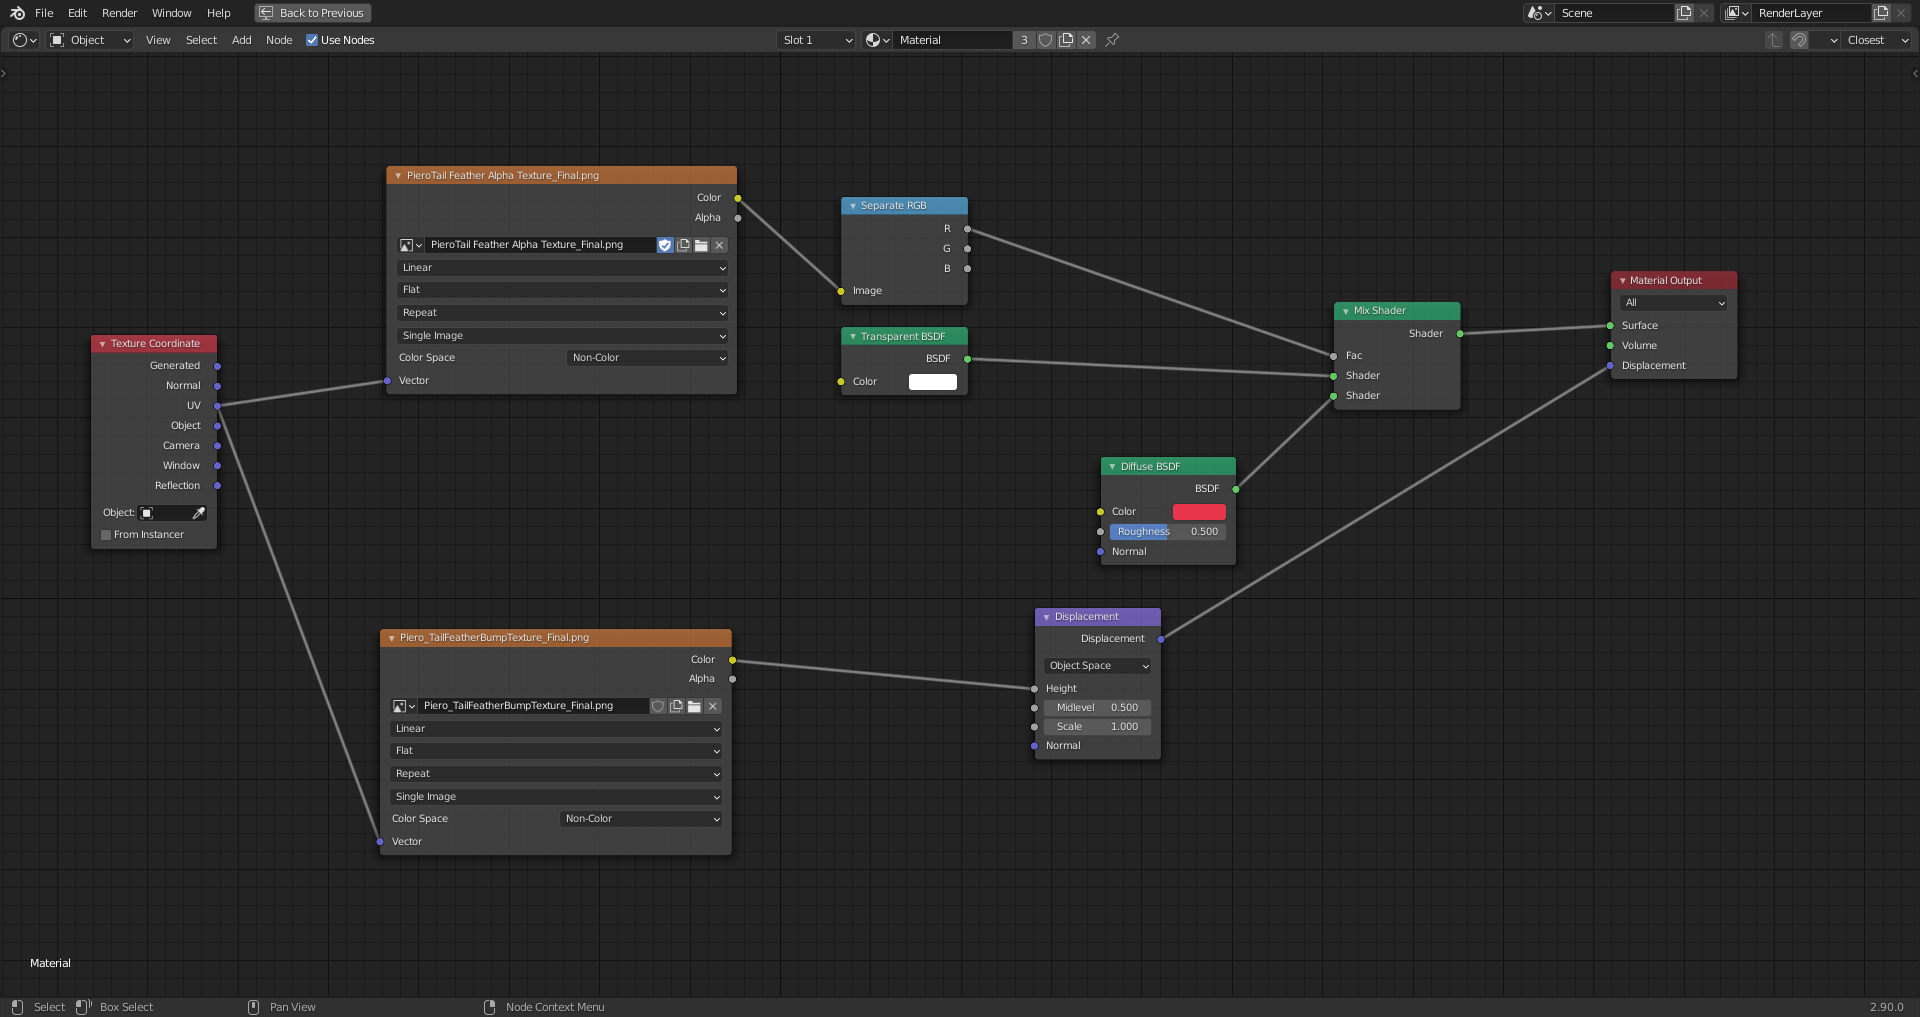
With this node setup, you don’t need to plug the “Bump Texture” into each “Shader Node” separately.
And the Cycles Rendering with this setup:
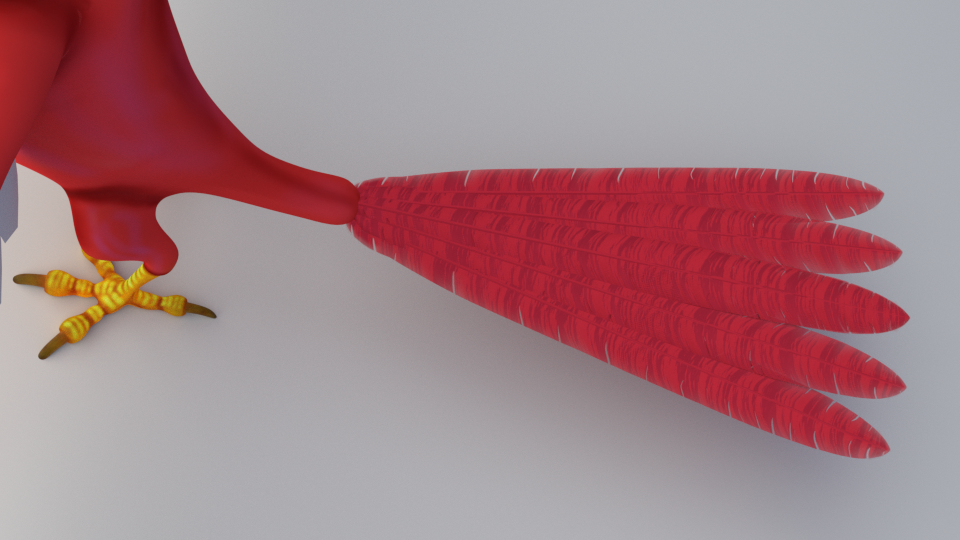
Render Time: 5 Minutes and 5.46 Seconds.
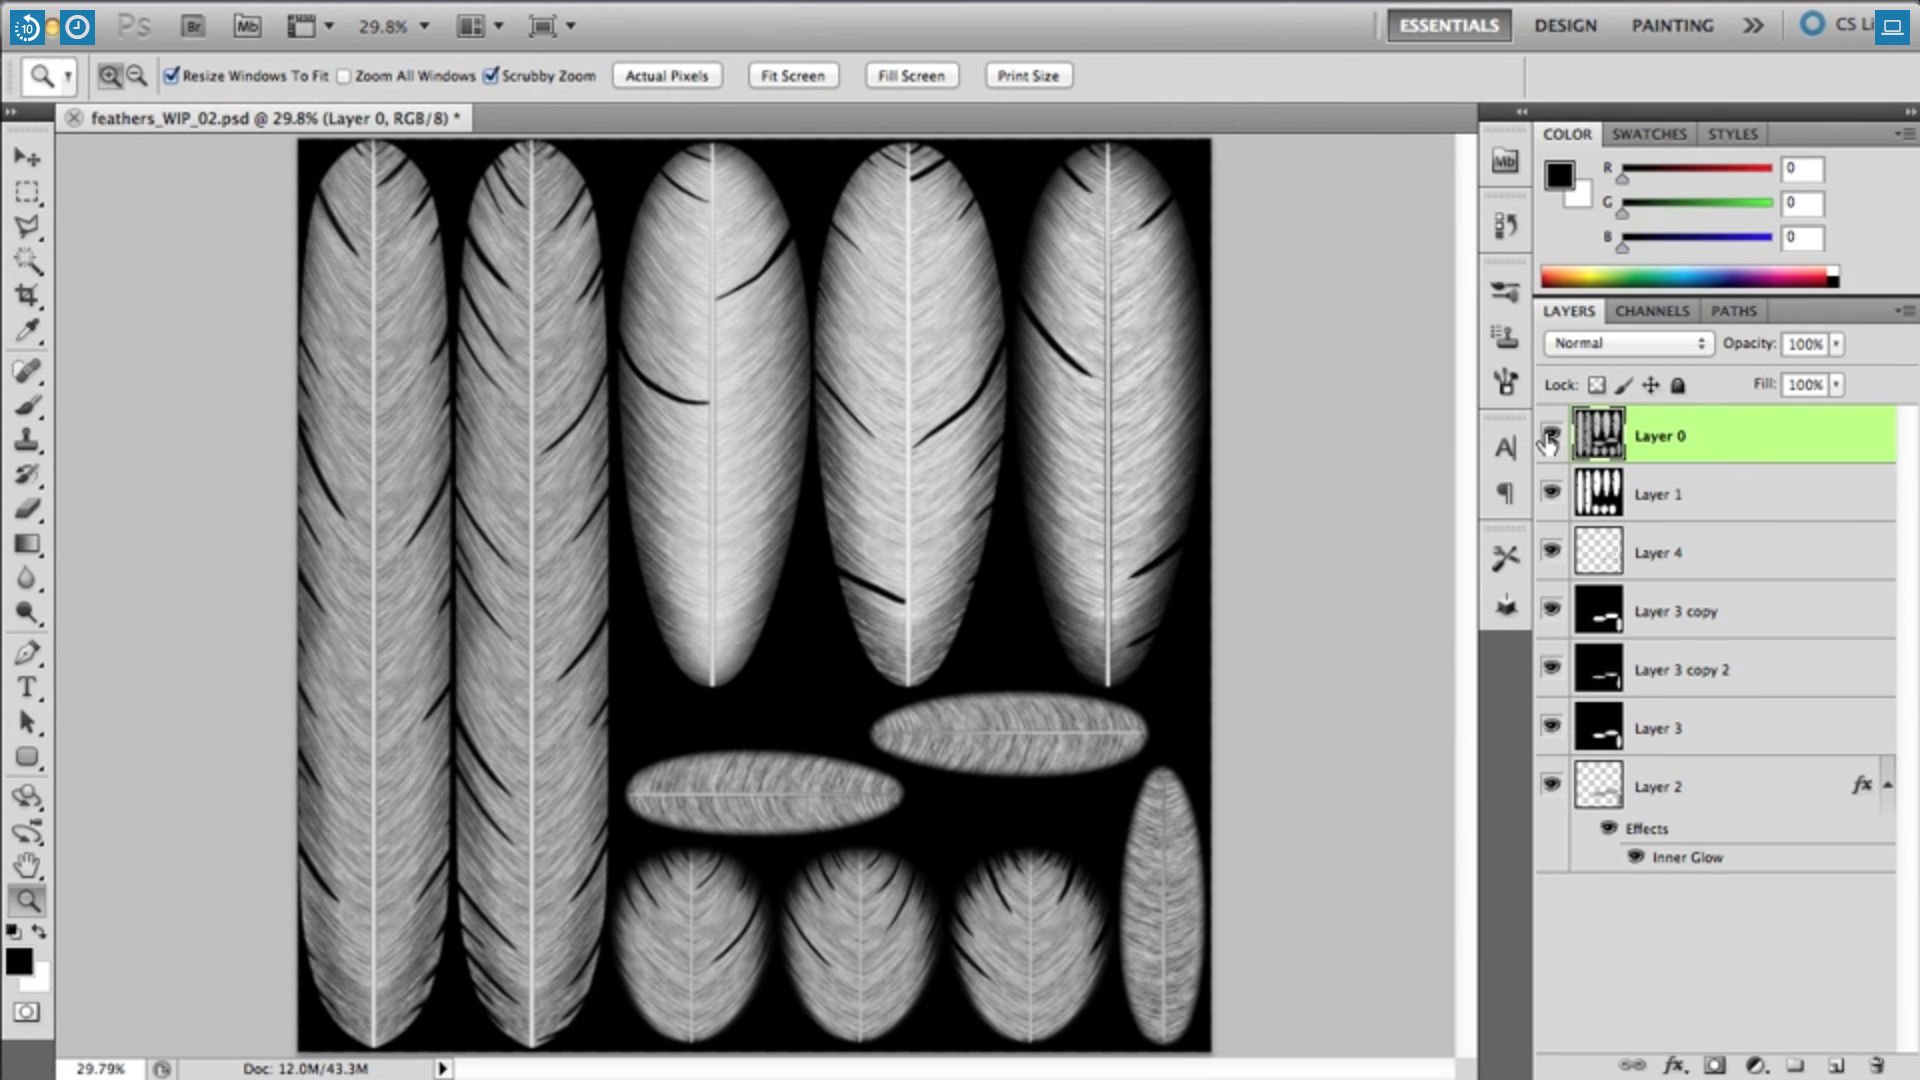
October 9, 2020 at 5:15 am #60703And there’re more feather textures to be painted 🤪:
1) “Bump Textures”
2) “Alpha Textures”
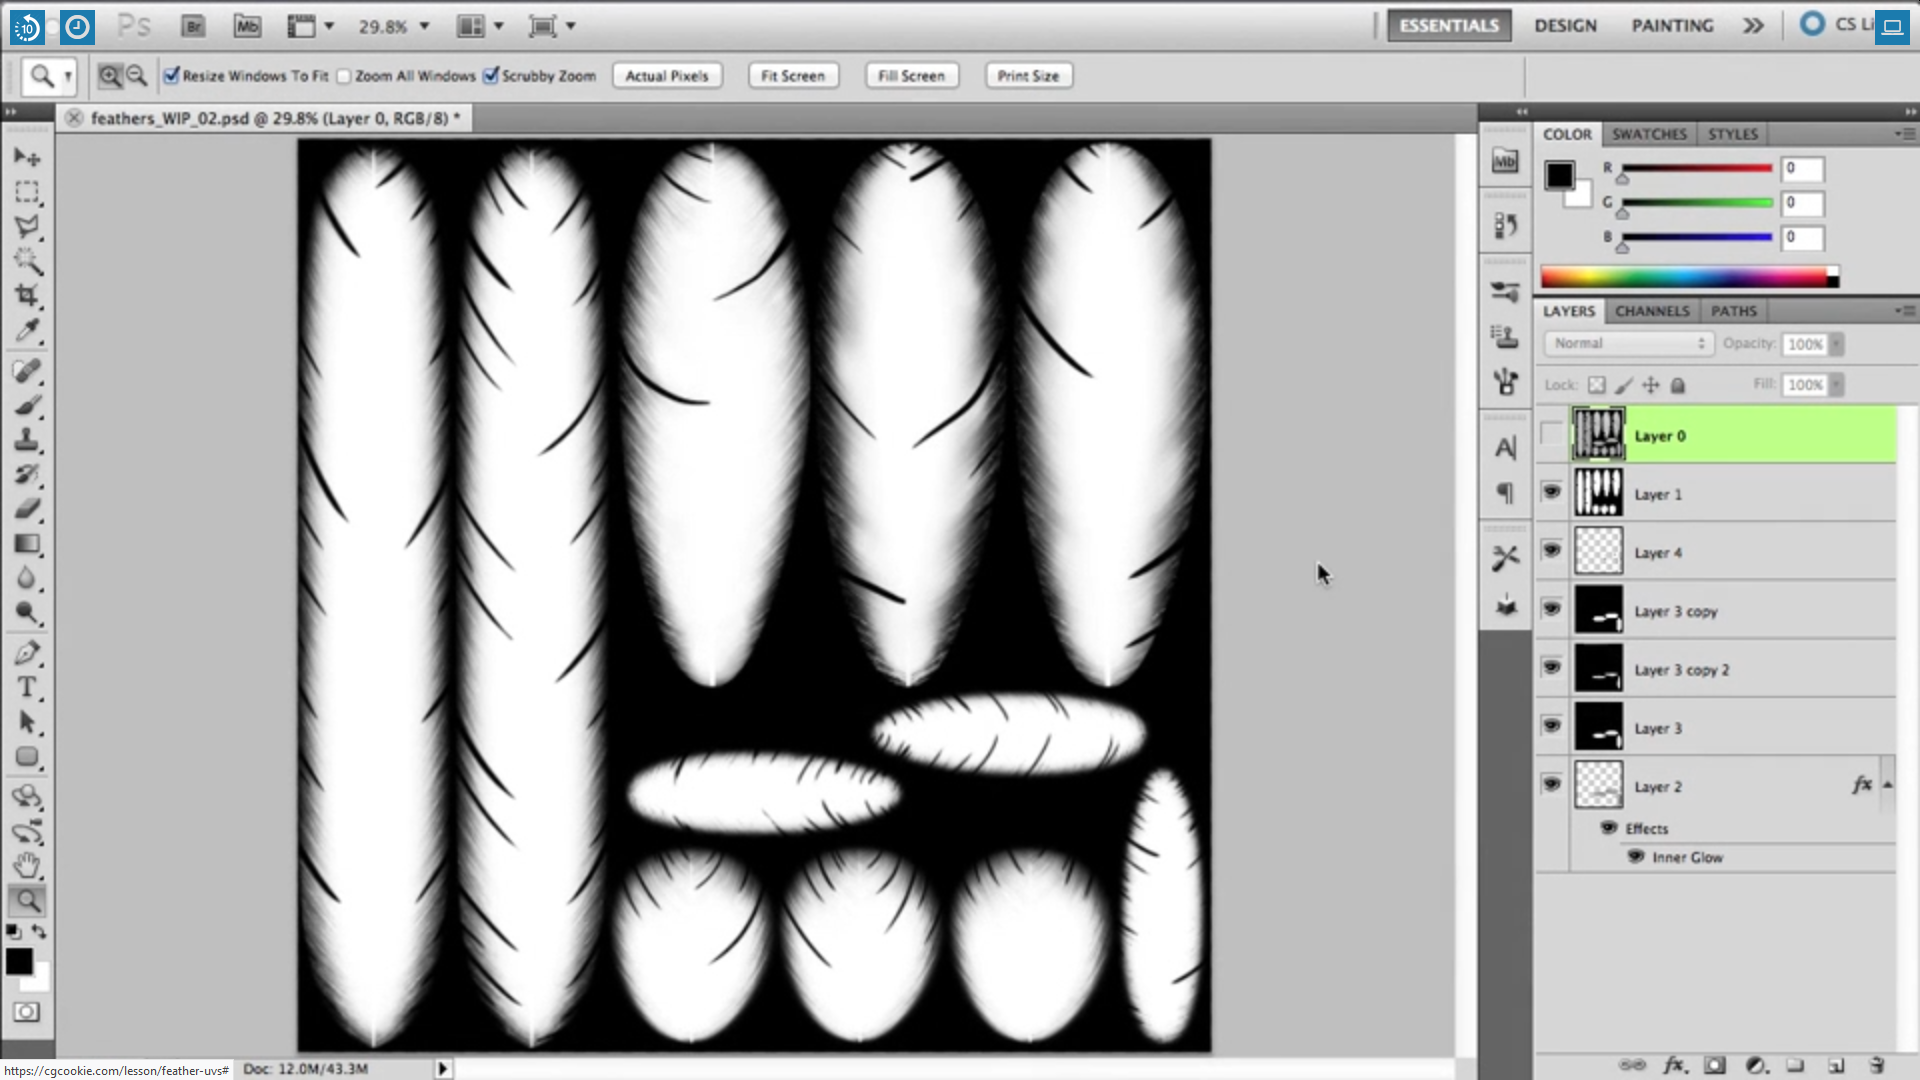
Let’s see how good I can achieve this in GIMP 😉.
-
AuthorPosts


- The topic ‘Painting Piero’s Feather Textures in GIMP: Duerer’s Progress’ is closed to new replies.