
Polybook Morten Fjellheim (Arev)
Forum Archive › Polybook Morten Fjellheim (Arev)
- This topic has 22 replies, 4 voices, and was last updated 6 years ago by
Morten Fjellheim.
-
AuthorPosts
-
November 24, 2019 at 11:30 am #11011
Hey, i finally have my own polybook!! I have been looking through all the others but not come aorund to create my own. I am starting off with this oillamp that i have modelled and now trying to texture. It has been a bumpy ride. i have watched tutorials on tutorials, asked for advice and so on. Everytime i do something i find out there is something wrong. Either the texture isnt very good, or the uv unwrapping goes west!
Now it appears that something i am doing, is causing something to happend.
Feel free to comment, give advice or ask questions.
November 24, 2019 at 11:32 am #52015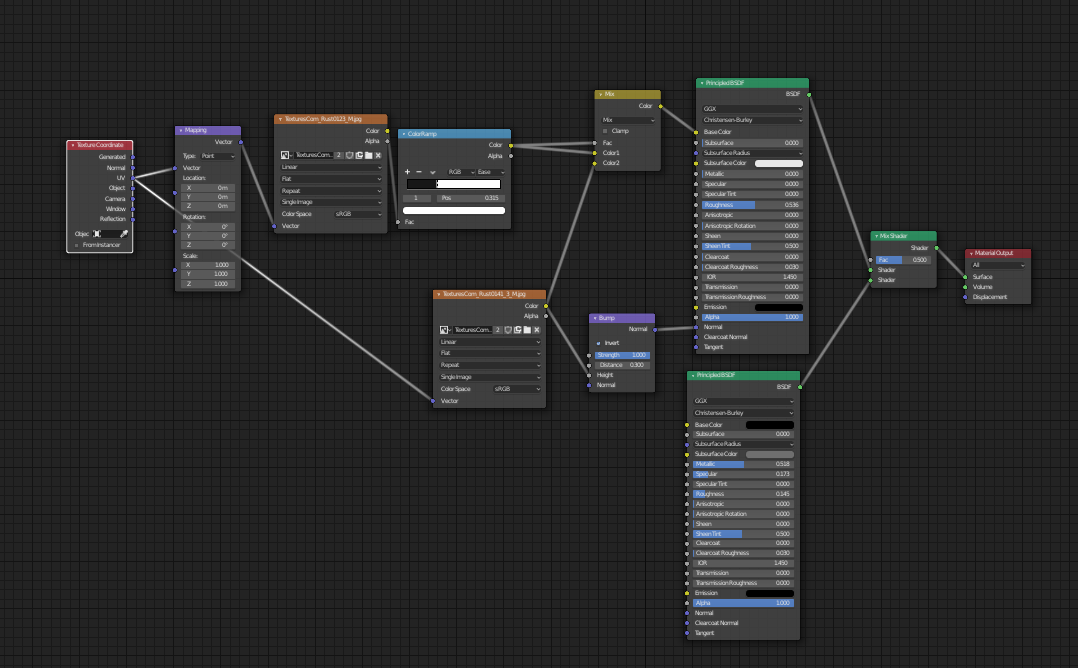
 November 24, 2019 at 1:27 pm #52016
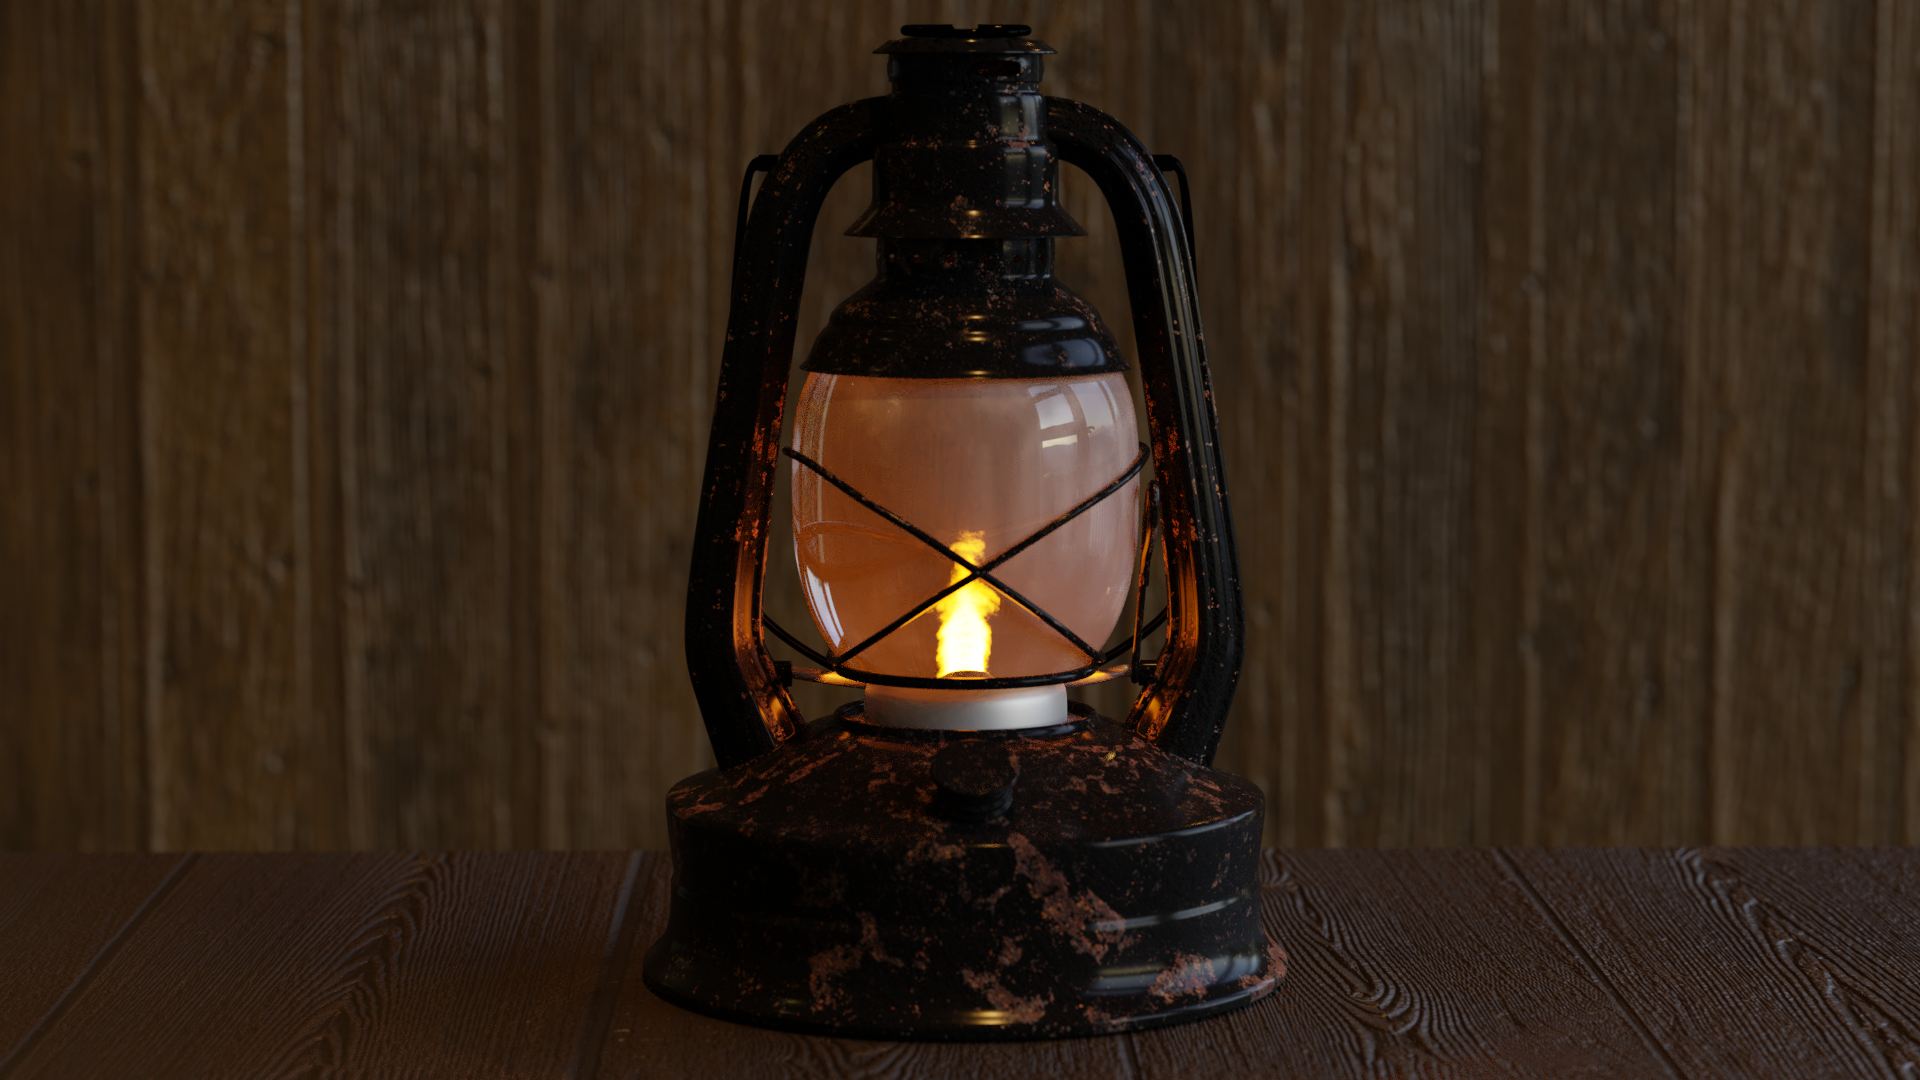
Hey Arev! Grats on the polybook. The lamp looks good! Here are a few suggestions I have:
1) I am not sure why you need the second principled shader. I feel like this destructive as it wipes out 50% of the info you put into the first one. I assume it is being used to add color (since it looks like you are using grayscale inputs for the first one)? I would try to map the color info into the first principled using some mix RGB setup so you don’t lose bump and roughness information.
2) You might try using a curvature or AO map to mask your rust texture (assuming it’s rust?) so that it looks like it conforms to your model and less like a foreign texture map. Also make sure scale is applied and that your UV islands are in proportion. The rust splotches at the bottom look much bigger than those elsewhere on the lamp.
3) The glass is very saturated, which I like actually. It makes look like its old, cloudy, and grimey, but the flame still appears crystal clear through it. Maybe break it up a bit and put some burn marks around the bottom and grime up that really shiny metal base so it fits in better.
All in all, nice render though. Look forward to seeing more!
November 24, 2019 at 1:55 pm #52017Well..i havent figured out a way to get rid of the second principled bsdf, its there for metallnes and color. Just curious, by grayscale are you referring to the coloramp? i am using a rust texture to set the areas where the other rusttexture shall appear. The colorramp divides the area where rust and metall shows.
You talk about the color info….stil i suspect you are talking about the colorramp?
When you say the rust “splotches”, are you referring to size, shape?
November 24, 2019 at 4:22 pm #52018What I am saying is that it appears you are trying to create two different materials (with different values each for color/roughness/metalness), but nothing is plugged in to the factor of your mix node. So it renders a 50/50 mix of the properties for both principled shaders. I do not think this is what you want. You want some areas that are 100% rust and some that are 100% metal. You need to create some kind of mask to differentiate (plugging your image into a high contrast color ramp could give you this for free). You could then plug that mask into a mix shader factor or just plug it into your various value slots on a single principled shader.
There are two images, one is plugged into a color ramp (such that the output is grayscale) and the other appears to be a height map (these are usually grayscale). But you could use a mix RGB with your material mask to plug colors into the color slot on a single principled shader rather than have two.
For the splotches, yes I am referring to their size. I cannot see the image texture, but because the splotch size varies substantially between different parts of the mesh, I believe there is some kind of scaling issue, either on the mesh itself or with the UVs. Fixing that would distribute the rust a bit more evenly.
Finally, if you combined the material mask with a curvature or AO map, the rust sections could be mapped to specific places on your model where moisture would be likely to accrue, rather than be governed by an image that probably was not designed with your lamp in mind.
November 25, 2019 at 11:54 am #52019Thank you John, i will certanly check how this turns out.
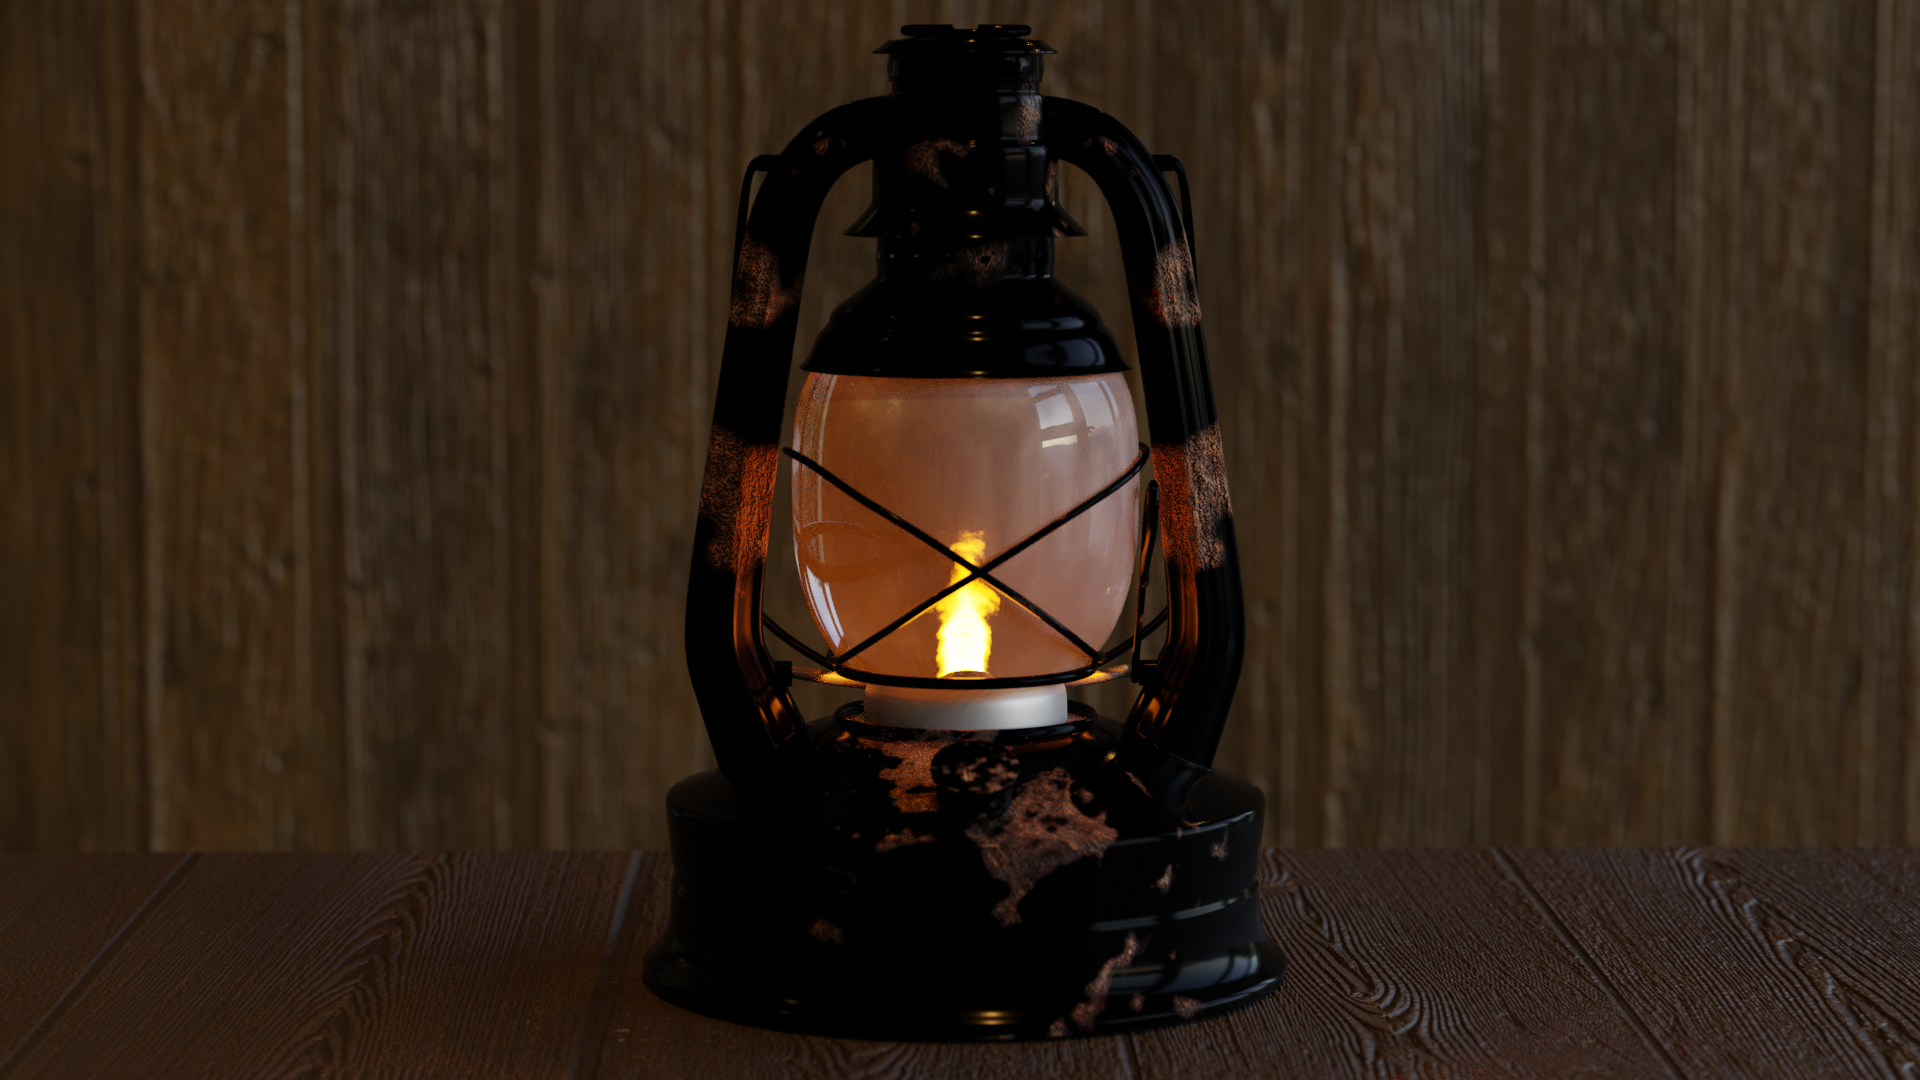
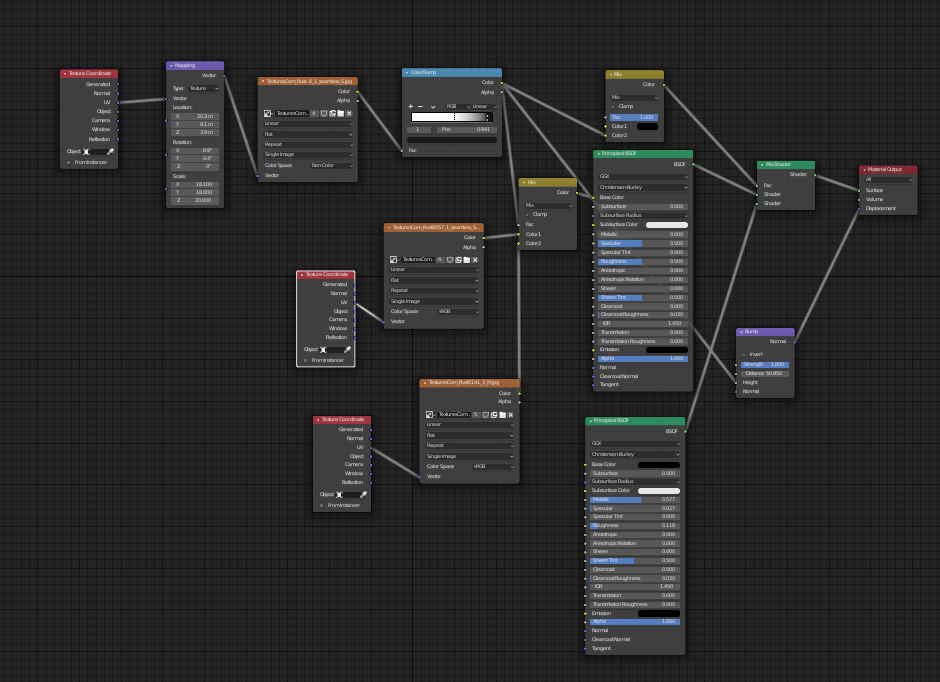
November 26, 2019 at 12:48 pm #52020Just an update. Took John Sandersons tips to mind and started working on it. It think it is improved alot, stil far from the deisred result but way better.
 December 1, 2019 at 12:40 pm #52021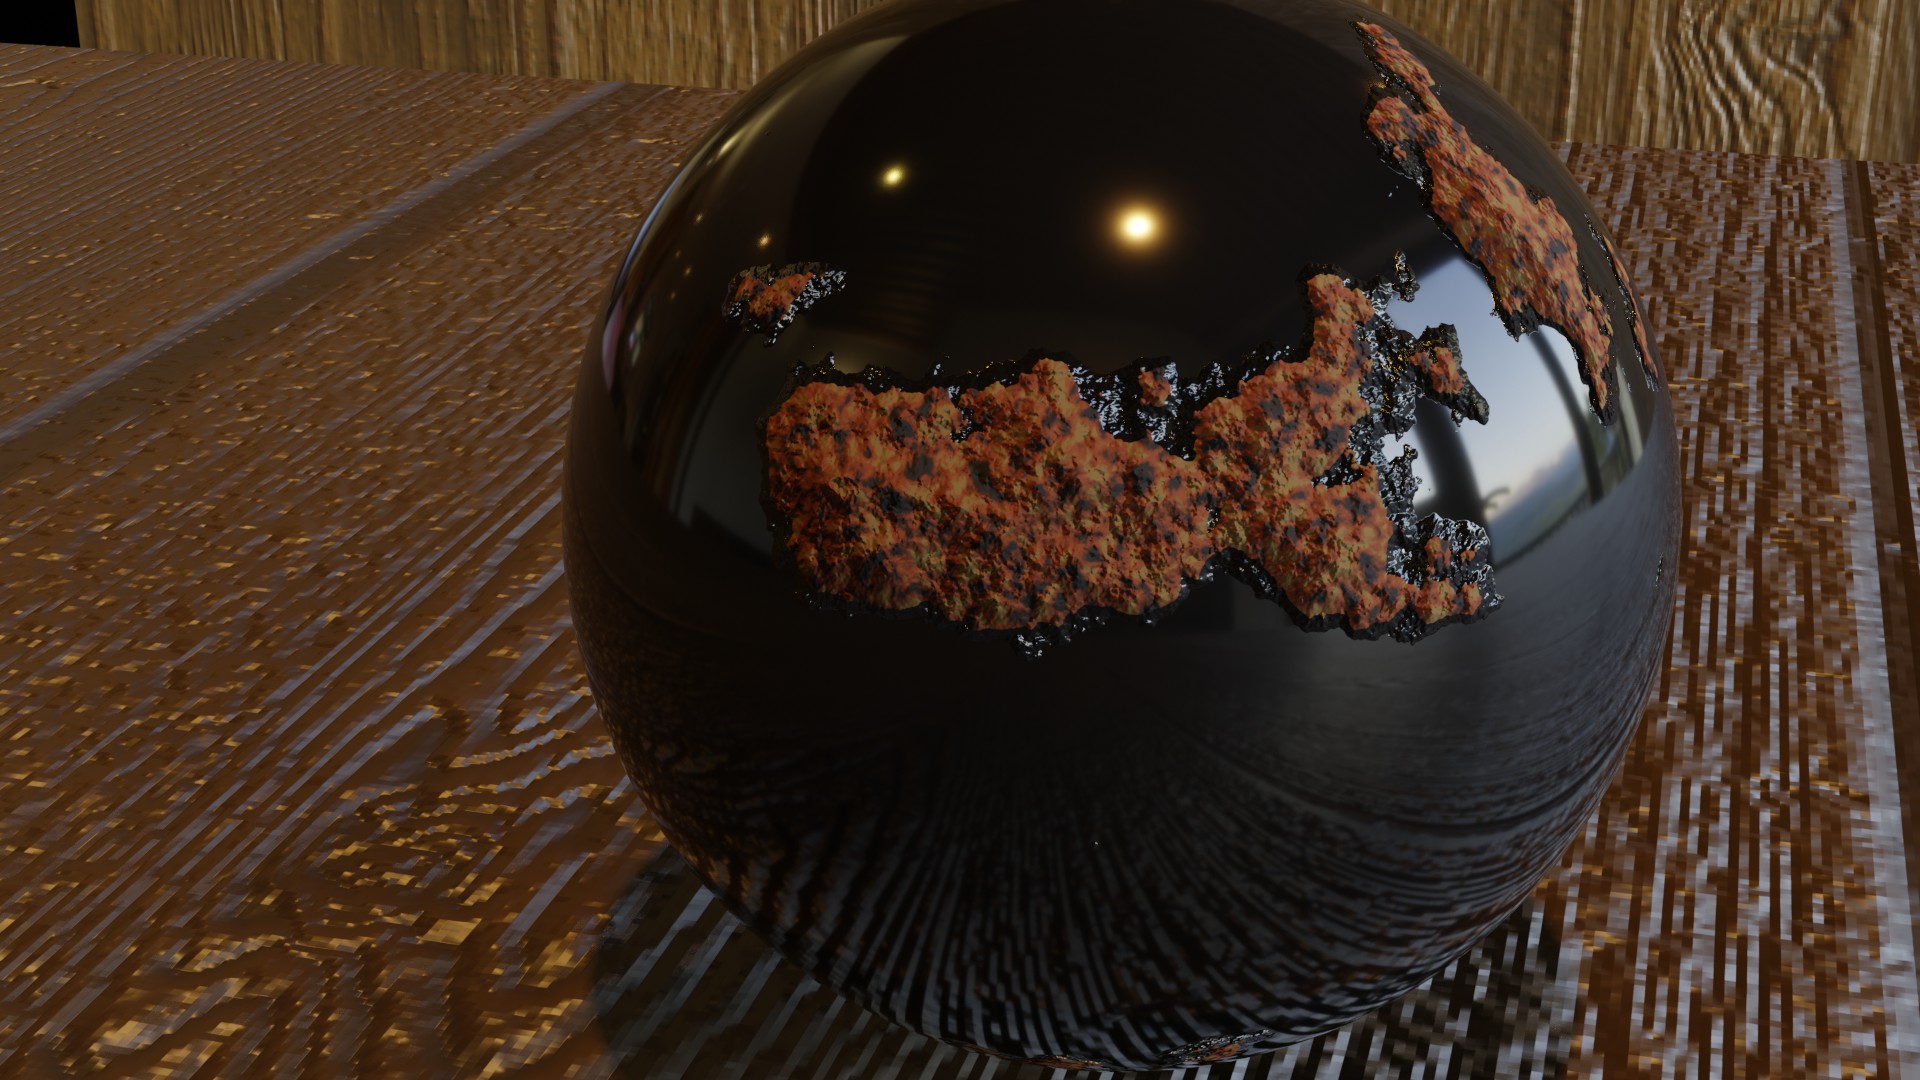
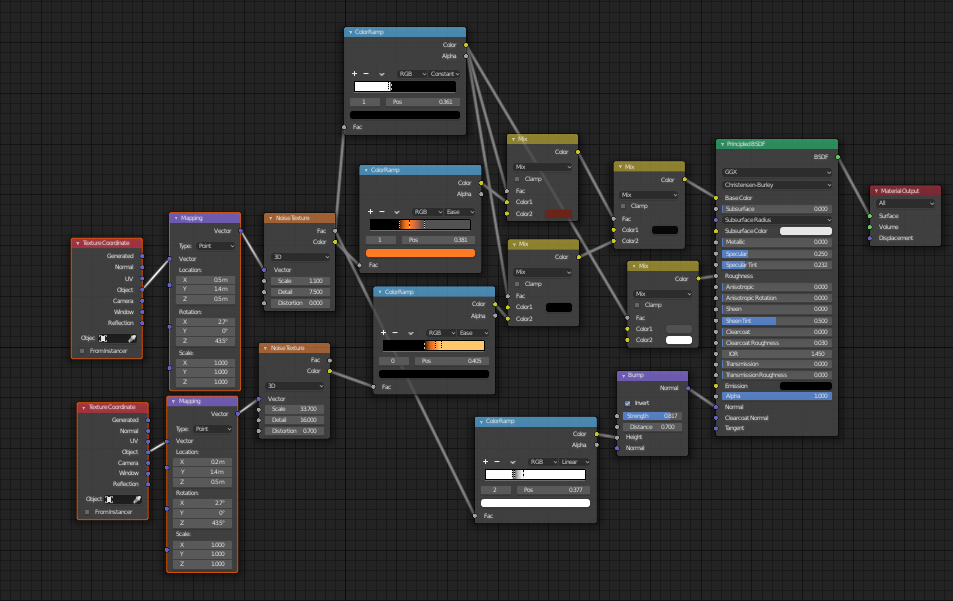
I am trying to create a rustshader for the lamp. I didnt know rust was this complexed.
 December 1, 2019 at 1:11 pm #52022
Looking good Morten! 2 ideas that may help.
1) I would reduce the strength of the bump by at least 50%.
2) I would add a metallic layer to the material that goes between the paint and rust. I think that will help sell it as rust so that we can see where the paint has chipped away and exposed the metal and then the metal has rusted in places.December 1, 2019 at 2:13 pm #52023Aye, reducing the bump is top on my “to do list”. Adding metalness to the “in between layer” would mean creating that layer as it isd not really a layer. But i will attempt something:)
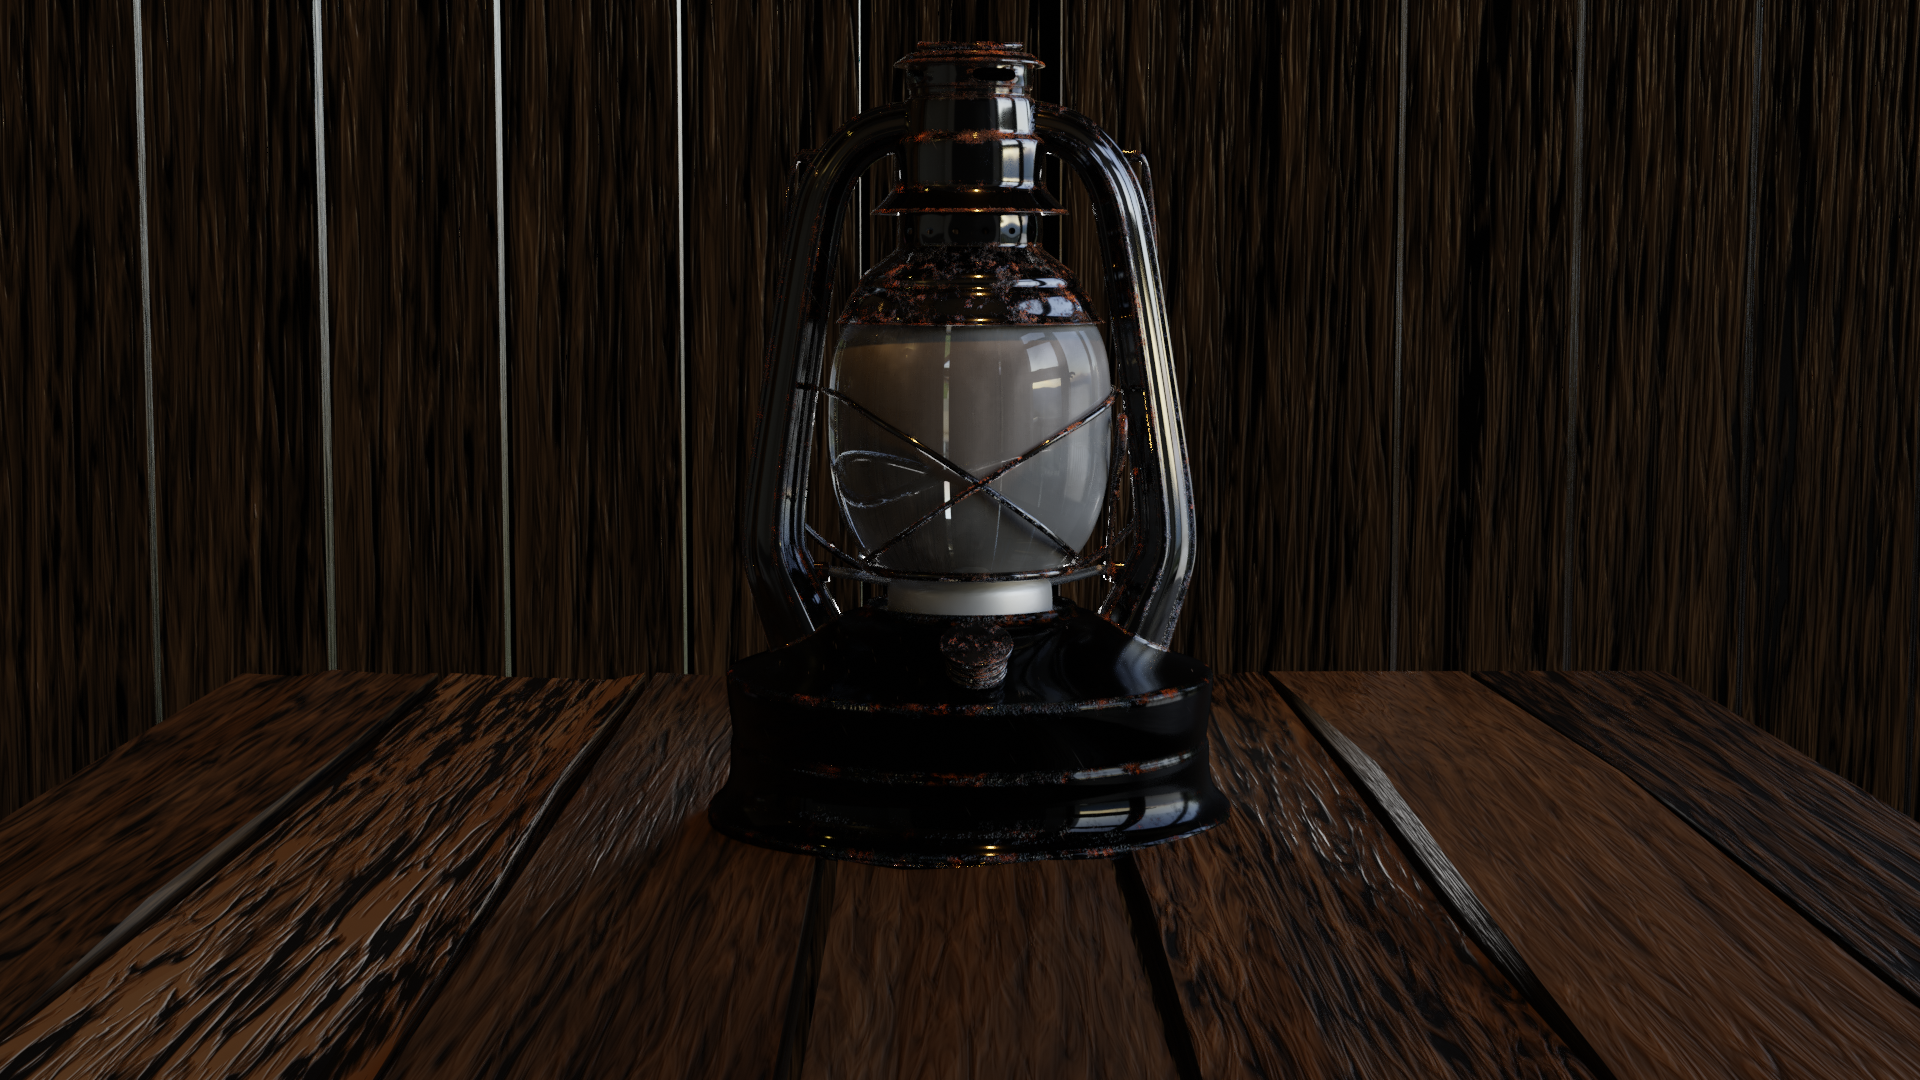
January 11, 2020 at 4:53 am #52024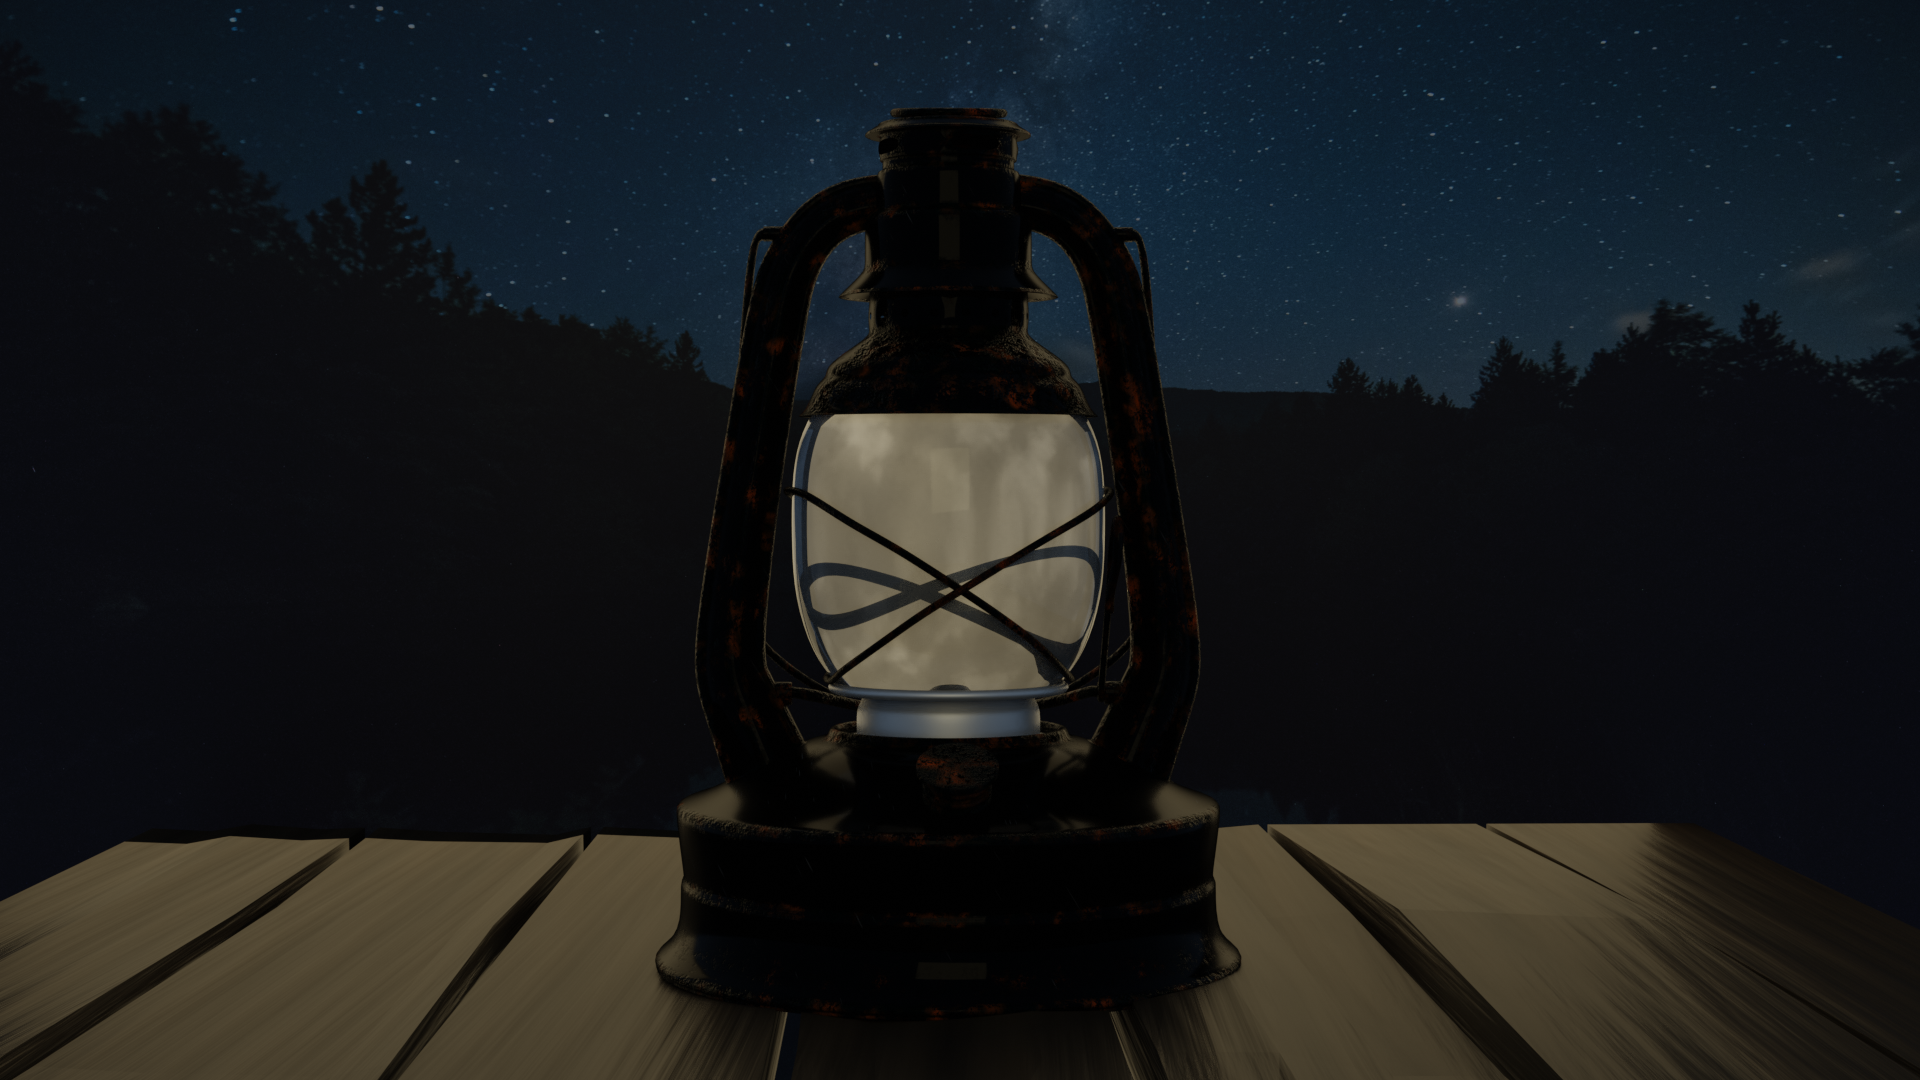 A little update. I tried to model an enviroment for the lamp, but it turns ouit flat and boring. So i thought maybe i would use an aimage texture as background for it instead. I have also made a diferent mask for rust distribuyion, this time more centered around the edges. Critique and tips is welcome.
 January 11, 2020 at 2:27 pm #52025
@arev first of all. it’s a great model!
Let’s get this lamp shaded;)
One thing at a time, let’s start with the (always) most difficult part, the glass.
Think of the history; it’s a lamp, so when this was made the glass they used would have been clear.
When the lamp got older, the glass would have become dirtier. People would have touched it and the fat of their fingers and hands stayed on the surface of the glass and dirt sticked to the fat.
Glass has a see-through component and a reflection (mirror-like) part.
You use a milky glass, but your reflections are very sharp. This suggests a new, but not very clear glass.
Try a higher roughness (not too uniform though) for the reflection. And make it transparent enough for the flame to shine through.
January 11, 2020 at 3:14 pm #52026Thank you @spikeyxxx. Yes, i will do something to the glass. I just havent got to that yet. I was thinking of putting some smudge in there to show it has been used. Maybe some scratches but not too much.
January 27, 2020 at 6:47 am #52027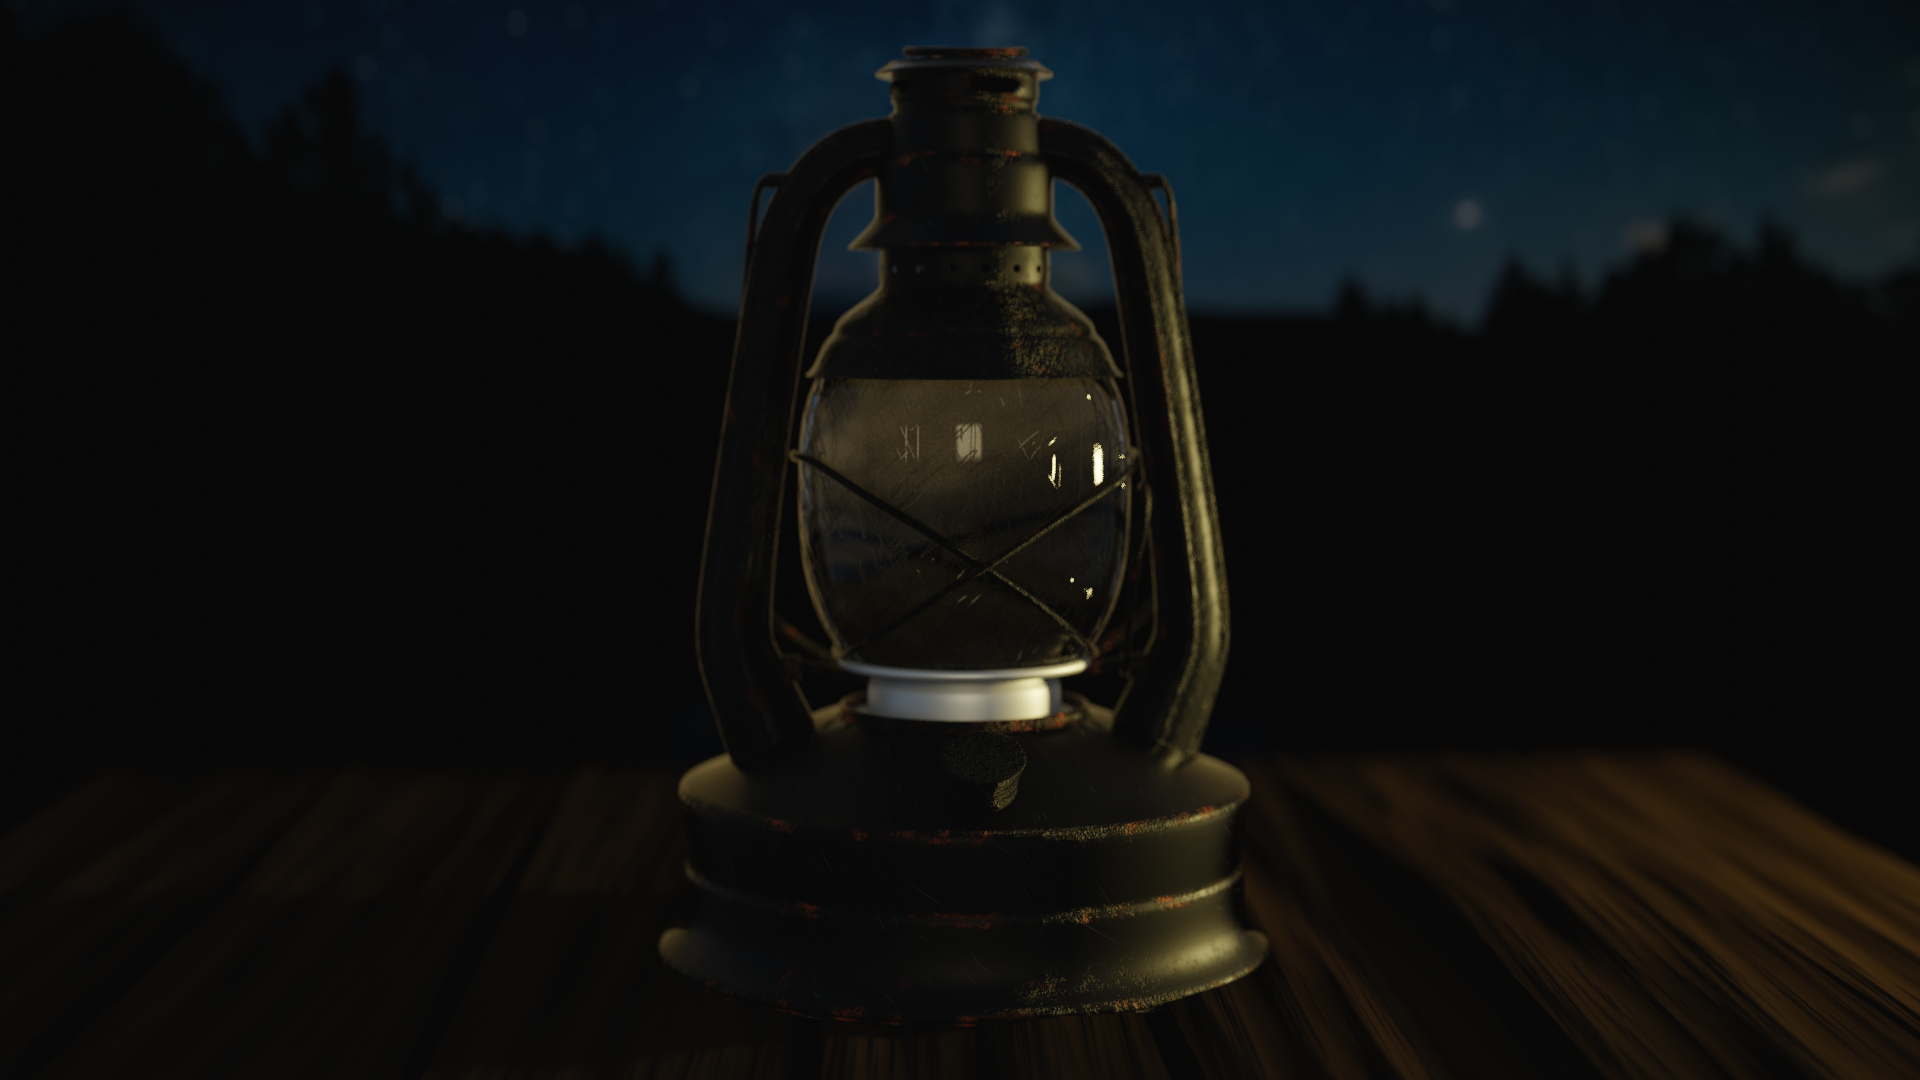 Just a quick update on where i am at with my lamp. Finally sorted the fresnel out. Now working on the glass, going to add som scratches and other imperfections. Then i am going to use mantaflow for the first time and get the flame burning inside. I am going to do more, but this is what i am doing next. Thanks to “Louhikarme” for helping me get the node setup correct.February 6, 2020 at 12:55 pm #52028
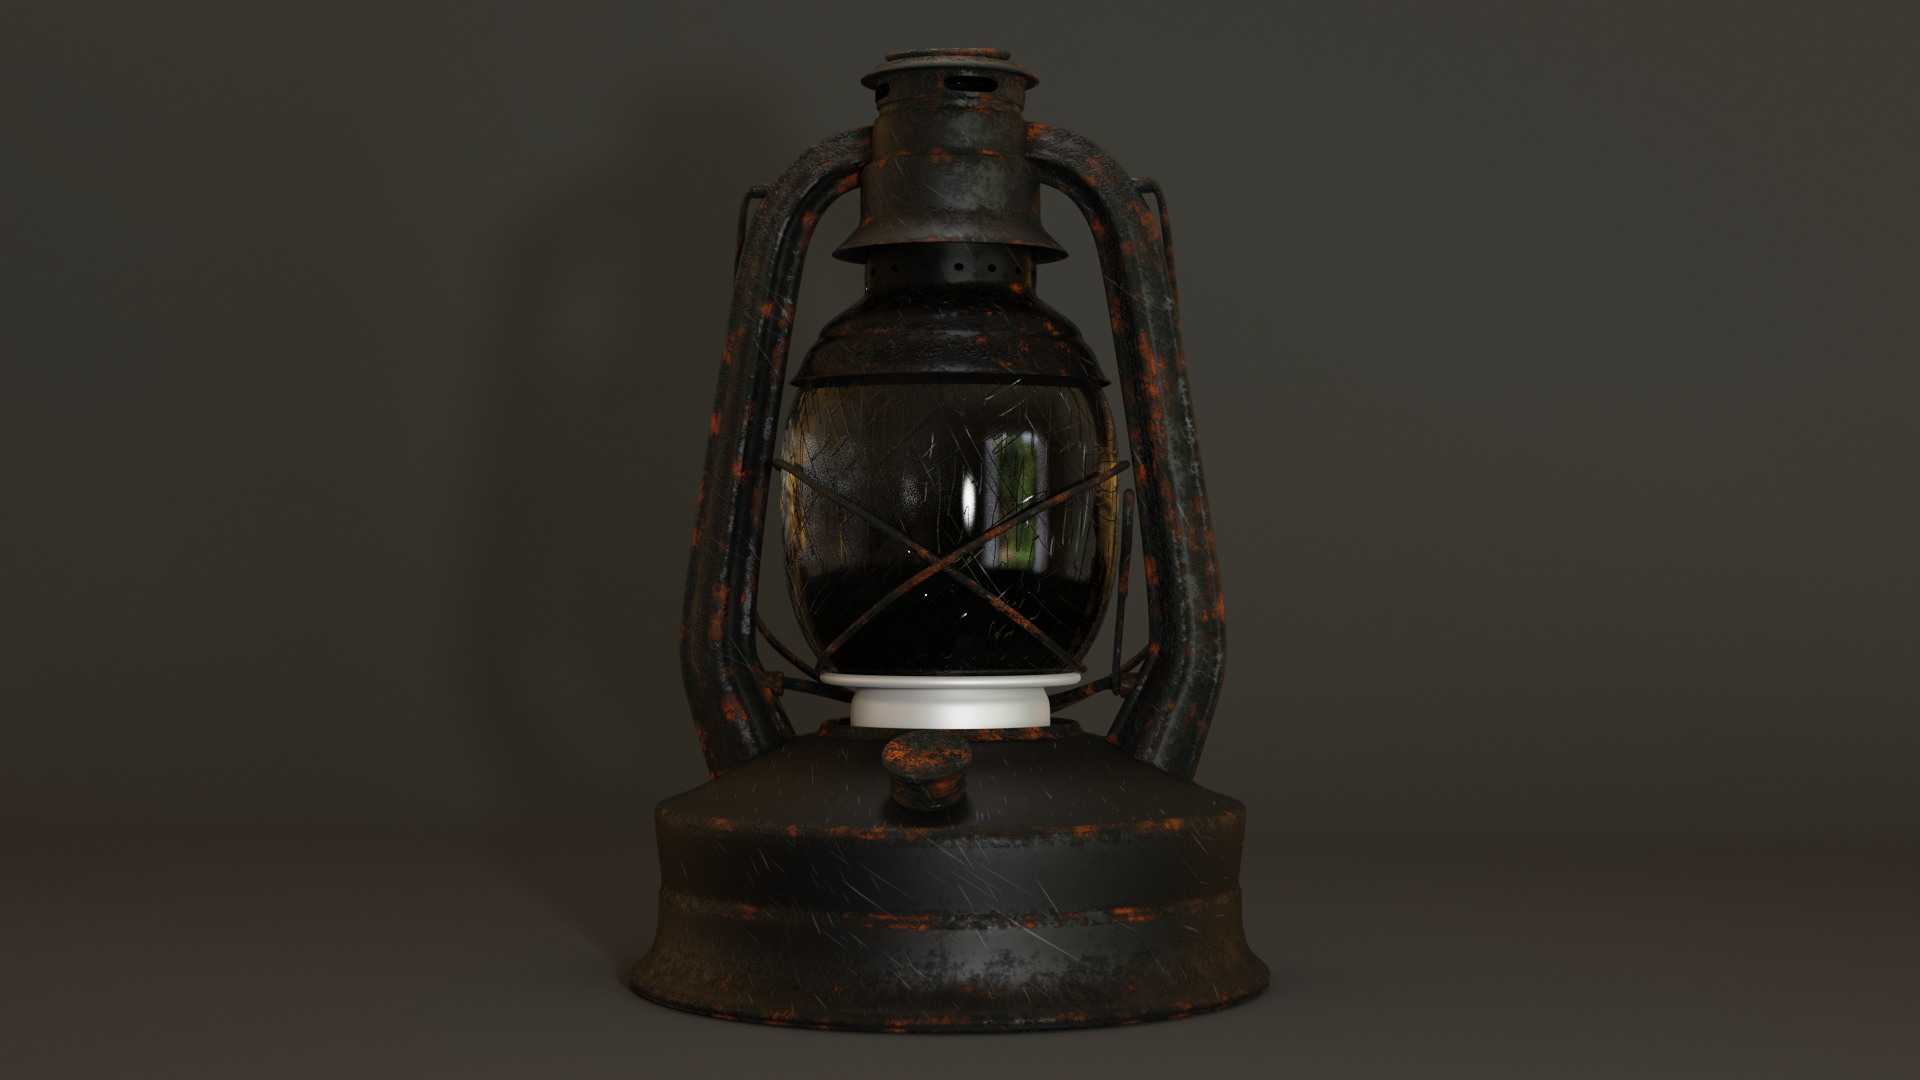
Finally figuring out the material. So now i am getting very close to an end for this project. The things that are left now is to make some adjustments tio the rust layer on some parts of the lamps. I think some places have too much rust. Then i will perfect the scrathces abit and finally add some dust and grime. Hopefully this will be the last update before finish.
-
AuthorPosts


- The topic ‘Polybook Morten Fjellheim (Arev)’ is closed to new replies.