Reply To: how to apply a gradient bloom color?
Forum Archive › how to apply a gradient bloom color? › Reply To: how to apply a gradient bloom color?

I’ve been playing around and I think I have a workable solution. It requires some setup before the compositor.
Setup View Layers (AKA Render Layers):
- In 3D viewport, select the letter and press M->New collection->Give it a name. I named mine Layer 1.
- Shift+D and right click. This duplicates the letter and doesn’t move it.
- Press M->New Collection->Give it a name. I name mine Layer 2.
- In top right-hand corner where it says ViewLayer. Click in there and rename to Layer 1.
- Click the Icon next to the name Layer 1 and click New. Then change the name to Layer 2.
- In outliner next to Layer 1 (Or the name you gave it.) collection, uncheck the check box.
- In view layer control, click icon to the left of the name Layer 2 and select Layer 1.
- In outliner, uncheck the check box next to Layer 2 (Or your collection name).
Setup Material:
- Select the Letter object in Layer 2 collection.
- In properties editor under materials tab or in the shader editor’s header, next to the material name click the number 2 Icon to make this material it’s own material.
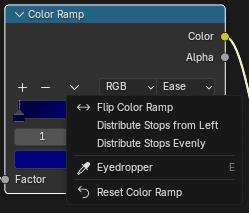
- In the shader editor, on your color ramp for the gradient click the drop down->Flip Color Ramp.
- Save your file (Ctrl+S for direct save or Ctrl+Alt+S for Incremental save.)
- Press F12 to render both layers.
Compositor:
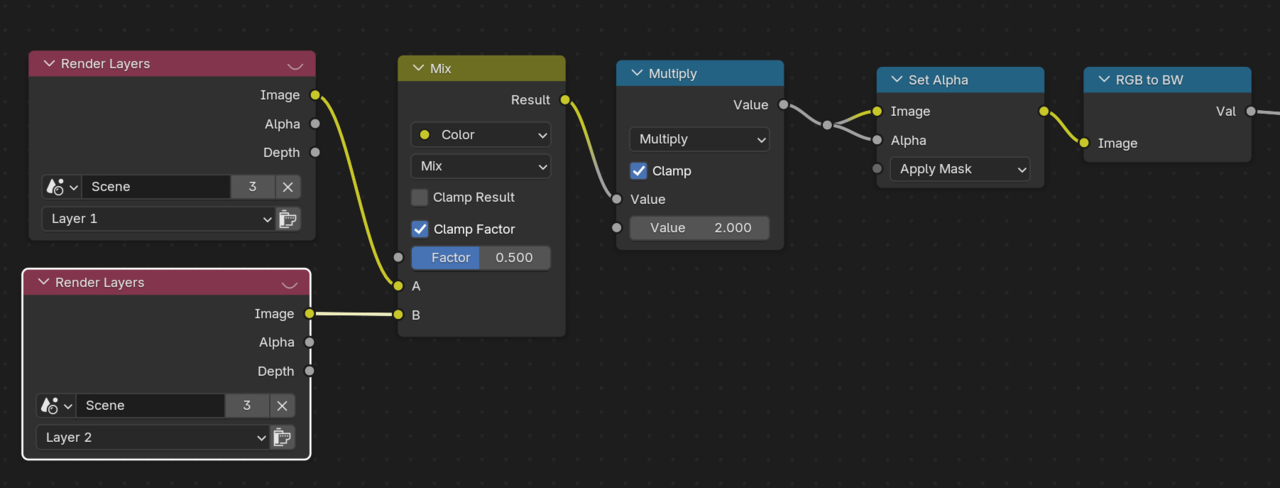
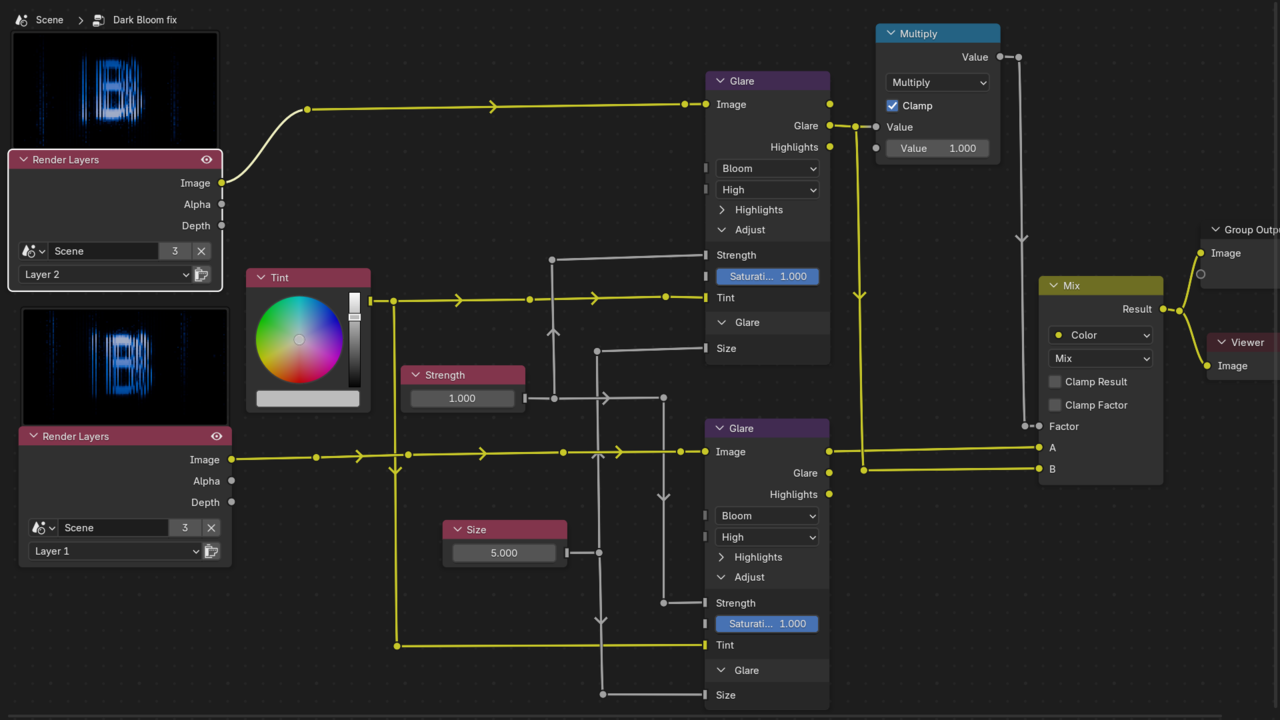
I use a Color and 2 value nodes(Shift+a->Input->Constants) to make sure the glare nodes have the same values. I duplicated the the Render Layers node and changed it from Layer 1 to layer 2. I added a Multiply so I can adjust the effect. Note that I use the Glare output of Layer 2’s Glare node, because that is the only part I want to add to Layer 1. Here is my node setup.
If you want to mask out the letter then you would do something like below. Again I used a multiple to add ability to adjust. Instead of a multiply node you can use a color ramp node set to constant and setting the white (Color stop 1) to a really low position. Something like 0.01. I personally like the feathering vs the harsh line of a mask. Note this only works because the background is black. If it wasn’t then you would have to use one of the keying nodes.