Reply To: Taking notes on specific tutorials/taking notes in general?
Forum Archive › Taking notes on specific tutorials/taking notes in general? › Reply To: Taking notes on specific tutorials/taking notes in general?

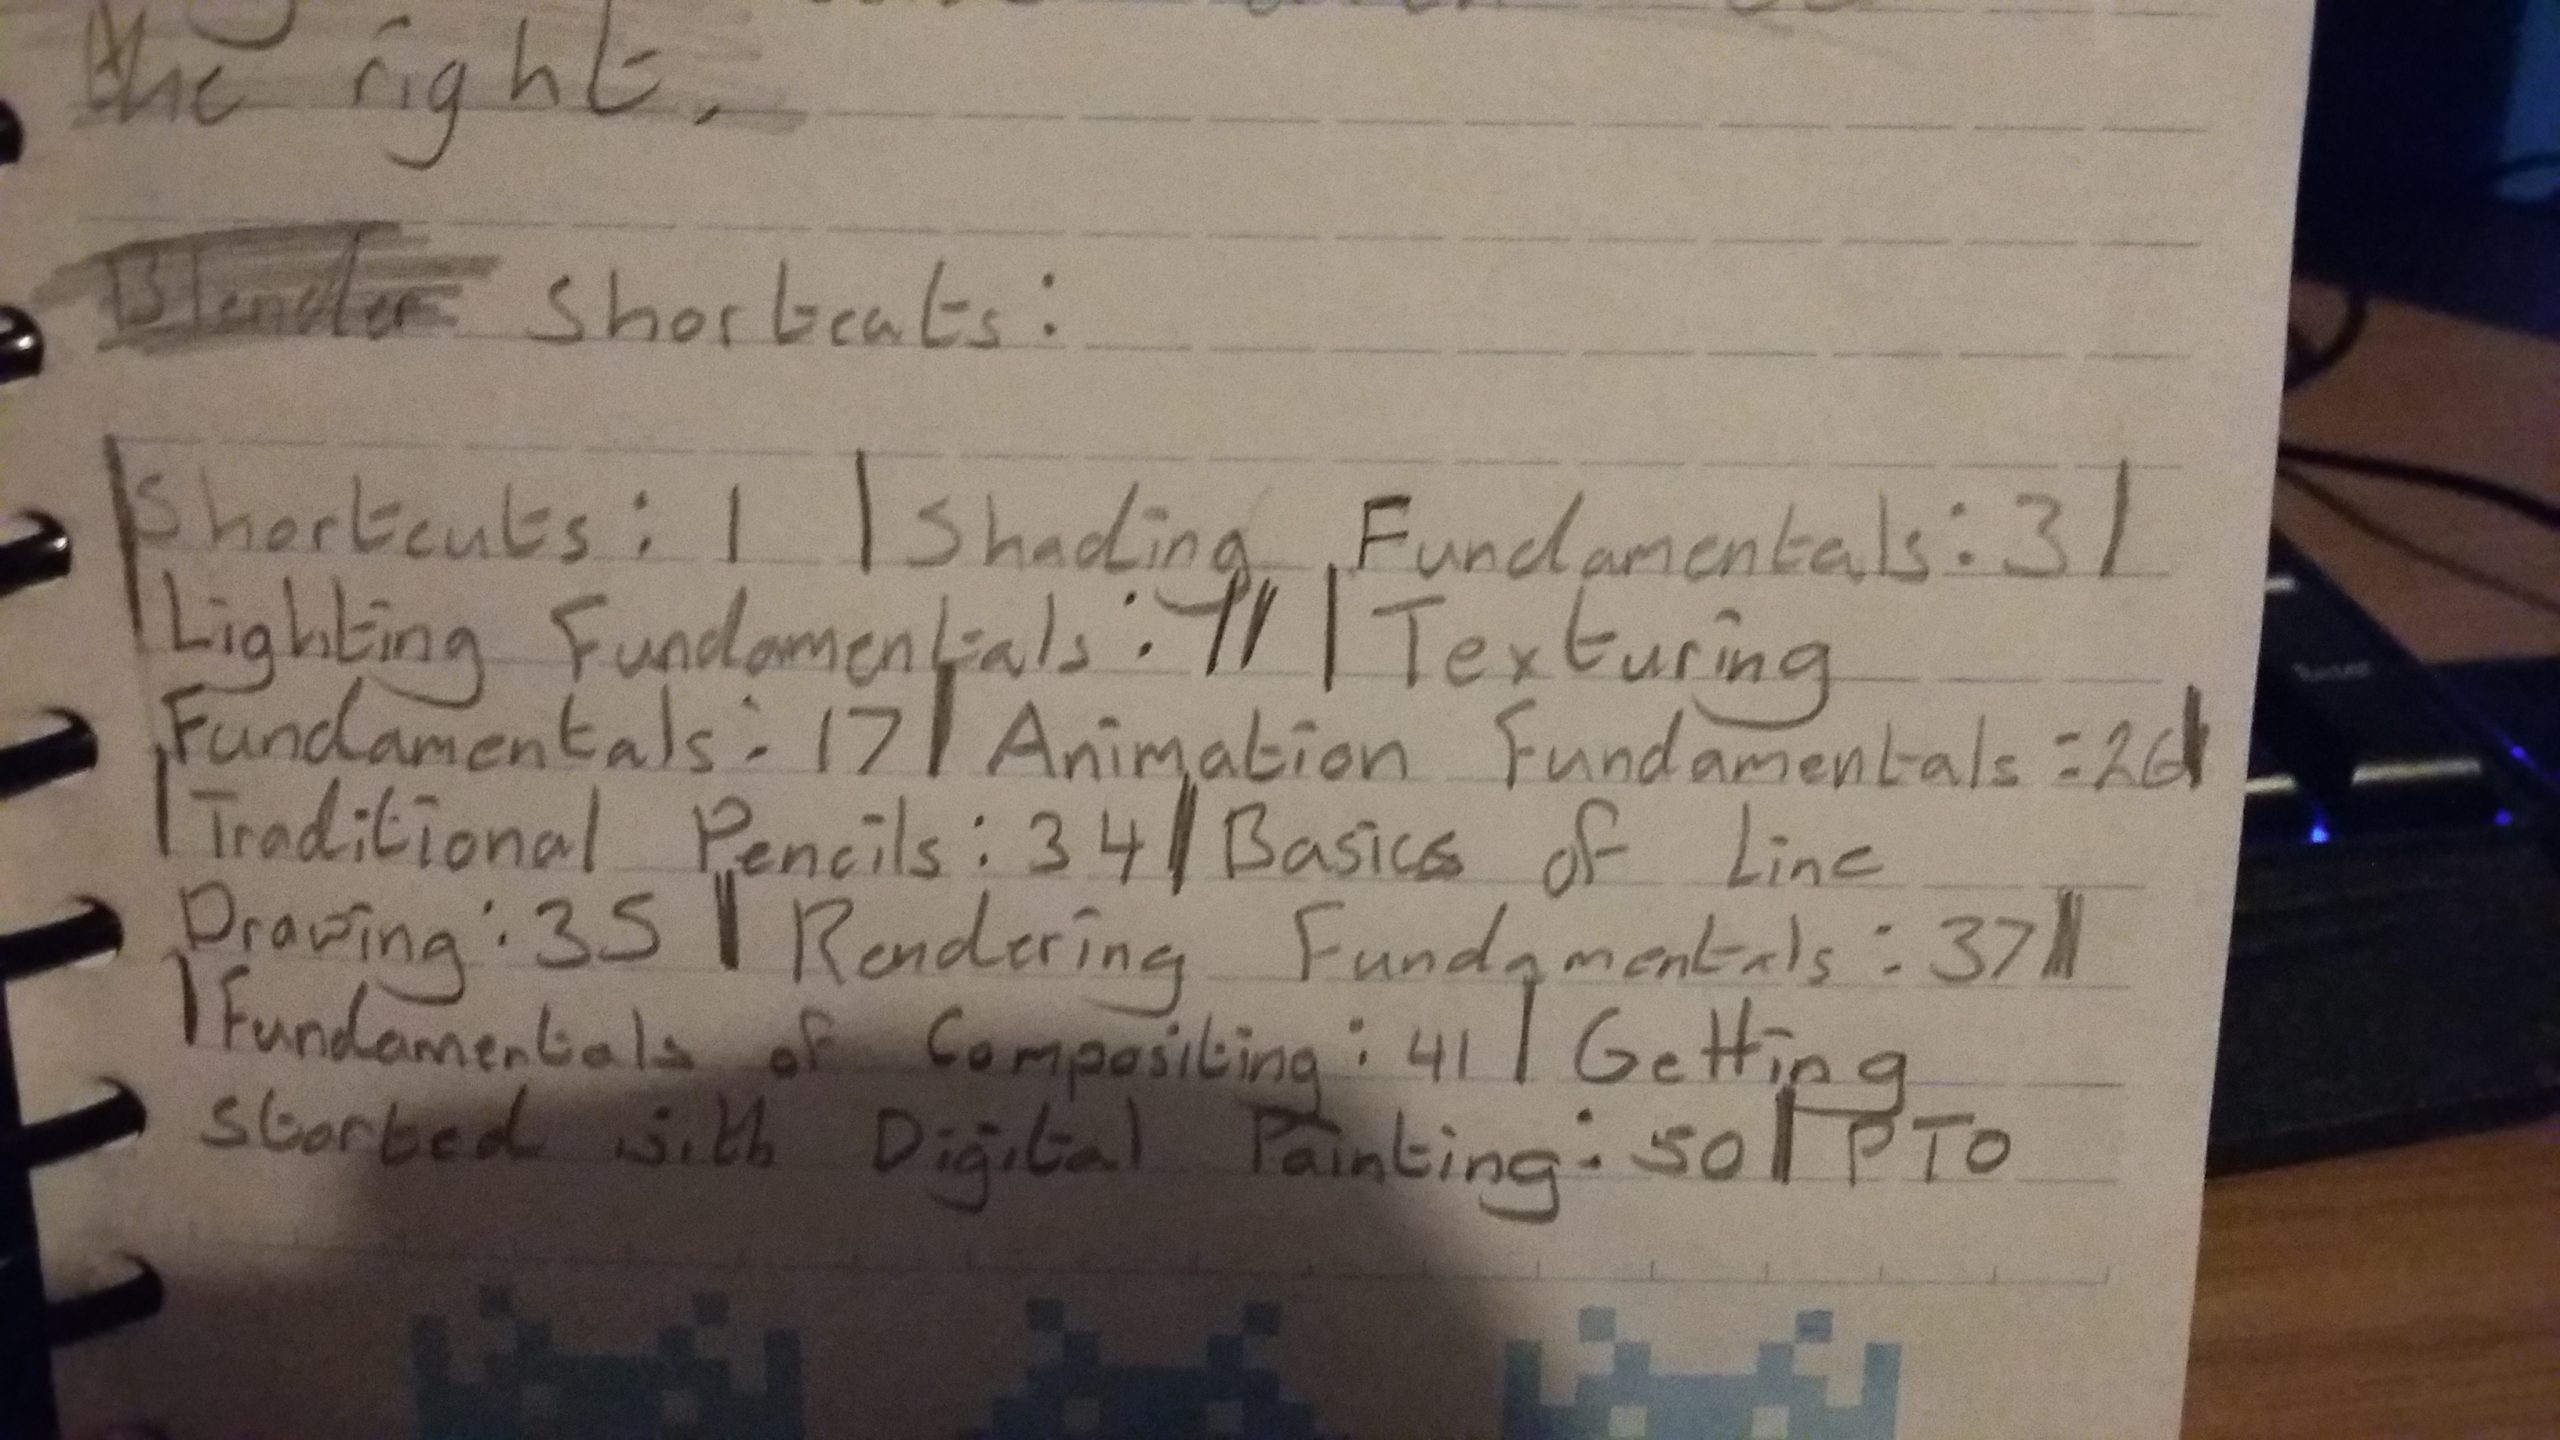
This may not be *exactly* what you’re looking for but one thing I do with my notes (though I’ve got a little over 100 pages of them and I’ve just finished the Fundamentals learning flow so either I have big handwriting and love paragraphs or I’ve been a tad too specific haha) is to number the pages and then have some sort of index at the beginning of the notebook to help with organisation (I did this per course, but you could do it per video for example, depends on how descriptive you want to be). I find by doing this I can jump to roughly what I want pretty quickly and outside of a few occasions I don’t need to rewatch videos.
I do however agree with @gothicbunny in that taking notes for the sake of taking notes is pointless and will just clog up your notebook. For example in the lighting fundamentals course @theluthier talks about the three different types of lights in a scene – the key light, the fill light and the back/rim light – and how to use them. Now of course you could essentially write down what he said word for word but I find simply trimming the fat on the sentences down to their vitals is simply good enough:
Key Light:
– Primary source of illumination, sets the tone
– In front of object, at an angle and off to the side
– The more to the side, the more dramatic
You could then write out notes for all of them and write down a “3 Point Lighting” shortcut on your index with which page it starts on next to it.
But to bring up what you say about making notes obtuse and difficult to navigate I’ll use a fairly simple example in the form of one of BlenderGuru’s tutorials which I’m sure many of us are well accustomed to by now (for reference: https://www.youtube.com/watch?v=ZtSh4Yedafg). Now in this tutorial it centers around modeling a cup, but most if not all the information is applicable to other models:
– Ctrl + R to loop cut, good for getting hard edges on subsurfed meshes
– F with multiple verticies selected to create a new face
– If a face is unusually dark, press “reverse normals” in the toolbar to fix this
I’m sure there’s other things in the tutorial as well. You could then label this as “Modeling Basics A” on the index or something to that effect.
Well it’s nearly 5AM for me and I’m extremely tired so I hope this manages to help you in at least some tangible way, and I wish you the best of luck in your Blender endeavors. Also I’ll attach a picture of the index I have in my notebook for reference, but you could (and probably should) be more detailed with it and split up courses into multiple bits.