Reply To: Polybook – FrikkR
Forum Archive › Polybook – FrikkR › Reply To: Polybook – FrikkR

JULY 2015 to DEC 2015 – Modelling and shading a Sci-Fi Helmet.
Although the Piero course was going great, I sometimes found it all a bit overwhelming as there is so much to take in, and since I had started it as a long term background project, I decided to also give the Sci-Fi helmet course a go.
This tutorial is split into two, The modelling course and the shading course.
Combined, both courses take you through the process of creating a Sci-Fi helmet from a basic sphere primitive, to a full render. The course was a great way to learn a workflow for sculpting an model from scratch, completely from your imagination and then re-topologise it to create a render friendly, super crisp model, full of detail.
In the modelling course Kent really pushes you to unleash your creative side and sculpt from your own imagination, rather than copying his model – a concept that I tried hard to stick to.
Starting with a simple sphere , you use the grease cut function to cut chunks out and give your model an initial shape. Following that up with a detailled look into some of the main sculpting tools and techniques, Kent guides you through the process of detailling and polishing your sculpt. Next you add hard surface details with the “kit bashing” workflow and a final polish takes your sculpt to the re-topology stage. At this point, Kent reccomends that you watch the re-topology videos by @jonathanwilliamson in his weapon retopology tutorial , found here in the archives : https://cgcookie.com/archive/hard-surface-weapon-retopology-in-blender/3
With the re-topology complete, you have an epic, perfect sci-fi helmet, ready to be shaded and brought to life in the shading course.
In this, Kent takes you through the method of unwrapping and texturiung your model, then setting up materials and shaders, to first create a “fresh out of the factory” look for your model, and then shows you how to make it super realistic and battle worn, so it looks like it has seen a lot of action with scratches, grime and general wear and tear. You also learn how to paint decals onto your model with stencils in the texture paint mode, and add LED lights and lenses to give your model a detailed and well polished feel.
These two courses are great to get you into a comfortable workflow that will allow you to create models consistently from initial ideas in your head, to fully finished renders.
The two courses can be found here :
https://cgcookie.com/course/modeling-a-sci-fi-helmet/3
https://cgcookie.com/course/shading-the-sci-fi-helmet/2
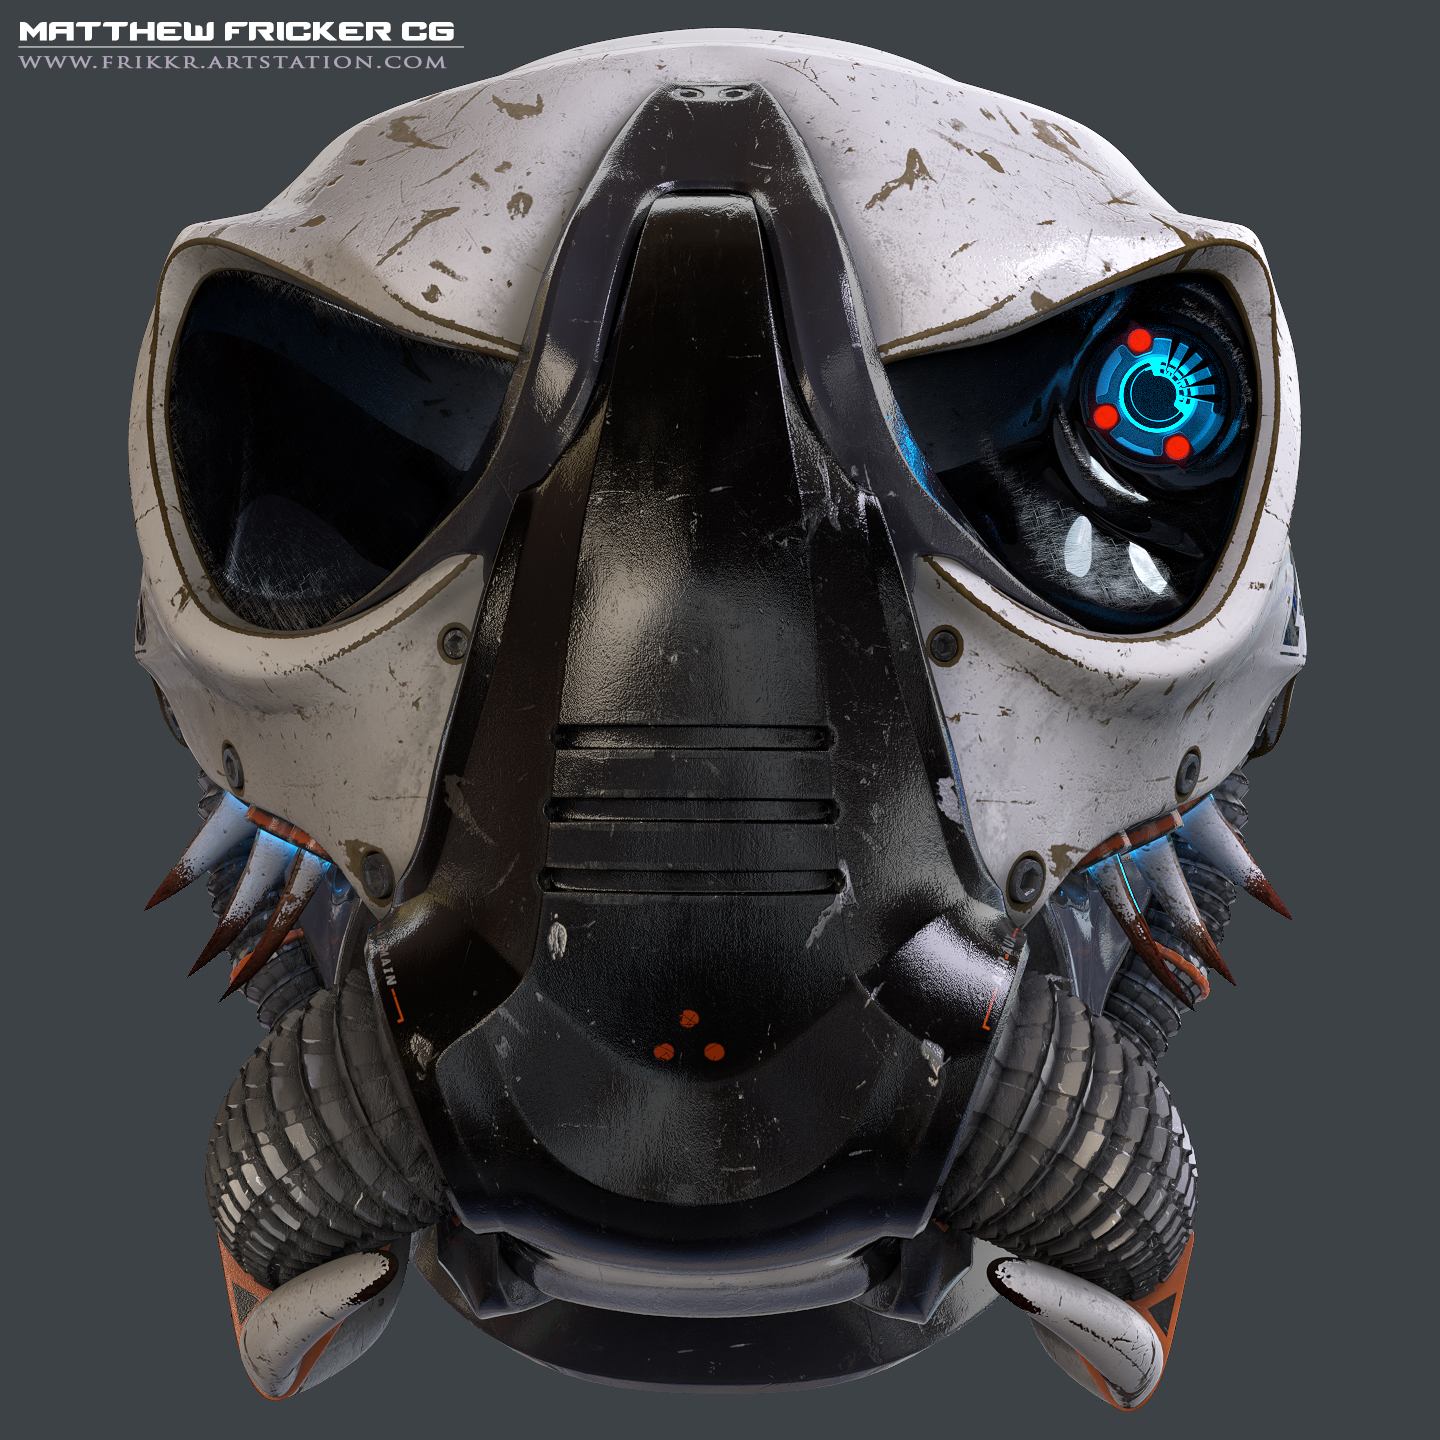
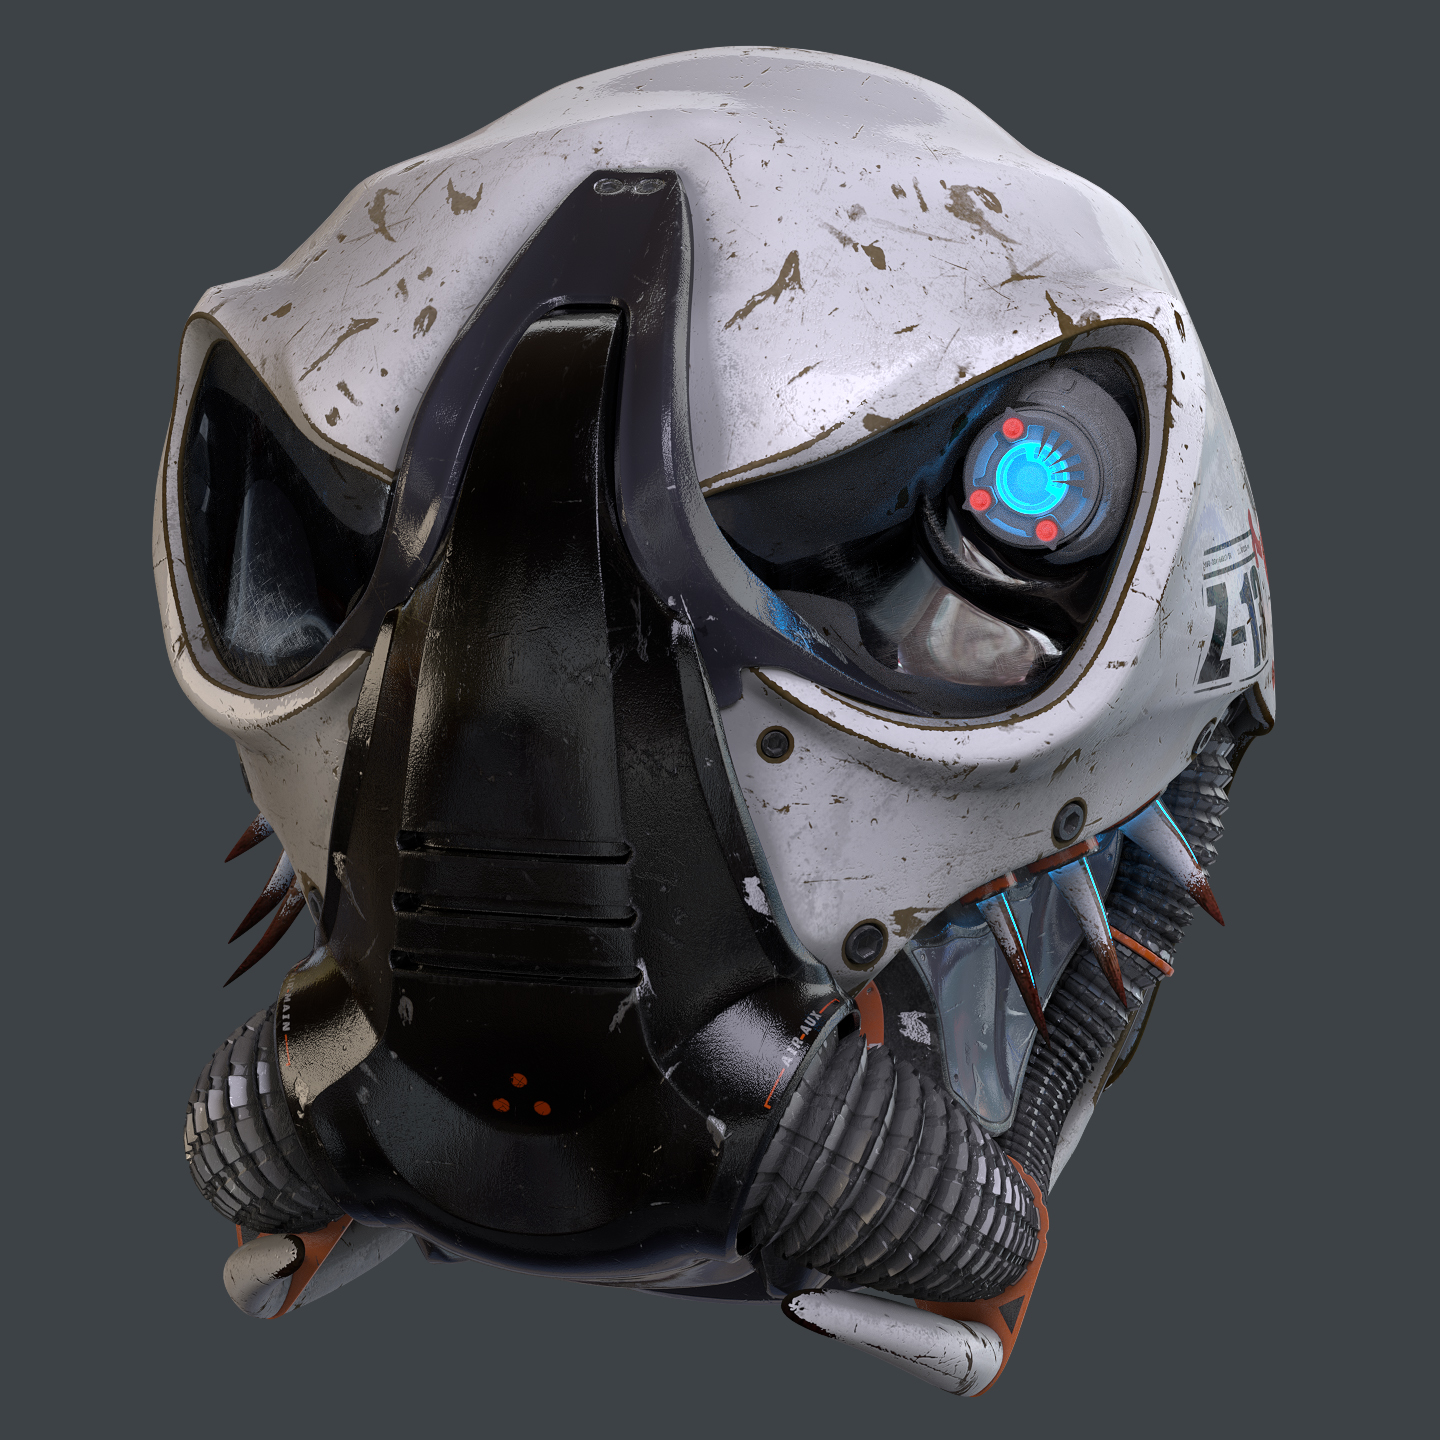
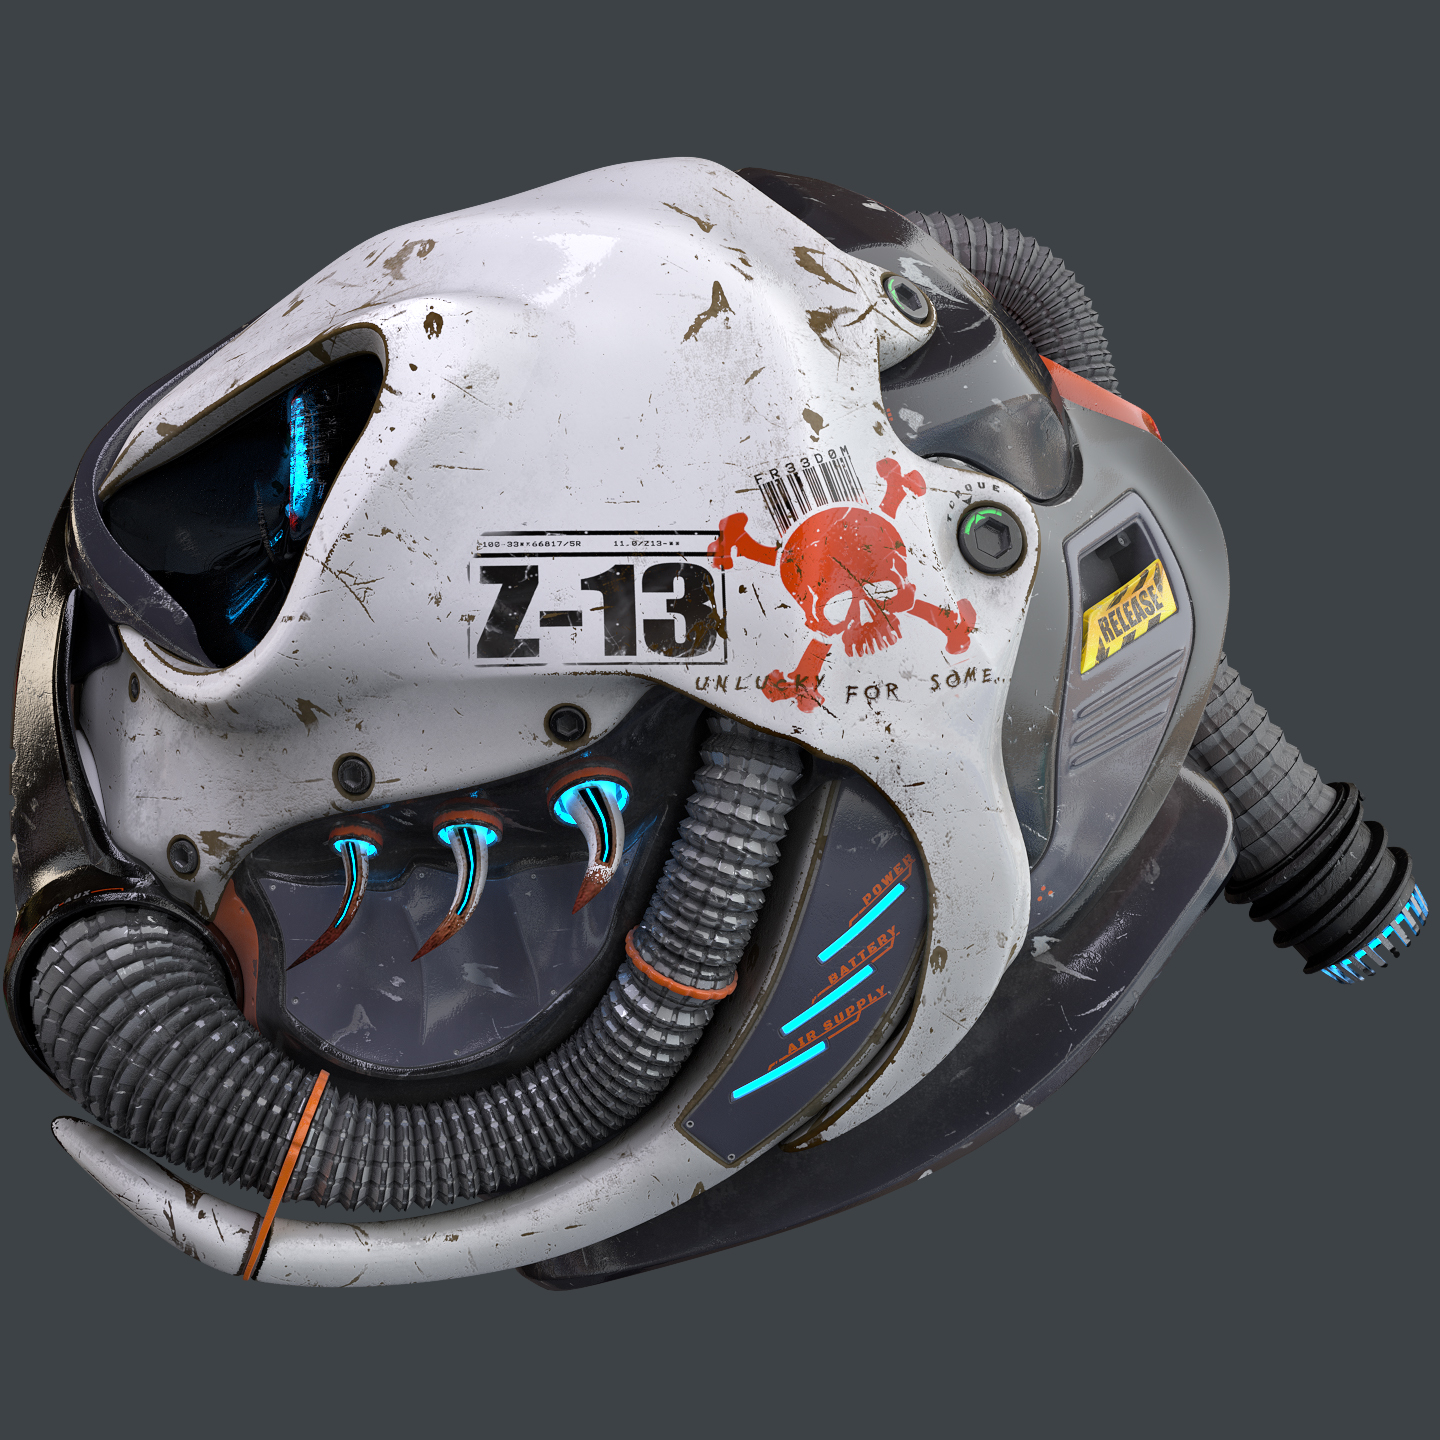
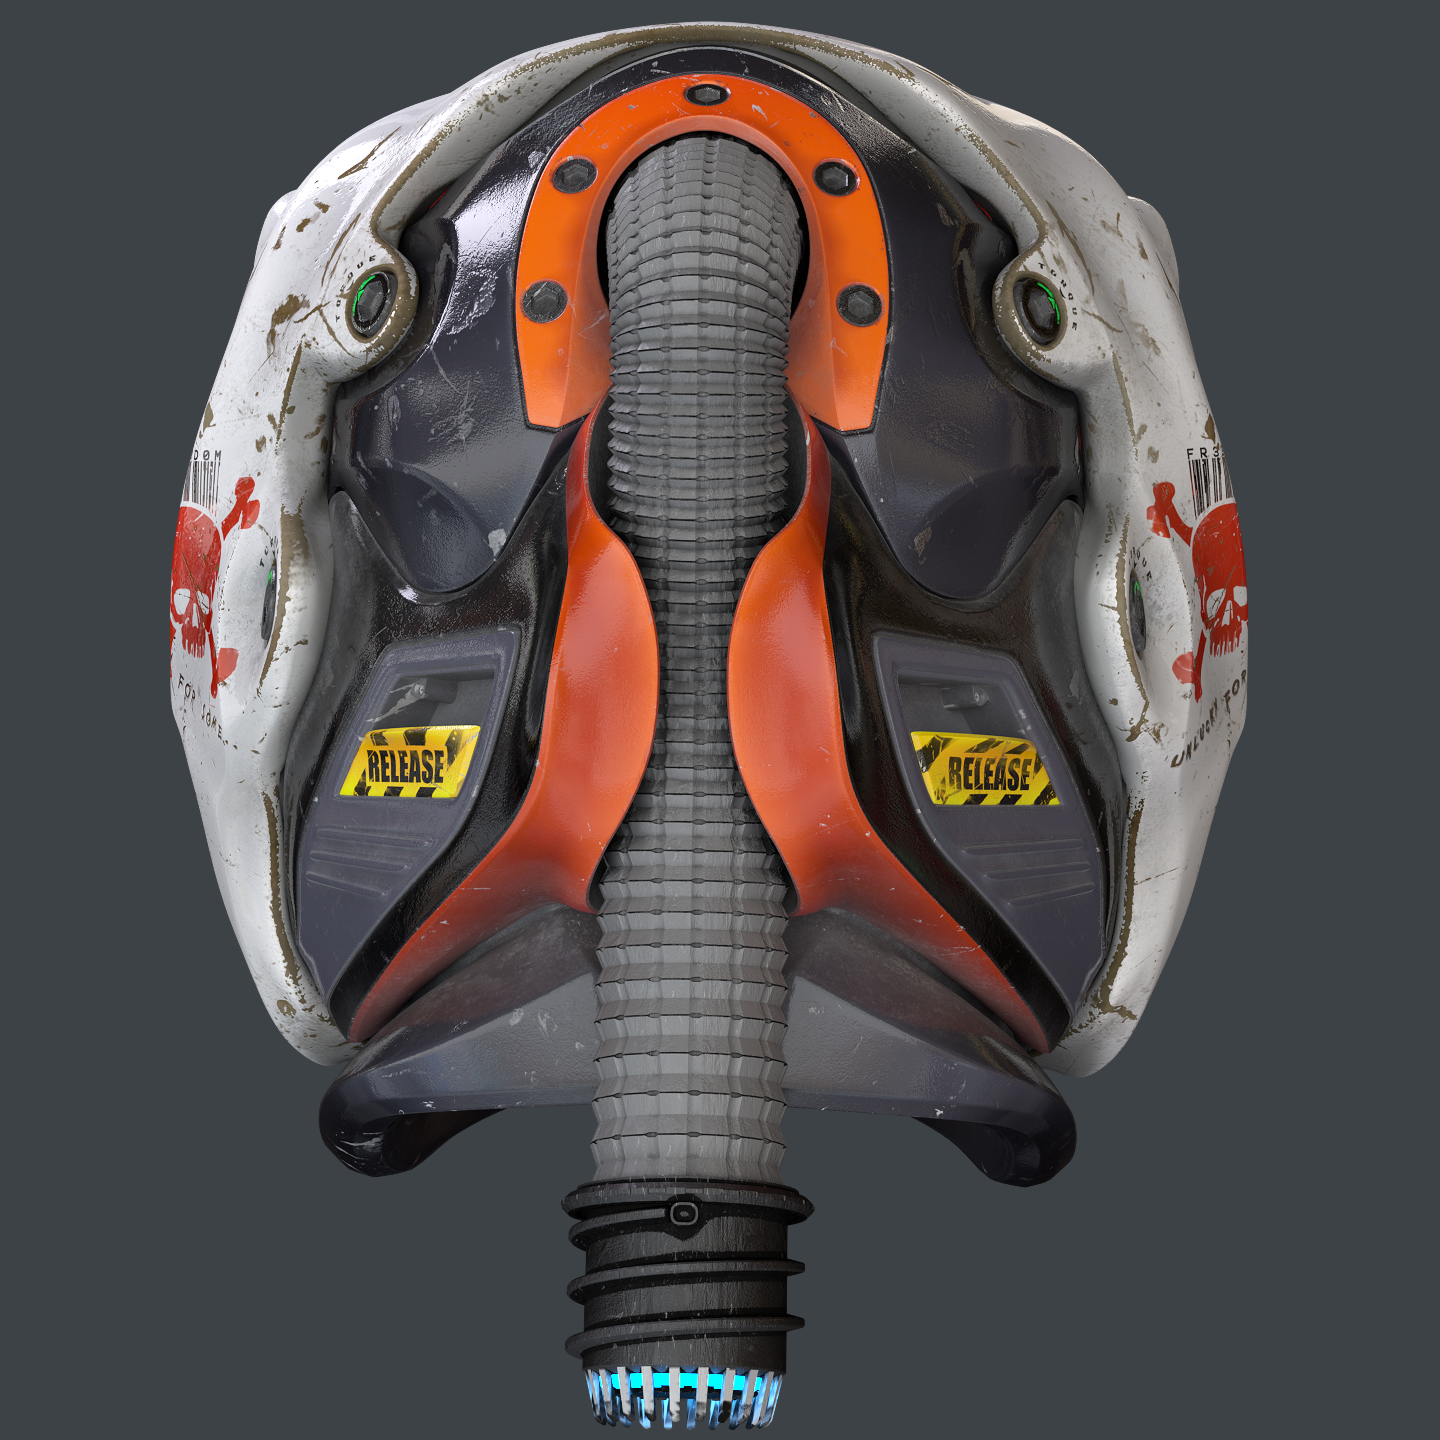
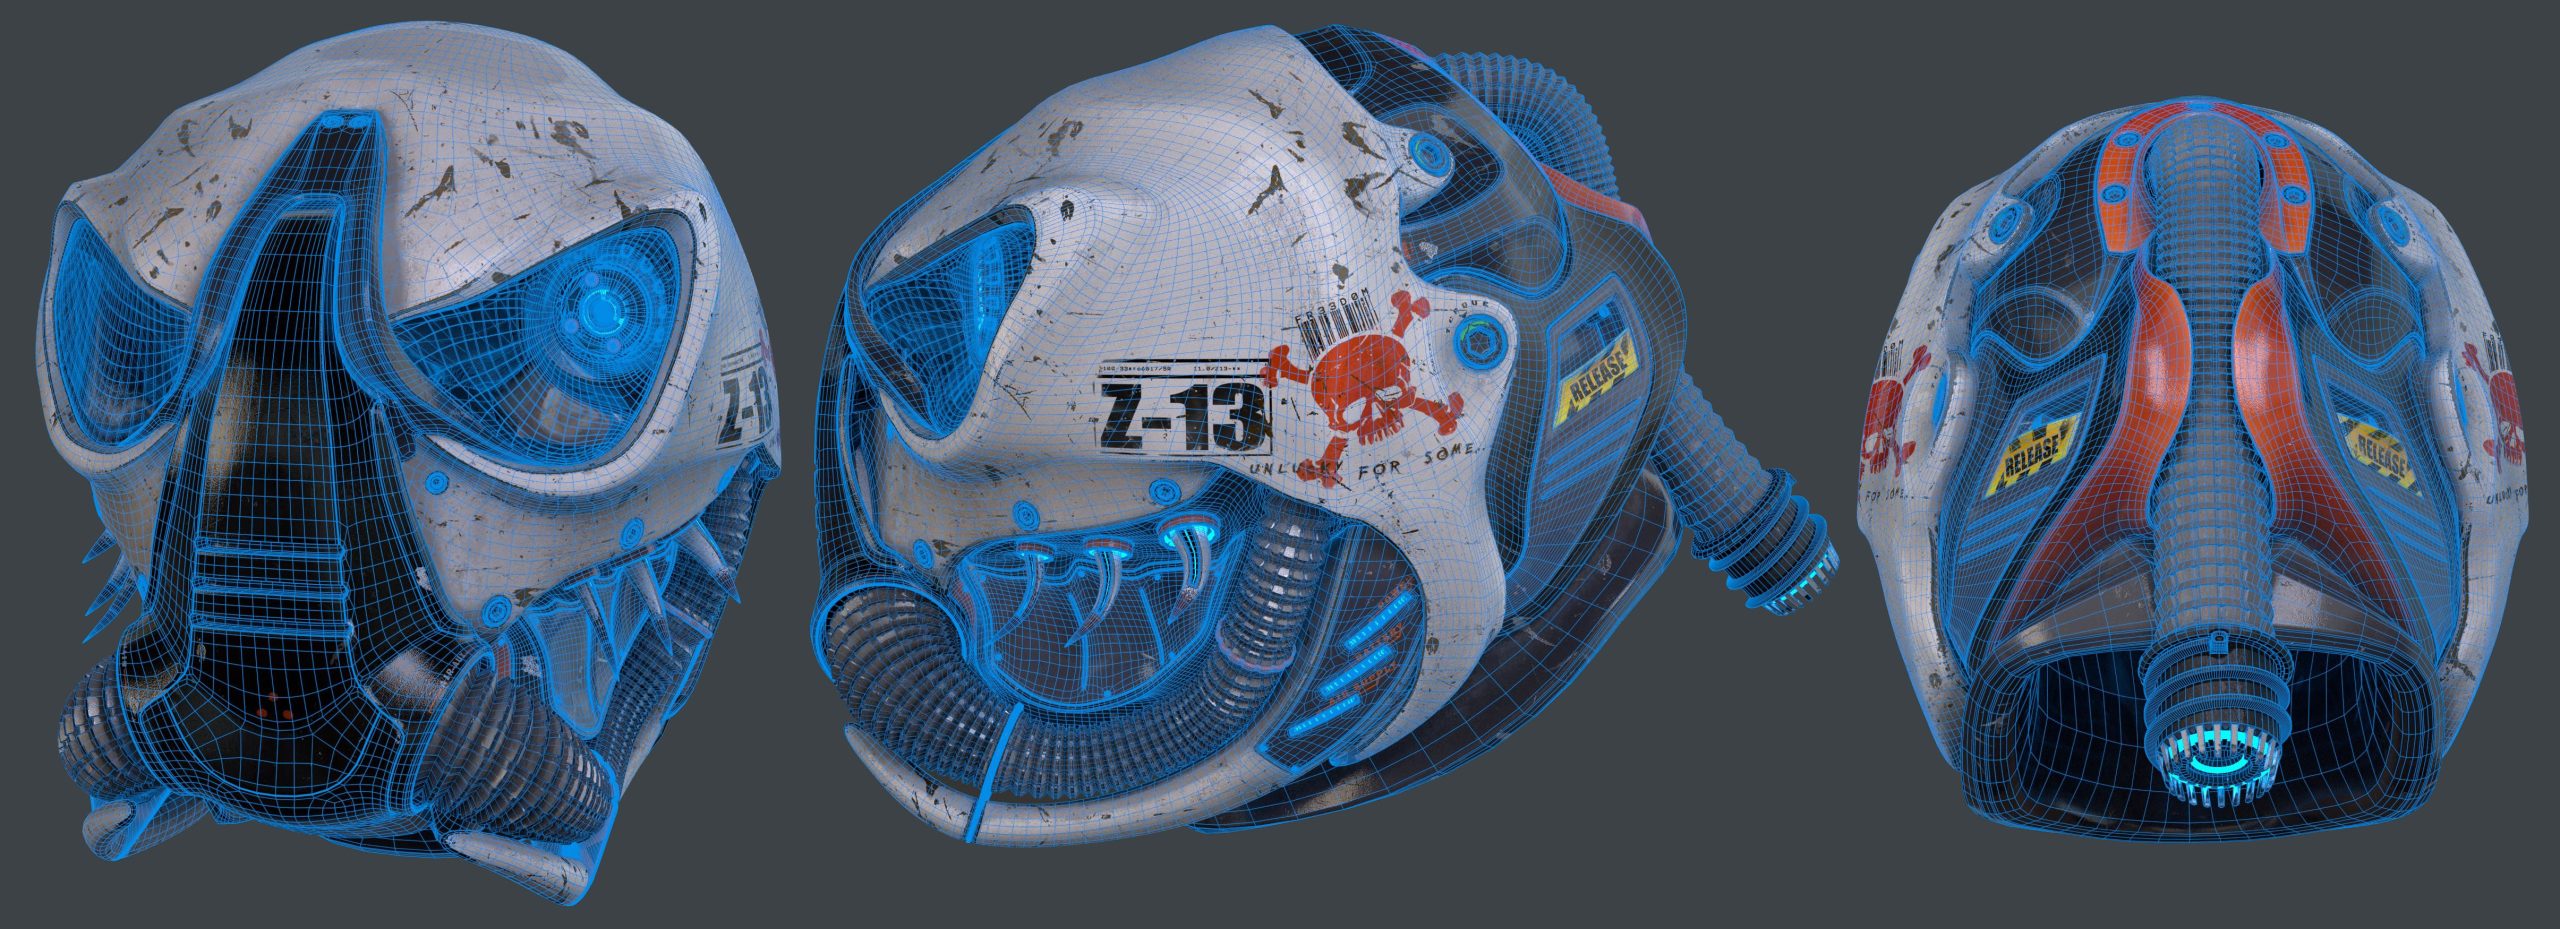
With my own model, I created a story in my head so I could work with an idea I had, that would combine hard surfaces and crisp edges, with some more orgainic elements for something that I feel, turned out to be truly unique
The story:
“The Shakii are vicious animals, renowned for having skeletal structures made from one of the hardest materials ever seen. As a result, they are hunted by the Freedom Division , who combine the Shakii’s skulls, tusks, teeth and bones with state of the art technology, to make helmets and armor to protect their army of brutish warriors”
The result :