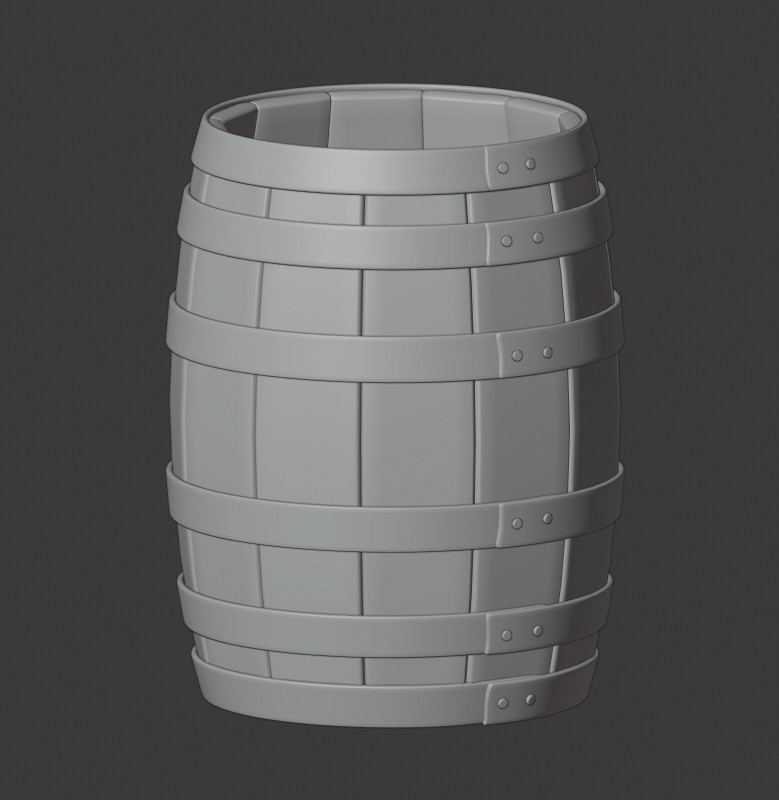
WIP 3: Adding hoops
Next I added a circle, and extruded and copied it to create the three hoops. I temporarily disabled modifiers on the stave so that I could position the hoops correctly. Then, in object mode, I selected the hoops and the stave and copied (linked) the modifiers with Ctrl+L. Now the hoops also have thickness and smoothness.
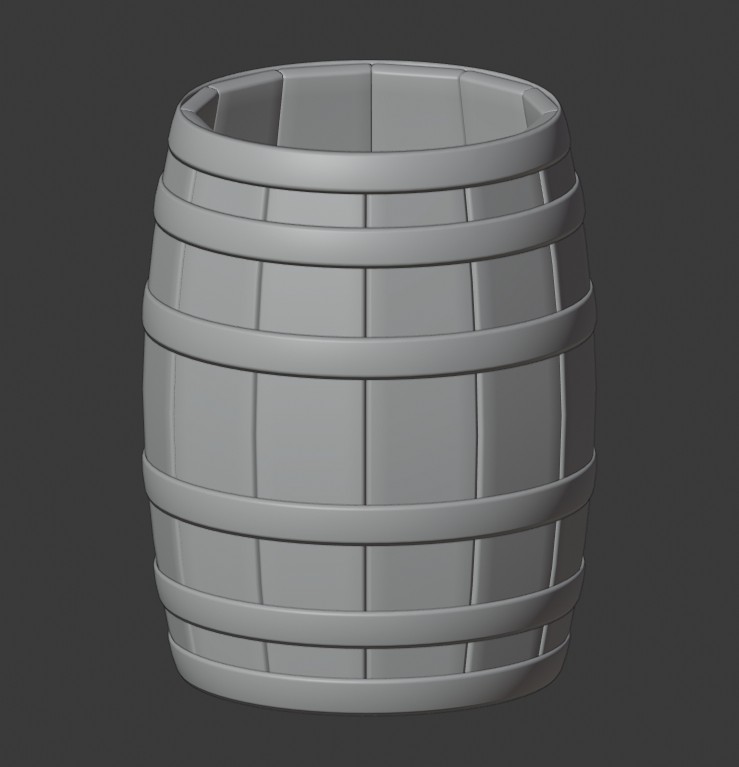
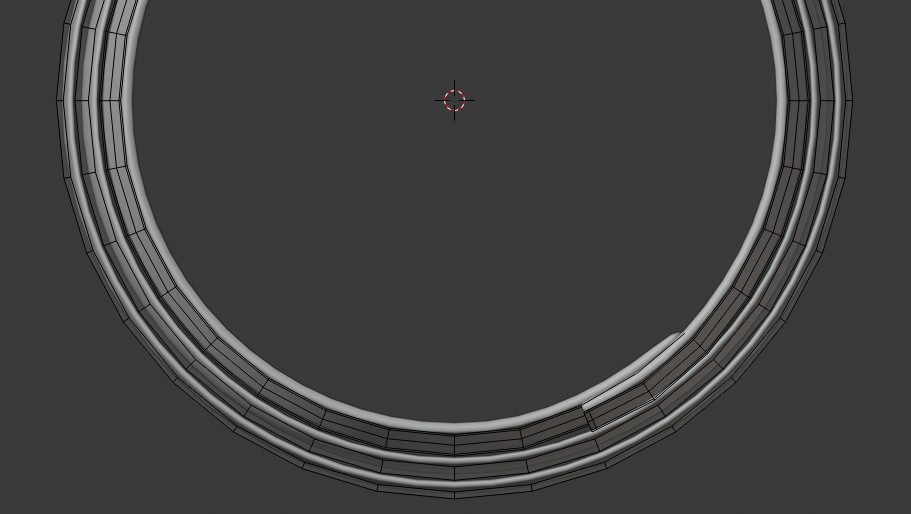
I didn’t add the holding edges at this point, because I wanted to add more detail to the hoops. I ripped the top hoop at one vertical edge. Then I moved the cursor to the center of the hoop and I changed the pivot point to cursor. With this setup, I was able to scale (with Alt+S) and extrude+rotate the edges so that they weren’t overlapping. I finally added the holding edges and moved the vertices at the end of the hoops so that it looked more like it was truly welded.
After that I modelled a simple rivet. I enabled snapping to faces (affecting rotation) and I switched to “Normal” transformation orientation. Then I snapped the rivets onto the hoops and moved them in the Z normal direction. At the end I joined them to one object and mirrored them exactly like the hoops.