
Reply To: Why don’t my widgets match up?
Forum Archive › Why don’t my widgets match up? › Reply To: Why don’t my widgets match up?

@az93 I use the following technique for creating properly orientated and located “Custom Bone Shapes”:
1) Select the armature, tab into “Edit Mode”, select the bone for which you want to create a Custom Bone Shape” and create a “Custom Transform Orientation”:
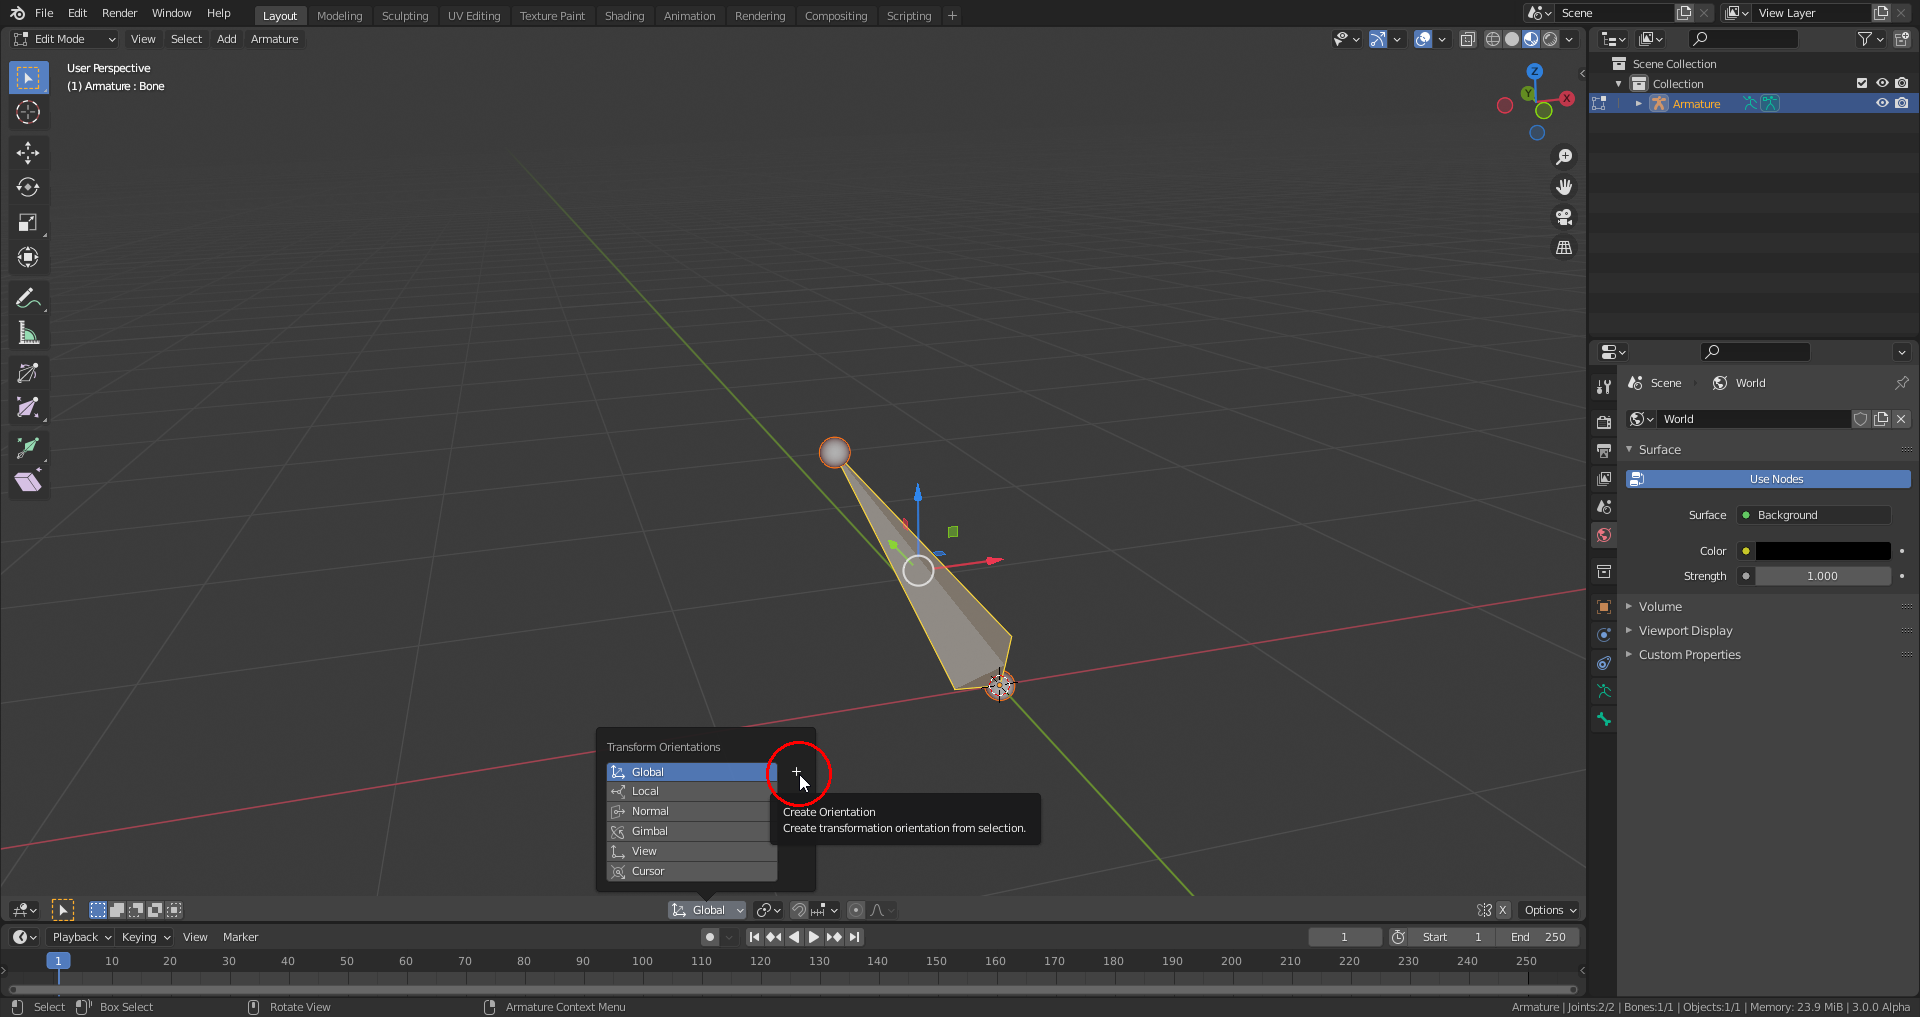
Result with the axes of the “Move” widget aligned with that new orientation:

2) With the bone still selected set the “3D Cursor” to the head of the bone using the command “Set Cursor to Active” (Shift + S + U), tab back into “Object Mode” where you add a cube (here set to “Wireframe” display) as a temporary placeholder:

It’s very important for the correct positioning of the “Custom Bone Shape” that the cube’s origin is at the bone’s head!
3) Align the cube with the bone’s “Custom Transform Orientation” (which needs to be active!) by using the “Align to Transform Orientation” command:
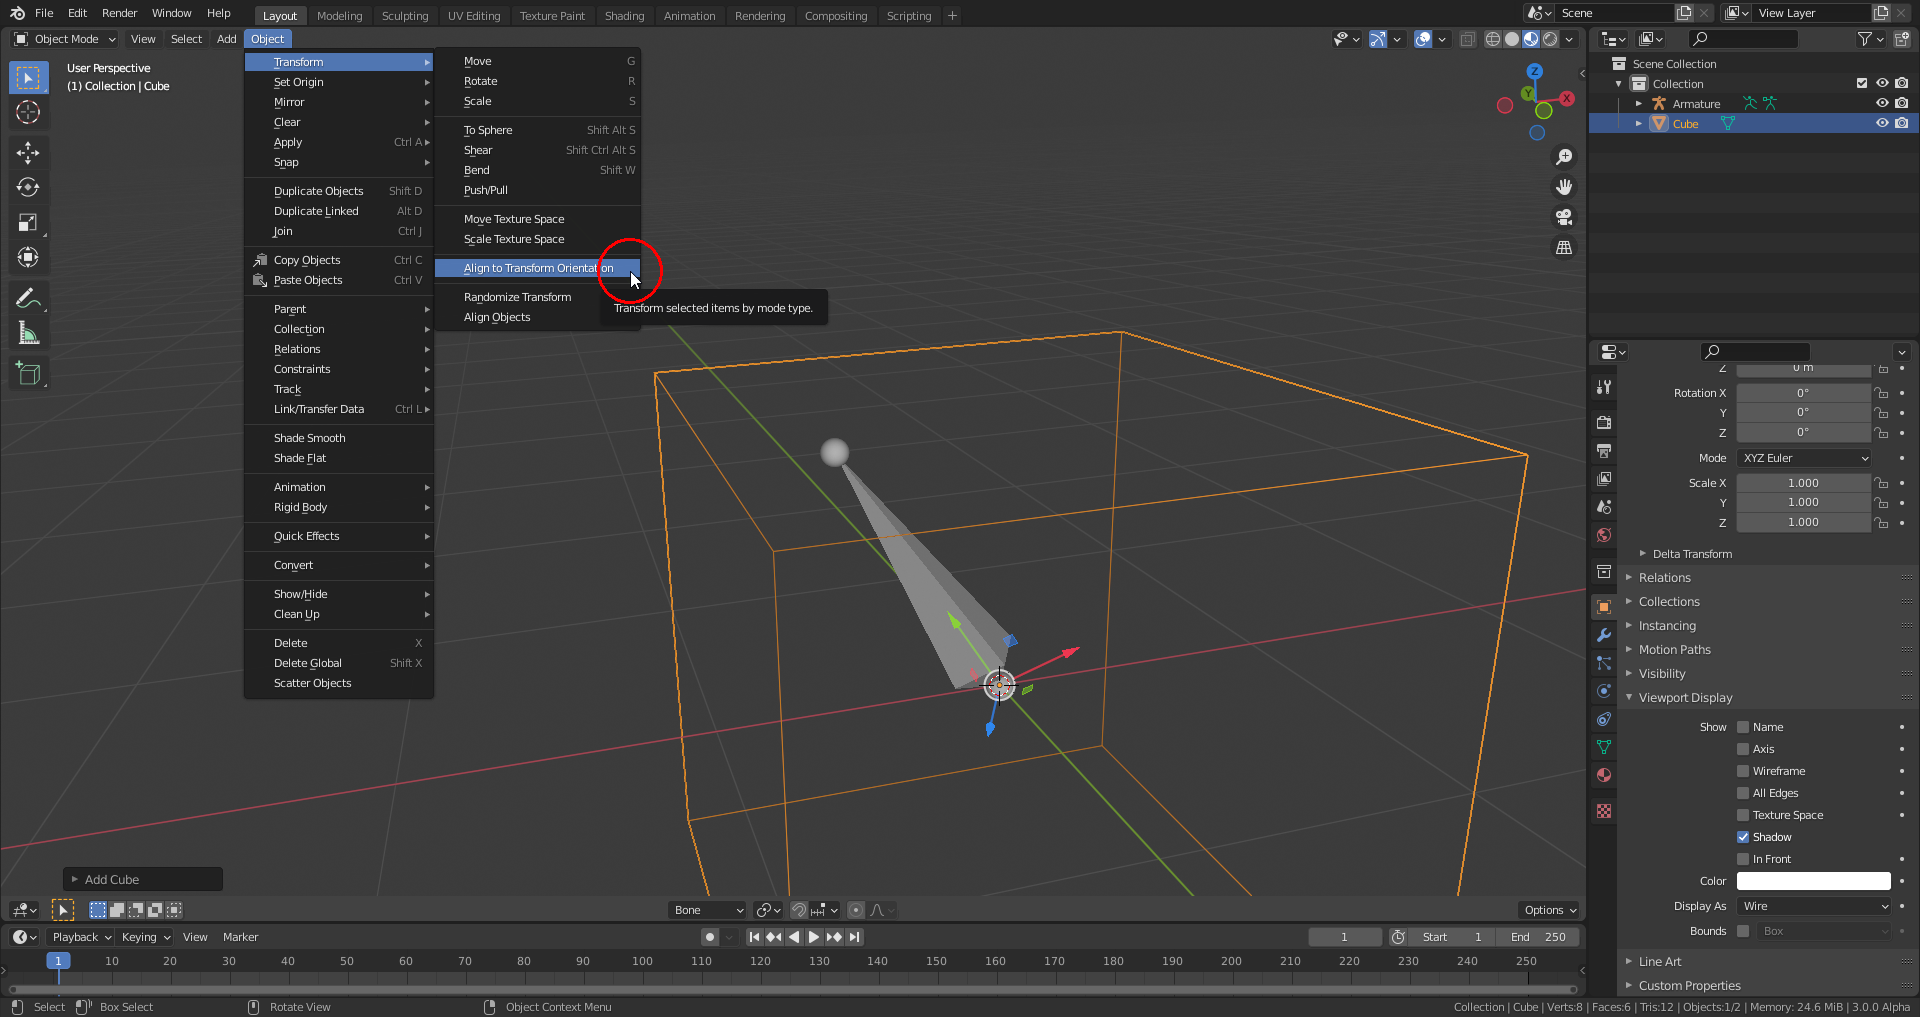
Result:
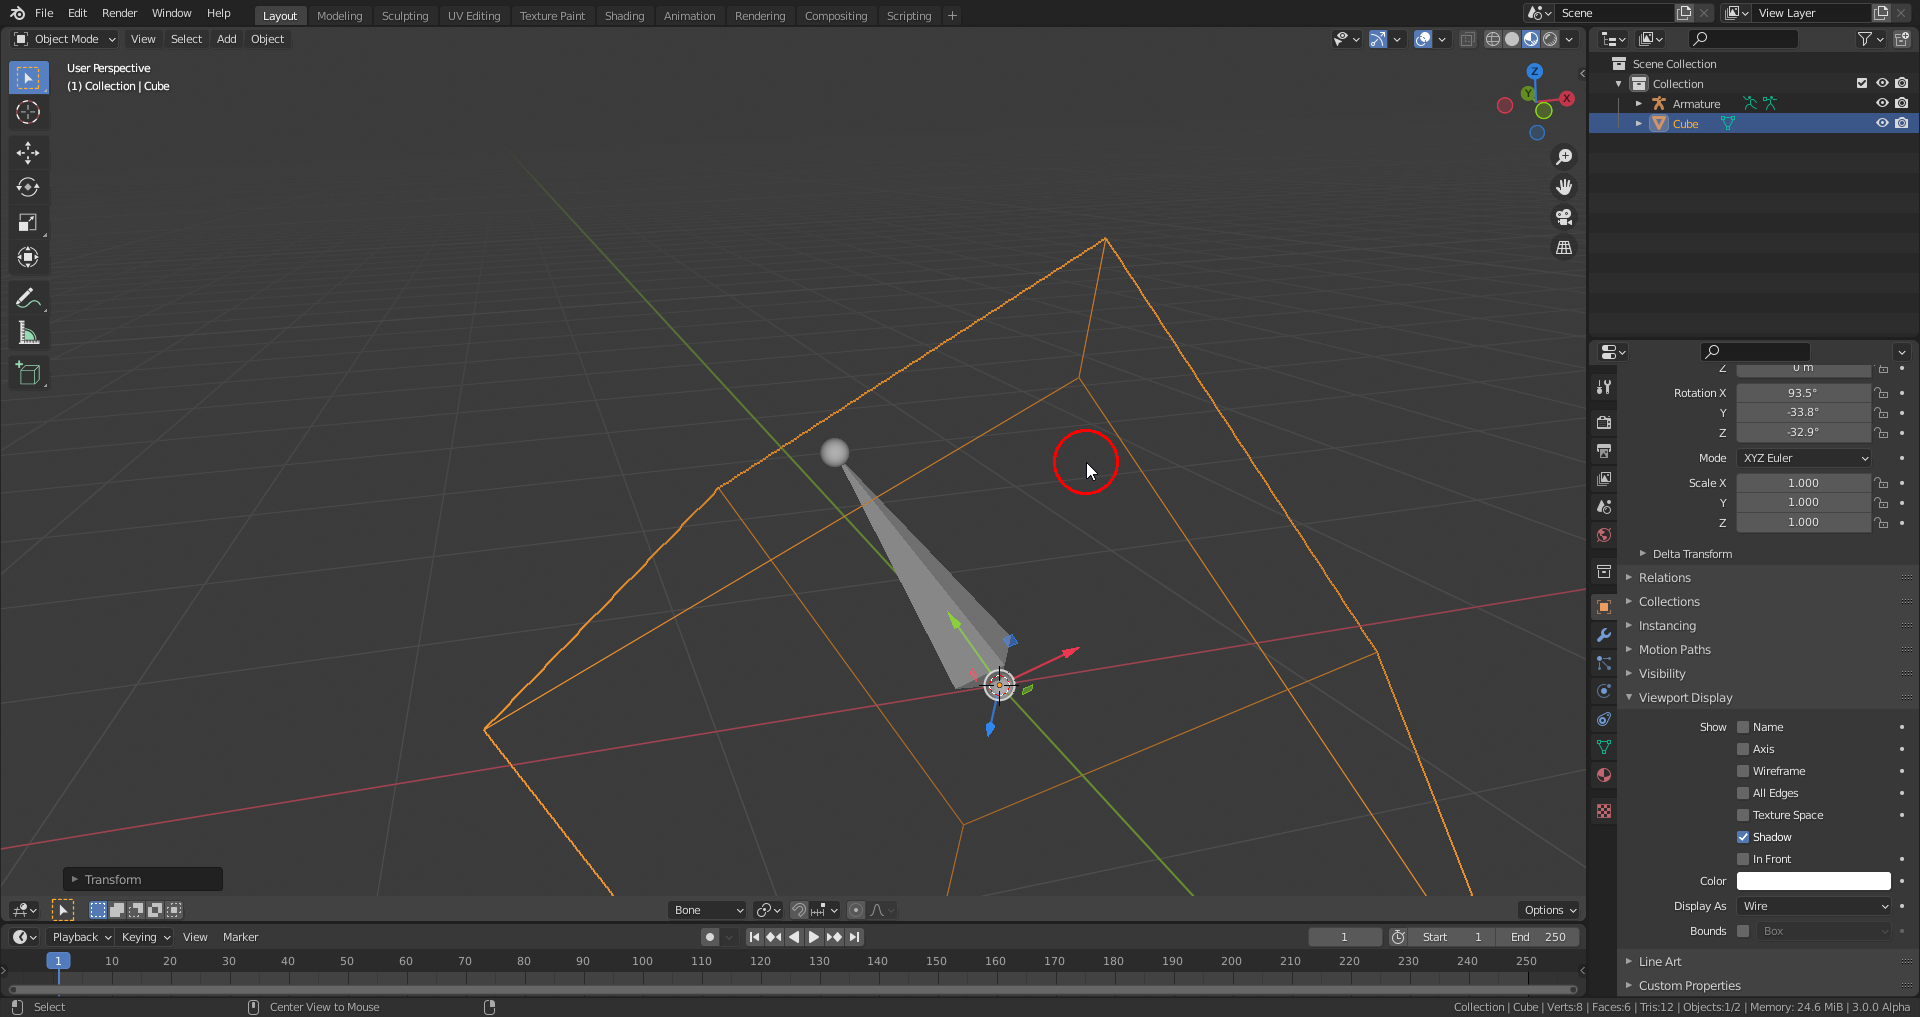
4) Now you can create another object as your “Custom Bone Shape” (here I’m using a mesh with faces for better visibility, but normally you’ll try to keep this much simpler in order to avoid being distracted from the rigged object itself):

5) Position, rotate, scale and/or shape this mesh in “Edit Mode”.
6) Back in “Object Mode” with your “Custom Bone Shape” still selected, Shift-select the aligned cube and join the “Custom Bone Shape” with that cube by pressing CTRL + J:
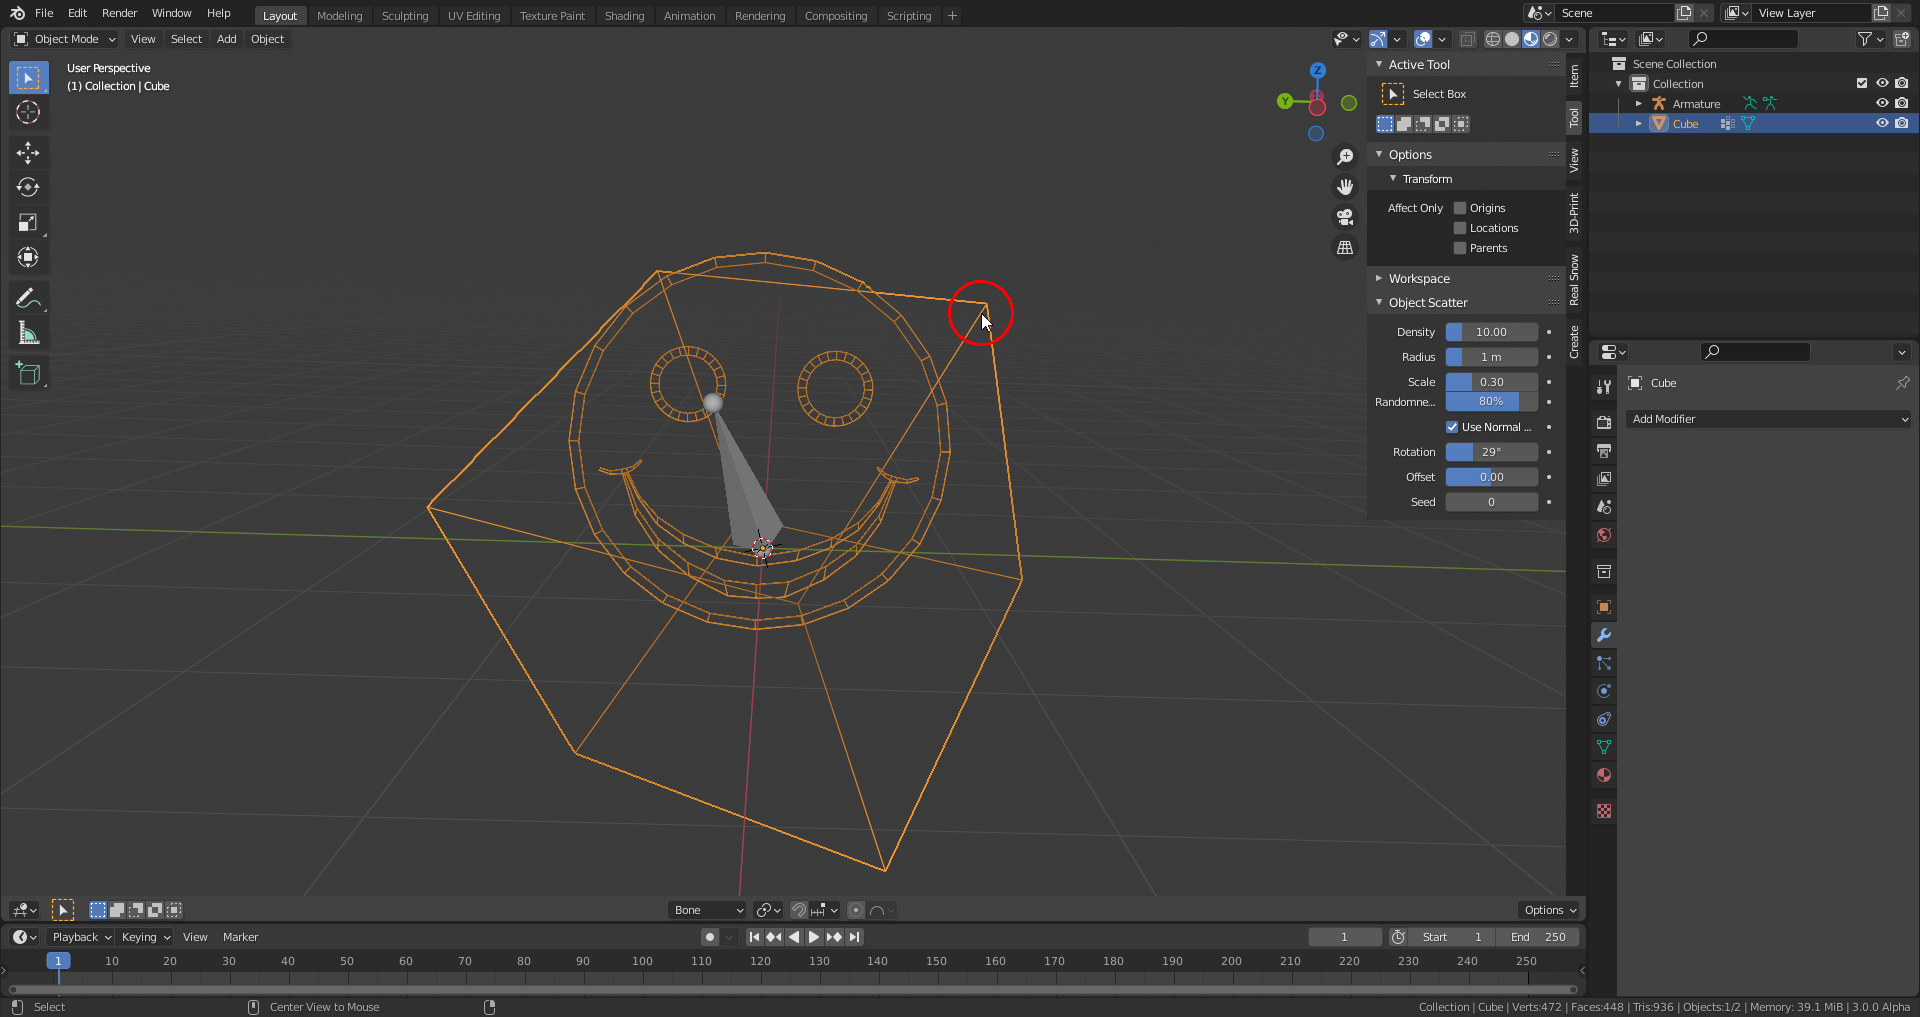
7 ) Tab into “Edit Mode” and delete the cube mesh:
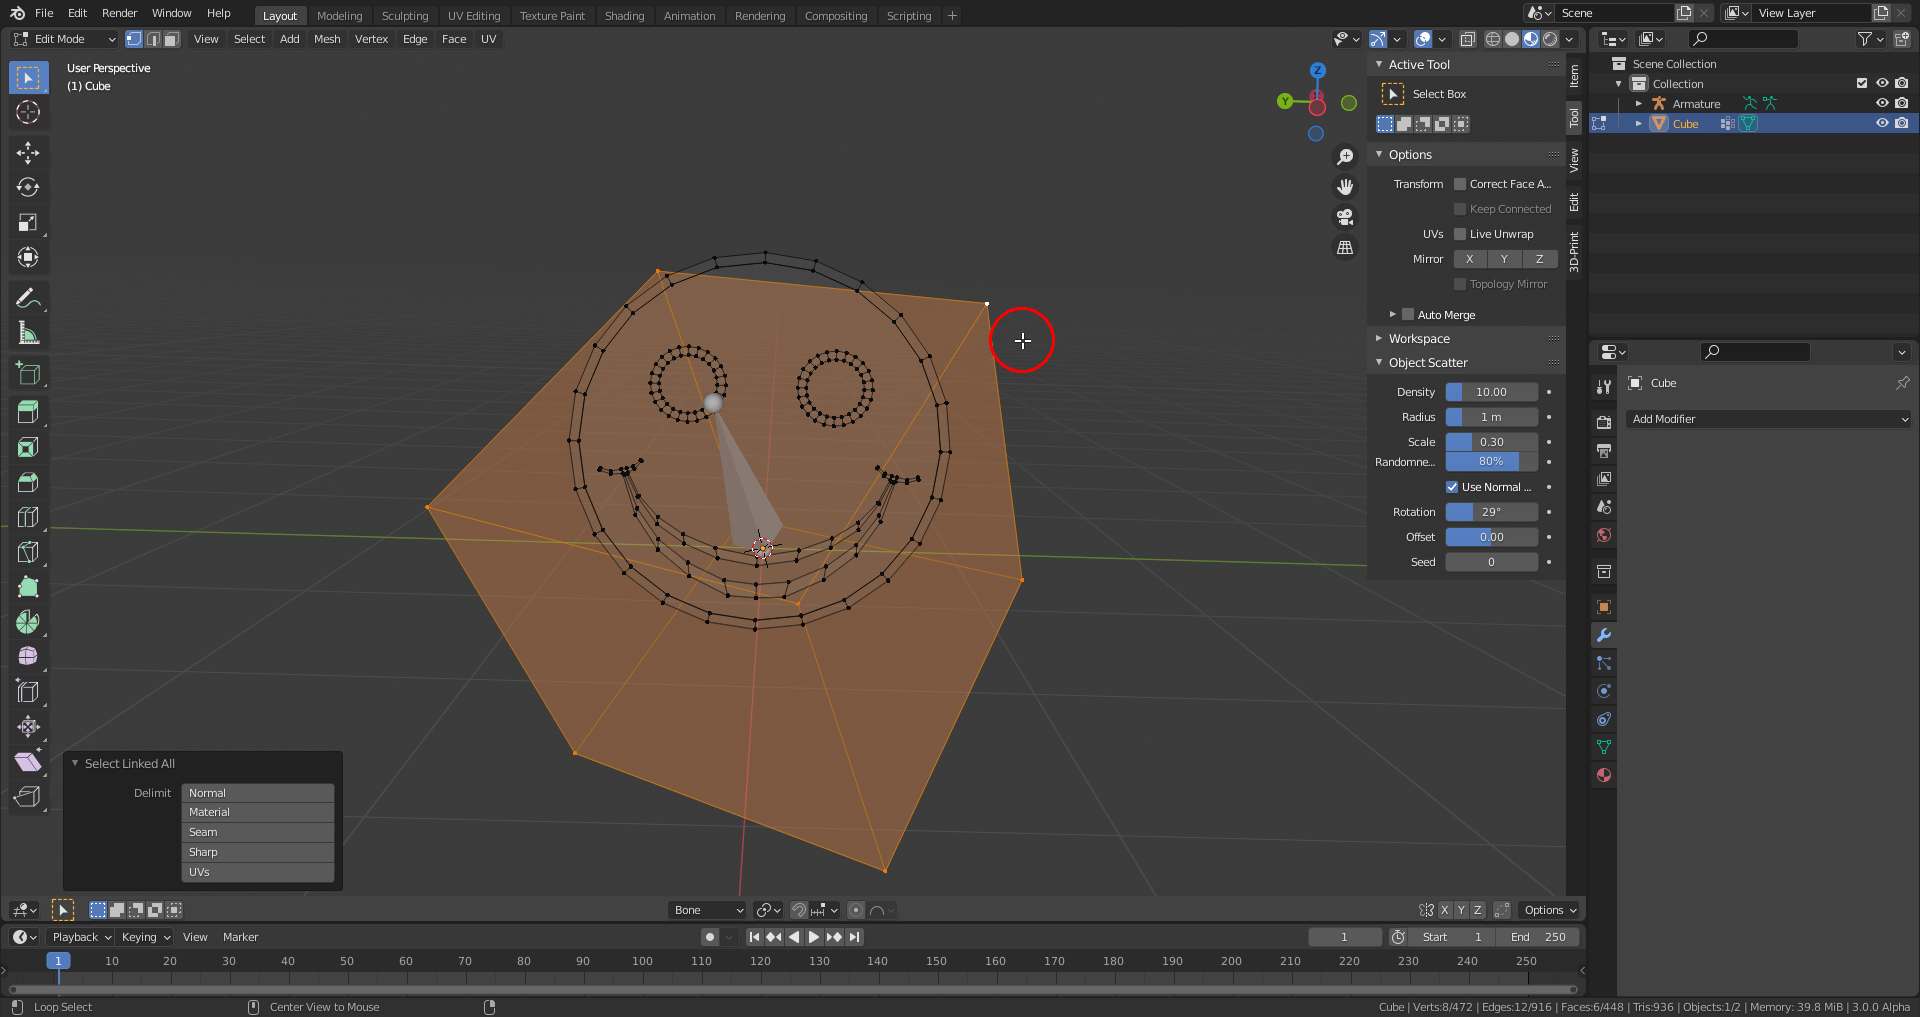
Now we have a “Custom Bone Shape” object with its “Local Coordinate System” aligned with the bone’s “Local Coordinate System” and with its origin in the same place as the bone’s head.
9) Finally you can assign that shape to the bone in “Pose Mode”:
