Reply To: Space Station Challenge 2021 WIP – Starlab P
Forum Archive › Space Station Challenge 2021 WIP – Starlab P › Reply To: Space Station Challenge 2021 WIP – Starlab P

… and thus I placed all the modules manually.
That was very brave Nick! I have been in situations like this myself a few times 😉 Takes a lot of patience.
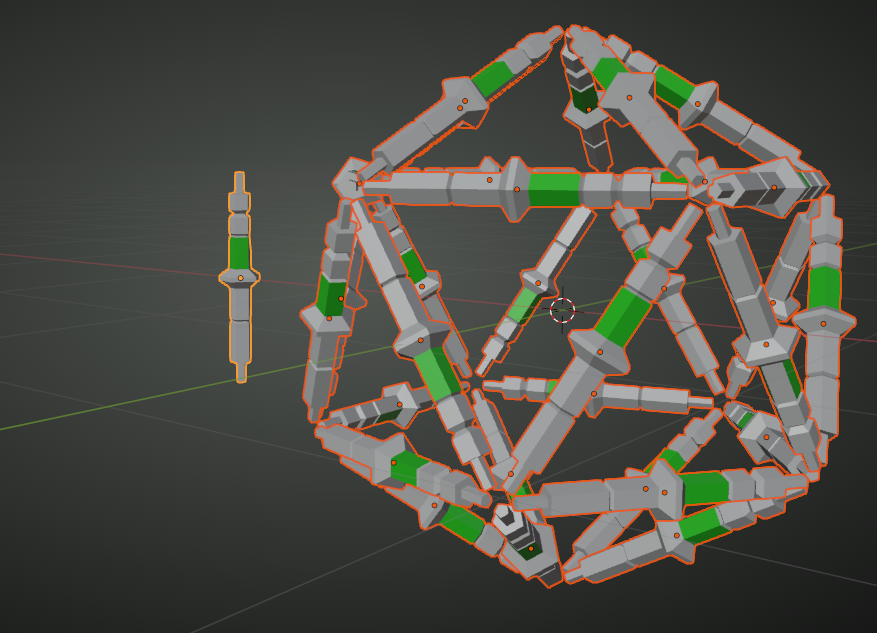
But it bugged me and I have been trying to find an easier way and this is what I came up with (too late, I know, but for future use maybe?):
Model your piece that want to distribute (doesn’t have to be perfect, you can make changes later!), but make sure that the Origin of the Object is in the center of it and that the length is along the Z-axis:
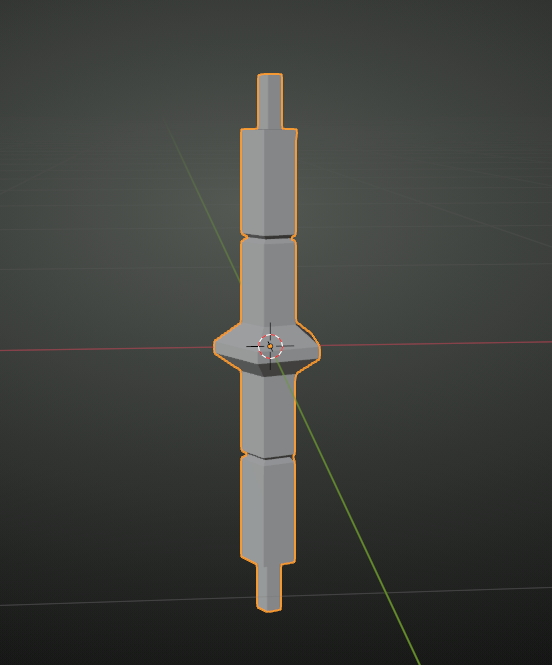 You can move it to the side now.
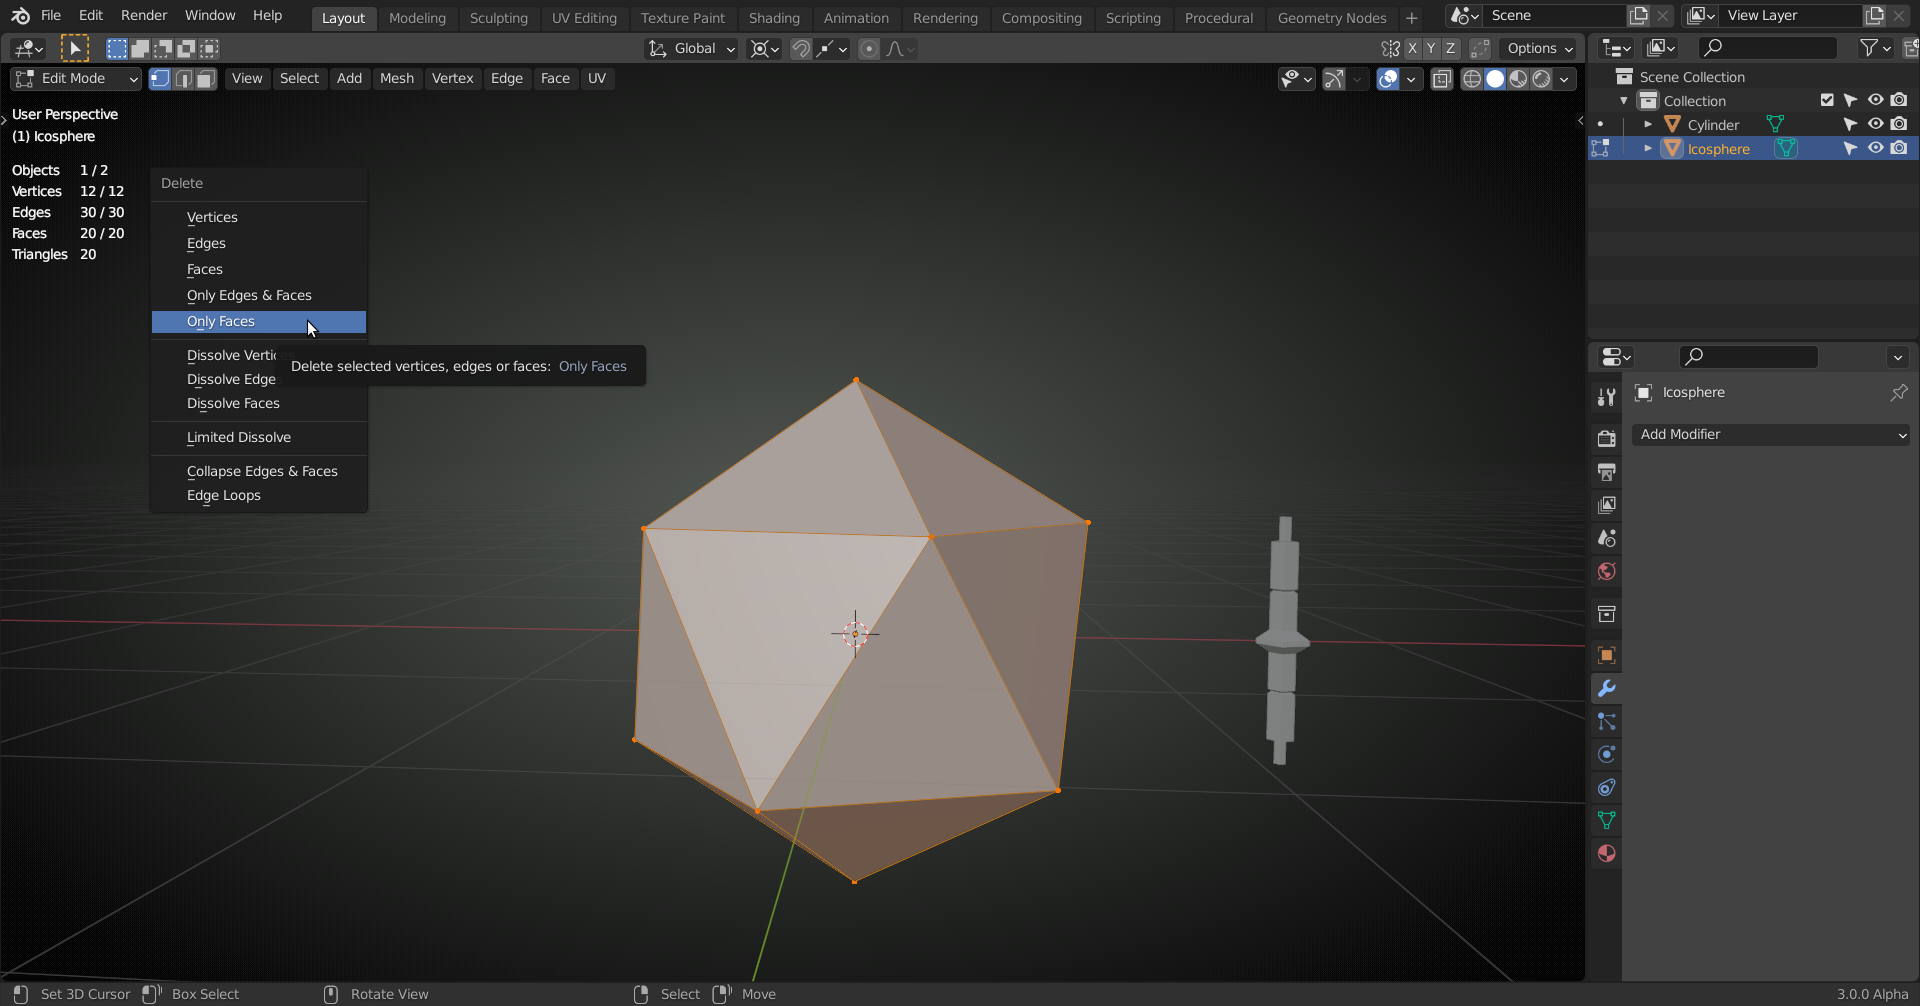
Add an Icosphere (I used a less subdivided one here) and go into Edit Mode and press X > Delete Only Faces:
 with all Edges selected press V, the number of Vertices should be twice the number of Edges now:
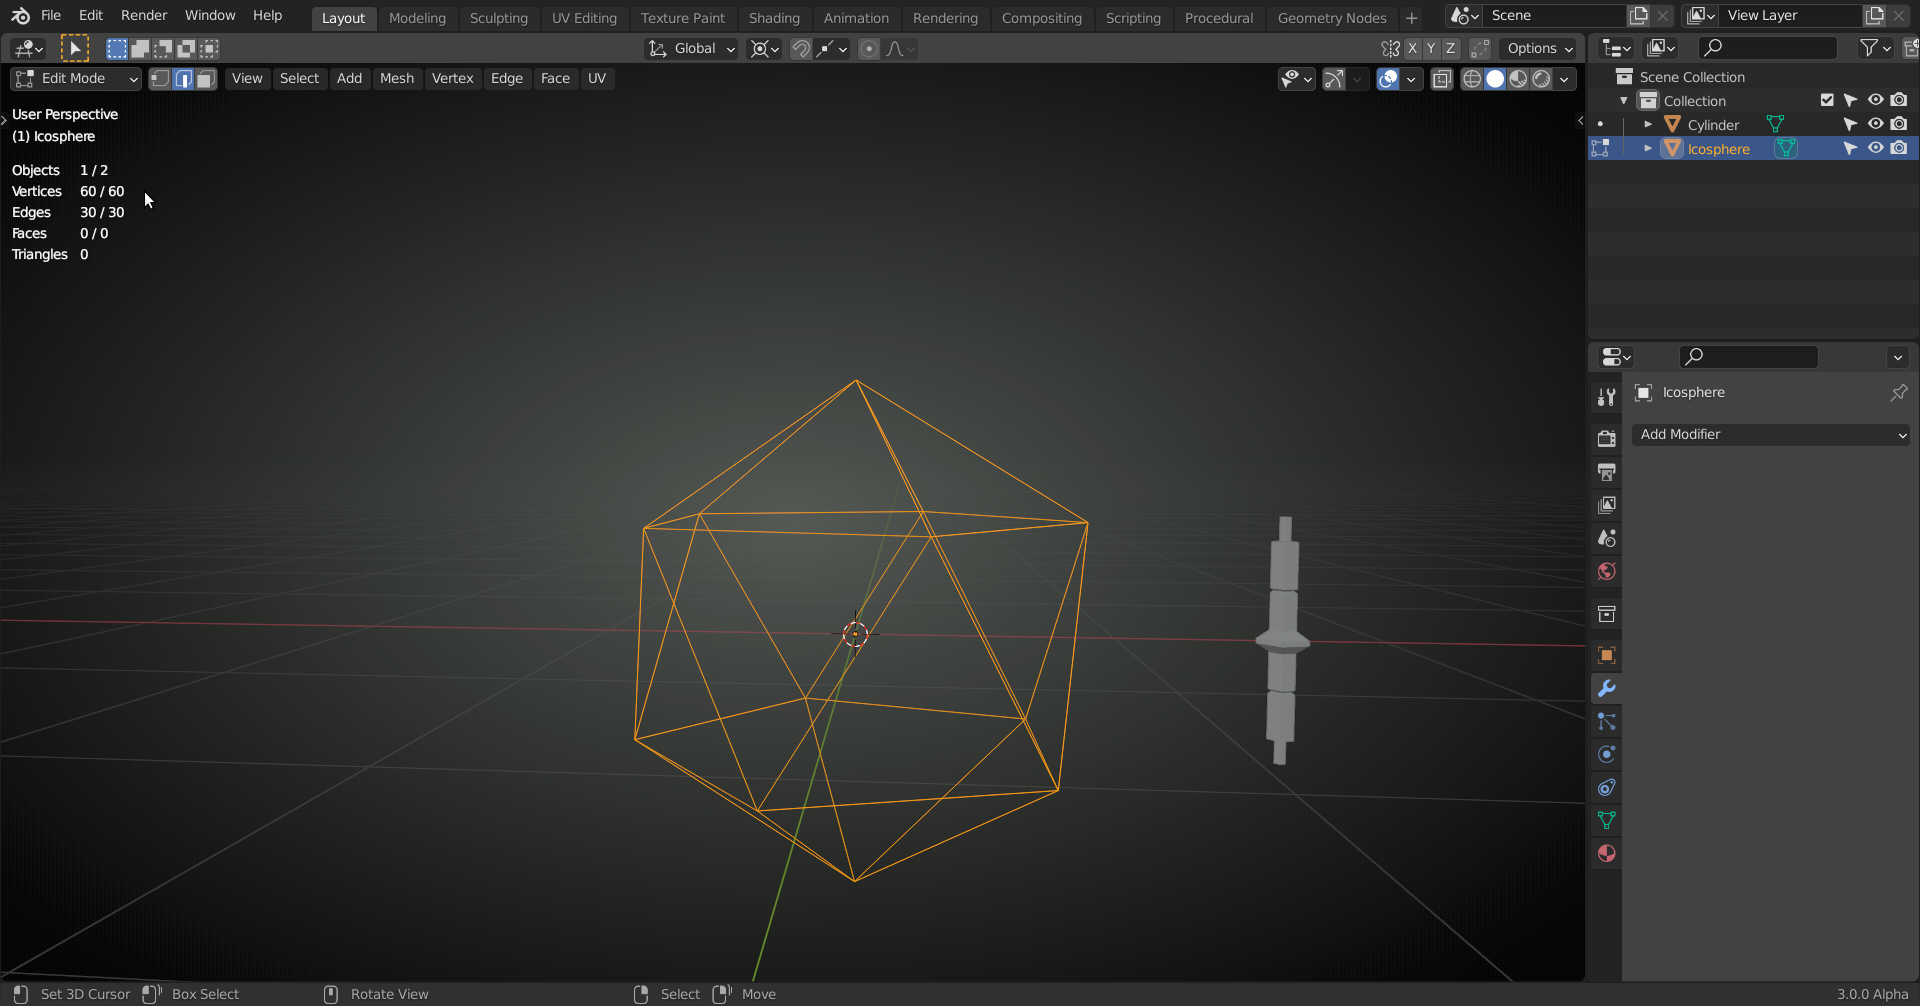
Press P > Separate By Loose Parts:
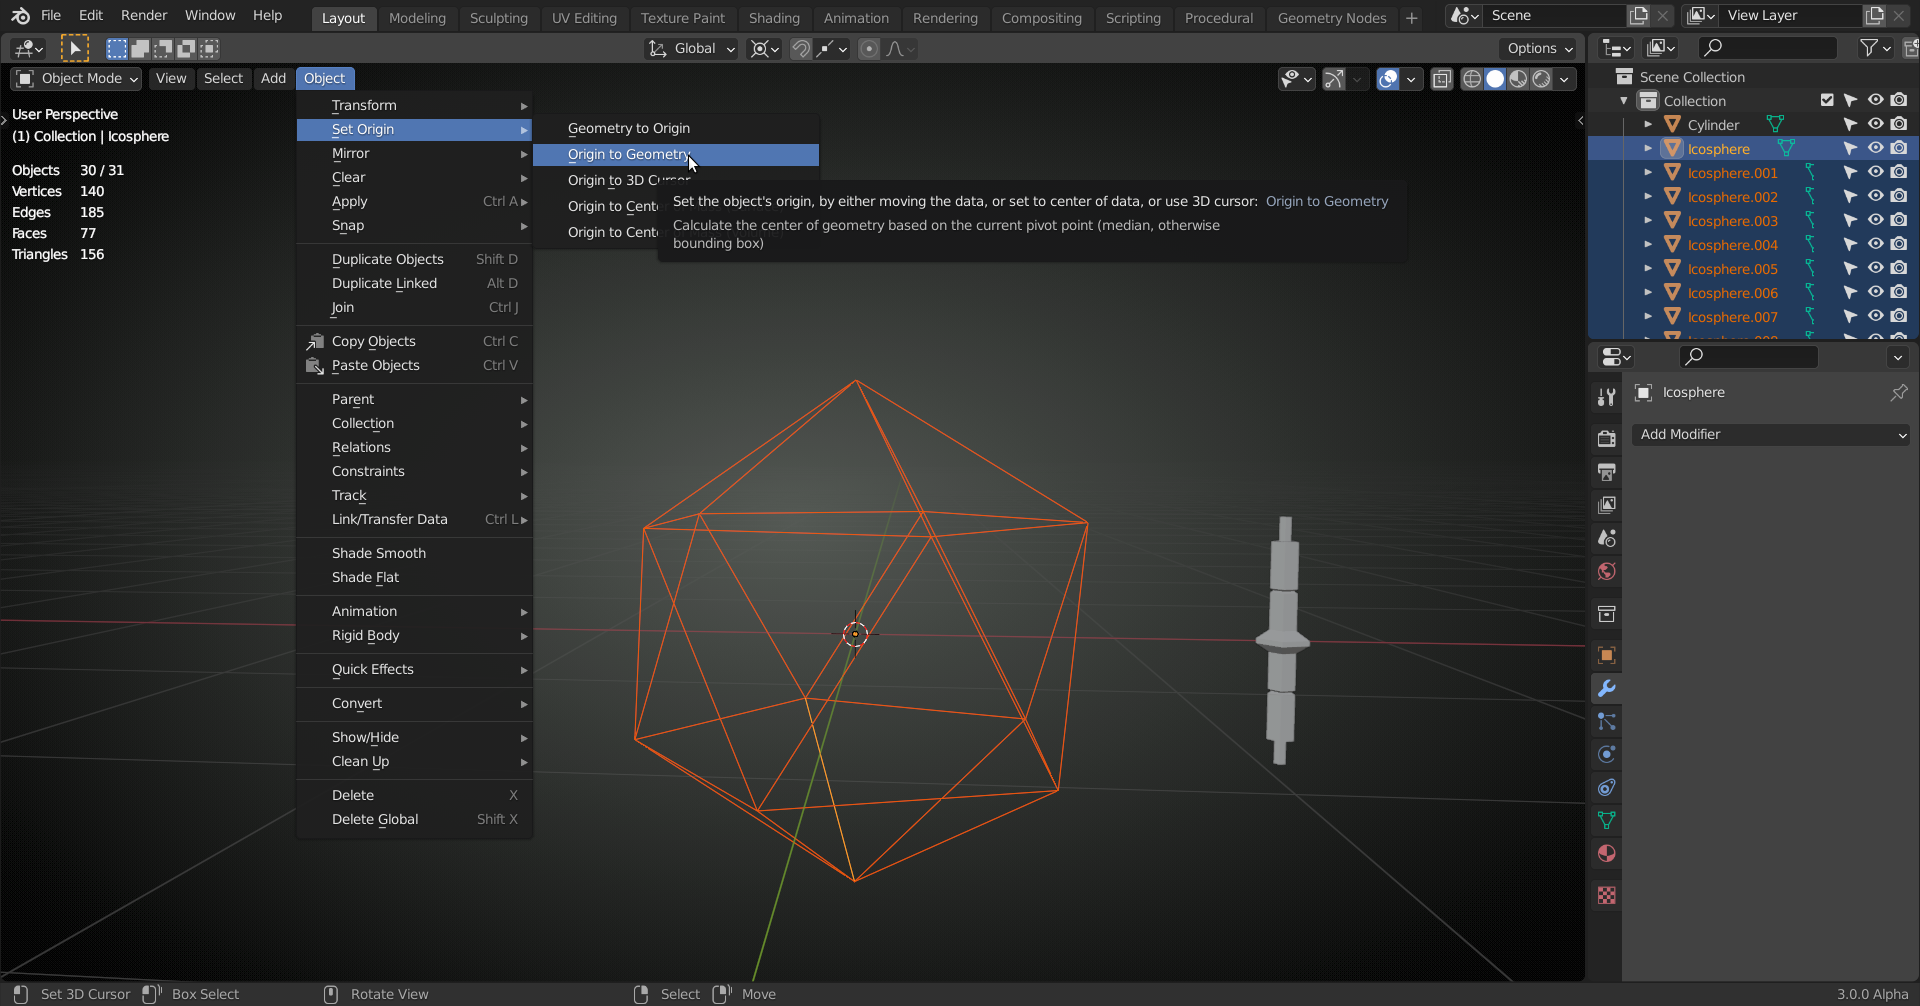
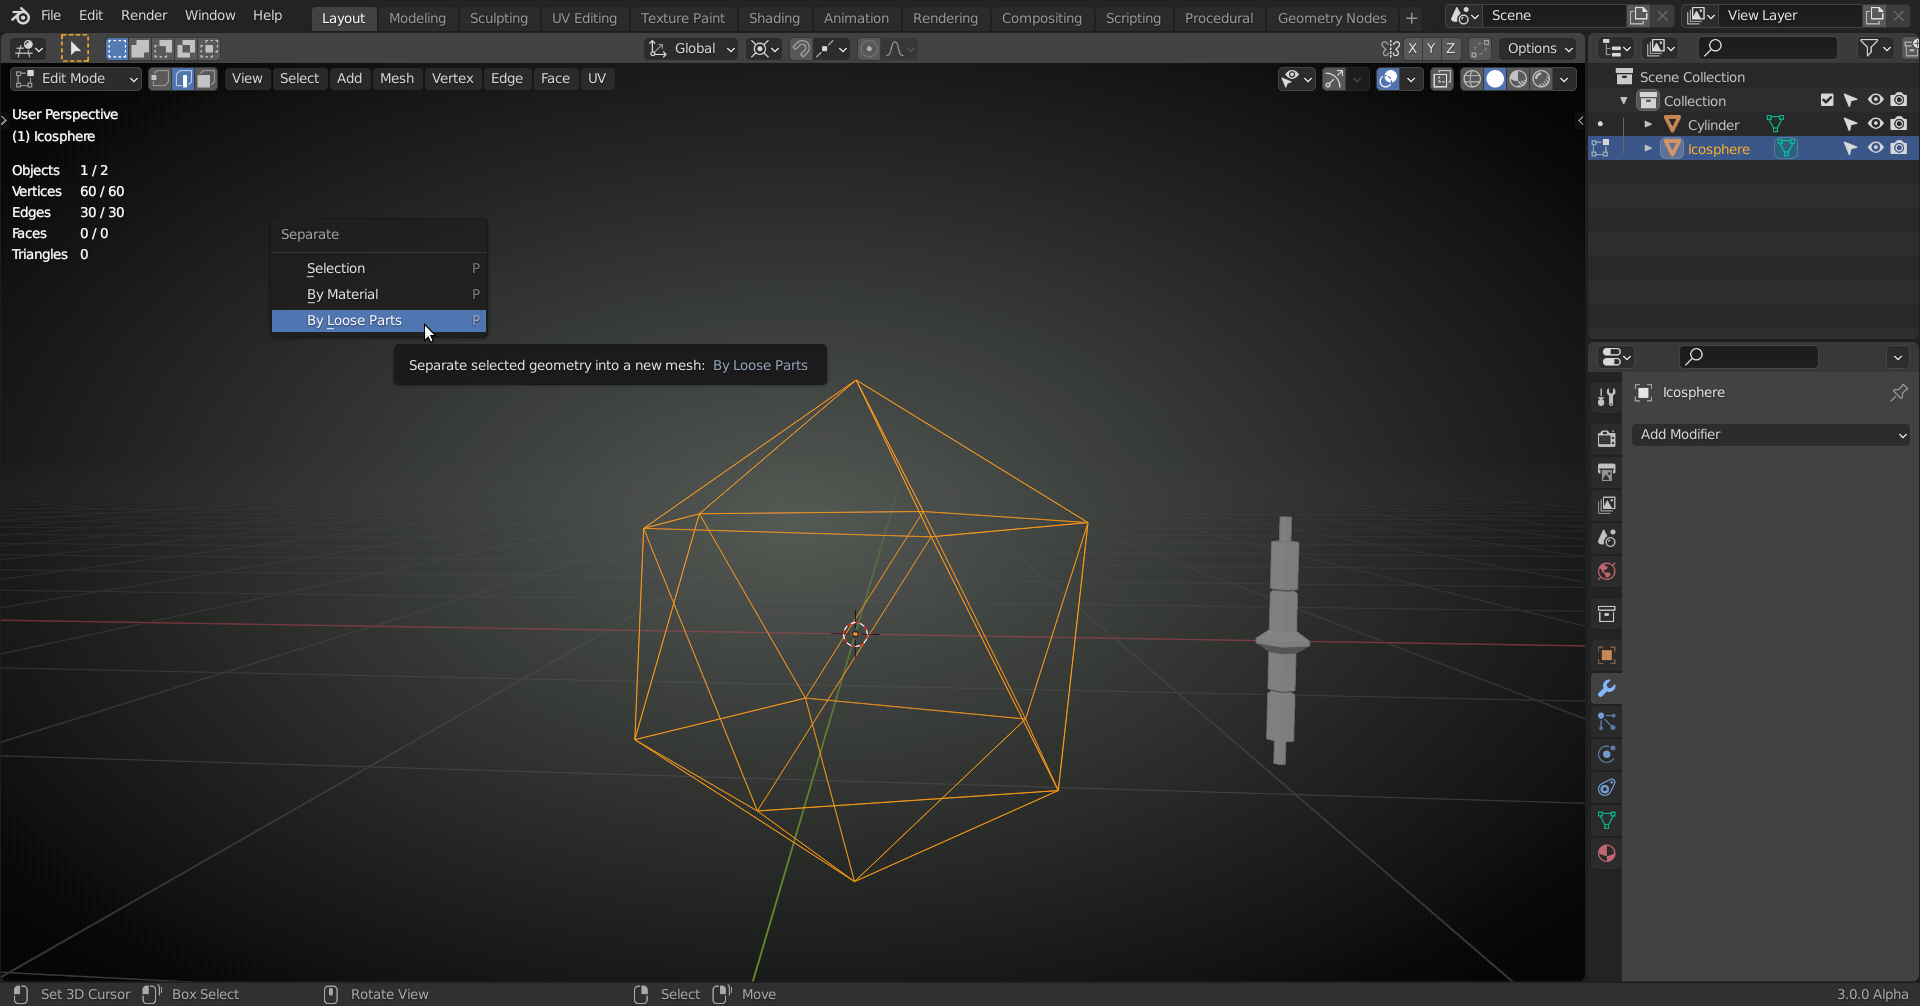 Then switch back to Object Mode (all Edges are now selected and individual Objects) and go to Object > Set Origin > Origin to Geometry:
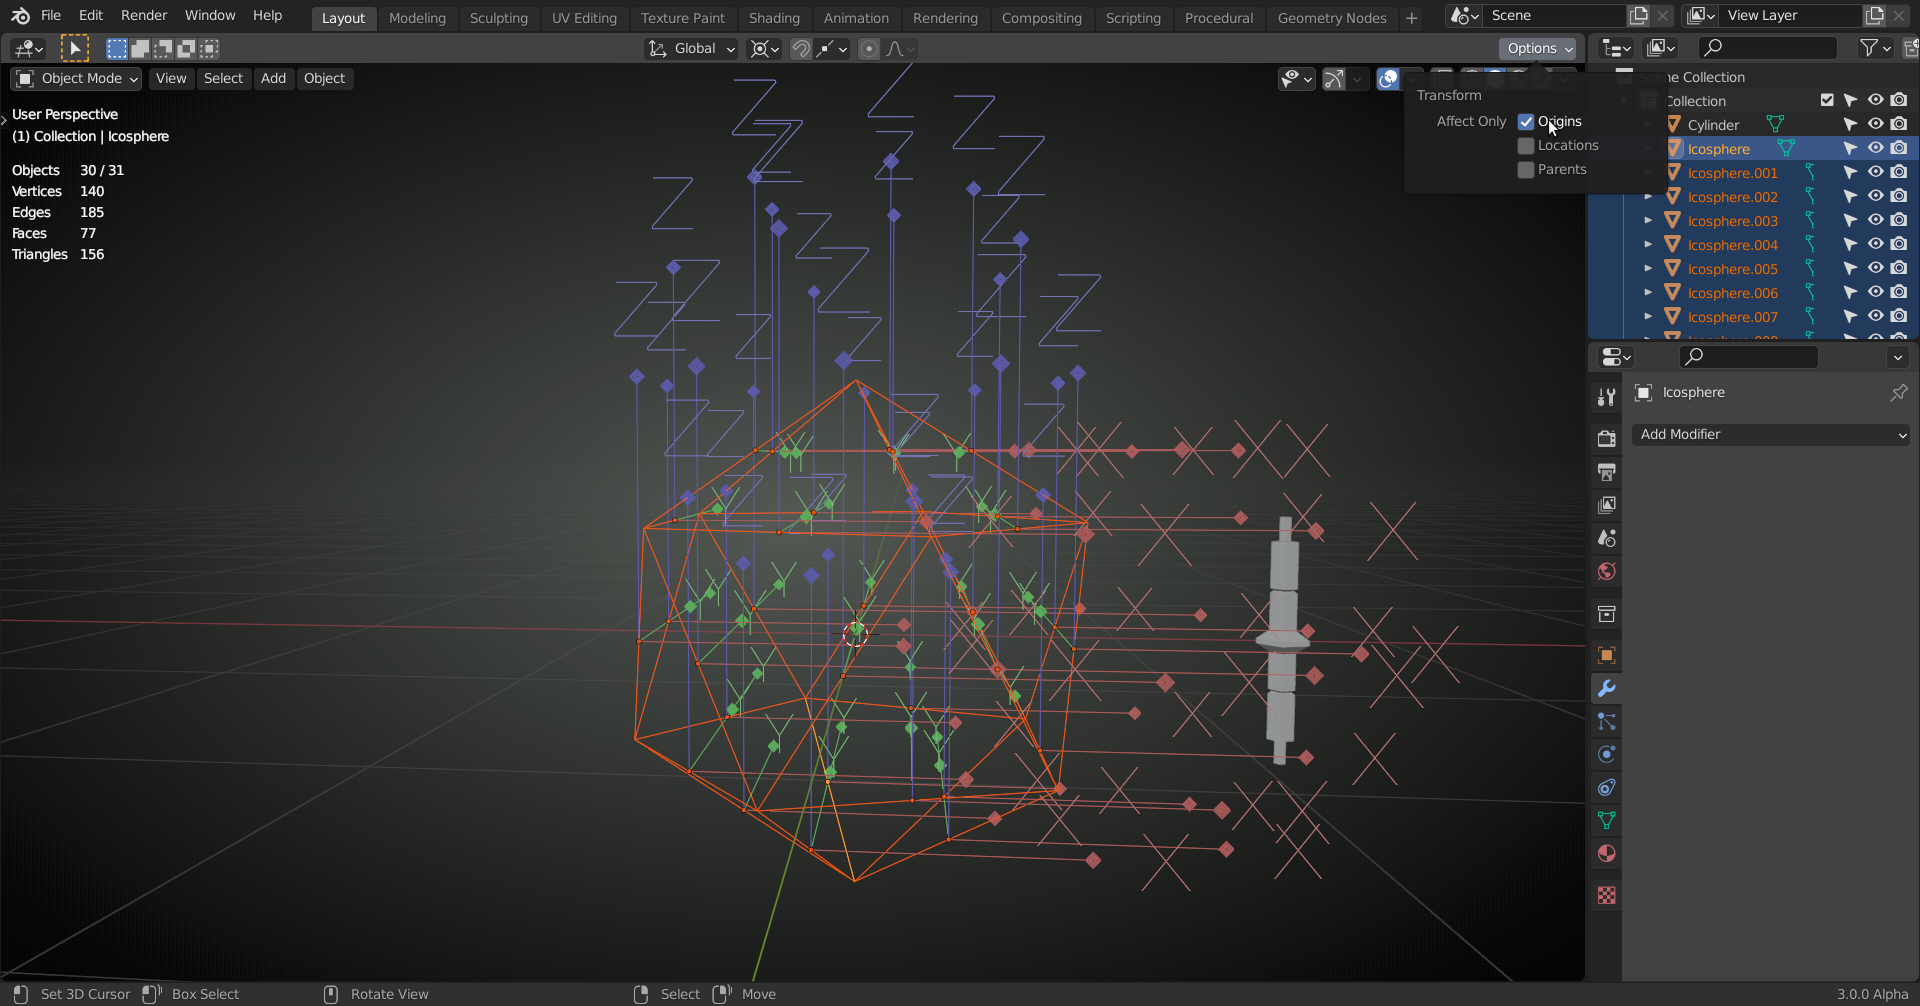
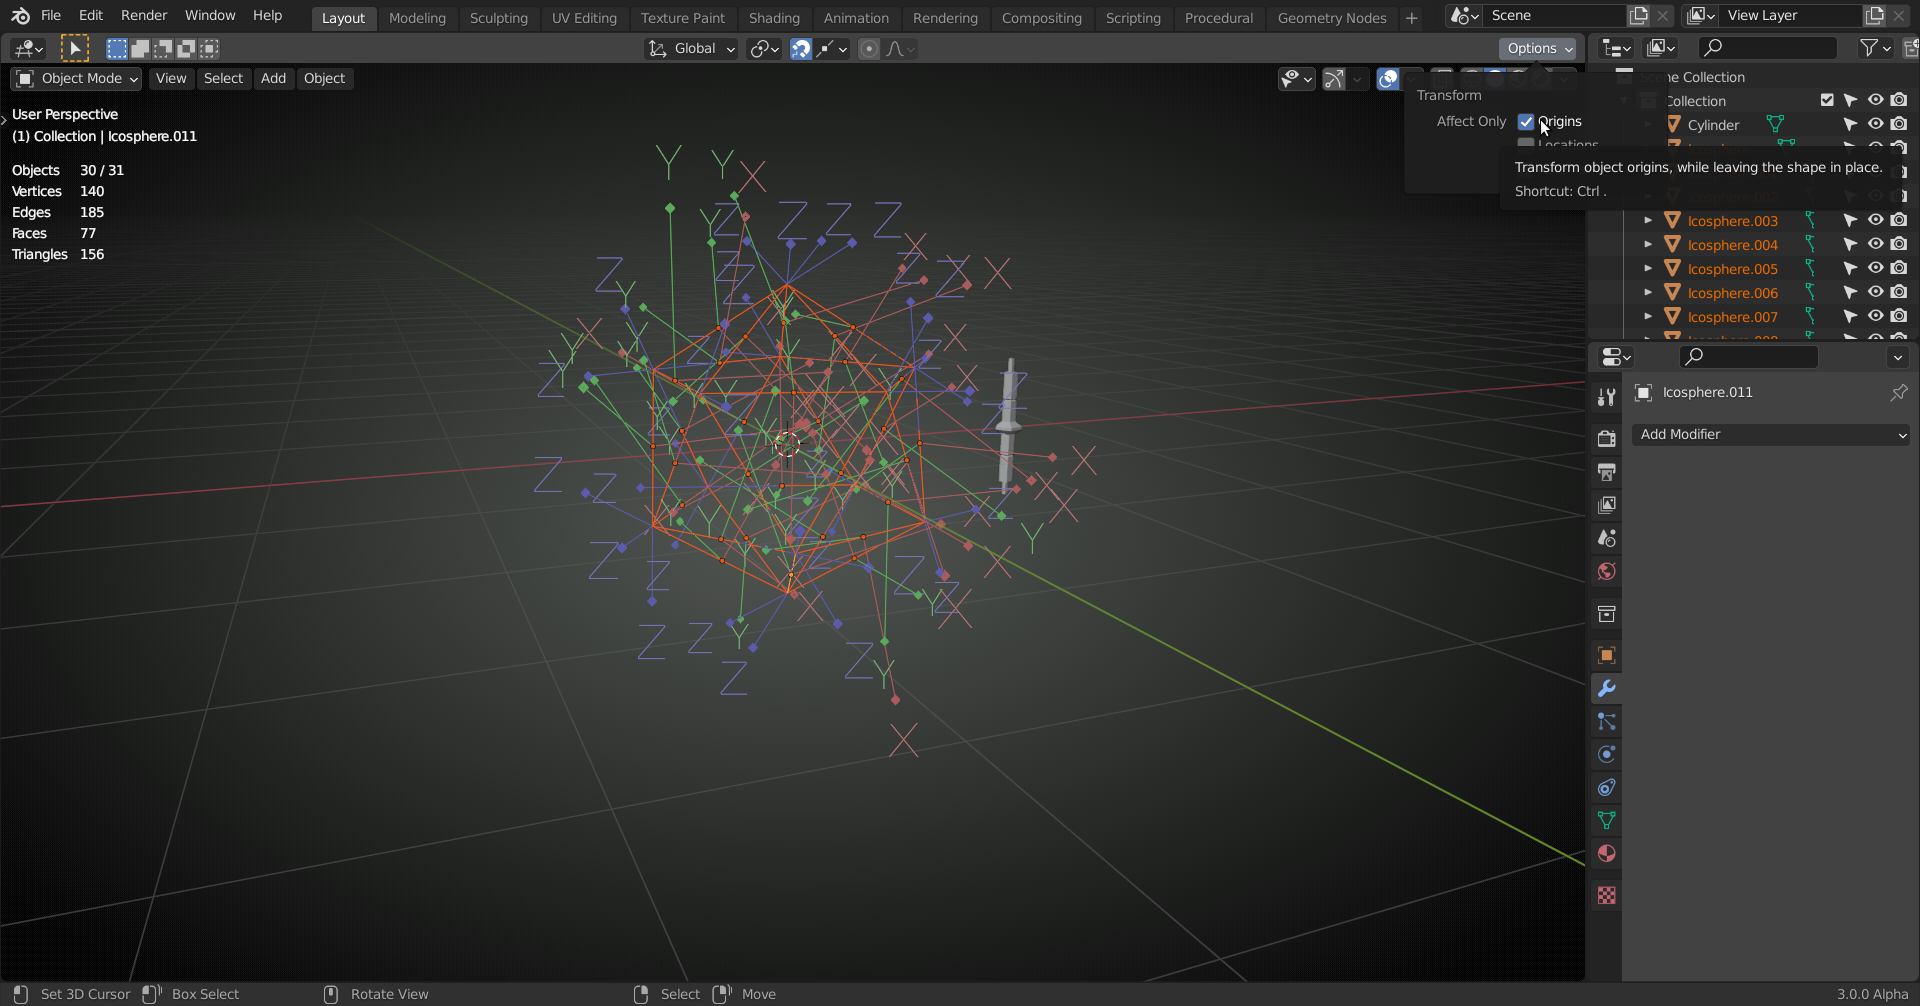
 Now, in Options, activate Affect Only Origins:
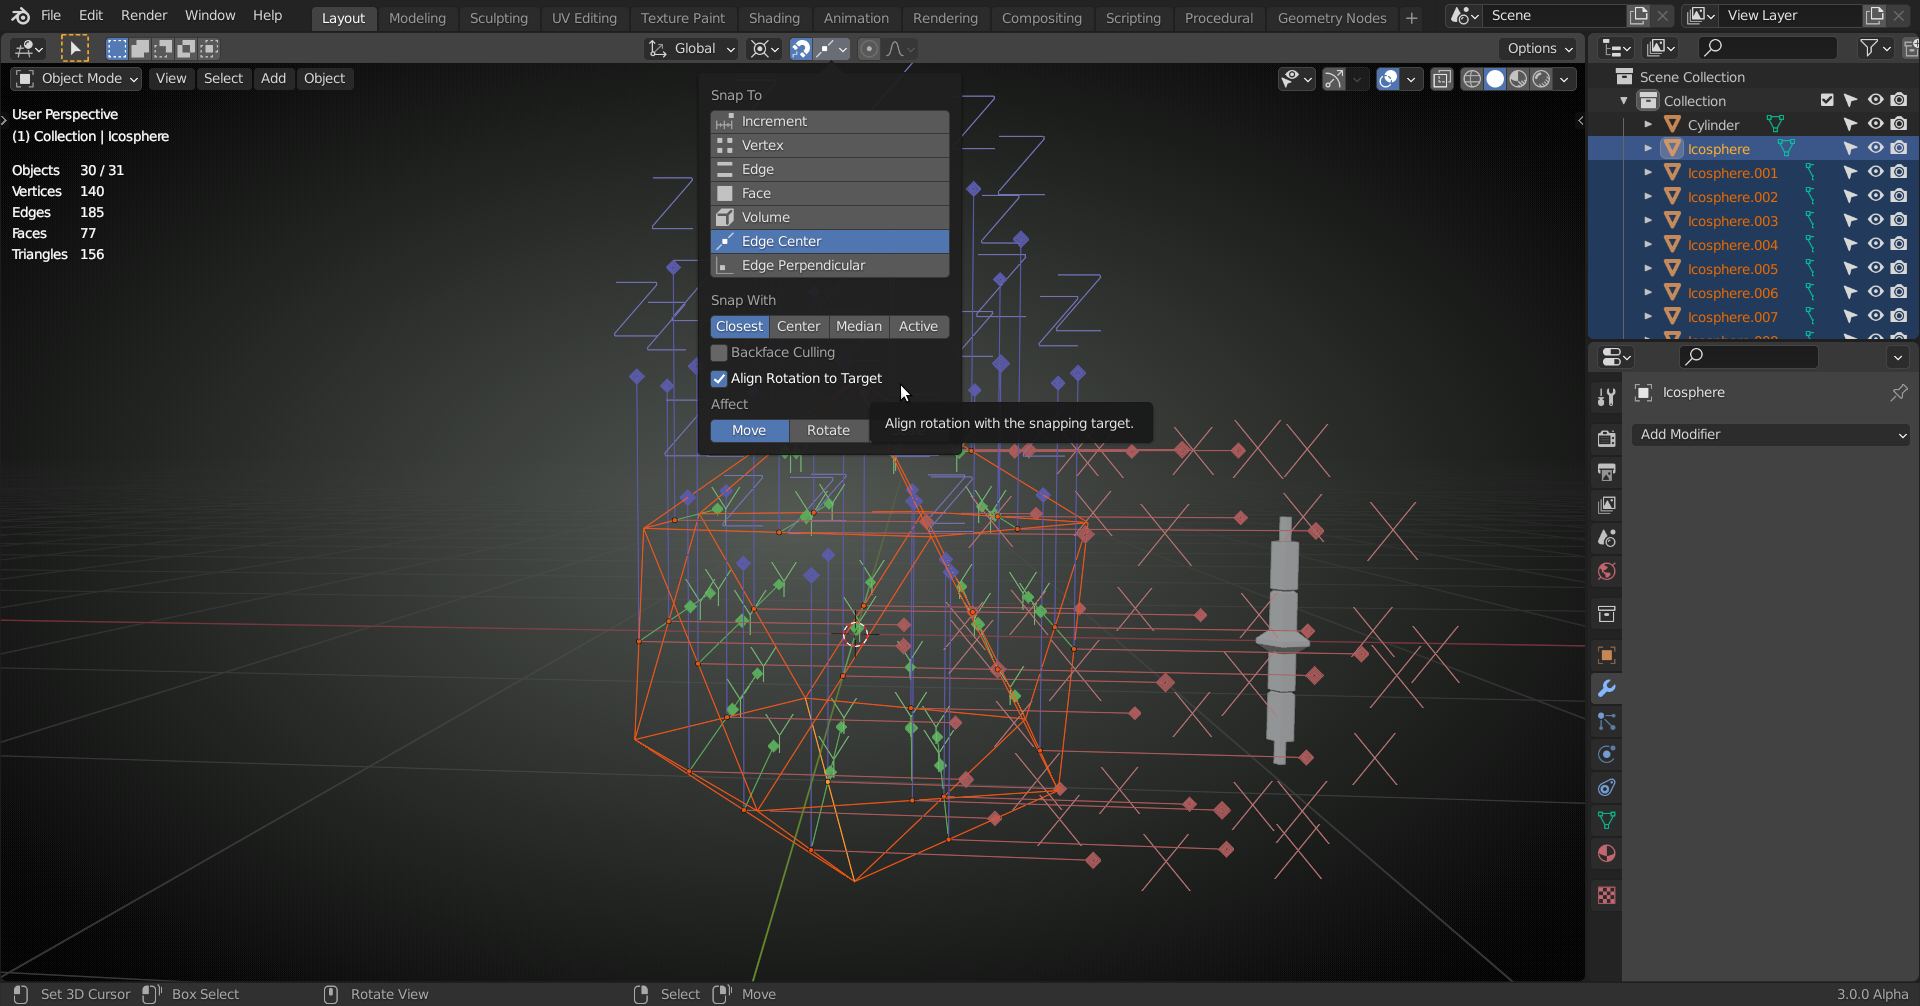
 and set Snapping to Edge Center with Align Rotation to Target (and activate the magnet icon):
 Now comes the worst part; select an Edge, move you mouse pointer near the Origin and press G, so the Origin gets aligned with the Edge, confirm, followed by H (to hide it, so you know which Edges are done).
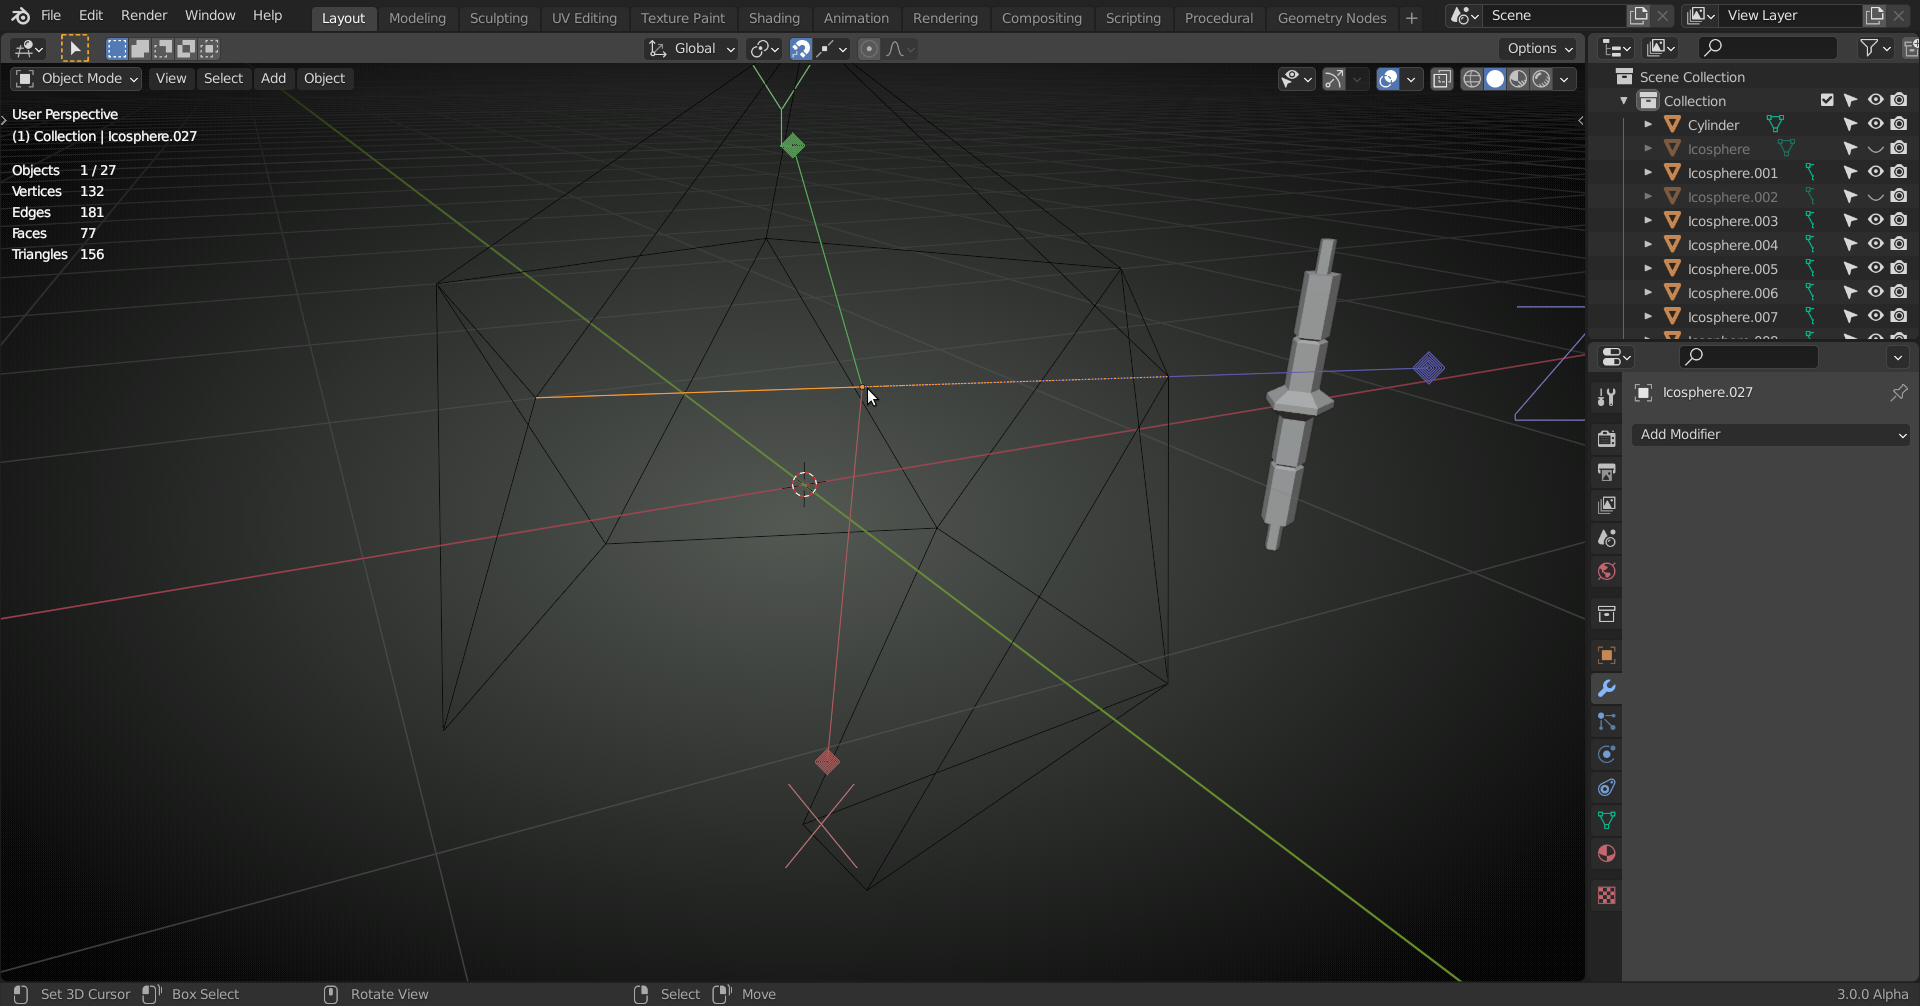
You need to do this for each Edge and this asks to be made into a simple script:
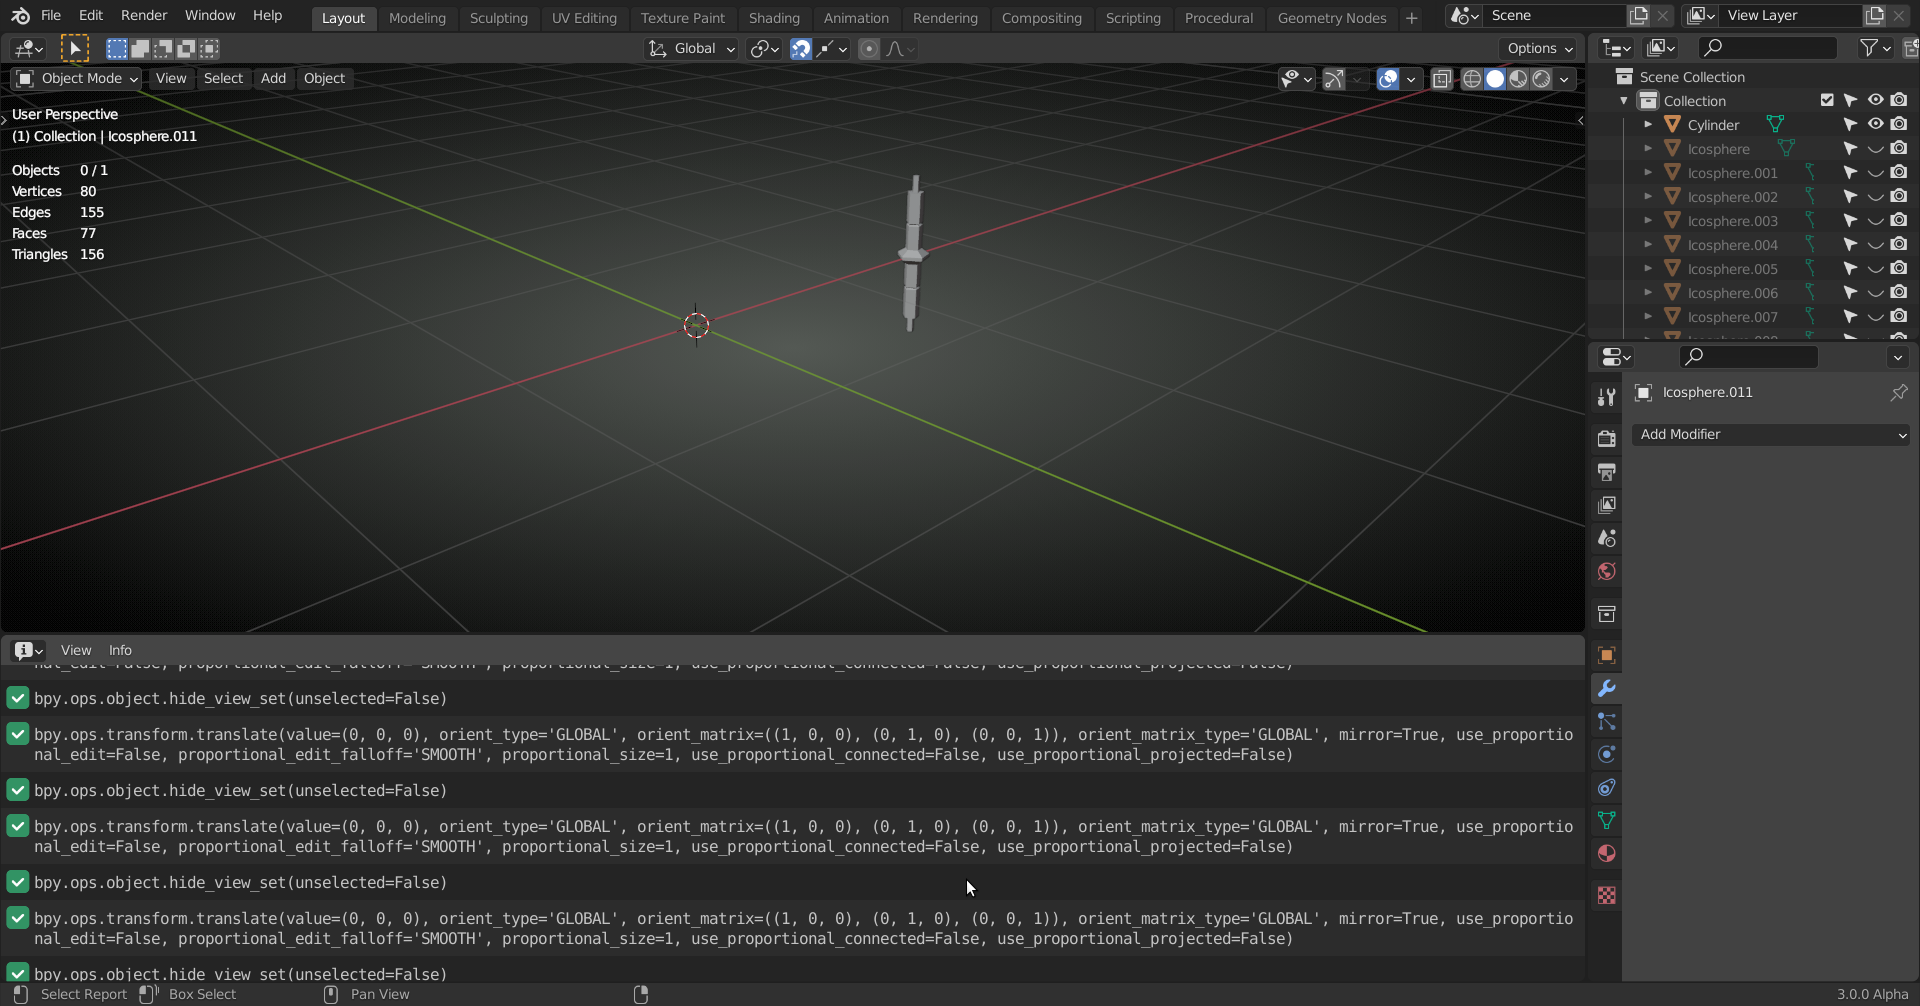 When your done, press ALT+H to unhide the Edges; they should all be selected now:UUncheck the Origins Option:
 And now comes the magic; press CTRL+L> Make Links > Object Data:
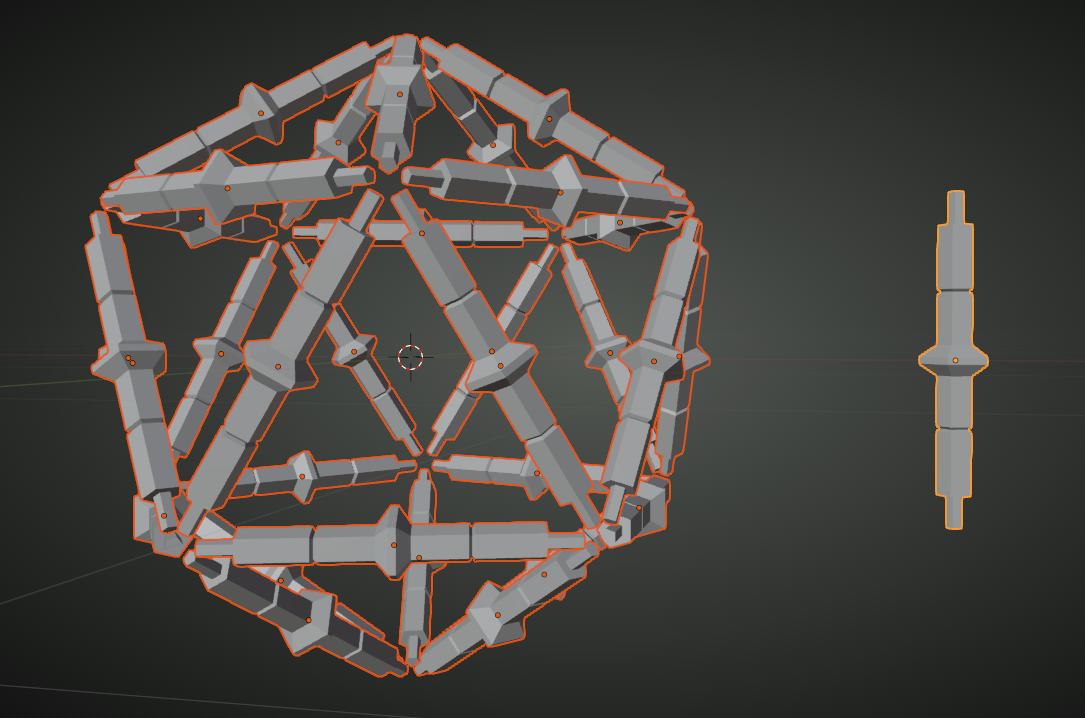 And when you go into Edit Mode on the original model, you can still make changes:
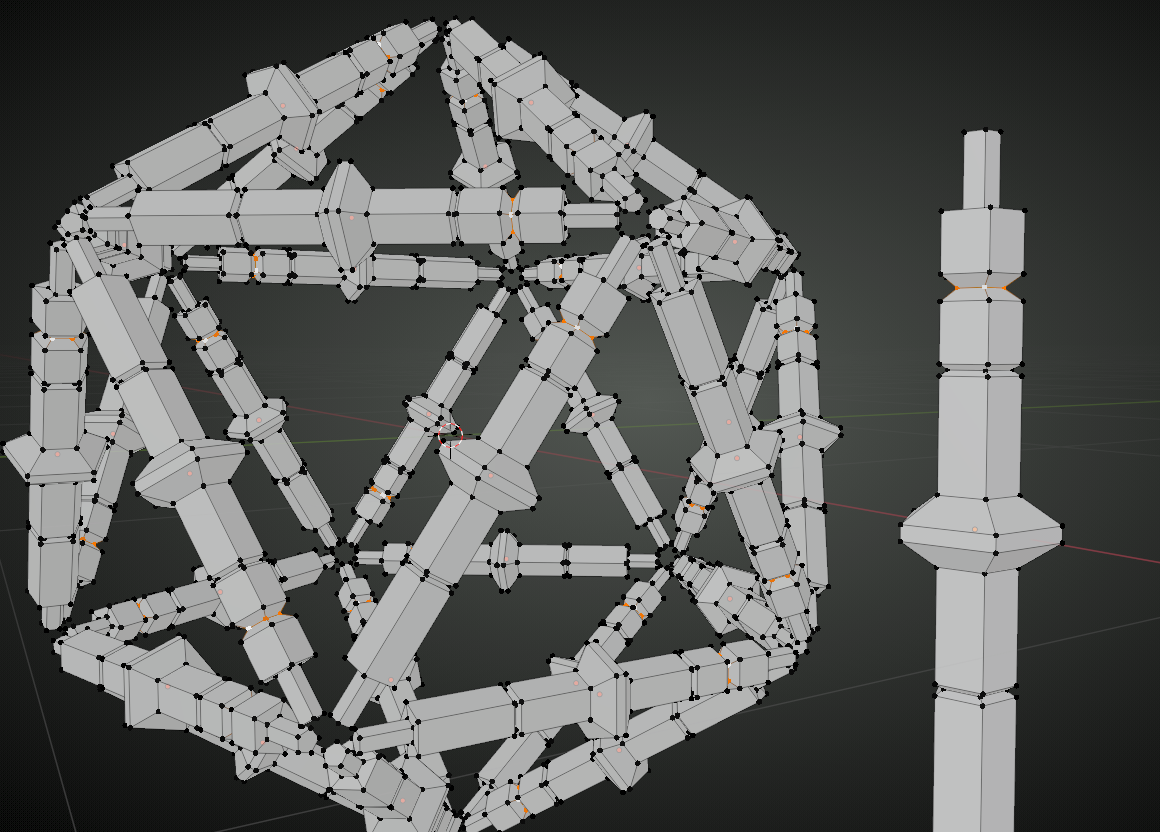 This also considers you Materials by the way: