Finally, this is my new node setup:
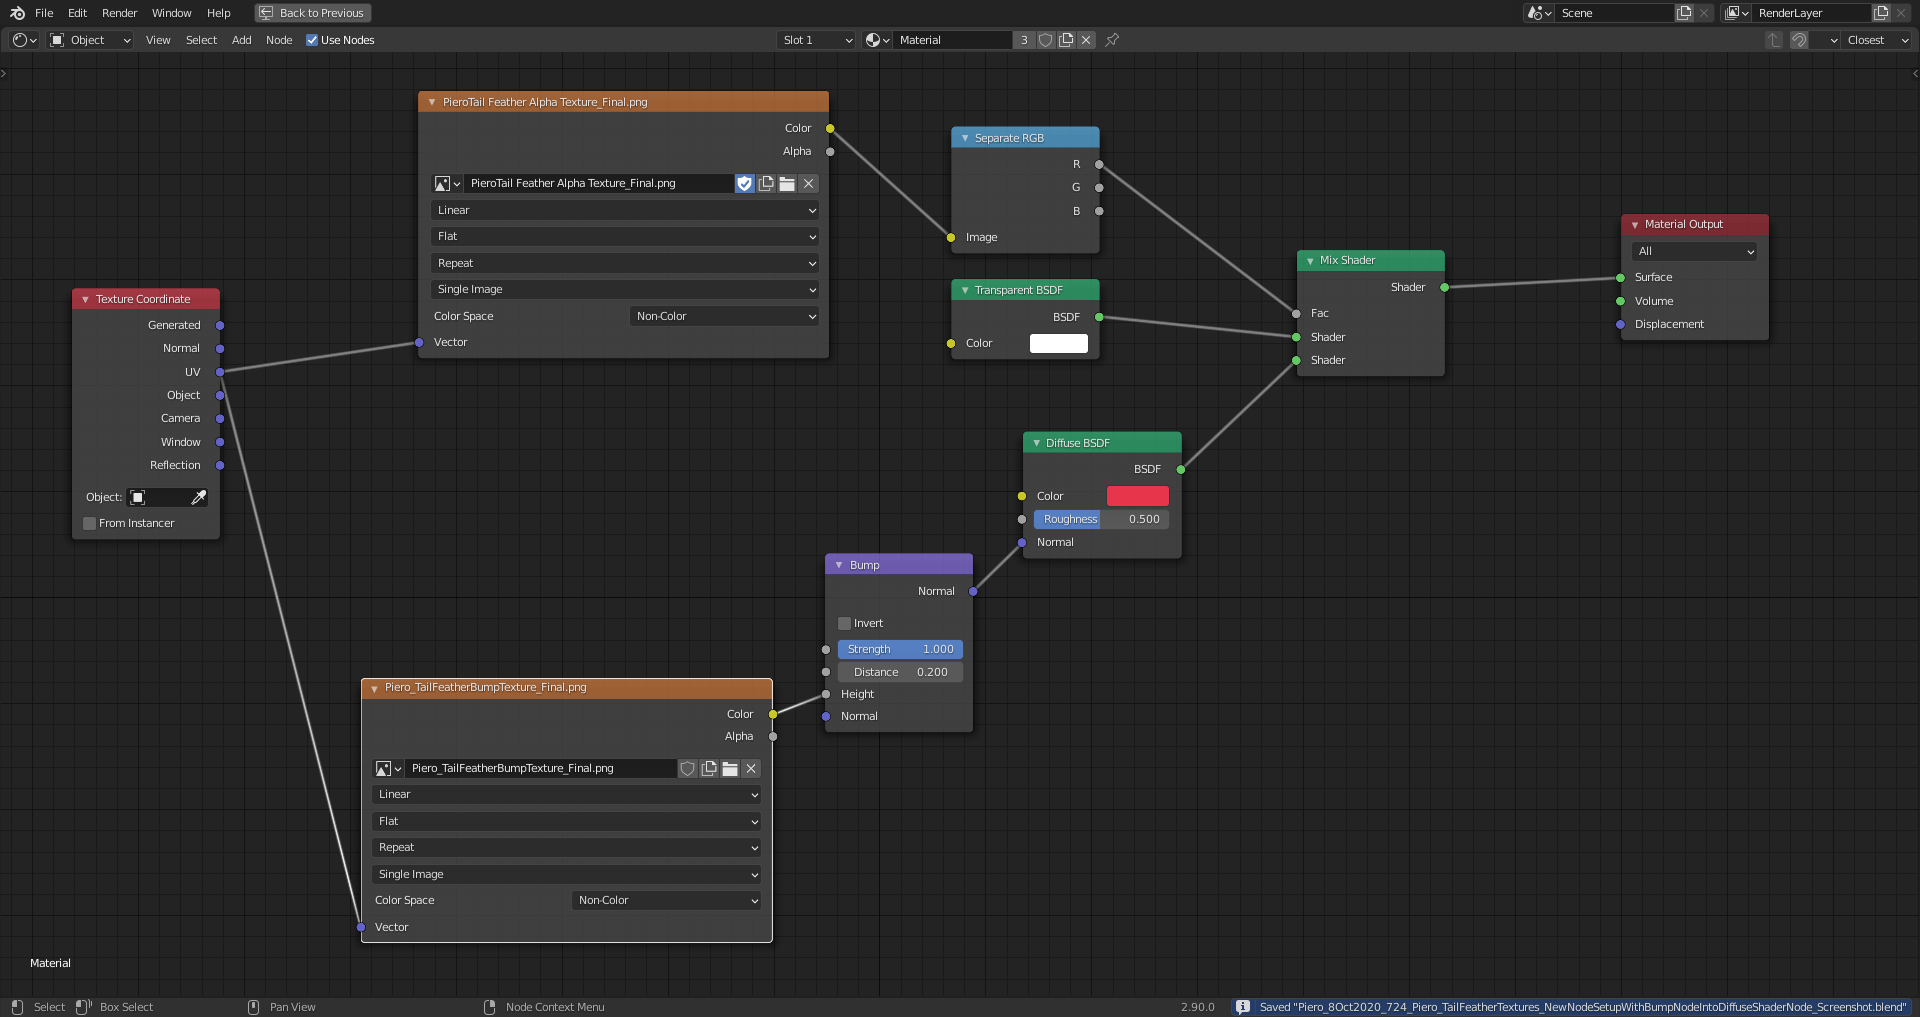
The “Distance” value of the “Bump Node” controls how deep or heigh the visual unevenness of the surface appears to be and the “Strength” setting deterines how strongly this effect is blended into the surface shading.
And the rendering (without a “Glossy Node”):
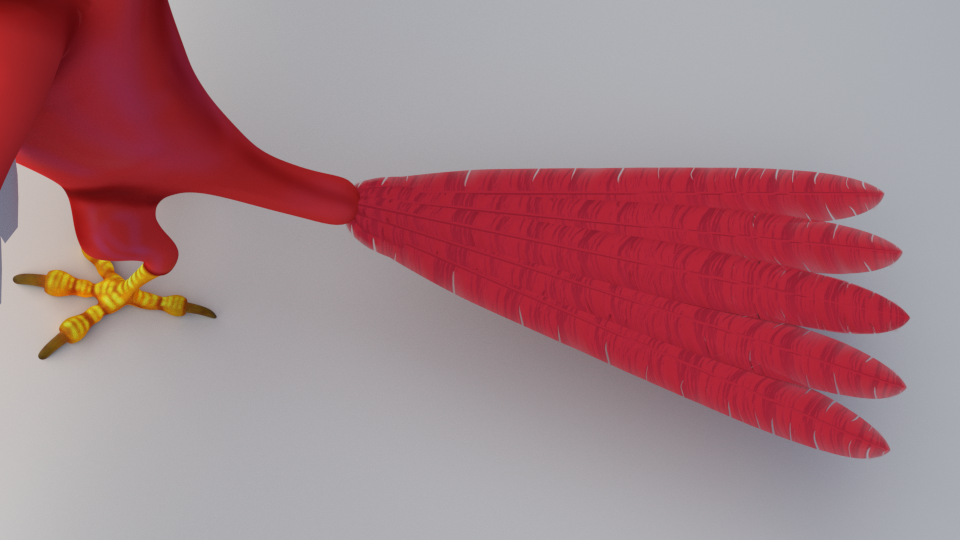
Render Time: 4 Minutes and 54.67 Seconds.
With EEVEE:

Render Time: 0.56 Seconds
The “Blend Mode for Transparent Faces” for this EEVEE rendering had been set to “Alpha Hashed” in the “Settings Panel” of Piero’s material. The “Power” of the “Area Lamps” had to be set to 10000 (a thousand times more than for Cycles) in order to light Piero well since EEVEE has no node setup for “Area Lamps” and therefore no “Strength” setting as in Cycles.
With half the “Power”:
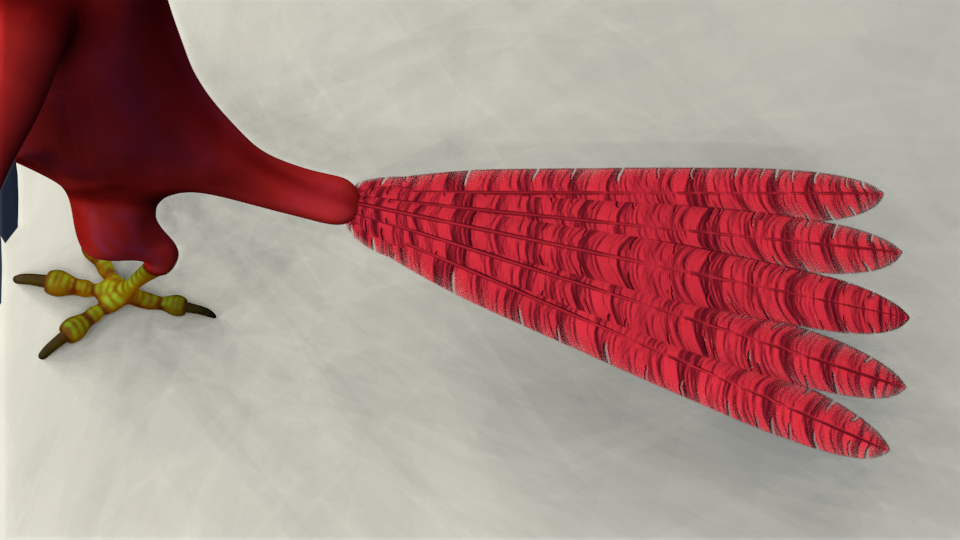
Using the same light settings in EEVEE as for the Cycles rendering in this post would result in a totally black scene.
The “Displacement Node” isn’t plugged into a “Shader Node” but directly into the “Material Output Node” and can be, depending on the settings, for “Bump” effects as for “Mesh Displacement”. It only has a “Strength” setting for controling the influence of the “Bump Texture”:
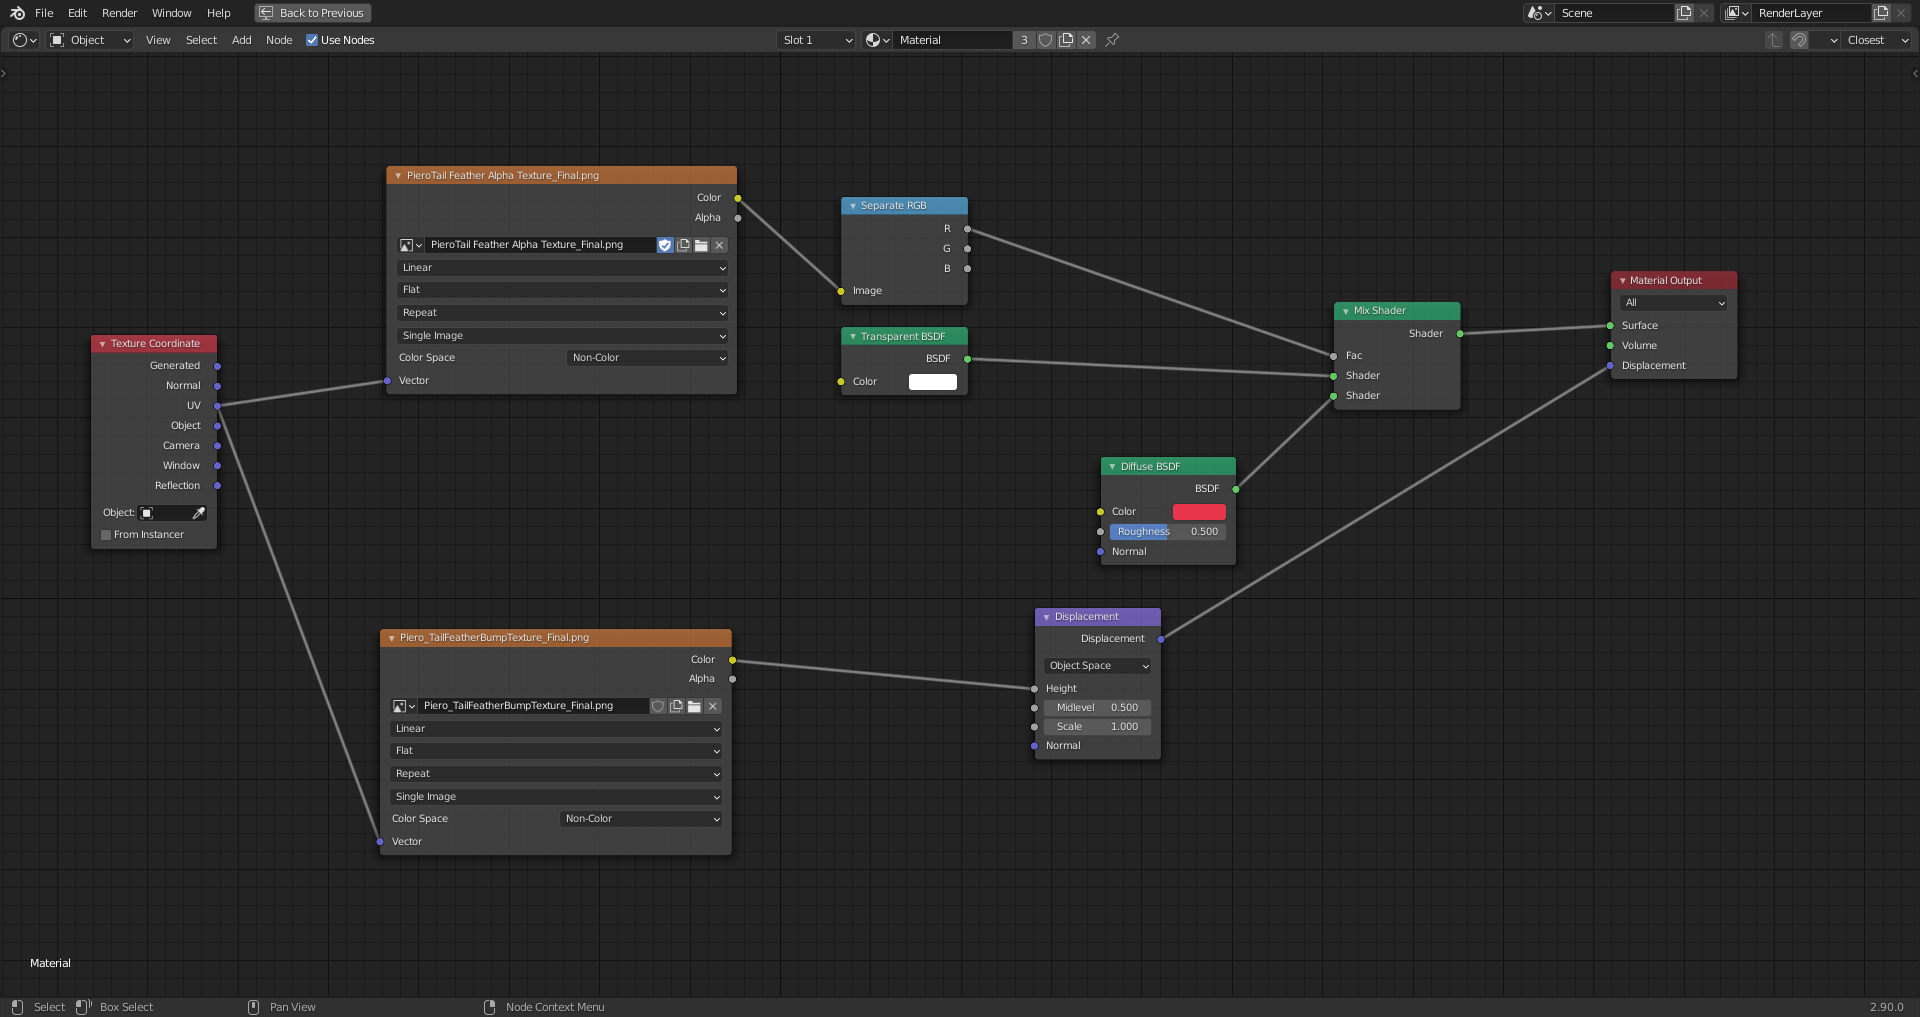
With this node setup, you don’t need to plug the “Bump Texture” into each “Shader Node” separately.
And the Cycles Rendering with this setup:
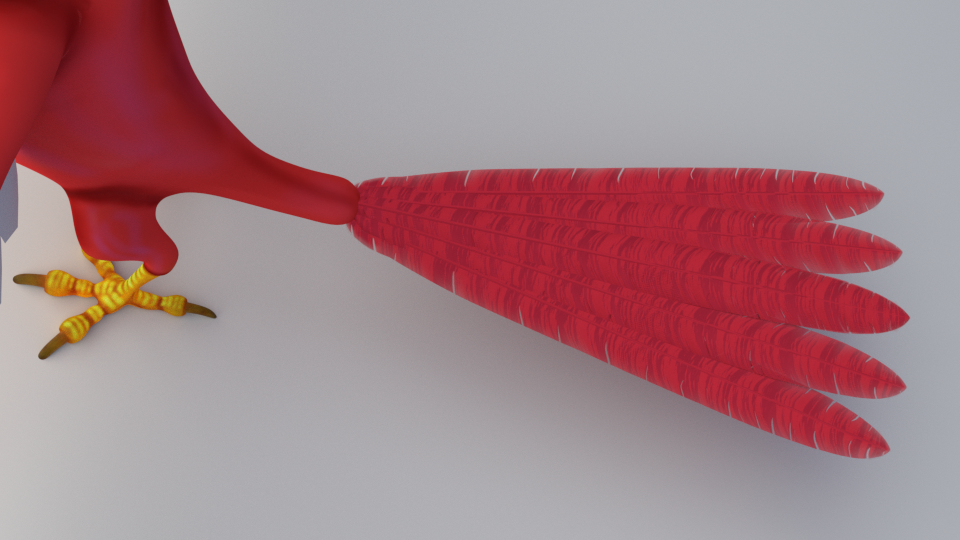
Render Time: 5 Minutes and 5.46 Seconds.

