
Reply To: Polybook – Jake
Forum Archive › Polybook – Jake › Reply To: Polybook – Jake

To create my backdrop, first I made a procedural star-field for the background. You can make one really easily by plugging a noise texture and a color ramp into your background material, like so:
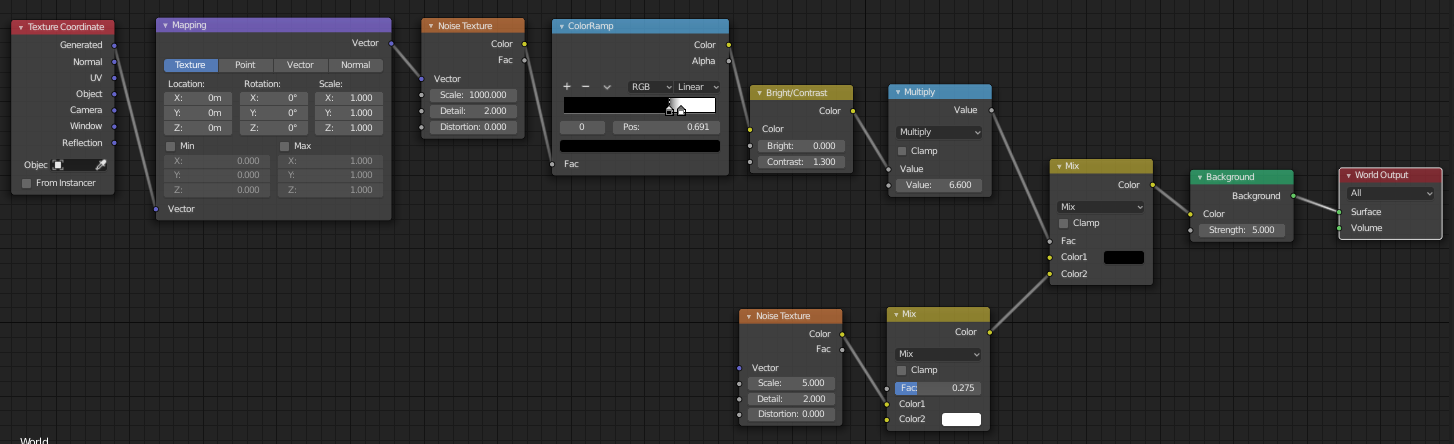
Plug the noise texture and color ramp as the factor into a mixRGB node with black and white as the mix colors, and use the color ramp to crush down both your blacks and whites until an infinite starry sky magically appears! Use the usual math tweaks to brighten the stars as desired, and play with the color ramp to control the star density. The noise texture on the bottom simply adds a smidgen of color variation to the stars, which is completely optional.
Next, I had to make the nebula. Making one of these from scratch was beyond my knowledge, but it just so happens that over the last several days a Blender user on Twitter named Brent Patterson (@brentpatterson) has been posting screenshots of his experiments in creating spectacular Hubble-like images of nebulae in Eevee with procedural volumes, and what he’s come up with so far was just the ticket for me. Look him up, he’s shared some node-trees. It’s a little complicated, but after you’ve set up the nodes, playing with the math values, emission strength, colors, and mapping to create amazing-looking nebula is addicting, it’s like a game! Anyway, build the material, stick it on a cube, and scale as needed and voila:
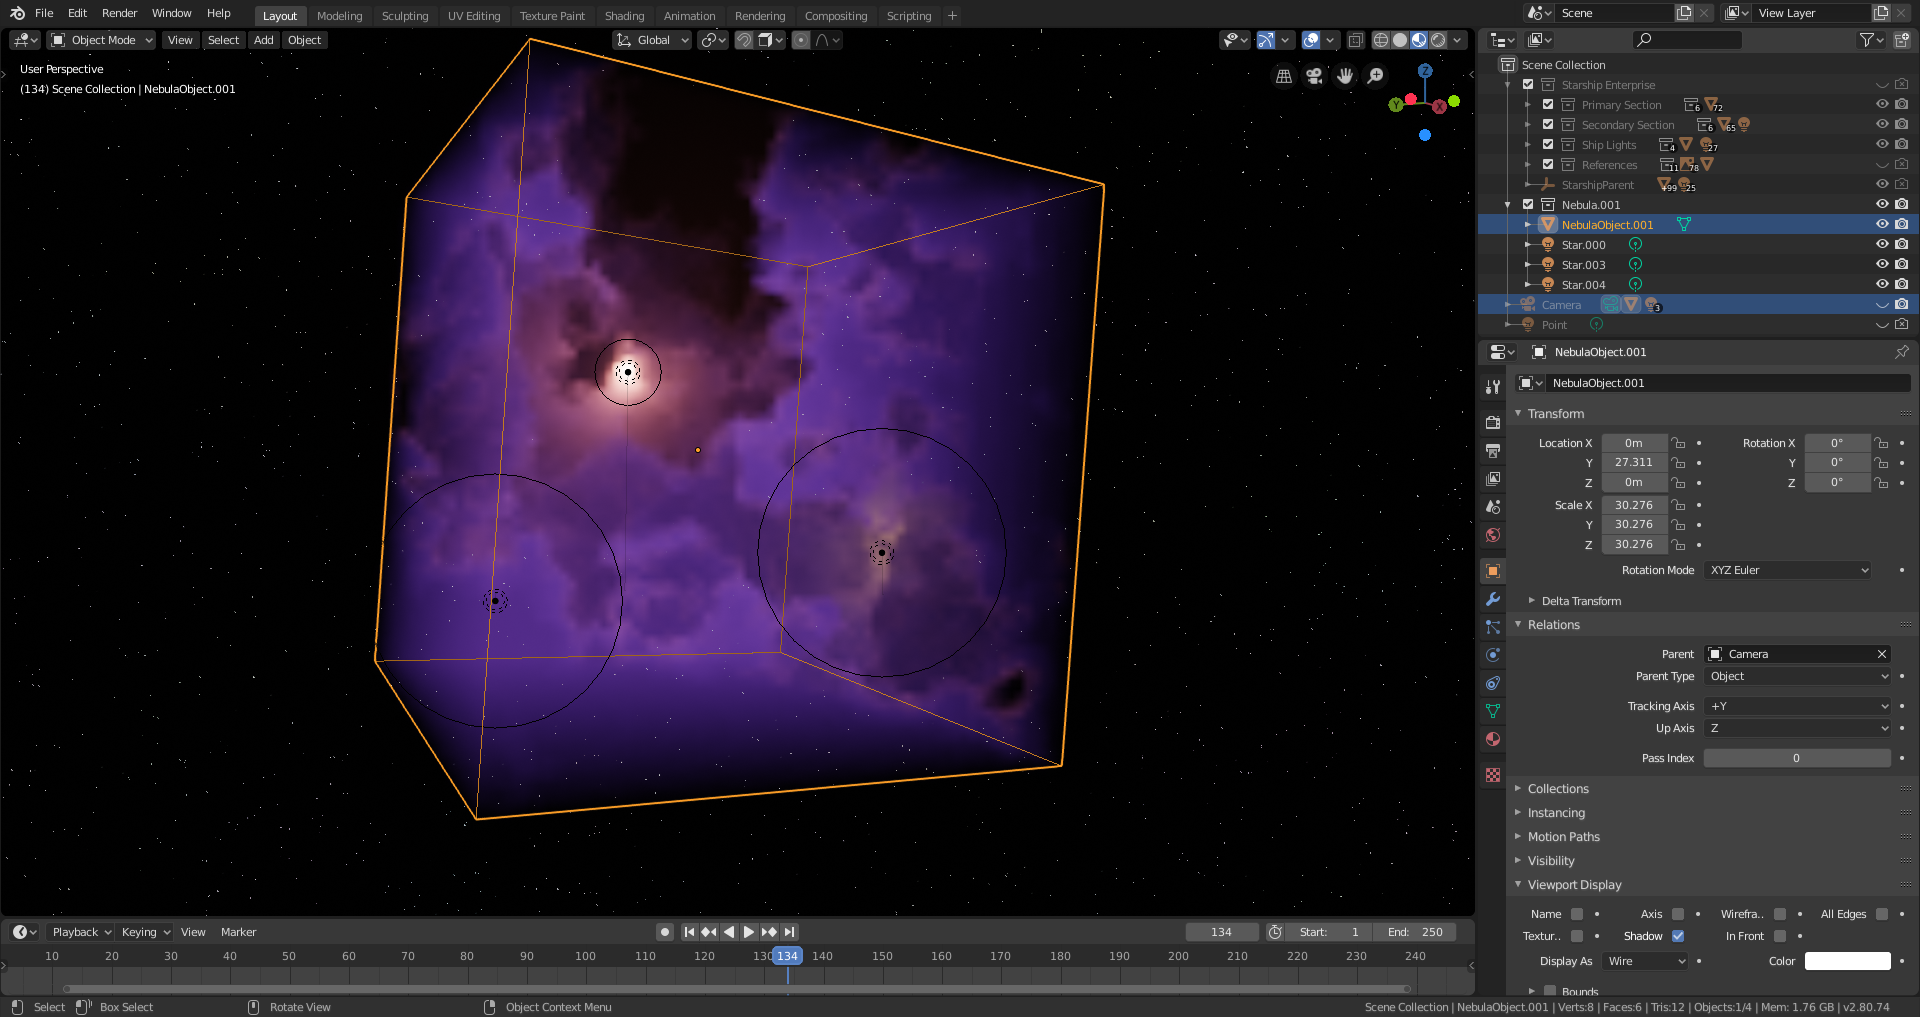
A couple of strategically-placed point lights with different colors and strengths gives the effect of embedded stars and adds more interest. I scaled back the contrastiness of the nebula though; I wanted it to look great, but I didn’t want it overpowering my subject.
Next, I had to deal with positioning. I parented every single part of the ship, visible and invisible, to an empty that I wanted to use to “pose” the ship for the shot. Unfortunately this turned out to be too impractical, with even the slightest changes of rotation taking half a minute or more to actually be applied in the viewport – I suppose my computer really needs more RAM, because it has been suffering badly under the load of the completed spaceship model. So I decided to leave the ship where it is, and parent my nebula object and its embedded stars to the camera instead, after making sure to frame them in my shot exactly as I wanted them. This worked beautifully – I could pan and rotate the camera easily to view the ship from any angle, and the “background” nebula was always perfectly framed behind it. Perfect!
Finally, since the ship was much too far from the nebula object to be taking any indirect light from it, I placed a couple of point lights around it and colored them to approximate the nebular color.
With everything done, and after a couple of test renders, I kicked off the final Cycles render of the ship with the nebula turned off and the background transparent, and let that run overnight. Noob tip: if you’re making a render with several passes and you want to save all the passes for later use in the compositor, save your render as an OpenEXR Multilayer file. You can then import it into the compositor as an image and all the passes will be intact and ready to use.
This afternoon, I did the (much quicker) Eevee render of the background and nebula without the ship. Then I opened the compositor, imported the ship as explained above, and alpha’d it over the background. In the compositor I fuzzed the transition between the two images up a bit so the ship didn’t look like a pasted-on cutout, then tweaked my ship and nebula colors this way and that. And then it was FINALLY FINISHED!
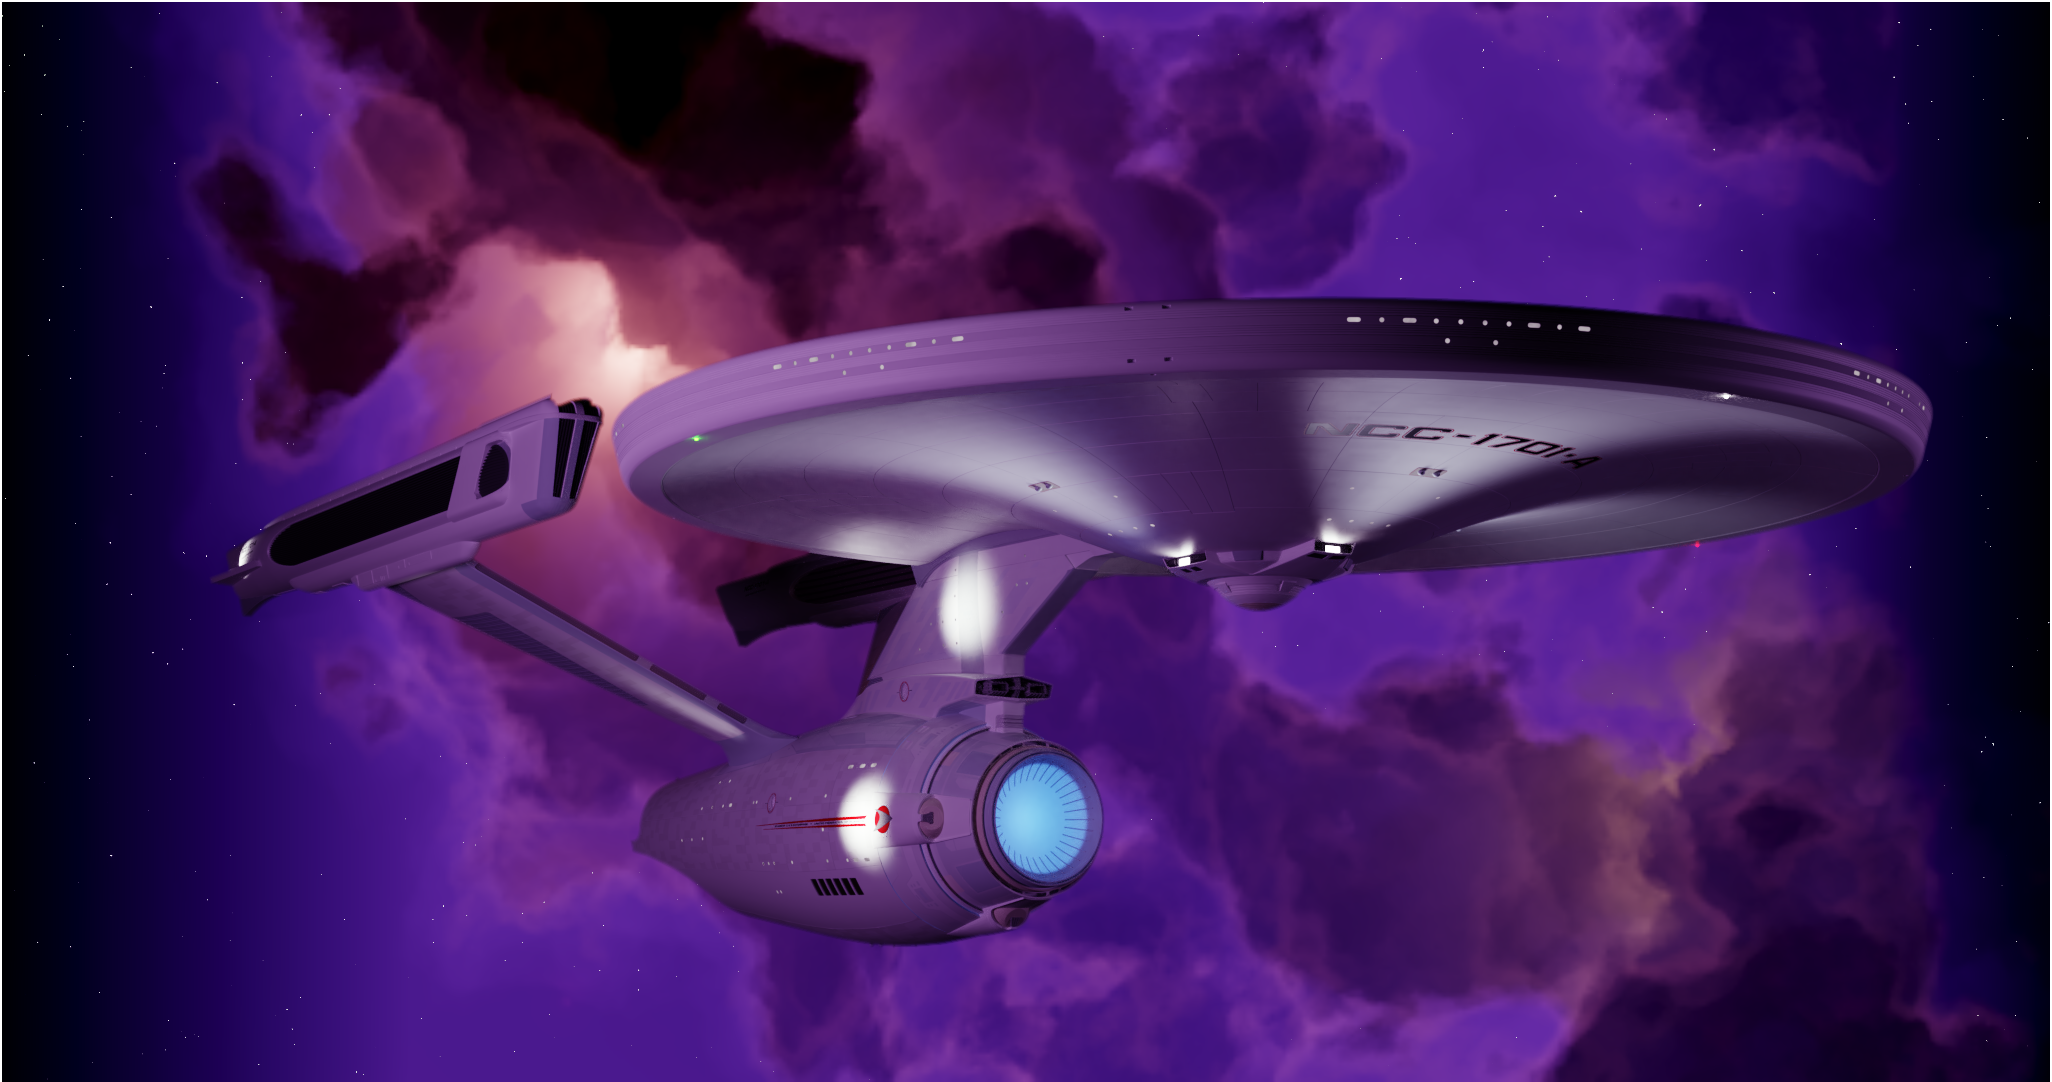
And I am done for this month I’m afraid, lol