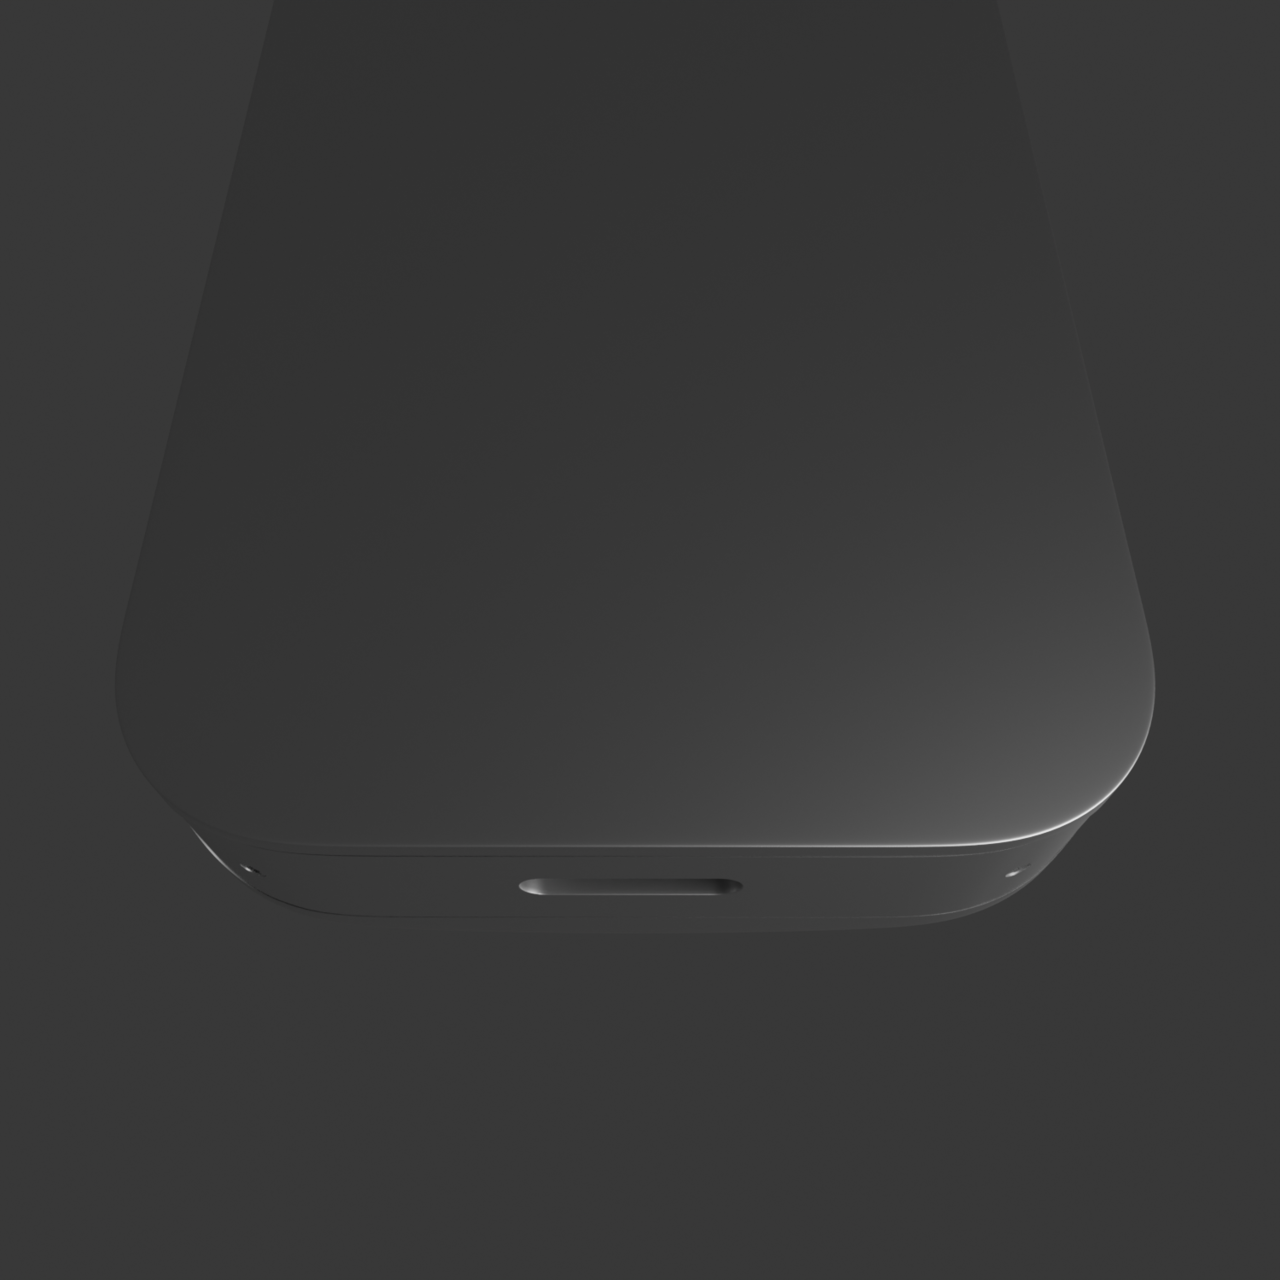
Workflow for creating hatch and screw holes in a curved surface.

Forum Archive Workflow for creating hatch and screw holes in a curved surface.

Viewing 7 posts - 1 through 7 (of 7 total)
  • Author
    Posts
  • #19785
    Gerard van den Brul
    Participant

      I am trying to create an Apple TV remote and struggle to find the right approach to create a hatch and screw holes in a curved surface at the bottom of the remote without minor deformations.

      As for the hatch:

      1. I have tried to seperate the hatch section and model it from that point.

      2. I have tried to apply the first Sub D modifier to create a somewhat denser mesh to work on.  Using the knife tool so move the vertices around over their axis.

      As for the screw holes:

      1 Looptools, create circle the edges and delete the face. 

      025-02-24 220139.png

      025-02-24 214937.png

      025-02-24 214836.png

      Any suggestions on how to approach this without minor deformations / pinching on a Sub D model?

      #93489
      Sascha Feider
      Participant

        You could try a boolean modifier with a cylinder as the cutter object. They can behave a bit funky and you’ll have to do some clean up afterwards (if you apply it).
        If you go that route try to give the cutter cylinders an amount of vertices that closely matches the mesh they’re supposed to cut. That often helps with cleaning up.
        The hard drive tutorial in the CORE Fundamentals of mesh modeling is a good one to watch for that, even with the flat surface.
        Because of the curved surface you could also make a backup of the remote before doing the boolean from which you can then transfer the normal data onto the cut mesh to get rid of the pinching. This requires using some vertex groups. Can’t think of a specific Cookie course right now where that is shown…

        #93490
        Martin Bergwerf
        Participant

          Hi Gerard @gerardjan ,

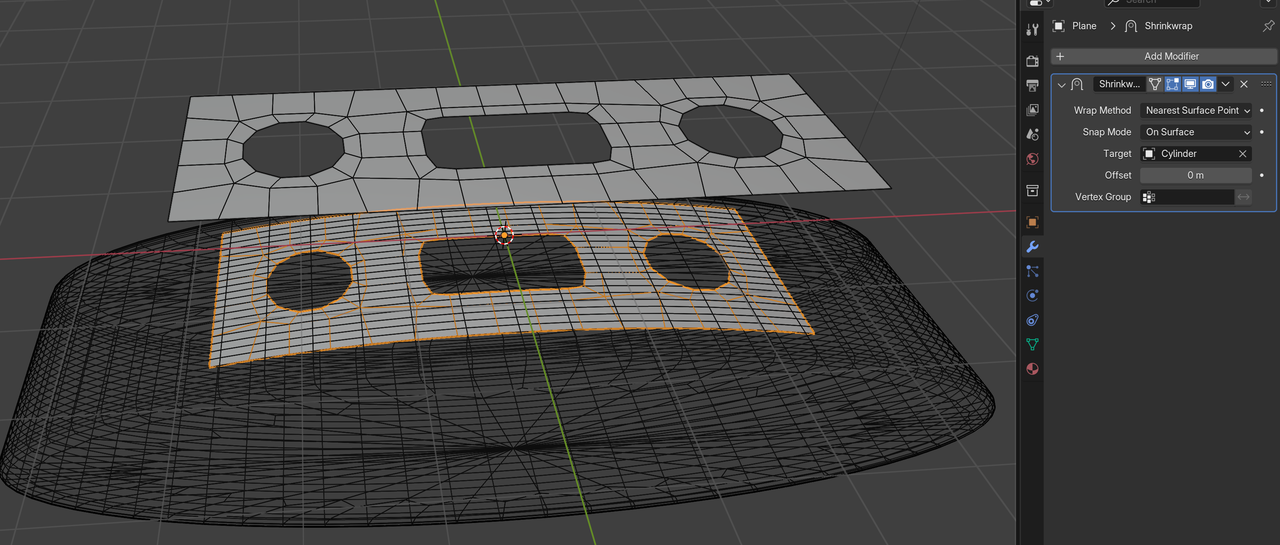
          You can make a heavily Subdivided curved Mesh without the hole and then model the holes in a flat Surface and Shrinkwrap it to the Curved Mesh (might need to play with the Wrap Method and place the Flat Mesh close to the Curved Mesh):

          Holes_Curved.png

          When happy with the result (test it with a Subdiv Modifier), you should probably Apply the Shrinkwrap Modifier, so you can Delete the helper Mesh and model the rest of the curved surface from the, now bend Plane.

          Booleans are also an option, but might not be ideal when using Subdiv.

          Sascha’s second method is shown in the Pothead Course: https://cgcookie.com/courses/pothead-create-a-hard-surface-character-in-blender 

          #93491
          Omar Domenech
          Participant

            The best method I have found that works for me is to work inside out. You work on the details first, the screw holes and the hole in the middle and then you spread outwards, completing the shape perimeter and fill in the space that is left that has no details. Then if the shapes is curved, you can try a shrinkwrap to be molded into a base curved geometry, or a simple deform modifier or just massage the shape pulling and pushing verts with proportional editing on. 

            #93492
            Gerard van den Brul
            Participant

              Everybody a big thanks for reaching out!

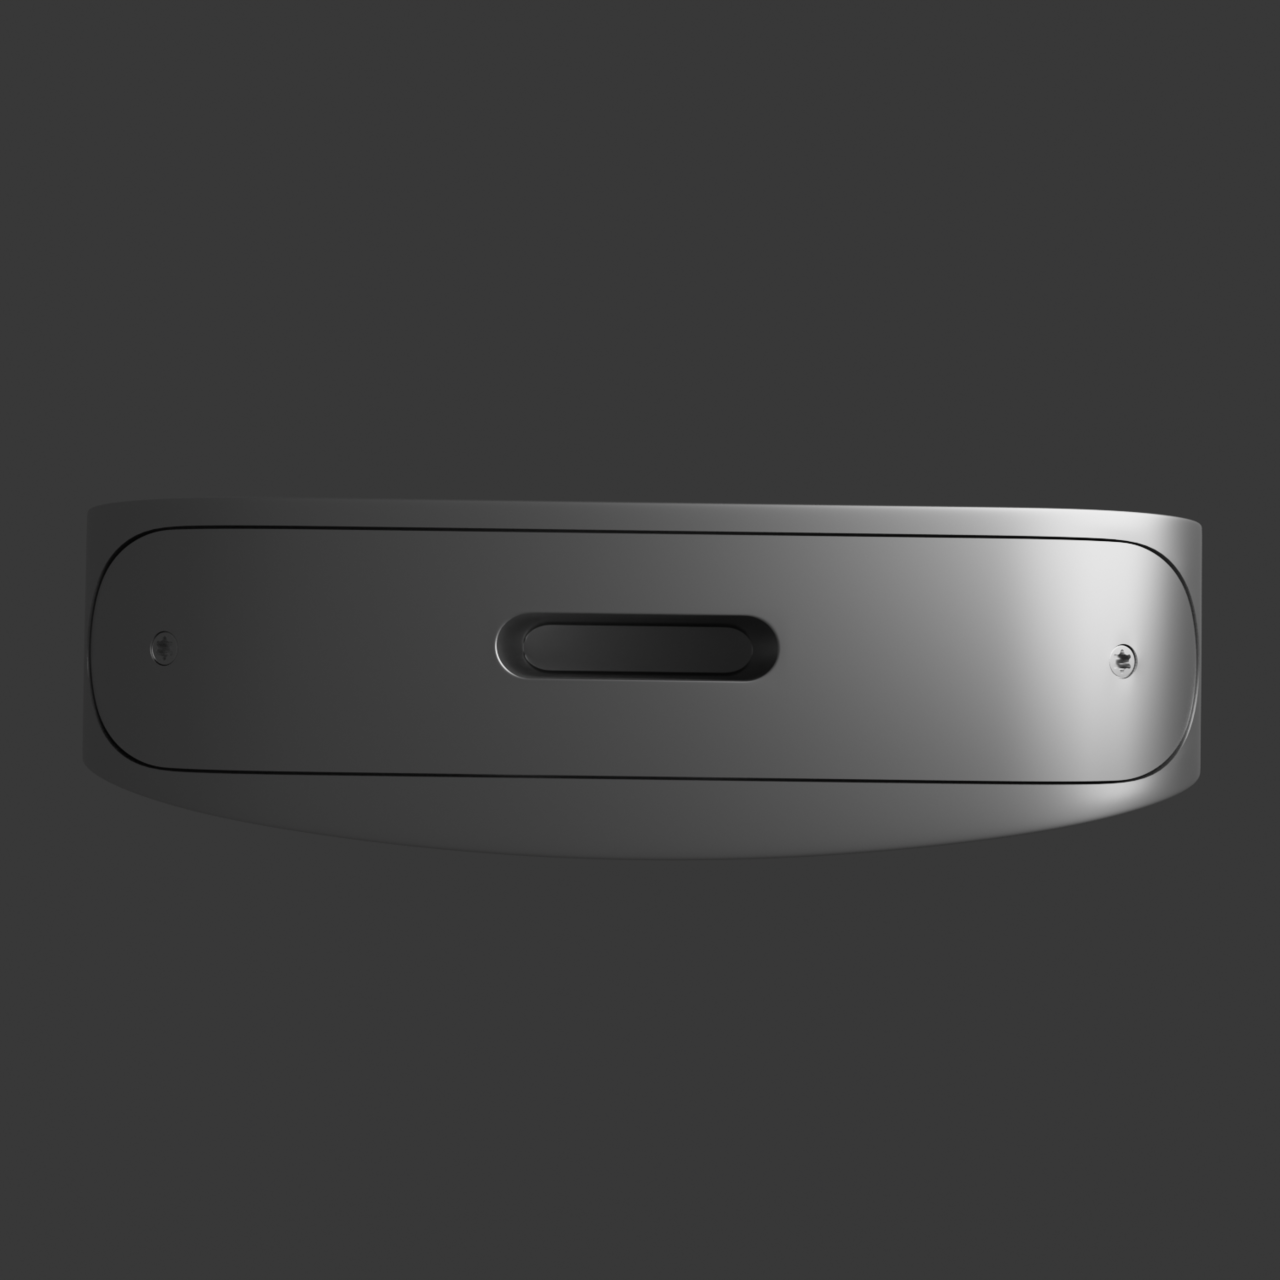
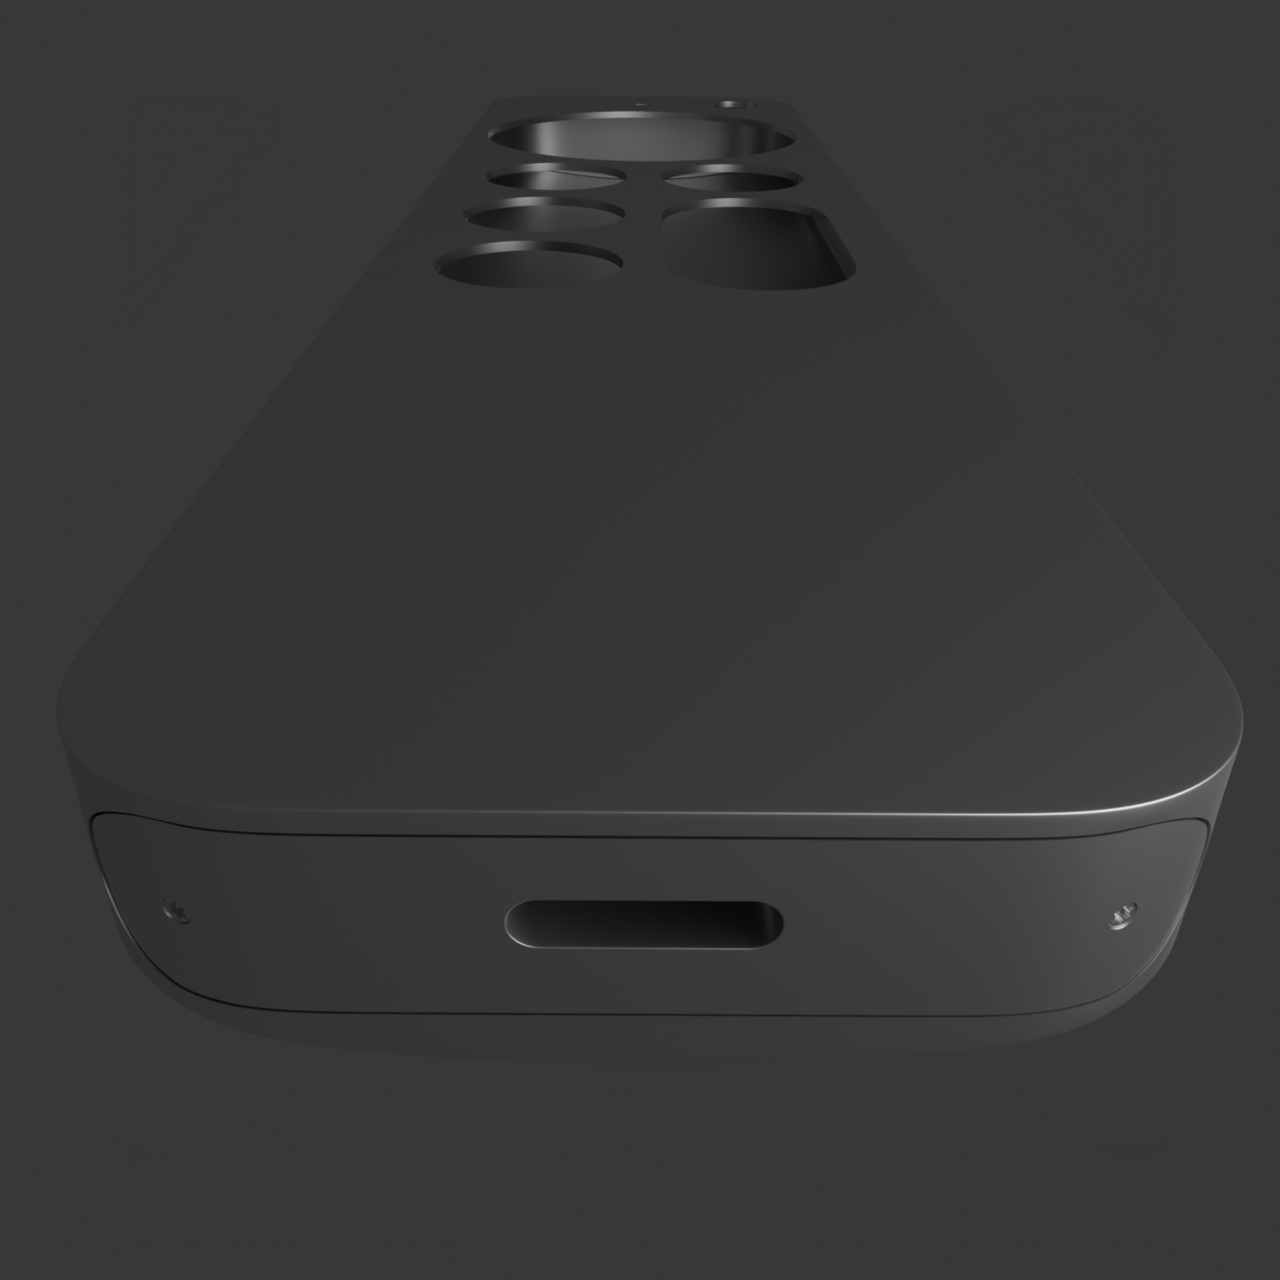
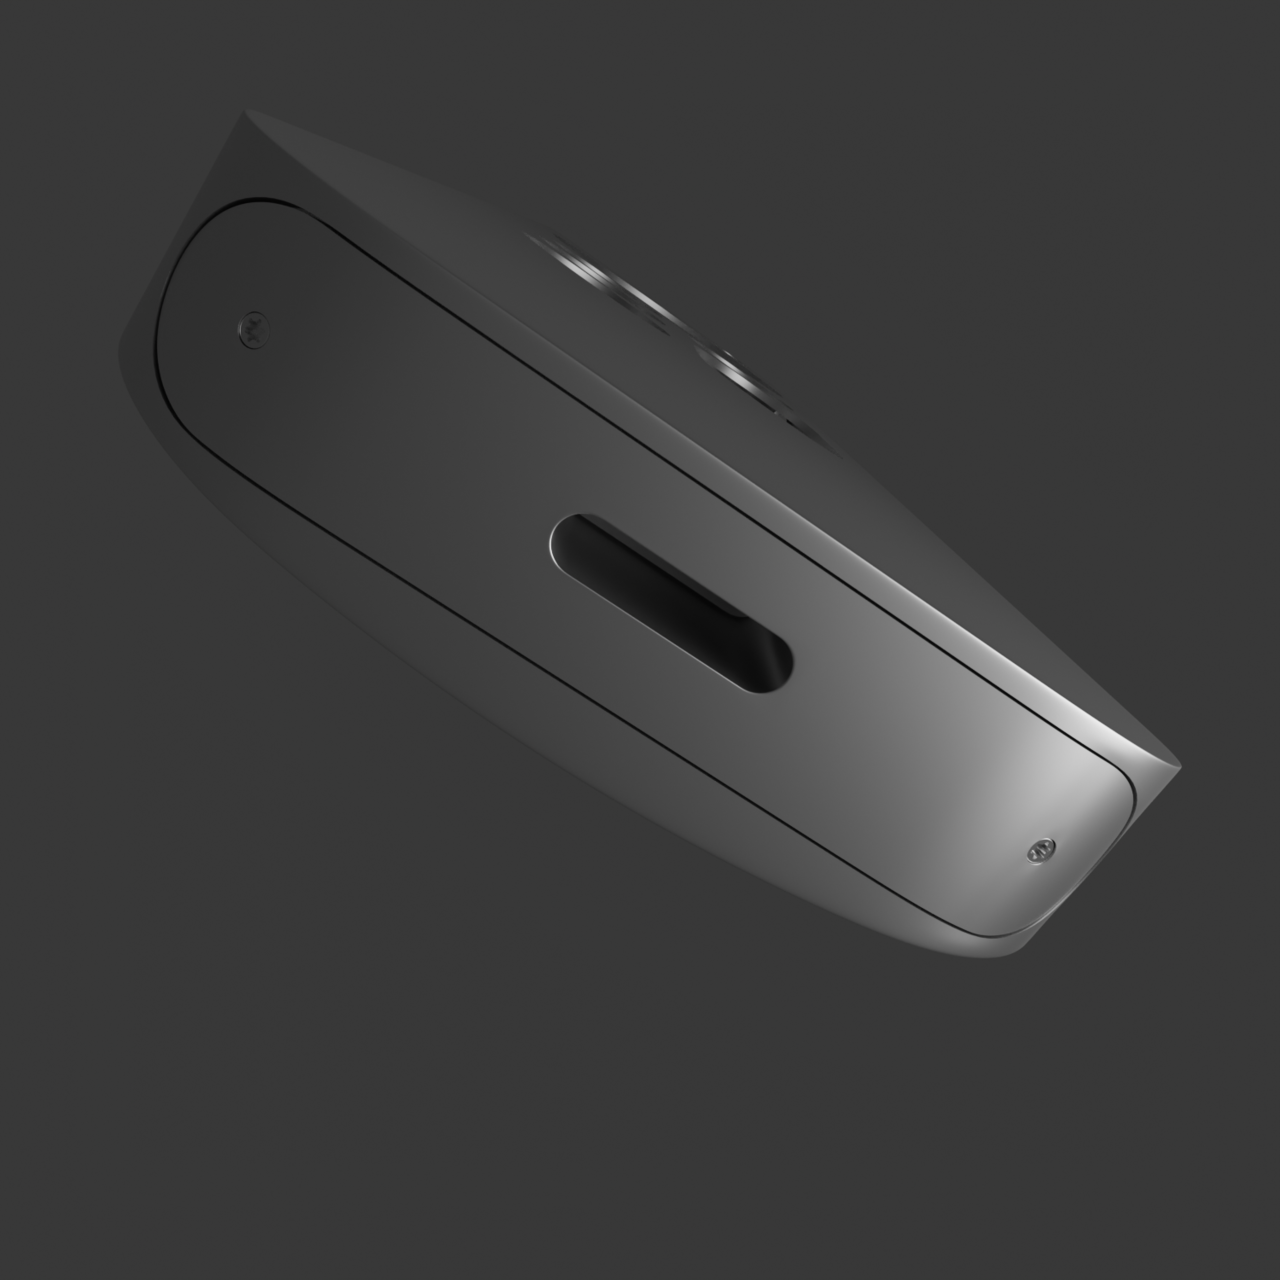
              I have ended up with a combination of suggestions.

              1.    I first applied a Boolean to cut out the hatch hole in the remotes body mesh.
              2.    After the Boolean I cleaned the topology.
              3.    I duplicated the outer edge of the cutout and separated this into a new object for modelling the hatch.
              4.    Then I modeled the holes and placed the screws.
              5.    A little bit of scaling of the hatch and placed it into the body.
              6.    A bit of proportional editing was needed to make a better fit.

              Bottom 01.png

              Bottom 02.png

              Bottom 03.png

              Bottom 04.png

              #93493
              Omar Domenech
              Participant

                That turned out really really good 🤘🏻

                #93494
                Martin Bergwerf
                Participant

                  Yes, that’s looking fantastic!

                Viewing 7 posts - 1 through 7 (of 7 total)
                • The topic ‘Workflow for creating hatch and screw holes in a curved surface.’ is closed to new replies.